

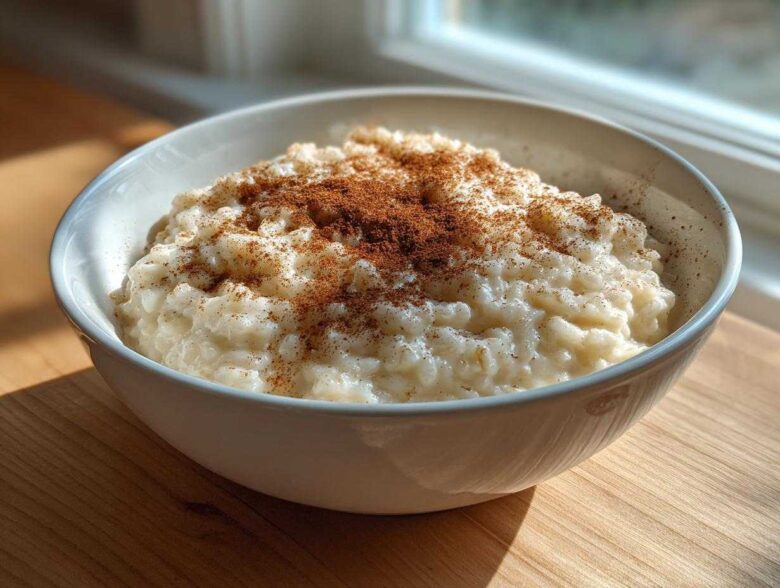
There are just some foods that instantly wrap you up like a favorite, worn-out blanket, right? For us, that’s warm rice pudding. Forget those sad, watery versions you might have tried—we’re talking about the ultimate Old Fashioned Creamy Stovetop Rice Pudding recipe. This isn’t fancy; it’s just pure, old-school comfort built on milk, rice, and patience. When we first tackled this dish, Noah spent weeks creating a detailed ‘Starch Hydration Strategy’ to ensure zero scorching and maximum creaminess, something you can read more about over on our About Us page. Trust me when I say this reliable rice pudding recipe uses only the simplest ingredients to deliver that thick, hug-in-a-bowl dessert we all crave. Ready to build some warmth into your evening?
Why This Old Fashioned Creamy Rice Pudding Recipe Works
Okay, so you’ve probably seen a million different twists on this dessert, but this specific rice pudding recipe cuts through all the noise. We wanted something that tasted exactly like our childhood memories—rich, thick, and totally uncomplicated. That’s the goal here: classic comfort without the fuss. If you’re looking for that perfect texture, stick with us; we cracked the code!
- We focus purely on the stovetop method, which gives us total control over the final thickness.
- It’s built on that ‘old fashioned’ style where flavor develops slowly and deeply.
- Honestly, it’s the perfect recipe to try next if you loved the strategy behind our creamy lemon pasta!
Achieving the Ultimate Creamy Rice Pudding Texture
The secret sauce for that ultra-creamy result isn’t some weird stabilizer; it’s just physics and patience! We use short-grain rice, like Arborio, because those little guys release so much starch into the milk as they cook low and slow. That starch naturally emulsifies with the fat, and *poof*—magic happens. You don’t need eggs or heavy cream to get that luxurious mouthfeel if you just let the rice do its job over an hour.
Simple Ingredients for Your Classic Rice Pudding Recipe
This is where we really keep things true to the original spirit of the best rice pudding recipe. You won’t find complicated extracts or expensive additions here. We stick to the holy trinity of comfort: milk, rice, and sugar, topped off with the two flavor stars—vanilla and cinnamon. If your pantry is stocked, you already have everything needed for this incredible dessert.
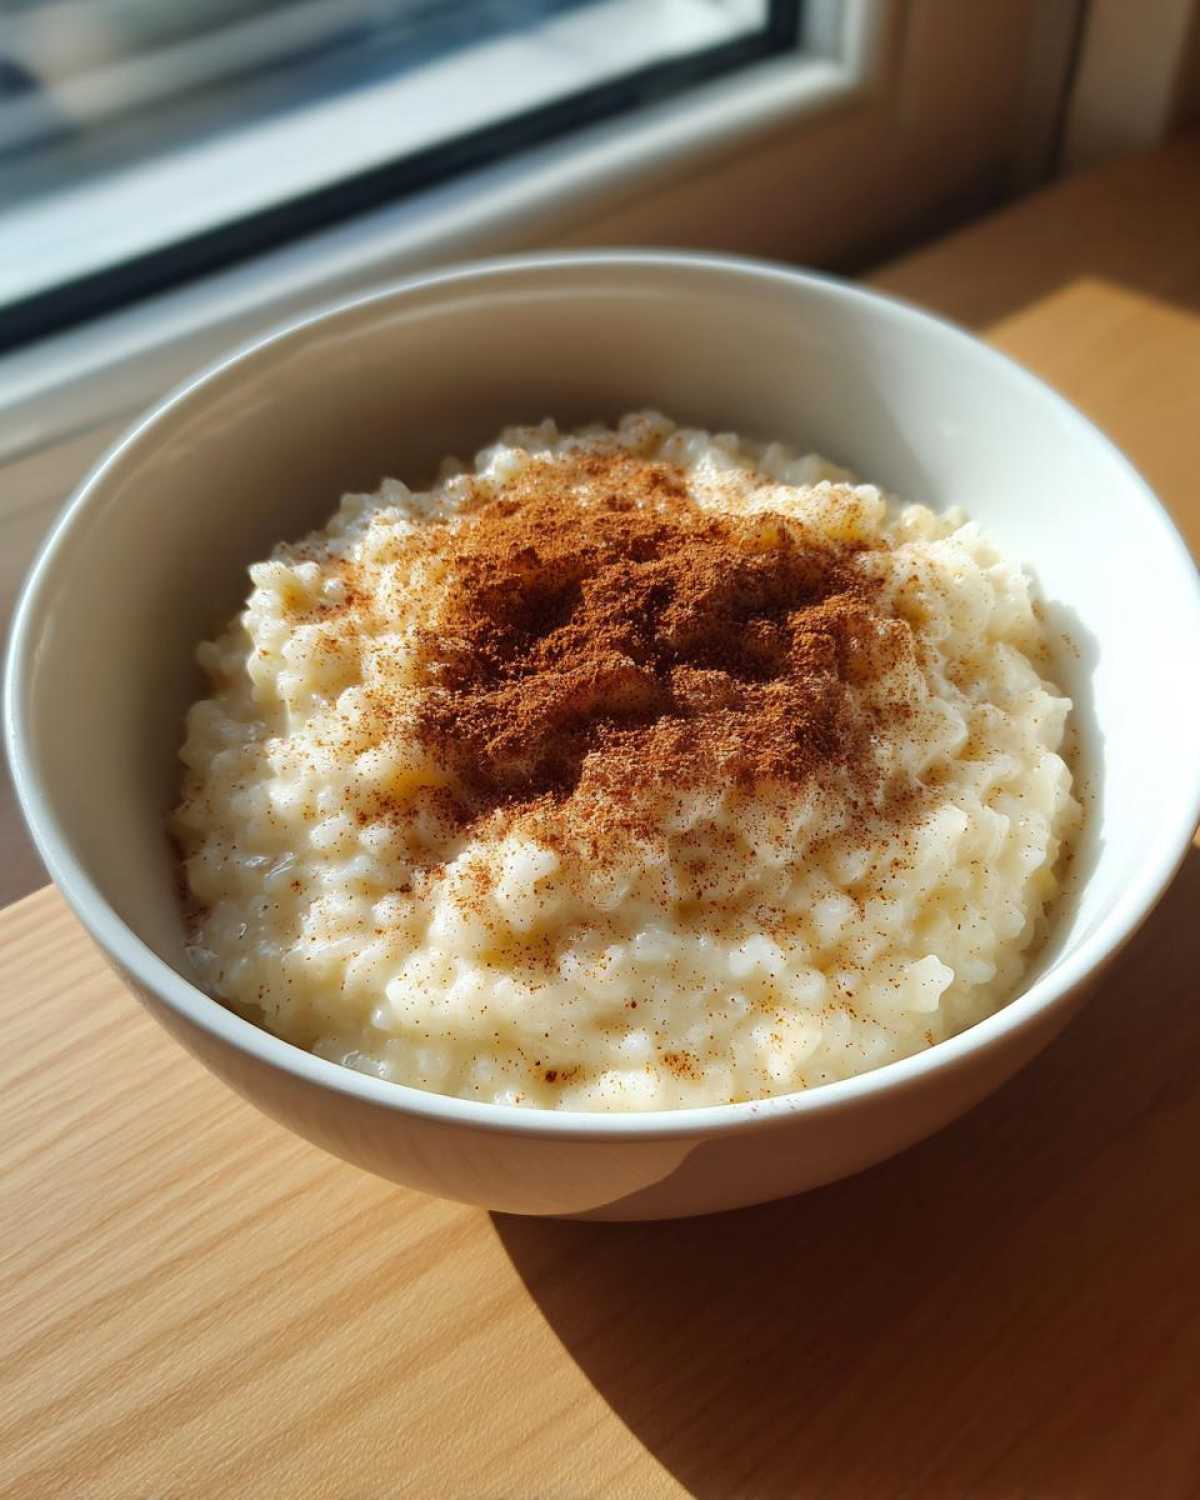
Gathering Ingredients for Your Homemade Rice Pudding
Alright, let’s move to the operational spreadsheet—the ingredient list! Since this is an old fashioned dessert, we keep the ingredient list pleasantly short. Noah insists that less truly is more, especially when you want the natural flavor of the milk and the tender rice to shine through. You won’t need much more than what you likely keep on hand for weekly staples. It’s all about giving quality ingredients the space to talk!
- 1/2 cup short-grain white rice (We use Arborio, but sweet rice works too!)
- 4 cups whole milk (Don’t skimp here, folks!)
- 1/2 cup granulated sugar
- 1/4 teaspoon salt
- 1 teaspoon pure vanilla extract
- 1/2 teaspoon ground cinnamon (We use this in the cooking, and sprinkle more on top later.)
If you’re looking for more ways to use simple pantry items, check out our guide on making homemade chocolate milk—it uses that same dedication to quality base ingredients.
Ingredient Notes and Substitutions for This Rice Pudding Recipe
This is where the strategy comes in, especially regarding the rice itself. If you use long-grain rice, you will end up with tender rice floating in milk, which is fine for certain things, but it won’t give us that velvety, creamy rice pudding texture we demand. Short-grain rice, like Arborio or Calrose, is packed with amylopectin starch. As it slowly cooks down, that starch dissolves into the milk, making the whole thing thick and luxurious.
Also, please, please, please use whole milk here. Seriously. The fat content in 2% or skim milk just doesn’t provide the necessary richness or body needed for this style of rice pudding recipe. It’s the backbone of this whole operation!
Step-by-Step Instructions for the Easy Stovetop Rice Pudding
Okay, here’s the operational plan for your rice pudding recipe. This requires commitment, more than just setting a timer and walking away! The absolute number one rule, and Noah made me write this down twice, is using a heavy-bottomed saucepan. If you use thin metal, the starches will scorch right onto the bottom, and that smoky flavor absolutely ruins this delicate dessert. Don’t say I didn’t warn you!
First, combine your rice, whole milk, sugar, and salt in that good, sturdy pan. Get this over medium heat and stir things constantly until you just see little tiny bubbles just starting to form around the edges—that’s your cue to step down the heat dramatically. If you miss that moment, oops, you’re going to regret it later!
We use similar low-and-slow heating principles when we make our homemade marshmallows, by the way, for that tender texture.
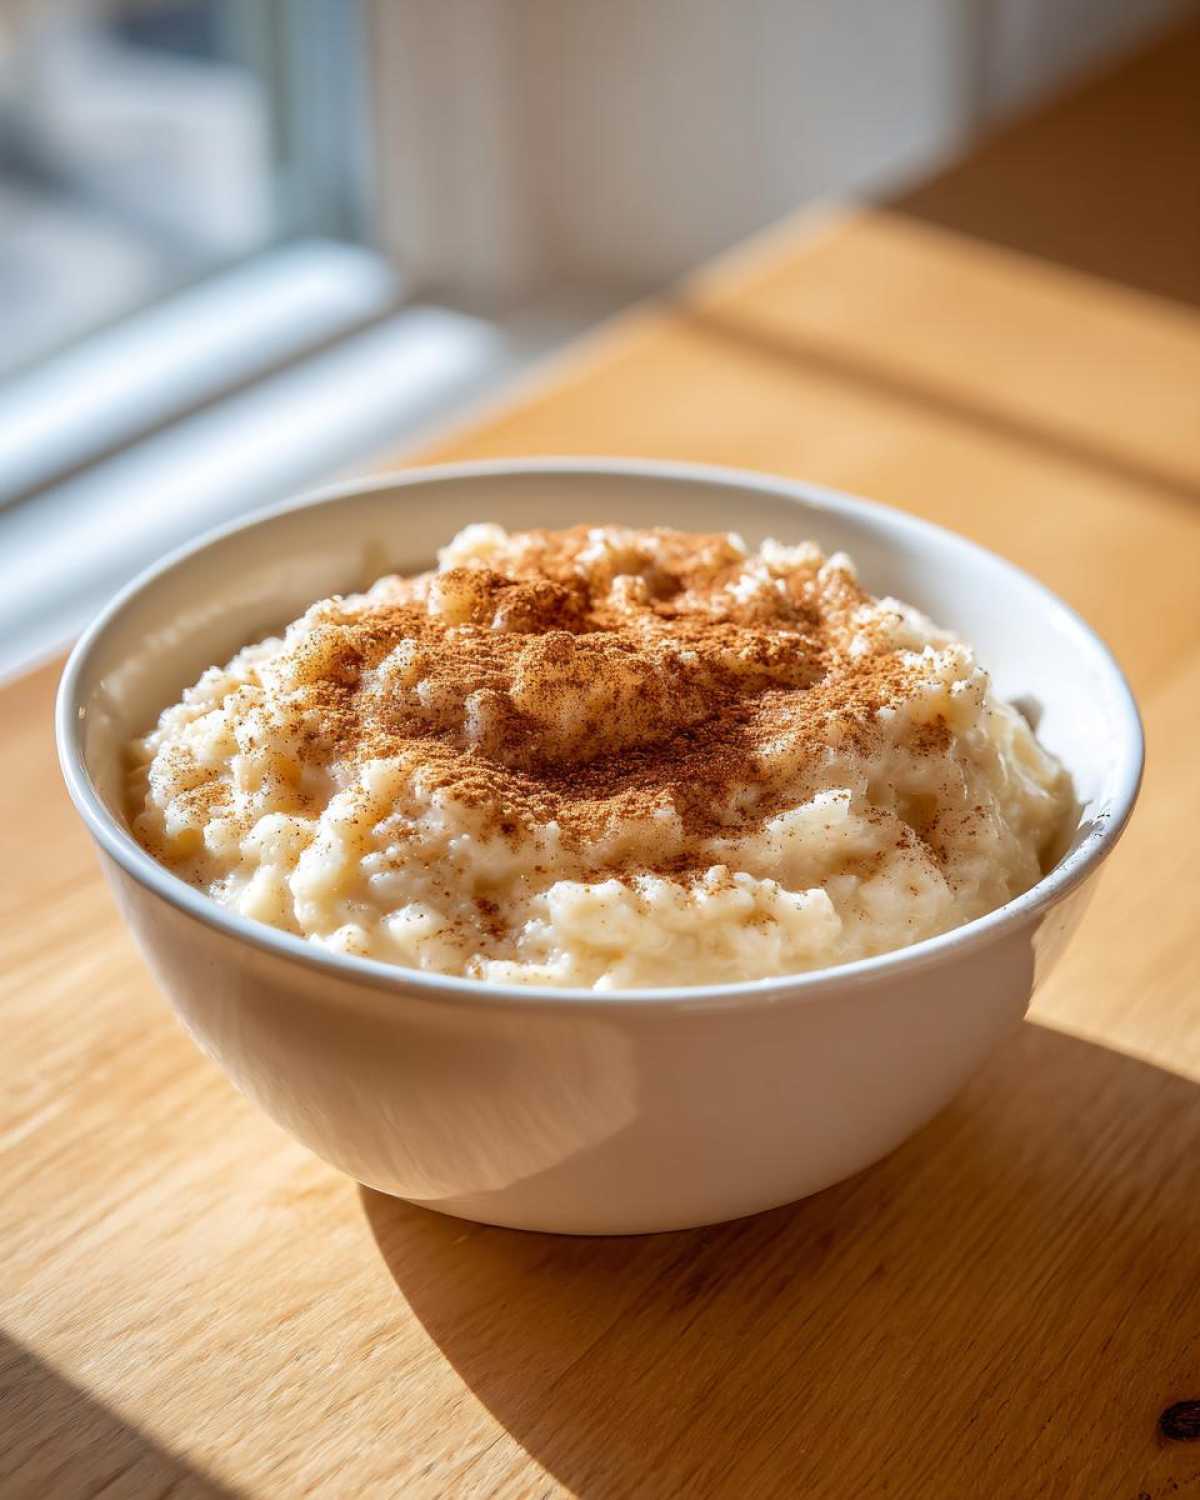
The Simmering Phase: Building Flavor in Your Rice Pudding Recipe
Once those first bubbles appear, drop that heat down to low immediately. We are looking for the gentlest simmer possible—just the occasional bubble breaking the surface. Now, this is where the time commitment comes in for this amazing rice pudding recipe, folks. You need to cook this uncovered for 45 to 60 minutes. You must stir every 5 to 7 minutes at the beginning, but let me tell you, as that milk turns into custard and things start thickening up in the last 20 minutes, you need to stir way more often. Keep that spoon moving across the bottom!
Finishing Touches for a Perfect Vanilla Cinnamon Dessert
When the rice is tender and the whole mixture has that lovely coating quality—thick enough to cling to your spoon but still moves easily—it’s done! Pull it right off the burner. This is critical: stir in your pure vanilla extract *after* taking it off the heat. If you add vanilla while it’s boiling, you lose some of that bright flavor we love in this vanilla cinnamon dessert. It will look looser than you expect, but trust me, it tightens up beautifully as it cools down.
Tips for Success with Your Classic Rice Pudding Recipe
Noah’s insistence on strategy really pays off here, because even a perfect rice pudding recipe can flop if you rush the cooling phase. Once you’ve nailed the cooking part, you need a plan for the aftermath! We’ve learned a few tricks over the years to ensure every batch of this classic rice pudding recipe is flawless, whether you eat it right away or save it for tomorrow.
The number one issue people complain about is the dreaded skin. You know, that slightly tough, rubbery layer that forms on top when pudding sits out? That’s a texture disaster waiting to happen for something meant to be smooth and luxurious. The fix is incredibly simple: immediately after you stir in the vanilla, grab a sheet of plastic wrap. Press that plastic wrap directly onto the surface of the pudding. No air gaps allowed! This traps steam right where it needs to be and prevents that skin from ever forming. It’s genius, really, and it’s why our homemade rice pudding never disappoints.
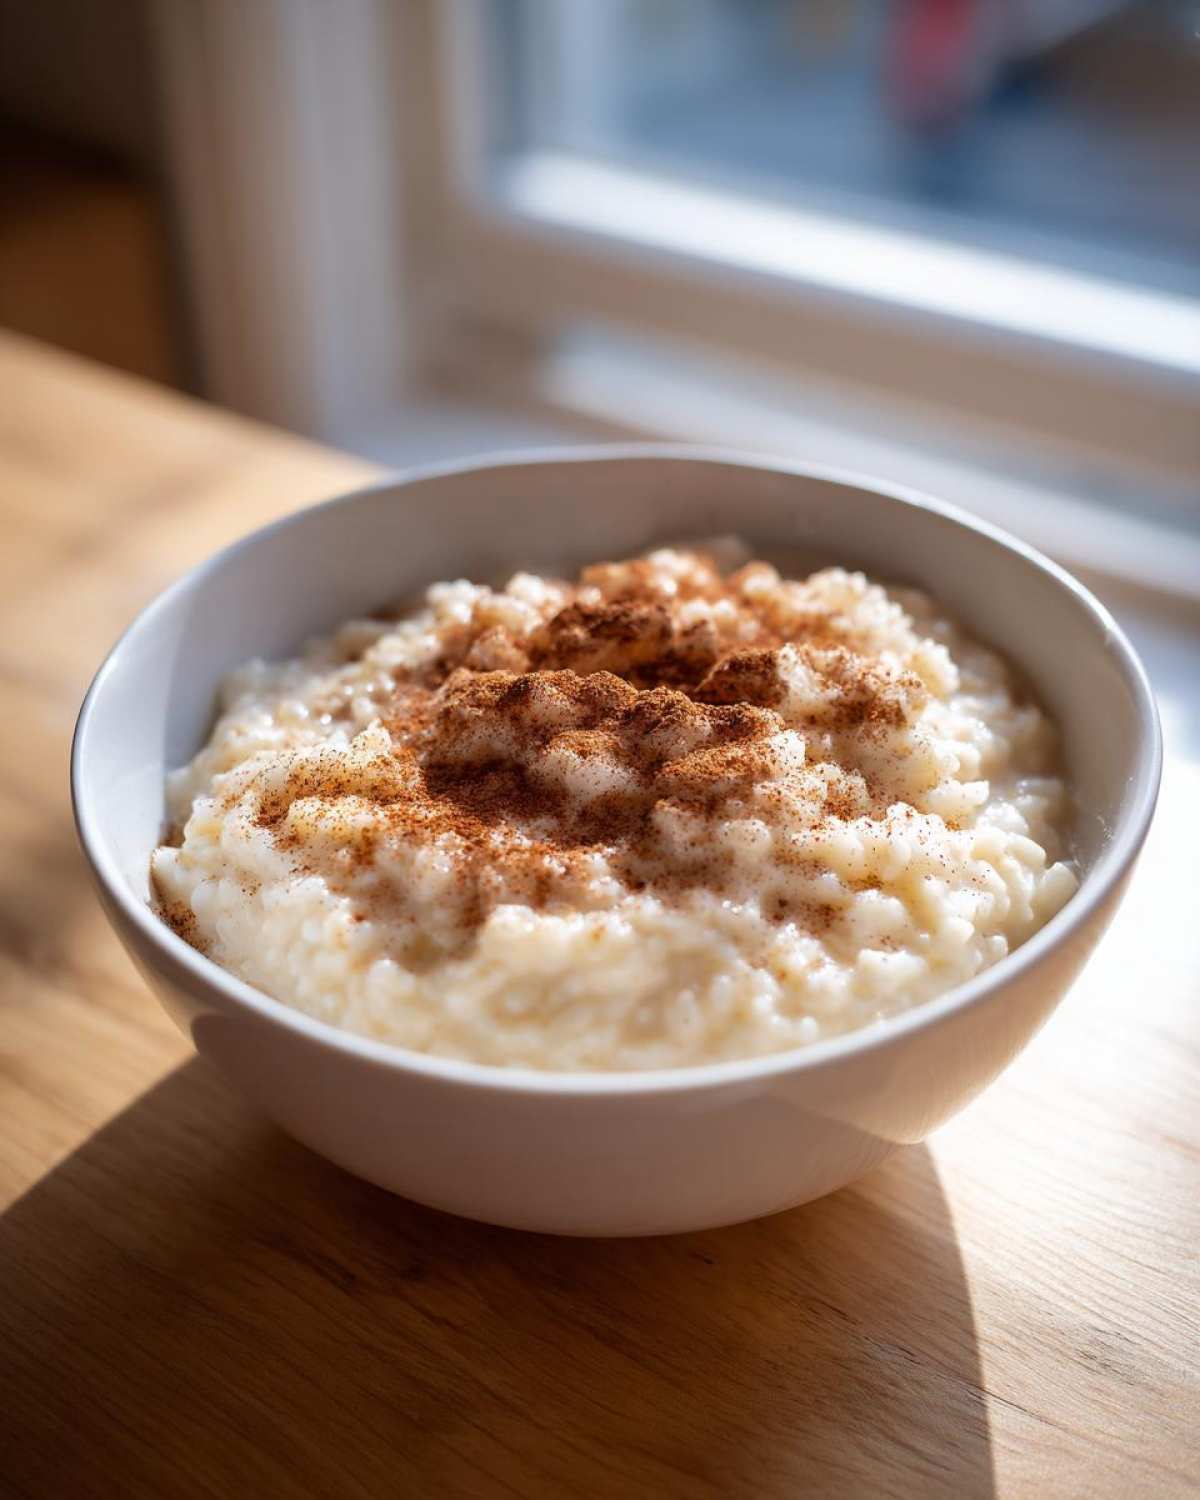
Now, what if you followed the instructions perfectly, stored it, but when you went to eat it for breakfast the next morning, it’s basically solid? Don’t panic! This happens because the rice continues to swell and absorb liquid long after it leaves the stove. That’s why we never worry about it being too loose when we take it off the heat. If it’s too thick later, just stir in a splash—maybe a tablespoon at a time—of whole milk or sometimes even heavy cream until you get that perfect, spoonable consistency back. It instantly revives the pudding.
Another pro-tip that Noah picked up while obsessing over the technique is related to stirring. Don’t just swirl the spoon around the middle! You have to aggressively scrape the bottom and sides of that heavy pan. Those starches and sugars want to settle and stick right there. If you’re looking for more bread ideas that require careful technique like this, you should check out the mastering process for our homemade garlic naan bread—it takes practice to get that pillowy texture just right, too!
Serving Suggestions for This Nostalgic Sweet Treat
This is honestly my favorite part—figuring out how to enjoy this creamy delight! One of the best things about this simple pudding is how versatile it ends up being. It’s definitely the ultimate comfort food dessert, but you can dress it up or down based on what the evening calls for. Noah and I often debate this at dinner time; he’s Team Warm, and I’m Team Chilled!
If you’re eating it right after it cools down just a bit, serving it warm is pure magic. The vanilla aroma is stronger, and the texture is incredibly soft—it just melts in your mouth. It’s perfect for a chilly evening or right after a big, hearty dinner when you need that immediate, cozy finish. We love topping our warm bowls with just a tiny extra sprinkle of cinnamon, maybe a grate of fresh nutmeg if we’re feeling fancy, or even a small drizzle of maple syrup.
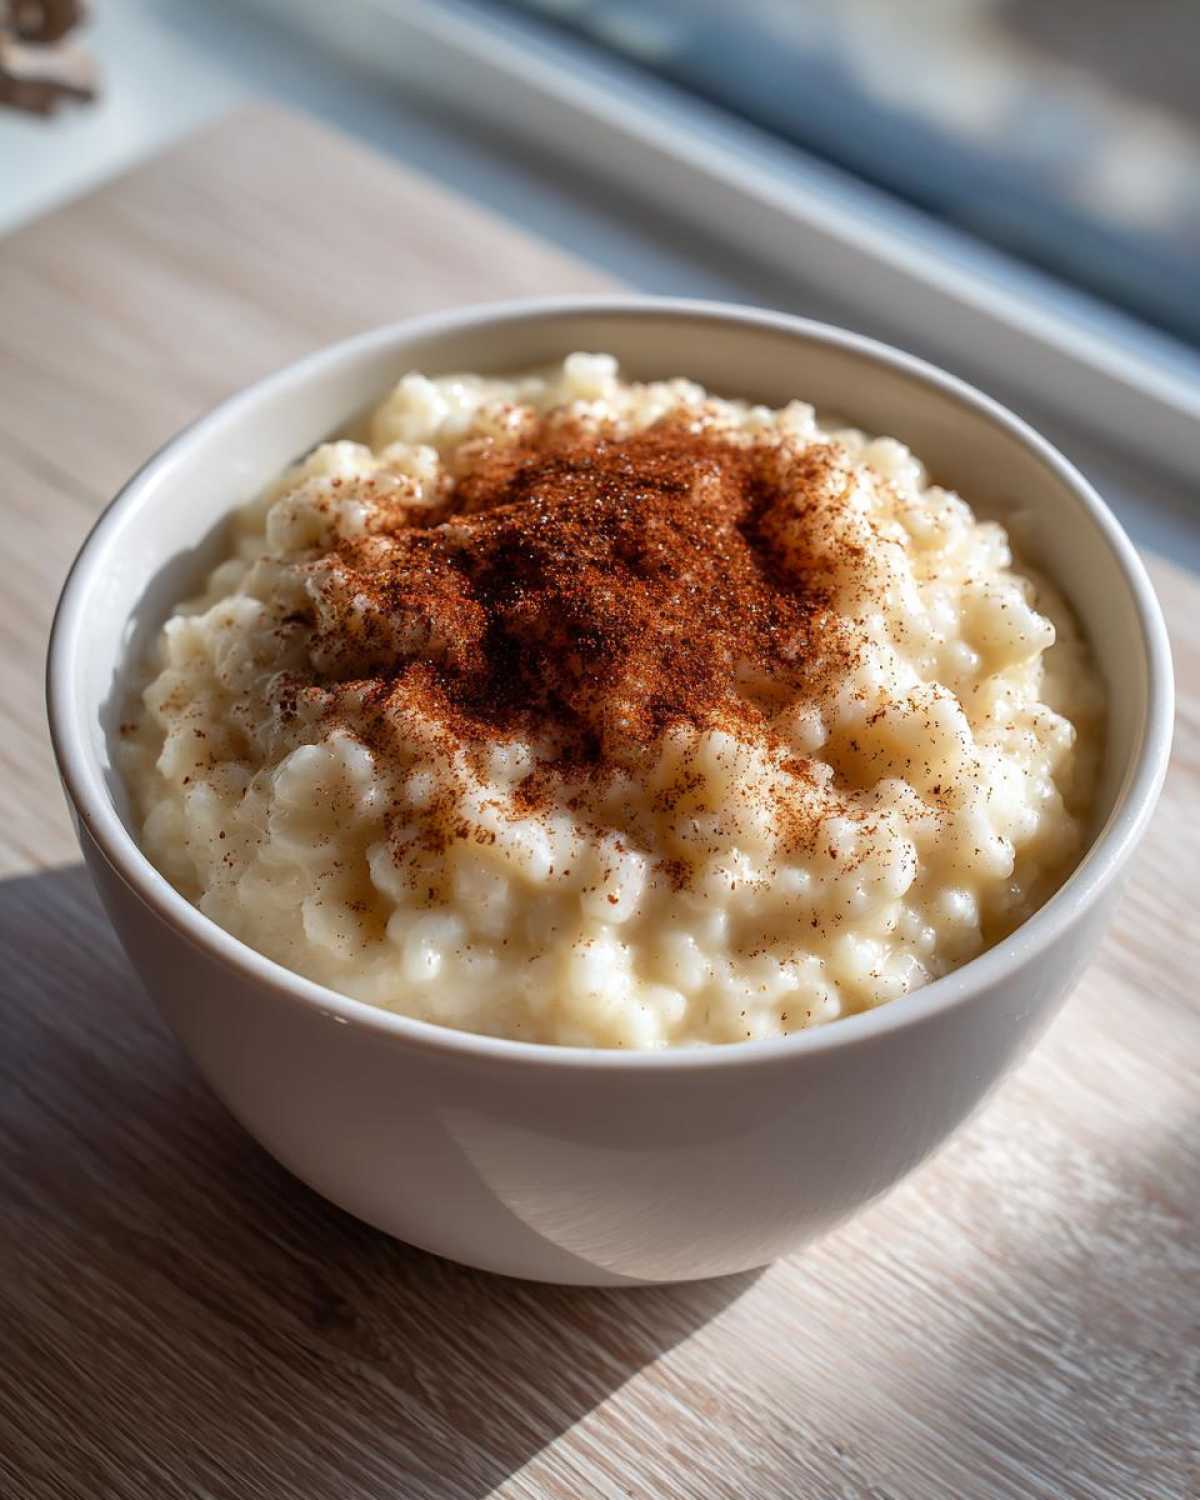
However, if you chill this pudding overnight? Whoa. It transforms into something completely different, leaning more toward a rich, thick custard. It sets up beautifully, and it’s fantastic when you want something cool and satisfying. When serving chilled, you can get a little more playful with toppings. Think fresh berries—raspberries or sliced strawberries cut through the richness perfectly. If you’re using a mix-in like raisins, they plump up nicely when served cold too!
If you’re looking for other simple treats that hit that sweet spot between easy prep and big flavor payoff, you have to try our chocolate chip pancakes recipe. But for an evening finisher, nothing beats the simplicity of this pudding, warm or cold!
Storage and Make Ahead Dessert Options for This Rice Pudding Recipe
One of the big strategic advantages of an old fashioned rice pudding recipe is that it’s absolutely brilliant for making ahead of time. Honestly, if you have plans later in the week, prepping this dessert early means instant gratification when you need it! If you’re looking for other great meals you can prep on Sunday for the week ahead, our guide on easy egg muffins might give you some ideas.
Remember how I told you to press plastic wrap directly onto the surface of the pudding right after you stir in the vanilla? That trick isn’t just for immediate cooling; it’s your secret weapon for storage! That barrier stops all the moisture from evaporating off the top, which is what causes that annoying, slightly tough skin to form. Seriously, don’t skip that step if you plan on saving any of this wonderful rice pudding recipe.
Once the pudding has cooled down a bit (but is still warm), transfer it into an airtight container. It keeps beautifully in the refrigerator for up to four days. Four days of ready-made dessert—that’s planning ahead that actually brings joy, not more stress!
And just in case you happen to forget that pudding tip and take it out later and it’s rock-solid—which trust me, happens to the best of us—don’t throw it out! It will have solidified significantly because that rice keeps absorbing liquid in the cold. Just grab your whisk or a fork and stir in a little splash of milk or cream. You might need a few tablespoons, but work slowly! Whisk until you bring back that smooth, luscious texture we were aiming for in the first place. Then, you get a second chance at enjoying that perfect rice pudding!
Frequently Asked Questions About Making Rice Pudding
I know you might have a few niggling questions after reviewing the strategy for this dish. When it comes to something as comforting and traditional as this, details matter! Noah and I tried to cover all the bases in the main instructions, but sometimes you just need a quick, direct answer. Let’s tackle some of the things readers always ask about when they are aiming for the best rice pudding recipe!
Can I make this Creamy Rice Pudding using pre-cooked rice?
You absolutely can, and it makes this a super fast weeknight treat! If you use leftover, already cooked rice, you are essentially skipping that 45 to 60-minute cooking phase where the rice softens and releases its starch. So, yes, you can substitute cooked rice, but you need to know the trade-off. Because the starch never slowly leached out into your milk mixture, the final result will be less thick and significantly less naturally creamy. It’ll taste great—still a lovely, quick rice pudding dessert—but it won’t have that deep, velvety texture we associate with a truly classic rice pudding recipe made from raw grains.
What is the secret to a truly Old Fashioned Dessert texture?
This goes right back to what we talked about in the strategy section! A true old fashioned dessert texture isn’t about adding thickeners; it’s about coaxing the natural starches out of the rice grain. The secret is the combination of a few key things working together over time. First, use that short-grain rice—it has more of the starchy stuff you need. Second, the heat has to be low. If you boil it hard, the outside of the grain gets mushy before the inside softens, and you get clumpy rice, not creamy pudding.
But the single most important operational step is continuous stirring during the last 20 minutes. When that milk starts bubbling gently and thickening, you must scrape the bottom of that heavy pan constantly. That simple act forces the tight structure of the rice to break down just enough, releasing that beautiful, thick, almost custardy starches that make this an amazing cozy evening dessert. Trust me, your stirring arm gets a workout, but the reward is worth it!
If you’re looking for more ways we apply careful technique in our kitchen, you can always see our latest endeavors over on the main blog page!
Nutritional Estimate for Your Homemade Rice Pudding
Now, I know we aren’t logging every calorie when we are making a pure comfort classic like this, right? This incredibly creamy rice pudding is certainly a treat! But since Noah loves tracking the big picture, we did run the numbers through a standard calculator based on the whole milk and sugar we use in the recipe. Think of this as a helpful overview, not a strict blueprint for your diet—life is too short to analyze every spoonful of pudding!
Keep in mind that this data is based on the ingredients listed and serving size calculated for four bowls. If you use skim milk or cut back on the sugar, those numbers will obviously shift down. This is just what the standard homemade rice pudding comes out to be!
- Serving Size: 1 cup
- Calories: 320
- Sugar: 25g
- Sodium: 180mg
- Fat: 7g
- Saturated Fat: 4g
- Carbohydrates: 55g
- Protein: 10g
We always tell people that the richness comes mostly from that beautiful whole milk and the natural starchiness of the rice itself. If you are worried about the sugar, remember that this is an occasional, nostalgic sweet treat, not an everyday snack! Enjoy it guilt-free.
Share Your Experience with This Best Rice Pudding Recipe
We poured all our strategy and heart into making this the absolute best rice pudding recipe available, focusing squarely on achieving that perfect, melt-in-your-mouth creaminess the old-fashioned way. But now, the operational phase is in your hands! I’d be thrilled if you gave this a shot.
Seriously, if you make this batch of stove top heaven, come back and let me know what you think! Did you manage to resist scooping some out before it cooled? Did you go Team Warm or Team Chilled? Drop a star rating below so others know how much you loved this comfort food dessert. We read every single comment, and seeing photos of your kitchens filled with the smell of vanilla and cinnamon warms my heart even more than eating the pudding itself.
And hey, if you’re already planning what to tackle next, we have a killer recipe for creamy garlic mushroom pasta that requires a completely different kind of patience and mixing skill set. Let’s keep building this Epicure Empire together!
If you love the results, feel free to save this post over on Pinterest—it really helps us spread the word about this classic dish! You can see other amazing home cooks pinning our version here: Classic Rice Pudding Inspiration.
PrintOld Fashioned Creamy Stovetop Rice Pudding Recipe

This is the classic, comforting, old fashioned rice pudding recipe you need. We focus on simple ingredients to achieve an ultra-creamy texture on the stovetop, flavored perfectly with vanilla and cinnamon. It is the ultimate comfort food dessert.
- Prep Time: 5 min
- Cook Time: 60 min
- Total Time: 65 min
- Yield: 4 servings
- Category: Dessert
- Method: Stovetop
- Cuisine: American
- Diet: Vegetarian
Ingredients
- 1/2 cup short-grain white rice (like Arborio)
- 4 cups whole milk
- 1/2 cup granulated sugar
- 1/4 teaspoon salt
- 1 teaspoon pure vanilla extract
- 1/2 teaspoon ground cinnamon (plus extra for topping)
Instructions
- Combine the rice, whole milk, sugar, and salt in a heavy-bottomed saucepan. This heavy pan helps prevent scorching.
- Place the saucepan over medium heat. Stir frequently until the mixture just begins to simmer around the edges.
- Reduce the heat to low. You want a very gentle simmer. Cook uncovered for 45 to 60 minutes, stirring every 5 to 7 minutes. Stir more often as the pudding thickens toward the end.
- The pudding is done when the rice is tender and the mixture has thickened to a creamy consistency. It should coat the back of a spoon. Remember, it will thicken more as it cools.
- Remove the saucepan from the heat. Stir in the vanilla extract.
- Serve the rice pudding warm immediately, or transfer it to a bowl, press plastic wrap directly onto the surface to prevent a skin from forming, and chill completely for serving cold later.
- When serving, sprinkle the top with extra ground cinnamon.
Notes
- For the creamiest result, use whole milk and stir consistently during the final 20 minutes of cooking.
- If the pudding becomes too thick upon cooling, stir in a splash of milk or cream until you reach your desired texture.
- This recipe is excellent made ahead; it stores well in the refrigerator for up to four days.
Nutrition
- Serving Size: 1 cup
- Calories: 320
- Sugar: 25
- Sodium: 180
- Fat: 7
- Saturated Fat: 4
- Unsaturated Fat: 3
- Trans Fat: 0
- Carbohydrates: 55
- Fiber: 1
- Protein: 10
- Cholesterol: 25