

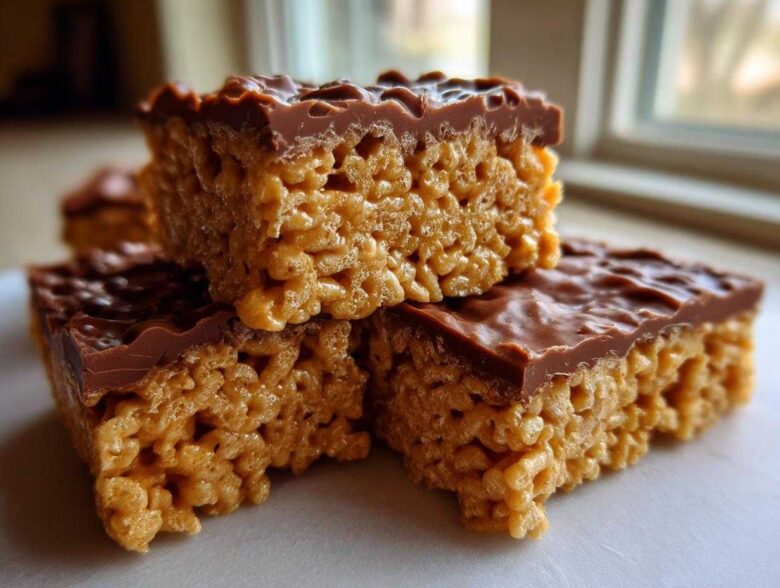
Oh, these treats! If you’re anything like me, the smell of melted marshmallows and toasted cereal instantly whisks you back to childhood—maybe it was recess or a birthday party. We needed something wonderfully nostalgic but perfect for our modern, busy pace. So, Noah and I spent weeks testing until we landed on the Ultimate Chewy Peanut Butter Rice Krispie Treats with Chocolate Topping! This isn’t just another recipe; it’s the blueprint for achieving that perfect gooeyness every single time. It’s a key piece in building our Epicure Empire, one flawlessly executed, no-bake dessert at a time. You can read all about how we started this journey on our About Us page. Trust me, these peanut butter rice krispie treats are mandatory for your next snack attack.
Why These Are the Best peanut butter rice krispie treats You Will Ever Make
When Noah and I finalized this recipe, we weren’t just looking for good—we wanted legendary. We took all the feedback from our testing batches (and yes, there were crumbs!) to solve the two biggest problems people have with these bars. We wanted a sticky, ooey-gooey experience, not something stiff and boring. You’ll want to bookmark this page because this is the blueprint for the definitive version, guaranteed. We learned so much, which you can see backed up in our deep dive on making classic Peanut Butter Rice Krispie Treats.
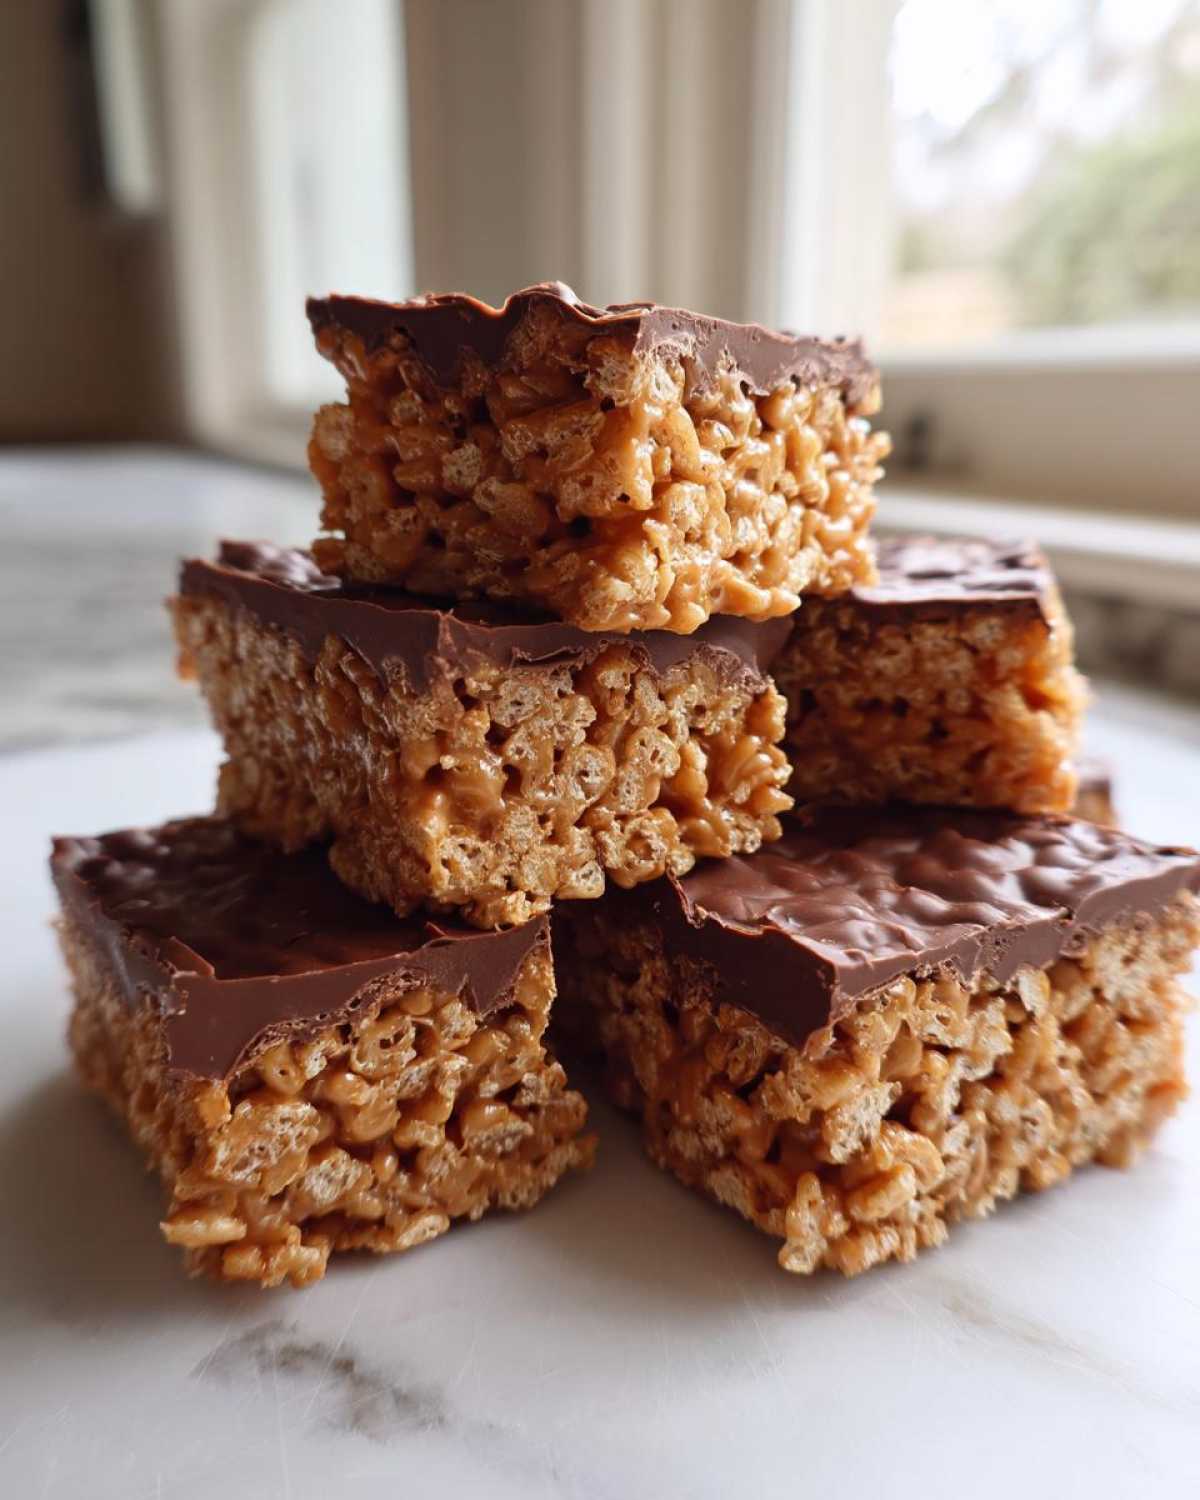
Achieving the Perfect Soft and Chewy Rice Krispie Treats Texture
The secret to genuinely chewy Rice Krispie Treats lies in how you handle the heat. We make sure the marshmallows never scorch, which is why we pull the pan off the heat right before they’re fully melted. That residual warmth does all the heavy lifting! Also, don’t pack these down! A light press is all you need to get the cereal suspended nicely in that peanut butter marshmallow bed. That’s what keeps them soft for days.
The Simple Secret for Sturdy peanut butter rice krispie treats That Do Not Crumble
You know that frustrating moment when you try to cut the bar, and half of it turns into cereal dust? Ugh, we hate that! To stop your peanut butter rice krispie treats from falling apart, you need two things. First, make sure your peanut butter mixture is stirred into the cereal *gently*. We use a folding motion until *just* combined. Second, use parchment paper with an overhang when prepping your pan, which lets you lift the whole thing out before cutting. No more crumbling worries!
Gathering Supplies for Your peanut butter rice krispie treats Blueprint
Okay, since Noah loves structure, I’ve broken down the equipment list into precisely what you need. While these are technically an easy 15 minute dessert to assemble, having your tools ready sets us up for success! Remember, treating the kitchen like our operational headquarters means no hunting for that giant bowl halfway through melting the marshmallows. We want efficiency, people!
Essential Equipment for Perfect peanut butter rice krispie treats
You don’t need fancy gadgets for this, thank goodness, but you do need the right sized containers. Here is the rundown of what needs to be on the counter before you touch the butter:
- A large saucepan—big enough to hold the butter, peanut butter, and all those marshmallows without overflowing!
- A sturdy rubber spatula for folding. You need something that won’t break on you when you mix in that cereal.
- A 9×13 inch baking pan. This is the standard size for our recipe yield, giving you that perfect density.
- Parchment paper. This is non-negotiable for easy removal, especially when you add that sticky chocolate layer later.
- A microwave-safe bowl, just for melting down that chocolate topping perfectly.
Ingredient Clarity for Ultimate peanut butter rice krispie treats
Alright, let’s talk components. When you’re building something great, you need the right raw materials, right? For these peanut butter rice krispie treats, don’t skimp here. The texture relies heavily on the fats! We absolutely insist on creamy peanut butter because the smoother texture melts better with the butter and marshmallows, giving us that gooey base everyone craves. If you try to substitute the chocolate chips for anything else in the topping layer, the setting time changes completely. Keep it simple, keep it creamy, and follow these measurements exactly for the best results!
Step-by-Step Instructions for Making peanut butter rice krispie treats
Okay, here is where the operation really begins! We need precision here, but don’t stress—it moves fast. We’re working on a total assembly time of maybe 20 minutes before these need to chill out and set up. If you want extra gooey treats, just remember one thing: we control the heat! We’ve also kept the instructions streamlined so you can see exactly where we transition from the stovetop to the microwave. For some extra help on making sure your marshmallow base is absolutely perfect, check out my tips on how to make homemade marshmallows, though standard ones work just fine here!
Preparing the Pan and Melting the Base for peanut butter rice krispie treats
First things first, get your 9×13 pan ready! Line it with parchment paper making sure you leave an overhang so we can lift the whole slab out later—this is a lifesaver. Now, grab your big saucepan and put it over medium-low heat. We’re melting 6 tablespoons of butter first, nice and slow. Once that’s liquid, stir in the creamy peanut butter until it’s silky smooth. This mixture needs to be perfectly combined before we move on. As soon as they are married, pull that pan completely off the burner! This next part needs gentle heat only.
Folding in Cereal and Pressing for Chewy peanut butter rice krispie treats
Toss in that 10-ounce bag of marshmallows and stir constantly until everything is one gorgeous, sticky pool. Seriously, keep stirring so nothing sticks and burns on the bottom. That takes patience, but it makes all the difference! Once smooth, dump in all 6 cups of crispy rice cereal. Now, here’s the most important operation step: fold gently. Do not stir vigorously! We only want the cereal coated. Then, transfer it to your prepared pan and press it down lightly with the back of a spoon or even a sheet of wax paper. Don’t pack it tight, or you’ll lose that satisfying chewiness we worked so hard for!
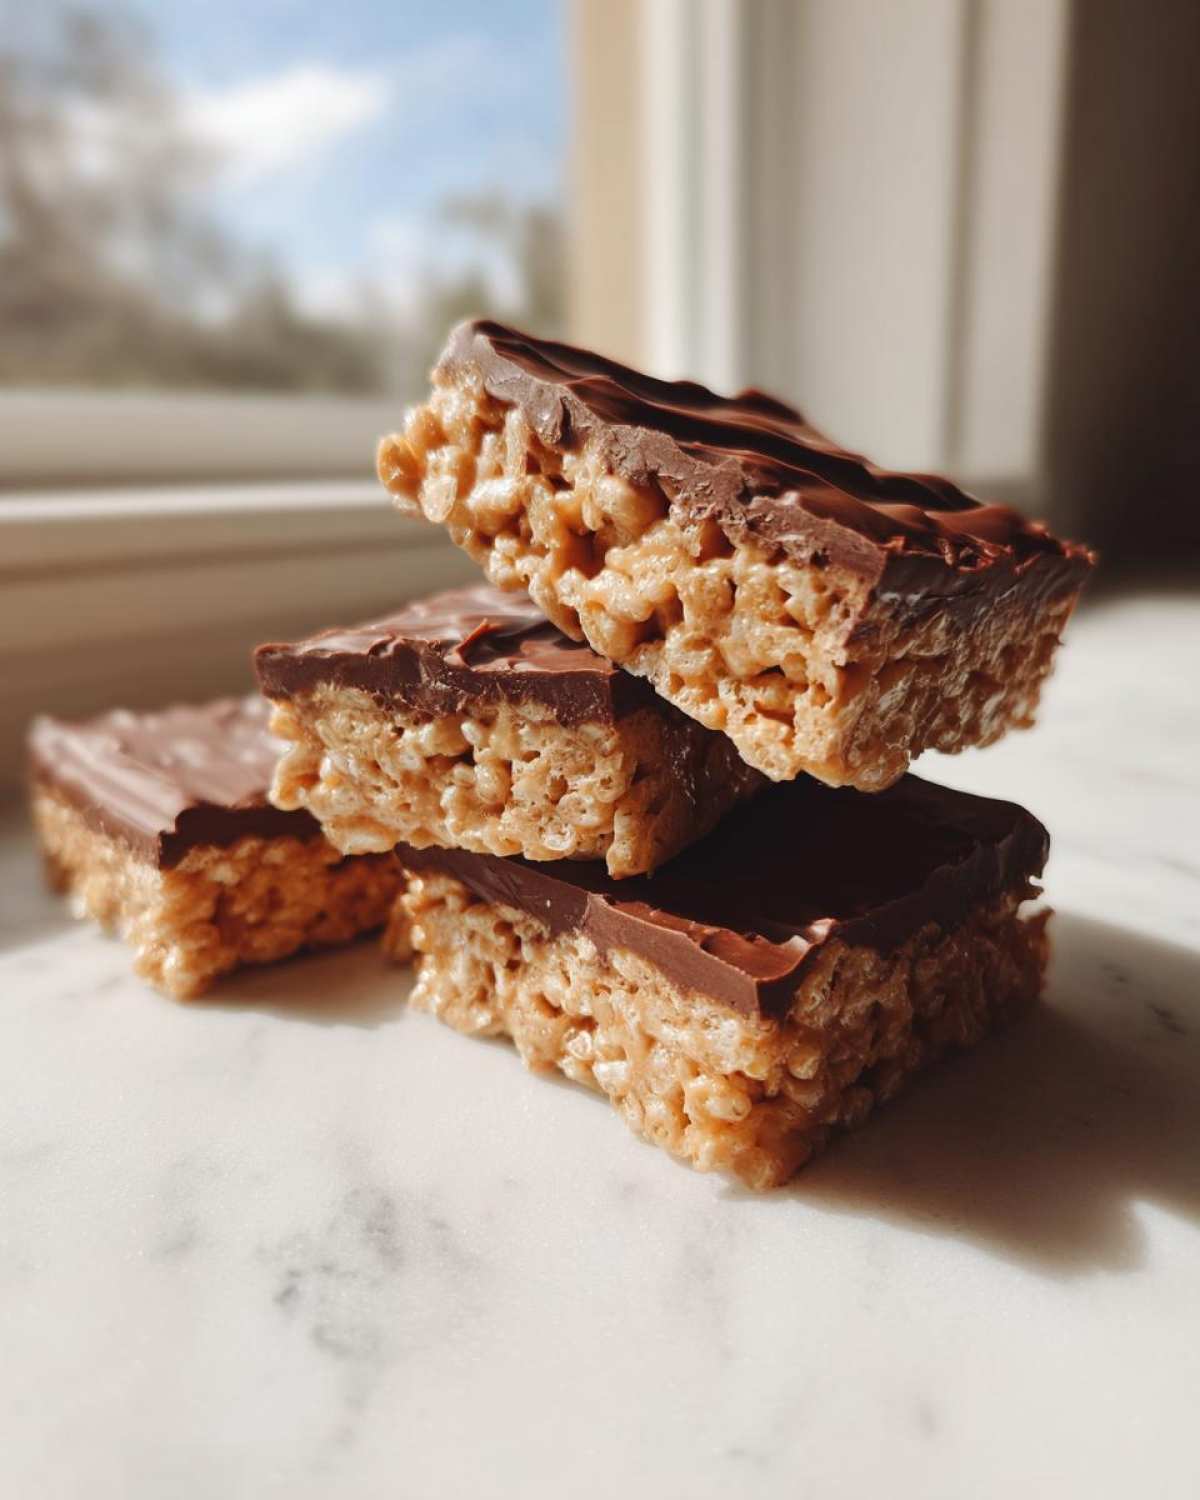
Applying the Chocolate Topping and Setting the peanut butter rice krispie treats
Time for the royal finish! While the bars are cooling for just a minute, melt your chocolate chips and the tablespoon of oil together. I usually do this in 30-second bursts in the microwave, stirring really well in between until it’s glossy and pourable. Drizzle or spread that melted magic evenly over the top layer of your cereal base. Now, this is the hardest part, but you have to wait! Let these sit completely undisturbed at room temperature for about an hour until that chocolate topping is firm and set. Once set, use those parchment paper slings to lift them out, and cut them into whatever size squares your heart desires!
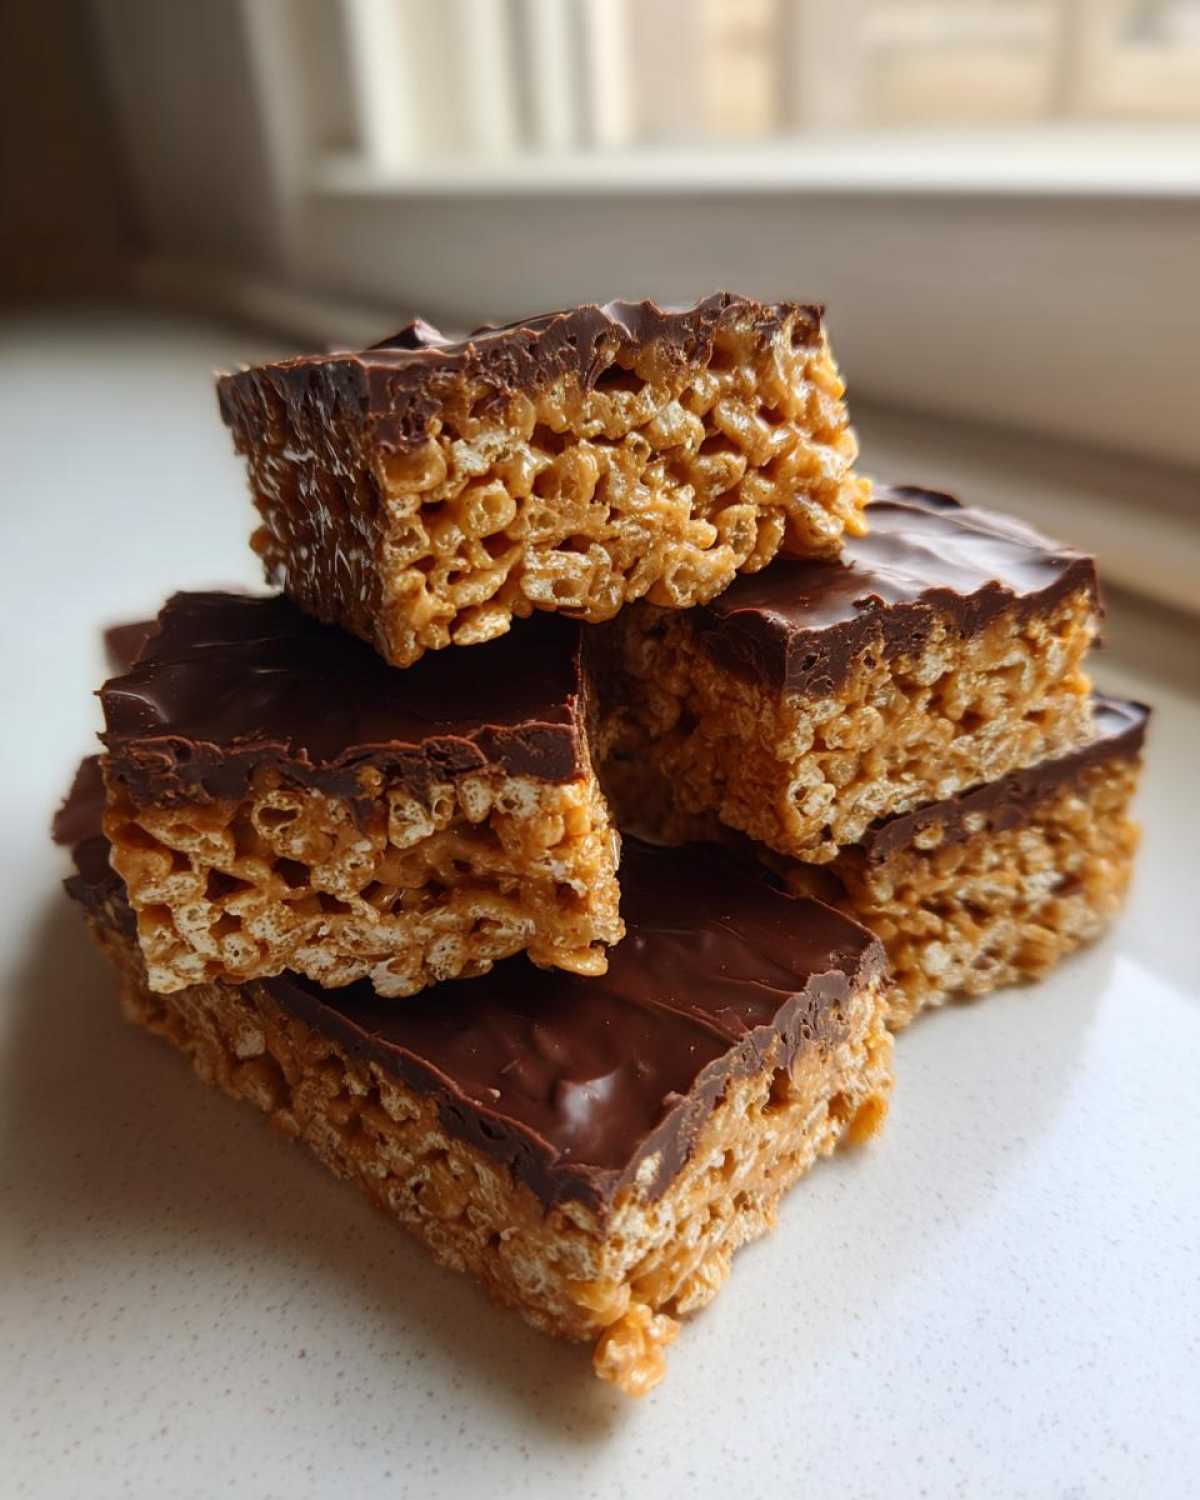
Ingredient Notes and peanut butter rice krispie treats Substitutions
We learned a lot about ingredient quality during our testing phase, and Noah kept making me write down these little cheat codes so we wouldn’t forget them later. You see, perfecting these peanut butter rice krispie treats isn’t just about the mixing; it’s about the inputs! Fresh marshmallows are crucial—if yours have been sitting in the pantry since last Halloween, they’ll turn these hard as a rock. Stale marshmallows equal stiff bars, and we are aiming for gooey!
Also, don’t be afraid to customize that topping a little bit once you see how well the base sets up. We use oil in the chocolate to get a smoother consistency for spreading, but you can totally adjust the ratios a bit if you want a super thick chocolate layer.
Making Scotcharoos Recipe Variations
If you grew up on the Midwest classic, you know we can’t forget about the Scotcharoos Recipe variation! This is an easy switch to elevate your batch from a simple snack to a total nostalgic trip. Instead of just using the chocolate chips for the topping, you’re going to mix them with an equal amount of butterscotch chips. Melt those both together with a tiny bit of extra oil, and spread it over the cooled base. The combination of peanut butter, chocolate, and butterscotch is just heavenly. If you love that butterscotch flavor, you should check out my recipe for creamy old-fashioned homemade butterscotch pie!
Tips for Success with No Bake peanut butter cereal bars
I think I learned this lesson the hard way once when Noah had a last-minute office potluck. I tried to rush the cooling step, thinking, “It’s just cereal, how long can it take?” Big mistake! The chocolate topping was still soft when I tried to cut them, and the whole batch just smeared into one giant, delicious, but utterly uncuttable mess. So, my biggest tip is patience during that final set time!
When preparing these No Bake Peanut Butter Cereal Bars, remember we are aiming for maximum gooey texture, not brick-like stability. That means resist the urge to press the mixture down hard into the pan. A gentle, even pat is all you need. We want air trapped in there! If you’re going to be serving these at a busy party or packing them in lunchboxes, chilling them in the fridge for 30 minutes *after* they cool to room temp will help the chocolate firm up nicely. Check out all of our best quick snack ideas on our Snacks category page for more brilliance like this!
Storing and Serving Your peanut butter rice krispie treats
Once these babies are set, keeping them perfect is easy! To keep that marshmallow center soft and chewy, store your peanut butter rice krispie treats in an airtight container at room temperature. Don’t put them in the fridge unless you really need the chocolate topping to be rock solid, because the cold can actually dry them out faster.
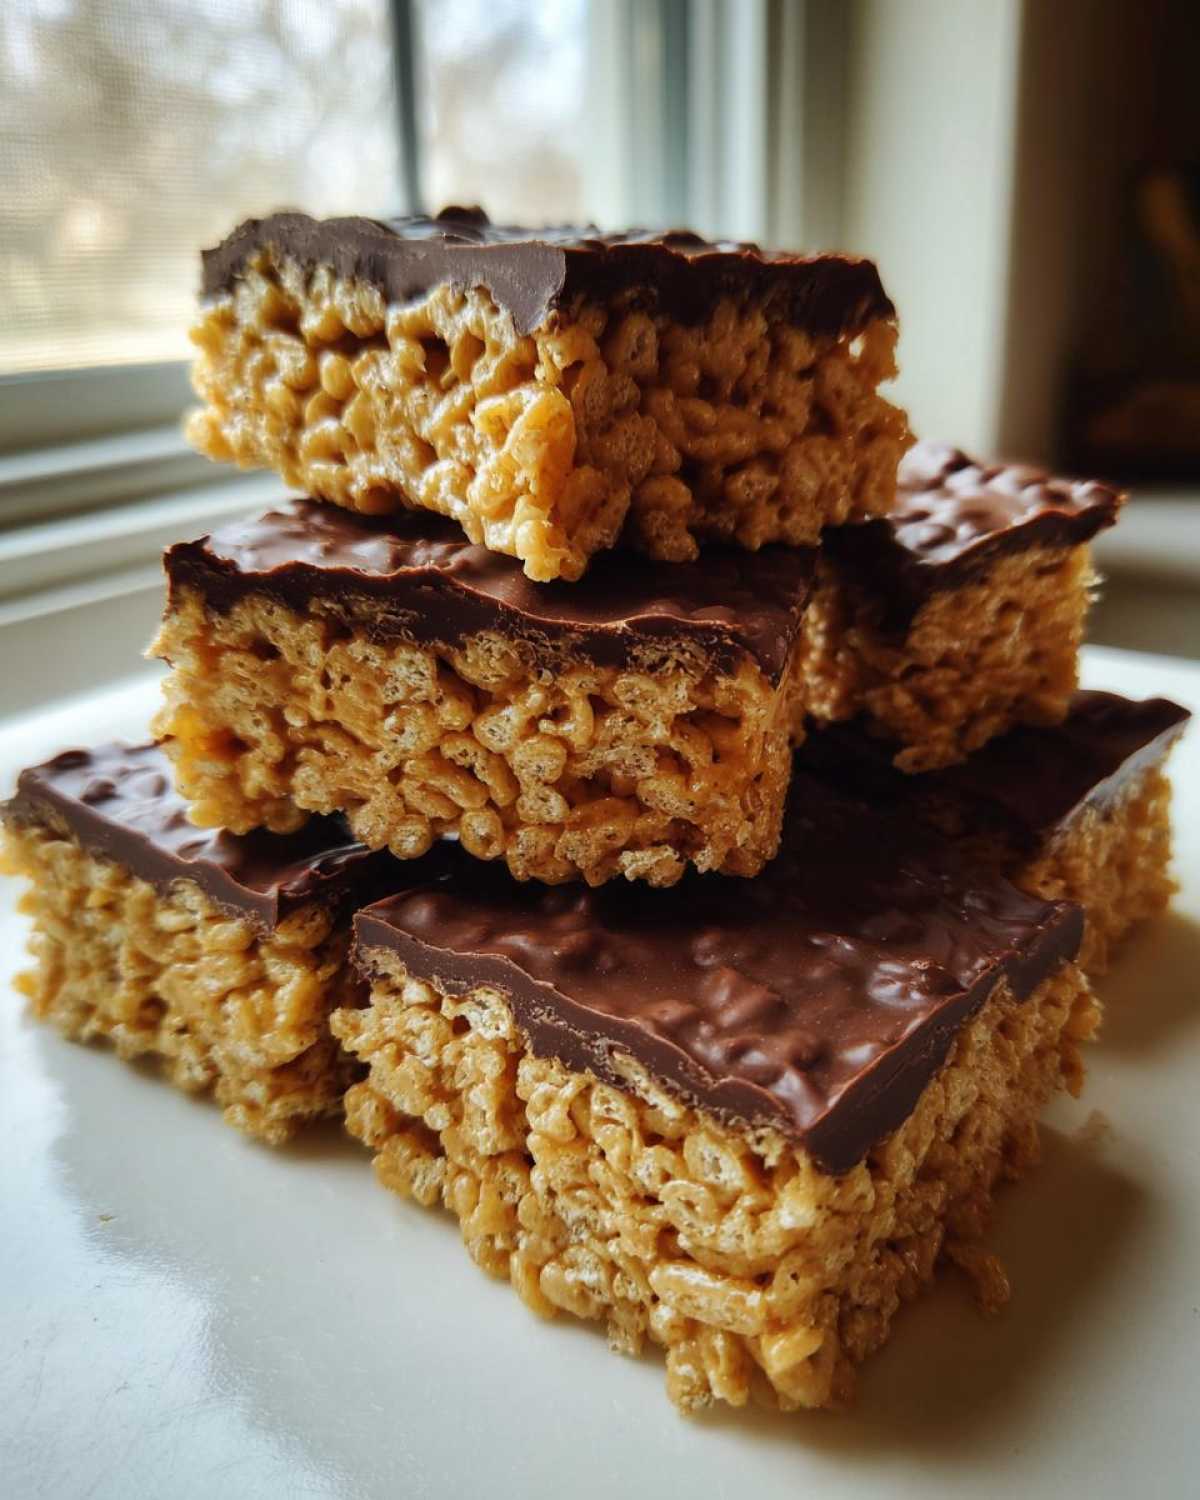
They travel so well, which makes them one of my favorite party snack recipes! For kid friendly snacks, I cut them into smaller, fun rectangles. They are perfect for little hands. Noah and I also love grabbing one straight from the container mid-morning when we need a quick energy boost between projects!
Frequently Asked Questions About peanut butter rice krispie treats
Noah insists we cover every potential scenario, which I totally get because when you’re trying to build the best version of something, details matter! Here are the questions I see popping up most often about making sure these peanut butter rice krispie treats hit that perfect mark.
Can I use crunchy peanut butter in these peanut butter rice krispie treats?
You absolutely can, but be ready for a texture change! Remember, we called for creamy because it melts smoothly into the marshmallow mixture, giving us that signature gooey hug around the cereal. If you swap in crunchy peanut butter, you are definitely going to lose some of that characteristic softness. You’ll get a much crunchier bar, which some people love, but it won’t have the same melt-in-your-mouth feel as this recipe intends. It totally changes the experience, so if you want that ultimate chewy texture, stick to creamy!
How long do these nostalgic childhood desserts stay fresh?
This is one of the best parts about this Creamy Peanut Butter Dessert—it lasts! Honestly, they are best in the first 24 hours, but if you store them correctly, they hold up really well. Keep your squares in an airtight container at room temperature. I find they are perfectly soft and fresh for about three days. After day four, they might start to stiffen up just a little bit, but they are usually still perfectly edible. Definitely skip the fridge unless the weather is really hot and you need to make sure that chocolate topping doesn’t melt!
If you want to check out other recipes that bring back those nostalgic childhood desserts feeling, search over on our main Peanut Butter Rice Krispie Treats page for more easy swaps and tips!
Next Steps in Building Your Epicure Empire
Well, that’s the entire blueprint for the Ultimate Chewy Peanut Butter Rice Krispie Treats! We truly believe that mastering simple, beloved recipes like this is the foundation of a happy home kitchen. Noah and I put a lot of strategy into testing the melt points and the folding technique, so we’d be thrilled to see what you create.
Did this recipe help you build the perfect chewy texture? Let us know down in the comments! Give us your star rating—we’re always running quality assurance checks on our empire here. And if you try that Scotcharoos version, snap a picture and share it on social media so we can see your masterful work!
For more blueprints on maximizing flavor and happiness in your own space, make sure you browse through our full Blog archives! Happy building!
PrintUltimate Chewy Peanut Butter Rice Krispie Treats with Chocolate Topping
Make the best no bake peanut butter Rice Krispie treats that stay soft and chewy. This easy recipe includes a rich chocolate topping for a nostalgic, satisfying snack.
- Prep Time: 10 min
- Cook Time: 5 min
- Total Time: 75 min
- Yield: 18 servings
- Category: Dessert
- Method: No Bake
- Cuisine: American
- Diet: Vegetarian
Ingredients
- 6 tablespoons unsalted butter
- 1 cup creamy peanut butter
- 1 (10 ounce) package miniature marshmallows
- 6 cups crispy rice cereal
- 1 cup semi-sweet chocolate chips
- 1 tablespoon vegetable oil
Instructions
- Lightly grease a 9×13 inch baking pan or line it with parchment paper, leaving an overhang for easy removal.
- In a large saucepan over medium-low heat, melt the butter completely.
- Add the creamy peanut butter to the melted butter and stir until smooth and fully combined. Remove the pan from the heat.
- Add the miniature marshmallows to the peanut butter mixture. Stir constantly until the marshmallows are completely melted and the mixture is smooth. This step requires patience to keep the mixture from scorching.
- Pour the crispy rice cereal into the marshmallow mixture. Fold gently with a rubber spatula until the cereal is evenly coated. Do not overmix, as this can make the treats hard.
- Press the mixture evenly into the prepared baking pan. Use the back of a spoon or wax paper to press it down lightly; avoid packing it too tightly to keep the treats chewy.
- In a microwave-safe bowl, combine the chocolate chips and vegetable oil. Microwave in 30-second intervals, stirring well after each interval, until the chocolate is smooth and fully melted.
- Pour the melted chocolate mixture over the cereal layer. Spread it evenly across the top.
- Let the treats cool completely at room temperature, about 1 hour, until the chocolate sets.
- Lift the treats out of the pan using the parchment paper overhang. Cut into squares.
Notes
- For the chewiest results, use fresh marshmallows. Stale marshmallows result in harder treats.
- If you prefer a thicker layer of chocolate, you can use 1.5 cups of chocolate chips.
- To make Scotcharoos, substitute the chocolate chips with a mixture of 1 cup semi-sweet chocolate chips and 1 cup butterscotch chips for the topping.
- If you want sturdy Rice Krispie Bars that do not crumble, press the mixture into the pan using gentle, even pressure.
Nutrition
- Serving Size: 1 square
- Calories: 220
- Sugar: 18
- Sodium: 110
- Fat: 11
- Saturated Fat: 4
- Unsaturated Fat: 7
- Trans Fat: 0
- Carbohydrates: 28
- Fiber: 1
- Protein: 5
- Cholesterol: 5