

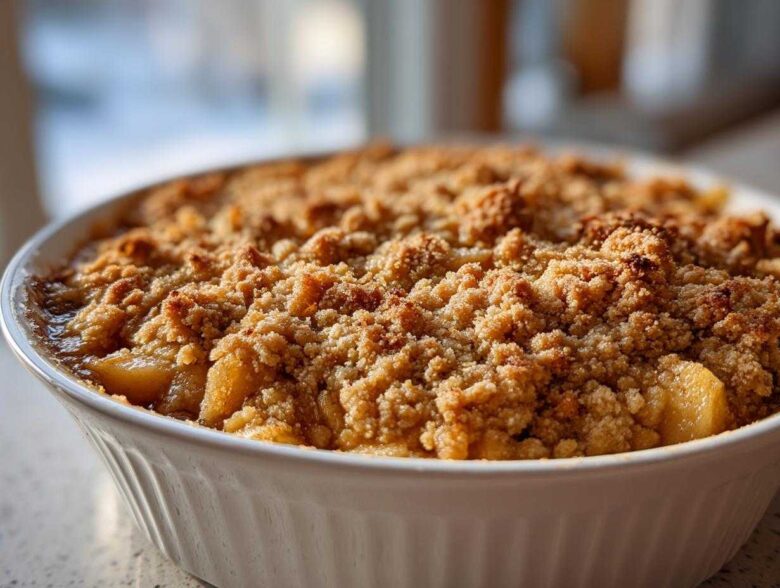
When the air gets that distinct chill and you start reaching for cozy sweaters, you know it’s officially time for baking projects that smell like pure autumn comfort. For Noah and me, that means cracking open the file for our absolute go-to: the **best apple crisp recipe** you’ll ever need. Seriously, this isn’t just a dessert; it’s the blueprint for a perfect weekend evening. It’s simple, it’s loaded with tender, juicy apples swimming in cinnamon, and that buttery, crunchy oat topping? It’s everything!
We developed this apple crisp recipe when we were still figuring out how to build our life together. It quickly became one of the early blueprints for our “Epicure Empire”—a dish that forces you to slow down, even if you’re whipping it up faster than you can say “fall flavors.” If you want a classic, homemade apple crisp that delivers texture and warmth every single time, you’re in the right place. You can read more about how we use recipes to connect right over here.
Why This is the Best Apple Crisp Recipe Homemade
Alright, I know everyone thinks their fall dessert is the best, but trust me when I say this apple crisp recipe is the ultimate blueprint for success. Noah and I have made this dozens of times, and it never fails to bring that cozy bakery smell into our kitchen.
- It’s ridiculously easy. Seriously, this is one of our quickest comfort food baking recipes—ready faster than most weekend projects.
- The contrast is everything! You get soft, juicy apples against that unbelievably crunchy oat topping.
- It captures those classic fall baking ideas perfectly with just the right amount of cinnamon and brown sugar.
The Perfect Balance: Tender Apples and Buttery Crumble Topping
The secret to that phenomenal texture starts with the apples. We love using a mix of Granny Smith for tartness and Honeycrisp because they just hold up beautifully and get perfectly tender, not mushy. For the topping to get that amazing crunch, you absolutely have to use cold butter cut into cubes. When you rub that cold fat into the oats and flour, you create pockets that brown up instead of just melting away. That’s what gives you that shatteringly crisp bite!
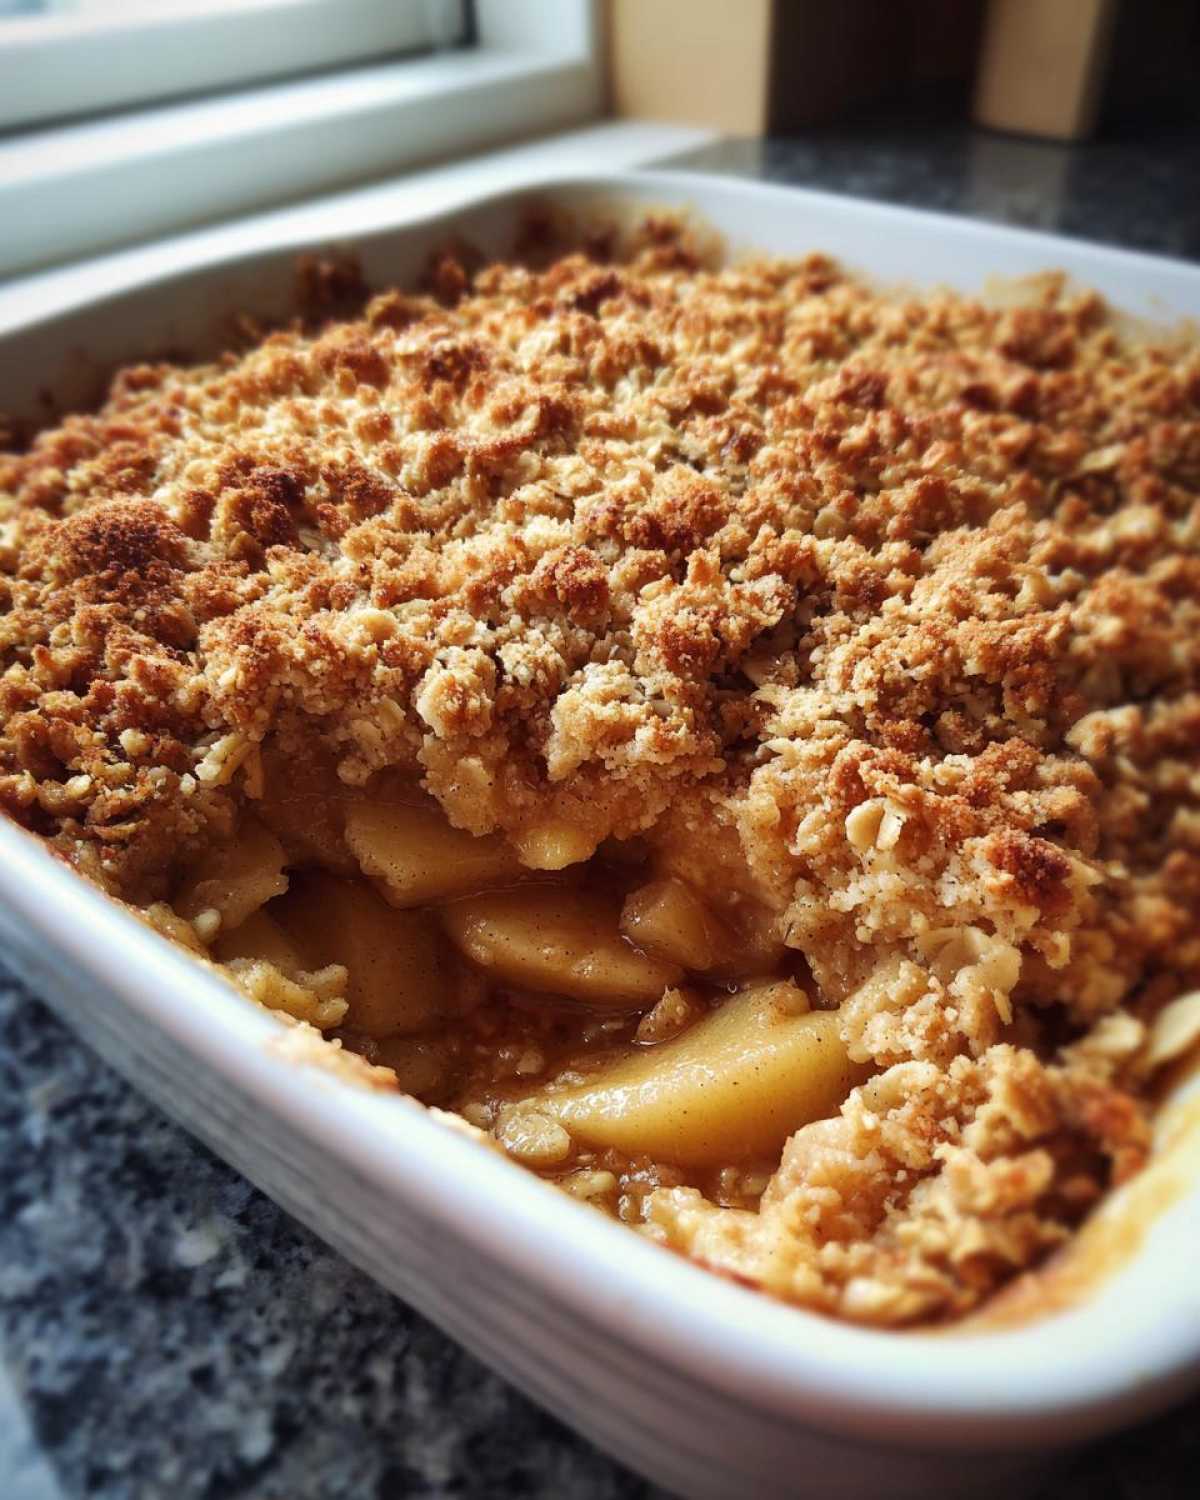
Gathering Ingredients for Your Classic Apple Crisp Recipe
Okay, let’s talk supplies! Every great **apple crisp recipe** starts with making sure your pantry is stocked, and honestly, the ingredient list for this old-fashioned apple crisp is wonderfully straightforward. We’ve kept this list tight because, frankly, the best homemade desserts rely on quality, simple components coming together perfectly.
Here is exactly what you’ll need for this cozy evening treat:
- For the Apple Filling:
- 6 large apples (Granny Smith or Honeycrisp are my favorites!), peeled, cored, and sliced about 1/4 inch thick
- 1/4 cup granulated sugar
- 1 tablespoon all-purpose flour
- 1 teaspoon ground cinnamon
- 1/4 teaspoon ground nutmeg
- 1 tablespoon lemon juice
- 1/4 cup water
- For the Topping:
- 1 cup all-purpose flour
- 1 cup old-fashioned rolled oats
- 3/4 cup packed light brown sugar
- 1/2 teaspoon ground cinnamon
- 1/4 teaspoon salt
- 1/2 cup (1 stick) cold unsalted butter, cut into small cubes
Ingredient Notes and Substitutions for Your Apple Crisp Recipe
When selecting apples, don’t just grab whatever is handy! We insist on mixing tart (like Granny Smith) with sweet (like Honeycrisp) to get that complexity. If you can’t find those, Gala or Fuji work too, but always try to get a combination. And remember that critical step for the **buttery crumble topping**? That butter must be cold! When it’s ice cold, those little chunks create that airy, crisp texture when baking. If you melt it, you end up with a dense, greasy topping, and we can’t have that!
How to Make Apple Crisp From Scratch: Step-by-Step Instructions
This is where our operational planning really comes into play! Making this **apple crisp recipe** from scratch is ridiculously easy once you break down the steps. First thing’s first: get your oven hot! Preheat it to 375°F (190°C) and grease up your 8×8 inch baking dish. Seriously, don’t skip greasing it—we need everything to come out cleanly!
Next, we tackle the filling. In a big bowl, gently toss those delicious apple slices with the granulated sugar, flour, spices, lemon juice, and water until everything looks coated. Don’t mash them, though! We want them intact. Spread those coated apples evenly into your prepared dish. Making sure they are in a single layer is important so they cook evenly.
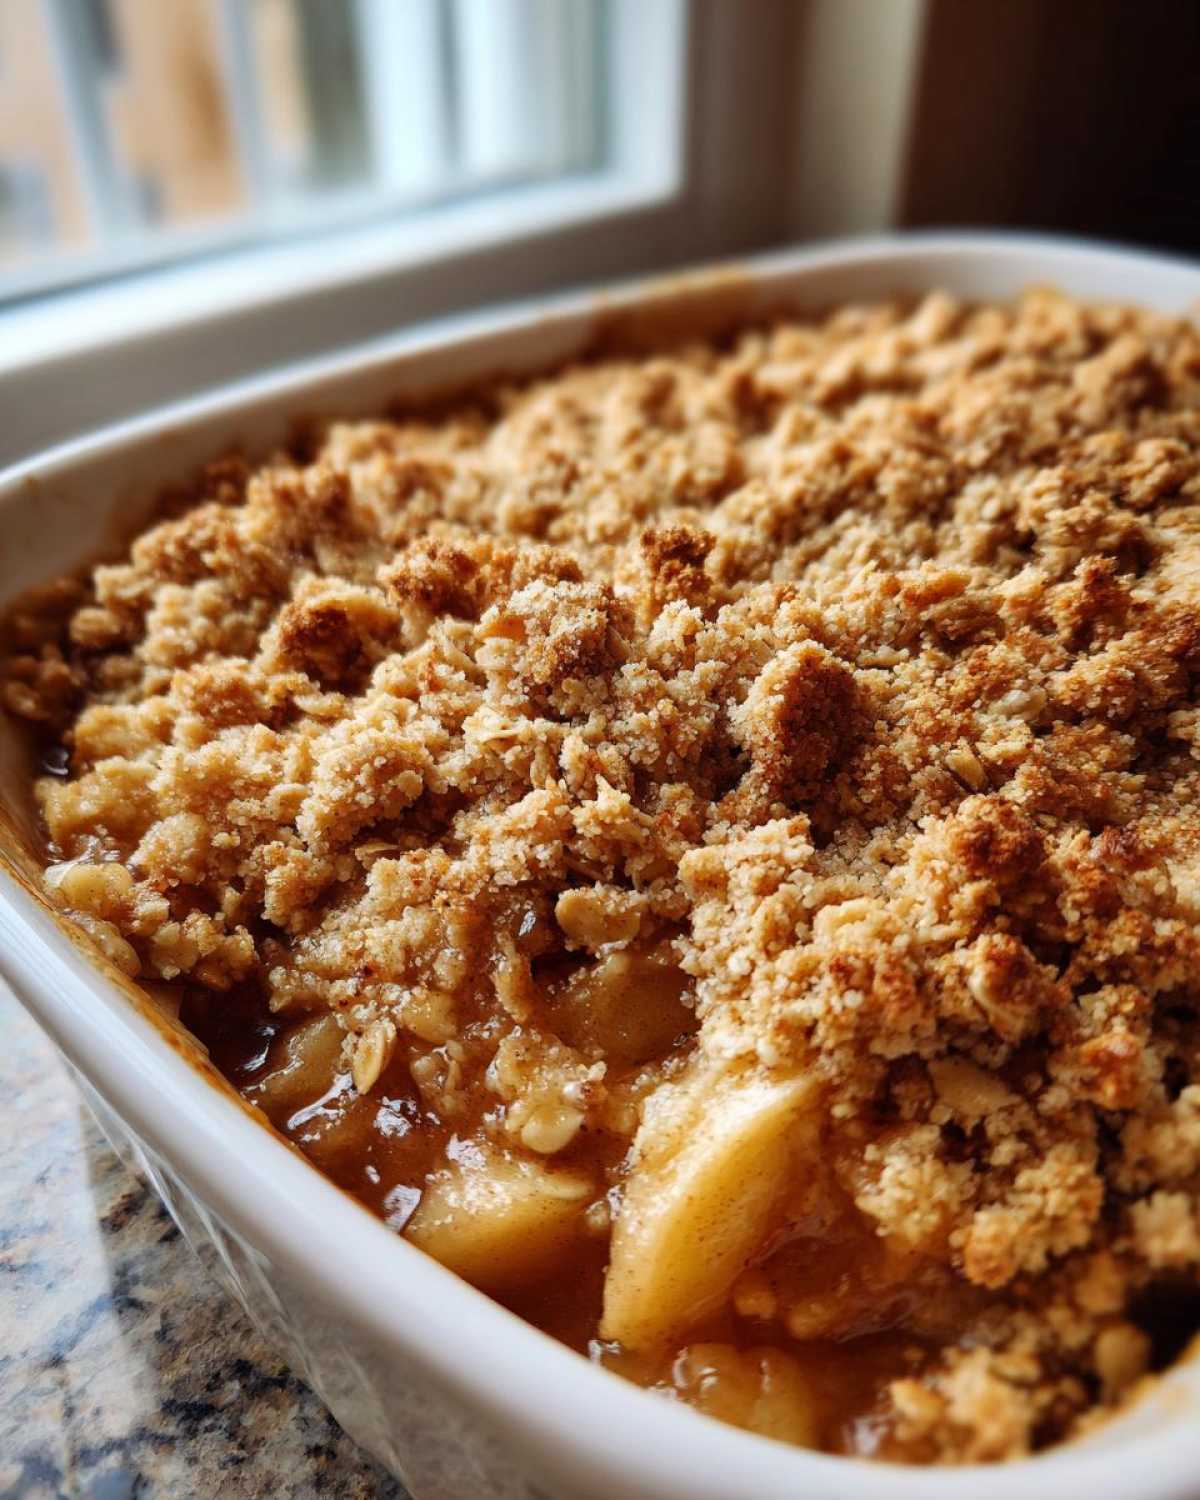
Now for that amazing topping. In a separate bowl, mix your dry topping ingredients—flour, oats, brown sugar, cinnamon, and salt—then cut in that cold butter using your fingers or a pastry blender. You are looking for coarse crumbs with some pea-sized pieces of butter still visible. That’s the key to the crunch! Sprinkle this mixture evenly over the apples and press it down just a tiny bit. If you overmix the topping, you lose the texture. If you want to see how we handle pastry for another classic treat, check out our guide to flaky crusts!
Baking Time and Testing for the Perfect Warm Apple Crisp with Oat Topping
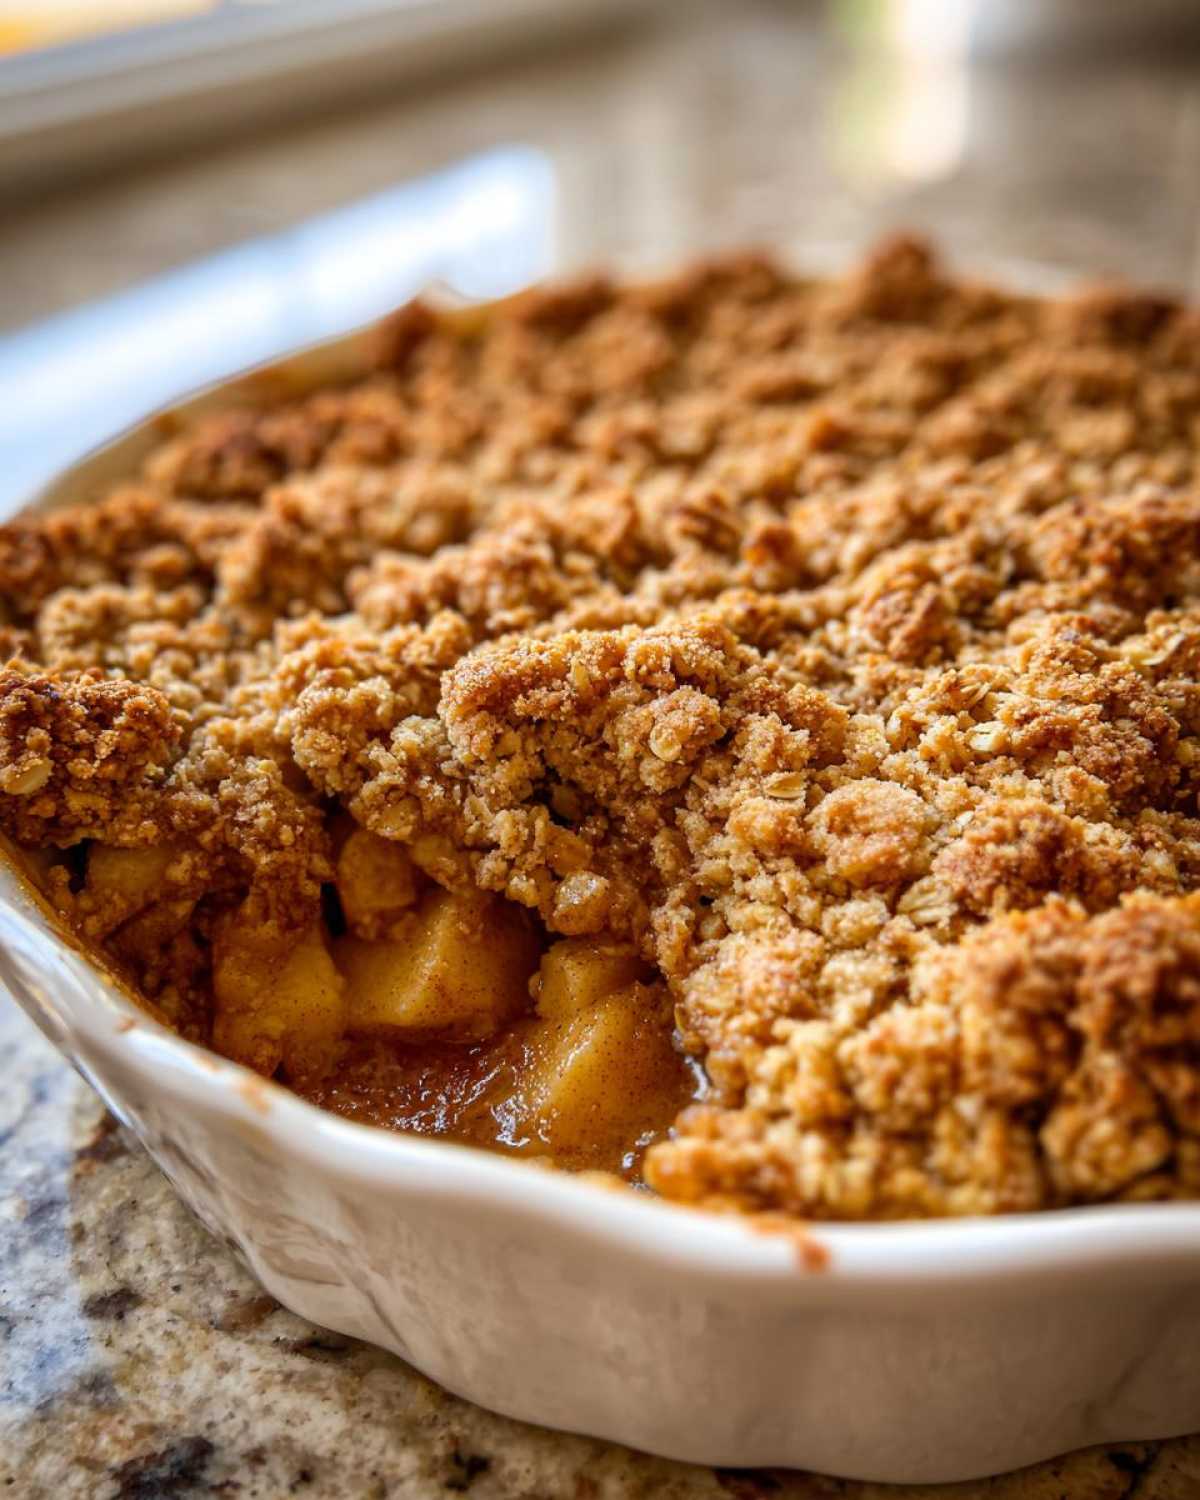
Pop that beauty into the hot oven for about 40 to 50 minutes. You’re looking for two main signs: the topping should be gloriously golden brown, and you should see the apple filling bubbling up around the edges. That bubbling means the juices have cooked down nicely!
The final test is sticking a fork into the softest apple you can find. If it slides in easily, it’s done. But here is the most crucial step for your **warm apple crisp with oat topping**: let it rest for 15 minutes outside the oven. If you jump right in, the filling will be soupy! Resting allows those juices to thicken up perfectly.
Tips for Success with Your Easy Apple Crisp Dessert
Even though this is an **easy apple crisp dessert**, a few little operational tweaks can take it from great to absolutely unforgettable. Remember how I mentioned letting it rest after baking? Oh boy, did Noah ever learn that lesson the hard way once! He was so eager that he served ours piping hot straight out of the oven last fall, and it was basically a fruit soup everywhere we scooped. We had to eat it with spoons right out of the corner of the pan. Never again!
Now, we always let it cool for that crucial 15 minutes so the filling sets up nicely. Also, if you love a super golden top, remember you can melt the butter for the topping instead of cutting it in cold, though I personally like the crunch the cold butter gives. For more tips on managing textures in baking, check out our guide for our blueberry banana bread!
Serving Suggestions for This Old Fashioned Apple Crisp
This **old fashioned apple crisp** wasn’t truly finished until it met its perfect partner—and we both agree that’s a big, cold scoop of vanilla ice cream! Serving it warm right from the oven is required; it melts that ice cream just enough to create a creamy, sweet sauce around the buttery oat crumble. It’s the ultimate reward after all that fall baking.
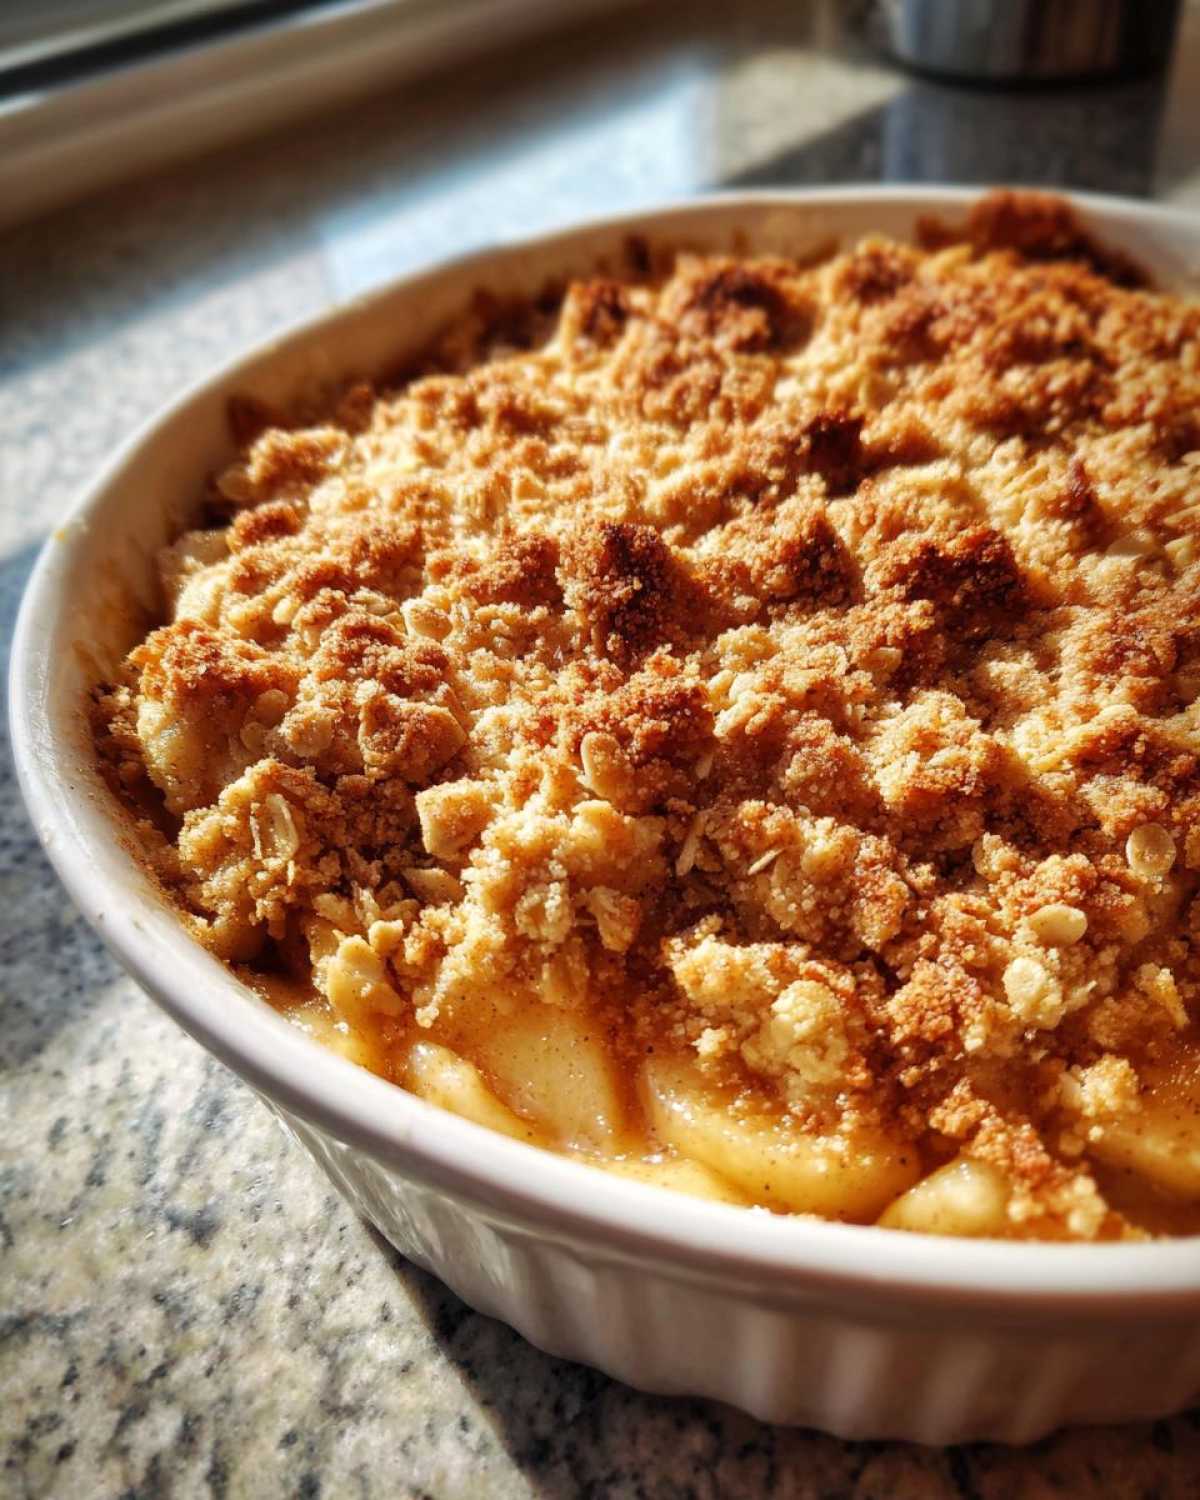
If vanilla isn’t your first choice, you can’t go wrong with a dollop of freshly whipped cream, maybe sweetened just a touch. Sometimes, especially if we’re having it after a heavy dinner, we’ll warm up a bit of silky custard to pour over it. Honestly, any way you serve this **apple dessert with vanilla ice cream** (or without!) is a win, but nothing beats that initial cold/hot temperature difference. If you want to practice making something else amazing, check out how we make our homemade chocolate milk!
Storage and Reheating Instructions for Your Apple Crisp Recipe
So, what happens if you actually have leftovers? (Which shocked Noah the first time, by the way!) For this **apple crisp recipe**, the best practice is to let it cool completely, then cover the dish tightly with plastic wrap or foil. Store it right in the fridge for up to three days. It holds up really well!
When you want to enjoy it again, you have two reheating options. If you want the topping to regain some of its original crunch, pop it in a relatively low oven—say, 325°F—for about 10 minutes until it’s warm all the way through. If you’re just dying for a quick bite, the microwave works, but I’ll be honest, the topping gets a bit softer. Still delicious, though, especially if you add another tiny sprinkle of cinnamon!
Common Questions About Making an Apple Crisp Recipe
Whenever Noah and I post about this, we get tons of great questions in the comments about adjustments and variations. It’s great, because it shows people are getting ready to bake! I figured I’d compile the ones we get asked most often about this **easy homemade apple crisp** so you can get straight to baking. If you’re tackling one of our weeknight staples, like the creamy chicken tortellini soup, prep is key, and the same goes for this crisp!
Do I absolutely have to peel the apples for this recipe?
This is a hot topic in our kitchen! For the absolute best texture in this **apple crisp recipe**, yes, I really recommend peeling them. Apple skins can sometimes get a little tough or chewy after baking, and we are aiming for that silky, tender apple filling underneath the crumble. If you’re in a super big rush and you use Honeycrisp or Gala, you *might* get away with leaving some skin on, but honestly, peeling them is part of that classic preparation. It makes all the difference!
What is the difference between a crisp and a crumble, like Cinnamon Apple Crumble?
That’s a great operational question! When people talk about a **cinnamon apple crumble**, they are usually talking about something very similar to a crisp. In my research, the distinction is usually that a crumble topping uses no oats, focusing purely on flour, sugar, and butter rubbed together. Since our recipe uses oats—lots of them!—it officially falls into the ‘crisp’ category because the oats toast up and add that signature crunch. If you skip the oats, congratulations, you’ve made a beautiful crumble!
Can I make this dessert ahead of time?
You totally can prep ahead! I often slice the apples, mix them with the cider/lemon juice/spices, and keep them stored in an airtight container in the fridge for up to 24 hours. You might want to add the water right before baking. For the topping, mix it together and store it dry in the fridge, or make it completely and store it separately for a day. When you’re ready to bake, assemble everything, but you might need to add about 5-10 minutes to your baking time since the ingredients will be cooler.
I want to make this with something other than apples, what fruit works best?
This is where you can really start building your own “empire” of fruit desserts! This style of topping works wonderfully with almost any sturdy fruit. Pears are a fantastic substitute; they bake up just like apples. Stone fruits like peaches or plums are also wonderful, but sometimes I find they need just a touch more flour in the filling to help thicken the juices. We’ve got a whole guide on adapting fruit recipes coming soon, but for now, just stick to the one-to-one substitution ratio!
Nutritional Estimates for the Apple Crisp Recipe
Now, I need to add the mandatory little disclaimer here. Just like Noah has to attach a risk assessment to every new strategy, I have to attach a disclaimer to the numbers! While this is a truly comforting recipe and baking is all about joy, it does contain sugar and butter, naturally. These numbers below are the estimates we’ve pulled together based on the exact ingredients in the recipe above, but remember, if you swap out brown sugar for white, or use a lighter butter, your final tally will change.
Here’s a quick look at the rough estimates per serving for our **apple crisp recipe**:
- Serving Size: 1 serving
- Calories: 380
- Fat: 18g (Be sure to watch the Saturated Fat at 11g—that’s where the yummy cold butter is!)
- Carbohydrates: 55g
- Sugar: 30g
- Protein: 5g
- Cholesterol: 45mg
Think of this as data, not gospel! It’s just a helpful guide so you know what you’re bringing to the table when you serve this gorgeous dessert warm with ice cream. Enjoy what you built!
Start Building Your Own Epicure Empire with This Apple Crisp Recipe
Now that you’ve got the full blueprint for what I consider the ultimate autumn dessert, it’s time for the execution phase! I genuinely hope you grab those apples and get this **apple crisp recipe** into your oven this week. There is something so grounding about making a classic dessert like this from scratch, and it creates such a wonderful atmosphere in the house. That spicy, sweet aroma is the definition of cozy comfort, and it’s the perfect way to spend an evening connecting with whoever you’re sharing your life with.
Noah and I love hearing what you think! Did you stick to the tart and sweet apple mix? How warm did you serve it? Did you go heavy on the vanilla ice cream (because I always do)? Drop a rating below and let us know how this recipe helped you build a beautiful moment in your own kitchen. We read every single comment!
If you enjoyed putting this simple strategy into action, you should definitely check out the rest of our operational guides over on the main blog page for more blueprints designed to build a life you love, one delicious meal at a time. And hey, if you want to see how another amazing baker handles their version, take a look at this one: The Ultimate Warm Apple Crisp Recipe. Happy baking, and enjoy your sweet, crunchy piece of your own blossoming empire!
PrintThe Best Classic Apple Crisp Recipe with a Buttery, Crunchy Oat Topping
This is the ultimate easy apple crisp recipe. You get tender, juicy apples baked under a perfectly buttery and crunchy oat topping, capturing all the warm flavors of autumn comfort food.
- Prep Time: 15 min
- Cook Time: 45 min
- Total Time: 60 min
- Yield: 6 servings
- Category: Dessert
- Method: Baking
- Cuisine: American
- Diet: Vegetarian
Ingredients
- 6 large apples (like Granny Smith or Honeycrisp), peeled, cored, and sliced about 1/4 inch thick
- 1/4 cup granulated sugar
- 1 tablespoon all-purpose flour
- 1 teaspoon ground cinnamon
- 1/4 teaspoon ground nutmeg
- 1 tablespoon lemon juice
- 1/4 cup water
- For the Topping:
- 1 cup all-purpose flour
- 1 cup old-fashioned rolled oats
- 3/4 cup packed light brown sugar
- 1/2 teaspoon ground cinnamon
- 1/4 teaspoon salt
- 1/2 cup (1 stick) cold unsalted butter, cut into small cubes
Instructions
- Preheat your oven to 375°F (190°C). Lightly grease an 8×8 inch baking dish or a 9-inch pie plate.
- Prepare the apple filling: In a large bowl, gently toss the sliced apples with the granulated sugar, 1 tablespoon flour, 1 teaspoon cinnamon, nutmeg, and lemon juice until the apples are evenly coated.
- Arrange the coated apples in a single layer in your prepared baking dish. Pour the 1/4 cup of water evenly over the apples.
- Prepare the topping: In a separate medium bowl, whisk together the 1 cup flour, rolled oats, brown sugar, 1/2 teaspoon cinnamon, and salt.
- Cut in the cold butter cubes using a pastry blender or your fingertips. Work the mixture until it resembles coarse crumbs with some pea-sized pieces of butter remaining. Do not overmix.
- Sprinkle the oat topping evenly over the apple layer. Press it down lightly.
- Bake for 40 to 50 minutes, or until the topping is golden brown and the apple filling is bubbly and tender when pierced with a fork.
- Remove from the oven and let it cool for at least 15 minutes before serving. This allows the filling to set slightly.
- Serve your warm apple crisp with a scoop of vanilla ice cream for the best experience.
Notes
- For the best texture, use a mix of tart and sweet apples, like Granny Smith and Honeycrisp.
- If you prefer a slightly softer topping, you can melt the butter for the topping instead of cutting it in cold. Mix the melted butter with the dry ingredients until just combined.
- This dessert is fantastic served warm, but leftovers store well covered in the refrigerator for up to three days. Reheat briefly in the oven or microwave.
Nutrition
- Serving Size: 1 serving
- Calories: 380
- Sugar: 30g
- Sodium: 150mg
- Fat: 18g
- Saturated Fat: 11g
- Unsaturated Fat: 7g
- Trans Fat: 0.5g
- Carbohydrates: 55g
- Fiber: 5g
- Protein: 5g
- Cholesterol: 45mg