

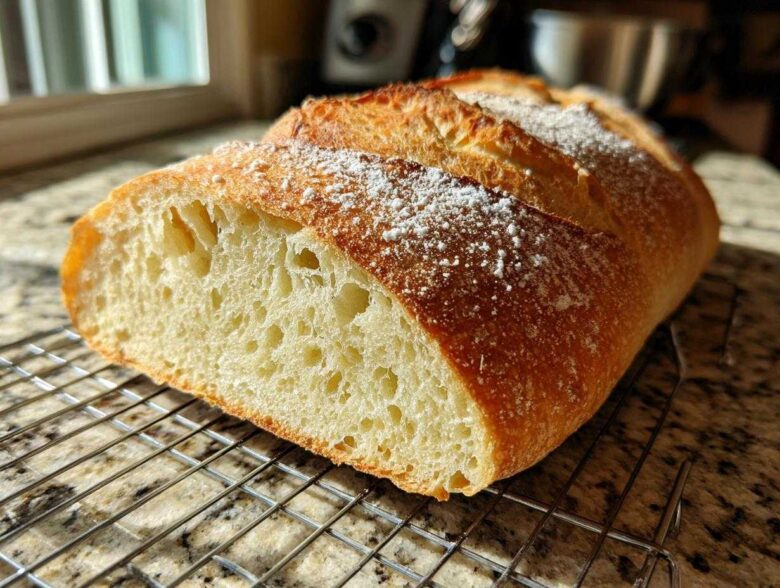
Oh my gosh, there is seriously nothing—absolutely *nothing*—that beats the aroma of fresh **Italian bread** baking right in your own kitchen. It’s instant comfort, right? When Noah and I decided to build our life together, one recipe at a time, we knew we needed our cornerstone bread recipe nailed down. Forget those dry, sad grocery store loaves! This blueprint is how we consistently achieve that perfect, crackly, bakery-style crust holding in the softest, chewiest interior you can imagine. We’ve tested this formula until it was absolutely foolproof, which is crucial when you’re translating a grand life plan into a kitchen reality. If you want to read more about how we switched our focus to building our life through recipes, check out our story here. Trust me, mastering this loaf brings connection and pure joy to our Epicure Empire.
Why This Homemade Italian Bread Recipe is Your New Favorite
We know you aren’t just looking for flour and water; you want that perfect loaf experience. This recipe is designed to deliver on every single promise of truly great Italian bread, hitting all those marks that make you feel like you pulled it straight from a local bakery.
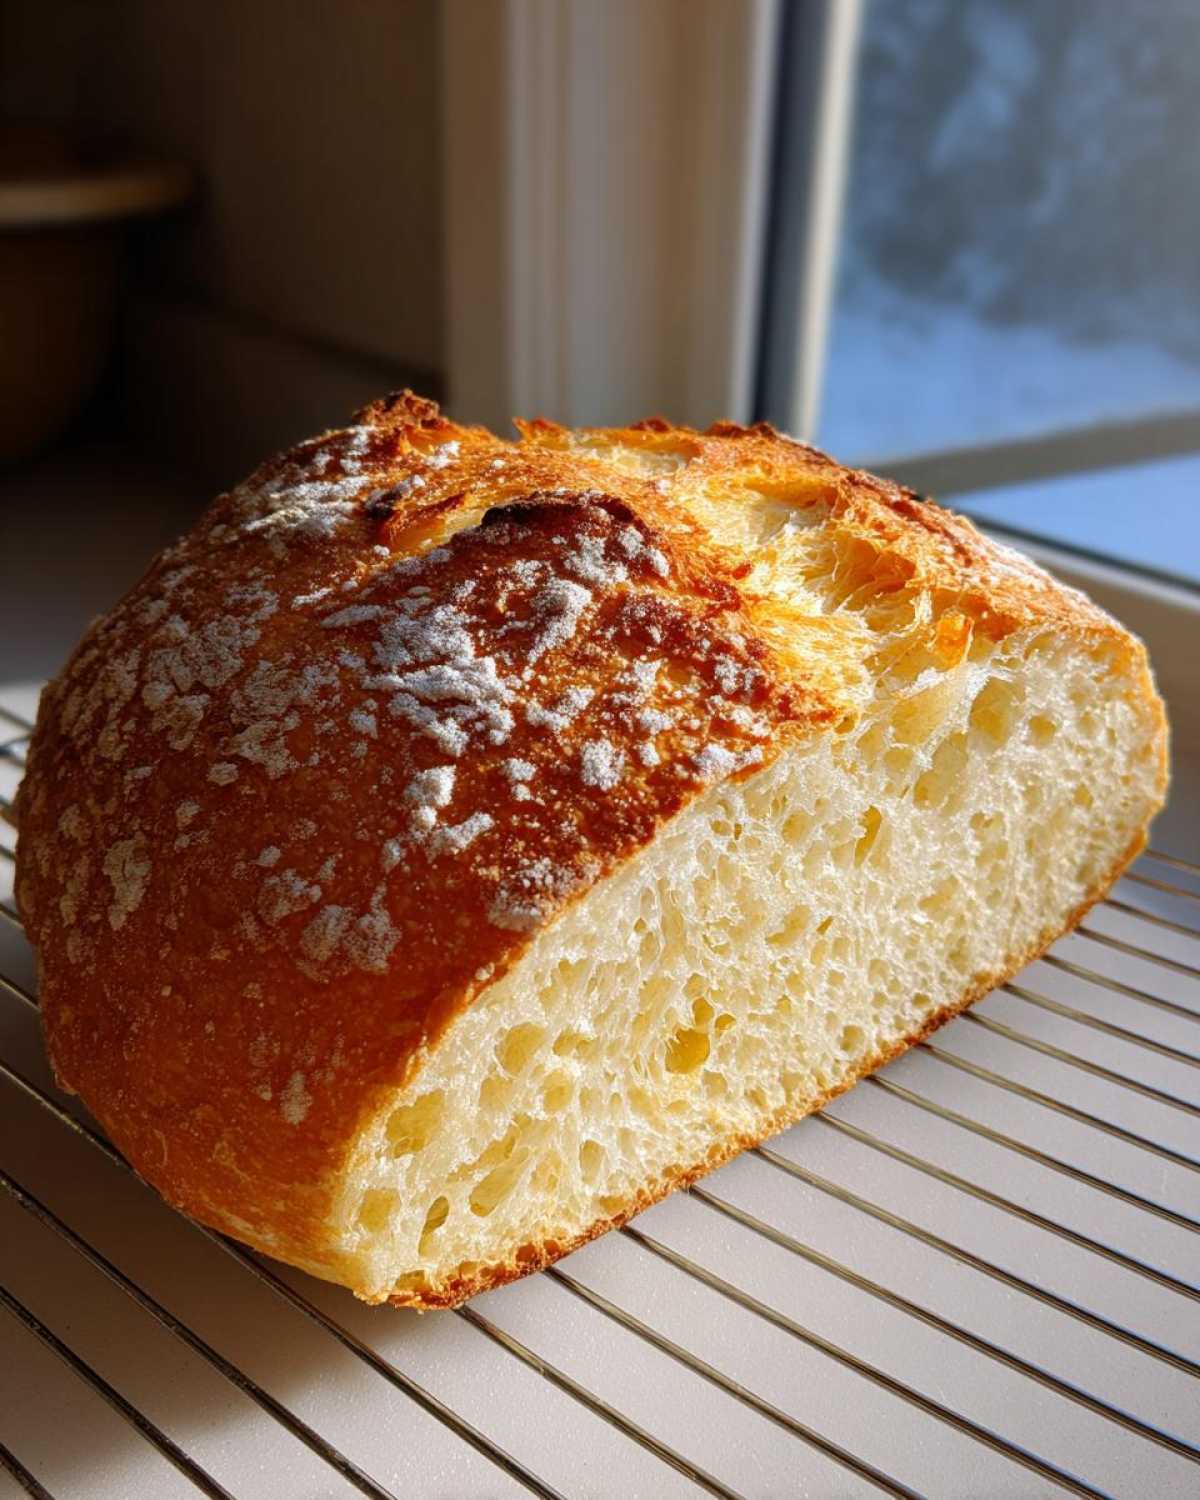
- Achieving the Perfect Golden Brown Crust Bread Texture: You will get that deep amber hue and incredible crunch. We use a simple steam trick in the oven to encourage that gorgeous outer shell—it’s a game-changer, honestly!
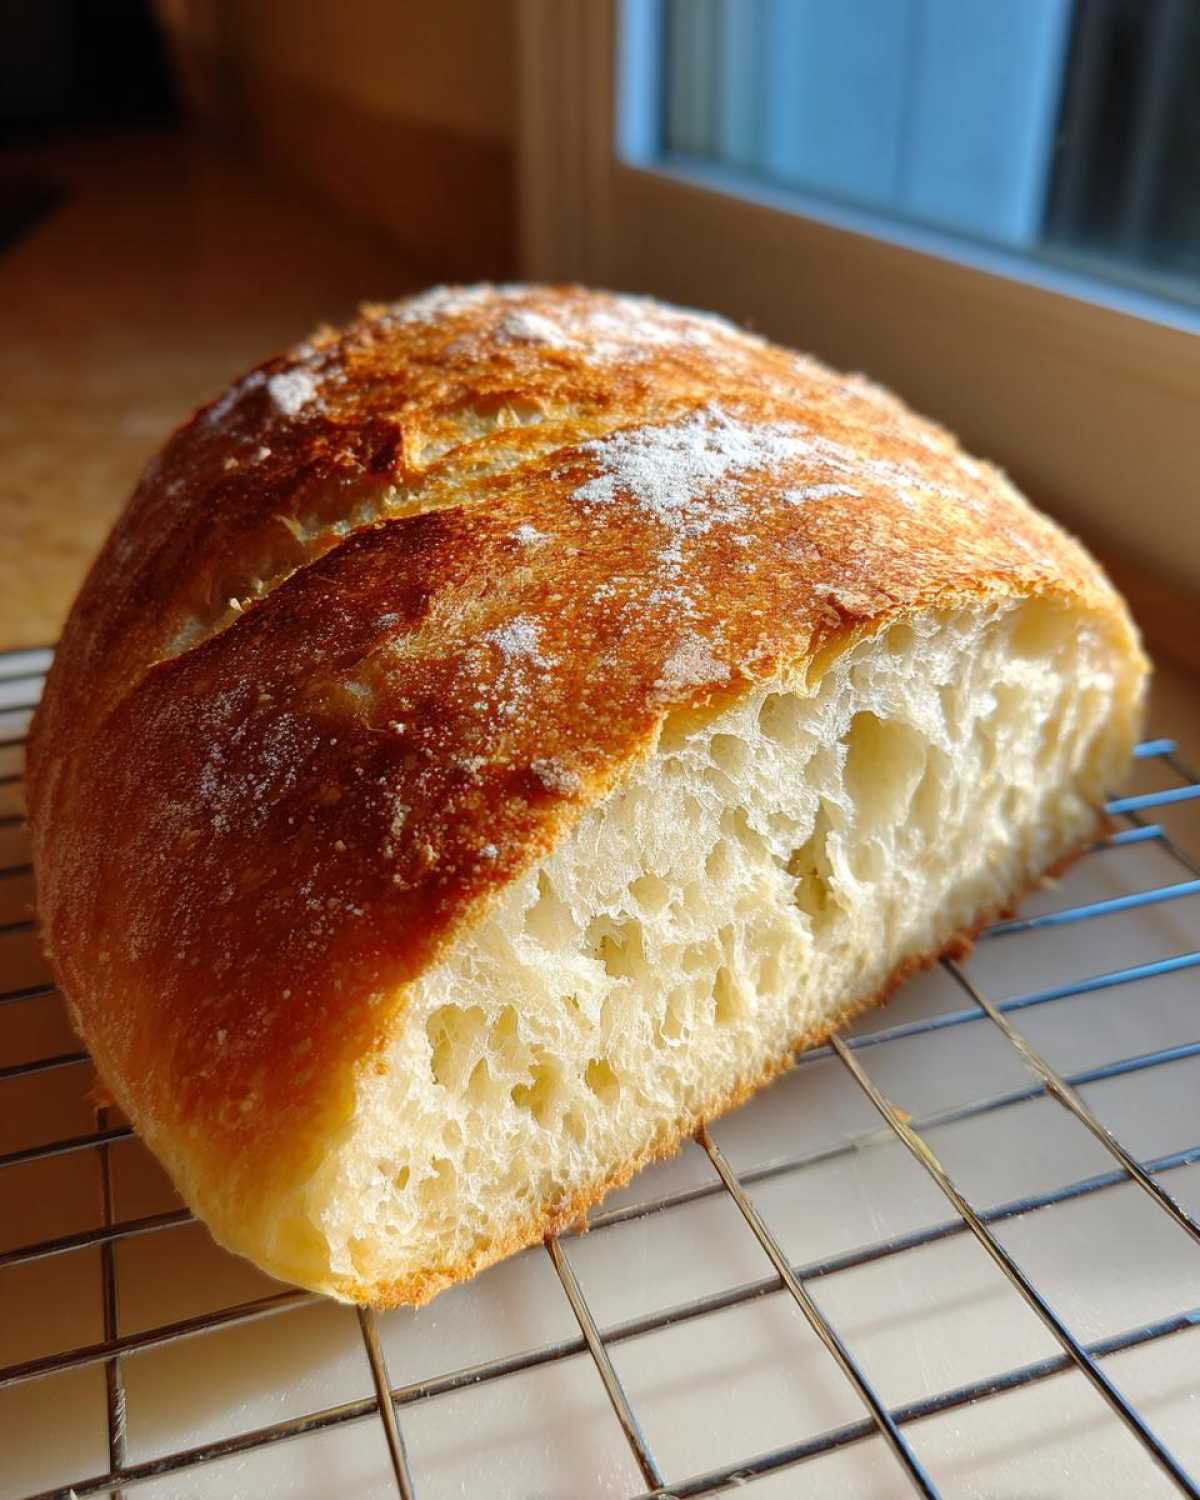
- Soft Inside Crusty Outside Bread: The Ideal Crumb: Inside, the texture is exactly what you dream about: airy, slightly chewy, and perfect for soaking up sauces or olive oil. It’s the ultimate soft inside crusty outside bread combination.
- Beginner Bread Making Success with Our Italian Bread Tutorial: Seriously, if you’ve ever been intimidated by yeast, worry not! Our tutorial breaks down the kneading and rising into super simple steps. This **Italian bread** recipe is for everyone, no expert status required.
Ingredients for Your Bakery Style Italian Loaf
You do not need a fancy pantry haul for this one, which is why I love it so much! It’s all about making pantry staples shine. We need precision here to get that bakery-style Italian loaf just right, especially with the water temperature. Make sure your water is nice and warm—between 105°F and 115°F is perfect—to wake up that yeast. You’ll also notice we only use a touch of olive oil; it’s mostly about the flour, yeast, water, and salt doing the heavy lifting!
- 3 1/2 cups all-purpose flour
- 1 1/2 teaspoons salt
- 1 teaspoon granulated sugar
- 2 1/4 teaspoons active dry yeast (just one packet!)
- 1 1/2 cups warm water (aiming for 105-115°F)
- 2 tablespoons olive oil, plus some extra for greasing the bowl
Equipment Needed for This Easy Crusty Bread Baking
Before you even think about waking up that yeast, get your station ready! Noah always organizes the strategy first, and for baking, that means gathering all the tools we need before things start moving fast. Since this is an easy crusty bread baking project, we aren’t hauling out the stand mixer unless we absolutely have to. Everything here is pretty standard stuff that you probably already have lying around.
- A large mixing bowl—big enough to let that dough double in size comfortably!
- A wooden spoon for the initial mix, or just your hands if you’re feeling eager.
- A clean kitchen towel or some plastic wrap for covering the dough during its rises.
- A baking sheet, or if you prefer, a standard loaf pan. I lean toward the sheet with parchment paper for maximum crust action.
- Parchment paper. Absolute non-negotiable for easy cleanup later!
- A very sharp knife or, even better, a razor blade (called a lame by the pros!) for scoring the top before it goes into the heat.
- And critically, a small, shallow pan that can safely go on the bottom rack of your oven. This is what we use to create the steam bath.
Step-by-Step Instructions for Perfect Italian Bread
Okay, deep breaths! This is where the magic happens. Baking an amazing **Italian bread** loaf is just a matter of following the plan. Lena and I treat this just like one of our big projects: clear stages, defined outcomes. If you follow these blueprints closely—especially paying attention to the timing—you’ll have that bakery-style crust in no time. We even have a whole design strategy for artisan bread at home if you want more advanced tips later (check it out), but for now, let’s mix this dough!
Activating the Yeast and Mixing the Italian Bread Dough
First things first, we need to make sure our yeast is alive and kicking. Grab your warm water—remember, not too hot, or you’ll kill it! Stir in the sugar and then sprinkle the yeast right on top. Let that sit for about 5 to 10 minutes until it looks foamy and almost creamy. That foam means your yeast woke up ready to work! Once it looks good, toss in your flour, salt, and the olive oil into that foamy mixture. Just use a big wooden spoon to stir everything until you get a rough, shaggy dough mass. Don’t stress about it looking messy; that’s totally normal at this stage.
Kneading and First Rise for Chewy Italian Loaf Development
Time to get your hands dirty! Turn that shaggy dough out onto a lightly floured counter. Now, we knead. You need about 8 to 10 minutes of focused work until the dough is smooth and elastic. The secret cue? Give it a gentle poke; if it springs back slowly, you’re spot on. Once it feels just right, lightly coat a large bowl with olive oil, nestle the dough inside, and turn it over once so the top is coated too. Cover it up tightly and let it hang out in a warm spot for 1 to 1.5 hours. It needs to double in size—that’s our deadline for the first rise!
Shaping and Second Rise: Preparing the Italian Bread for the Oven
When that dough has officially doubled, gently punch the air out—it’s very therapeutic, trust me! Turn the dough onto your surface again and shape it into a nice, long oval loaf. You want to keep it gentle here; we don’t want to deflate all that air we just created. Place that shaped loaf onto your parchment-lined baking sheet (or into your oiled loaf pan). Cover it loosely again and let it rest for its second rise, which is usually 30 to 45 minutes, until it looks puffy and ready to go.
Baking Technique: Creating Steam for a Golden Brown Crust Bread
This is the final crucial step for that bakery character! Preheat your oven *hot*—400°F is the sweet spot—and put a shallow pan on the bottom rack while it heats up. Right before you slide the loaf in, use a very sharp knife to make three quick, diagonal slashes, about half an inch deep, across the top. This helps the loaf expand evenly. Once the loaf is in, carefully pour about half a cup of hot water into that hot pan on the bottom rack and shut the door fast! That burst of steam gives you that unbeatable, crackly, golden brown crust bread finish. Bake for 30 to 35 minutes until deep brown and gorgeous.
Tips for Success When Making Homemade Italian Bread Recipe
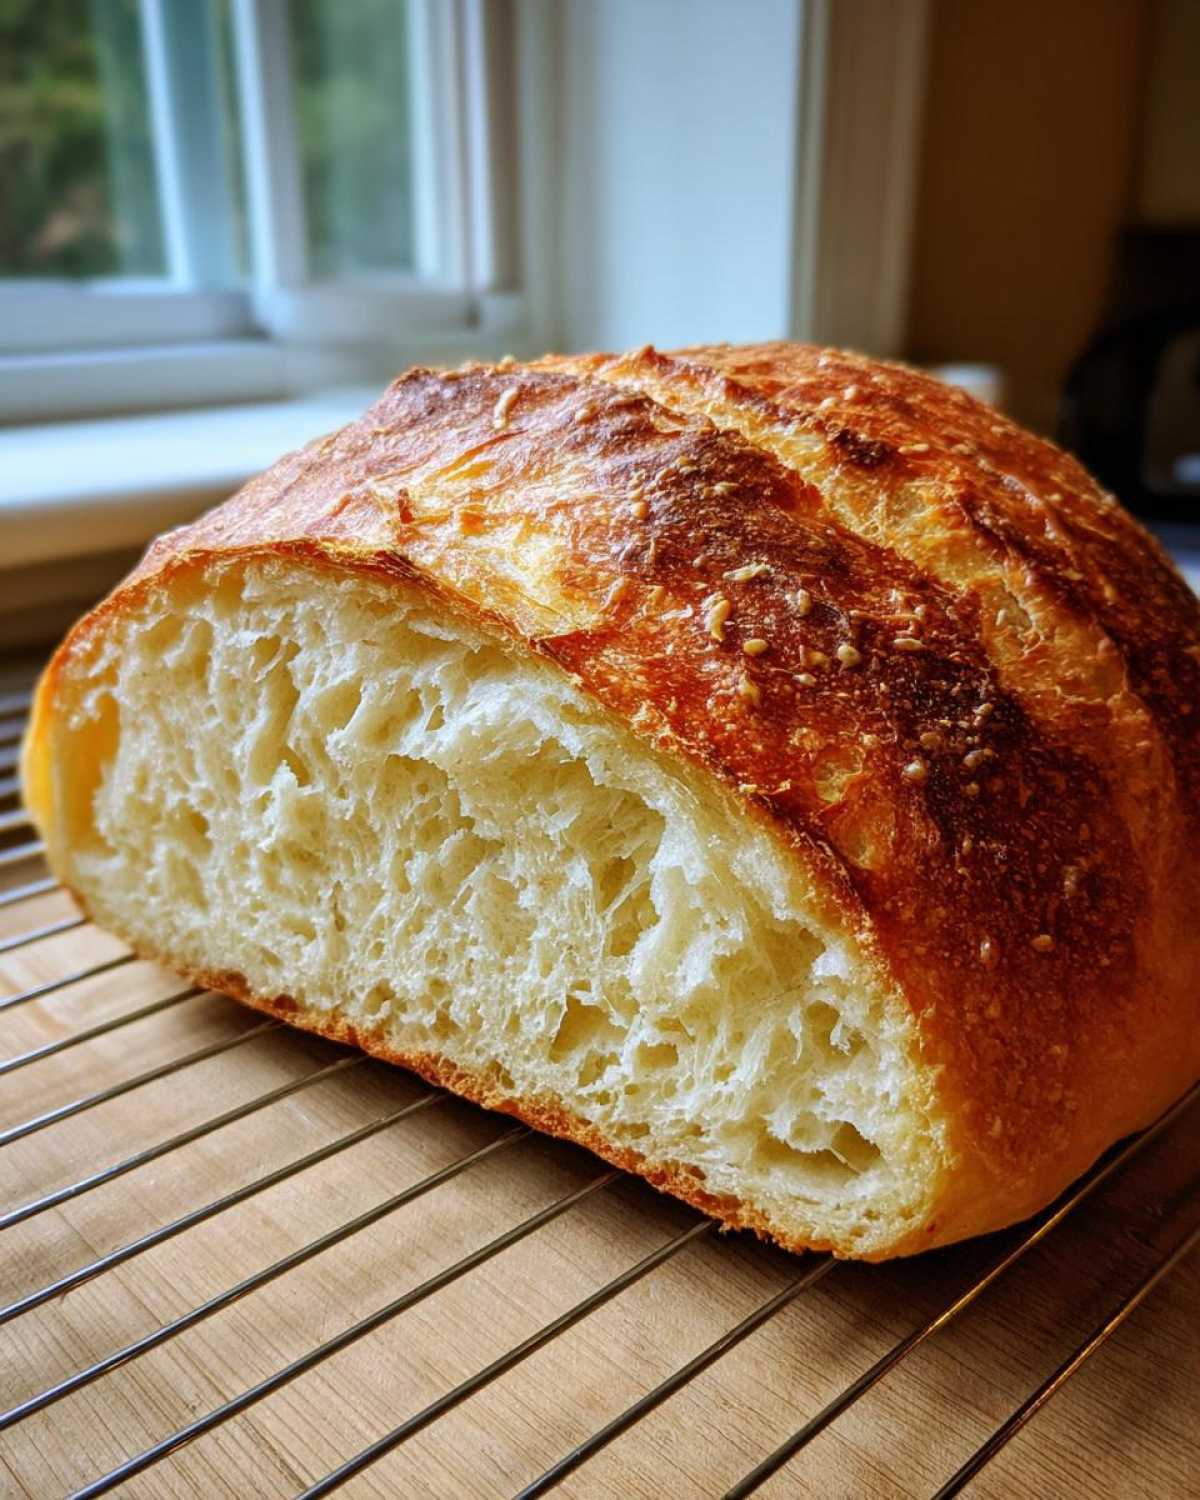
Noah and I have fought over bread crusts more times than I care to admit! Seriously though, the crust is everything when you’re going for that true bakery-style feel in your **homemade Italian bread recipe**. Our main point of contention—and biggest breakthrough—was steam. If you skip that hot water in the bottom of the oven, you’ll get a softer crust, which is fine if you’re making sandwiches, but if you want that crackly sound when you squeeze the loaf, you absolutely need that burst of initial steam. We love brushing ours with a little water halfway through baking for extra crunch, too. And the pairing? You have to try it with homemade garlic butter—our favorite recipe is right here!
For more crust tips from other bakers, I found this article useful: Crusty Italian Bread by Naya Baker. Remember, even small adjustments can make a huge difference in your final loaf!
Serving Suggestions: What to Pair with Your Italian Bread
Now the hard part is over, and you have this gorgeous loaf cooling on the rack—what do you do with it first? That is always the big question in our house! Since we worked so hard for that perfect texture, we want to make sure we pair it with companions that really honor its flavor and beautiful structure. Frankly, this bread is fantastic simply served warm with a little dish of good quality olive oil mixed with some fresh herbs for dipping. It’s the most classic way to welcome guests to the table, and it lets that fresh baked bread aroma just sing on its own.
But if you’re planning a full dinner, this loaf absolutely shines alongside a hearty sauce. Think about scooping up the last bits of a rich Bolognese or even dipping it into a zesty marinara. We recently made this incredible creamy garlic mushroom pasta (you can find the recipe here), and honestly, the bread was the star of the show, soaking up every drop of that sauce!
And let’s talk sandwiches—oh my goodness. Forget thin, sad slices. This bread’s chewy interior and sturdy crust mean it holds up to heavy fillings. Layer it thick with prosciutto, fresh mozzarella, ripe tomatoes, and a drizzle of balsamic glaze. It turns a simple lunch into an experience worthy of our entire “Epicure Empire,” if you know what I mean!
Storage and Reheating Instructions for Your Fresh Baked Bread Aromas
Okay, so that fresh baked bread aromas phase fades a little too fast, right? Here’s the strategy: once the loaf is totally cool—and I mean cool, or you’ll trap steam and wreck the crust—wrap it tightly in aluminum foil or stick it in a paper bag. Don’t use plastic! Plastic kills the crust fast. If you need a refresh the next day, just sprinkle the loaf lightly with water, wrap it in foil, and pop it in a 350°F oven for about 10 minutes. It comes out feeling brand new!
Frequently Asked Questions About Making Italian Bread
We get so many questions after people try our **Homemade Italian Bread Recipe**! That’s awesome, because it means you’re baking and that’s half the battle won. Baking can always throw curveballs, but usually, the fix is super simple. Noah and I compiled the most common issues we see when people are aiming for that beautiful **bakery style Italian loaf**.
Can I use bread flour instead of all-purpose flour in this Italian Bread Recipe?
You totally can! Bread flour has a higher protein content, so when you swap it in for the all-purpose flour, you’re going to develop more gluten structure. This means your loaf will be a little bit stronger and definitely chewier. It makes for a fantastic **chewy Italian loaf**, but you might notice it doesn’t puff up quite as high since the structure is tighter. It’s a texture preference, really!
Why is my Homemade Italian Bread Recipe not rising properly?
This usually boils down to two things, and honestly, we’ve both been there! First, check your water temperature—if it was too hot, it killed the yeast, and your dough will just sit there sadly. Second, is your yeast new? Yeast loses power over time, so if it didn’t foam up at the start, it means the yeast packet was old. For a successful **quick Italian bread tutorial**, you need active yeast!
How long does this bread stay fresh?
Because we use that steam technique to get that super crunchy exterior, the crust tends to soften up overnight. At room temperature, wrapped well, it’s still fantastic for about 2 days. After that, it’s best reheated with a little water spritz. If you want the deep dive on storage, we talk about saving those **fresh baked bread aromas** over here in our baking tips section. If you want more specific troubleshooting links, this site has great resources, too!
Nutritional Estimates for This Classic Italian Baking Loaf
Okay, here is the part where Noah, the strategist, steps in to provide the data analysis! Like any good blueprint, you need to know what you’re working with, even if we are focused purely on flavor and connection here. Please remember, these numbers are just estimates based on the ingredients listed above and the yield of exactly one loaf. We divided the entire loaf into approximate slices for this calculation. Use this information for planning, not medical advice—we’re bakers, not dietitians!
- Serving Size: 1 slice (estimated, based on 12 servings total)
- Calories: 150
- Total Fat: 2g
- Saturated Fat: 0.5g
- Carbohydrates: 30g
- Protein: 4g
- Sugar: 1g
- Cholesterol: 0mg
- Sodium: 250mg
It’s worth noting that the fat content is quite low because we use so little olive oil compared to many enriched breads out there—it really lets that honest, wheaty flavor shine through! This simple structure keeps our **Classic Italian Baking** delicious but not overly heavy.
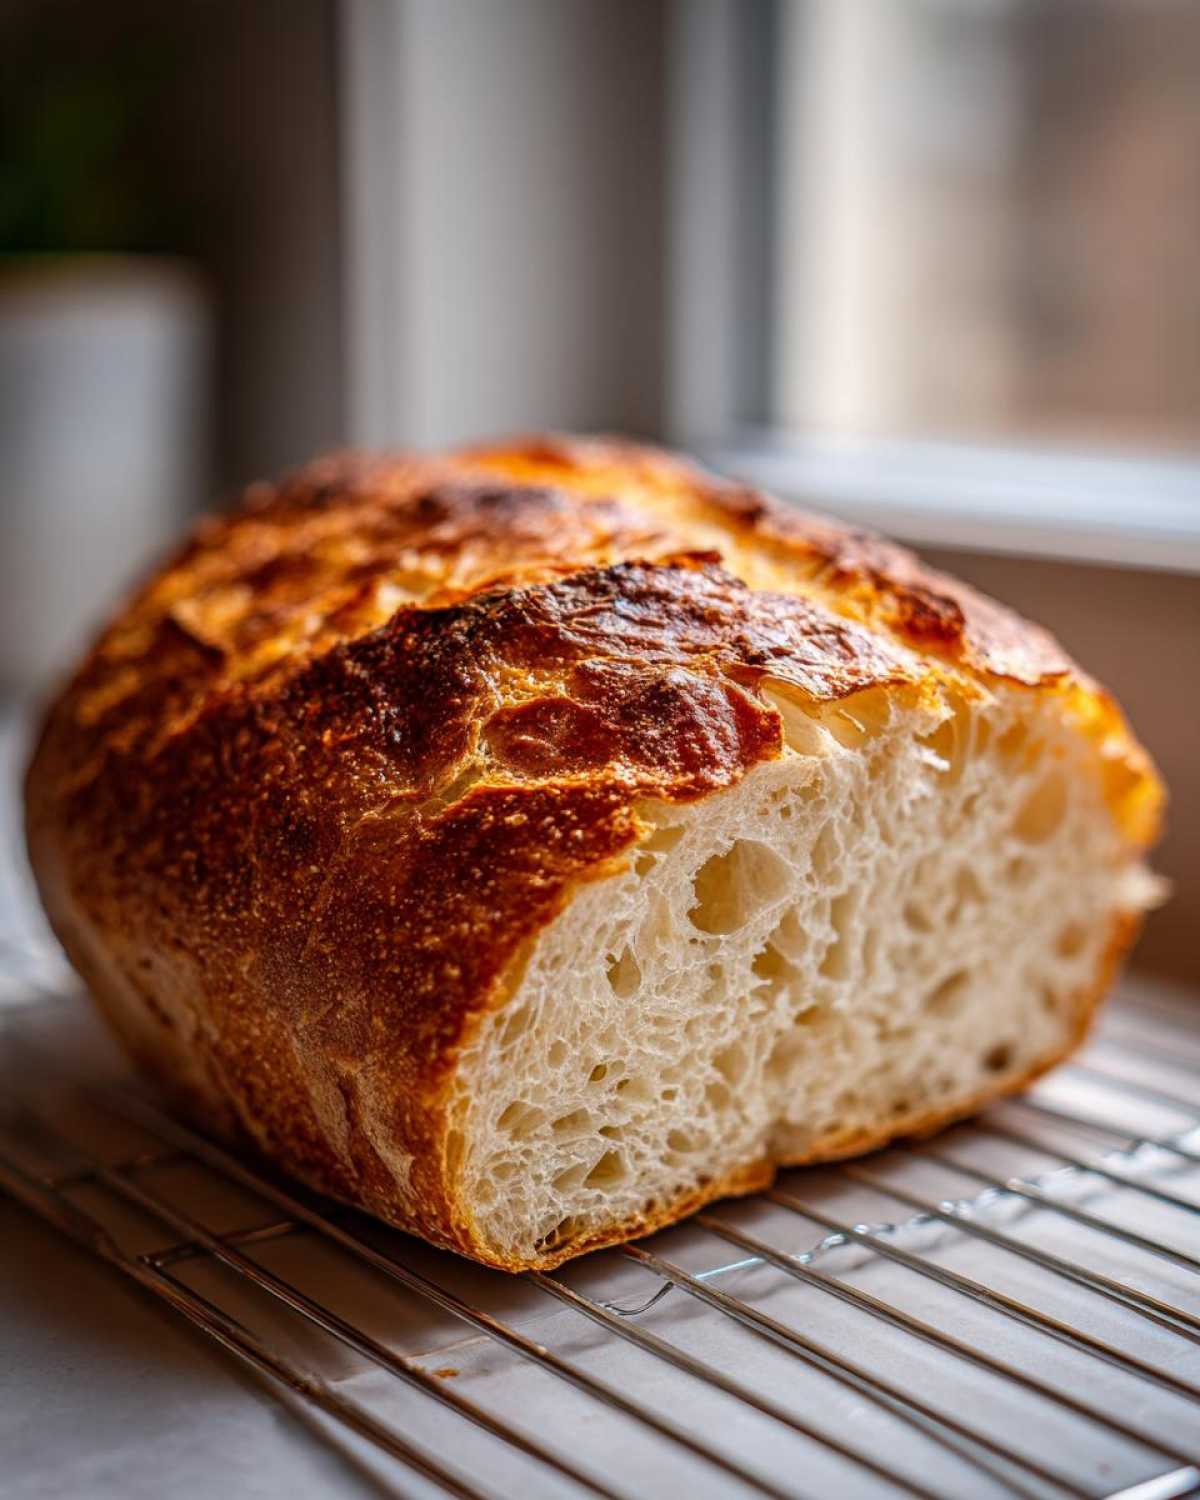
Share Your Crusty Italian Bread Creations
Whew! You did it! You pulled that perfectly golden loaf out of your oven, and I bet the entire house smells amazing right now. This is the part of our construction project that I love the most—seeing our blueprints become your reality!
Noah and I pour so much research and testing into these recipes. If this **easy crusty bread baking** technique worked for you and you ended up with that incredible texture for your sandwiches or dipping nights, please, please drop us a note. We thrive on that feedback!
If this recipe scored 5 stars in your kitchen, don’t keep that victory secret! We absolutely love seeing your bakes online. Tag us in your photos—whether you’re showing off the crisp crust or the beautiful hole structure inside your loaf—it makes our day to know we inspired some wonderful homemade bread in your home.
If you have any lingering questions after baking, or maybe you followed this tutorial and want to share a tip for the next baker, you can always reach us directly through our contact page. Happy baking, everyone!
PrintEasy Crusty Homemade Italian Bread: Bakery-Style Loaf

You can bake perfect, bakery-style Italian bread at home using simple ingredients. This recipe focuses on achieving a golden, crunchy crust and a soft, chewy interior. It is beginner-friendly and great for dipping or making sandwiches.
- Prep Time: 20 min
- Cook Time: 35 min
- Total Time: 2 hours 5 minutes
- Yield: 1 loaf
- Category: Baking
- Method: Baking
- Cuisine: Italian
- Diet: Vegetarian
Ingredients
- 3 1/2 cups all-purpose flour
- 1 1/2 teaspoons salt
- 1 teaspoon granulated sugar
- 2 1/4 teaspoons active dry yeast (1 packet)
- 1 1/2 cups warm water (about 105-115°F)
- 2 tablespoons olive oil, plus more for the bowl
Instructions
- In a large bowl, mix the warm water, sugar, and yeast. Let this stand for 5 to 10 minutes until the mixture becomes foamy. This shows your yeast is active.
- Add the flour, salt, and 2 tablespoons of olive oil to the yeast mixture. Mix with a wooden spoon until a shaggy dough forms.
- Turn the dough out onto a lightly floured surface. Knead the dough for 8 to 10 minutes until it becomes smooth and elastic. You are looking for a dough that springs back slowly when you poke it.
- Lightly oil a clean large bowl with olive oil. Place the dough in the bowl and turn it over to coat the surface lightly with oil.
- Cover the bowl with plastic wrap or a clean kitchen towel. Let the dough rise in a warm place for 1 to 1.5 hours, or until it has doubled in size. This is your first rise.
- Gently punch down the risen dough to release the air. Turn the dough onto a lightly floured surface and shape it into a long, oval loaf.
- Place the shaped loaf on a baking sheet lined with parchment paper or in a lightly oiled loaf pan. Cover loosely and let it rise again for 30 to 45 minutes, or until puffy. This is your second rise.
- Preheat your oven to 400°F (200°C). For extra crust, place a shallow pan on the bottom rack while preheating to create steam later.
- Just before baking, use a sharp knife or razor blade to make three diagonal slashes across the top of the loaf, about 1/2 inch deep.
- Carefully pour about 1/2 cup of hot water into the preheated shallow pan on the bottom rack to create steam, then quickly close the oven door.
- Bake for 30 to 35 minutes, or until the crust is deep golden brown and the internal temperature reaches 200°F (93°C).
- Remove the bread from the oven and transfer it to a wire rack to cool completely before slicing. Enjoy your fresh baked bread aromas!
Notes
- For an extra crispy crust, brush the loaf lightly with water halfway through the baking time.
- If you want a softer crust, skip the steam pan in the oven.
- This bread is perfect for dipping in olive oil or serving alongside pasta meals.
Nutrition
- Serving Size: 1 slice
- Calories: 150
- Sugar: 1
- Sodium: 250
- Fat: 2
- Saturated Fat: 0.5
- Unsaturated Fat: 1.5
- Trans Fat: 0
- Carbohydrates: 30
- Fiber: 1
- Protein: 4
- Cholesterol: 0