

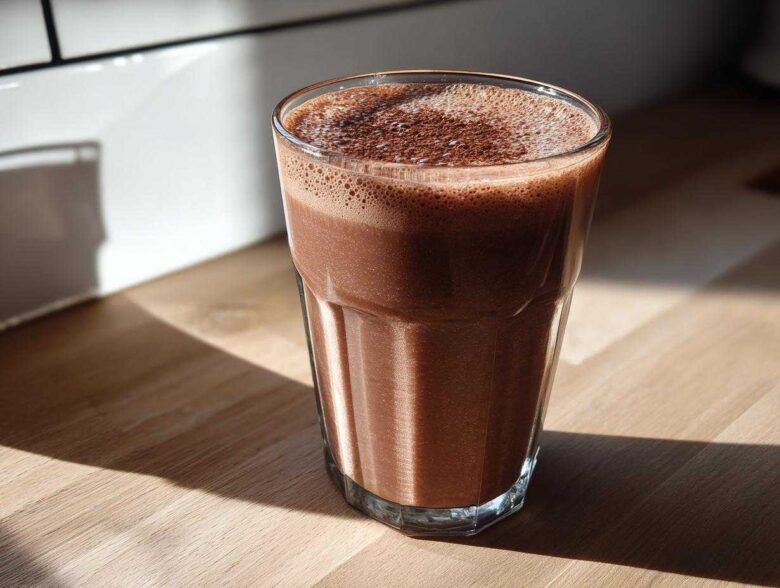
Oh, I swear, nothing beats that moment when you’re craving something cool, rich, and instantly satisfying, right? And I’m talking about that deep, comforting flavor that you just can’t capture with the little shelf-stable boxes. If you’re like me, you’ve probably tried a few DIY mixes, only to end up with gritty results or a taste that’s just… meh. Well, stop right there! We are making the Best Homemade Chocolate Milk Ever today, and we’re using simple cocoa powder, not some fancy, overpriced syrup. Trust me on this one; when you make your own chocolate milk from scratch, you control the quality of the ingredients and the intensity of that chocolate flavor. It takes about three minutes, and once you taste this, you’ll never go back!
Why This Homemade Chocolate Milk Recipe is the Best Chocolate Milk Ever
Honestly, switching to homemade chocolate milk was a game-changer for me—and my kids! I was tired of that weird waxy texture you get from commercial powders. This method ensures you get that perfect, creamy drink every single time, just like you remember from childhood, only better.
The flavor is unbelievably rich because we’re unlocking the deep notes in the cocoa powder right at the start. Plus, the best part is the customization. You decide exactly how sweet it gets—or barely sweet at all! This is the gold standard for whipping up a fantastic beverage when the craving hits. Having a recipe this good means you don’t have to rely on store-bought stuff; you can find tons of great tips over on the main blog page, too!
- It’s ridiculously fast—we’re talking under five minutes total.
- The texture is smooth, never gritty, because we dissolve everything into a hot syrup base first.
- You can easily tailor the sugar content to make it truly less sugar chocolate milk if you need to.
- It tastes way more luxurious than anything you can grab quickly at the drive-thru. We can even make a shelf-stable mix for future use—check out that section later!
Quick Drink Recipes for Busy Days
When I say quick, I mean it! You need less than two minutes to make the syrup base. Seriously, just grab three things from the pantry, add hot water, and stir until smooth. That means you can have this luscious, cool drink ready before the ice cream truck even drives past your house. It’s the ultimate Easy Chocolate Milk solution for those mid-afternoon slumps.
Ingredients for Rich Chocolate Milk Syrup Base
Okay, listen up, because the magic of truly great chocolate milk isn’t in the final pour, it’s in this syrup we create first. This method stops that annoying, undissolved powder from settling at the bottom of your glass. You only need four dry ingredients and a little bit of heat to get started. We’re grabbing two tablespoons of good quality, unsweetened cocoa powder—that’s where that deep color comes from—along with two tablespoons of regular sugar. Don’t be shy with the vanilla extract (just a little splash, 1/4 teaspoon!) and a tiny pinch of salt. Salt is critical; it wakes up the chocolate flavor, so please don’t skip it.
The absolute non-negotiable step? You need 1/4 cup of hot water. Not lukewarm, not warm from the tap—hot! This dissolves everything completely into that gorgeous, thick chocolate syrup base before you even think about adding the cold milk. Once that base is ready, you just add one cup of your favorite chilled milk, and boom—perfection.
Ingredient Notes and Substitutions for Chocolate Milk with Cocoa Powder
One of the best things about using this cocoa powder base is how easily you can pivot if you’re watching sugar or avoiding dairy. If you’re aiming for less sugar chocolate milk, try cutting that sugar down to just one tablespoon and use liquid sweeteners like maple syrup or honey instead—they blend right into the syrup base beautifully. Also, please know that any milk works! Whole milk makes it gloriously rich, but if someone in your house needs oat milk or almond milk, this recipe handles that swap like a champ. It’s so adaptable!
How to Prepare Easy Chocolate Milk
Getting that perfectly smooth, rich glass of chocolate milk is all about how you build that syrup base we just talked about. Trust me, if you skip the hot water step, you end up with gritty chocolate sludge, and nobody has time for that! Start by mixing all those dry ingredients—cocoa, sugar, salt, and vanilla—right in your serving cup or a small bowl. Don’t just dump the milk in yet; we aren’t done with the magic trick!
Now for the crucial part of making these amazing from scratch drinks: pour that tiny bit of scorching hot water over the dry mix. You need to stir, and I mean *stir* vigorously, until that gritty texture disappears completely and you have a dark, glossy, smooth syrup. Seriously, make sure there are no sugar granules left clinging to the bottom. Once the syrup is perfect, then you pour in your cup of cold milk. Give it one final good stir until it’s that uniform, beautiful brown color. If you want to make it extra special, you can check out this fun float recipe while you’re here!
Tips for Making Creamy Chocolate Milk
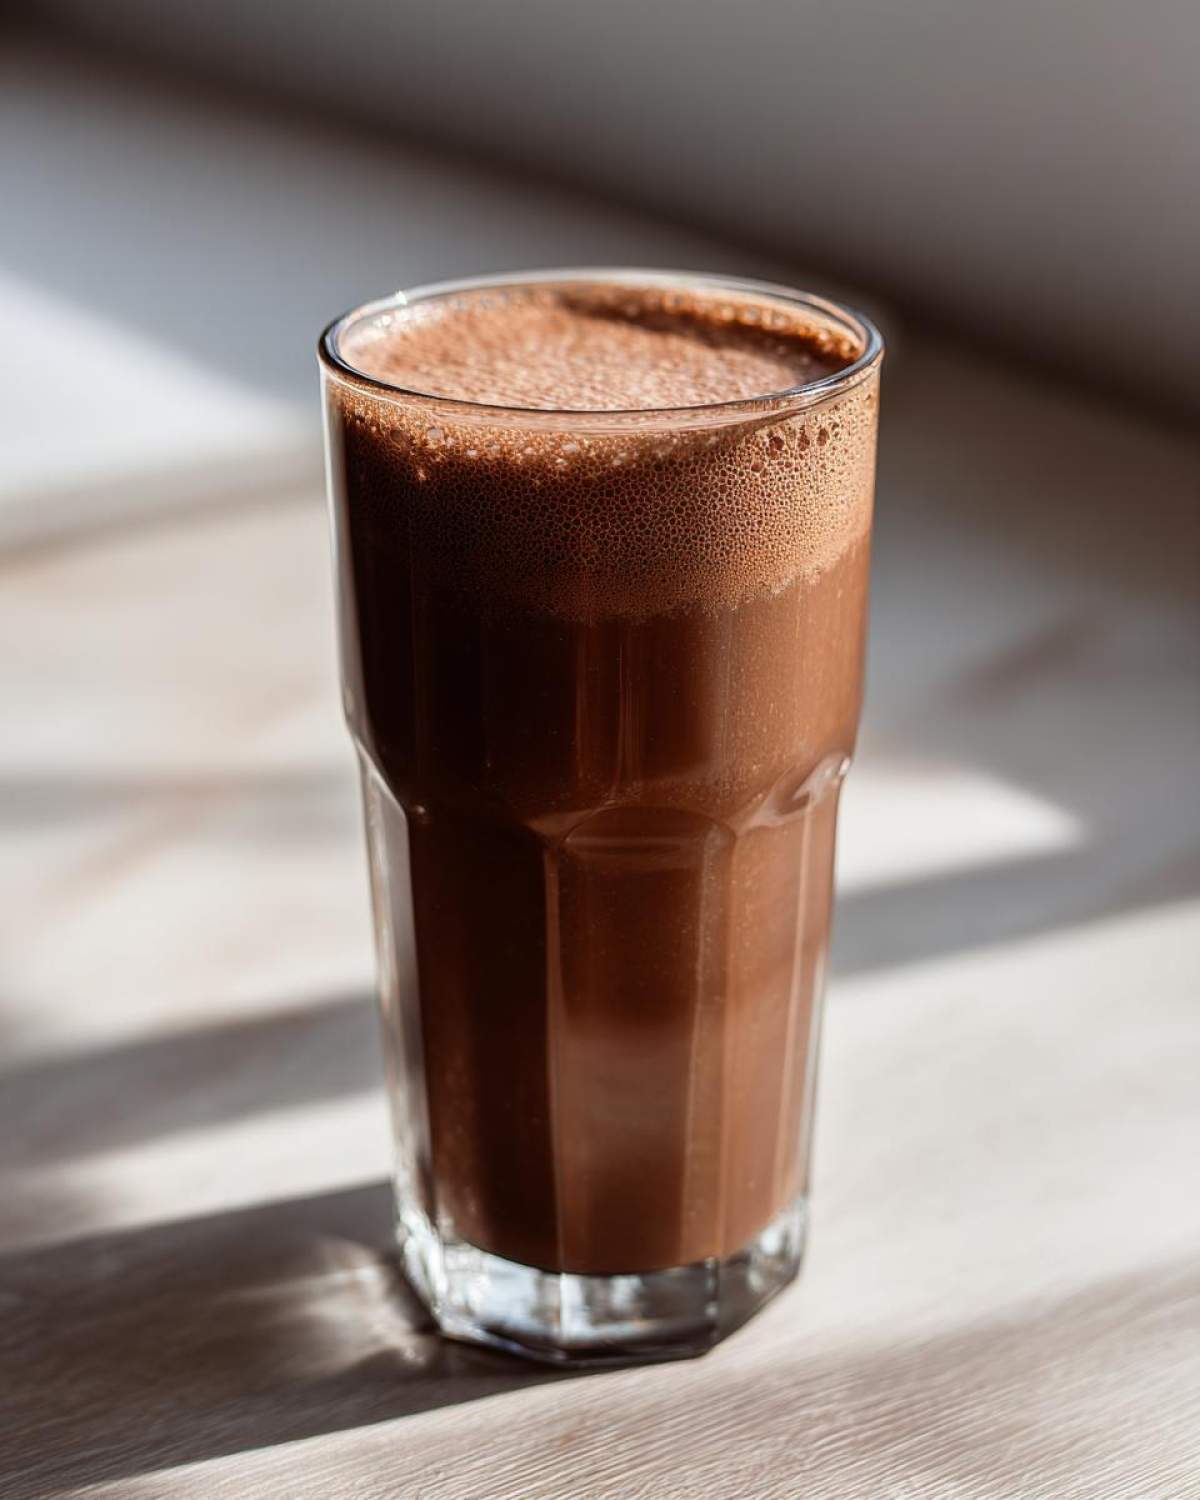
Want that velvety smooth feeling? That comes from using piping hot water to properly bloom the cocoa powder—it really releases those deep chocolate oils! Once you mix the syrup, switch to whole milk or add maybe a half teaspoon of heavy cream; that fat content is what makes the drink feel luxurious on your tongue. Stirring the final mix really well until it’s completely emulsified ensures you won’t get strange layers when it sits for a moment.
Variations: Whipped Chocolate Milk Tutorial and Powder Mix DIY
Okay, now that you’ve mastered the basic, super-fast chocolate milk, we are going to level up! I love tinkering, and truthfully, sometimes you need a little presentation for the kids, or sometimes you just need to stock the pantry. So, let’s talk about making that amazing whip and creating a powder mix for later!
If you really want that fancy café look, try the whipped version. It’s so fun! You basically make that same syrup base, but instead of mixing it with a full cup of milk, you just use about 1/4 cup of milk—and I mean *cold* milk. Take a small whisk or even one of those battery-operated milk frothers and just whip it like crazy until it’s super foamy and thick. Then, gently fold in the rest of your cold milk. Instant Whipped Chocolate Milk Tutorial success!
For the pantry stocking people out there—and I know you’re out there—making a DIY mix is brilliant. You just triple the dry ingredients we used for the syrup (cocoa, sugar, salt) and put it all in a sealed jar. It keeps for ages! When you want a drink, just warm up a splash of water to dissolve 3 tablespoons of your mix, then add your milk. It’s perfect for quick fixes. You can see another great cocoa recipe inspiration over on my hot chocolate post!
Serving Suggestions for Your Chocolate Milk
This drink is so versatile; it’s not just for kids, though it certainly is a fantastic Kid Friendly Chocolate Drink!
I often make a small batch just for myself as a Quick Evening Treat Drink. It hits the spot perfectly after dinner.
Always serve it cold! Mix up your syrup base and your cold milk, then pour it over tall glasses packed with ice cubes. It also pairs wonderfully with something warm and spicy, like some of my apple cinnamon muffins for a weekend breakfast treat. Keep it chilled if you make extra!
Storage and Reheating Instructions for Chocolate Milk
Since this recipe is truly at its peak when made fresh—that’s the beauty of this chocolate milk—you don’t want to save the mixed drink for too long. If you have leftovers, an airtight container in the fridge usually lasts about 24 hours, but you MUST shake or re-stir it really well before drinking because the ingredients will certainly separate.
Now, if you prepared that rich syrup base ahead of time (which is smart!), that keeps beautifully on the counter, sealed tightly, for about a week. That’s the secret weapon for super-fast drinks later! Remember, the shelf-stable powder mix we talked about before has its own long storage life, too.
Frequently Asked Questions About Homemade Chocolate Milk
I know you probably have a few things swirling around after we covered the syrup, the whipping, and the powder mix! People ask me all the time about customizing this recipe, so here are a few of the most common things I hear about making the best chocolate milk at home.
Can I use regular white sugar instead of granulated sugar in the syrup?
Yes, absolutely! Granulated white sugar works just fine if that’s what you have on hand. That being said, I prefer standard white sugar for the syrup base because it dissolves so cleanly with the hot water. Brown sugar adds a lovely molasses note, which tastes great, but white sugar keeps things classic. If you want to make this a truly Healthy Chocolate Milk option, switch to a liquid sweetener like agave or monk fruit drops, but remember that liquid sweeteners will change the water ratio slightly.
How can I make my scratch-made chocolate milk taste more like the store-bought kind?
That classic, slightly mysterious taste in store-bought chocolate milk often comes from stabilizers and specific types of chocolate liquor, which is hard to replicate! To get close, make sure you’re using whole milk or adding that extra teaspoon of heavy cream for body. Also, make sure you aren’t using dark or Dutch-process cocoa; stick to standard unsweetened cocoa powder. It gives you that familiar flavor profile we all grew up with!
Is this recipe easier for kids to make than other quick drink recipes?
It really is! Since the measuring is so simple—tablespoons of cocoa, sugar, and then just add water and milk—it’s much more forgiving than baking. It’s a perfect base for teaching little ones how to handle hot water safely (with supervision, of course!). They can handle mixing the syrup base, and before you know it, they’ve made their own great drink. For more on who this recipe is great for, peek at my About Us page!
If I make the powder mix, how long does it last?
If you prepare the dry chocolate milk powder mix correctly—meaning you triple the dry ingredients and store them in a completely airtight container away from heat and light—it should last for several months. I always test a small amount first just to make sure the cocoa hasn’t absorbed any ambient moisture, but generally, the high sugar content acts as a great preservative!
Estimated Nutritional Data for This Chocolate Milk
Now, I always feel a little funny talking about strict numbers when we’re just whipping up a fun drink, but since you asked, here’s the general estimate for a single serving! This data is based on using standard whole milk and the recipe as written—so your numbers might shift a little if you use almond milk or skip the sugar entirely.
Keep in mind that this is just a snapshot, okay? For detailed medical guidelines, always check out the official disclaimer over at our disclaimer page. We’re focused on happiness here, but it’s good to know what we’re drinking!
- Calories: About 180
- Total Fat: 5g
- Total Sugar: 25g (Remember, you control how much of that is added sugar!)
- Protein: 8g
Share Your Best Chocolate Milk Experience
Whew! That’s the whole process for making the creamiest, richest chocolate milk right in your own kitchen! Now that you’ve tried it, I absolutely need to know what you think. Did you manage to cut the sugar way down? Did you try the whipped version? Don’t be shy—head down to the comments below and tell me all about your customizations!
If you loved how fast this came together, take a moment to give this recipe a rating. Five stars if it saved your afternoon, four stars if you’re still tinkering! Seeing your feedback helps me know what recipes you want to see next, especially if you’re looking for more drinks focused on being Less Sugar Chocolate Milk.
If you have any questions or need clarification on making the syrup base, shoot me a message through the contact page—I love hearing from fellow home cooks! Happy sipping!
PrintBest Homemade Chocolate Milk Using Cocoa Powder

Make rich, creamy chocolate milk from scratch quickly using simple cocoa powder and your choice of sweetener.
- Prep Time: 2 min
- Cook Time: 1 min
- Total Time: 3 min
- Yield: 1 serving
- Category: Drink
- Method: Mixing
- Cuisine: American
- Diet: Vegetarian
Ingredients
- 2 tablespoons unsweetened cocoa powder
- 2 tablespoons granulated sugar (or preferred sweetener)
- 1/4 teaspoon vanilla extract
- 1/8 teaspoon salt
- 1/4 cup hot water
- 1 cup cold milk (dairy or non-dairy)
Instructions
- In a small bowl, combine the cocoa powder, sugar, vanilla extract, and salt.
- Pour the hot water over the dry ingredients. Stir vigorously until the cocoa and sugar are completely dissolved, forming a smooth chocolate syrup base.
- Pour the chocolate syrup base into a glass.
- Add the cold milk to the glass.
- Stir well until the milk is uniformly colored and mixed.
- Serve immediately over ice if desired.
Notes
- For a less sweet drink, reduce the sugar to 1 tablespoon or substitute with a liquid sweetener like maple syrup or honey.
- To make a shelf-stable chocolate milk powder mix, triple the dry ingredients (cocoa, sugar, salt) and store the mix in an airtight container. Use 3 tablespoons of the mix per 1 cup of milk.
- For a creamy texture, use whole milk or add 1 teaspoon of heavy cream to the final mixture.
- To make whipped chocolate milk, mix the syrup base with only 1/4 cup of milk and whip vigorously with a small whisk or milk frother until foamy before adding the remaining cold milk.
Nutrition
- Serving Size: 1 cup
- Calories: 180
- Sugar: 25
- Sodium: 100
- Fat: 5
- Saturated Fat: 3
- Unsaturated Fat: 2
- Trans Fat: 0
- Carbohydrates: 30
- Fiber: 2
- Protein: 8
- Cholesterol: 15