

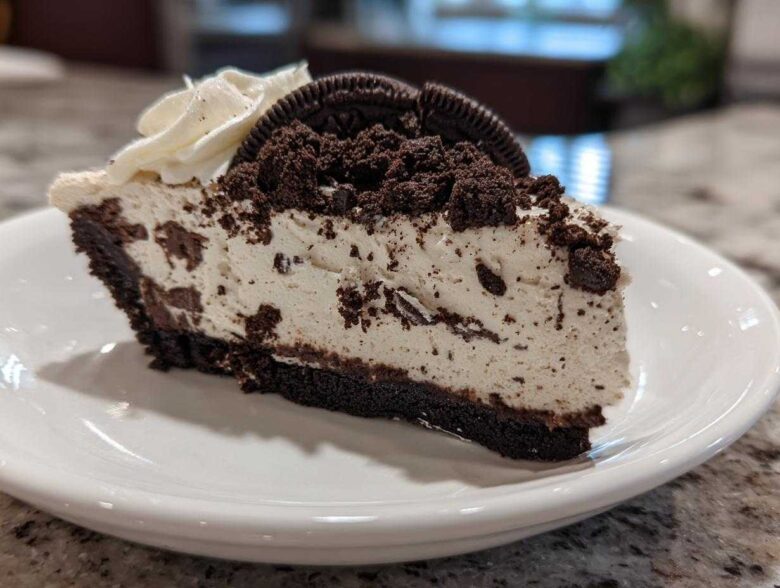
When the summer heat is just too much, or honestly, any day I’m craving something ridiculously delicious without touching the oven, I turn to this recipe! Forget complicated water baths and worrying about cracks; this is the easiest, creamiest No-Bake Oreo Cheesecake you will ever make, I promise you that.
It took me a few tries years ago to nail the chilling time, because nobody likes a soupy cheesecake, right? But I figured out the secret is the heavy cream—whip it properly, fold it gently, and you get this incredibly smooth, stabilized filling. It sets up perfectly, holding its shape when you slice it. If you need a showstopper dessert that takes less than 30 minutes of active time, trust me, this is it. You absolutely need to try this recipe.
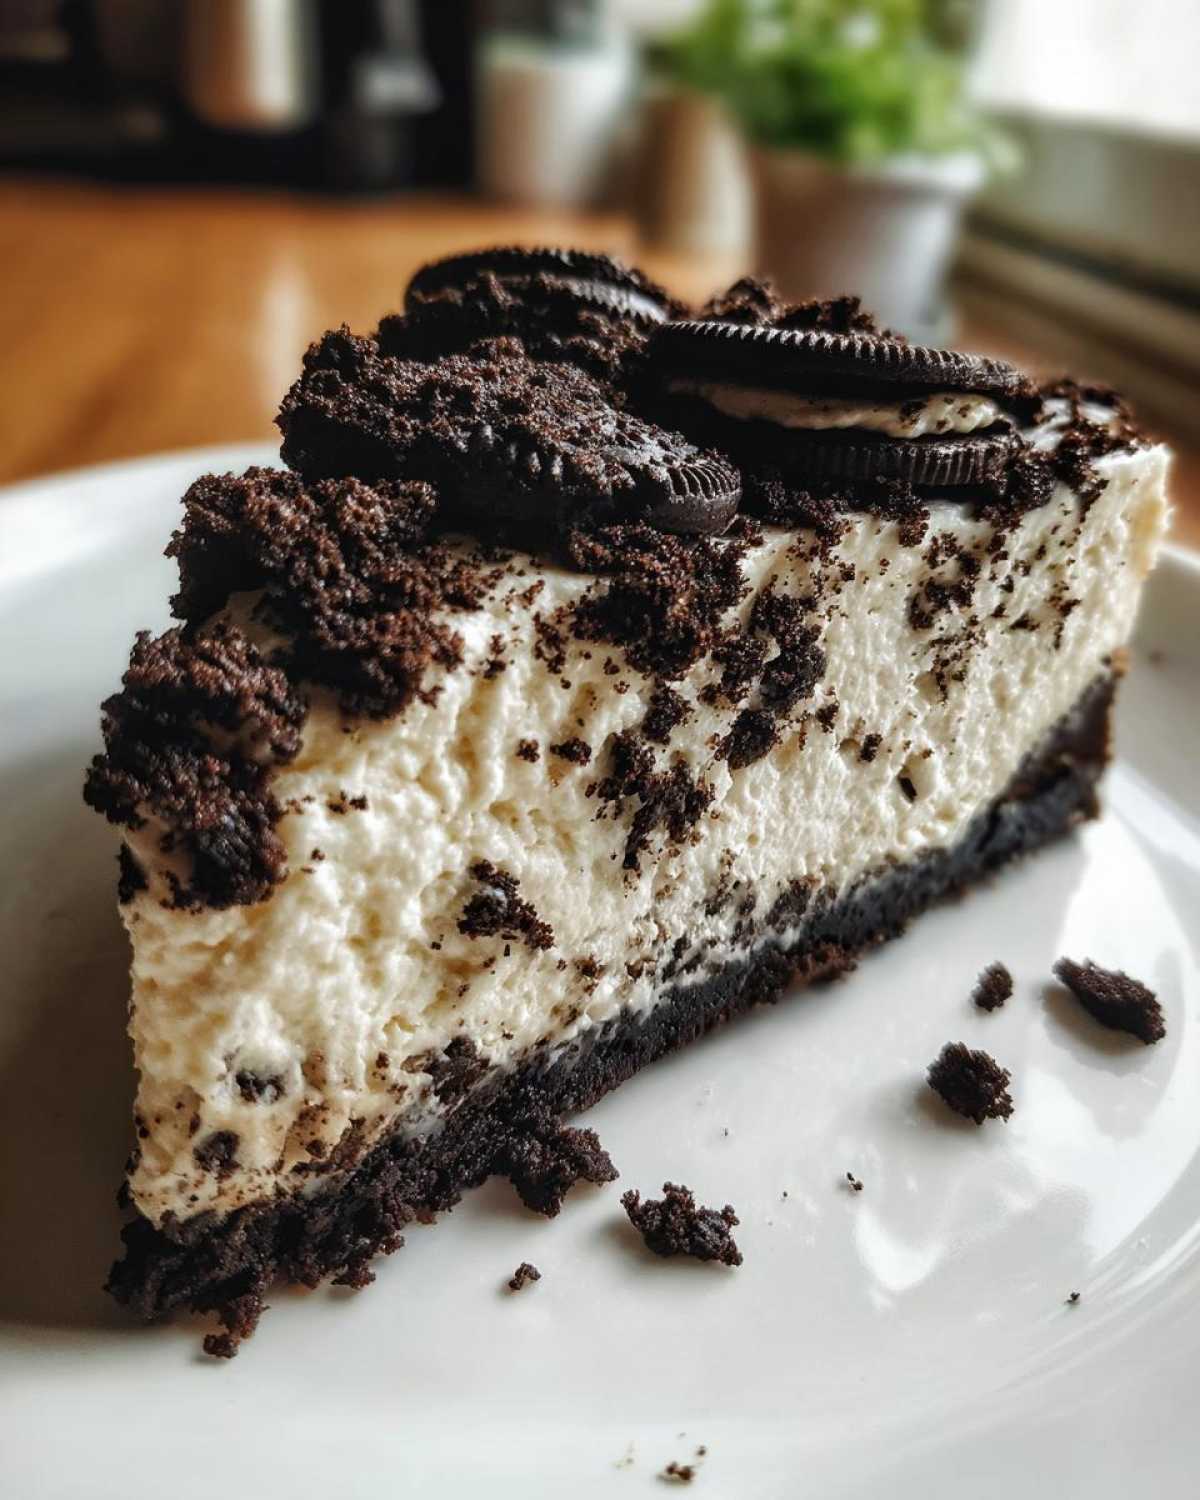
Why This No-Bake Oreo Cheesecake Recipe Works So Well
I’m telling you, reliability is everything when you’re whipping up last-minute treats. This Easy Oreo Cheesecake Recipe shines because it skips the baking stress entirely, but still manages to deliver that amazing thick structure.
Why does mine always set up perfectly? It boils down to a couple of crucial things ingredients and steps that I never cheat on. We get amazing results every single time!
- It’s genuinely quick! You only need about 20 minutes of actual work before it goes into the fridge.
- Zero chance of cracks! Since we aren’t introducing any heat, the top stays gorgeous and smooth.
- It feels way fancier than the effort required. It’s the definition of impressive but easy.
Key Components of a Perfect No-Bake Oreo Cheesecake
First up is the crust. We pack those buttery crumbs in tight, which means it has the structural integrity to hold up all that yummy filling. Don’t go light on the pressing!
Second, the heavy whipping cream is our secret weapon for stabilization. When you whip it to stiff independent peaks, you’re incorporating so much air, and that air helps firm things up beautifully once it chills. It’s what gives us that super creamy Oreo cheesecake texture without any gelatin or fuss. Honestly, check out some of my other easy recipes if you love this kind of simplicity!
Gathering Ingredients for Your No-Bake Oreo Cheesecake
Okay, ingredient shopping time! Since we aren’t baking, the quality and temperature of what you bring home matters a whole lot. I’m going to lay out exactly what you need for the crust and the filling. Make sure you check the labels, especially on the dairy, because temperature is key here, my friend. If you’re looking for even more simple treats, I actually have a guide to easy cheese crackers that use minimal ingredients too!
We need precision, but nothing exotic. Just standard grocery store goodies that come together to make magic happen. Pay close attention to the cream cheese—it absolutely has to be room temperature, or you’ll end up with lumps that just won’t go away!
Ingredients for the Oreo Crust Cheesecake Recipe
- 1 3/4 cups Oreo cookie crumbs (and I mean finely crushed, crush them yourself if you can!)
- 1/4 cup unsalted butter, melted
Ingredients for the Creamy Oreo Cheesecake Filling
Here is where the structure comes from! Notice that we are using heavy whipping cream. Don’t try to substitute this with regular milk or half-and-half; it just won’t get stiff enough to hold our filling together.
- 2 (8 ounce) packages cream cheese, softened (get this out of the fridge early!)
- 1 cup powdered sugar
- 1 teaspoon vanilla extract
- 1 1/2 cups heavy whipping cream, cold (I mean ice cold, straight from the fridge!)
- 1/2 cup crushed Oreo cookies, for topping (save these for last!)
Step-by-Step Instructions: How to Make No Bake Cheesecake
Now for the fun part! This is where we put our ingredients to work. Since we aren’t baking, timing your preparation for the different components—the crust, the filling base, and the whipped cream—makes sure everything comes together perfectly. If you want a slightly faster version of this style of dessert, I have a quick cheesecake recipe that rushes through some steps, but for best results, stick with my chilling times here!
Preparing the Oreo Crust Base
First, you’ve already made your crumbs, so now mix those Oreo crumbs with the melted butter until they look like damp sand. Grab your 9-inch springform pan—this is crucial for easy removal later! Dump the mixture in, and push it down. And this is my little secret: use the flat bottom of a drinking glass or measuring cup to really pack it down tightly and evenly across the bottom. You want a nice, sturdy base!
Once it’s packed, pop that pan straight into the freezer for about 10 minutes while you mix the filling. Freezing helps it firm up instantly so the filling doesn’t make it soggy when you pour it on top.
Creating the Smooth Cream Cheese No Bake Desserts Filling
Okay, tackle the cream cheese first. Beat your softened cream cheese with the powdered sugar and vanilla until it’s absolutely lump-free. Scrape down the sides of the bowl twice, I swear, just to be sure!
Separate bowl time! Whip your ice-cold heavy cream until you see stiff peaks—they should look like firm little mountain tops when you pull the beaters out. Now, the critical part: gently fold the whipped cream into the cream cheese mixture. I mean fold, using a spatula, not a mixer! You have to be gentle so you don’t smash all that air out. We need that air for the light, creamy Oreo cheesecake texture!
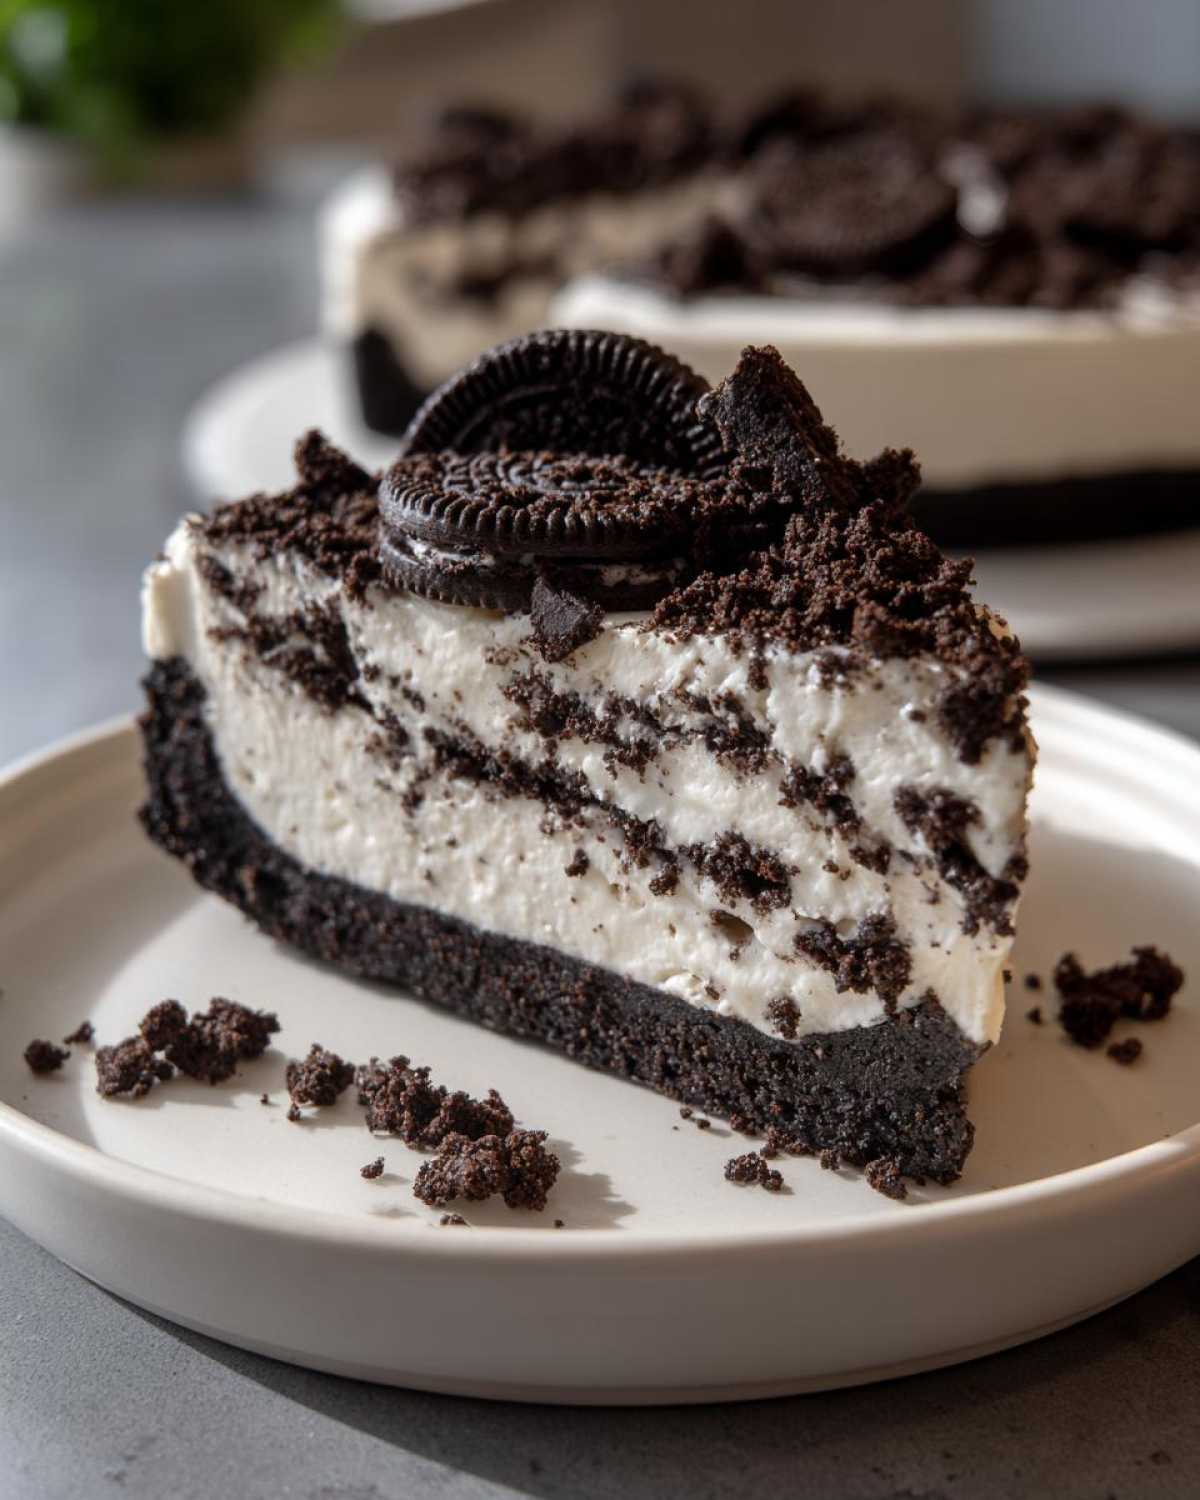
Setting and Finishing the No Bake Oreo Cheesecake
Once it’s just combined—no streaks of white cream left, but don’t you dare overmix—spoon that beautiful filling right over your chilled crust. Spread the top evenly with an offset spatula.
Cover it loosely with plastic wrap—loose so it doesn’t stick to the filling—and then it’s nap time for the cake! It has to go into the refrigerator for a minimum of 6 hours. Honestly, overnight is so much better because that heavy cream needs time to stabilize everything completely. Don’t get impatient; rushing the chill time means the filling will slump when you slice the No Bake Oreo Cheesecake.
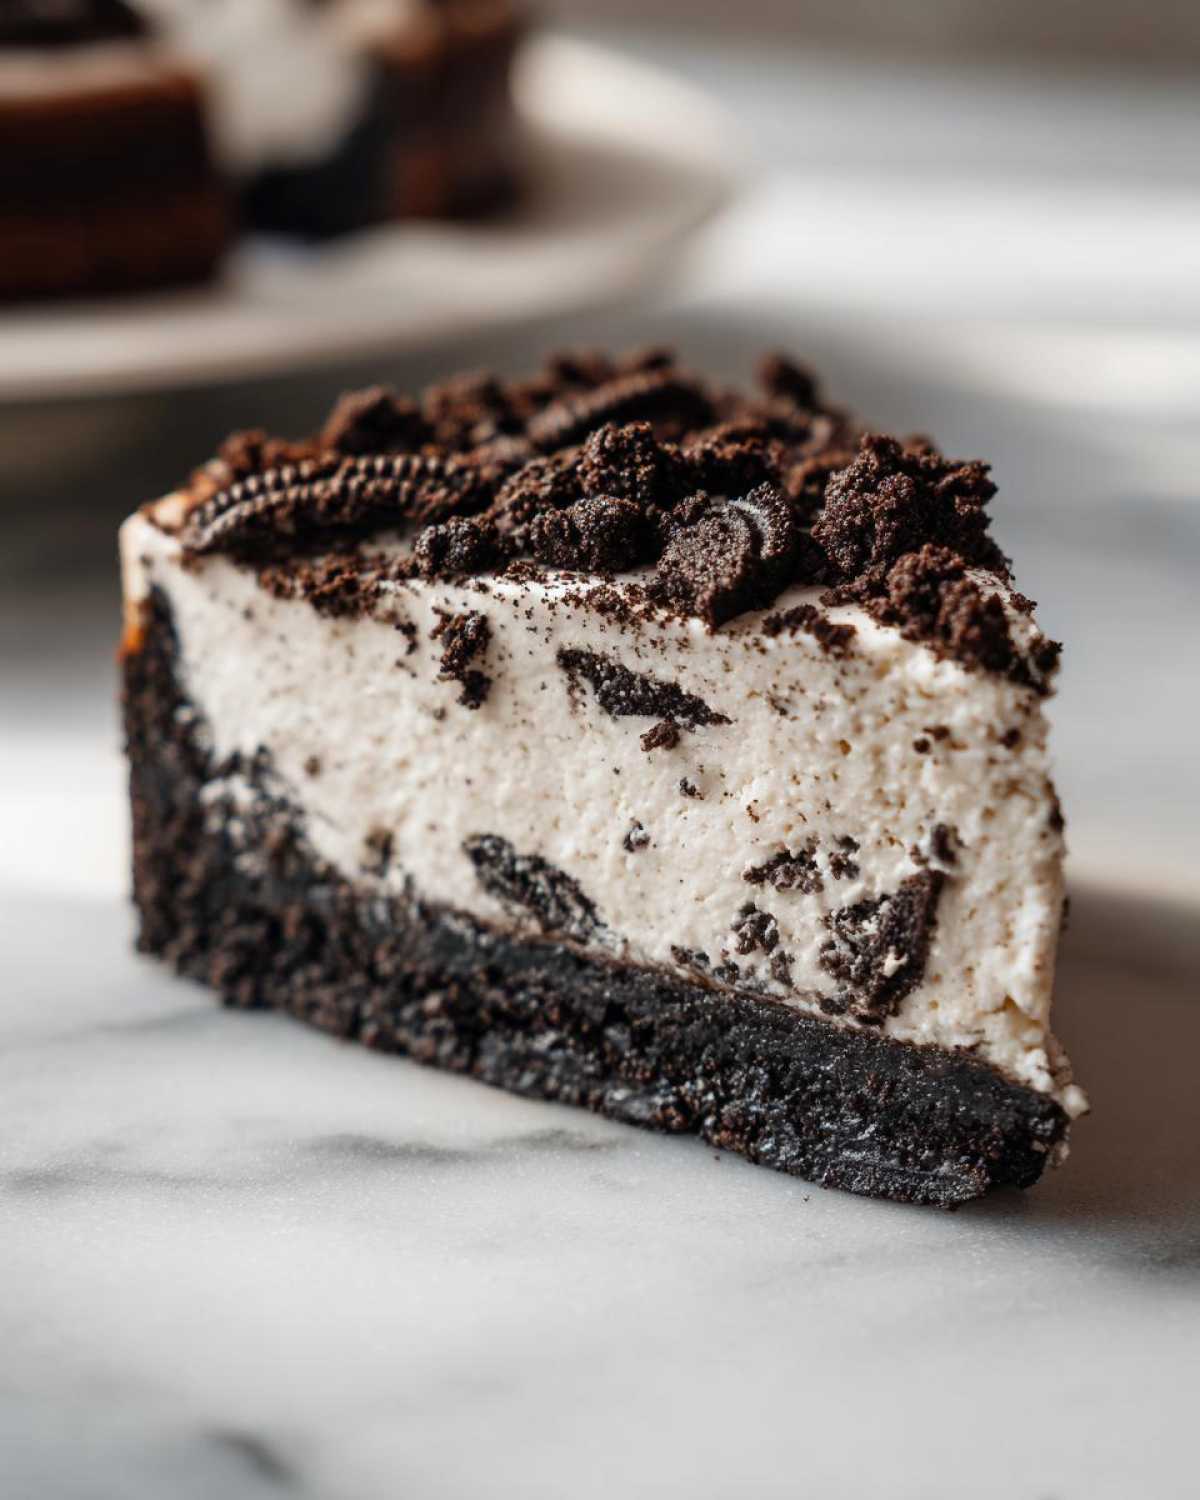
When you’re ready to serve, carefully run a thin knife around the edge before releasing the springform side. Then, just sprinkle those reserved crushed Oreos liberally all over the top for a fantastic presentation!
Tips for the Best No Bake Oreo Cheesecake
Even though this is called “no-bake,” there are still little tricks that separate a good cheesecake from a truly amazing, decadent slice of indulgence. I’ve learned these the hard way, so you don’t have to!
First things first, let’s talk temperature again. I mentioned it before, but it bears repeating: your cream cheese needs to be perfectly softened—squishy but not greasy—to get that uniformly creamy Oreo cheesecake filling. If it’s cold, you’re fighting lumps the whole time. My personal trick is putting the wrapped blocks in a microwave for exactly 10 seconds on medium power if I forget to take them out early, but watch them like a hawk!
Remember those notes I mentioned? Use a flat glass to press that crust. Seriously, the surface tension you create by pressing firmly and evenly makes the crust slice cleanly instead of crumbling onto your plate. Also, don’t peek in the fridge while it’s chilling! That minimum 6-hour chill isn’t just a suggestion; it’s structural engineering for dessert!
Variations for Your Simple Oreo Dessert
The beauty of this Simple Oreo Dessert is how easily you can tweak it without losing that amazing no-bake structure! If you’re feeling adventurous, try folding in about a half cup of mini chocolate chips right before you spoon the filling into the crust. Hello, double chocolate heaven!
You could also experiment with the cream cheese base itself. Maybe add a teaspoon of instant coffee powder for a mocha kick, or swirl in a tablespoon of caramel sauce for a salty-sweet layer. Have you seen my recipe for apple pie cheesecake? It uses a similar base structure, so you know these variations work!
Storage and Make Ahead Dessert Recipes for No Bake Oreo Cheesecake
This is the best kind of dessert because it is practically built for planning ahead! Since we aren’t dealing with eggs or much danger of slumping, this cheesecake is a fantastic make ahead dessert recipe. You want it wrapped tightly with plastic wrap and kept in the fridge for up to four days. It honestly tastes even better on day two because those Oreo crumbs soak up a tiny bit of moisture.
If you need to stash it even longer, you can absolutely freeze it! Wrap the whole thing securely in a double layer of plastic wrap, then another layer of foil. It lasts great for about a month in the freezer. When you want to serve it, just move it to the fridge the day before you plan to eat it. No reheating needed, of course, since it’s a chilled treat!
Frequently Asked Questions About No Oven Needed Cheesecake
I always get so many questions about this recipe because people are nervous it won’t set up right when you skip the oven. Don’t worry, I’ve got all the little details covered so your cheesecake dreams come true!
Can I substitute the heavy cream in this No-Bake Oreo Cheesecake?
This is one question I have to lean on safety with. Heavy whipping cream is super important because it whips up stiff and creates the structure that holds the whole cheesecake together without baking. If you try to use regular half-and-half or milk, it’s just going to stay liquidy, and you’ll end up with soup! If you absolutely must, you could maybe try a mix of softened cream cheese and Cool Whip, but honestly, for the truly creamy Oreo cheesecake texture, the heavy cream is non-negotiable for me.
How long does the No Bake Oreo Cheesecake need to chill?
This is where patience pays off! You *must* give it at least 6 hours in the refrigerator. I’ve tried cutting it short, and the slices just slump over the minute you try to serve them. If you can plan ahead, chilling it overnight is the absolute golden rule. Once it’s chilled that long, it becomes firm, sliceable, and utterly divine.
Can I use a different cookie besides Oreos for the crust?
Totally! The flavor profile changes, but the technique is the same. You can use chocolate graham crackers if you want something a little less intensely chocolatey, or even vanilla wafers if you prefer a lighter crust. If you use chocolate wafers, it borders on a wonderful No Bake Chocolate Cheesecake vibe, just lighter in texture! Just make sure you crush them just as finely as you would the Oreos.
Estimated Nutritional Data for No-Bake Oreo Cheesecake
I always feel a little silly putting numbers next to something this fun, but here is the rundown for one slice of this amazing dessert. Since we aren’t baking and the ingredients are straightforward, these numbers are pretty close to spot on, but remember these are just close guesses!
If you want the whole breakdown, you should check out my main recipe page for all the charts, but roughly, here’s what you’re looking at per serving:
- Serving Size: 1 slice
- Calories: 380
- Sugar: 30g
- Fat: 25g
- Protein: 5g
As always, if you’re tracking things closely, please refer to the full ingredient labels—this sheet is just a quick look at what we’re working with on this dreamy, no oven needed cheesecake. For official details, you can always read my full nutritional disclaimer here.
Share Your Creamy Oreo Cheesecake Creations
I just love hearing from you all when you try this recipe! Once you’ve enjoyed a slice of this glorious Creamy Oreo Cheesecake, please hop down to the comments and let me know how it turned out!
Did you chill it overnight? Did you add any fun swirls? Rate it for me, and if you snapped a picture, tag me on social media so I can swoon over your results! I can’t wait to see your beautiful, oven-free desserts. Check out more about what we’re cooking up over on my About Me page!
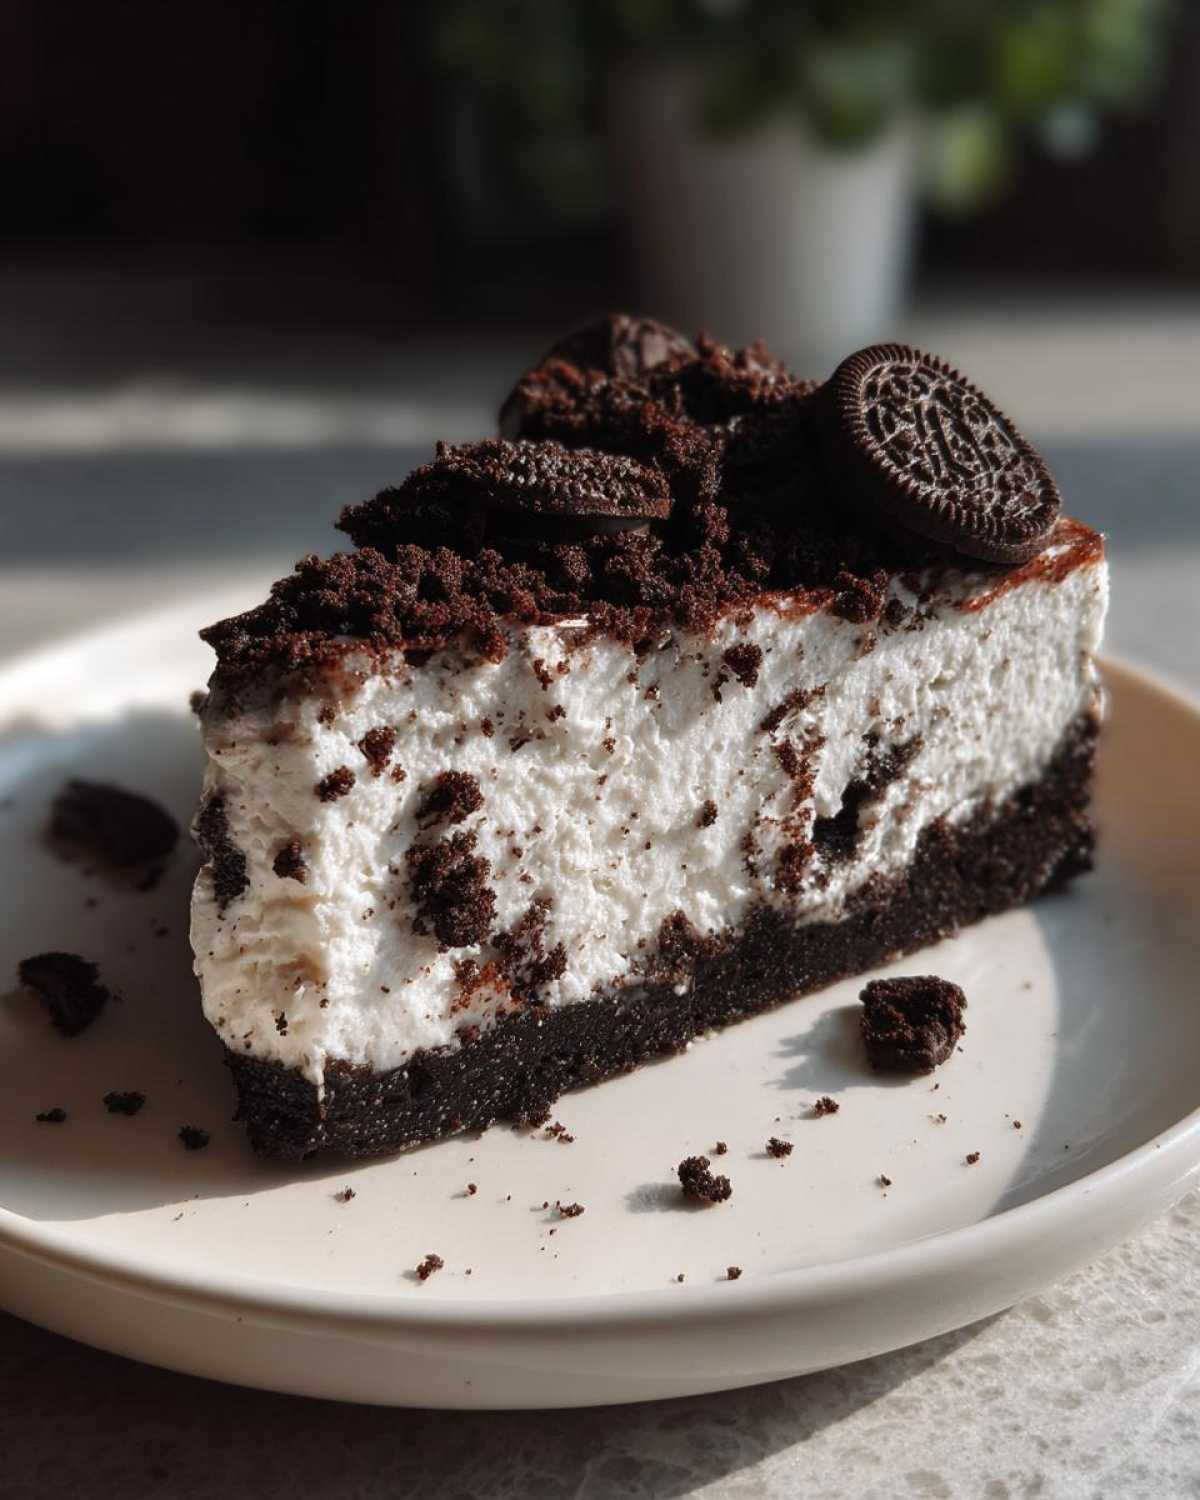
Simple No-Bake Oreo Cheesecake
Make a rich, creamy Oreo cheesecake without turning on your oven. This recipe uses a simple Oreo crust and a smooth, stabilized cream cheese filling.
- Prep Time: 20 min
- Cook Time: 0 min
- Total Time: 6 hr 20 min
- Yield: 10 servings
- Category: Dessert
- Method: No Bake
- Cuisine: American
- Diet: Vegetarian
Ingredients
- 1 3/4 cups Oreo cookie crumbs (about 30 cookies)
- 1/4 cup unsalted butter, melted
- 2 (8 ounce) packages cream cheese, softened
- 1 cup powdered sugar
- 1 teaspoon vanilla extract
- 1 1/2 cups heavy whipping cream, cold
- 1/2 cup crushed Oreo cookies, for topping
Instructions
- Mix the Oreo cookie crumbs and melted butter in a bowl until the crumbs are evenly moistened.
- Press the crumb mixture firmly into the bottom of a 9-inch springform pan. Place the crust in the freezer while you prepare the filling.
- In a large bowl, beat the softened cream cheese, powdered sugar, and vanilla extract with an electric mixer until the mixture is smooth and lump-free.
- In a separate, clean bowl, whip the cold heavy whipping cream until stiff peaks form.
- Gently fold the whipped cream into the cream cheese mixture until just combined. Do not overmix.
- Spoon the filling over the chilled crust and spread it evenly.
- Cover the pan loosely with plastic wrap and refrigerate for at least 6 hours, or preferably overnight, until the cheesecake is firm.
- Before serving, remove the sides of the springform pan and sprinkle the top with crushed Oreo cookies.
Notes
- For the best crust texture, use a flat-bottomed glass to press the crumbs evenly into the pan.
- Ensure your cream cheese is fully softened to avoid lumps in the filling.
- Chill time is essential for the cheesecake to set properly. Do not rush this step.
Nutrition
- Serving Size: 1 slice
- Calories: 380
- Sugar: 30g
- Sodium: 250mg
- Fat: 25g
- Saturated Fat: 15g
- Unsaturated Fat: 10g
- Trans Fat: 0.5g
- Carbohydrates: 35g
- Fiber: 1g
- Protein: 5g
- Cholesterol: 75mg