

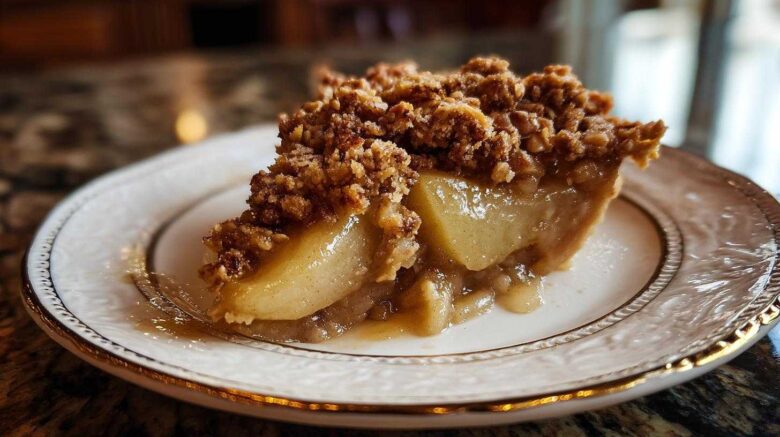
There’s something magical about fall baking. The air gets crisp. Leaves turn brilliant colors. Your kitchen fills with warm, comforting aromas. This season calls for special treats. That’s where our Maple Pear Crisp comes in. It’s pure autumn in a dish. We created this recipe to capture that feeling. It’s perfect for cozy evenings. It brings family together. This dessert is wonderfully simple. It tastes incredible. It truly embodies the spirit of fall.
Why You’ll Love This Easy Maple Pear Crisp
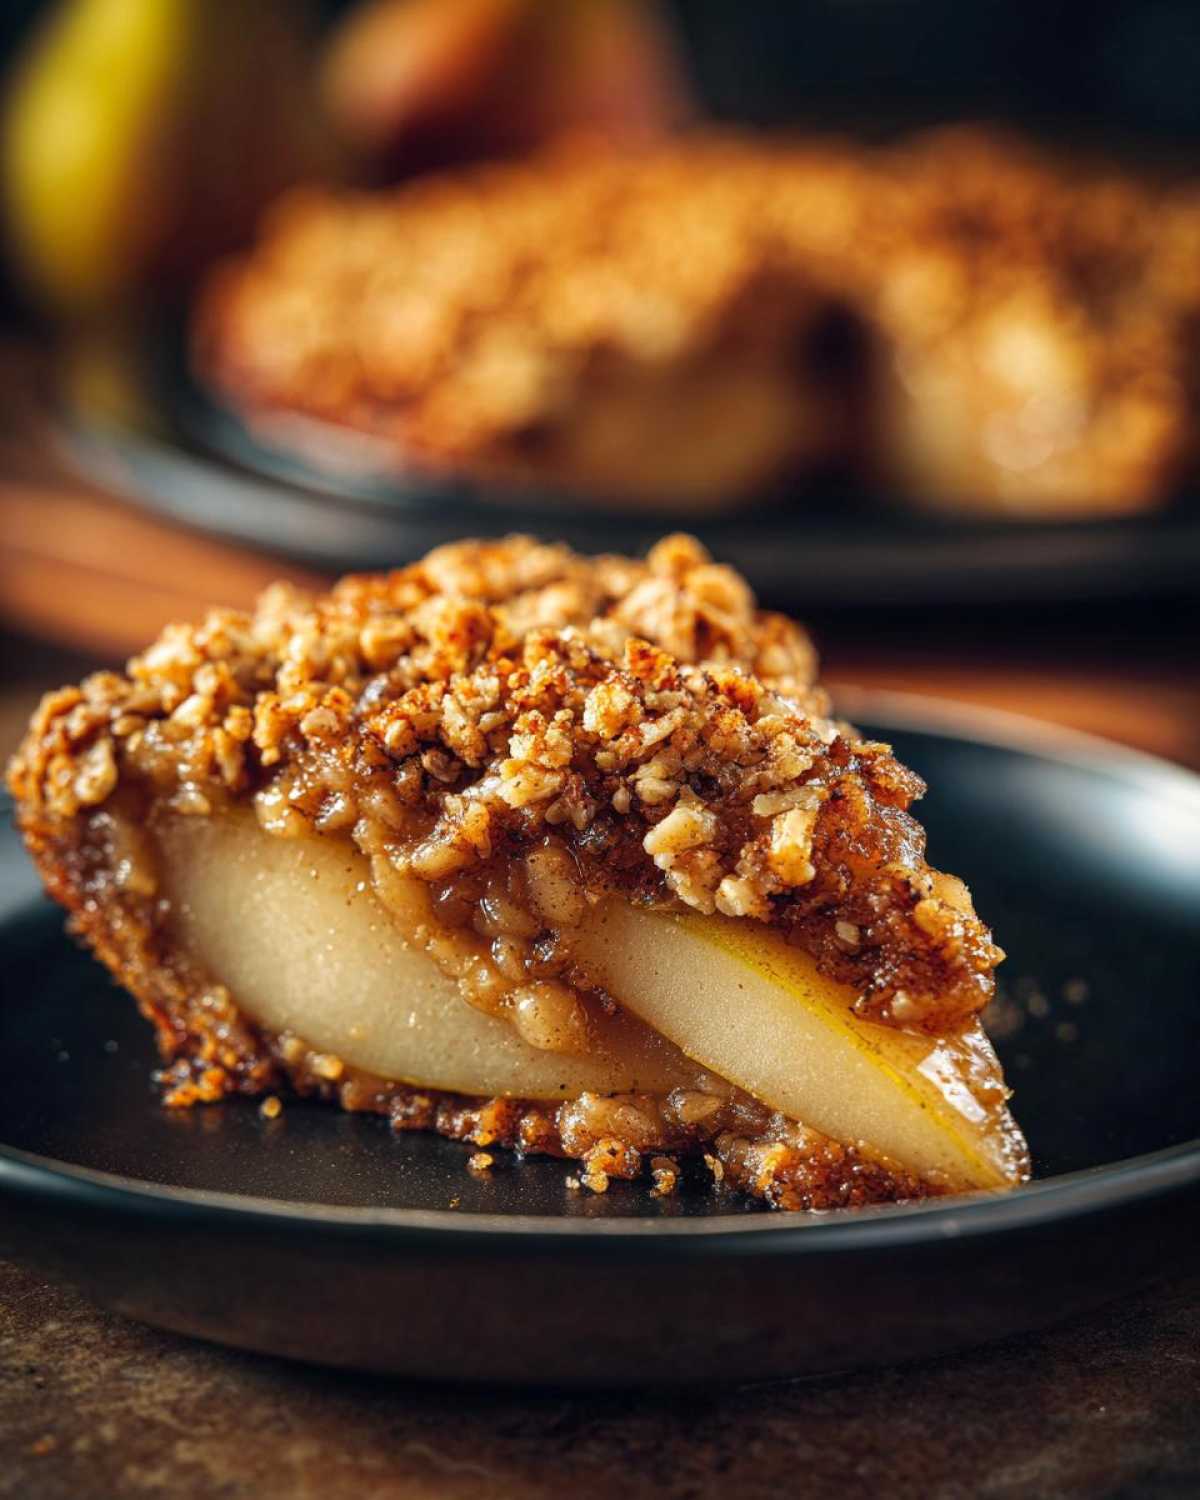
This Maple Pear Crisp is a fall baking dream. It’s incredibly easy to make. The flavors are just wonderful. You get tender, sweet pears. A warm, spiced crumble topping tops it. It’s perfect for any fall gathering. Or just a quiet night in. You’ll love its simplicity. You’ll adore its taste.
- Simple to prepare
- Delicious fall flavors
- Perfect for cozy evenings
Our Journey to the Perfect Maple Pear Crisp
Noah and I started our “Epicure Empire” in the kitchen. We wanted to reconnect. Cooking together became our focus. We tackled many recipes. Some were complex. Others were simple. We wanted a fall dessert. Something comforting and familiar. We played with flavors. Pears and maple syrup were a natural fit. We tested the crumble topping. We wanted it just right. Not too sweet. Perfectly crisp. This Maple Pear Crisp recipe is special. It represents our journey. It’s a reminder of how we built our life. One delicious bite at a time.
Gathering Your Maple Pear Crisp Ingredients
To create this delightful Maple Pear Crisp, you’ll need a few key players. Start with fresh, ripe pears. They are the heart of this dessert. You’ll also need good quality maple syrup. This gives our crisp its signature flavor. Don’t forget the warming spices like cinnamon and nutmeg. They truly sing in fall baking. For the topping, we’ll use flour, oats, and brown sugar. Butter is essential for that perfect crumbly texture. Pecans or walnuts add a lovely crunch, but they’re totally optional!
Pears for Your Perfect Maple Pear Crisp
Choosing the right pears is key. I find that Bartlett or Bosc pears work beautifully. They hold their shape well. They also have a lovely sweetness. Make sure they are ripe but still firm. Overripe pears can get mushy in the oven. This is important for our Maple Pear Crisp.
The Sweetness of Maple Pear Crisp Topping
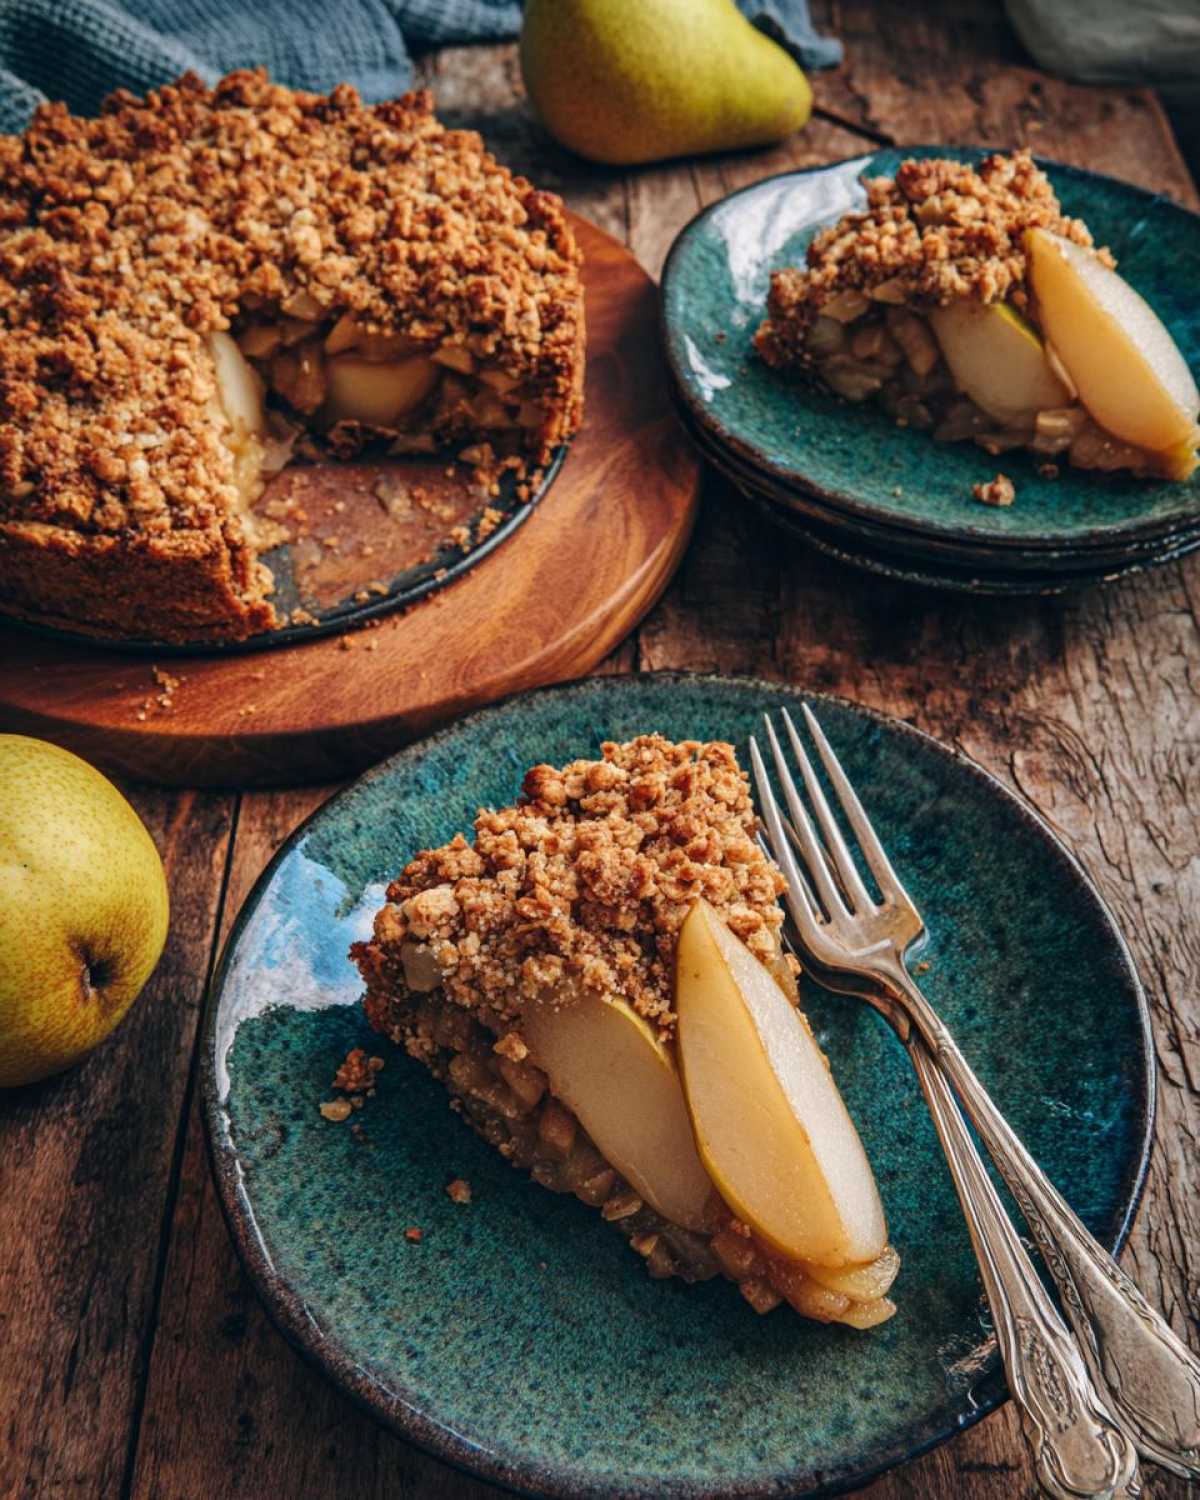
The crumble topping is pure magic. Brown sugar brings a rich, caramel-like sweetness. Rolled oats add a wonderful chewiness. Together with flour, they create a fantastic texture. This topping bakes up golden. It gets wonderfully crisp. It’s the perfect contrast to the tender pears.
Crafting Your Delicious Maple Pear Crisp: Step-by-Step
Let’s get baking! Making this Maple Pear Crisp is a joy. It’s a straightforward process. You’ll have a warm, delicious dessert in no time. We’ll break it down into easy steps. Follow along, and you’ll create magic.
Preparing the Pear Filling for Your Maple Pear Crisp
First, get your pears ready. Peel them. Core them. Slice them into nice, even pieces. In a big bowl, gently toss these pear slices. Add the maple syrup. Don’t forget the lemon juice. Sprinkle in the cinnamon and nutmeg. Mix it all up carefully. You want every pear slice coated. This ensures amazing flavor in every bite of your Maple Pear Crisp.
Creating the Perfect Crumble Topping for Maple Pear Crisp
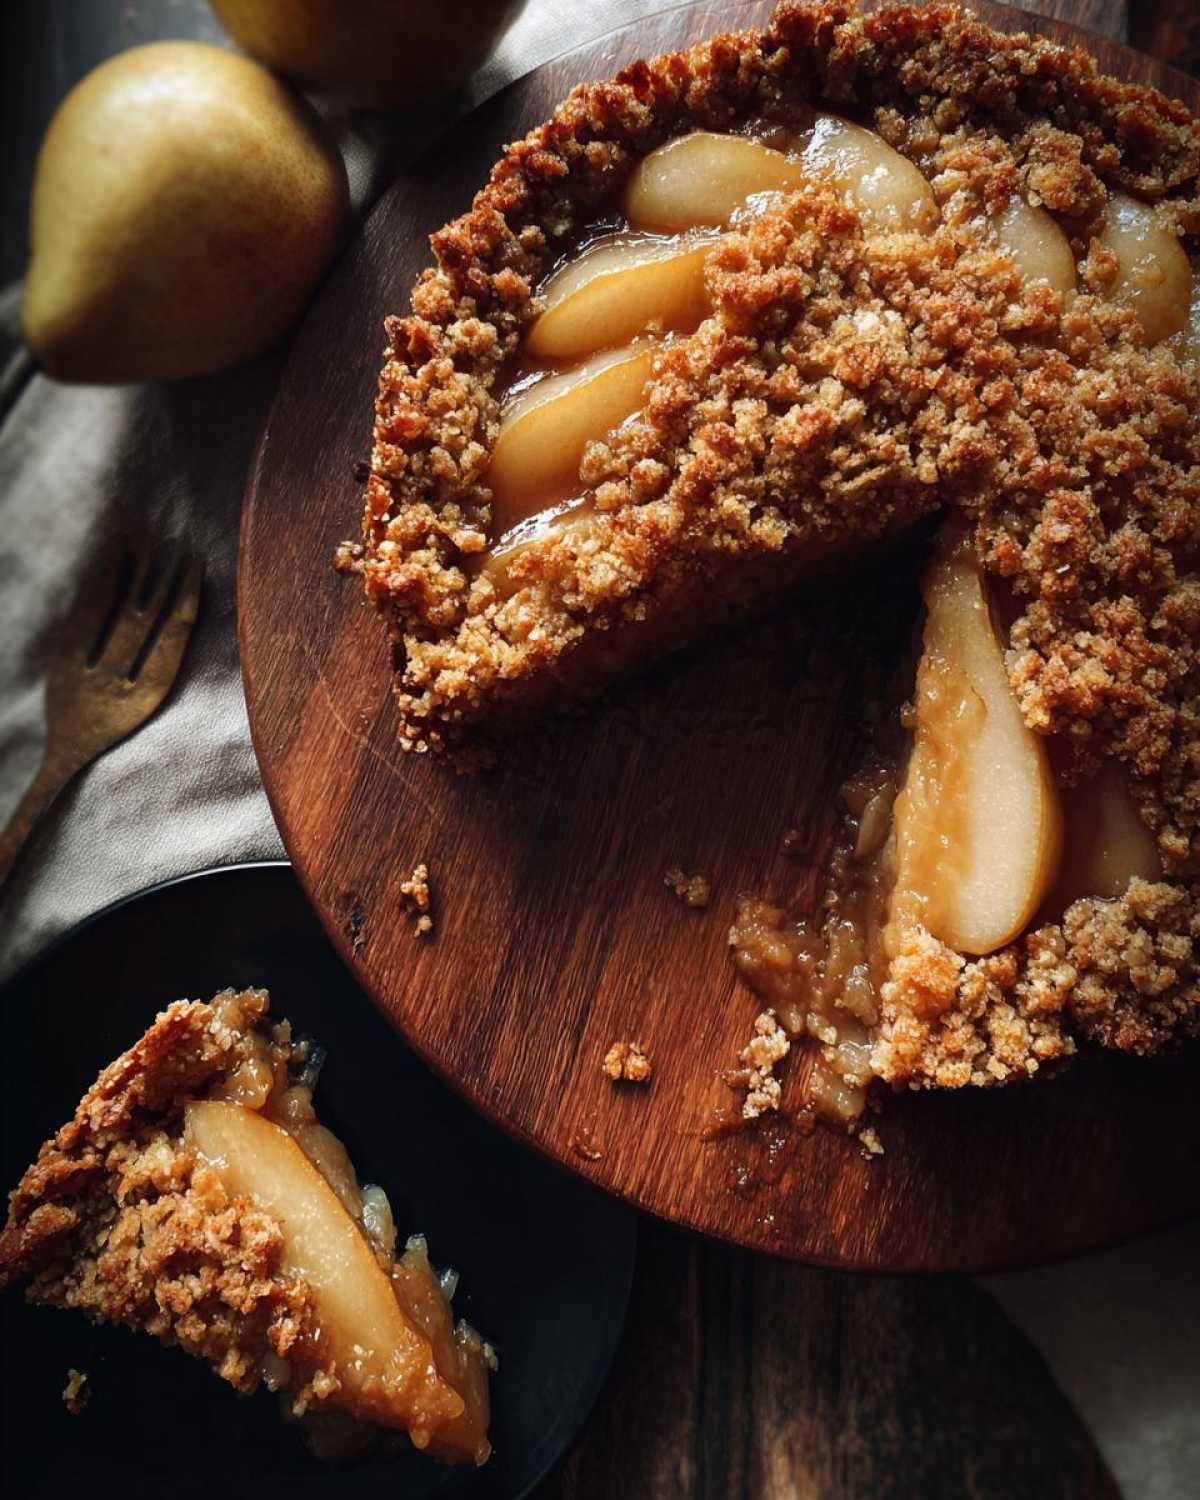
Now for the best part: the topping! In another bowl, whisk together flour, oats, brown sugar, more cinnamon, and salt. These dry ingredients form the base. Add your cold butter cubes. Use a pastry blender or your fingers. Cut the butter into the dry mix. You’re aiming for coarse crumbs. Like tiny pebbles. If you like nuts, stir in chopped pecans or walnuts here. This adds a lovely crunch to your Maple Pear Crisp.
Assembling and Baking Your Maple Pear Crisp
Grab your baking dish. Pour the pear mixture in. Spread it out evenly. Now, sprinkle that glorious crumble topping all over the pears. Make sure it covers them well. Pop it into your preheated oven. Bake it for about 35 to 45 minutes. You’re looking for a golden-brown topping. The pears should be tender and bubbly. That’s your sign your Maple Pear Crisp is ready!
Tips for an Unforgettable Maple Pear Crisp
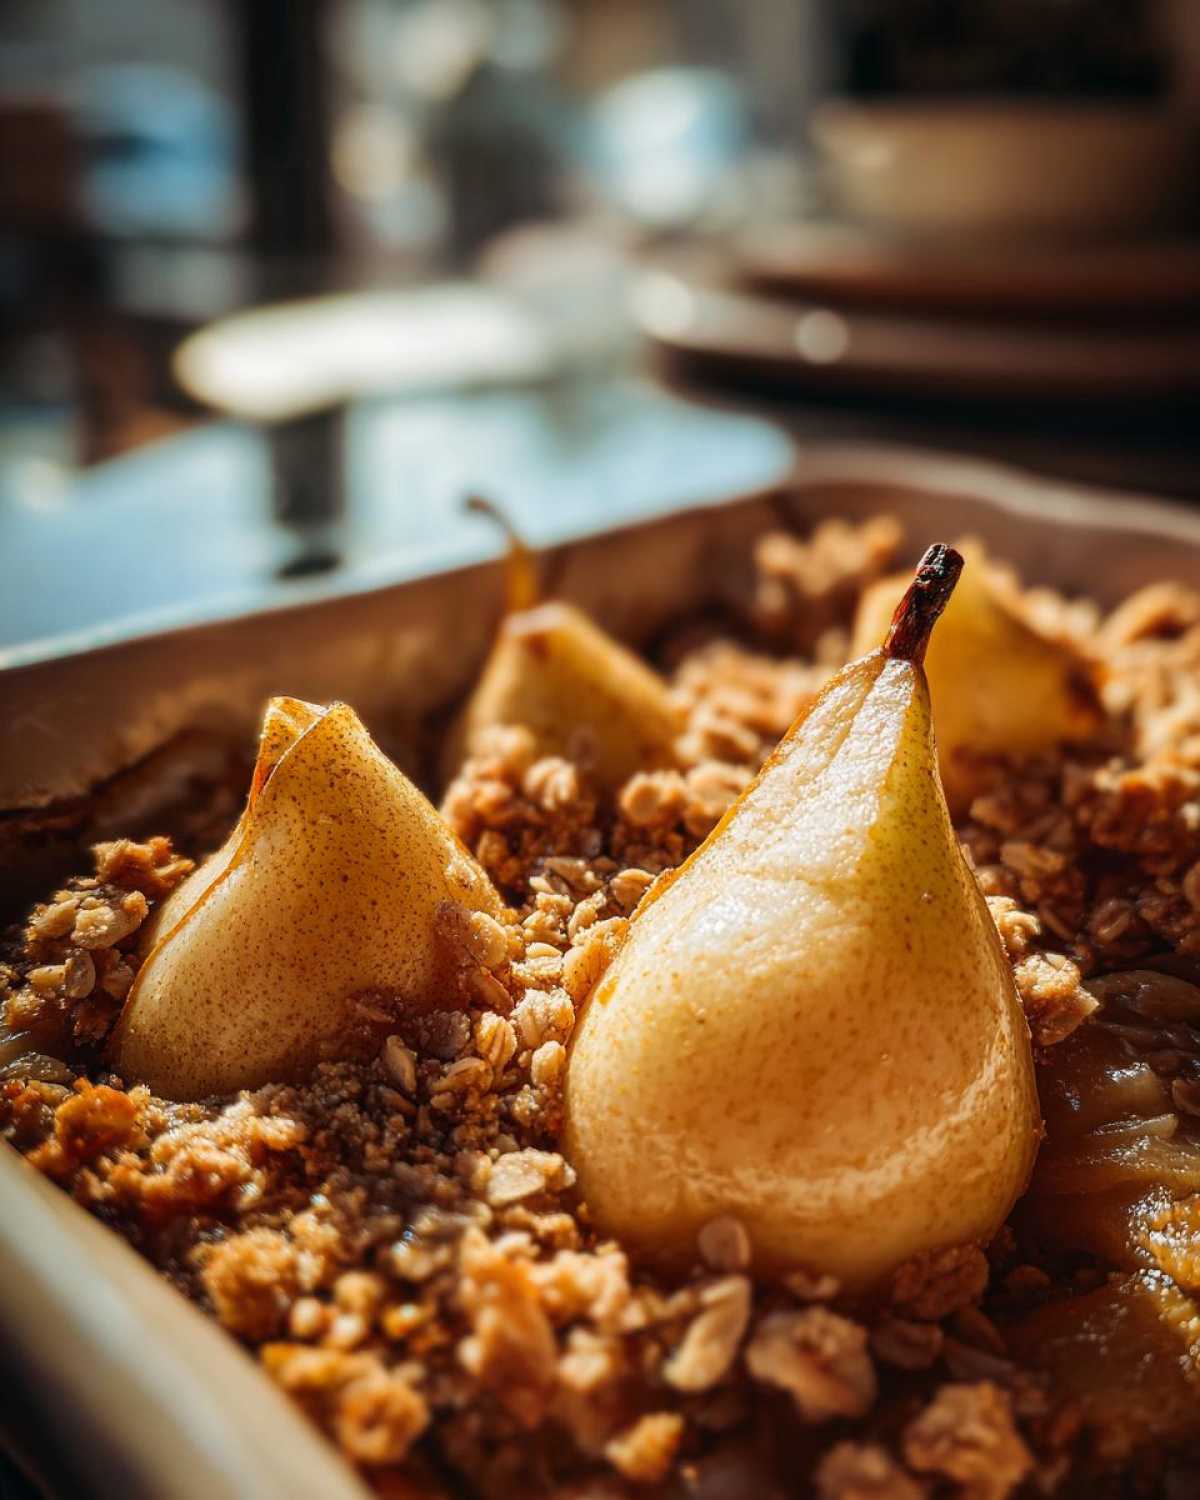
To make your Maple Pear Crisp truly shine, a few tricks help. Always use ripe but firm pears. This ensures they soften beautifully without turning to mush. For the crumble, cold butter is your best friend. It creates those lovely, distinct crumbs. Don’t overmix the topping. We want texture, not a paste. If your pears seem a bit tart, a touch more maple syrup in the filling is a good idea. A little lemon zest added to the topping can also brighten the flavors. These small steps elevate your Maple Pear Crisp.
Variations for Your Maple Pear Crisp
Want to switch things up? Try adding a pinch of cardamom to the pear filling. It pairs wonderfully with maple. For extra crunch, toasted almonds work great in the topping. You could also swap half the pears for apples. Or even add a handful of dried cranberries. These little changes make your Maple Pear Crisp uniquely yours. Get creative with your fall baking!
Serving and Storing Your Maple Pear Crisp
This Maple Pear Crisp is best served warm. It’s truly delightful with a scoop of vanilla ice cream. Whipped cream is also a wonderful choice. For storage, let the crisp cool completely. Then, cover it tightly. Store it at room temperature for a day. Or in the refrigerator for up to three days. To reheat, warm it gently in the oven. Just a few minutes at 300°F (150°C) brings back that fresh-baked goodness.
Frequently Asked Questions About Maple Pear Crisp
Got questions about our Maple Pear Crisp? I’m happy to help!
What are the best pears for a Maple Pear Crisp?
I find that pears like Bartlett or Bosc are ideal. They hold their shape nicely when baked. They also offer a perfect balance of sweetness and slight tartness. Ensure they are ripe but still firm for the best texture in your crisp.
Can I make Maple Pear Crisp ahead of time?
Yes, you can! You can prepare the pear filling and the crumble topping separately. Store them in airtight containers in the refrigerator. Assemble and bake when you’re ready to serve. This makes serving this delicious fall dessert much easier.
How do I know when my Maple Pear Crisp is done?
Your Maple Pear Crisp is ready when the topping is a beautiful golden brown. You should also see the pear filling bubbling around the edges. A knife inserted into the pears should meet little resistance; they should be tender.
Can I freeze Maple Pear Crisp?
It’s best to enjoy this crisp fresh. While you can freeze it, the texture of the pears and topping might change upon thawing. If you must freeze, let it cool completely, wrap it well, and freeze for up to a month. Thaw overnight in the fridge.
Estimated Nutritional Information for Maple Pear Crisp
Please note that the nutritional values provided are estimates. Actual amounts can vary based on the specific ingredients you use, ripeness of the pears, and portion sizes. This Maple Pear Crisp is a delicious treat for fall baking.
Share Your Maple Pear Crisp Creations
We absolutely love hearing from you! Did you make our Maple Pear Crisp? How did it turn out? We’d be thrilled if you’d share your experience. Please leave a comment below. Tell us what you loved most. Rate this recipe. Your feedback helps our Epicure Empire grow. We can’t wait to see your delicious creations!
PrintAutumn’s Delight: 1 Maple Pear Crisp
A warm and inviting fall dessert featuring tender pears baked with a sweet maple-infused crumble topping. Perfect for creating cozy memories.
- Prep Time: 20 minutes
- Cook Time: 40 minutes
- Total Time: 1 hour
- Yield: 6 servings
- Category: Dessert
- Method: Baking
- Cuisine: American
- Diet: Vegetarian
Ingredients
- 6 ripe pears, peeled, cored, and sliced
- 2 tablespoons maple syrup
- 1 tablespoon lemon juice
- 1 teaspoon ground cinnamon
- 1/4 teaspoon ground nutmeg
- 1 cup all-purpose flour
- 1/2 cup rolled oats
- 1/2 cup packed brown sugar
- 1/2 teaspoon ground cinnamon
- 1/4 teaspoon salt
- 1/2 cup (1 stick) unsalted butter, cold and cut into cubes
- 2 tablespoons chopped pecans or walnuts (optional)
Instructions
- Preheat your oven to 375°F (190°C).
- In a large bowl, gently toss the sliced pears with maple syrup, lemon juice, 1 teaspoon cinnamon, and nutmeg.
- Pour the pear mixture into an 8×8 inch baking dish.
- In a separate medium bowl, combine the flour, oats, brown sugar, 1/2 teaspoon cinnamon, and salt.
- Add the cold butter cubes to the dry ingredients.
- Using a pastry blender or your fingertips, cut the butter into the dry ingredients until the mixture resembles coarse crumbs.
- Stir in the chopped nuts, if using.
- Evenly sprinkle the crumble topping over the pears in the baking dish.
- Bake for 35-45 minutes, or until the topping is golden brown and the pears are tender and bubbly.
- Let it cool slightly before serving.
Notes
- Serve warm with vanilla ice cream or whipped cream for an extra special treat.
- Feel free to adjust the spices to your preference.
- If your pears are very ripe, they may release more liquid, which is perfectly fine.
Nutrition
- Serving Size: 1 serving
- Calories: Approximately 350-400
- Sugar: Approximately 30-40g
- Sodium: Approximately 100-150mg
- Fat: Approximately 15-20g
- Saturated Fat: Approximately 8-10g
- Unsaturated Fat: Approximately 7-10g
- Trans Fat: 0g
- Carbohydrates: Approximately 50-60g
- Fiber: Approximately 5-7g
- Protein: Approximately 3-5g
- Cholesterol: Approximately 30-40mg