

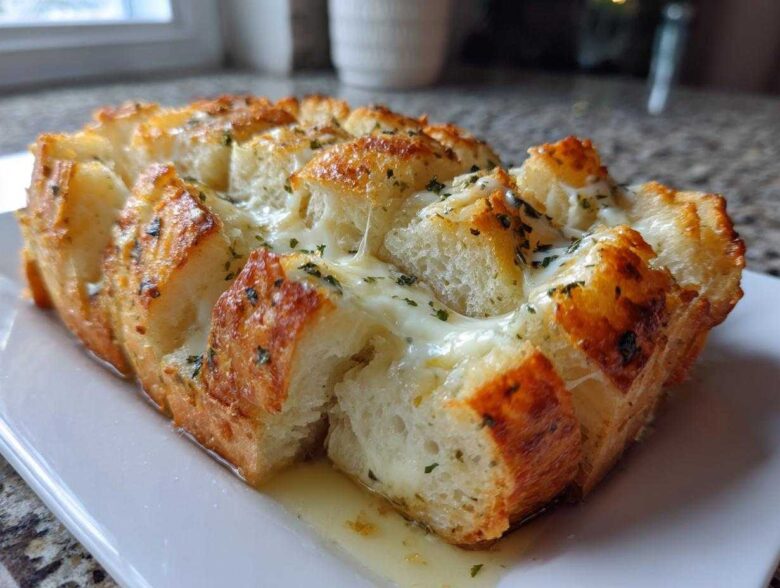
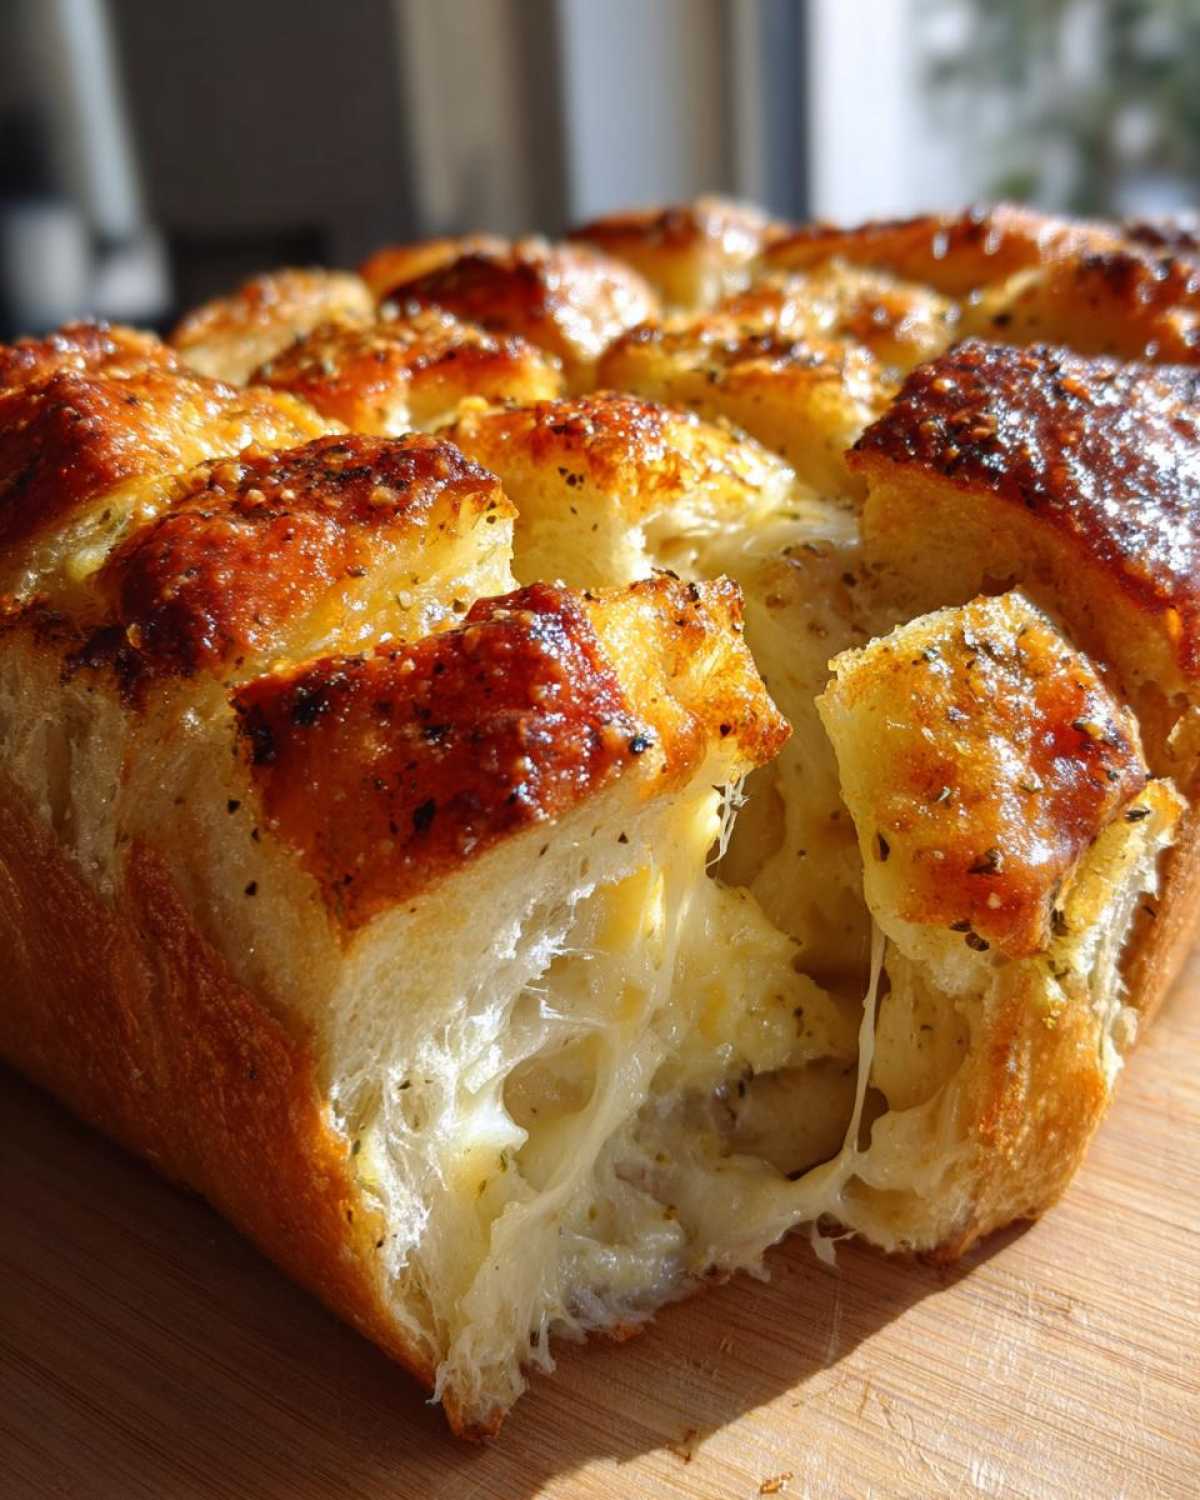
Oh, you know those nights when you just need that ultimate warm comfort food? Something that smells heavenly and makes you instantly happier? That’s exactly where this recipe for our Irresistible Cheesy Garlic Pull Apart Bread steps in. Forget dry, crumbly appetizers; this version is pure, gooey, shareable joy. When Noah and I started building our little Epicure Empire, we realized the best connections happen when you are sharing something delicious, and this easy cheese bread is always the centerpiece. Learn more about how we connect through cooking on our About Us page.
We tested exactly how much butter and what combination of cheeses delivered that pull-apart moment where the cheese stretches for miles—trust me, we put in the hours to get the melt just right. It’s simple, it’s fast, and it proves that even the quickest recipes can be absolutely show-stopping hits at any gathering.
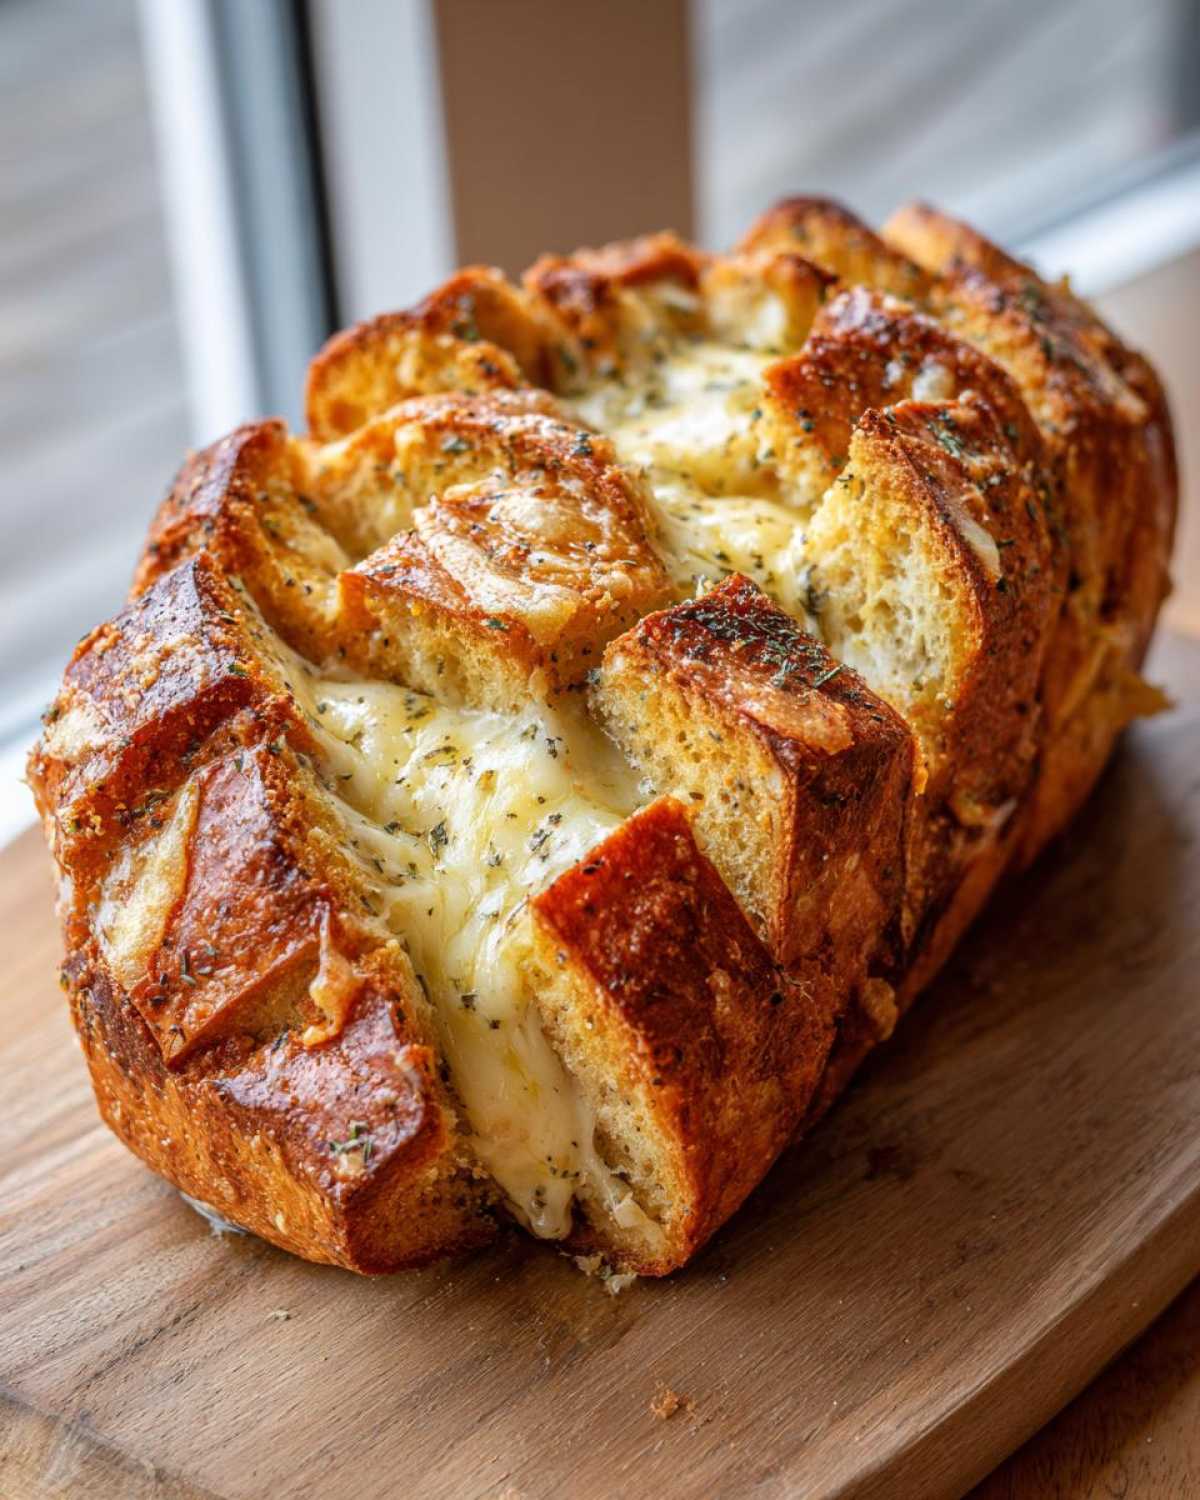
Why This Garlic Pull Apart Cheese Bread is Your New Favorite Party Appetizer Bread
This isn’t just any side dish, folks; this is high-impact, low-effort deliciousness. If you are looking for the perfect Party Appetizer Bread that disappears the second you set it down, you’ve found it. Seriously, the flavor combination of that sharp Parmesan mixing with the Italian herbs is just addictive. We live for those moments when you just want to pull off a chunk dripping with that Gooey Melted Cheese Bread goodness. Need an easy sweet counterpart for later? You can check out my recipe for easy homemade marshmallows!
Quick Assembly for the Best Cheese Bread
What I love most about this recipe, especially when Noah and I are trying to juggle hosting duties, is how fast it comes together. We are talking less than ten minutes of prep time! Because we are using refrigerated biscuit dough, we skip all the waiting and kneading. This makes it the ultimate Easy Homemade Cheese Bread for last-minute needs. Just cut, toss, bake, and watch the compliments roll in!
Ingredients for Irresistible Cheesy Garlic Pull Apart Cheese Bread
Okay, the ingredients list here is short and sweet, which is part of the magic! We need one standard tube of refrigerated biscuit dough, which is the base for our Soft Fluffy Cheese Bread. For that incredible flavor punch, you’ll use one stick of unsalted butter that gets melted down, four cloves of garlic that you mince yourself, one teaspoon of savory Italian seasoning, and just a pinch of salt. Then comes the crucial cheese layer: one and a half cups of shredded mozzarella and a half cup of grated Parmesan cheese. Simple, right?
Ingredient Notes and Cheese Bread Substitutions
I have to stress this: please use fresh garlic. Jarred minced garlic just doesn’t deliver the aromatic punch you need for that signature taste. If you find yourself wanting a chewier texture, you can absolutely substitute that biscuit dough with pre-made pizza dough cut into little squares; it makes a great Savory Cheese Loaf variation. Also, Noah tried using smoked Gouda once instead of mozzarella, and wow, that added a totally unexpected depth!
Step-by-Step Instructions for Perfect Pull Apart Cheese Bread
I know reading a list of steps can sometimes feel overwhelming, but I promise you, this is pure assembly work guided by flavor! First things first, get organized. Preheat your oven right now to 350 degrees F (175 degrees C). While that’s warming up, lightly grease whatever pan you chose—I usually use a loaf pan because the shape is so satisfying for sharing, but Noah loves the look of a bundt pan too.
Next, open that tube of biscuit dough! Separate every biscuit and slice each one into four little quarters—think bite-sized. Get those pieces into a big bowl. Now, for the alchemy: in a separate, smaller bowl, you’re going to whisk together your melted butter, minced garlic, Italian seasoning, and salt. This fragrant mixture is what makes this cheese bread sing. For a truly next-level flavor, you can learn how we make our base easy homemade garlic butter!
Pour about half of this liquid gold right over those biscuit pieces. Toss them gently so they get coated. Then, sprinkle in half of your mozzarella and half of that salty Parmesan. Give it another light toss—we don’t want to deflate our dough! Drizzle the remaining butter mixture over everything, give it one last careful toss, and then pile those cheesy nuggets into your prepared pan. Top it all off with the rest of those beautiful cheeses.
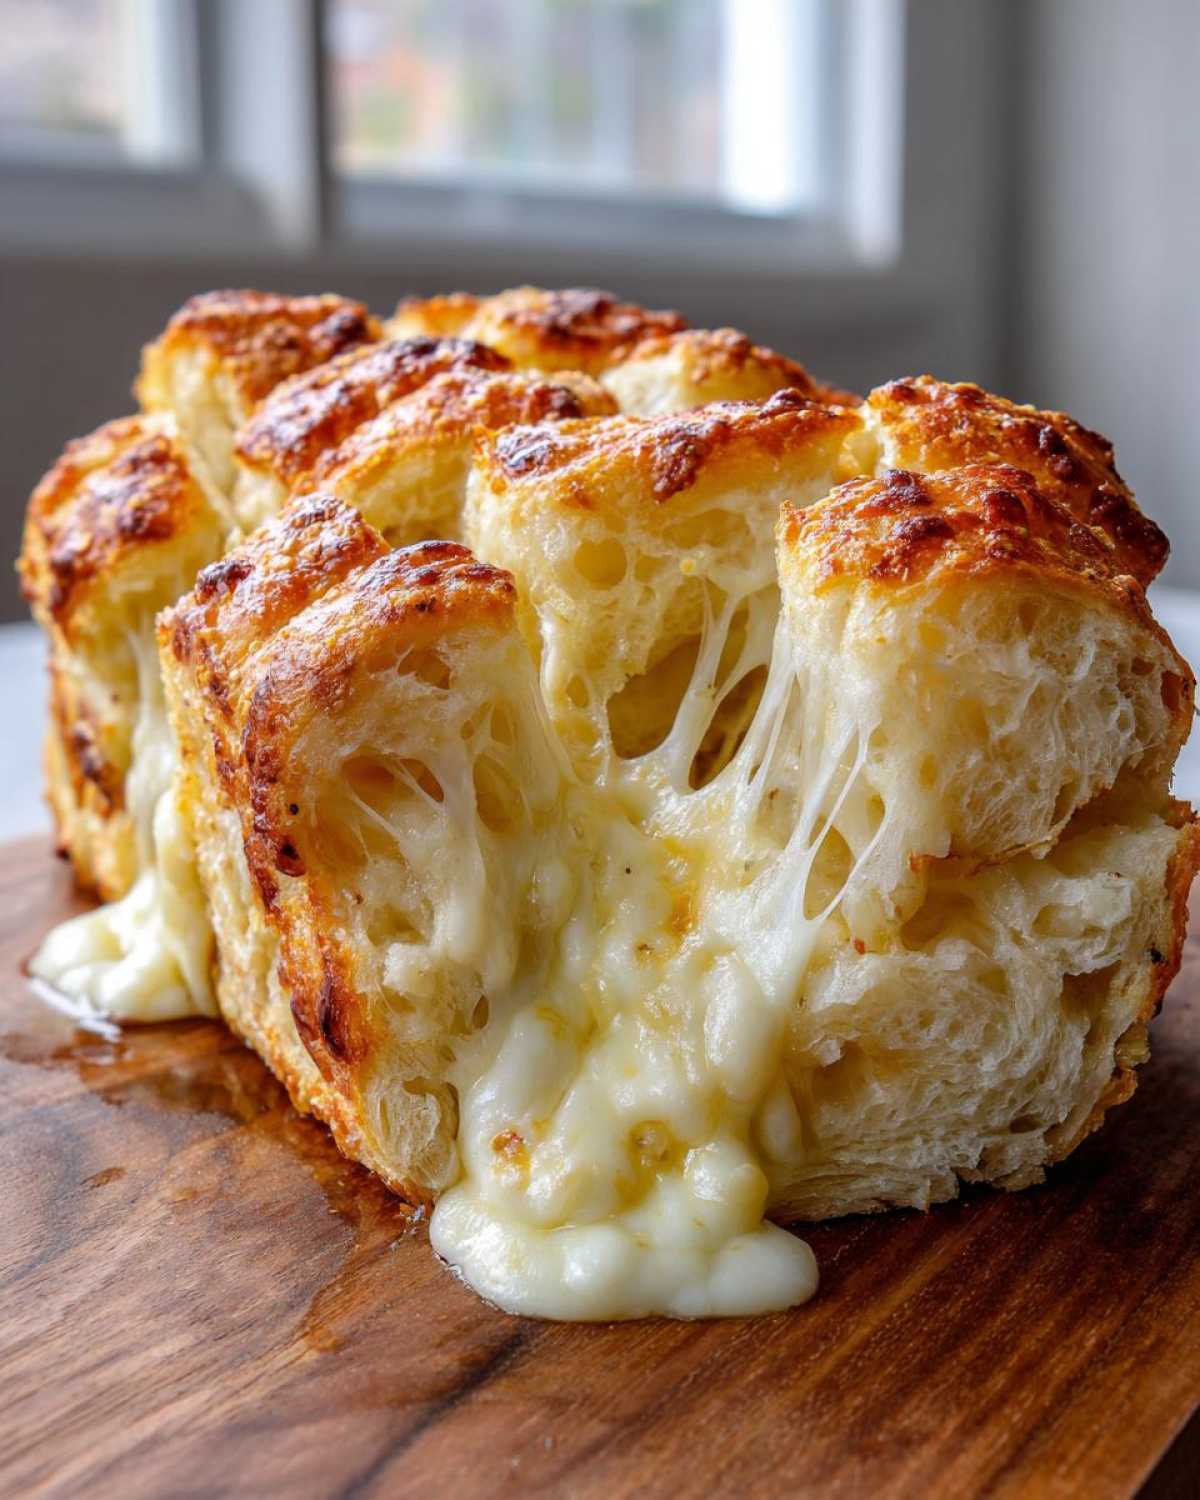
Bake this masterpiece for about 25 to 30 minutes. You are looking for a gorgeous golden brown color and cheese that is bubbling happily. Crucially, once it comes out, let it rest in the pan for five minutes. Resist that urge to flip it immediately! This little rest period keeps everything together when you finally turn it out onto your serving plate. You can find a great visual guide to making similar melty bread at this site.
Expert Tips for Buttery Cheese Bread Coating
The secret sauce here, honestly, is that garlic butter mixture we just whisked up. It provides that incredible flavor and, more importantly, it helps everything stick perfectly. When Noah and I coat the biscuit quarters, we remind each other to be gentle. If you toss them too aggressively, those little dough pieces can tear, and then you end up with uncooked spots in the middle when you pull it apart.
We aim for that ultimate Buttery Cheese Bread exterior. Make sure the melted butter is warm, not scorching hot, when you pour it over the dough; too hot and it can start to melt the biscuits before they even hit the heat! We also always press down lightly on the top layer of cheese right before it goes into the oven, just to make extra sure we get that signature, super-stretchy melt.
Achieving the Ultimate Gooey Melted Cheese Bread Texture
This is the texture we are chasing, right? That perfect, stretchy, heavenly layer of melted cheese that makes you instantly forget any diet you were maybe trying to start. The secret to this incredible Gooey Melted Cheese Bread isn’t just the temperature; it’s the cheese blend! We use a combination of creamy mozzarella for that epic stretch and salty Parmesan for a bold flavor boost.
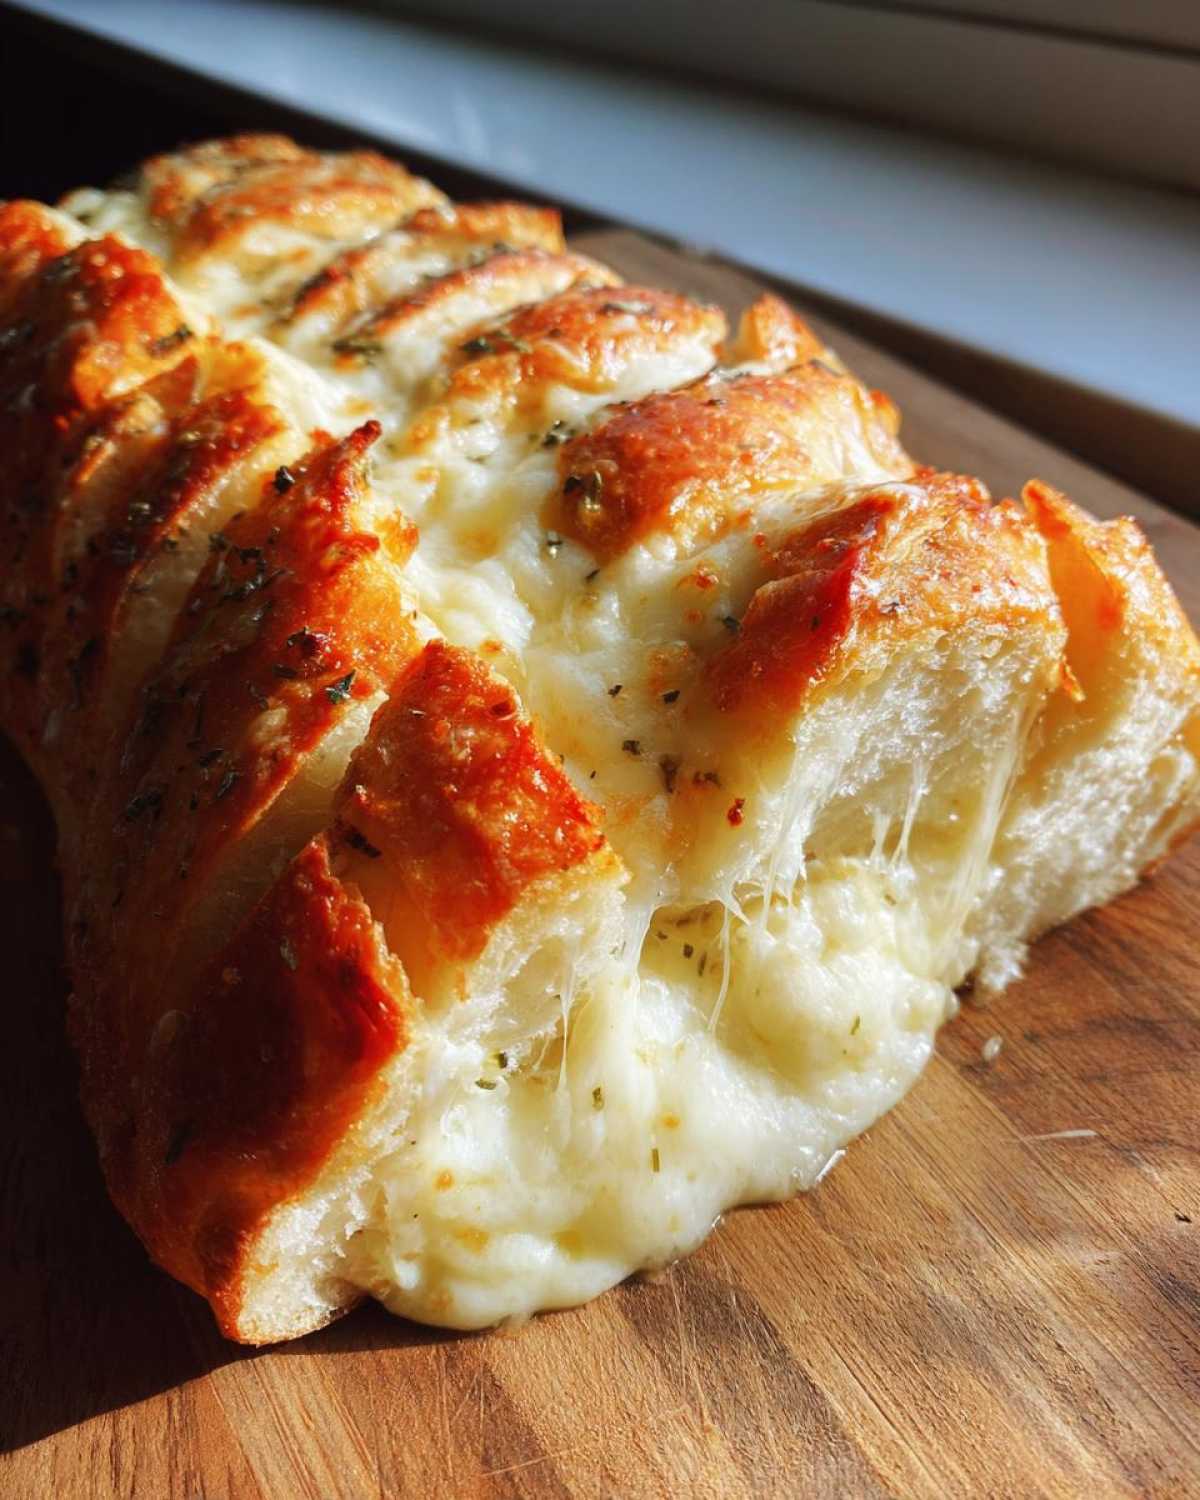
Remember in the instructions, we split the toss? That layering technique is crucial. You coat the dough pieces first, then add some cheese, toss again, and then top the whole loaf with the remainder before baking. This ensures you get cheese deep down inside the nooks and crannies, not just a hardened shell on top. If you love cheese in all shapes, you should check out my recipe for easy 4-ingredient cheese crackers!
Make sure your oven rack is in the center position. If it’s too close to the top element, that beautiful cheese topping will burn before the inside dough gets cooked and soft. We want golden, bubbling perfection, not crispy charcoal! You can see another great visual inspiration for this style of bread here: pull apart garlic cheese bread.
Serving Suggestions for Your Soft Fluffy Cheese Bread
Now that you have this incredible, warm, cheesy creation ready to go, the only hard part left is deciding what to serve it with! Since this is such a rich and savory accompaniment, I often pair it with something much lighter to balance out the meal. It makes for the absolute best Dinner Side Bread.
We always have a big batch of this on hand when tomato soup is on the menu. Honestly, what is better than dipping chunks of this Soft Fluffy Cheese Bread into a warm, tangy bowl of tomato soup? You can find my tried-and-true recipe for creamy potato soup, which is another fantastic partner for this bread!
But if soup isn’t your thing, don’t worry! This bread is phenomenal alongside a crisp, simple salad. Think mixed greens with a bright vinaigrette—it cuts right through the richness of the garlic butter. We’ve even used leftovers the next day to make amazing, cheesy croutons for our salads!
Storage and Reheating Your Leftover Cheese Bread
Part of our empire strategy is ensuring zero waste, and that means knowing how to handle leftovers! If you somehow manage to have any of this glorious cheese bread leftover—and I mean *some*—the best approach is storage. Keep it in an airtight container at room temperature for up to two days. Avoid the fridge if you can; you want to preserve that soft texture!
When it’s time for Round Two, skip the microwave if you want to keep that softness. Pop the serving (or a few pieces) back into a lower oven, say 300 degrees F, for about five to seven minutes. This gentle heat re-melts the cheese perfectly and takes the stiffness out of the dough. If you are in a real hurry, just 15 seconds in the microwave will work, but you’ll lose some of that beautiful crust we worked so hard to achieve.
Troubleshooting Common Cheese Bread Baking Issues
Even the best blueprints aren’t perfect on the first run, right? Baking, especially with yeast or pressurized dough, sometimes throws us a curveball. But this is where our operational experience kicks in! Don’t panic if your beautiful bake looks a little wonky coming out of the oven; we can usually fix it with one small adjustment.
The most common issue I run into, especially if I’m using a deeper pan like a loaf tin, is that the internal biscuit pieces don’t cook all the way through by the time the cheese on top looks ready. My first thought is always to check the oven temperature reading. If your oven runs hot—and trust me, many home ovens do—it might be tricking you!
If your top layer of cheese is starting to look suspiciously dark or almost burnt while the center still feels squishy when you tap it, grab a piece of aluminum foil immediately. Loosely tent the pan and let it continue baking for another five to ten minutes. This shields the cheese from the direct heat while giving the dough inside the chance to finally bake through and get soft.
Now, let’s talk about sticking. Nothing ruins a perfect reveal like the bread refusing to come out of the pan! This is why greasing is so important. If you used shortening as part of your grease mixture (or even just a good solid layer of butter), your bread should release happily. If it absolutely won’t budge after that five-minute rest, try setting the bottom of the pan into a shallow tray of hot water for just thirty seconds. That bit of steam usually coaxes even the most stubborn baked goods right out of their mold.
Frequently Asked Questions About Making Cheese Bread
Can I use fresh biscuit dough instead of refrigerated tubes?
Oh, absolutely! If you’re feeling ambitious and want that bakery-fresh texture, you certainly can use your favorite homemade biscuit recipe or even store-bought yeast dough. Just remember that fresh dough means you need to let it rise before baking! Also, when cutting the dough into pieces, try to make them a little smaller than the quartered tube pieces, because fresh dough tends to puff up a bit more. If you want to research some foundational dough recipes, cruise over to our main blog page!
How can I make this spicy?
If you like a little kick with your savory treat, that’s so easy to manage! Instead of using plain Italian seasoning, swap in a teaspoon of crushed red pepper flakes into the butter mixture. Or, if you want a deeper, smoky heat, add about half a teaspoon of smoked paprika along with a tiny dash of cayenne pepper. It completely transforms this cheese bread into something perfect for game night!
Can I use different cheeses for my cheese bread?
Go wild! The mozzarella and Parmesan are truly the dream team for melt and flavor, but don’t feel locked in. If you want something sharper, try substituting a quarter cup of the mozzarella with a sharp white cheddar—that gives you a lovely tang, similar to what you’d see in a Cheddar Cheese Quick Bread. For something ultra-rich, even a little Gruyère melts beautifully, though it might not stretch quite as far as mozzarella.
What makes your recipe better than what I can buy frozen?
It all comes down to the fresh aromatics and the method, in my opinion. Store-bought stuff often uses dried garlic powder and weird stabilizers to keep it soft. We use real, fresh minced garlic and high-quality melted butter that soaks into every crevice of the dough *before* it bakes. Plus, the pull-apart visual is so much more fun when you make it yourself! If you want to dive into another fantastic, naturally cheesy delight, you should check out this recipe for Brazilian Cheese Bread!
Estimated Nutrition for This Cheesy Garlic Cheese Bread Recipe
Okay, let’s talk fuel! Since this is just so incredibly delicious, I always tell everyone not to look too closely, but here are the stats for our cheese bread masterpiece. Remember, because we are using store-bought refrigerated items and different cheese brands, these numbers are just my best estimate per serving of eight slices. We are looking at about 280 calories per piece. It’s got 17g of fat, 23g of carbs, and a decent 8g of protein. It’s going to have higher sodium, which is expected with all that glorious cheese and butter, but gosh, it’s worth every single bite for that warm, cheesy comfort factor.
PrintIrresistible Cheesy Garlic Pull Apart Bread

Make this soft, gooey Cheesy Garlic Pull Apart Bread. It is a crowd-pleasing appetizer or side dish perfect for any gathering.
- Prep Time: 10 min
- Cook Time: 30 min
- Total Time: 40 min
- Yield: 8 servings
- Category: Appetizer
- Method: Baking
- Cuisine: American
- Diet: Vegetarian
Ingredients
- 1 (13.5 ounce) tube refrigerated biscuit dough
- 1/2 cup (1 stick) unsalted butter, melted
- 4 cloves garlic, minced
- 1 teaspoon Italian seasoning
- 1/4 teaspoon salt
- 1 1/2 cups shredded mozzarella cheese
- 1/2 cup grated Parmesan cheese
Instructions
- Preheat your oven to 350 degrees F (175 degrees C). Lightly grease a 9×5 inch loaf pan or a 1.5-quart bundt pan.
- Open the biscuit dough tube and separate the biscuits. Cut each biscuit into quarters. Place the biscuit pieces into a large bowl.
- In a small bowl, whisk together the melted butter, minced garlic, Italian seasoning, and salt. This creates your buttery garlic mixture.
- Pour half of the butter mixture over the biscuit pieces. Toss gently to coat.
- Sprinkle half of the mozzarella cheese and half of the Parmesan cheese over the coated biscuits. Toss lightly again.
- Pour the remaining butter mixture over the biscuits and cheese. Toss one final time to distribute the coating.
- Transfer the coated biscuit pieces into your prepared pan, arranging them evenly.
- Top the biscuits with the remaining mozzarella and Parmesan cheese.
- Bake for 25 to 30 minutes, or until the bread is golden brown and the cheese is fully melted and bubbly.
- Let the bread cool in the pan for 5 minutes before carefully inverting it onto a serving plate. Serve warm for the best gooey melt.
Notes
- For extra flavor, use fresh garlic instead of jarred minced garlic.
- You can substitute the biscuit dough with pre-made pizza dough cut into small pieces for a chewier texture.
- If you want a crispier exterior, bake the bread in a 9×13 inch baking dish instead of a loaf pan.
Nutrition
- Serving Size: 1 piece
- Calories: 280
- Sugar: 2
- Sodium: 650
- Fat: 17
- Saturated Fat: 10
- Unsaturated Fat: 7
- Trans Fat: 0.5
- Carbohydrates: 23
- Fiber: 1
- Protein: 8
- Cholesterol: 35