

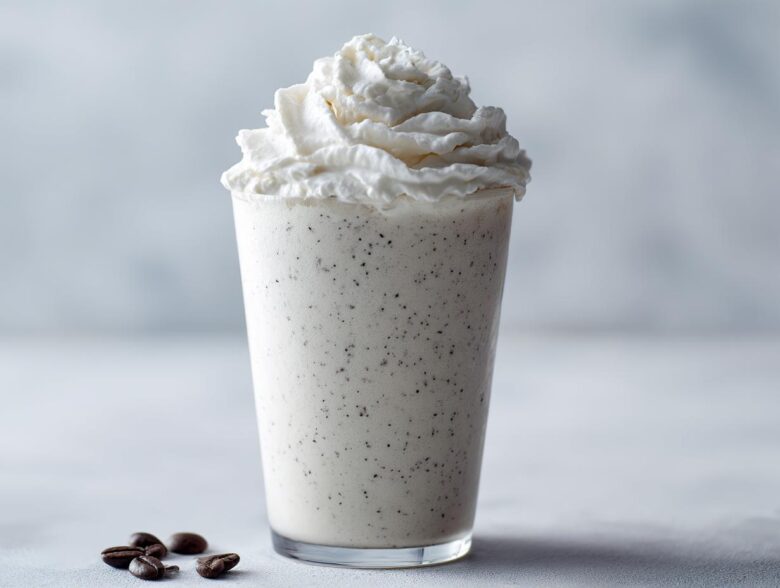
Oh, you know those days. You walk past the coffee shop, smell that icy, sweet vanilla magic, and your wallet just screams no! I’ve been there hundreds of times, which is exactly how I became obsessed with perfecting copycat recipes. Forget rushing out the door—I figured if I could master their gooey, rich brownie recipe, I could tackle their frozen drinks too!
That’s why I’m so excited to share my absolute best version of the Homemade Vanilla Bean Frappuccino. This isn’t watered-down smoothie stuff; we’re talking deeply flavorful, super creamy, and yes, wonderfully thick, all without needing a single drop of coffee. Trust me, after testing this batch after batch, the secret lies in making a tiny flavor base first. You’re going to love sipping this perfection right from your own kitchen!
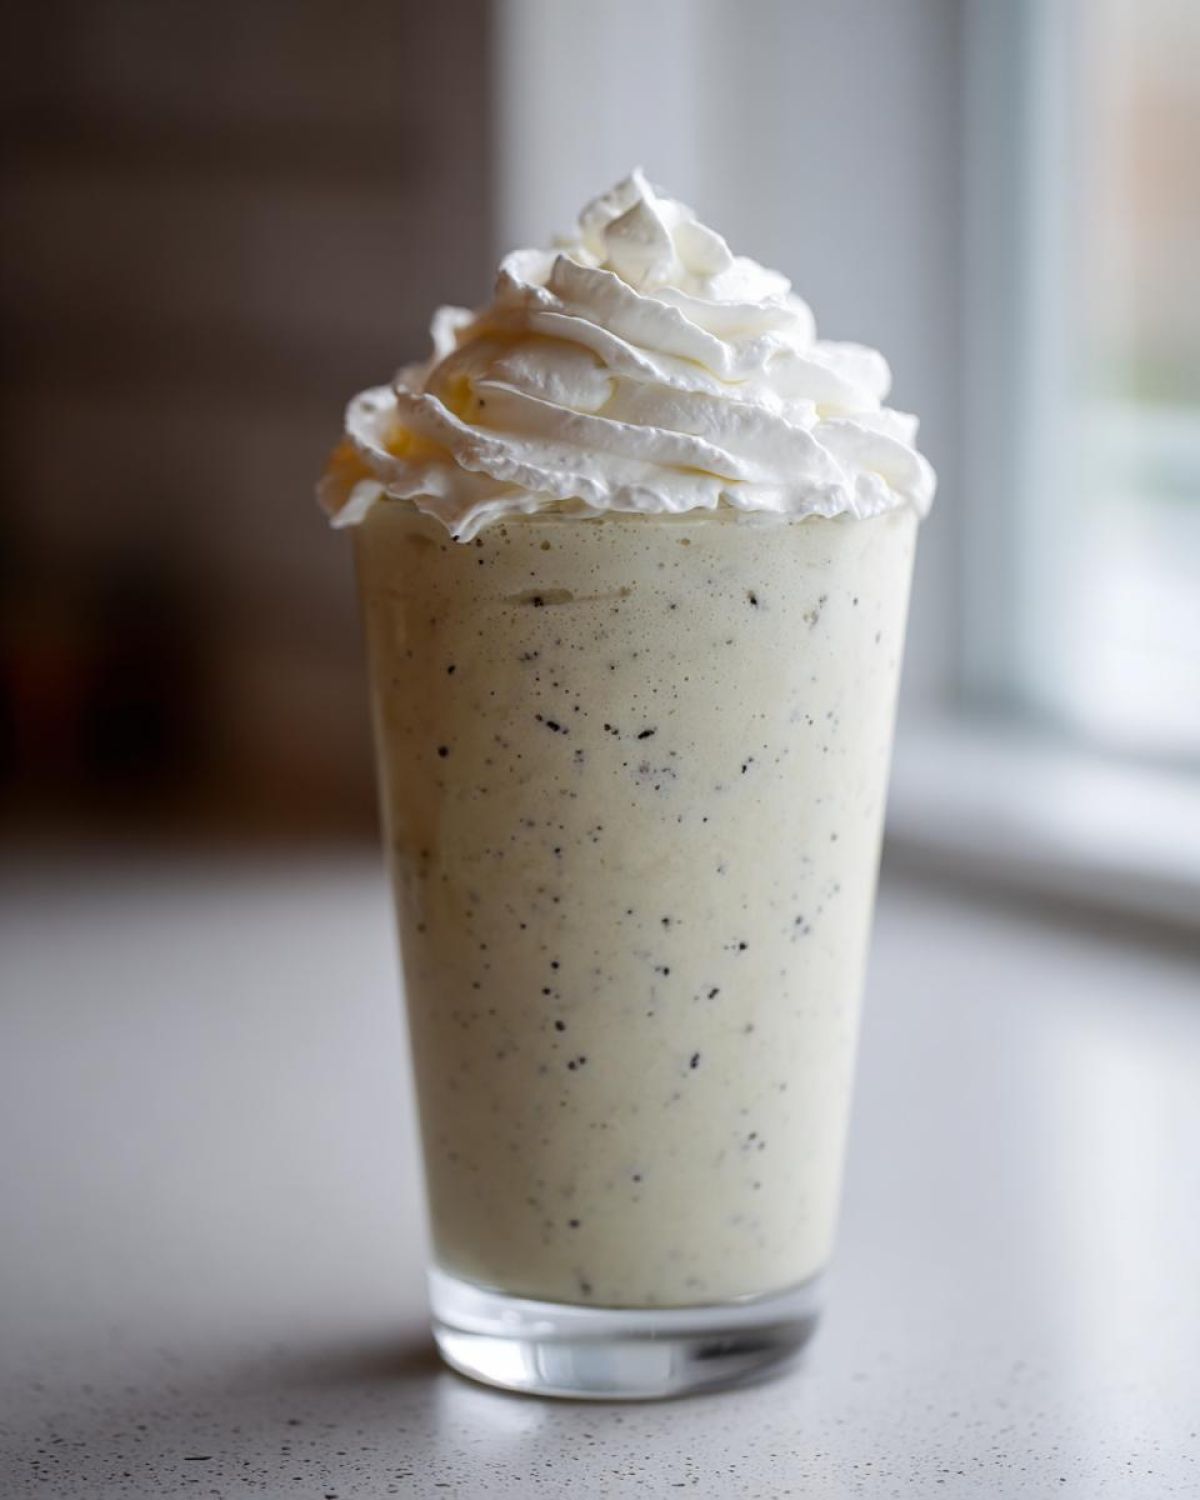
Why This Homemade Vanilla Bean Frappuccino Recipe Works (Best homemade vanilla bean frappuccino recipe)
When you’re aiming for that amazing coffee shop flavor, you can’t just throw ice and milk in a blender—it ends up watery and thin! The reason my recipe tastes so spot-on is because we create a highly concentrated flavor syrup *before* freezing anything. Warming the milk, cream, and sugar just long enough to dissolve everything means the flavor explodes the second you blend it.
This technique is the secret weapon behind the Best homemade vanilla bean frappuccino recipe because it ensures the sugar never feels gritty, and the dairy melds perfectly with the vanilla. We’re treating this like a serious dessert, not just a quick smoothie!
If you check out some of my other recipe deep dives over on the blog here, you’ll see I take this preparation step very seriously. It changes everything!
Achieving the Perfect Thick and Creamy Homemade Frappuccino Texture
Texture is where most people fail when making a thick and creamy homemade frappuccino. Those coffee shops rely on stabilizers, and frankly, I get why! If you really want that classic, almost chewy thickness, you can use a whisper of xanthan gum—it’s flavorless but it creates incredible body when blended with ice.
But listen, I know not everyone keeps that in their spice cabinet! If you skip the gum, don’t stress. My favorite home trick is blending in about 1/4 cup of vanilla ice cream along with your ice cubes. It melts slightly into the liquid base, but the extra fat and stabilizers in commercial ice cream do a fantastic job of giving you that perfectly icy, rich mouthfeel.
Gathering Ingredients for Your Homemade Vanilla Bean Frappuccino
Okay, let’s talk what you need to pull this off. Don’t worry, we aren’t sourcing anything too crazy! The key here is getting the right balance of dairy fat and just enough sweetness before we hit the ice. Remember, we are making this completely coffee-free, so the vanilla has to shine!
Here’s the line-up for one perfect serving:
- 1 cup whole milk (or whatever milk you prefer for your base)
- 1/2 cup heavy cream (don’t skip this, it’s crucial for richness!)
- 1/4 cup granulated sugar
- 1 teaspoon vanilla extract
- 1/4 teaspoon vanilla bean paste or 1/8 teaspoon vanilla bean powder (this is optional, but wow, those little specks make it look professional!)
- 1 1/2 cups perfect ice cubes
- 1/4 teaspoon xanthan gum (only if you’re going for maximum thickness!)
- And of course, whipped cream to top it all off!
Ingredient Notes and Substitutions for Your Vanilla Creme Frappuccino Recipe at Home
Since this is the Vanilla creme frappuccino recipe at home, we need to talk dairy swaps. If you need to keep it dairy-free, go for full-fat canned coconut milk or the creamiest oat milk you can find. You might need just a tiny bit more of the thicker milk to replace the richness lost from the heavy cream.
Now, about the vanilla! Everybody asks about the paste versus the extract. The extract works beautifully, but the paste is what gives you those gorgeous, tiny black specks you see in the expensive versions—it truly elevates the look. Since this whole recipe is designed to be completely black-and-white vanilla, you absolutely don’t need any coffee here. That’s why we call it the Crème version!
Also, for the sweeteners, if you are trying to cut sugar, you can swap out the granulated sugar 1:1 with a good quality baking blend sweetener. Just mix it into the liquid base first, just like the sugar, so it dissolves completely while you’re heating the milk. Taste it before chilling, just to make sure it hits that sweet spot!
Step-by-Step Instructions for the Easy Blender Frozen Vanilla Drink
This is truly the most easy blender frozen vanilla drink you’ll ever make, but you can’t rush the first step! We have to build that incredible, intense flavor base first. Don’t just throw everything into the blender and hope for the best—that’s how you get icy water!
First, grab a small saucepan. Combine your milk, heavy cream, sugar, extract, and that optional vanilla bean paste if you’re using it. Heat this gently over medium heat, stirring until that sugar disappears completely. It’s important not to boil it, just get everything dissolved! Once it’s smooth, take it off the heat and stick it in the fridge to chill completely. This step is non-negotiable; warm liquid melts the ice too fast!
Once it’s cold—and I mean icy cold—pour that yummy flavor mix into your blender. Now add your 1 1/2 cups of ice. If you decided to use that xanthan gum for insurance, toss it in now.
You can read more about my favorite base recipes, like my chocolate milk guide here, but for now, focus on the blend!
Expert Tip for the Best Homemade Frappuccino Texture Trick
Blending time determines everything here! You need to run that machine on high until it transforms. I mean it—you want it completely smooth, thick, and homogenous. If you have a standard blender, you might need to stop every 20 seconds, scrape down the sides, and give it another blast. This scraping actually incorporates the ice better and helps achieve that Best homemade Frappuccino texture trick.
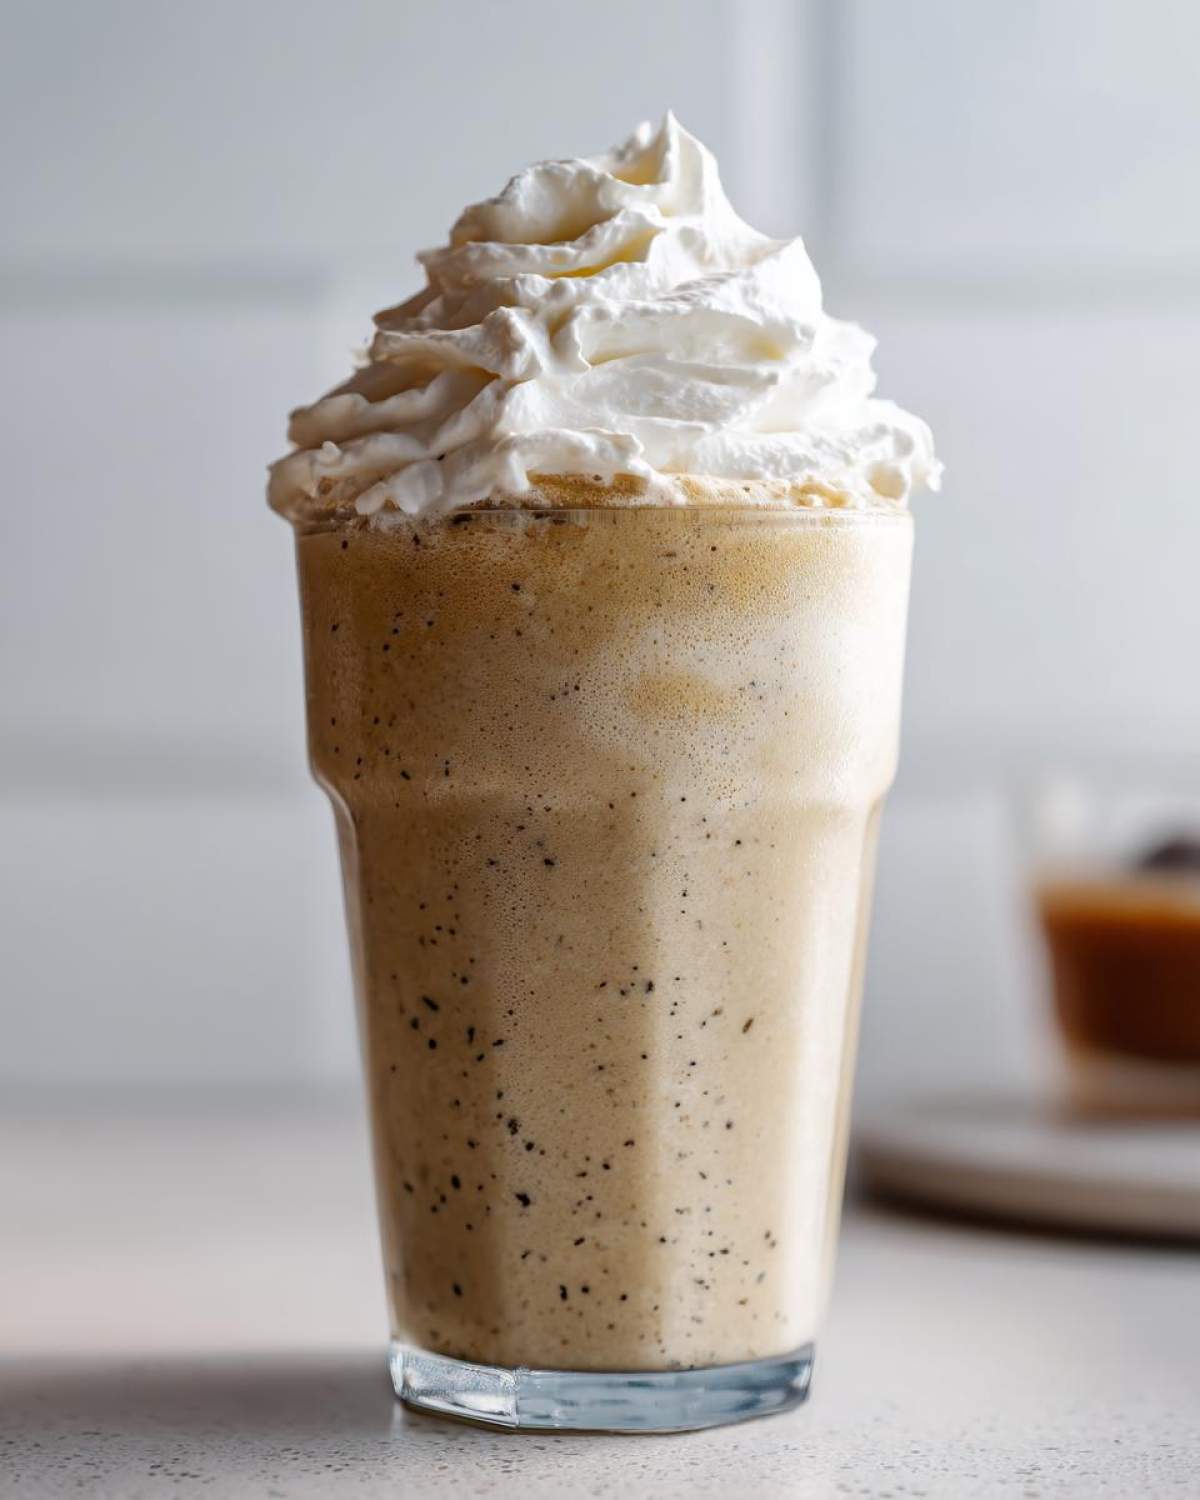
We are looking for a texture that barely pours—it should look like thick, sweet, frosty snow. If your blender is struggling, add one extra cube rather than a whole splash of liquid. Serve it up immediately in a tall glass with mountains of whipped cream on top!
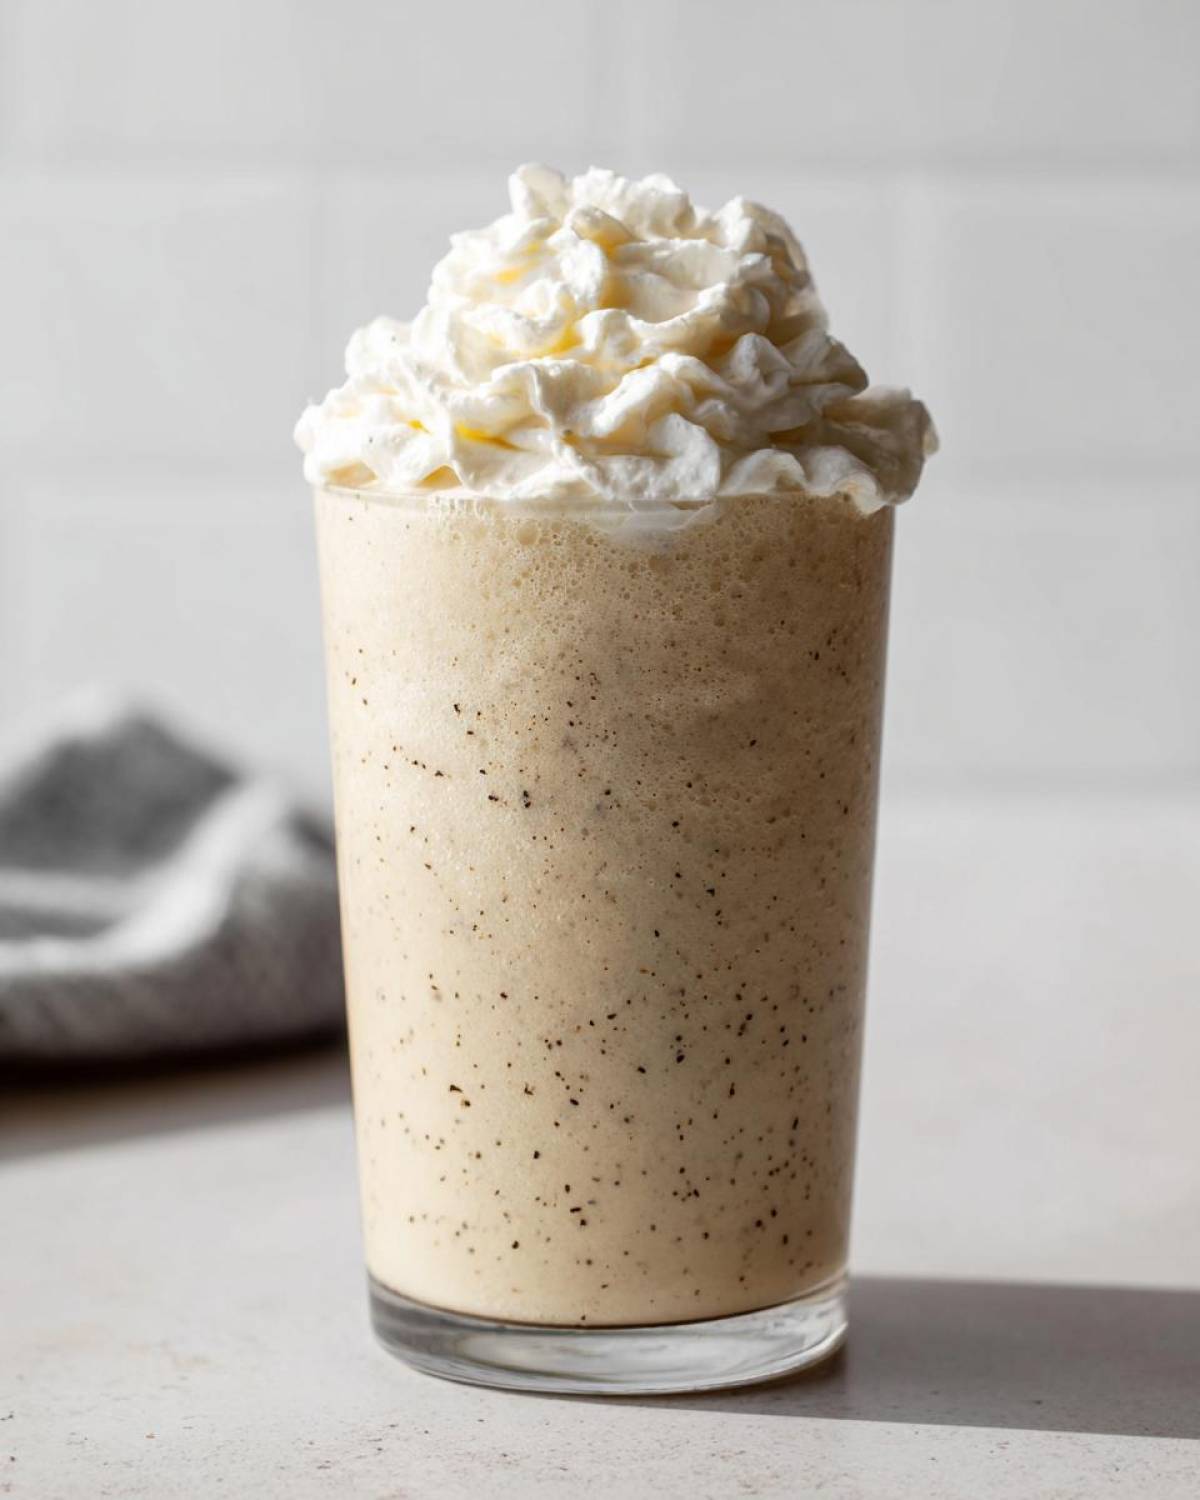
Customizing Your Homemade Vanilla Bean Frappuccino
One of the best parts about making a Homemade Vanilla Bean Frappuccino at home is total control, right? Maybe you need to cut the sugar, or maybe you decided that while the crème version is amazing, you really need that caffeine kick. I totally get it; sometimes you just need coffee in your frozen treat!
Since we built this recipe on a sweet, chilled base, swaps are super easy. If you used a sugar substitute earlier, just taste your cooled liquid base before chilling to make sure it’s sweet enough, because ice tends to dull sweetness slightly. But for those needing that coffee boost, converting this is a breeze!
Making a Starbucks Vanilla Bean Frappuccino Copycat with Coffee
If you want to transform this into a proper *coffee* drink, you just need to replace some of that milk base with a nice, strong cold liquid. To make a true Starbucks vanilla bean frappuccino copycat experience, take out 1/4 cup of the milk we listed and replace it with 1/4 cup of cold brewed coffee.
If you’re short on time, cooled espresso works fantastic too—just use one shot! Just remember, since the base liquid needs to be completely cold before blending, make sure your coffee or espresso has fully cooled down beforehand. Otherwise, you’ll end up with a soupy disaster!
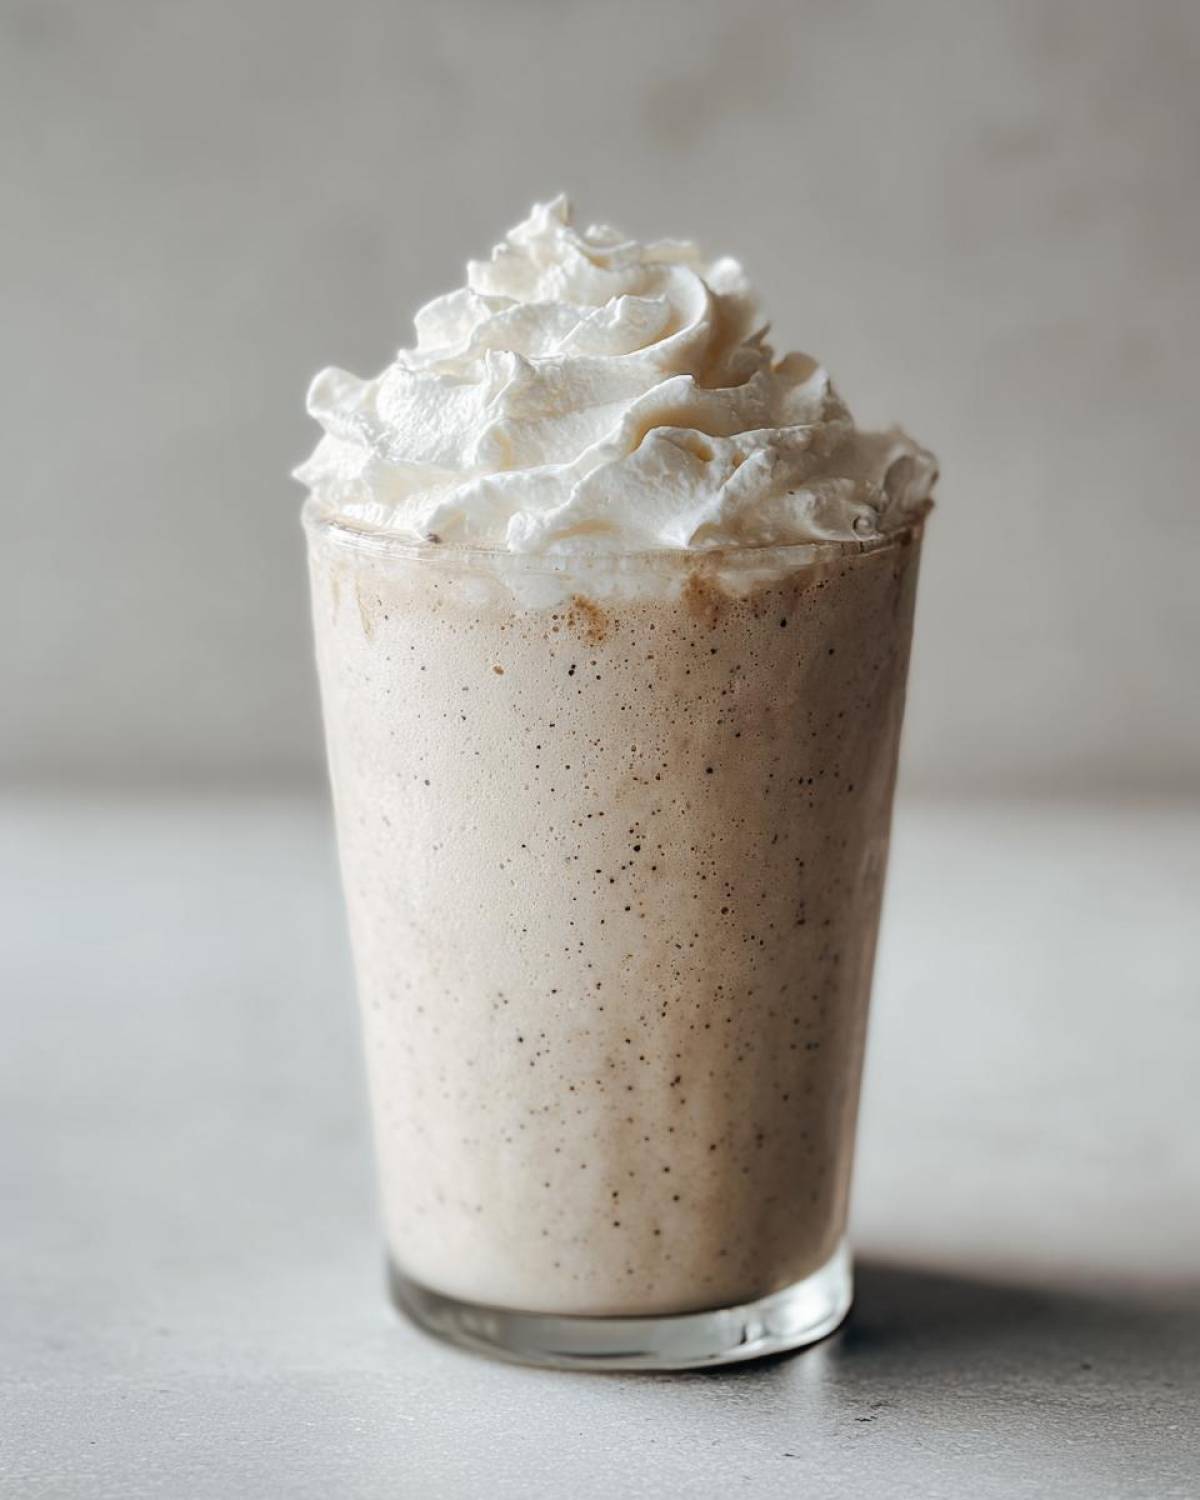
Serving Suggestions for Your Coffee Shop Style Frozen Vanilla Drink Recipe
You’ve done the hard work, blended it perfectly—now don’t cheat on the presentation! A truly great Homemade Vanilla Bean Frappuccino needs the right finish. Obviously, you need a generous swirl of whipped cream on top; homemade whipped cream, if you have the energy, is stellar!
But here’s my final flourish: take a tiny pinch of that vanilla bean powder you might have used earlier and just dust it lightly over the whipped cream. Seeing those tiny black specks makes the whole thing look instantly professional. A little drizzle of caramel sauce never hurt anybody either, if you’re feeling extra decadent!
Storage and Reheating Instructions for Vanilla Bean Shake Recipe Easy
This is one of those glorious drinks that absolutely demands to be consumed the second it comes out of the blender. Honestly, if you try to save your amazing Vanilla bean shake recipe easy for later, you’ll just end up with sweet vanilla milk, which, well, is okay, but not what we worked for!
If you absolutely must walk away for five minutes, pour it quickly into a chilled glass and stick it straight into the freezer. If it melts down significantly, don’t just stir it! You’ll need to dump the mushy contents back into the blender and add about half a cup of fresh ice cubes. Blend it back on high until it regains that thick, frosty texture we worked so hard to achieve!
Frequently Asked Questions about the Homemade Vanilla Bean Frappuccino
When you’ve perfected a blend like this Homemade Vanilla Bean Frappuccino, people always have questions about tweaking it for their kitchen! I’ve gathered up the big ones about texture and ingredients because I want everyone to have that coffee shop moment without leaving home.
It’s all about making sure you get that signature creamy body without needing commercial machines. Read through these, and I promise your next blend will be your best one yet. If you have any concerns about ingredients or liability, you can always check out the site updates here.
Can I make this Homemade Vanilla Bean Frappuccino sugar-free?
Absolutely, you can adjust this! Since we heat and dissolve the sugar first, you can swap it 1:1 with a sugar alternative that blends well, like a monk fruit blend or erythritol. My main caution is to taste your cooled liquid base before you add the ice. Different zero-calorie sweeteners have different intensities, so you might need a bit more or less than the 1/4 cup called for in the recipe to hit that perfect sweet spot.
How to make vanilla bean frappuccino without coffee?
Great news! This entire recipe, as written, is designed to be coffee-free! That means you are already making the ultimate how to make vanilla bean frappuccino without coffee treat. We rely totally on the rich dairy (heavy cream!) and the intense vanilla flavor to carry the drink. If you want coffee flavor later, you add it as a modification, but the base is pure, creamy vanilla bliss.
Estimated Nutritional Data for This DIY Iced Vanilla Blended Coffee Drink Recipe
Listen, when you are whipping up something this deliciously creamy at home, we definitely add a few more fats and sugars than those sad, watered-down cafe versions! But since we are using whole ingredients, you have total control over what goes in next time. Just remember that these numbers are just my best estimate based on using whole milk and the sugar listed in the recipe. Every swap you make—like using almond milk or skipping the sugar—will change these totals!
For the standard recipe provided, here are the estimated macros for one glorious serving:
- Calories: 450
- Sugar: 45 grams
- Fat: 28 grams (with 17 grams saturated)
- Carbohydrates: 48 grams
- Protein: 4 grams
Share Your Perfect Homemade Vanilla Bean Frappuccino Experience
Now that you’ve blended up a batch of this incredible Homemade Vanilla Bean Frappuccino, I’m dying to know what you think! Seriously, tell me everything. Did that chilled liquid base make a difference? Was your texture more “snow-cone” or more “frozen custard”?
I love hearing what substitutions you tried—did the ice cream trick work perfectly, or did you go all-in with the xanthan gum? Let me know how many stars you’re giving this copycat recipe!
Drop your rating (out of 5 stars!) and your favorite way to customize it down in the comments below. If you have any questions, or maybe even a tip I missed, please reach out to me via the contact page here. Happy blending!
PrintHomemade Vanilla Bean Crème Frappuccino
Make a thick, creamy, coffee-free frozen vanilla drink at home that tastes like your favorite coffee shop version.
- Prep Time: 10 min
- Cook Time: 5 min
- Total Time: 15 min
- Yield: 1 serving
- Category: Dessert Drink
- Method: Blending
- Cuisine: American
- Diet: Vegetarian
Ingredients
- 1 cup whole milk (or preferred milk)
- 1/2 cup heavy cream
- 1/4 cup granulated sugar
- 1 teaspoon vanilla extract
- 1/4 teaspoon vanilla bean paste or 1/8 teaspoon vanilla bean powder (optional, for specks)
- 1 1/2 cups ice cubes
- 1/4 teaspoon xanthan gum (for texture, optional)
- Whipped cream, for topping
Instructions
- Combine the milk, heavy cream, sugar, vanilla extract, and vanilla bean paste (if using) in a small saucepan. Heat over medium heat, stirring until the sugar dissolves completely. Do not boil. Remove from heat and let the mixture cool completely in the refrigerator.
- Once chilled, pour the cooled liquid mixture into a high-powered blender.
- Add the ice cubes to the blender.
- If you are using xanthan gum for extra thickness, add it now.
- Blend on high speed until the mixture is completely smooth and thick, stopping to scrape down the sides if needed. You want a uniform, icy consistency.
- Pour the blended mixture into a tall glass.
- Top generously with whipped cream. Serve immediately.
Notes
- For a thicker texture without xanthan gum, use slightly less milk or add 1/4 cup of vanilla ice cream to the blender.
- If you want a coffee flavor, replace 1/4 cup of the milk with 1/4 cup of cold brewed coffee or 1 shot of cooled espresso.
- For a dairy-free version, use full-fat canned coconut milk or oat milk and increase the heavy cream substitute amount to maintain richness.
Nutrition
- Serving Size: 1 drink
- Calories: 450
- Sugar: 45
- Sodium: 75
- Fat: 28
- Saturated Fat: 17
- Unsaturated Fat: 11
- Trans Fat: 0
- Carbohydrates: 48
- Fiber: 0
- Protein: 4
- Cholesterol: 95