

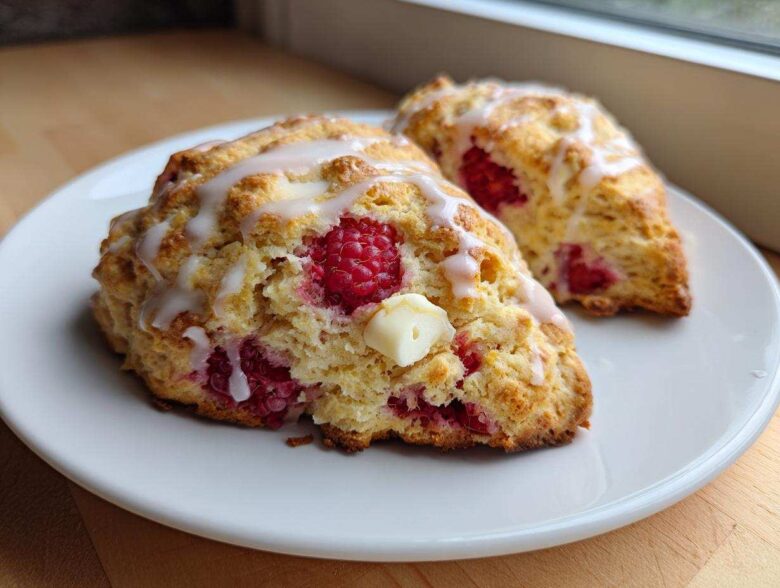
Oh, I absolutely live for those weekend mornings when the only plan is a stack of incredible pastries and a giant cup of coffee. Forget the dry, crumbly things that claim to be scones! I am here to tell you the secret to making true, bakery-style **White Chocolate Raspberry Scones** that practically float off the plate. Seriously, I have crashed so many brunch parties just by bringing these babies.
For years, I wrestled with them—dense, hard, maybe a little sad. But I kept tinkering with the coldness of the butter and just how much I dared to handle the dough. When you get the technique right, you end up with these gloriously flaky layers that scream quality. Trust me; you need this recipe in your arsenal. If you’re looking for the best breakfast pastry recipes to impress your friends, you found it right here. You can start exploring more of my breakfast favorites over at our breakfast category!
Why This Is the Best Homemade Scones Recipe for Fluffy Scones
Look, the difference between a good scone and a legendary scone is all about texture. We are aiming for light, flaky, and tender—not the kind of dense disk you need a steak knife for! Finding the technique for truly **fluffy scones recipe** results took me ages. But these **White Chocolate Raspberry Scones** hit that perfect sweet spot every single time. This is absolutely my go-to when I need an elegant breakfast treat.
The secret to knowing how to make tender scones boils down to keeping things ridiculously cold and mixing things only as much as you absolutely need to.
Achieving Bakery Style Scones Recipe Texture
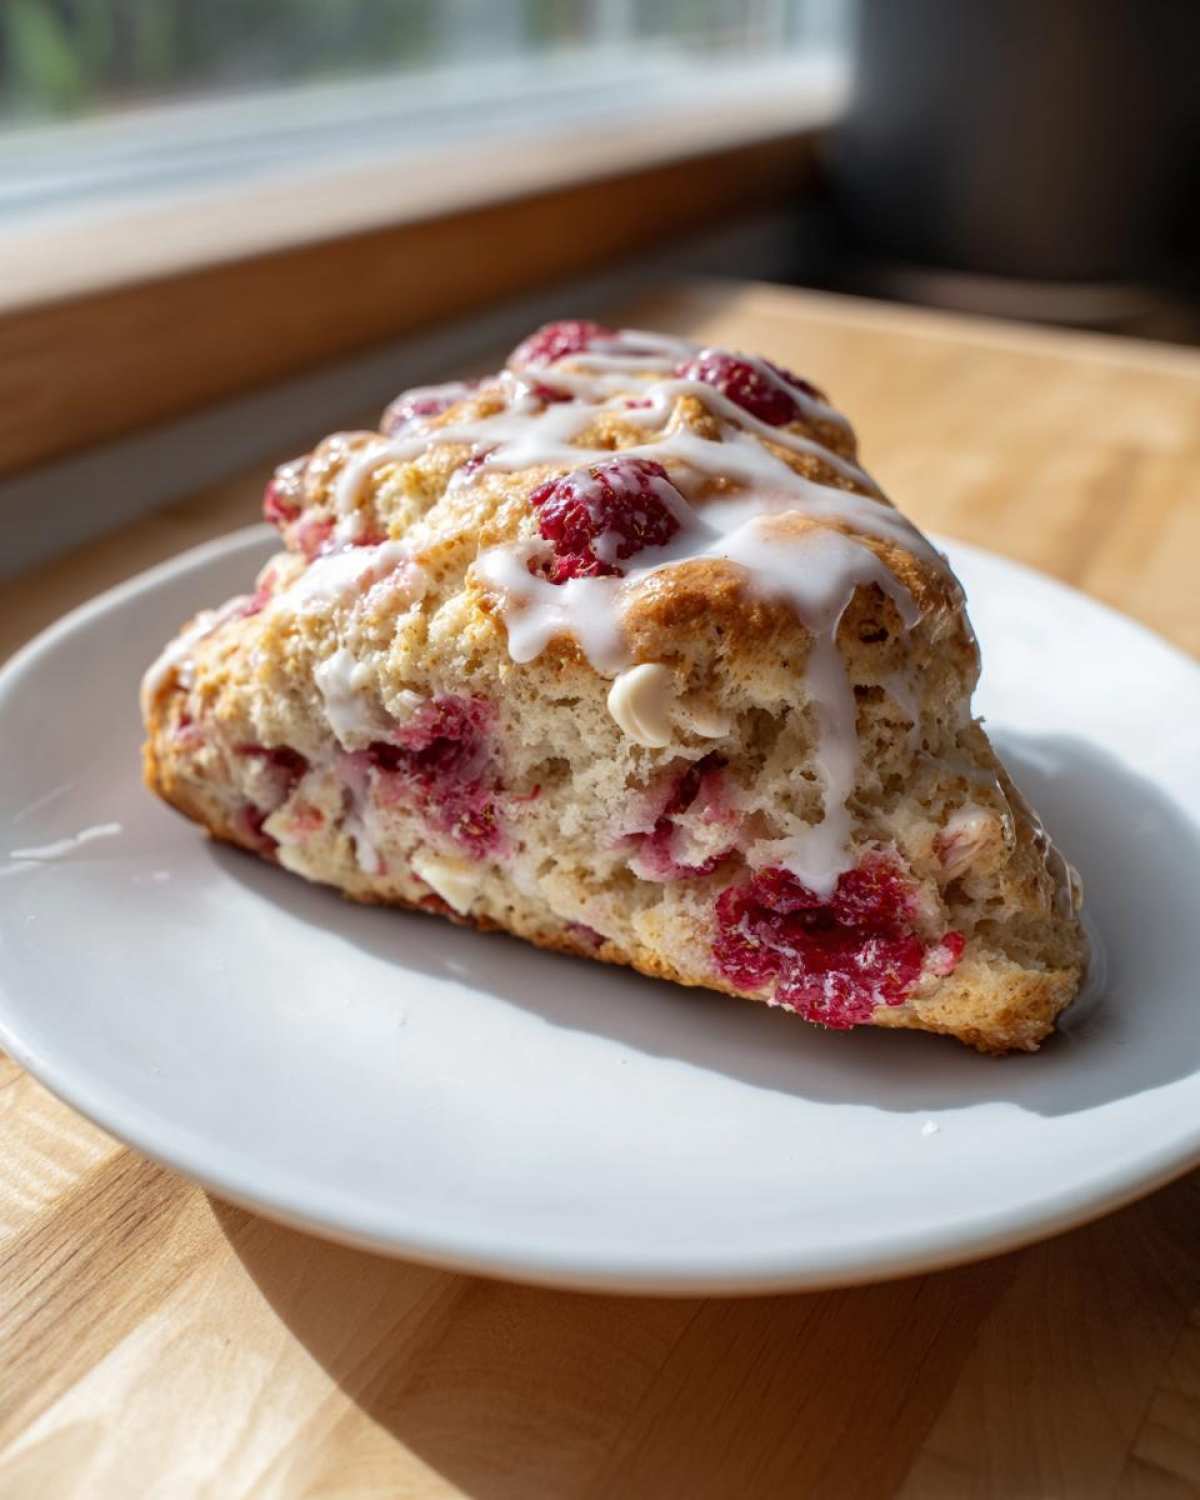
When you cut the butter into the flour, you are not making sand; you want visible, pea-sized chunks of cold butter hiding in there. Those little chunks melt in the oven and create steam. That steam forces the dough layers apart, giving you that beautiful lift and flakiness that feels so luxurious. We are making bakery style scones recipe perfection right here in our own kitchens!
If you want to explore how I get that same lift in my bread, check out my tips for making fluffy homemade naan bread. The principal of cold fat applies everywhere!
Gathering Ingredients for Perfect White Chocolate Raspberry Scones
Okay, let’s talk about what makes these **White Chocolate Raspberry Scones** sing. The ingredient list looks simple, which is great for anyone looking for an easy scone recipe for beginners, but the coldness of those ingredients is non-negotiable! You need that full stick—that’s 1/2 cup—of unsalted butter cut into tiny little cubes, and it has to be fridge-cold. Don’t even look at softened butter; it’s the enemy of flakiness!
I always reach for cold heavy cream, but if you want that extra tiny bit of tanginess—especially if you are aiming for a true best buttermilk scones recipe feel—then buttermilk is the champion here. It just reacts beautifully with the baking powder.
This section is all about getting your proportions right so you nail those rich, fruit-studded white chocolate desserts on your first try. For more tips on using buttermilk, you can check out my thoughts over on my buttermilk scones post!
Ingredient Notes and Substitutions for White Chocolate Raspberry Scones
Here’s where we get specific about the filling, because this is crucial! If you use fresh raspberries, you absolutely must dust them lightly with about a teaspoon of flour before you fold them in. Trust me on this one—it stops them from diving straight to the bottom of your scone while baking. If you use frozen ones, don’t thaw them at all! Just fold them in quickly so your dough stays icy cold.
For the chocolate, white chips are the star, but if you needed a quick change for your sweet scone variations, dark chocolate chips work wonders too. Just please, keep the ratio close to 3/4 cup of whatever chocolate you pick. And if you don’t have raspberries, good quality frozen cranberries are a brilliant swap—think of them as my recommendation for cranberry raspberry scone alternatives!
Step-by-Step Instructions for Making White Chocolate Raspberry Scones
Alright, listen up! This is where the magic truly happens, and where you need to channel your inner pastry chef who moves fast and avoids fussiness. The entire process is designed to keep everything icy cold, which guarantees that signature flaky rise. First things first, let’s get that oven warmed up to 400°F (200°C) right away, and pull out your parchment paper to line that baking sheet. We want to be ready to go!
We whisk the dry stuff—flour, sugar, baking powder, salt—then we move straight into cutting in that cold butter using a pastry blender or, dare I say it, just your own fingertips. You’re looking for crumbs, some the size of little peas. If the butter starts getting soft on your fingers, stop, stick your hands back in the freezer for a minute, and come back! That’s the secret to making scones from scratch that wow people.
Next, whisk your cold wet ingredients—the egg, the cream, vanilla—and pour that mixture into the dry bowl. Mix it with a fork until it *just* comes together. I mean it, *just*! If you see some dusty flour streaks, that’s okay! That means you haven’t overmixed it. Stop stirring!
Mixing the Dough and Incorporating Fruit
Now for the fun part: the fillings! Remember what I told you? If you’re using those gorgeous fresh raspberries, give them a quick, light toss with about a teaspoon of flour right in your hand before they hit the dough. This stops them from bleeding that gorgeous pink color all over your beautiful white dough, which is a massive win for presentation. If you’re using frozen ones, skip the flour step, but work fast!
Gently fold in your white chocolate chips and the berries. You are folding, not kneading! Seriously, treat this dough like it’s made of spun silk. Once they look roughly combined—you might see a streak or two—dump it right onto a surface dusted lightly with flour. Since we aren’t working it much, it should mostly hold together. Pat it down gently until it’s about 3/4 of an inch thick. I usually form mine into a round circle and then cut it into 8 neat wedges. Place these beauties on your prepared sheet with a little room to breathe.
Baking and Achieving Golden Tops on Your White Chocolate Raspberry Scones
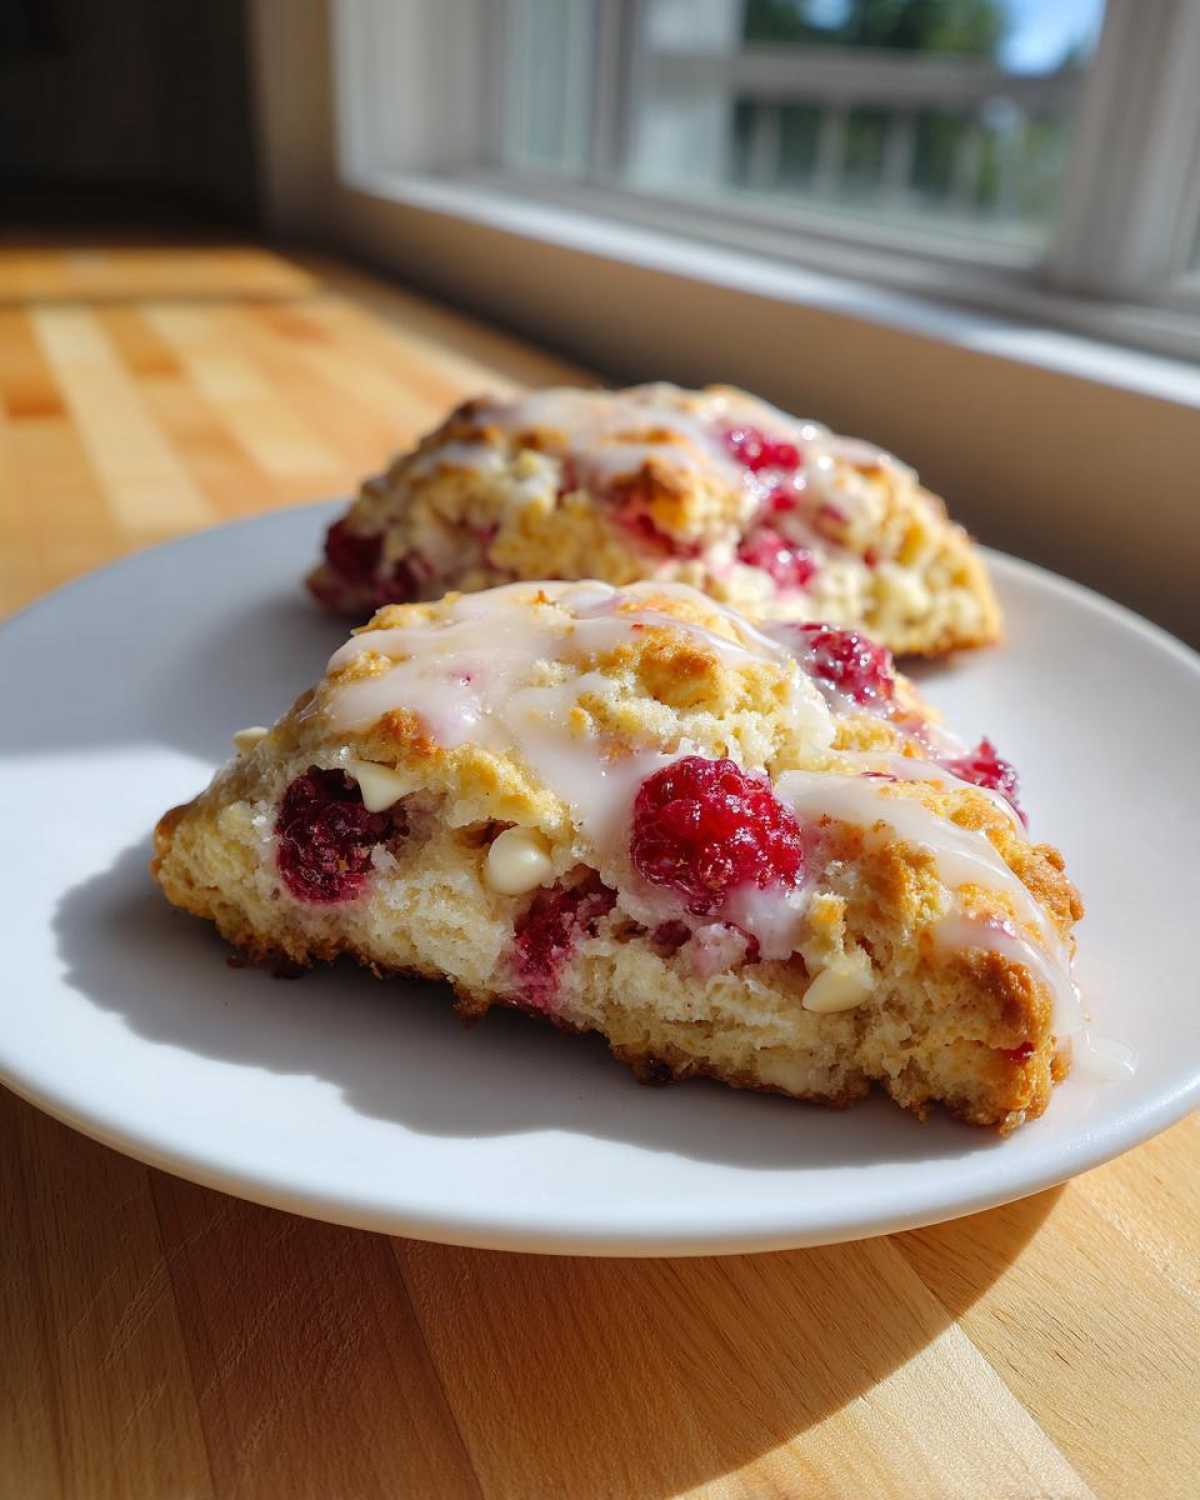
Before they hit that hot oven, we give them a quick makeover. Whisk that extra egg with a splash of milk—that’s your egg wash. Brush it lightly over the top surface of each scone. Don’t let it drip down the sides too much; we want that gorgeous golden top crust!
Pop them into that preheated 400°F oven for about 15 to 18 minutes. You’re looking for that deep golden brown color on top. They should smell incredible! When you test one in the middle, it should come out clean. Don’t mess around waiting too long after they come out, because they will continue cooking slightly on the hot pan. Once they are out, transfer them straight to a wire rack to cool for a good 10 minutes before you even think about glazing them. If you need more inspiration on how to handle doughs like this, check out my guide on making scones from scratch!
Finishing Touches: Glaze for Scones Recipe
A scone isn’t truly finished, in my book, unless it has a little something drizzled over the top, and for these **White Chocolate Raspberry Scones**, a bright lemon glaze is just that pop of sunshine we need! It’s so easy, you basically just need two things: the powdered sugar and fresh lemon juice.
You’ll want to whisk those together until you get a thick but smooth consistency. Seriously, don’t make it too thin, or it just runs right off and disappears. We want those lovely, slightly opaque ribbons coating the top!
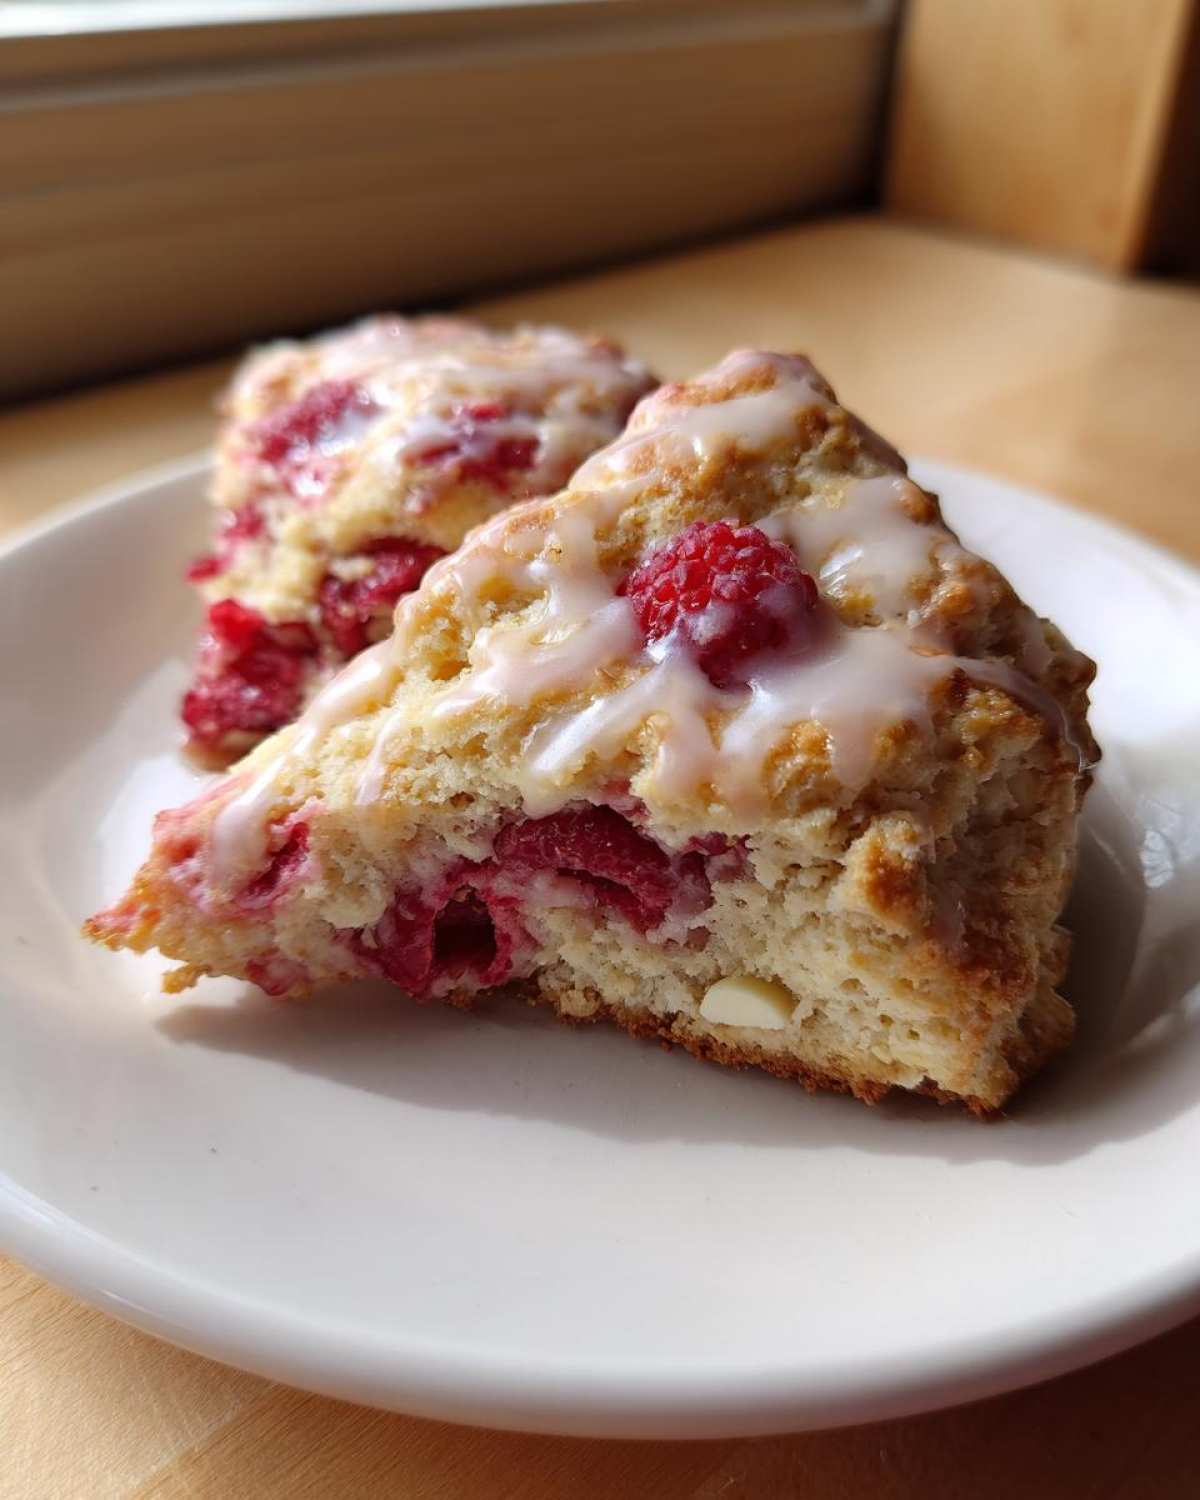
Now, here’s the timing trick: you want to apply this glaze when the scones are just slightly warm—not piping hot, but definitely not stone cold from sitting on the counter for hours. When they’re just a tiny bit warm, the glaze melts just enough to adhere perfectly without soaking straight through and making the top soggy. It sets up beautifully while they finish cooling on the rack. If you want to see another way I use loads of lemon, you have to check out my creamy lemon pasta recipe! It’s comfort food perfection.
Tips for Success Making White Chocolate Raspberry Scones
Even with a great recipe like this one, sometimes those last few details are what separate a good batch from a truly exceptional one. These simple tips are lessons I learned the hard way so you don’t have to ruin a perfectly good Saturday morning trying to figure out why your White Chocolate Raspberry Scones ended up a little dense. If you follow these, even if you’re trying this as an easy scone recipe for beginners, you’ll get that height and flakiness.
First, remember the mantra: Cold, Cold, Cold! This isn’t optional; it’s science working for us. If your heavy cream or buttermilk feels even slightly warm to the touch, pop it back in the freezer for ten minutes before adding it to the dry ingredients. This ensures maximum steam generation, which is what gives you those gorgeous, airy layers. Seriously, cold fat equals better lift!
Second, stop fussing with the dough once the fruit is in! I know it’s tempting to knead it smooth, but kneading develops gluten, and gluten equals chewy, tough scones where the raspberries have totally bled purple. Mix just until you no longer see flour streaks, and then walk away. Pat it out gently—don’t roll it or aggressively press it. We want height, not compression!
Third, if you want those picture-perfect tall scones, make sure you are cutting straight down with your cutter or knife; don’t twist! Twisting seals the edges of the dough, which prevents the layers from separating as they bake upward. Think of it like stamping the dough out rather than sawing through it. Applying the egg wash only to the top surface, and keeping it light, also helps encourage that upward puff. For more behind-the-scenes kitchen wisdom, feel free to browse my general blog posts!
Storage and Reheating Instructions for Your Scones
So you made a massive batch—because who can ever stop at just one scone? That’s the right attitude to have! Luckily, these White Chocolate Raspberry Scones are sturdy little things, perfect for enjoying over a few days. But you have to store them right, or that flaky magic will disappear fast.
For the best results, keep them stored in an airtight container at room temperature. I find that trying to put them in the fridge makes them go stale quicker, which is the absolute worst way to treat a freshly baked pastry. They are good for about two days on my counter, provided my husband doesn’t find them first!
Now, I know they are amazing fresh, but if you want to revive that amazing warmth and softness, you can’t just microwave them. Microwaves make them go instantly rubbery, and we simply won’t do that to our beautiful fruit and white chocolate combination!

The absolute best way to bring them back to life is a quick trip to the toaster oven—seriously, this is a game-changer. Just a couple of minutes—maybe 3 to 4 minutes—at a medium setting should warm them right through and crisp up the exterior just slightly. If you don’t have a toaster oven, a regular oven set to 300°F (150°C) for 5 minutes works too, just keep an eye on them so the glaze doesn’t burn.
This makes them so easy to prep ahead for those busy weekday mornings! If you need other make-ahead breakfast ideas that freeze brilliantly, you might want to check out my make-ahead egg muffins next time—they save my life!
Variations for Fruit and White Chocolate Baked Goods
Honestly, once you master the technique for these White Chocolate Raspberry Scones, you unlock a whole world of possibilities, especially for fruit and white chocolate baked goods! The structure of this recipe is just so reliable, making it perfect for experimenting with other flavors. It’s all about swapping out the main fruit and chocolate components.
If you want to take these in a slightly different direction, try swapping out the raspberries for sliced fresh strawberries, and use finely chopped macadamia nuts instead of the white chocolate chips. It gives it a totally different, almost tropical vibe. Or, for something richer, use dark chocolate chunks with dried, sweetened cranberries—it makes them feel incredibly decadent, perfect for an afternoon treat.
You can also amp up the citrus element if you aren’t using the standard lemon glaze. If you are planning on just dusting with plain powdered sugar, try adding the zest of one orange directly into the dry ingredients when you mix everything up. The orange zest really brightens the flavor of the white chocolate. If you love seeing these kinds of creative swaps in other recipes, you might enjoy my blueberry banana bread recipe, which has tons of tips on varying fruit additions!
These small adjustments keep things fresh in your weekly baking rotation. It’s so fun to keep these delicious sweet scone variations in your back pocket for when you need an elegant breakfast treat but want to use whatever you have on hand!
Frequently Asked Questions About White Chocolate Raspberry Scones
Can I use frozen raspberries when making these White Chocolate Raspberry Scones?
Absolutely! In fact, I often prefer frozen raspberries, especially if fresh ones aren’t in season. The key to success when using frozen fruit is threefold: Do not thaw them first, handle the dough as little as possible once they go in, and definitely skip tossing them in the extra flour. Thawed berries are too wet and will turn your beautiful dough pink, and tossing them in much flour just adds unnecessary bulk. They bake up perfectly fine straight from the freezer!
What happens if I accidentally overmix my scone dough? Will they be dense?
Oh yes, they will absolutely be dense! And that is the number one reason people think they can’t make a fluffy scones recipe. Overmixing develops the gluten in the flour, making the texture chewy instead of tender. You stop mixing almost immediately after the wet and dry ingredients are *just barely* combined. If you still end up with dense scones after trying to follow the tips on how to make tender scones, next time try cutting your butter smaller—it helps the mixing process stay minimal.
Is the egg wash necessary for the best scones? Can I skip it?
For the absolute most beautiful, shiny, golden top on your White Chocolate Raspberry Scones, the egg wash is highly recommended. It gives them that gorgeous ‘next level’ look that makes them feel like true brunch baking ideas worthy of a fancy cafe. Can you skip it? Sure! If you skip the egg wash, you can brush the tops with heavy cream instead, which gives a slightly softer crust, or you can just use a teaspoon of coarse sugar sprinkled over the top for crunch. Either way, they will taste wonderful!
My raspberries kept sinking to the bottom; what went wrong?
This is a classic scone struggle, but it’s usually due to two things. First, if you used fresh raspberries, make sure you dusted them lightly with flour before folding them in; that coating helps them grip the batter instead of sliding down. Second, if your dough got too warm during mixing or handling, the fruit got too heavy and sank. That’s why keeping everything cold and working quickly is key to achieving that height in your classic afternoon tea scones!
If you have any more questions while you’re whipping up your next batch, don’t hesitate to reach out via my contact page!
Estimated Nutritional Information for White Chocolate Raspberry Scones
You know I always preach about baking with your heart, not stressing about the numbers, but since these treats are so perfectly portioned, I figured I should give you a rough idea of what’s in them for your Saturday brunch planning!
Please keep in mind that because this recipe involves fresh fruit and specific ingredients where quality varies (like the type of cream you use), these numbers are just an estimate based on the detailed ingredient list provided. They are calculated per single serving, which is one glorious scone.
Here is the breakdown for one serving (1 scone):
- Serving Size: 1 scone
- Calories: Approximately 350
- Fat: Around 19g (a good chunk is from that lovely cold butter!)
- Saturated Fat: About 12g
- Total Carbohydrates: Roughly 40g
- Sugar: Around 22g (that’s the sugar, white chocolate, and berries combined!)
- Protein: About 5g
They fall perfectly into the category of an indulgent weekend baking project, which is exactly where these beauties belong. Enjoy them, because honestly, the joy of biting into a flaky one outweighs any math!
PrintWhite Chocolate Raspberry Scones

A recipe for light, flaky scones featuring white chocolate chips and fresh raspberries, with instructions for a simple lemon glaze.
- Prep Time: 20 min
- Cook Time: 18 min
- Total Time: 38 min
- Yield: 8 servings
- Category: Breakfast
- Method: Baking
- Cuisine: American
- Diet: Vegetarian
Ingredients
- 2 cups all-purpose flour
- 1/4 cup granulated sugar
- 1 tablespoon baking powder
- 1/2 teaspoon salt
- 1/2 cup (1 stick) cold unsalted butter, cut into small cubes
- 1 large egg
- 1/2 cup cold heavy cream or buttermilk
- 1 teaspoon vanilla extract
- 3/4 cup white chocolate chips
- 3/4 cup fresh or frozen raspberries
- 1 large egg, beaten (for egg wash)
- 1 tablespoon milk (for egg wash)
- 1 cup powdered sugar (for glaze)
- 2 tablespoons fresh lemon juice (for glaze)
Instructions
- Preheat your oven to 400°F (200°C). Line a baking sheet with parchment paper.
- In a large bowl, whisk together the flour, sugar, baking powder, and salt.
- Cut the cold butter into the flour mixture using a pastry blender or your fingers until the mixture resembles coarse crumbs with some pea-sized pieces of butter remaining.
- In a small bowl, whisk the egg, heavy cream (or buttermilk), and vanilla extract. Pour the wet ingredients into the dry ingredients. Mix gently with a fork until just combined. Do not overmix.
- If using frozen raspberries, do not thaw them. Gently fold in the white chocolate chips and raspberries. If using fresh raspberries, toss them lightly with 1 teaspoon of flour before adding to prevent sinking. Mix only a few times until the fruit is distributed.
- Turn the dough out onto a lightly floured surface. Gently pat the dough into a 3/4-inch thick circle or rectangle.
- Cut the dough into 8 wedges or use a round cutter to cut out scones. Place them on the prepared baking sheet, leaving about 1 inch between them.
- Whisk the remaining egg and milk together for the egg wash. Brush the tops of the scones lightly with the wash.
- Bake for 15 to 18 minutes, or until the tops are golden brown and a toothpick inserted into the center comes out clean.
- Let the scones cool on a wire rack for 10 minutes before glazing.
- To make the glaze, whisk together the powdered sugar and lemon juice until smooth. Drizzle over the slightly warm or cooled scones.
Notes
- Keep your butter and cream very cold. Cold fat creates steam in the oven, which results in flaky layers.
- If using frozen raspberries, do not toss them in flour; simply fold them in quickly to prevent the dough from warming up.
- For a bakery look, you can brush the tops with heavy cream instead of an egg wash before baking.
- Store cooled scones in an airtight container at room temperature for up to 2 days. Reheat briefly in a toaster oven for best texture.
Nutrition
- Serving Size: 1 scone
- Calories: 350
- Sugar: 22
- Sodium: 250
- Fat: 19
- Saturated Fat: 12
- Unsaturated Fat: 7
- Trans Fat: 0
- Carbohydrates: 40
- Fiber: 1
- Protein: 5
- Cholesterol: 65