

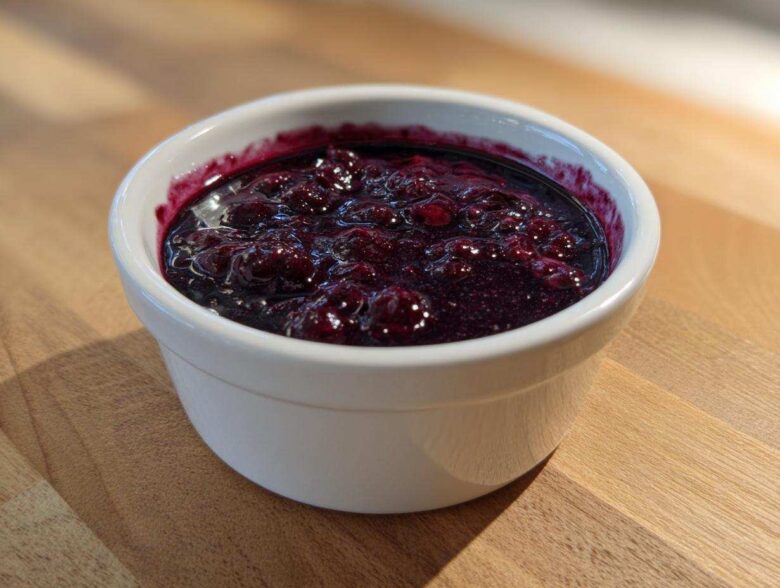
Listen, nothing—and I mean nothing—beats pouring something truly fresh over your morning stack, does it? Store-bought pancake topping is fine, I guess, but it always tastes a little… manufactured. That’s why I’m so excited to share my secret for the easiest, thickest Homemade Blueberry Syrup you’ll ever make. It takes about 25 minutes total, and I promise, the smell alone is worth the effort. Forget the artificial colors; this stuff bursts with real berry flavor. If you’re ready to elevate your breakfast game without complicated steps, you’re in the right place!
I actually started perfecting this simple fruit syrup recipe after realizing I was throwing away perfectly good, slightly older blueberries that were too soft for just snacking. Now, that’s my favorite time to make a batch! Grab those berries and get ready to make something amazing. You can find my go-to recipe for the perfect base for this syrup in my fluffy pancakes guide, but honestly, this drizzle works on anything!
Why This Homemade Blueberry Syrup Recipe Stands Out (E-E-A-T Focus)
Listen, when you’re making something like this, you want it to taste real, right? That’s the whole point of skipping the stuff in the plastic bottle! This Homemade Blueberry Syrup recipe is special because we control every single element. You get real fruit flavor without all those weird fillers they sneak in at the factory. Plus, you can adjust the sweetness to match how tart your berries are that day. It’s just superior, trust me on this one.
What I really love is how much authority this simple process gives you in the kitchen. You’re not following complicated chemistry; you’re just simmering fruit until it magically turns into breakfast gold. It proves you don’t need fancy equipment to make something incredible for your family.
Quick Prep and Cook Times for Your Homemade Blueberry Syrup
I know mornings are chaos, so speed is everything in my book. I’ve made sure this recipe is lightning fast for a full flavor payoff. We’re looking at maybe 5 minutes total prep time—that’s mostly just measuring! The simmering takes about 20 minutes, which is just enough time to toast your bread or flip your pancakes. Honestly, the whole endeavor, from stovetop to pouring pitcher, wraps up in around 25 minutes. That’s a win!
Gathering Ingredients for Thick Blueberry Syrup
Alright, let’s talk supplies! Having the right ingredients ready makes this whole **Homemade Blueberry Syrup** process feel less like cooking and more like assembling ingredients. We need the basics, and precision here really pays off for that perfect pourable but thick consistency we’re aiming for.
For volume, we’re using 2 cups of blueberries—whether they’re fresh off the bush or straight from the freezer bag. Next up is the liquid: 1 cup of water. And for sweetness, I insist on a full 3/4 cup of granulated sugar. Don’t just grab ‘sugar’; make sure it’s the standard white stuff for the best dissolving action. If you’re looking for other ideas, check out my notes below!
If you’re curious about how this fits into other baking projects, I use similar ratios in my blueberry banana bread!
Ingredient Notes and Substitutions for Homemade Blueberry Syrup
This is where you can really customize things, but you have to know the trade-offs. If you use frozen berries instead of fresh, don’t stress, they work beautifully! Just be prepared to let them simmer for maybe two extra minutes since they release more initial water. That’s important for our goal of a **Thick Blueberry Syrup**.
Now, about sweeteners: If you try to swap granulated sugar for honey or maple syrup, you’ll notice two things. First, the flavor changes—maple is great but strong! Second, those liquid sweeteners have different water content, so your syrup might stay a little runnier. If you have super tart berries and want a brighter kick, I always suggest adding 1 teaspoon of fresh lemon juice right at the beginning with everything else. It just wakes up that deep blueberry flavor!
Step-by-Step Instructions: How to Make Homemade Blueberry Syrup
Okay, this is the fun part where the magic actually happens! Don’t worry if you’ve never made a simple fruit syrup recipe before; this process is so straightforward. We’re going to take those raw ingredients and transform them into a beautiful **Homemade Blueberry Syrup** right on your stovetop. Just stick with the timing, and you’ll have the best topping ready in no time.
First things first, grab a medium saucepan—nothing fancy required. Dump in all the blueberries, the water (1 cup!), and your sugar (let’s start with that 3/4 cup). Turn the heat up to medium. You need to stir this gently until you see all that sugar disappear. Once it’s dissolved and you see the first tiny bubbles, that means it’s time to calm things down.
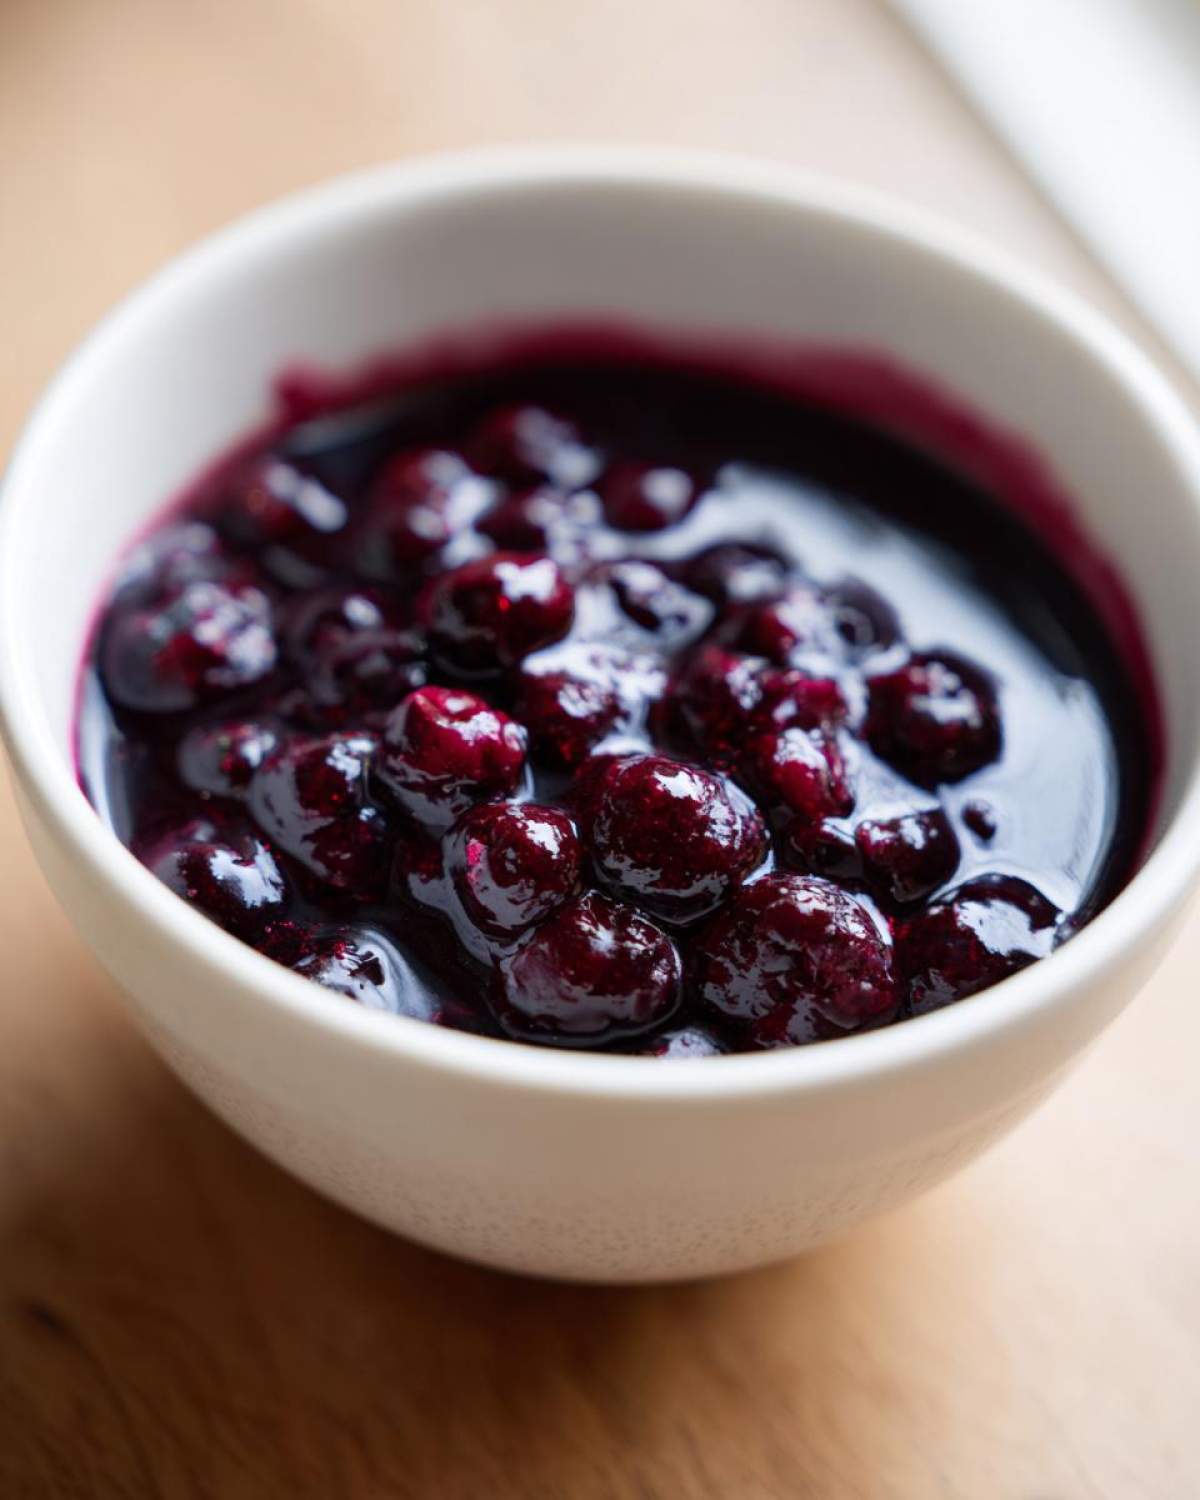
Reduce the heat right down to low. This is the long simmer, but don’t walk away completely! You want to let this go for about 15 to 20 minutes, stirring every few minutes so nothing sticks to the bottom. The berries will start bursting, and you’ll notice the liquid reducing and darkening. If you are making a big batch or using frozen berries, give it that extra five minutes!
Simmering and Breaking Down the Berries
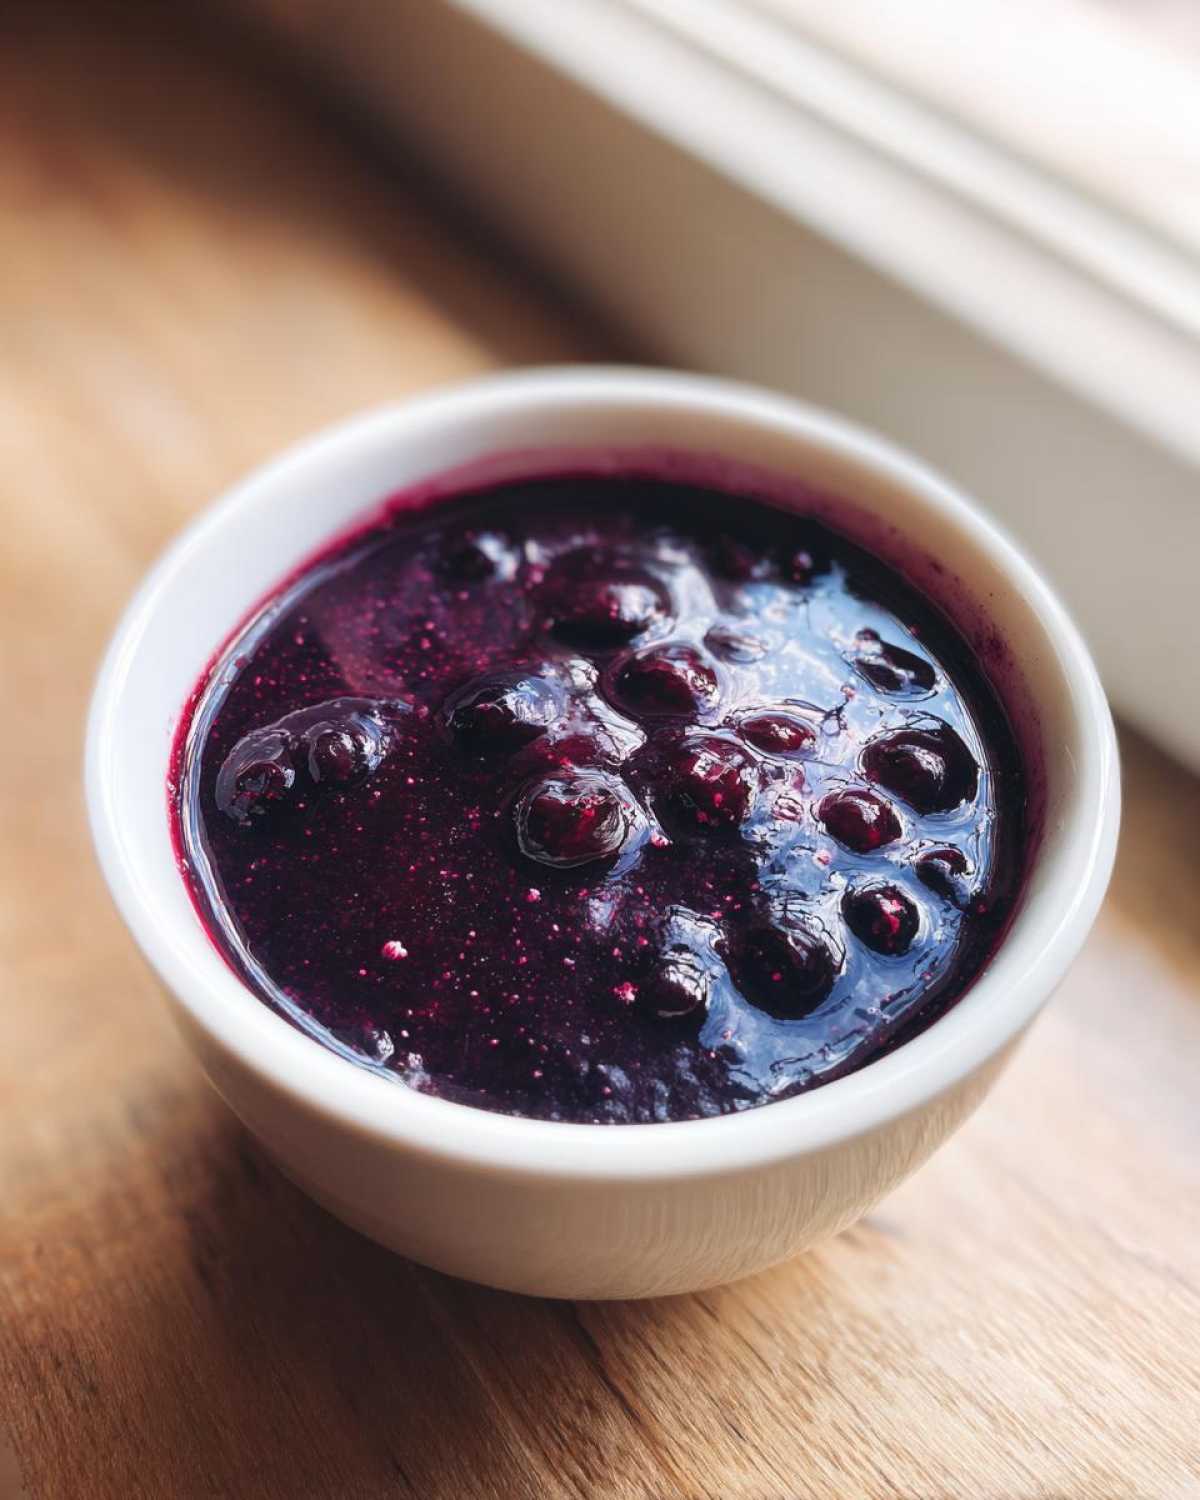
During that low simmer, the berries do most of the work! If you like a nice, rustic texture with some whole berries left intact—which I prefer for my **Pancake Blueberry Syrup**—just gently press on them with the back of a wooden spoon now and then. That helps release their juice and color.
However, if you want something that pours like a dream, you can take an immersion blender and give it just two or three quick pulses right in the pot. Don’t go crazy blending, or you end up with baby food! We want little bits of berry goodness floating around. This is a great time to check the flavor before moving on. Remember, everything thickens when it cools, so taste it while it’s hot!
Achieving the Perfect Thick Blueberry Syrup Texture
Once you pull the pan off the heat and stir in that optional vanilla—oh my gosh, the smell!—you have to resist the urge to use it immediately. Seriously, this is the biggest rookie mistake: using the syrup when it’s hot. It will be thin, almost like slightly syrupy water. As it cools down over the next 15 minutes or so, it tightens up beautifully into that rich, pourable texture we want for a **Thick Blueberry Syrup**.
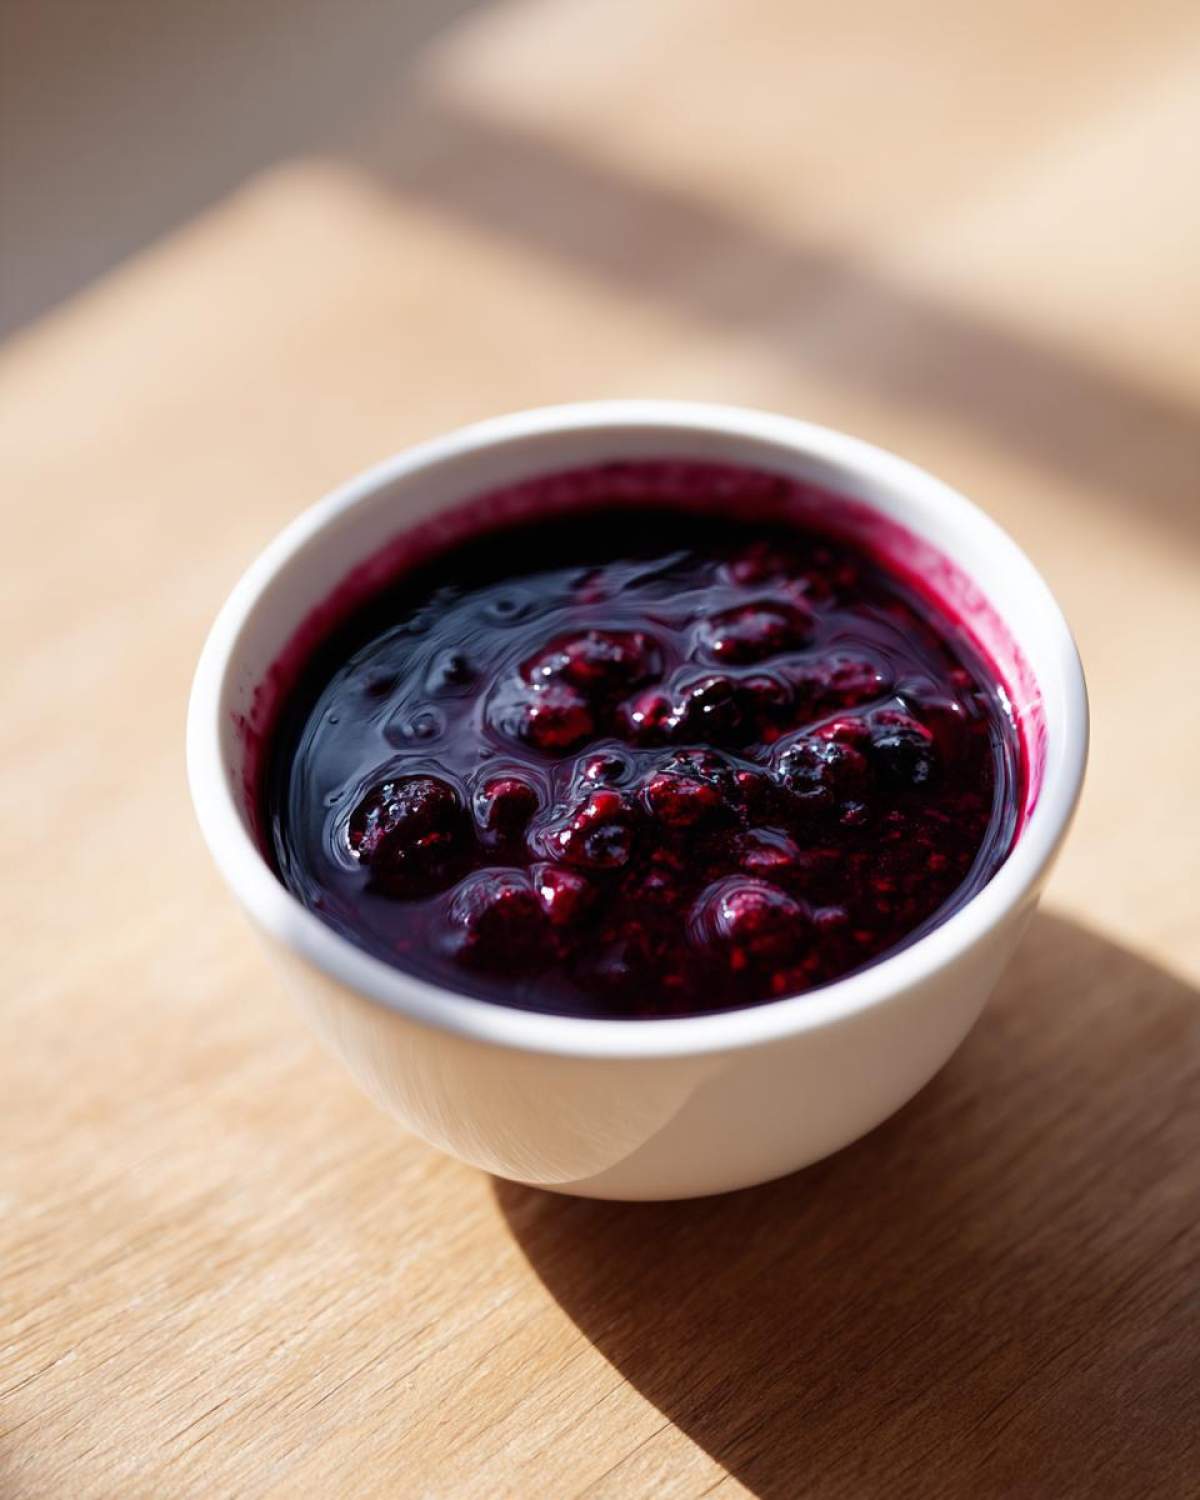
If, even after cooling, you find it’s still thinner than you’d like? Don’t panic! I keep a tiny slurry of cornstarch and cold water hidden in my fridge for these moments. Whisk 1 teaspoon of cornstarch into 1 tablespoon of cold water until smooth, then stir that into your simmering syrup during the last few minutes. It’s a foolproof trick! If you want it ultra-smooth for, say, drizzling over cheesecake, pour the whole warm batch through a fine-mesh sieve, pressing hard on the solids underneath. If you skip straining, you get a gorgeous, slightly chunky **Homemade Blueberry Sauce**!
If you’re looking for other ideas on how to use this, check out my guide on simple fruit syrup recipes for great ways beyond breakfast!
Tips for Perfect Homemade Blueberry Syrup Every Time
Even with such a simple recipe for **Homemade Blueberry Syrup**, there are a few things that can throw you off if you’re not prepared. I learned this the hard way the first time I made a batch, thinking I could just speed up the cooling process!
My biggest mistake was trying to use the syrup immediately because the smell was just too intoxicating. It was completely runny—a total letdown after all that simmering! I poured it on my pancakes, and it just sank right in. I realized then that the cooling process isn’t optional; it’s the final, magical step where the pectin and sugar set up to give you that perfect texture. You absolutely must let it cool down for at least 10 to 15 minutes before deciding if it’s thick enough.
If your syrup ends up too sweet, which can happen if your berries weren’t tart enough, don’t worry! You can often fix this by simmering it just a *little* bit longer to reduce more water, or you can stir in a tiny splash of fresh lemon juice right near the end. That acidity cuts the heavy sweetness really nicely. If it’s somehow too thin even after cooling, remember that handy cornstarch trick I mentioned—that’s the insurance policy for a truly thick result.
When I’m serving this up for a big weekend brunch, I sometimes like to think of it as a base. I’ll warm up a little leftover syrup later and use it as a quick glaze over my homemade garlic naan—it sounds weird, but the sweet-savory combination is addictive! It really shines when you give it time to set properly.
Creative Ways to Use Your Homemade Blueberry Syrup
Okay, so you’ve mastered making the most incredible Homemade Blueberry Syrup, and now you have about a cup and a half of thick, homemade goodness. What do you do besides drowning your pancakes? Oh, friend, the possibilities are endless! Seriously, once you have this perfect **Blueberry Drizzle Recipe**, you’ll find excuses to use it everywhere.
Of course, it is the ultimate **Waffle Topping Syrup**, but don’t stop there! Drizzle it generously over plain Greek yogurt or vanilla ice cream instead of boring chocolate sauce. It makes cheesecake look fancy with zero extra effort. If you’re stirring something into oatmeal or cottage cheese, a spoonful of this syrup instantly upgrades it from utilitarian to luxurious. It’s just so versatile!
You can even use this syrup as a quick base for other flavorful things; I sometimes mix it into the base of my homemade chocolate milk just to get a hint of fruitiness in there. It brightens everything up!
Blueberry Syrup for Cocktails and Beverages
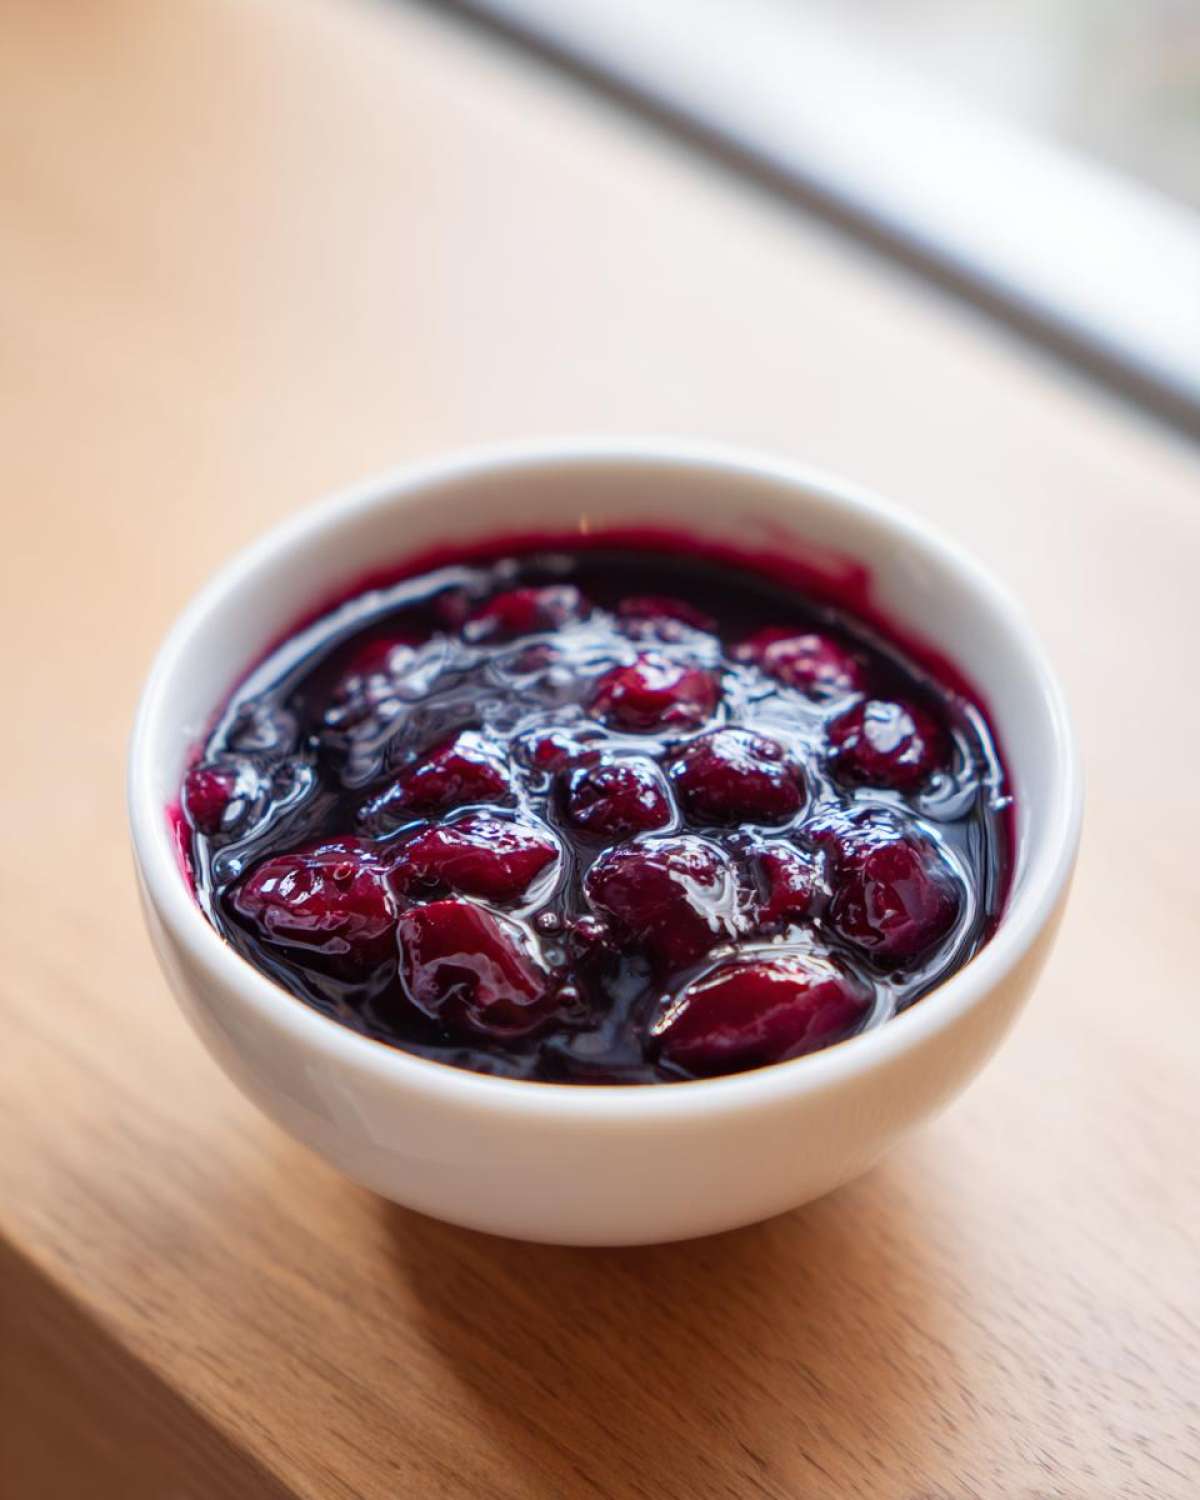
This is my secret weapon for summer drinks! Because it’s made without stabilizers, it mixes beautifully into cold liquids. Do you want a fancy Italian soda? Just take a tall glass of sparkling water, drop in a couple of tablespoons of the syrup, maybe add a squeeze of fresh lime, and boom—you have an artisanal drink. Instant hydration win!
For cocktails, it’s just as easy. Try stirring two ounces of this into a simple vodka soda—it tastes so fresh and light. It also pairs wonderfully with gin or even blended into a simple iced tea instead of boring regular sugar. You’ve made something so pure; you should show it off in your morning smoothie or your afternoon refreshment!
Storage and Shelf Life for Homemade Blueberry Syrup
So, you’ve made this amazing, thick batch of **Homemade Blueberry Syrup**, and now you’ve got to keep it safe! Since we aren’t messing around with industrial preservatives, proper **Blueberry syrup storage** is key to keeping that fresh flavor locked in.
The short answer is: stick it in the fridge immediately once it has cooled down completely. You *must* let it reach room temperature first, or you risk condensation making everything watery. Pour the cooled syrup into a clean, airtight container. A mason jar works perfectly! I always save mine in the smallest jar I have so the surface area exposed to air is minimal.
When stored properly in the refrigerator, this syrup stays fantastic for about two to three weeks. Honestly, it rarely lasts that long in my house because we use it on everything—I even put a drizzle over my leftovers from my avocado egg salad experiments sometimes, oops! If you see any weird fuzziness or if it smells off, toss it, but generally, because of the sugar content, it holds up really well in the cold.
If, by some miracle, you made a huge batch and know you won’t get through it in three weeks, you can absolutely freeze it! Pour it into freezer-safe bags or containers, leaving about half an inch of headspace at the top because liquids expand. Frozen homemade blueberry syrup lasts for about three months. When you thaw it, just give it a good shake, though it might seem slightly thinner initially. It’s perfect for those times you’re craving that summer blueberry taste in the middle of winter!
Frequently Asked Questions About Homemade Blueberry Syrup
I know when you’re looking at a new recipe, questions pop up! Since this Blueberry syrup recipe is so simple, most hang-ups are about substitutions or texture. I’ve rounded up the absolute most common things people ask me when they’re trying to perfect their first batch of Homemade Blueberry Syrup.
If you’ve got more questions after reading this, drop them in the comments below! I love hearing how you customized your **Simple Fruit Syrup Recipe**, especially if you tried to make it thicker or tangier. I’ll try my best to answer them quickly!
Can I make Homemade Blueberry Syrup with frozen berries?
Oh, absolutely, 100%! This is my go-to question for off-season blueberry cravings. Frozen berries work perfectly fine. You don’t even need to thaw them first, just toss them right into the pot with your water and sugar. The only thing you need to watch out for is the cooking time. Because frozen berries release a lot more initial water when they thaw in the pot, you might need to let your mixture simmer for just a couple of minutes longer than the recipe states to ensure you get that perfect rich reduction. Just keep stirring and keep an eye on the liquid level!
How much sugar should I use for a natural blueberry syrup?
That’s such an important consideration if you’re aiming for a **Natural blueberry syrup**! In the recipe, we call for 3/4 cup of granulated sugar for 2 cups of berries. That ratio gives you that classic sweet-tart profile that works so well over pancakes. But here’s my real advice: taste your berries *before* you turn on the heat! If you picked some truly sweet ones this summer, you could easily drop that down to 1/2 cup of sugar and still have a fantastic result. If your berries are a little bland or sour, you might even bump it up to a full cup. Taste first, then adjust the sugar before you simmer—that’s how you control the final flavor!
We use those measurements to keep it easy, but baking is really about adapting for your specific ingredients! Speaking of adapting, if you want to try making this into thick, fluffy marshmallows instead of syrup, you’ll want to check out my tips for homemade marshmallows!
Nutritional Estimates for Homemade Blueberry Syrup
I always get asked about the numbers, and while this isn’t a medical document, it’s good to have a ballpark idea of what you’re drizzling on your breakfast! Since we are using real fruit, water, and standard sugar, the profile is fairly straightforward—lots of natural energy from the carbs and sugar, naturally!
Please remember, these figures are just estimates based on dividing the whole batch (about 1 1/2 cups) into four equal serving sizes (about 1/4 cup each). If you use honey or maple syrup instead of granulated sugar, these numbers will change for the worse, let’s be honest!
Here is the breakdown for one serving size (1/4 cup):
- Calories: Around 180
- Sugar: Roughly 40 grams (This is where the energy comes from, naturally!)
- Carbohydrates: About 46 grams
- Fat: Only about 0.2 grams (Barely anything!)
- Protein: Less than half a gram (This isn’t a protein shake, folks!)
It’s mostly natural sugars from the berries and the added sugar, which is what you expect from a delicious **Homemade Blueberry Syrup**. It’s worth every single sweet drop, especially when you see how much better it tastes than anything you can find on the shelf!
Share Your Homemade Blueberry Syrup Creations
Now that I’ve dumped all my secrets on you about making the best **Homemade Blueberry Syrup**, it’s your turn to get cooking! Honestly, seeing what you all create makes my whole day. This recipe is so adaptable, and I absolutely live to hear about the little changes you make—maybe you added lavender, or perhaps you tried it over ice cream instead of just pancakes. Don’t keep those brilliant ideas to yourself!
As soon as you make a batch, hop down to the comments section and leave a rating. A five-star rating lets me know I nailed the texture, and if you have any tweaks that worked for your particular berries, please spill the beans! Sharing is caring in my kitchen.
And please, please, please, share photos! Tag me on social media when you pour this gorgeous **Blueberry Drizzle Recipe** over your weekend breakfast spread. I want to see your beautiful creations! If you want to see what else I’m cooking up that week, check out my main recipe index for inspiration!
PrintThick and Easy Homemade Blueberry Syrup
Make a simple, thick blueberry syrup at home using fresh or frozen berries. This recipe requires minimal ingredients and cooks quickly.
- Prep Time: 5 min
- Cook Time: 20 min
- Total Time: 25 min
- Yield: About 1 1/2 cups
- Category: Breakfast
- Method: Stovetop Simmering
- Cuisine: American
- Diet: Vegetarian
Ingredients
- 2 cups fresh or frozen blueberries
- 1 cup water
- 3/4 cup granulated sugar (adjust to taste)
- 1 teaspoon vanilla extract (optional)
Instructions
- Combine the blueberries, water, and sugar in a medium saucepan.
- Place the saucepan over medium heat. Stir occasionally until the sugar dissolves and the mixture begins to simmer.
- Reduce the heat to low and let the mixture simmer for 15 to 20 minutes. Stir occasionally. The berries will break down, and the liquid will reduce slightly.
- If you prefer a smoother syrup, mash the berries gently with the back of a spoon or use an immersion blender for a few quick pulses. Do not over-blend if you want some whole berry pieces remaining.
- Remove the saucepan from the heat. Stir in the vanilla extract, if using.
- Allow the syrup to cool for about 10 minutes. It will thicken considerably as it cools.
- Pour the syrup through a fine-mesh sieve into a clean jar if you want a completely smooth syrup; press down on the solids to extract all liquid. If you prefer a thicker, slightly chunkier syrup, skip the straining step.
- Store the cooled syrup in an airtight container in the refrigerator.
Notes
- For a tangier flavor, add 1 teaspoon of fresh lemon juice with the vanilla extract.
- To make a thicker syrup, simmer for an extra 5 minutes or add 1 teaspoon of cornstarch mixed with 1 tablespoon of cold water during the last 5 minutes of cooking.
- This syrup is excellent over pancakes, waffles, yogurt, ice cream, or mixed into sparkling water for a homemade soda.
Nutrition
- Serving Size: 1/4 cup
- Calories: 180
- Sugar: 40
- Sodium: 1
- Fat: 0.2
- Saturated Fat: 0
- Unsaturated Fat: 0.1
- Trans Fat: 0
- Carbohydrates: 46
- Fiber: 1.5
- Protein: 0.5
- Cholesterol: 0