

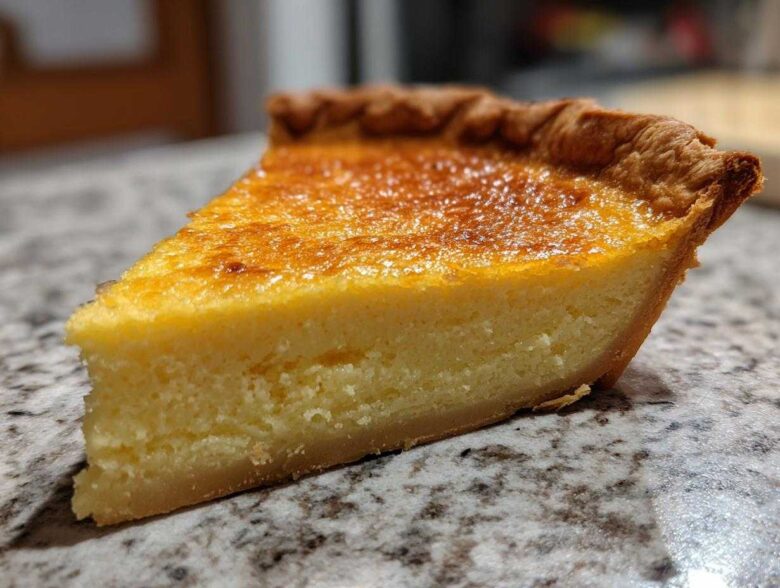
When Noah and I talk about pure, unadulterated Southern comfort, we always land right here, by the shimmering, golden top of a perfectly baked buttermilk pie. Forget fancy techniques; this recipe is proof that the simplest things often hold the most nostalgia. It’s our baseline for what a true Southern custard pie should taste like—tangy enough to make you pucker just a little, sweet enough to feel like a special occasion. Baking this is more than just making dessert; it’s an operational checkpoint in our empire. Every time we whisk that filling together, it feels like we’re sticking to the original blueprint we made on our very first date night. It’s just solid, time-tested goodness.
Why This Classic Buttermilk Pie Recipe is Your New Favorite Dessert
I promise you, this isn’t just another pie recipe sitting in your digital cookbook gathering dust. This is pure, straightforward Southern comfort baking that simply delivers, every single time. It’s the kind of baked good that makes your house smell like home!
- We nail that perfect balance: it’s a wonderfully Tangy Sweet Pie without being cloying.
- It’s the definition of Comfort Food Baking—simple, warm, and deeply satisfying.
Perfectly Creamy, Tangy Custard Texture
When you follow our directions about not overmixing, you get that incredible custard. It sets up beautifully—silky smooth, almost spoonable, yet firm enough to handle a piece of cake server. That slight ‘jiggle’ Noah talks about during testing is your sign of perfection!
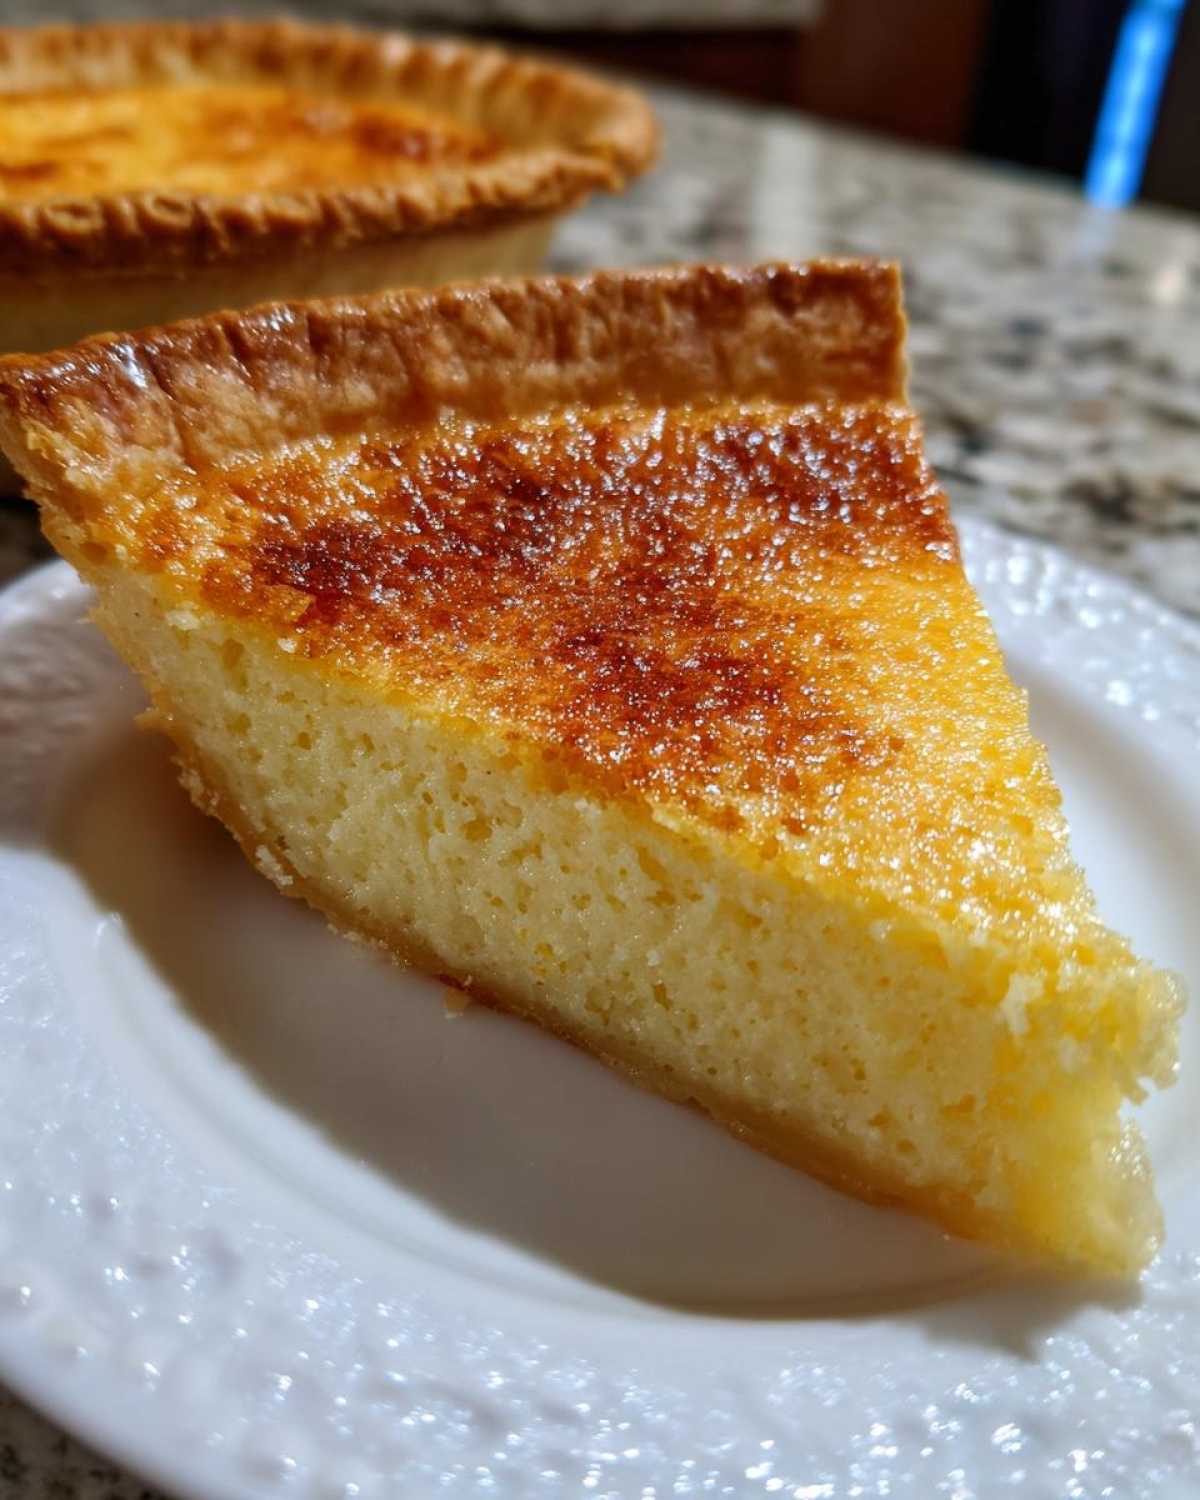
Simple Ingredients for an Old Fashioned Pie Recipe
You won’t need a single special trip to the store! This is a true Old Fashioned Pie Recipe, relying on sugar, flour, eggs, and, of course, that beautiful buttermilk. It proves you don’t need a dozen tricky elements to make something truly memorable.
Gathering Supplies for Your Homemade Buttermilk Pie
Getting ready for this Homemade Buttermilk Pie is honestly the easiest part of the process because you probably have everything sitting in your drawers already. No wild gadget hunts required here! We should always keep our strategy simple when building flavor foundations, right?
Essential Equipment for the Perfect Buttermilk Pie
You want to make sure you have the right stage set for that silky filling. You absolutely need a standard 9-inch pie plate—nothing deeper or shallower, or the setting time will throw off. I always grab two good mixing bowls, one for the dry stuff and one for whisking the wet ingredients together before they marry. And trust me, use a good wire whisk here for the smoothest texture possible!
Ingredients for the Classic Buttermilk Pie
Okay, let’s talk about what goes into this magic. When I was mapping this out for Noah, I made sure every measurement was crystal clear because for a custard pie, precision is everything! You want that beautiful, creamy texture, so no eyeballing here, chief of operations style!
The most important thing to note upfront: you need a crust ready to go. Since this recipe is all about that amazing filling, we aren’t spending time on the crust today. Have your favorite recipe on hand, or just grab one ready-made, as long as it’s a standard 9-inch unbaked pie crust ready to drop in the plate.
Here’s the lineup for the filing:
- 1 (9-inch) unbaked pie crust (Seriously, use your best flaky crust recipe here!)
- 1 1/2 cups granulated sugar
- 3 tablespoons all-purpose flour
- 1/4 teaspoon salt
- 1 cup buttermilk (This is non-negotiable for the tang!)
- 1/2 cup unsalted butter, melted
- 2 large eggs, lightly beaten
- 1 teaspoon vanilla extract
See? Super simple. Buttermilk, eggs, sugar, and butter—that’s the heart of our Southern comfort pie right there. Make sure that butter is fully melted but not scorching hot when you add it to the liquids, or you might scramble those beautiful eggs!
Step-by-Step Instructions for Your Buttermilk Pie
Alright, Noah’s strategic planning side loves this part because it’s all about execution. When you nail these steps, you unlock that perfect, non-weepy custard every time. Remember, while we don’t cover the crust here—you can check out our method for the perfect Flaky Crust Pie separately—the filling demands our full attention right now. Follow my operational guide precisely!
Preparing the Oven and Crust for the Buttermilk Pie
First things first: get that oven humming! Preheat it to exactly 350 degrees F. While that’s warming up, gently place your 9-inch unbaked pie crust into the pie plate. Smooth it out, make sure it’s snug, and generally try not to puncture it (Oops! That’s an easy mistake to make when you’re rushing).
Creating the From Scratch Pie Filling
We need two bowls here, baker! In the first, you need to vigorously whisk together the sugar, the flour, and salt—make sure there are zero lumps of flour hiding anywhere. In the second bowl, mix your buttermilk, melted butter, eggs, and vanilla until everything looks liquid and integrated. Now, slowly, slowly pour those wet ingredients into the dry while you keep whisking constantly until you have a smooth batter. That’s your From Scratch Pie Filling; stop whisking as soon as it’s uniform so we don’t develop any unnecessary gluten!
Baking and Setting the Tangy Sweet Pie
Pour that beautiful mixture carefully into your waiting crust. Pop it into the preheated oven and plan for about 45 to 55 minutes of bake time. We aren’t looking for rock-solid; we want that subtle movement, that hint of a slight jiggle when you give the oven door a gentle knock. That’s how you know this sweet treat is almost ready to become the star of your dinner!
Tips for Success with Your Southern Custard Pie
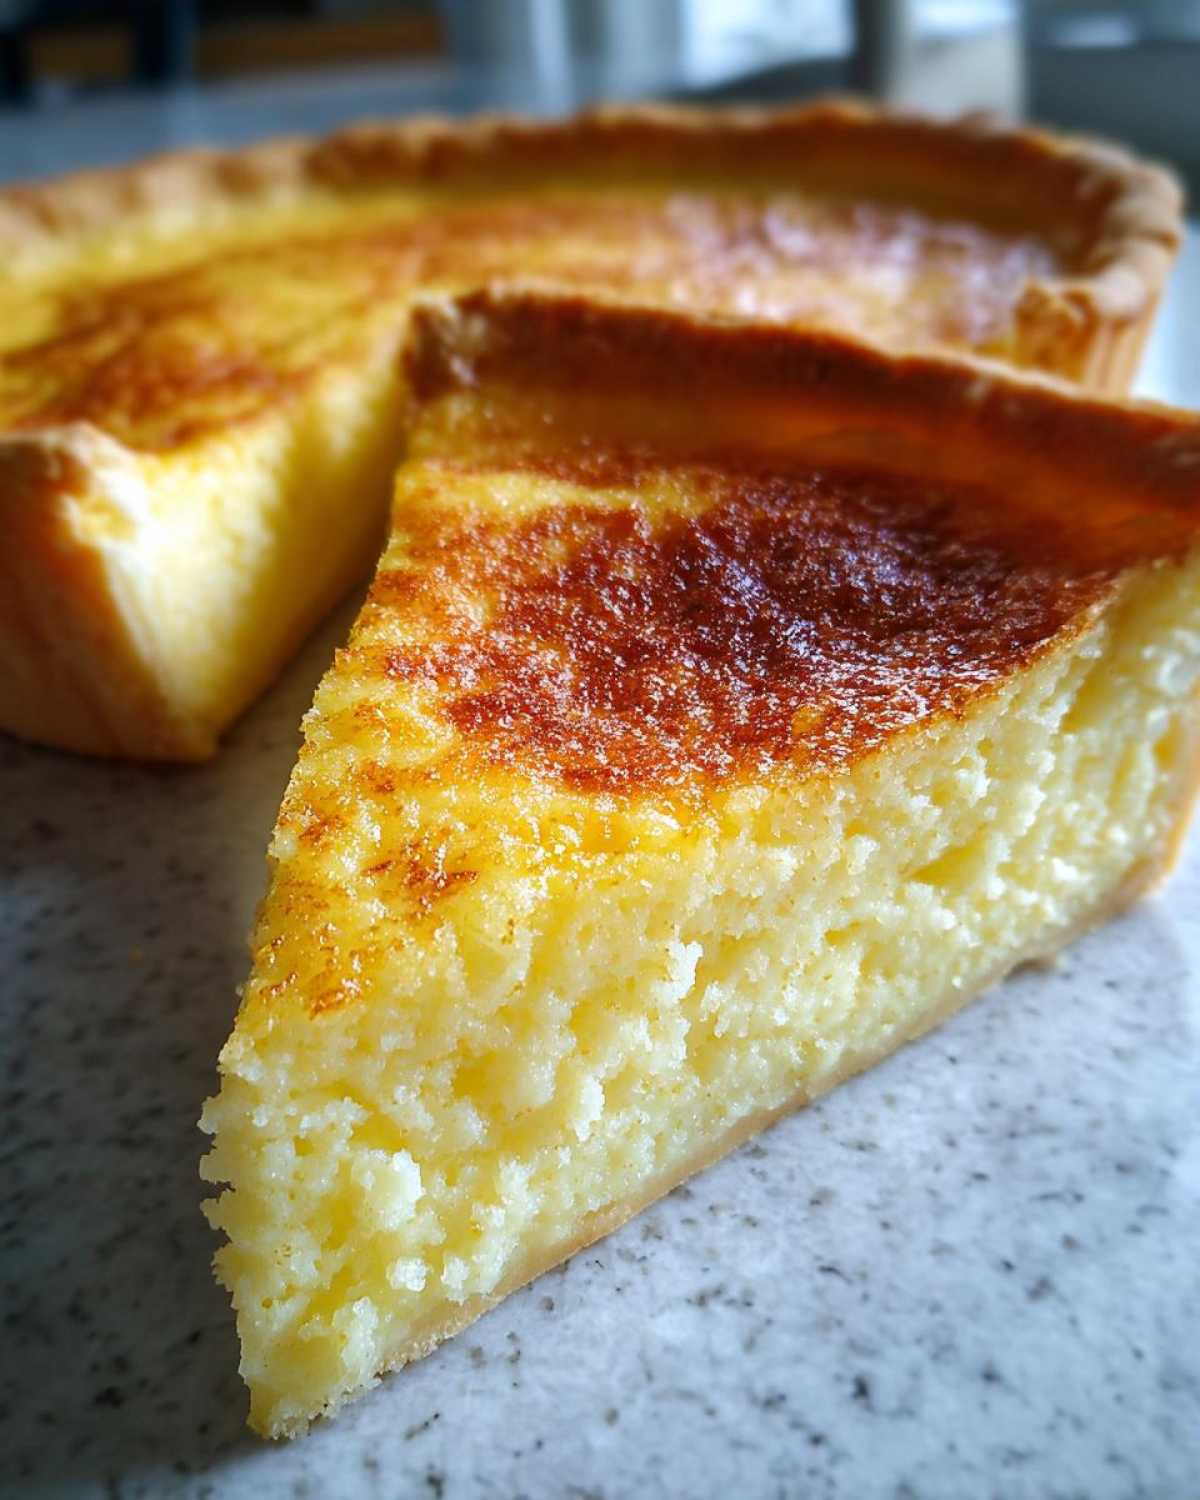
Look, Southern baking is an art, but with custard pies, it’s mostly just about timing and trust! We want to make sure this pie is among the Best Southern Desserts you’ve ever made, and that means paying attention to those last few minutes in the oven. Noah is always hovering, worried about the edges crisping too fast, but that’s where having a plan—and some aluminum foil—really pays off.
Achieving the Signature Golden Brown Pie Top Dessert
The top is what gives the pie that classic, warm look, and we never want it to burn! If you see those beautiful golden-brown edges forming around the 30-minute mark, don’t panic. This is the exact moment to put Noah on foil duty. You just need to loosely crimp a ring of aluminum foil around the edge of the crust. It shields the delicate edges from intense heat while letting the center finish baking off. Trust me, this tiny strategy makes a massive difference in presentation!
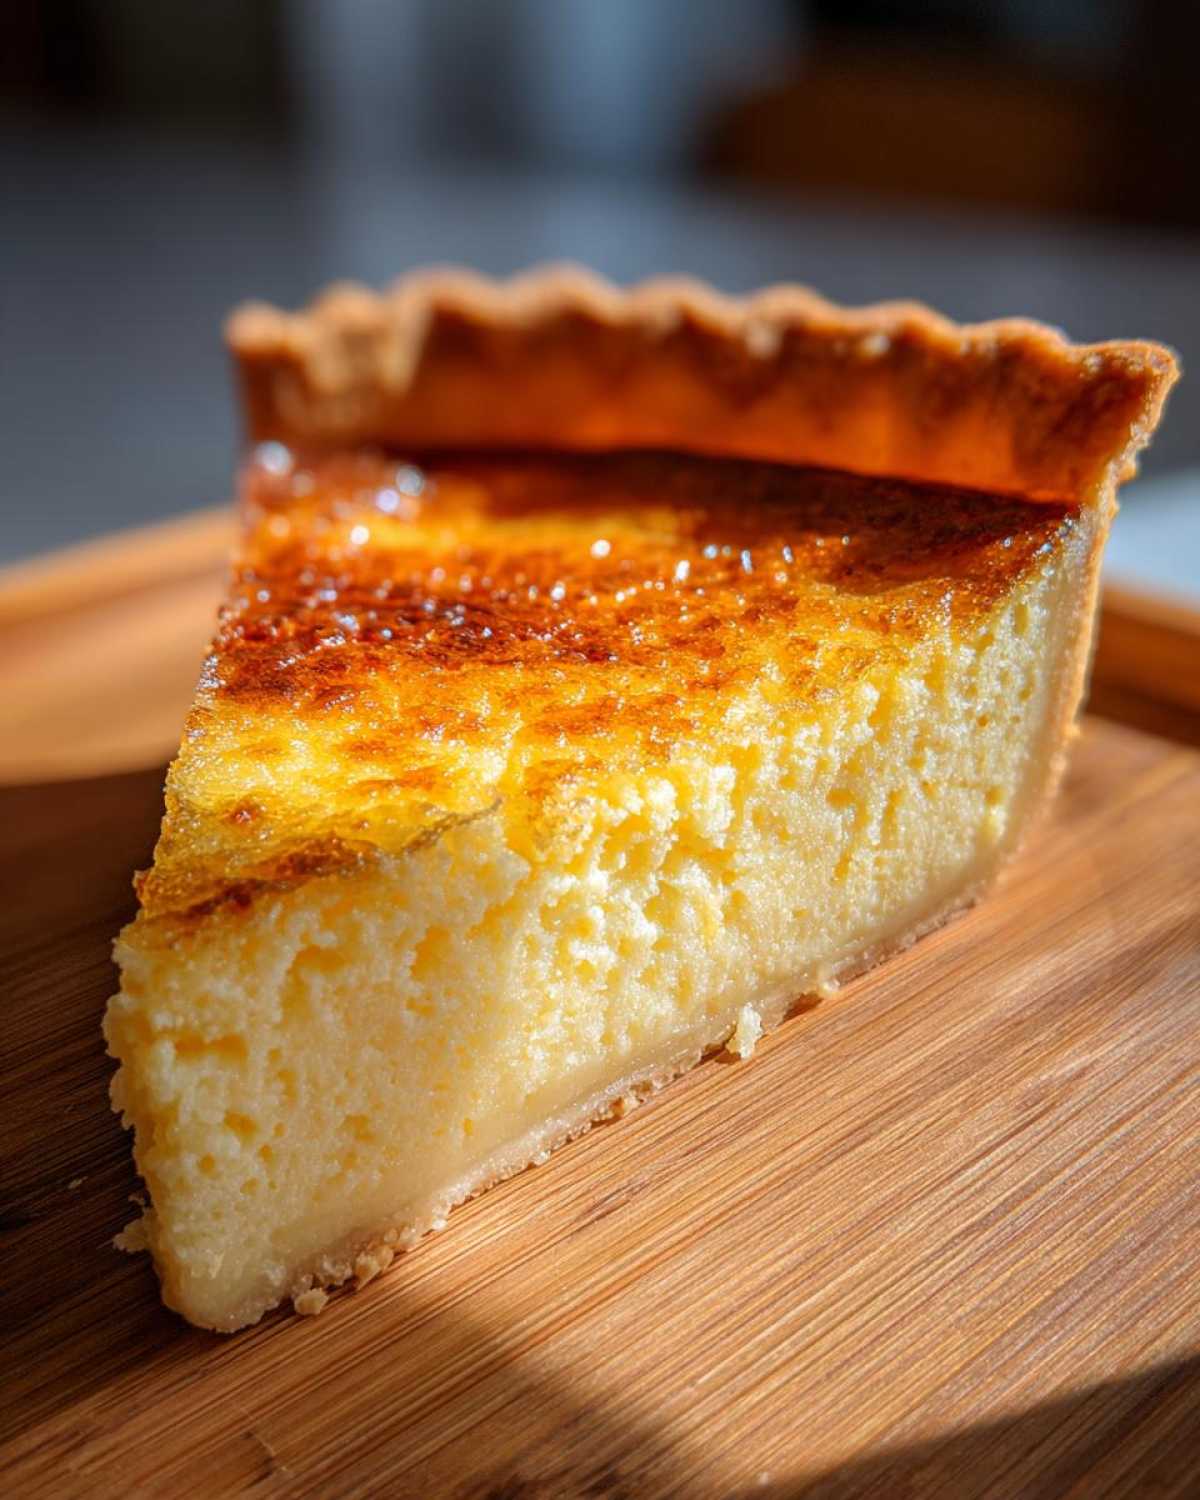
But the real key to success, the part that separates a good slice from a legendary one, is patience after it comes out. That custard is still technically cooking when it leaves the heat. You have to let it cool completely—and I mean *completely*—for at least three full hours on a wire rack. If you try to slice it early, it’ll weep and run everywhere. This resting period is essential for letting the custard firm up so you can slice it cleanly and enjoy that totally smooth texture. Don’t peek early; it’s worth the wait! If you want to see how others master baked goods, you can always check out inspiration from places like this other site, but stick with our cooling rule!
Storage and Reheating Instructions for Your Buttermilk Pie
The tactical part of our plan isn’t just baking, it’s surviving the leftovers! Thankfully, this Traditional American Pie is built to handle refrigeration better than most custards, thanks to the acid in that wonderful buttermilk. Noah and I usually agree that waiting for leftovers is tough, but it does pay off.
If you have any Buttermilk Magic Pie left over—and I hope you do—it needs to go straight into the fridge. Make sure it’s covered securely, maybe draped with plastic wrap or placed in a container with a lid. It keeps beautifully for up to three days. It’s one of those great dishes that feels like a second dessert waiting for you the next day!
Now, serving temperature matters! You can absolutely serve this pie straight from the fridge—it will be firmer and the tang will be a little more pronounced. But, if we are being honest, making it slightly warm is heavenly. If you want to reheat, just place a slice on a plate and microwave it for about 15 to 20 seconds. Just warm it through; we don’t want to cook the custard again, or it’ll get rubbery!
Our favorite way to serve it, though, is room temperature. Let that slice sit out on the counter for about 30 minutes after you pull it from the fridge. That allows the texture to relax perfectly before you eat it.
Serving Suggestions for This Traditional American Pie
When you finally take that first slice of this incredible, flaky crust pie, the real fun begins: deciding what to pair with it! This pie is so beautifully balanced—tangy, sweet, and rich—that it really doesn’t *need* anything extra. But since we’re building an empire of flavor, we might as well go all out, right?
The absolute classic, the must-do move for any Southern gathering, is serving it with fresh, airy topping. You simply cannot beat a dollop of homemade, lightly sweetened Buttermilk Pie with Whipped Cream. The cool cream cuts through the richness of the filling in the best possible way. If you’re tackling homemade whipped cream, you should definitely check out our recipe for Easy Homemade Marshmallows, too, because once you make those from scratch, you’ll never look back!
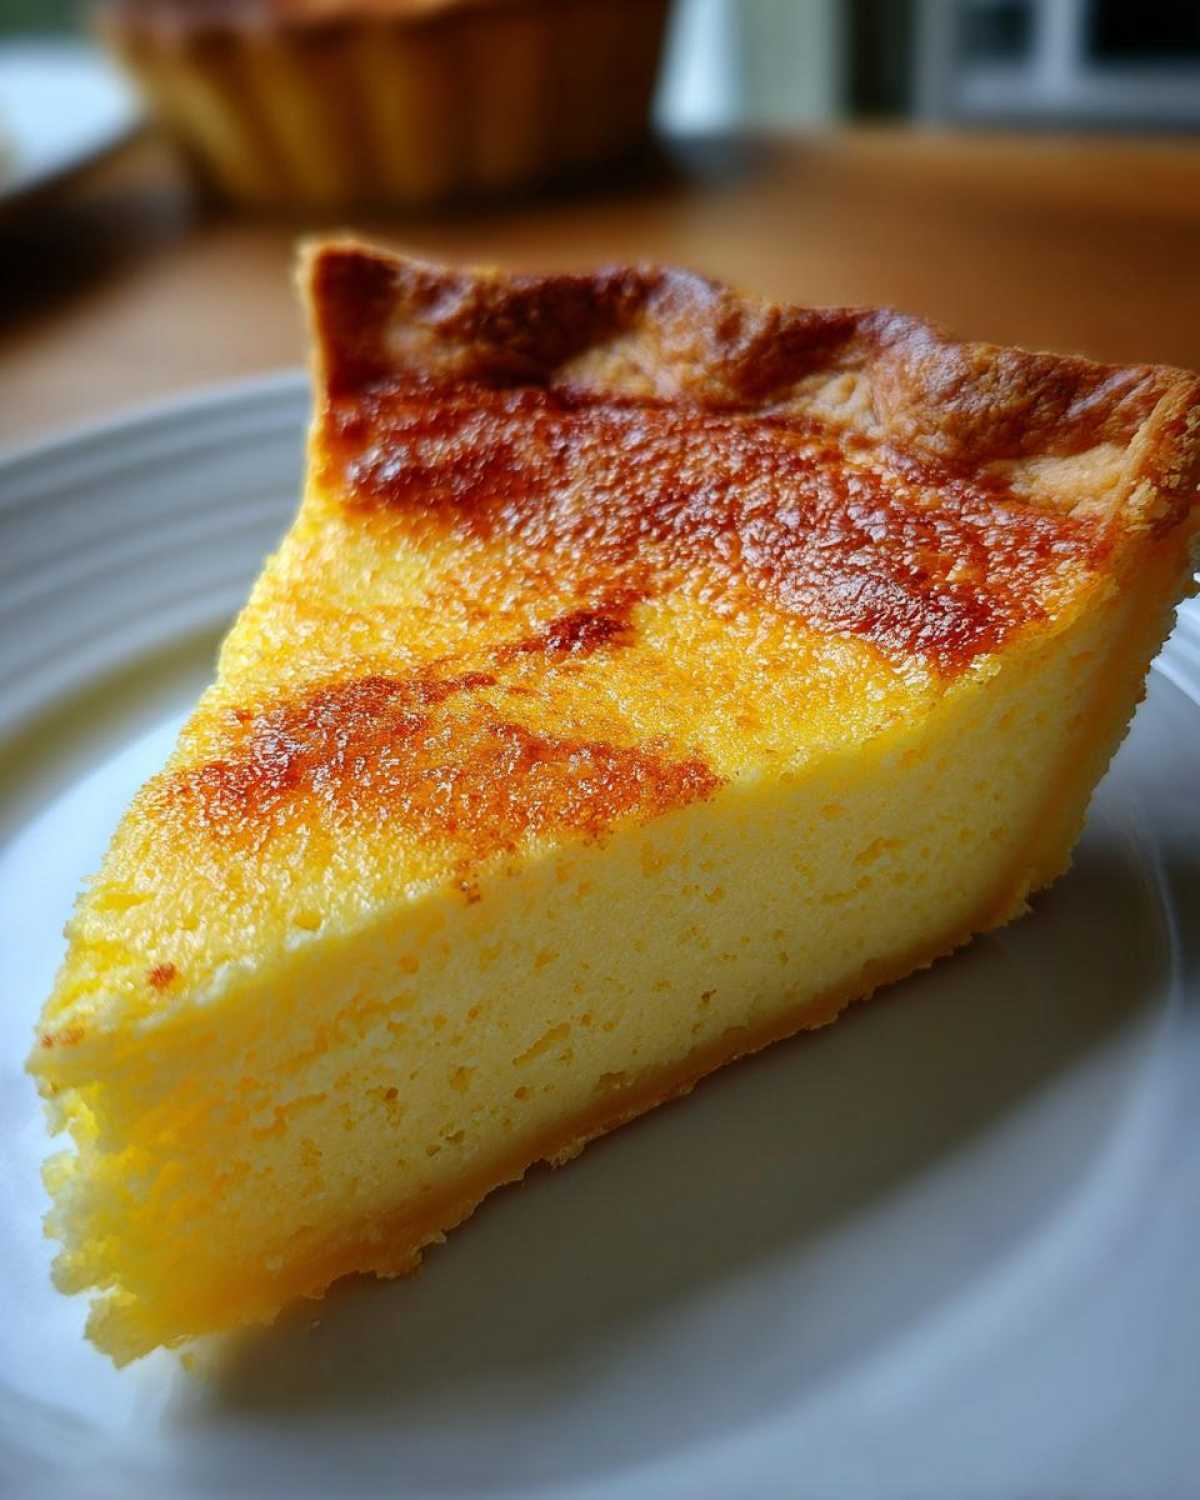
Buttermilk pie is also fantastic when served slightly warm—it really lets the vanilla and the slight tang shine through. If you’re feeling extra decadent, think about adding a light dusting of cinnamon on top of the cream, or maybe even serving it alongside some fresh seasonal berries if you want a little pop of brightness. Honestly, though, this pie stands proudly on its own as the ultimate Dessert for Sunday Dinner staple.
Frequently Asked Questions About Buttermilk Pie
Can I substitute regular milk for buttermilk in this buttermilk pie recipe?
Oh, listen, I really wouldn’t recommend it if you want that authentic flavor! The beauty of this Classic Buttermilk Pie comes from the lactic acid in the buttermilk. That acid reacts with the eggs and sugar to give us that signature tang and helps stabilize that gorgeous custard texture. If you are in a total bind, you can try this quick fix: add one tablespoon of white vinegar or lemon juice to a standard measuring cup, fill the rest up to the one-cup line with regular milk, let it sit for five minutes until it curdles slightly, and use that in place of the buttermilk. It’s a decent stand-in, but for true Southern flavor, always try for the real deal!
What is the secret to getting a smooth filling for my Southern Custard Pie?
This gets right back to our operational strategy! The secret to avoiding lumps and that slightly grainy texture is twofold. First, make sure you whisk the sugar, flour, and salt until they are perfectly smooth *before* you add any liquid. That flour is less likely to clump up when it’s perfectly dry. Second, when you combine the wet and dry, do it slowly and combine gently. Overmixing is the enemy of the Southern Custard Pie because it whips too much air in, which causes the filling to bubble up oddly while baking. Whisk just until you see the last streak of flour disappear. That’s it! No more!
Can I make this pie ahead of time?
Yes! In fact, I often think it tastes better the next day! This recipe is a superstar for anyone planning a big meal, like a huge gathering for Desser tfor Sunday Dinner. Since the custard needs that full three-hour cool-down period to set up correctly, I usually bake it completely the afternoon before your event. Serving it at room temperature the next day is divine. Just cover it tightly once it’s fully cooled and keep it right on the counter if you’re serving it within 12 hours, or keep it chilled until about an hour before you plan to slice it.
Estimating Nutritional Content for Your Buttermilk Pie
Noah always insists we provide the full blueprint, even down to the numbers. For those of you tracking things closely, here’s a reference point based on the ingredients in this Classic Buttermilk Pie recipe. Remember, these are estimates—they change depending on the crust you use and how large you slice your pieces!
- Serving Size: 1 slice
- Calories: 380
- Sugar: 35g
- Fat: 18g
- Protein: 6g
Just like with all of our recipes, keep in mind that these amounts are just a guideline, and you can always read more about how we present data on our formal disclaimer page. Enjoy the slice first, and analyze the numbers later, okay?
PrintClassic Old-Fashioned Southern Buttermilk Pie

Bake this classic Southern Buttermilk Pie for a comforting, tangy, and sweet dessert. This recipe delivers the creamy custard filling and flaky crust that defines this traditional American favorite.
- Prep Time: 15 min
- Cook Time: 50 min
- Total Time: 3 hr 5 min
- Yield: 8 servings
- Category: Dessert
- Method: Baking
- Cuisine: American
- Diet: Vegetarian
Ingredients
- 1 (9-inch) unbaked pie crust (use your favorite flaky crust recipe)
- 1 1/2 cups granulated sugar
- 3 tablespoons all-purpose flour
- 1/4 teaspoon salt
- 1 cup buttermilk
- 1/2 cup unsalted butter, melted
- 2 large eggs, lightly beaten
- 1 teaspoon vanilla extract
Instructions
- Preheat your oven to 350 degrees F. Place your unbaked pie crust into a 9-inch pie plate.
- In a medium bowl, whisk together the sugar, flour, and salt until they are fully combined.
- In a separate bowl, whisk together the buttermilk, melted butter, beaten eggs, and vanilla extract until smooth.
- Slowly pour the wet ingredients into the dry ingredients while whisking constantly until the filling is smooth. Do not overmix.
- Pour the buttermilk filling into the unbaked pie crust.
- Bake for 45 to 55 minutes. The center should be mostly set, with only a slight jiggle remaining when gently shaken. The top should be golden brown.
- Remove the pie from the oven and let it cool completely on a wire rack for at least 3 hours before slicing. This cooling time is key for the custard to set properly.
- Serve slices warm or at room temperature, often topped with fresh whipped cream.
Notes
- For a copycat version similar to Cracker Barrel, ensure your filling is very smooth before baking.
- If your crust edges start browning too quickly, cover them loosely with aluminum foil during the last 20 minutes of baking.
- This pie tastes best when served the day it is made, but leftovers store well covered in the refrigerator for up to three days.
Nutrition
- Serving Size: 1 slice
- Calories: 380
- Sugar: 35
- Sodium: 250
- Fat: 18
- Saturated Fat: 10
- Unsaturated Fat: 8
- Trans Fat: 0
- Carbohydrates: 50
- Fiber: 1
- Protein: 6
- Cholesterol: 95