

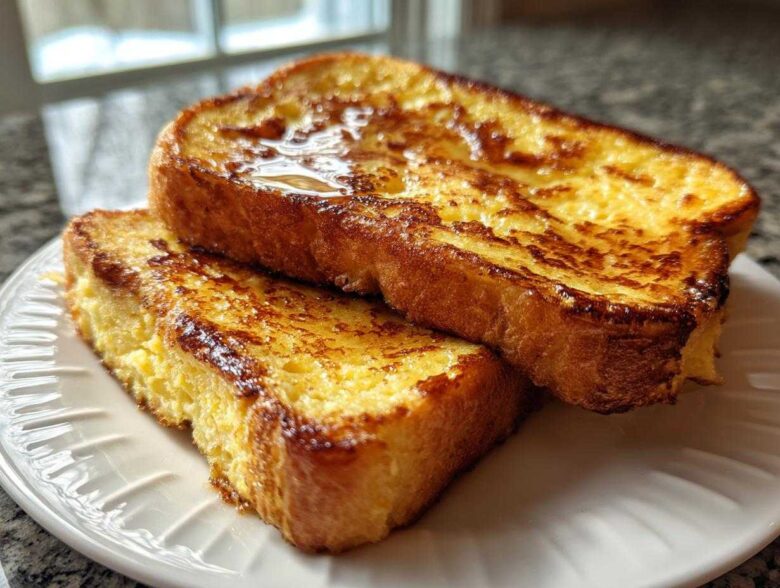
When Noah and I decided to build our Epicure Empire, we knew we needed a foundation of absolute, undeniable classics. And what’s more foundational than perfect breakfast? Honestly, trying to nail that ideal golden-brown, buttery exterior while keeping the inside rich and custardy felt like advanced strategy when we first started. But trust me, mastering this classic french toast recipe was a huge win for our partnership! This isn’t about slathering bread in egg; it’s about the technique that transforms simple ingredients into a gourmet experience. Once you get the balance right—crispy edges meeting a soft, set center—you unlock the code to better weekend mornings. If you want to know more about our journey building this culinary world, you can check out the story of how we got here, learning things one perfect bite at a time.
Why This Classic french toast Recipe is Your New Weekend Breakfast Hero
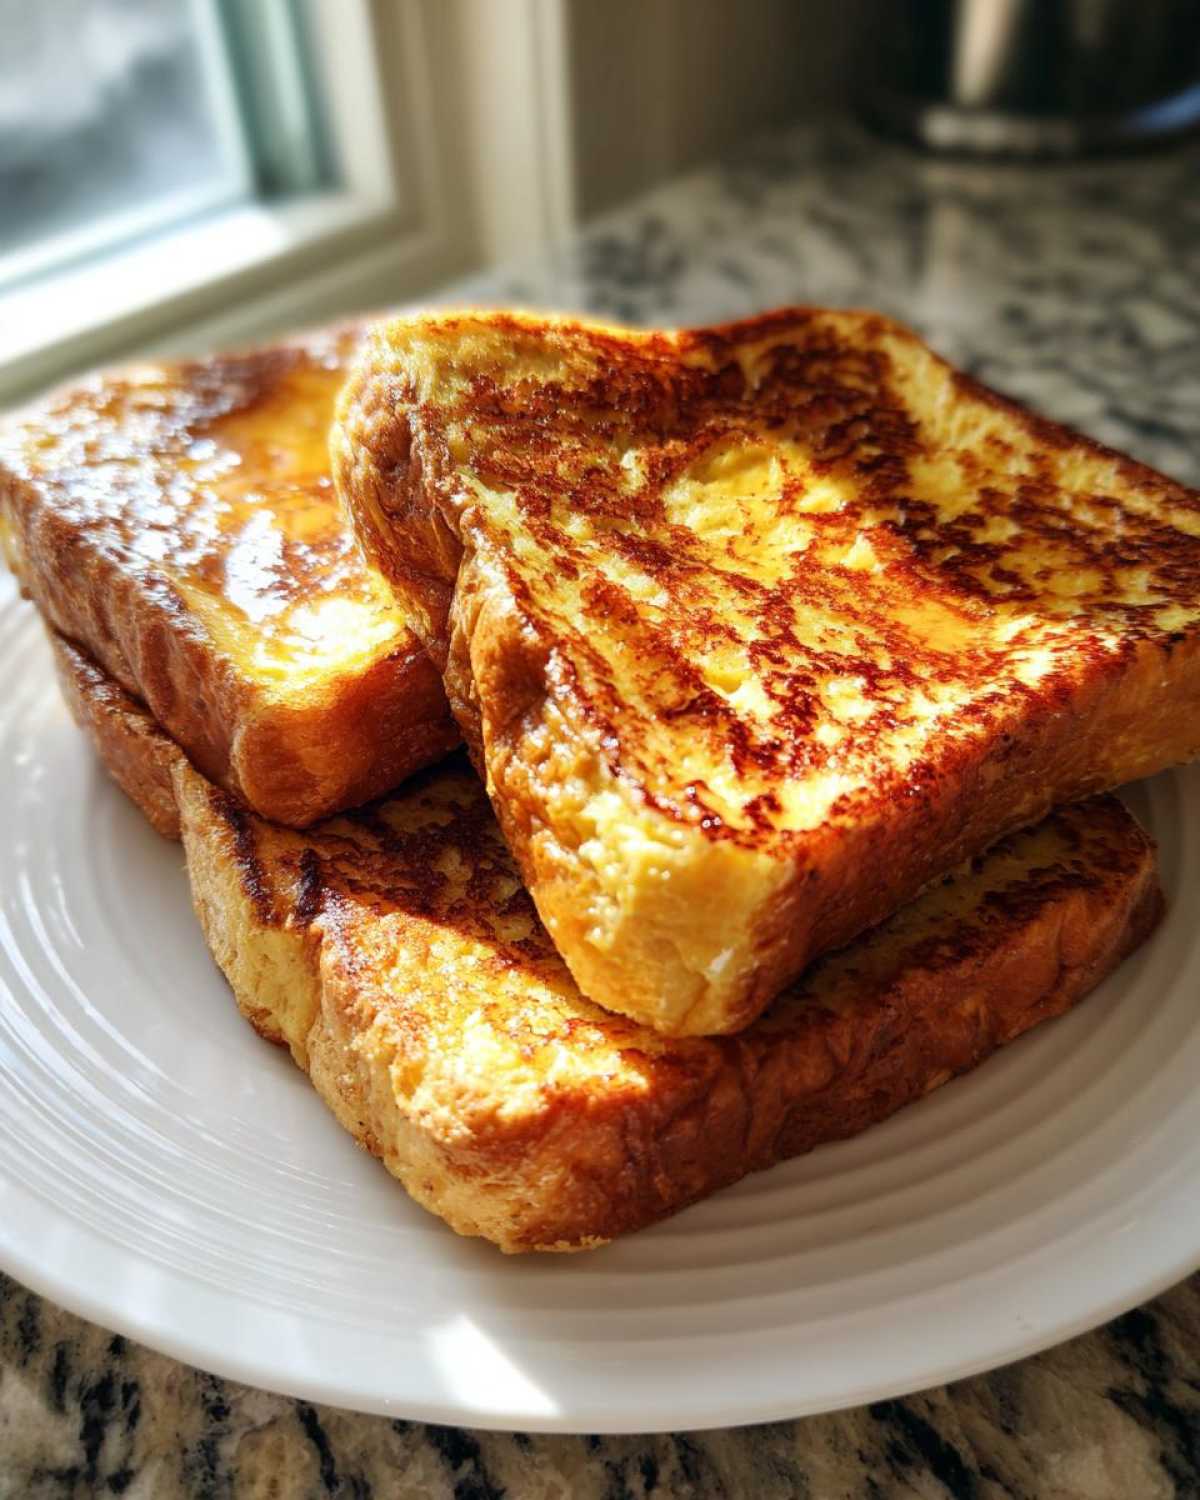
Stop settling for bland, soggy bread soaked in sad, runny egg wash! This classic french toast recipe is engineered for perfection, making it an absolute staple for our weekend breakfast ideas. We aren’t kidding when we say this turns an easy brunch recipe into something truly gourmet. Our focus here is on duality: achieving deep, luxurious custardy french toast centers while simultaneously creating those satisfyingly crispy french toast edges. It takes a little strategy, but the payoff is incredible.
Achieving the Perfect Custardy french toast Centers
The secret to that custardy center is simple science, friends! Noah insisted on a richer base than just plain milk—that’s why we use heavy cream mixed with whole milk. That fat content sinks into the bread and sets up beautifully when cooked. You need thick bread here, too; thin slices just get mushy. Let the bread soak long enough—about 15 seconds per side—so the custard penetrates deep. That extra soak time ensures the interior is creamy, not dry.
Secrets to Crispy french toast Edges
If you want edges that snap instead of flop, you need to manage the heat and the fat. Don’t just use butter; butter browns too fast! I always add a touch of neutral oil to the pan alongside the butter. That oil raises the smoke point, allowing the butter flavor to shine while still protecting the bread. And please, keep the heat at medium-low. That ‘low and slow’ approach means the heat moves gently through the thick slice, setting the inside perfectly before the outside turns those gorgeous crispy french toast edges.
Ingredients for the Best classic french toast Recipe
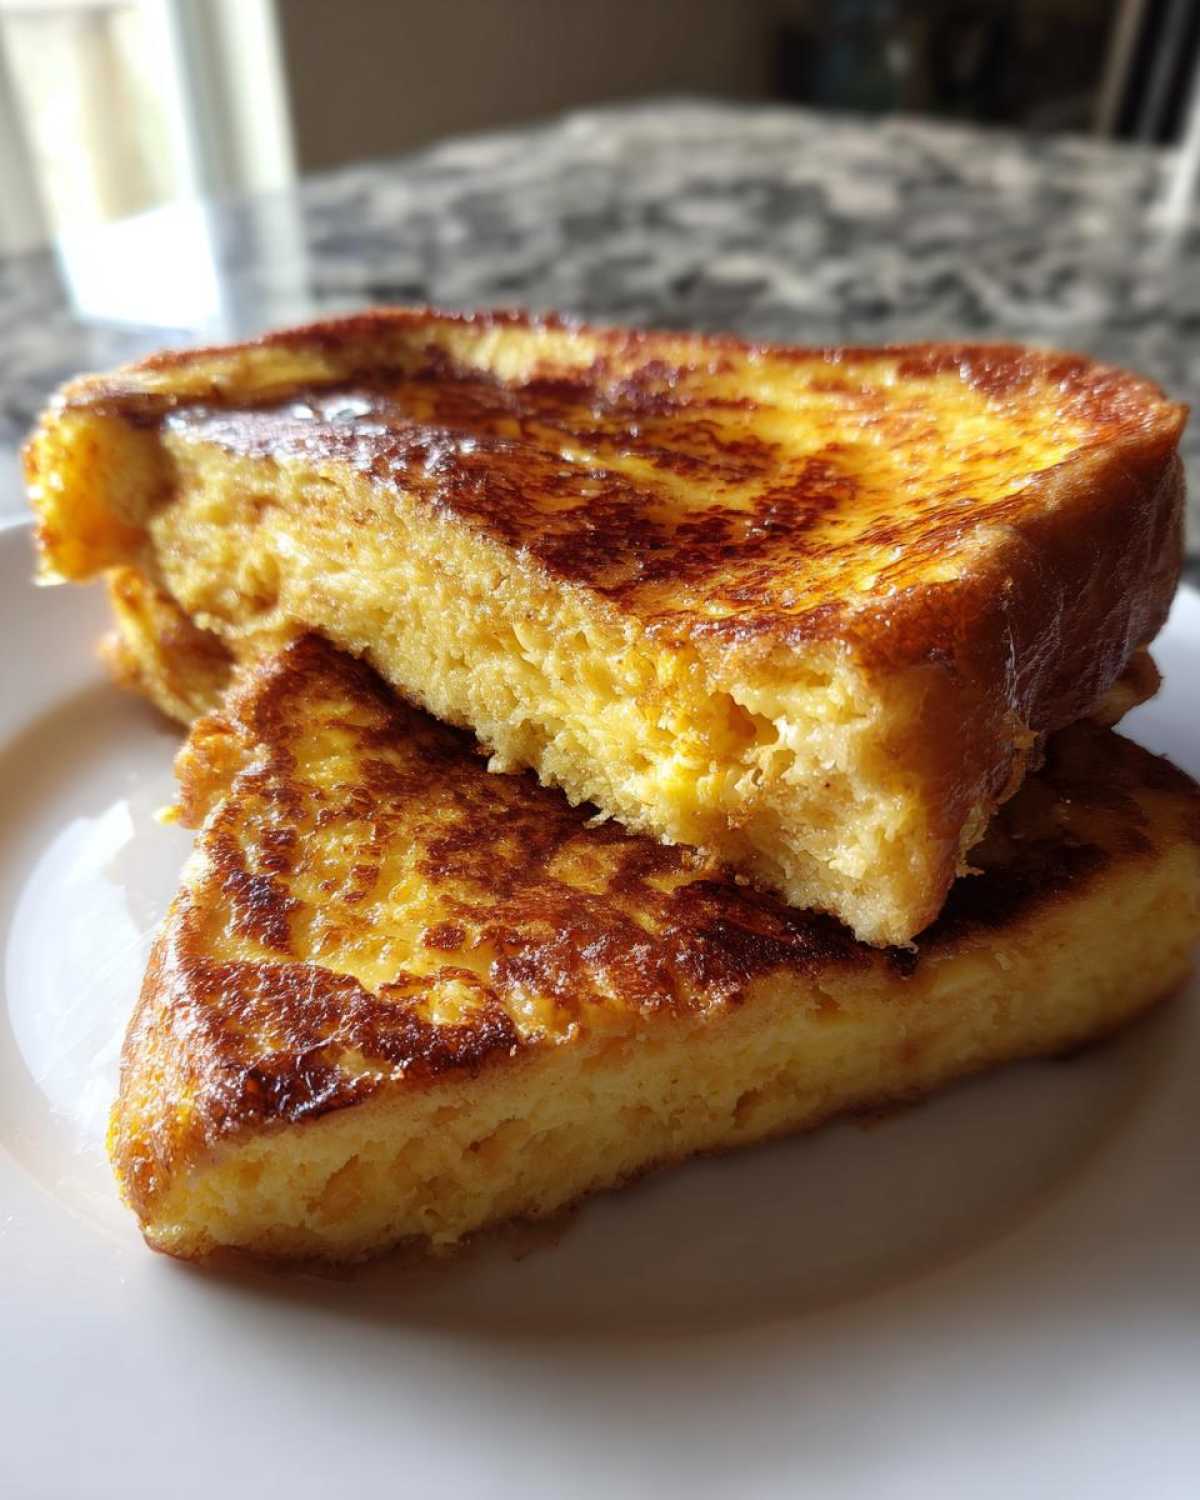
Gathering your supplies is the first crucial operational step! For this recipe, we aren’t messing around. You need the base—eight thick slices of bread—and the richness comes from four large eggs blended with cream and milk for that luxurious custard. Don’t skimp on the flavor boosters either; we use real vanilla extract, warming cinnamon, and just a whisper of nutmeg. We use just two tablespoons of unsalted butter for cooking, but trust me, that little bit of fat makes a huge difference in the final crust.
Bread Selection for Superior french toast
This is where so many people go wrong! If you try to make this with flimsy sandwich bread, you’re wasting your time. We only use thick-cut bread that can stand up to the custard soak. My absolute favorite is challah french toast because its slightly sweet, eggy texture locks in flavor perfectly. Brioche french toast is a close second. Regardless of what you choose, always aim for bread that isn’t straight out of the bag. If it’s too fresh, it gets soggy too fast. Letting it sit on the counter for thirty minutes makes it just stale enough to absorb that amazing egg mixture without collapsing!
Step-by-Step Instructions for Perfect french toast
Okay, operations time! Once you have your gorgeous ingredients laid out, we move through this process quickly but deliberately. Before anything else, if your bread isn’t already slightly dry, slice it and just let it sit for about half an hour. This is non-negotiable for good texture—we don’t want a sponge bath, we want perfect absorption! Next, we assemble the custard, which is where the magic for that fluffy french toast starts to happen. If you are ever looking for bread inspiration for other projects, you can see some of my favorite bread methods, like homemade garlic naan bread!
Preparing the Custard Base for Fluffy french toast
Grab a wide, shallow dish—something easy to dip into. Whisk those eggs, the cream, milk, vanilla, cinnamon, nutmeg, and salt together until everything is completely smooth. I mean it, you need to whisk until you can’t see any streaks of egg white or unincorporated spice. If you leave white clumps in there, you’re just going to get weird pockets of cooked egg in your final bite, and that’s certainly not fluffy french toast! Just spend an extra minute getting it perfectly unified.
Cooking Technique for Golden french toast
Get your skillet or griddle heating up over medium-low heat. Seriously, medium-low! If it’s too high, you’ll burn the outside before the richness of the custard has time to set in the middle. Add your butter and wait for it to melt and foam a little. Dip your bread—don’t drown it—about 15 to 20 seconds per side, then lay it gently onto the hot surface. Cook for about 4 to 5 minutes per side until it’s that deep, golden color we love. As each batch comes off, immediately transfer the finished pieces to a wire rack set over a baking sheet in a warm oven (around 200°F). This keeps them warm and slightly crisp while you finish the whole operation!
Tips for Success with Your french toast Mastery
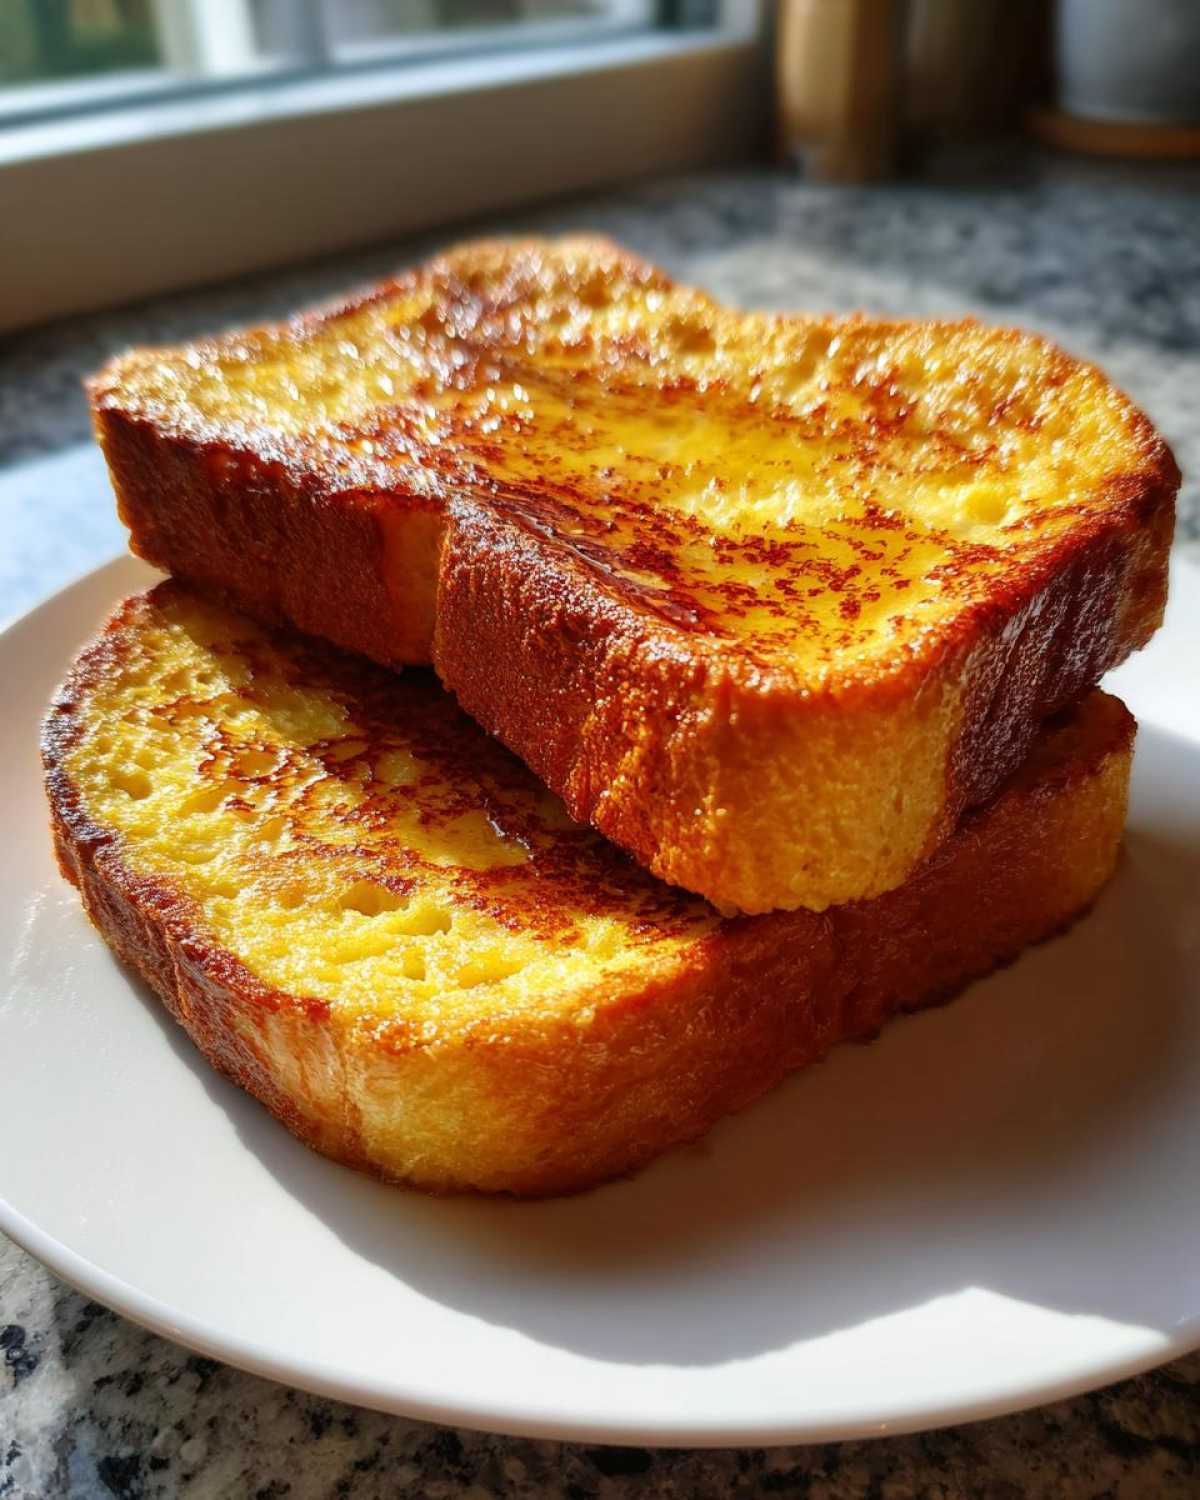
Even with the best blueprint, sometimes mistakes happen in the field! When Noah and I first started making this, he tried rushing the cooking, cranking the heat up high because we were hungry. Big mistake! We ended up with burnt crusts and a soupy center—disaster! Since then, we’ve learned to trust the process, especially the fat combination. Remember that tip about using a bit of neutral oil along with the butter? That little addition is crucial for that superior texture we talked about. Also, don’t forget that for future mornings, you can check out my dedicated guide to keeping your French toast perfect, which builds on these essential techniques.
If you want true gourmet results, sometimes you have to look at what the pros are doing. You can find some fantastic methodology reinforcement over at Modern Honey’s recipe, which confirms many of the temperature tricks we discovered the hard way!
Make Ahead & Freezer Tips for french toast
I totally get it; sometimes you want a fantastic weekend breakfast but you don’t want to manage frying bread starting right at 7 AM. That’s why mastering the make ahead french toast method is a game-changer for our kitchen schedule! This moves the prep work to the night before, cutting your morning cooking time down dramatically. This is perfect for busy weeks when you need quick breakfast ideas that still feel homemade and special.
Here’s the trick for prepping the night before. After you mix up your glorious custard (the eggs, cream, and spices), dip your bread slices just like we talked about. But instead of cooking them, lay the soaked slices in a single layer on a baking sheet lined with parchment paper. Cover the whole sheet tightly with plastic wrap and pop it into the fridge. They can hang out there overnight, soaking up every last bit of flavor!
For the actual cooking the next morning, just slide that baking sheet straight into a preheated oven at 350°F (175°C) for about 10 to 15 minutes just to firm everything up before it hits the skillet. This little head start prevents sogginess when you finally start frying! It’s super helpful, and for more ideas on batch-prepping breakfast, check out how we handle make-ahead egg muffins over here.
Now, if you want to freeze them? You totally can! The key is to cook the french toast completely first. Cook them until they are perfectly golden and custardy, then let them cool completely on a wire rack—do not stack them while warm, or they will steam and get mushy! Once totally cool, flash freeze them on that same sheet pan for an hour. Once they are individually frozen solid, transfer them to a heavy-duty freezer bag. To reheat, just pop the frozen slices right into the toaster oven alongside your favorite toppings. They come out almost as good as fresh!
Variations on the Classic french toast
Honestly, the beauty of mastering the classic french toast recipe is that it becomes your launchpad! Once you have the custard ratio down, you can start experimenting like a mad scientist—but a very organized, Epicure Empire scientist, of course. We don’t want chaos; we want intentional flavor boosts!
You asked about boosting the spices? That’s an easy win. To create an intense cinnamon french toast experience, I like to add a half teaspoon of ground cloves right into the egg mixture along with the vanilla. It gives it this warm, almost bakery-like depth that standard cinnamon can’t quite reach. Noah also loves adding a tiny pinch of orange zest to the custard mix. Citrus brightens up all those rich spices and dairy notes beautifully!
Now, if you’re looking for truly decadent weekend fare, you can absolutely turn this into stuffed french toast. This requires a little more strategic assembly, which I break down in detail elsewhere, but the concept is simple: slice your bread almost all the way through, create a pocket, and fill it with something lush. My favorite filling is a vanilla-spiked cream cheese mixture, which gives you that amazing luxurious center you see popping up everywhere now! If you want to see exactly how we assemble that, check out the steps for Cream Cheese Stuffed French Toast.
And if you are cooking for a massive crowd and truly hate standing over a skillet, you can take this exact custard base and turn it into a full-blown french toast casserole. You just layer the bread and pour the custard over it, let it soak overnight, and bake it the next morning. It’s the ultimate plan for an easy gathering! We’ve also dabbled in making baked sweet variations, like our French Toast Muffins, which are incredible for portion control!
Serving Suggestions for a Gourmet breakfast with french toast
Look, we nailed the foundation—that perfect combination of crispy exterior and fluffy french toast center. Now, we have to build the actual empire on top of it! You can’t serve greatness naked, right? While a simple dusting of powdered sugar is always classic, leveling this up into a true gourmet breakfast experience takes just a few minutes of intentional topping strategy.
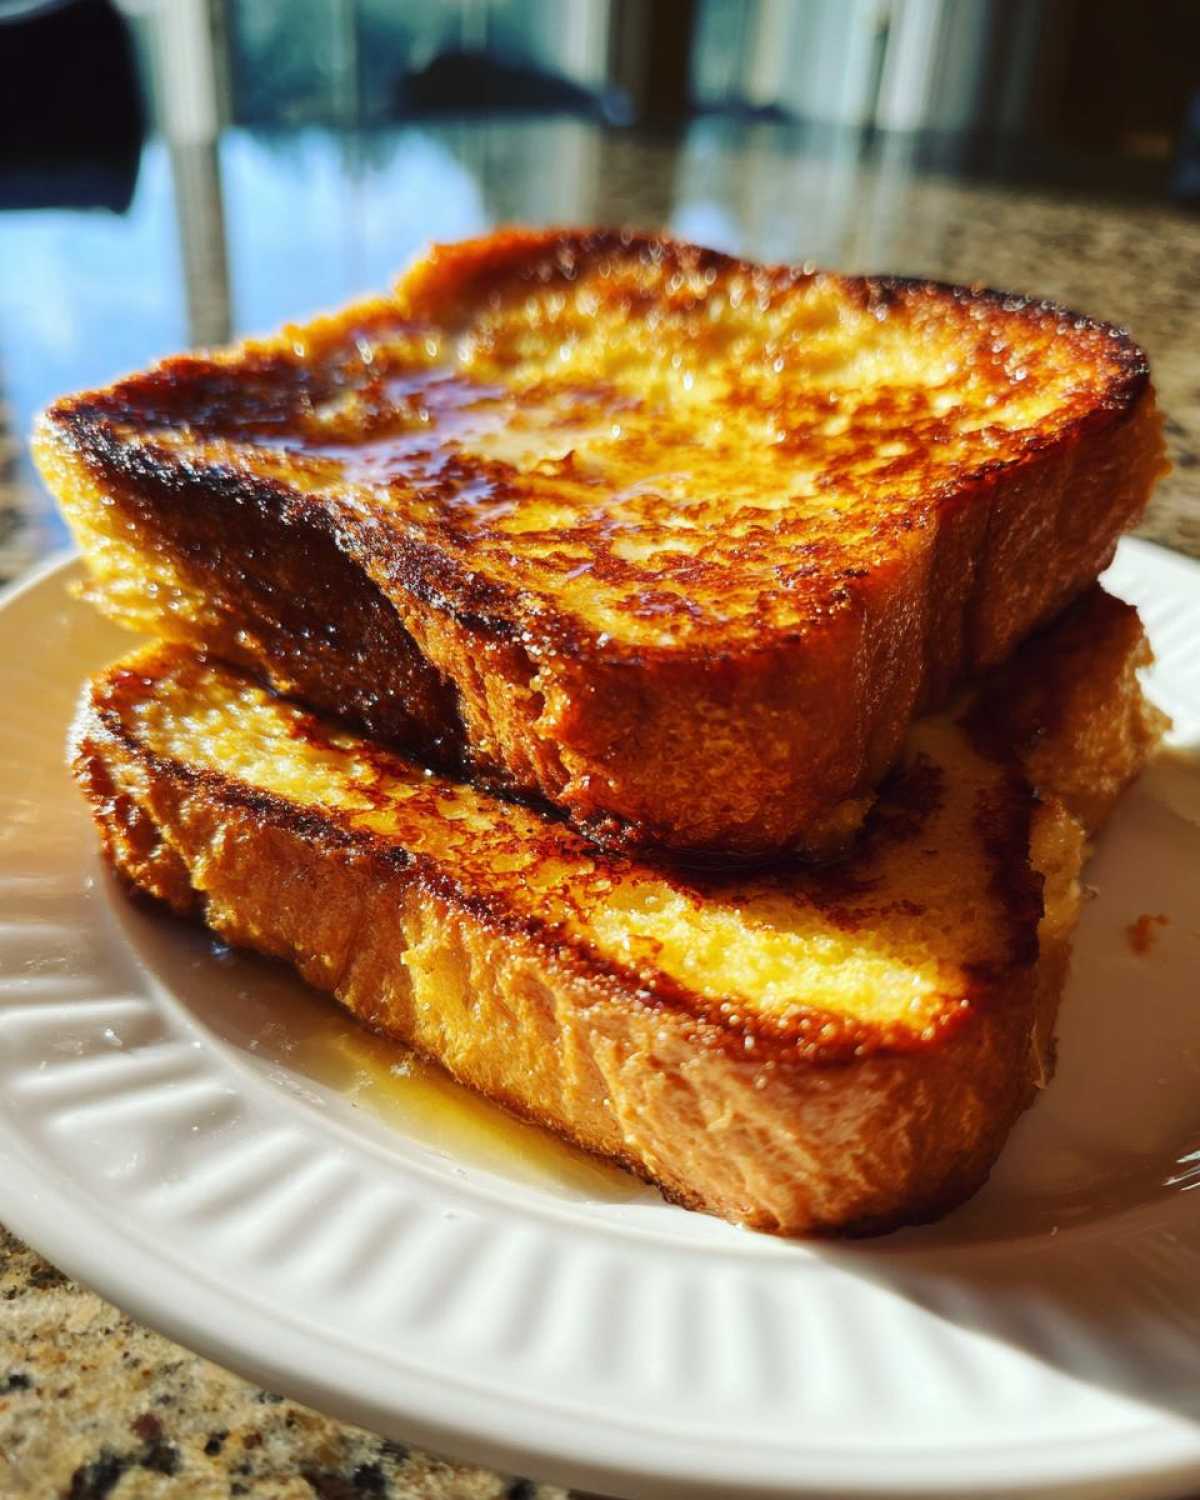
First things first: the syrup situation. Please, please toss out that pancake syrup that’s just high-fructose corn syrup masquerading as breakfast gold. You need real maple syrup. I’m talking Grade A Dark Robust or even Black Label if you can find it. The depth of flavor in real maple syrup complements the cinnamon and nutmeg from the custard so beautifully. You want that warm, slow drizzle that soaks in just slightly but leaves plenty on the plate for dipping.
For freshness, you must introduce some acidity to balance all that rich dairy and butter we used. My recommendation is a medley of fresh berries—raspberries are fantastic because their tartness cuts right through the richness. Toss them in a bowl with just a tiny bit of sugar and let them macerate while the french toast is cooking. It’s way better than canned pie filling, trust me!
Now for the savory side, because I firmly believe breakfast needs balance. A classic side of crispy bacon is non-negotiable in our house. The saltiness of the perfectly rendered bacon next to that sweet, soft french toast? That’s the textural harmony Noah loves to engineer. If you’re feeling extra, we’ve even made our own flavored toppings, like homemade vanilla bean marshmallows, which you can learn how to whip up here. Trust me, little touches like that are what turn a meal into a memory!
Frequently Asked Questions about french toast
I know our blueprint seems super detailed, but sometimes you just need a quick answer to a cooking snag! Noah and I get the same questions all the time when we help friends set up their own brunch strategy. Here are the quick answers for troubleshooting your best french toast experience.
What is the best bread for french toast?
This is probably the most common question we get! If you want that perfect combination of structure and soakability, you really need thick-cut, slightly drier bread. Hands down, we champion challah french toast or brioche french toast. They have enough body and fat content to absorb the rich custard without immediately dissolving into mush. If your brioche is too fresh, just slice it and leave it out on the counter for 30 minutes before you start mixing your batter—that slight dryness is key!
Why is my french toast soggy in the middle?
If you are ending up with a wet, steaming center, you’ve likely cooked it too fast! This is where the ‘low and slow’ strategy comes in. Cooking over medium or medium-high heat sets the outside way too quickly, locking the uncooked custard inside. You need to turn your heat down to medium-low. This gives the heat time to penetrate all the way to the center of that thick slice so the egg mixture sets properly. It takes longer, but you get that melt-in-your-mouth custardy french toast center we’re aiming for!
Can I make this classic french toast recipe dairy-free?
Because our recipe relies on heavy cream for that richness, making it completely dairy-free changes the texture significantly, but it is definitely possible! You can swap the heavy cream for a full-fat coconut cream (the thick stuff from the top of the can) or a really rich cashew cream. For the milk, any unsweetened plant-based milk works fine, like soy or oat milk. It won’t be *exactly* the same as the richness we get from the dairy, but it’s a fantastic work-around for an otherwise incredible recipe. Just whisk it well!
Are these tips applicable to overnight french toast bakes?
Absolutely! The foundational rules—good bread, thick custard—still apply even when prepping an overnight french toast bake. If you are letting the bread soak submerged in the custard overnight in a casserole dish, make sure your bread slices aren’t stacked too tightly, or the middle layers might never absorb the mixture properly. We always recommend gently pressing down on the top layer so everything is submerged evenly before covering and chilling. It makes for the best make ahead breakfast option!
If you have other complex culinary questions, Noah usually tackles those logistics over on our stew recipe page, but when it comes to breakfast strategy, I’m your girl!
Estimated Nutritional Data for Classic french toast
Okay, so Noah, being the strategist, always insists we include this part of the blueprint. Now, remember, since this is a homemade creation using variables like the exact size of eggs or the brand of cream you grab, these numbers are just an estimate. Think of it as the baseline data for our standard recipe testing. It’s important to be transparent about what goes into your delicious creation, even if you are adding extra maple syrup later!
For a serving size of two slices of our classic french toast, here is the estimated breakdown based on the ingredients listed:
- Calories: 350
- Fat: 18g (with 9g of that being saturated fat—that’s the butter doing its job!)
- Protein: 15g
- Carbohydrates: 35g
- Sugar: 12g (mostly natural sugars from the dairy and bread)
- Fiber: 2g
- Cholesterol: 180mg
We always aim for balance in our empire, even with breakfast! If you want to see our full liability statements and disclaimers about nutritional estimates gathered during our formula testing, you can check them out here. Enjoy knowing exactly what’s fueling your morning!
PrintThe Absolute Best Classic French Toast Recipe

This is the foolproof guide to making the best French toast you will ever eat. Achieve that perfect balance of crispy, buttery edges and a rich, custardy center every time you cook.
- Prep Time: 10 min
- Cook Time: 20 min
- Total Time: 30 min
- Yield: 4 servings
- Category: Breakfast
- Method: Pan Frying
- Cuisine: American
- Diet: Vegetarian
Ingredients
- 8 thick slices of bread (Challah or Brioche work best)
- 4 large eggs
- 1/2 cup heavy cream
- 1/4 cup whole milk
- 1 teaspoon vanilla extract
- 1 teaspoon ground cinnamon
- 1/4 teaspoon ground nutmeg
- Pinch of salt
- 2 tablespoons unsalted butter, for cooking
Instructions
- Prepare your bread: If your bread is not slightly stale, slice it and let the pieces sit out for about 30 minutes to dry slightly. This helps absorb the custard without becoming soggy.
- Make the custard: In a shallow dish, whisk together the eggs, heavy cream, milk, vanilla extract, cinnamon, nutmeg, and salt until fully combined. This mixture creates the rich center.
- Soak the bread: Dip each slice of bread into the custard mixture, ensuring both sides are coated. Let each slice soak for about 15 to 20 seconds per side. Do not over-soak if using fresh bread.
- Cook the French toast: Heat a large skillet or griddle over medium-low heat. Add half of the butter. Once the butter melts and foams slightly, place the soaked bread slices onto the hot surface, ensuring they do not touch.
- Cook low and slow: Cook for 4 to 5 minutes per side until the edges are golden brown and crisp, and the center is set and custardy. Cooking at a lower temperature allows the center to cook through properly.
- Keep warm: Transfer cooked French toast to a wire rack set over a baking sheet in a warm oven (around 200°F) while you cook the remaining slices.
- Serve immediately with your favorite toppings.
Notes
- For the crispiest edges, use a combination of butter and a little neutral oil in the pan.
- If you want a gourmet breakfast experience, use thick-cut Challah bread for superior texture.
- For a make-ahead option, prepare the custard and store the soaked bread slices in an airtight container in the refrigerator overnight. Increase cooking time slightly.
Nutrition
- Serving Size: 2 slices
- Calories: 350
- Sugar: 12
- Sodium: 350
- Fat: 18
- Saturated Fat: 9
- Unsaturated Fat: 9
- Trans Fat: 0.5
- Carbohydrates: 35
- Fiber: 2
- Protein: 15
- Cholesterol: 180