

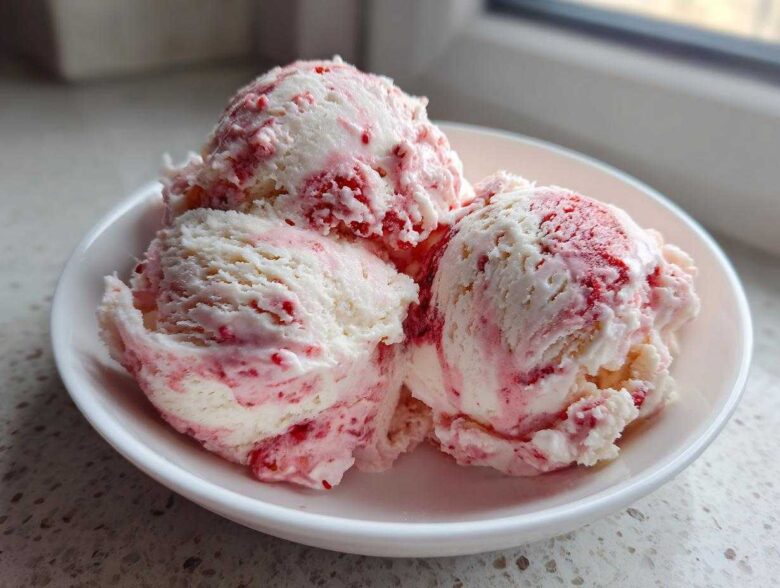
Oh my gosh, you have to stop what you’re doing and listen to me! When that summer heat hits, nothing beats a massive scoop of homemade ice cream, am I right? But who has the patience (or the counter space!) for those clunky old ice cream machines? Seriously, don’t even worry about it. I’m going to let you in on the secret to the creamiest **Strawberry Banana Ice Cream** you’ve ever made—and you won’t need any special equipment whatsoever! This no-churn recipe blows everything else out of the water. It’s so reliable, I’ve made it for parties where I swear everyone asked for the recipe before they even finished their first bowl. Trust me, the magic is in the simplicity of those two amazing fruits!
We’re taking those classic strawberries and bananas and turning them into a dreamy, scoopable dessert that seems way harder to make than it actually is. I think the best part about this specific method is how rich the final texture is, even without churning. It just proves that sometimes, the old-school flavor combination, mixed with a little modern pantry shortcut, is unbeatable. You’re going to love how easily this comes together!
If you’re curious about who is coming up with all these delicious, easy-to-follow recipes on this site, you can always check out what we’re all about!
Why This No-Churn Strawberry Banana Ice Cream Recipe Works (Easy Strawberry Banana Ice Cream Recipe)
Okay, let’s talk science—but fun science! The main reason this is honestly the **Best No Churn Strawberry Banana Ice Cream** out there is because of those two powerhouse ingredients: heavy whipping cream and sweetened condensed milk. That’s the secret sauce! You whip the cream until it’s stiff, making all those tiny air pockets that mimic what a machine does during churning.
Then, the condensed milk joins in. It has sugar built right into it, which doesn’t freeze completely solid. This keeps our **Easy Strawberry Banana Ice Cream Recipe** incredibly creamy, not icy. You get that satisfying richness that usually takes an hour of churning in a machine—done in about 20 minutes of prep work! No stress, just pure, delicious results every single time.
Prep Time and Yield Details for Your Strawberry Banana Ice Cream
You’re going to be so happy with how fast you pull this together! The prep time is only about 20 minutes. Seriously, that’s faster than waiting for your ice cream maker to chill down! The total time, including freezing, clocks in around 6 hours and 20 minutes, but most of that is hands-off chilling time. We get a nice yield of 6 generous servings, perfect for sharing!
Ingredients for the Creamy Strawberry Banana Ice Cream Dessert
Gathering what you need for this **Homemade Strawberry Banana Frozen Dessert** is the easiest part—it’s all pantry staples, thankfully! Remember, because we aren’t churning, the quality and temperature of your dairy make a huge difference here. Make sure your heavy whipping cream is straight out of the coldest part of the fridge—ice cold!
Here’s the official lineup you’ll need to create that amazing texture. I’ve underlined the crucial bits that need attention before mixing:
- 2 cups **heavy whipping cream, cold** – This is absolutely non-negotiable for whipping up big volume!
- 1 (14 ounce) can **sweetened condensed milk, cold** – This is our sweetener and stabilizer. Keep it chilled until you use it!
- 1 teaspoon vanilla extract – Just to round out those fruit flavors.
- 1 cup **fresh strawberries, hulled and chopped** – Chop them into cute little pieces so they distribute nicely.
- 2 **ripe bananas, mashed** – The riper they are, the sweeter and more flavorful they will be.
- 1/4 teaspoon salt – Don’t skip this! It just helps all the sweet flavors pop.
We’re going to use these simple components to create something truly special. Before you jump over to the next step, check out these crucial handling tips so you get that perfect texture we talked about!
Ingredient Notes and Substitutions for Strawberry Banana Ice Cream
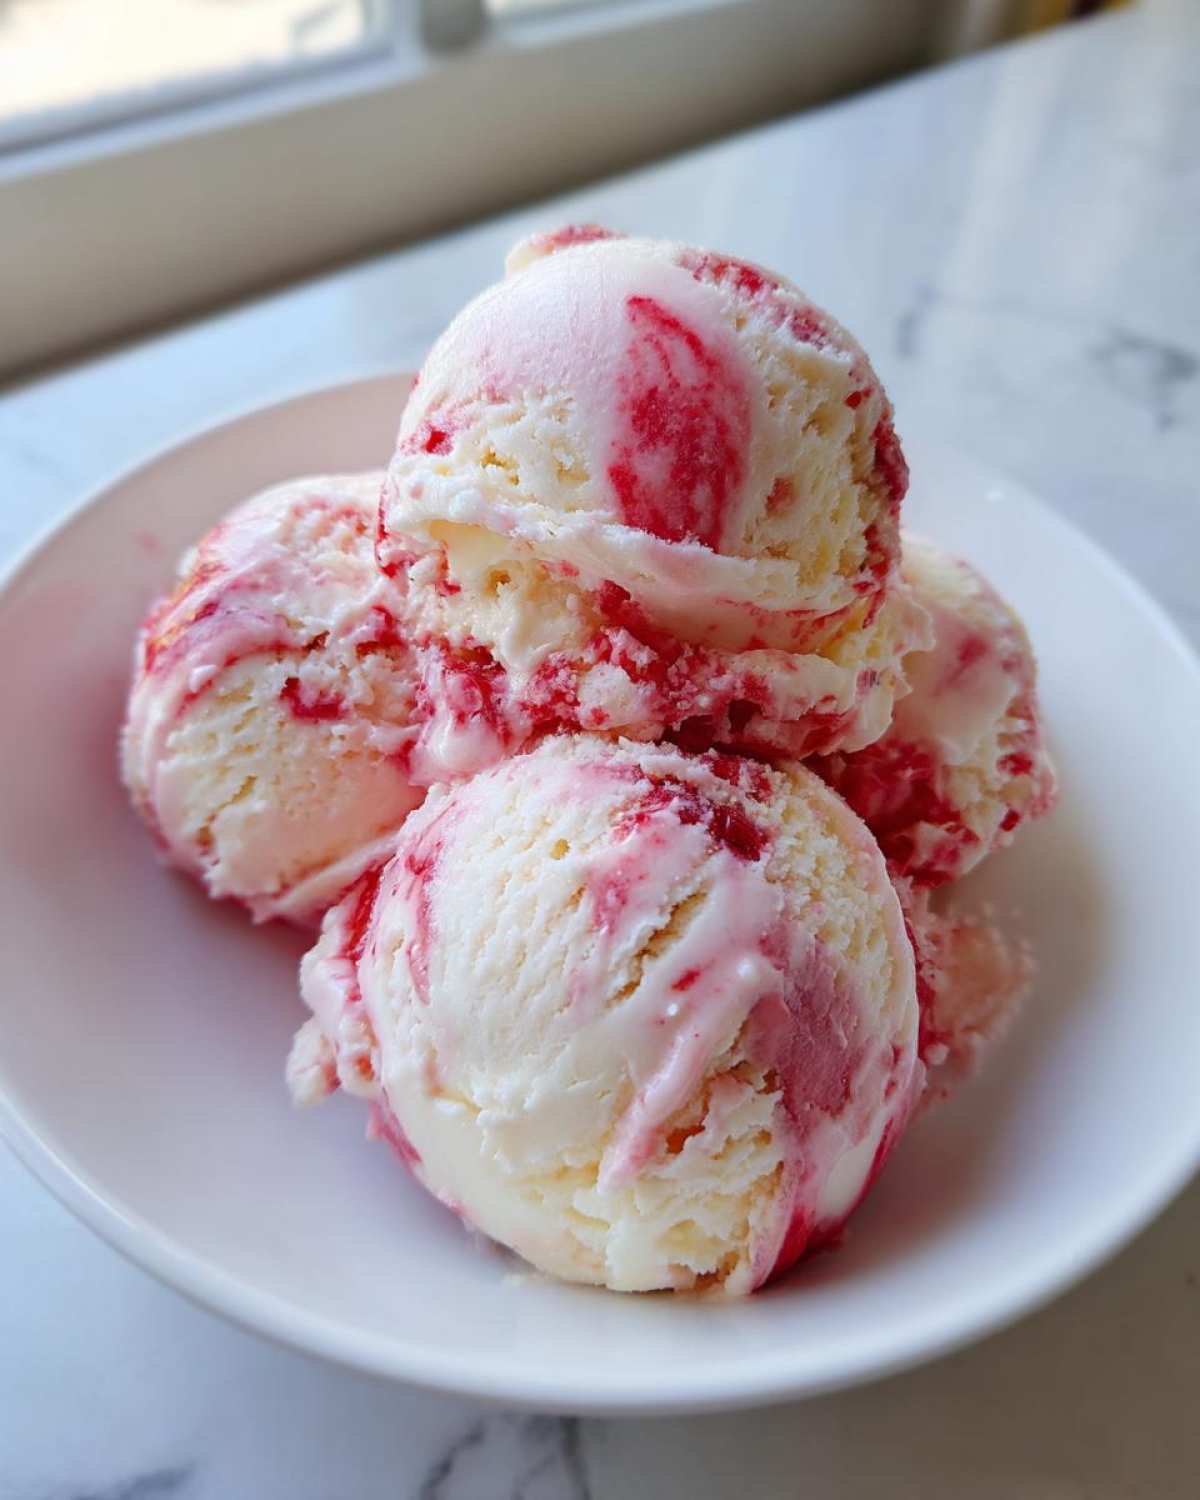
I always get asked about making a swirl, and it’s so easy! If you want that ribbon effect running through your **Creamy Strawberry Banana Dessert**, just hold back about 1/4 cup of that mixed fruit before folding the rest in. Once you transfer the base to the pan, dollop that reserved fruit on top and gently run a knife through it just once or twice. Super pretty!
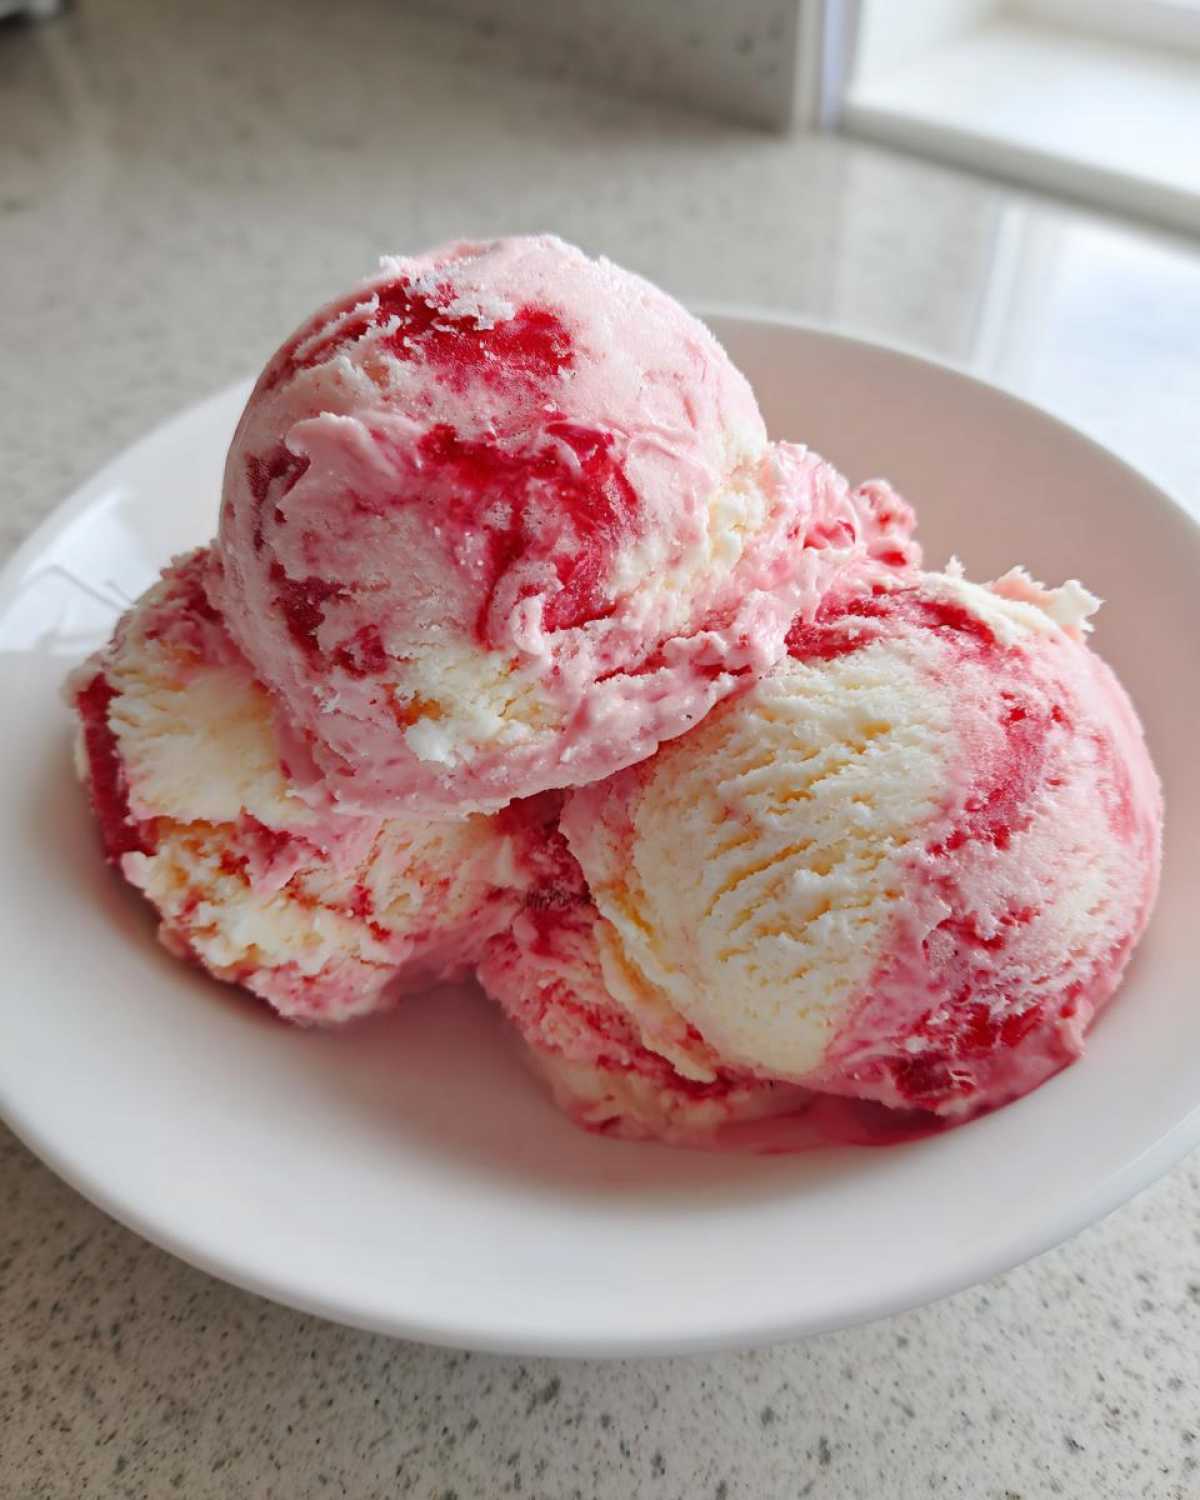
Sweetness is tricky, I know. If you are worried about it being too sweet—classic **Simple Fruit Ice Cream Recipe** issue—you can try reducing the condensed milk by 1/4 cup. But fair warning: that milk does stabilize the mixture, so it might freeze up *slightly* harder if you cut back too much. Also, if you’re using frozen strawberries instead of fresh, just let them thaw on the counter for about 15 minutes first. You don’t want them rock hard when they hit that beautiful whipped cream!
If you’re looking for other ways to use bananas in baking, I have a killer recipe for blueberry banana bread that might be your next obsession!
How to Prepare Your Simple Fruit Ice Cream Recipe (Strawberry Banana Ice Cream)
Alright, this is the fun part where we turn simple ingredients into magic! Since we aren’t using a machine, we need to work quickly but carefully, especially when blending the fruit into our base. I want you to think of this like making a very rich, chilly mousse. The key steps are setting up that base perfectly and then folding in the fruit mix so you get those beautiful streaks, not just a uniform pink mash.
We’re aiming for a super light and airy texture in our **Strawberry Banana Ice Cream**, so pay extra attention to the whipping stage. If you like my recipe for easy homemade marshmallows, you know how much I preach about mixing until you hit the right peak—it’s the same idea here!
Step 1: Preparing the Fruit Base for Strawberry Banana Ice Cream
First things first, get your fruit ready to go! Grab those ripe bananas and mash them up until they are nice and smooth—a fork works perfectly for this. In a separate little bowl, mix those mashed bananas with your chopped strawberries. That’s honestly all the fruit prep you need to do right now. Just mash and mix, and set that bowl aside while we create the creamy dream base.
Step 2: Creating the Creamy No Machine Strawberry Banana Ice Cream Base
Now for the heavy lifting, even though it’s super easy! Pour that very cold heavy whipping cream into a big, clean bowl. Grab your electric mixer (handheld or stand mixer, dealer’s choice!) and whip it up. You need to beat it until you get stiff peaks—when you lift the whisk, the peaks should stand straight up without drooping at all! This takes concentration, usually about three to five minutes. Don’t stop early!
Once you have those stiff peaks, you’ve got to slow down! Gently pour in the cold sweetened condensed milk and the vanilla extract. Use a spatula now, not the mixer! Fold this in ever so carefully until it’s just combined. If you beat this mixture down, you lose all that air you just whipped in, and that’s how you end up with hard ice where you wanted creamy.
Step 3: Freezing and Setting the Homemade Strawberry Banana Frozen Dessert
Time to marry the fruit and the base! Take your strawberry-banana mixture from Step 1 and gently fold it into your sweet cream base. I really, really want you to fold gently here! You want streaks! You want bits of pink and white! That’s what makes this **Homemade Strawberry Banana Frozen Dessert** look so beautiful when you serve it. Don’t mix until it’s fully uniform.
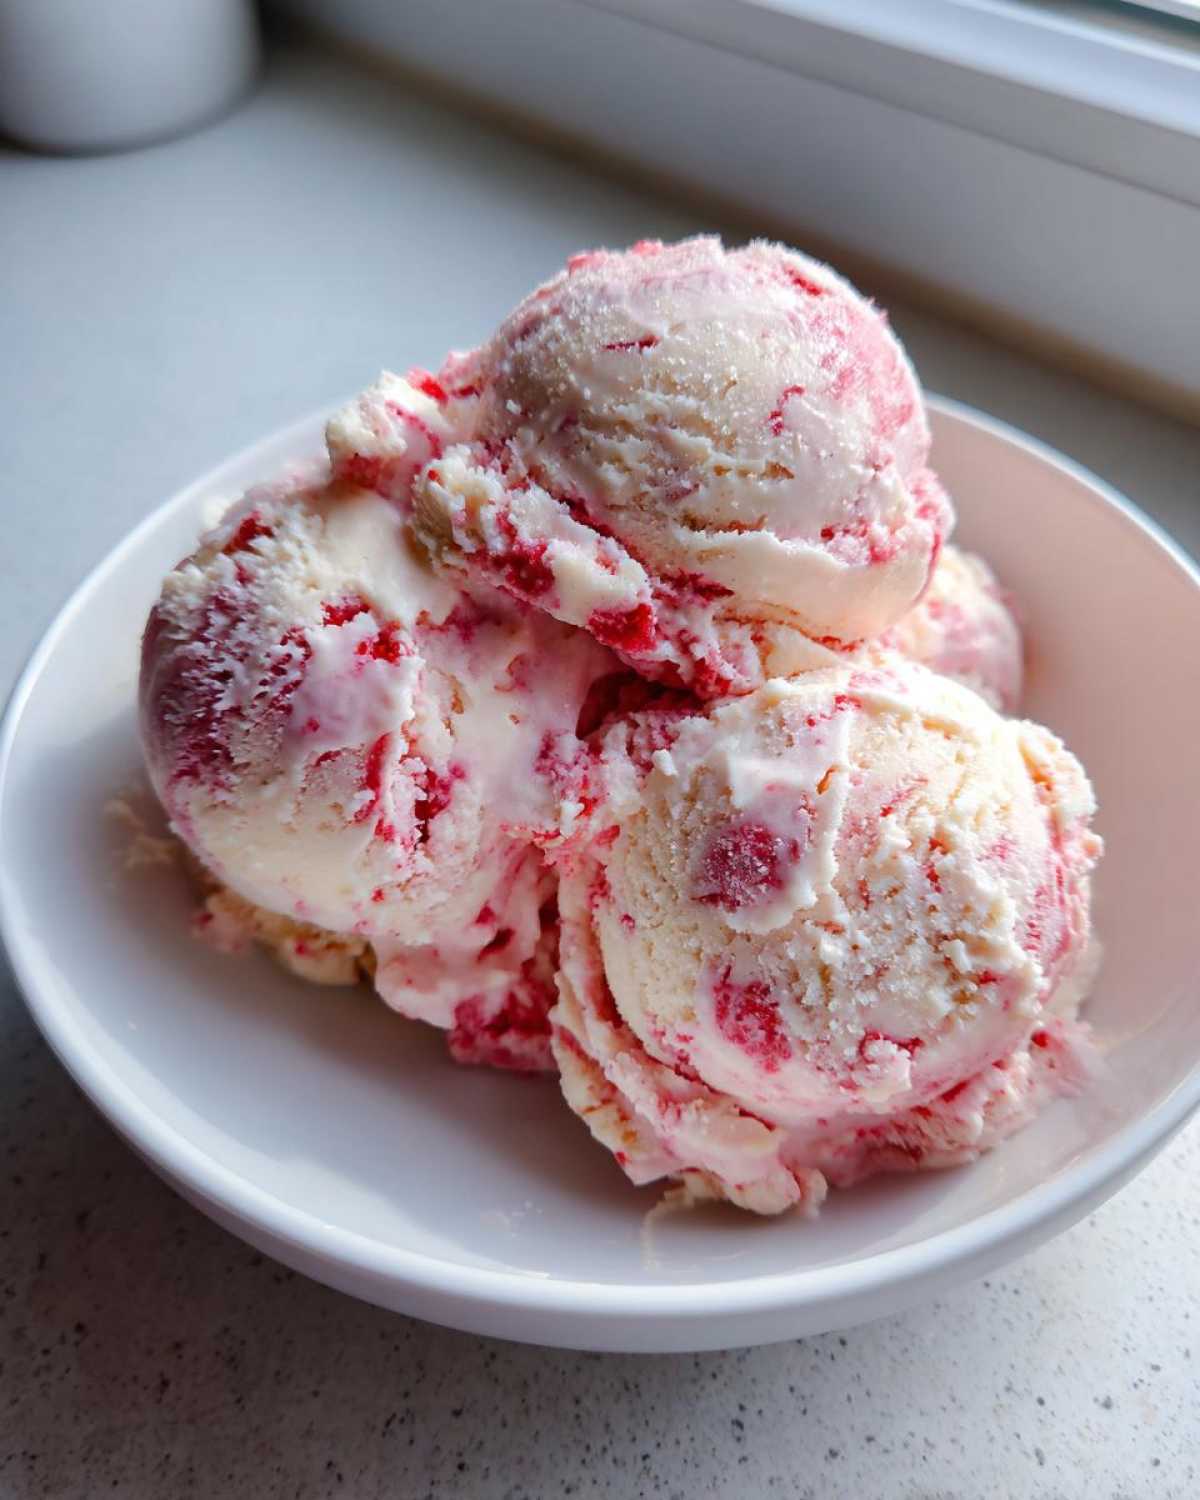
Once everything is barely mixed, pour it all into a freezer-safe container—a metal loaf pan is my go-to because it chills fast. The most important trick to prevent those nasty ice crystals is covering the surface directly. Take a piece of plastic wrap and firmly press it right against the surface of the ice cream mixture. Then, cover the whole pan with foil or a lid. Pop it into the freezer for at least six hours. Honestly, overnight is best!
Tips for Success Making Creamy Strawberry Banana Dessert
Okay, you’ve nailed the folding and the freezing, but I have just a couple more secret librarian tips for you to guarantee the absolute creamiest **Creamy Strawberry Banana Dessert** possible. First, really lean into the cold. If your bowl and whisk attachments feel cold when you start whipping the cream, you’ve already won half the battle! If your kitchen is scorching hot, stick that cream and your mixing bowl in the freezer for 15 minutes before you start.
Also, remember that salt speck I told you to add? It sounds weird in ice cream, but I promise it’s essential for balance. It cuts through the richness of the condensed milk without making anything taste salty. It just makes the strawberry and banana flavors sing louder!
If you want to try another amazing no-churn recipe while you wait for this one to set up, you simply must try my chocolate chip cookies recipe—they are perfectly chewy!
Storage and Reheating Instructions for Your Strawberry Banana Ice Cream
Since you made such a perfect batch of **Strawberry Banana Ice Cream**, you’re going to want it to last! Store any leftovers right away in an airtight container. I know I mentioned this before, but it’s so important: press a piece of plastic wrap directly onto the surface of the ice cream before you put the lid on. This is your best defense against freezer burn getting those pretty fruit swirls.
Now, if you’ve waited until it’s rock solid—which it will be after a few days—don’t panic that it’s ruined! Remember, because there’s no churning stabilizers, it freezes hard. Just pull it out onto the counter about 5 to 10 minutes before you plan on serving. That little bit of softening time makes all the difference between a messy struggle and perfect, easy scoops!
Serving Suggestions for This Simple Fruit Ice Cream Recipe
Okay, once your **Strawberry Banana Ice Cream** is perfectly softened after its rest, you have to decide how to present this beauty! For an extra layer of texture in this **Simple Fruit Ice Cream Recipe**, try sprinkling some coarsely chopped walnuts or pecans right on top. The crunch is just divine against the creamy banana and the slight tartness of the strawberry.
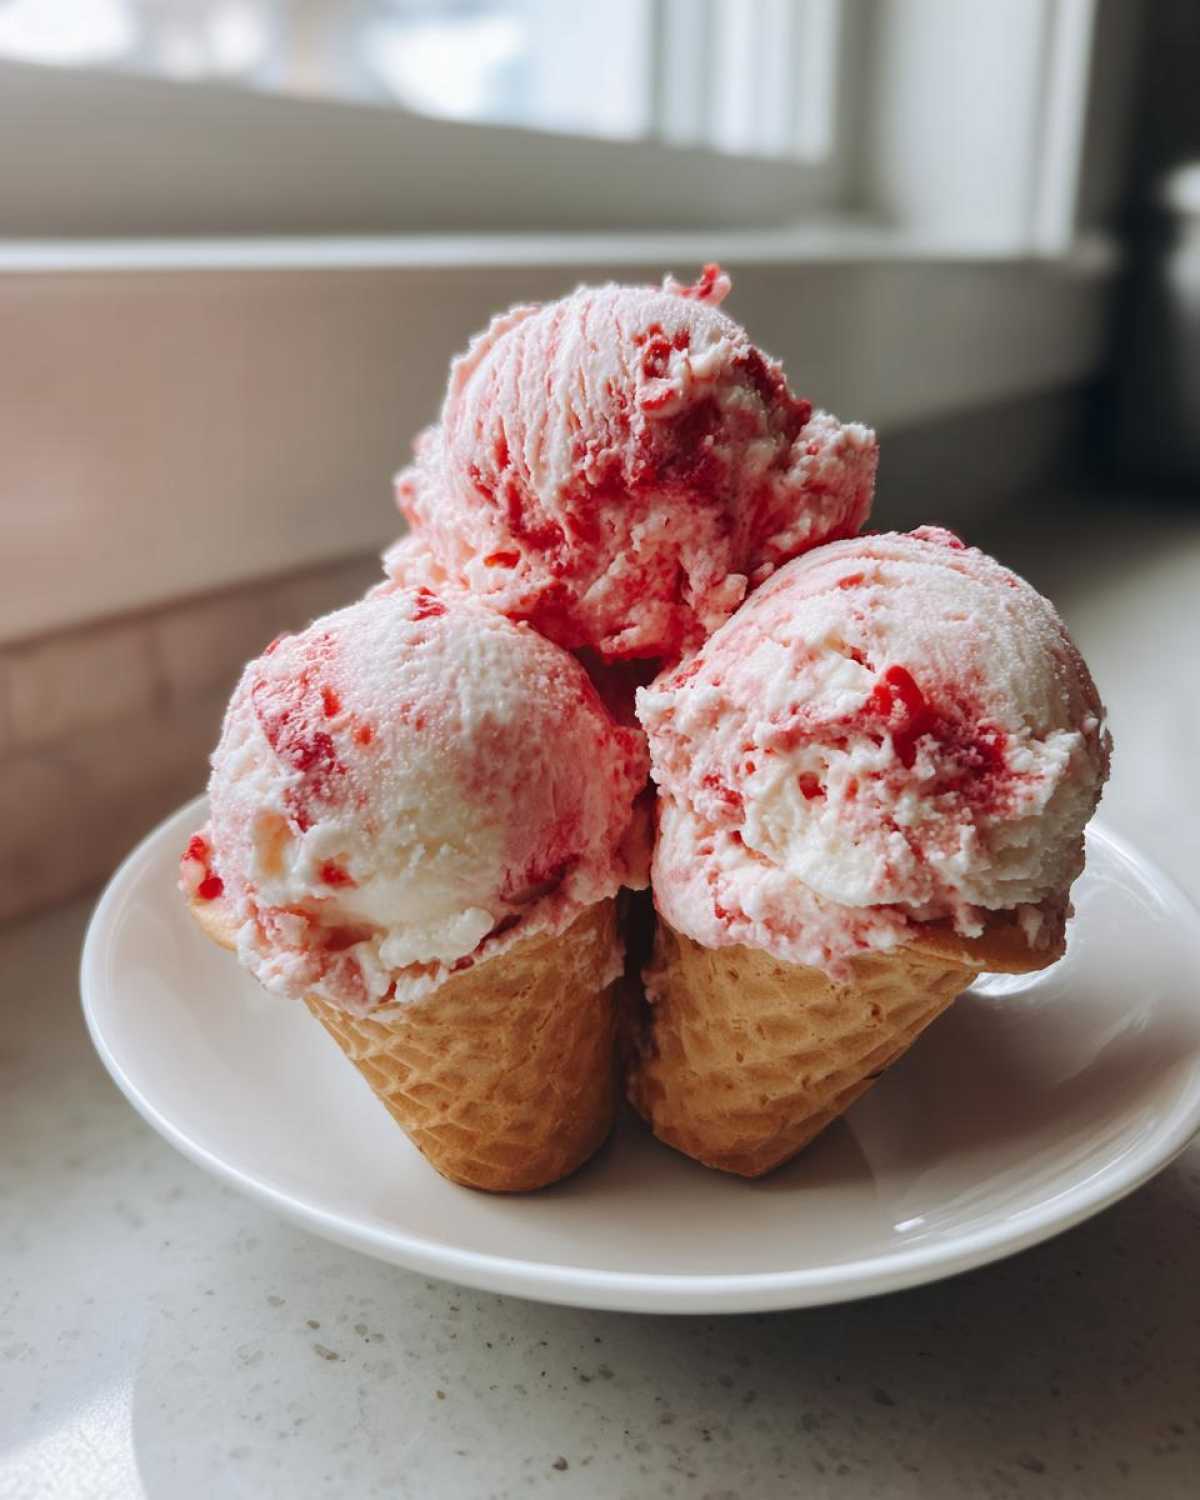
If you’re feeling extra decadent, a drizzle of dark chocolate sauce hits the spot perfectly. Or—and this is great for kids—serve a scoop alongside a plain, chewy cookie, like maybe my chocolate chip banana bread warmed up just a touch! It makes the whole dessert feel fancier, even though it took zero churning effort!
Frequently Asked Questions About Strawberry Banana Ice Cream
I know you might have a few last-minute thoughts spinning around, mostly about tweaking things or what to do if things don’t go 100% perfectly—which, trust me, happens to everyone! Don’t worry, we’ve got answers for the most common things people ask me about this **Strawberry Banana Ice Cream**.
Can I make Dairy Free Strawberry Banana Nice Cream?
Oh, absolutely! If you are looking for a **Healthy Banana Strawberry Ice Cream** alternative, you can definitely make a ‘Nice Cream’ version, which is basically dairy-free magic! Instead of the heavy cream and condensed milk, you want to use two cans of softened (but not melted!) full-fat coconut cream—just scrape the thick cream off the top. Use maple syrup or agave to sweeten it until it tastes right to you. You’ll still mash your fruit together, but you’ll fold that thick coconut cream into your sweetener instead of whipping the dairy cream. It won’t be quite as dense as the no-churn version, but it’s perfect for a lighter treat!
What if my Strawberry Banana Ice Cream is too hard?
This is usually just a freezing time issue, but it can happen if you cut back on the condensed milk too much! Remember, the sugar in that condensed milk is what keeps the final product from freezing into a solid block of ice—it lowers the freezing point slightly. If yours is brick-hard, please don’t try to chip at it with a spoon, you’ll just hurt yourself! Just pull your container out onto the counter, take the plastic wrap off the top, and let it sit for about 10 to 15 minutes. That little bit of time makes a huge difference, allowing the sugars to slightly soften up so you can easily scoop that **Simple Fruit Ice Cream Recipe**.
If you’re looking for more general baking tips and tricks, you can always browse my whole collection over on the site’s main recipe index!
Nutritional Estimate for Homemade Strawberry Banana Ice Cream
Okay, now that you’ve seen how easy it is to make this dreamy **Strawberry Banana Ice Cream**, I know some of you are wondering about the numbers. Since we are using sweetened condensed milk and heavy cream, it’s definitely a treat, but being homemade means you know exactly what’s going into it!
Based on the measurements we used, here is a general estimate for one serving (about 2/3 cup). Please keep in mind, this is just an estimate! If you swap out the heavy cream for a lighter version or use less condensed milk, those numbers change!
- Calories: 310
- Sugar: 35g
- Fat: 16g (with 10g being Saturated Fat)
- Carbohydrates: 38g
- Protein: 5g
- Sodium: 85mg
Think of this as a decadent summer indulgence you made yourself! It’s made with real fruit, so you’re getting some natural goodness in there too. Enjoy it guilt-free because you made it with love!
Share Your Experience Making This Strawberry Banana Ice Cream
I truly hope this recipe becomes a staple in your house, just like it is in mine. Now that you’ve made your **Homemade Strawberry Banana Frozen Dessert**, I absolutely need to hear what you think! Telling me about your experience is seriously the best part of sharing these recipes.
Did you stick to the classic swirl, or did you try cutting the sweetness down like I mentioned? Maybe you went completely wild and tried using frozen yogurt instead of heavy cream? If you made any changes at all, please drop a comment below so we can all learn from your kitchen adventures! And hey, if you loved it, don’t forget to leave a quick star rating right above the comments section—it helps other folks find this amazing **Easy Strawberry Banana Ice Cream Recipe**!
If you have any specific questions about the process or need help troubleshooting any other recipe on the site, feel free to reach out via the contact page. Happy scooping!
PrintNo-Churn Strawberry Banana Ice Cream

Make creamy, homemade strawberry banana ice cream without an ice cream maker using a simple no-churn method.
- Prep Time: 20 min
- Cook Time: 0 min
- Total Time: 6 hr 20 min
- Yield: 6 servings
- Category: Dessert
- Method: No-Churn Freezing
- Cuisine: American
- Diet: Vegetarian
Ingredients
- 2 cups heavy whipping cream, cold
- 1 (14 ounce) can sweetened condensed milk, cold
- 1 teaspoon vanilla extract
- 1 cup fresh strawberries, hulled and chopped
- 2 ripe bananas, mashed
- 1/4 teaspoon salt
Instructions
- Prepare the fruit: In a small bowl, gently mix the chopped strawberries and mashed bananas. Set aside.
- Whip the cream: In a large bowl, use an electric mixer to beat the cold heavy whipping cream until stiff peaks form. This takes about 3 to 5 minutes.
- Combine base: Gently fold the cold sweetened condensed milk and vanilla extract into the whipped cream until just combined. Do not overmix.
- Fold in fruit: Carefully fold in the mashed banana and strawberry mixture and the salt until streaks of fruit remain throughout the base.
- Freeze: Transfer the mixture to a freezer-safe container, such as a loaf pan. Cover the surface directly with plastic wrap to prevent ice crystals.
- Chill: Freeze for at least 6 hours, or until firm enough to scoop.
- Serve: Let the ice cream sit at room temperature for 5 to 10 minutes before scooping and serving.
Notes
- For a thicker swirl, reserve about 1/4 cup of the fruit mixture and swirl it into the base just before the final freeze.
- If you prefer a less sweet result, reduce the sweetened condensed milk by 1/4 cup, but this may slightly affect the final texture.
- Use frozen strawberries instead of fresh for a colder initial mix, but thaw them slightly first.
Nutrition
- Serving Size: 2/3 cup
- Calories: 310
- Sugar: 35
- Sodium: 85
- Fat: 16
- Saturated Fat: 10
- Unsaturated Fat: 6
- Trans Fat: 0
- Carbohydrates: 38
- Fiber: 2
- Protein: 5
- Cholesterol: 55