

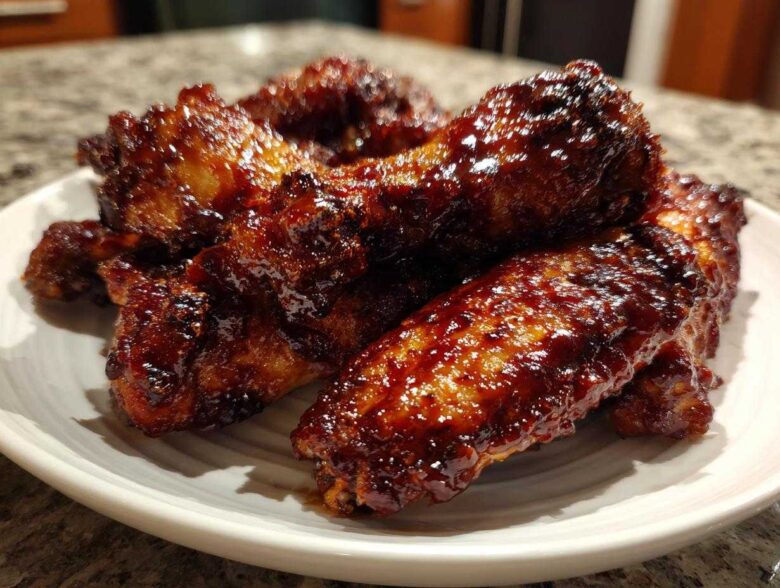
Oh my gosh, friends, let me tell you a secret: achieving that legendary, fall-off-the-bone tender wing with skin that snaps and a sauce that refuses to run off? It’s not luck; it’s science! I spent way too many weekends battling soggy skin and thin glazes before I landed on this absolute winner. We’re talking about the perfect marriage of sweet and savory in these Sticky BBQ Chicken Wings with Honey Glaze. After years of testing, I finally perfected this oven method to give you maximum crispness without needing to start up the deep fryer. If you want to know more about our kitchen philosophy, check out what makes us tick! Trust me, you need this recipe for your next game day.
Why You Will Love These Sticky BBQ Chicken Wings with Honey Glaze
Seriously, you have to try these! They hit all the right notes, and honestly, they might just make you forget about takeout wings forever. I’ve never seen a baked wing turn out this good. Here’s why this recipe for Sticky BBQ Chicken Wings with Honey Glaze is going straight into your permanent rotation:
- The Ultimate Texture Combo: We use a secret baking powder trick that guarantees unbelievably crispy skin, even before the sauce goes on!
- Thick, Drippy Glaze: That honey BBQ glaze doesn’t just run right off. It thickens up beautifully in the pan, wrapping every wing in a perfect, sticky cocoon.
- Sweet Meets Savory Perfection: You get that deep, smoky BBQ flavor from the paprika and Worcestershire, perfectly balanced by the natural sweetness of the honey—it’s complex, not just sugary!
- Easy Oven Method: No messy deep frying needed here! We toss them, bake them, sauce them, and bake them again for that professional, takeout-quality sticky finish.
- Minimal Active Time: While they cook for nearly an hour total, most of that time is hands-off while your oven does the heavy lifting. Perfect for watching the game.
- Juicy on the Inside: Because we use a two-stage baking process, the meat stays incredibly tender while the outside gets that fantastic crunch.
Essential Ingredients for Sticky BBQ Chicken Wings with Honey Glaze
Okay, getting the right ingredients is the first step to any amazing batch of wings, and honestly, you probably have most of this stuff hanging around already. The key here is the balance—we need crispy support, bold spice, and that beautiful sticky sweetness.
For the wings themselves, you absolutely need to grab about 3 lbs of beautiful chicken wings, and make sure you separate them into the little flats and the drumettes. Then, for the crisp factor, we’re relying on baking powder—don’t skip it! That’s what makes these Sticky BBQ Chicken Wings with Honey Glaze special.
For that incredible homemade sticky BBQ glaze, here’s the rundown:
- 3 lbs chicken wings, separated into flats and drumettes
- 1 tablespoon baking powder
- 1 teaspoon salt
- 1/2 teaspoon black pepper
- 1 cup ketchup (the base of that deep flavor!)
- 1/2 cup honey (the star of the show for stickiness!)
- 1/4 cup apple cider vinegar (for that necessary tang)
- 2 tablespoons Worcestershire sauce
- 1 tablespoon smoked paprika
- 1 teaspoon garlic powder
- 1/2 teaspoon onion powder
- 1/4 teaspoon cayenne pepper (optional, but I always add it!)
Step-by-Step: How to Make Sticky BBQ Chicken Wings with Honey Glaze
This is where the magic happens! Moving from a simple baked wing to something truly spectacular—that thick, saucy coating—comes down to three specific phases: the prep, the bake, and how we handle that amazing glaze. If you’re looking for a detailed guide on an alternative method, I have a whole tutorial on crispy fried wings, but for these baked ones, follow my lead.
Preparing the Wings for Maximum Crispness
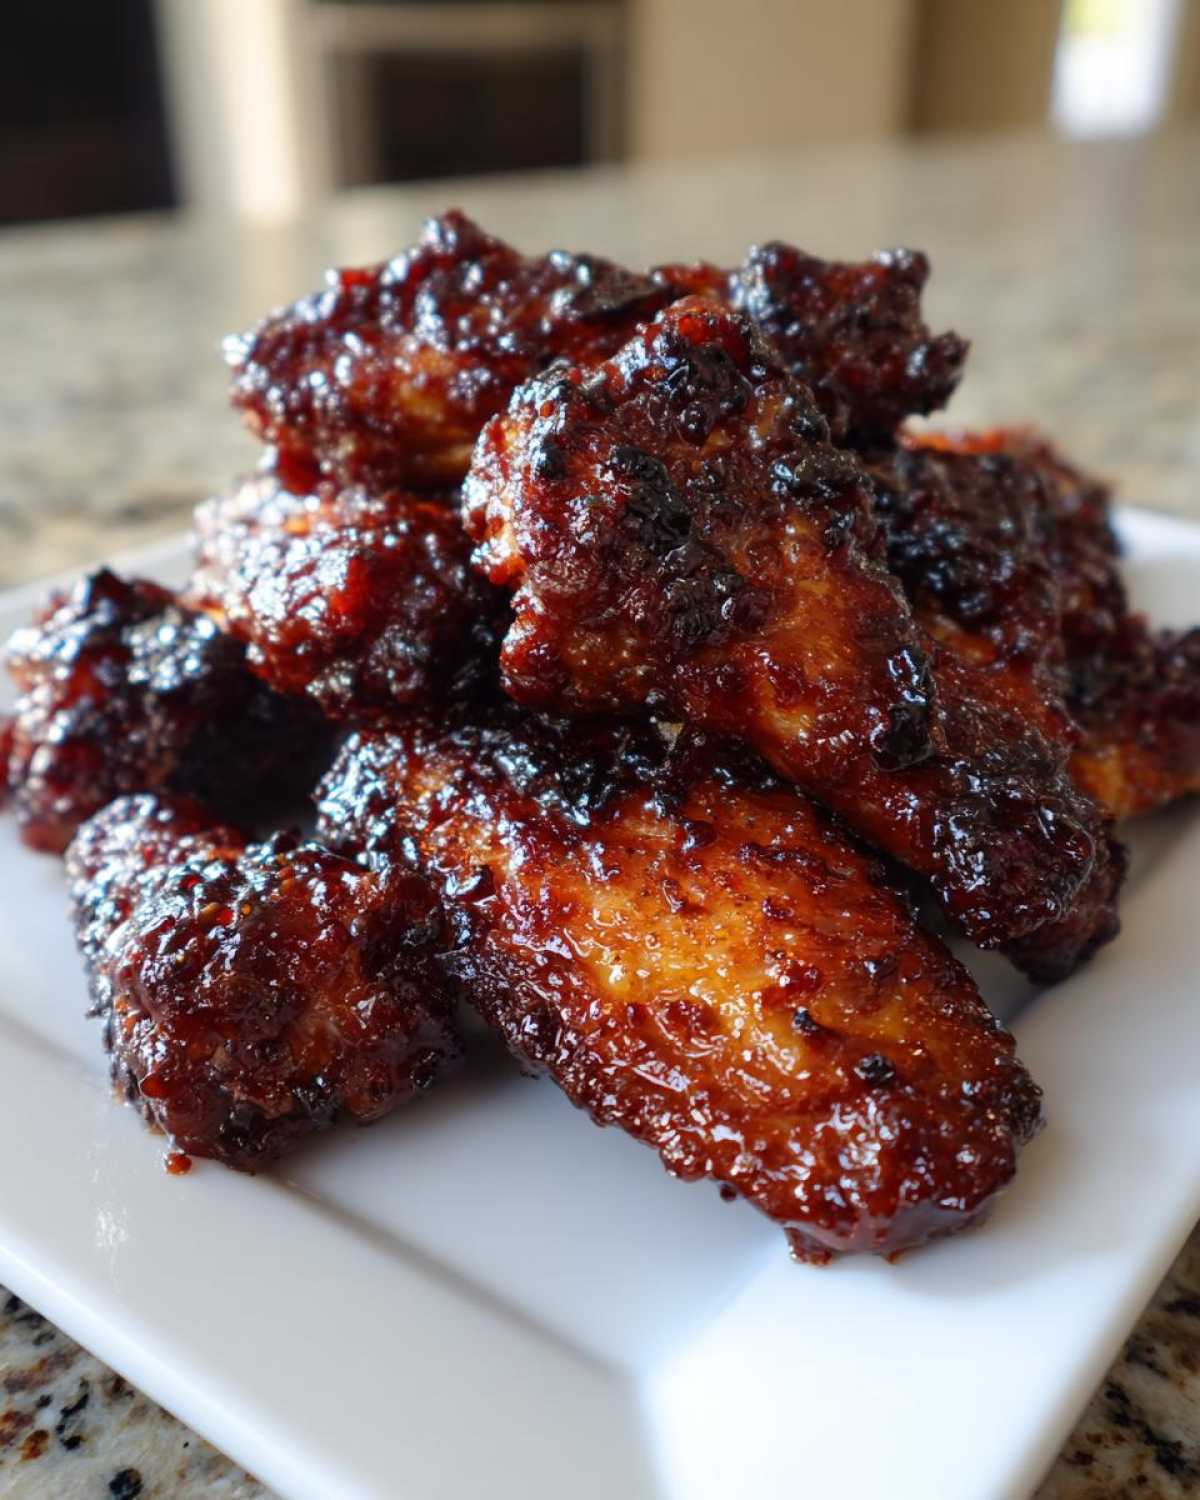
Listen up, this step is non-negotiable if you want that snap! First thing, get your oven cranked up to 425°F (220°C). Line a baking sheet with foil—it saves cleanup, trust me—and set a wire rack right on top. Now grab your wings and start patting them. Pat. Them. Dry. Every bit of surface moisture needs to go! Once they feel dry to the touch, toss them in a bowl with the baking powder, salt, and pepper. The baking powder is our secret ingredient; it helps siphon off the remaining moisture during baking so the skin crisps up beautifully.
Baking the Chicken Wings
Lay those seasoned wings out on the rack in a single layer. Don’t let them crowd; they need space to breathe and crisp! Pop them into that hot oven for 25 minutes. After that first bake, pull them out, flip every single wing over, and put them back in for another 20 to 25 minutes. You want that crispy skin and an internal temperature of at least 165°F (74°C). They should look golden brown and feel firm when poked.
Creating the Thick Homemade Sticky BBQ Glaze
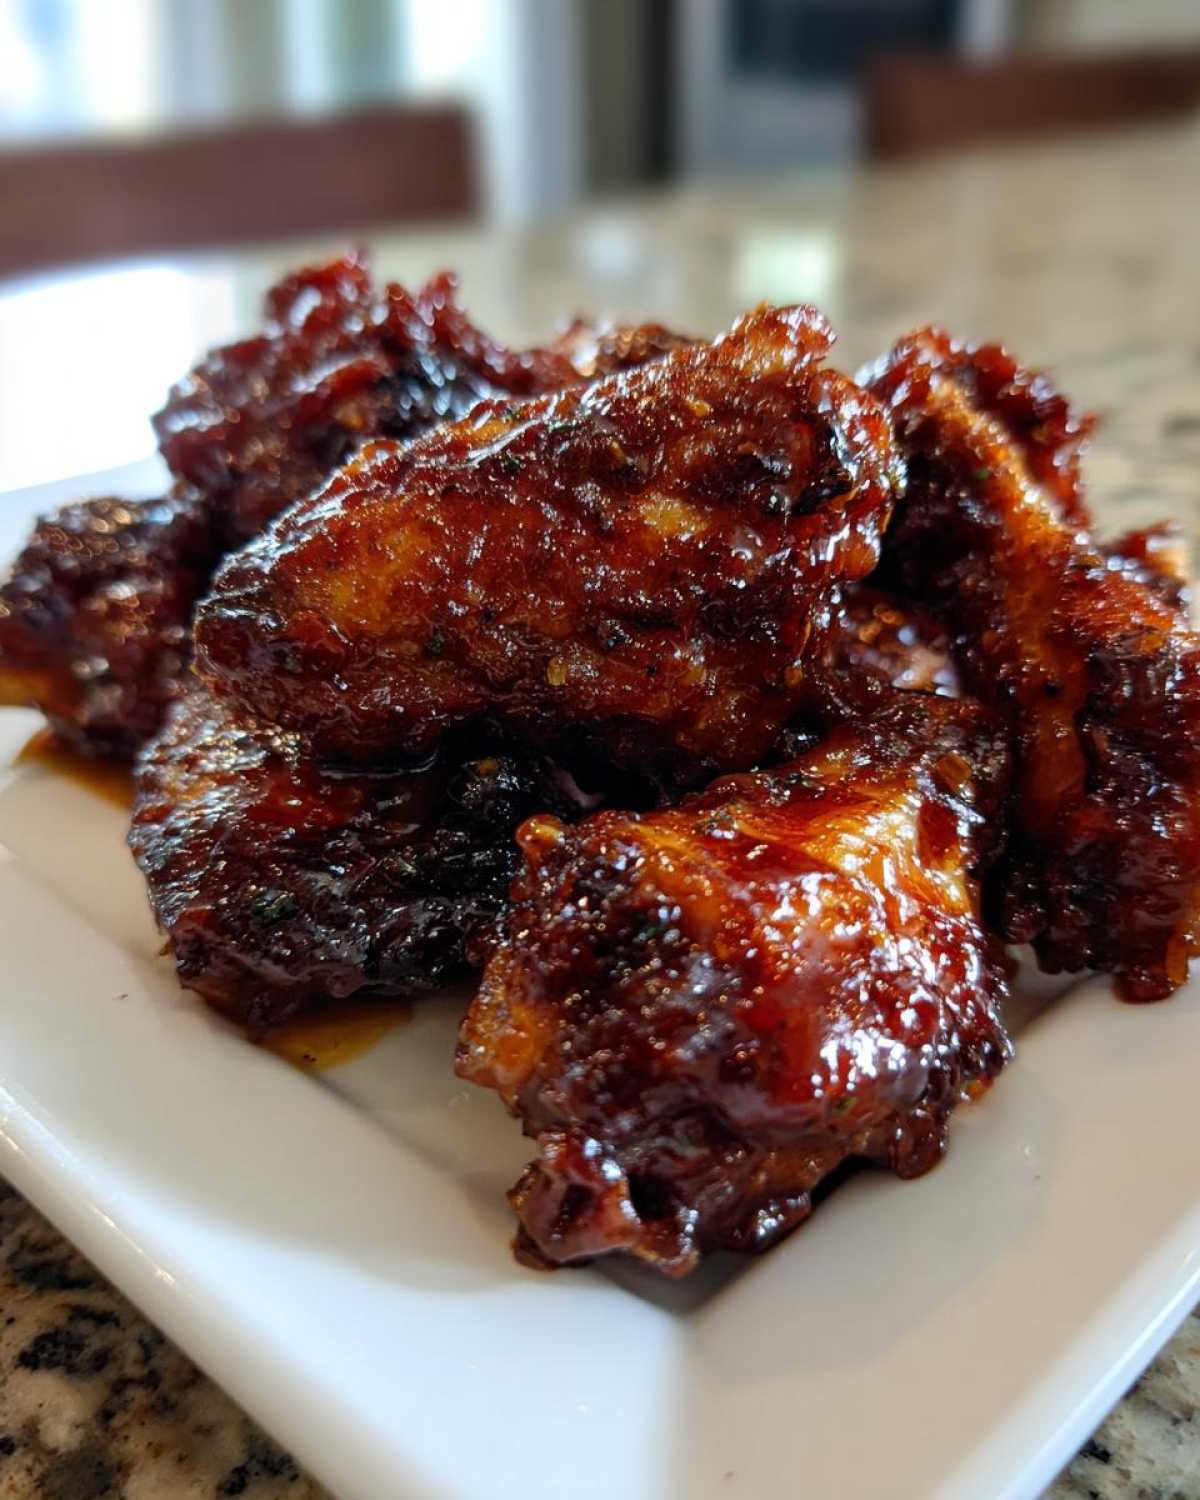
While those wings are working hard in the oven, we make the sauce. In a small saucepan, whisk together your ketchup, honey, vinegar, Worcestershire, and all those wonderful spices—paprika, garlic, onion powder, and cayenne if you’re feeling feisty! Bring this mixture up to a gentle simmer over medium heat. Now comes the crucial part for getting those Sticky BBQ Chicken Wings with Honey Glaze right: let it bubble gently for about 8 to 10 minutes. Stir often! You’ll know it’s ready when you dip a spoon in and the sauce clings to the back of it. If you want extra depth, this is where you can stir in half a teaspoon of liquid smoke!
Glazing and Setting the Sticky BBQ Chicken Wings with Honey Glaze
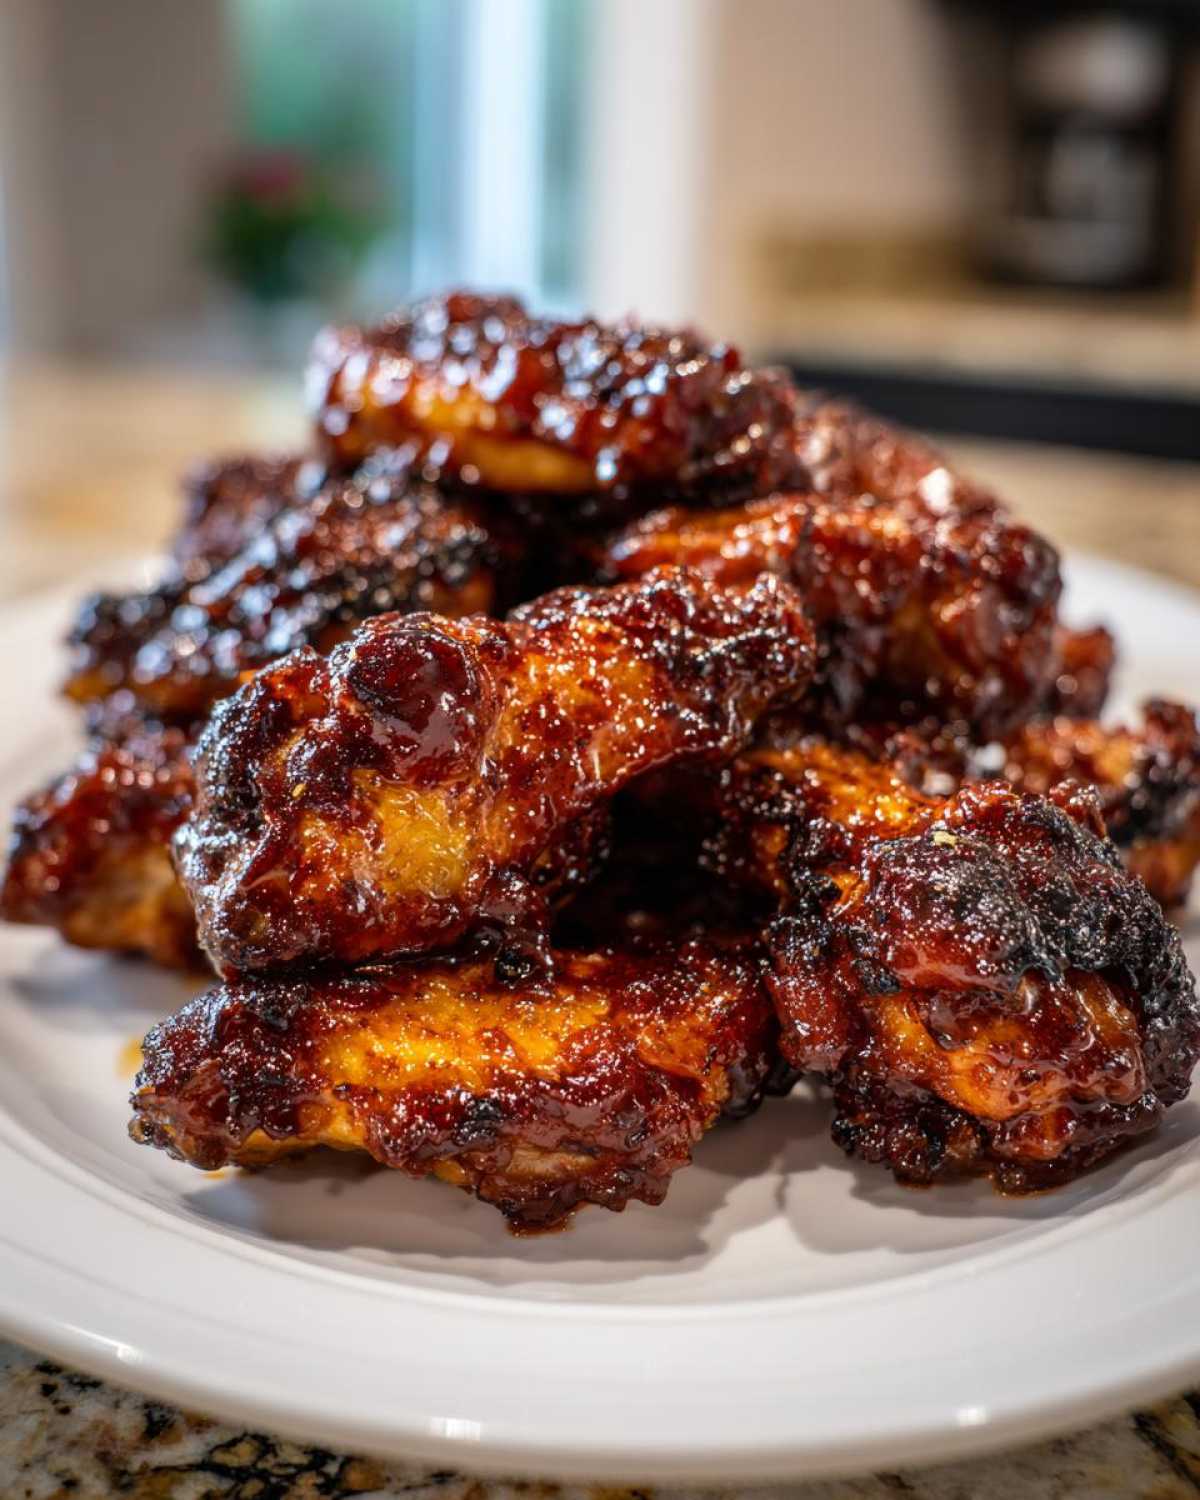
Time to get saucy! Pull those baked wings out and immediately dump them into a big, clean bowl. Take about half of that warm, thick glaze and pour it right over top. Toss gently but quickly until every single wing is coated in that sweet, savory goodness. Don’t use all the sauce yet! Place the sauced wings back onto the wire rack. Bake them again for just 5 more minutes. This little step sets the glaze so it doesn’t just slide off when you eat it. Finally, pull them out one last time, toss with the remaining glaze for that super wet look, and serve immediately!
Tips for Perfect Sticky BBQ Chicken Wings with Honey Glaze
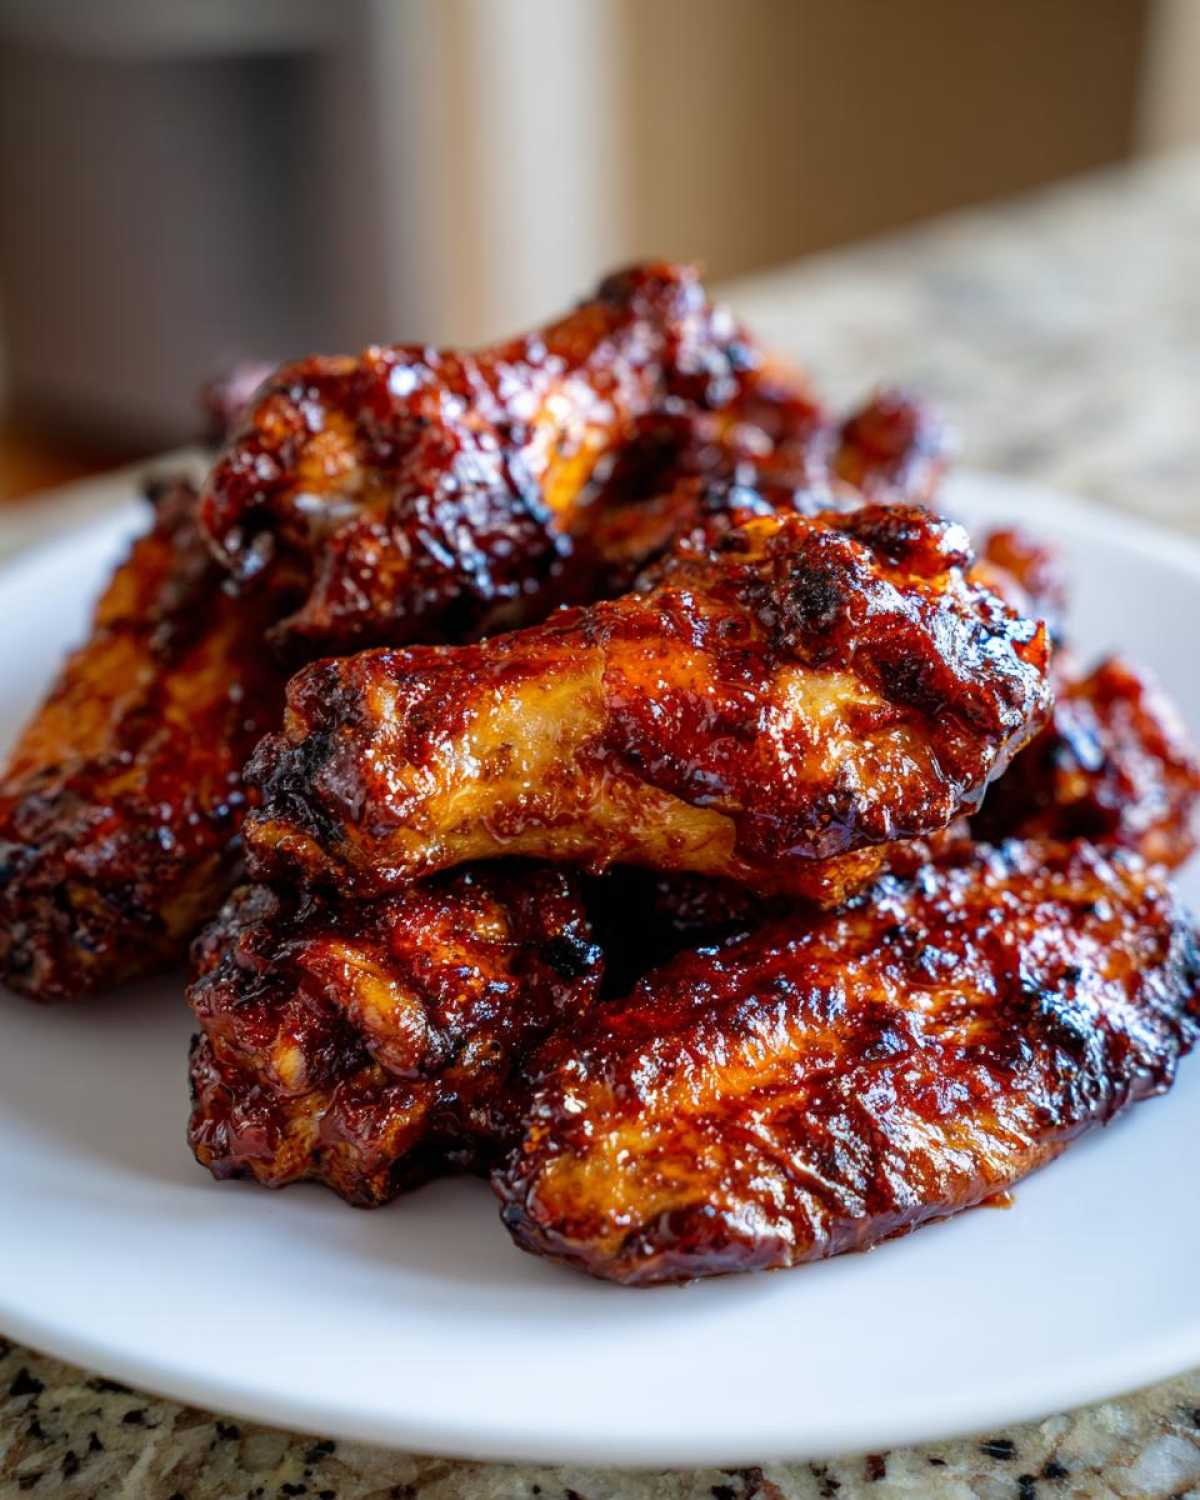
I’ve cracked the code on wings, and after all that work, you deserve perfection! The secret to truly amazing Sticky BBQ Chicken Wings with Honey Glaze isn’t just the ingredients; it’s how you treat them at every stage. My biggest piece of troubleshooting advice revolves around moisture control. If your wings aren’t completely dry before they hit that baking powder, you are sacrificing crispness. Don’t rush past that pat-down step!
Also, remember that final 5-minute bake after the first coat of sauce? That sets the glaze so you get that gorgeous, thick coating, not just a runny mess. If you’re worried about over-cooking the meat while getting the sauce caramelized, just check that internal temperature earlier. We want juicy, not dry! For more tips on keeping your meat tender, even when applying bold marinades, you can check out my guide on keeping meat juicy.
If your glaze seems too thin after simmering, just give it 2 or 3 more minutes on low heat—honey needs time to properly reduce and condense!
Variations for Your Sweet and Sticky Chicken Wings Recipe
Look, while I stand by the recipe above as the absolute best way to get those thick, **Sweet and Sticky Chicken Wings**, I totally get that everyone dials in their flavor differently. I love tinkering, so here are a few swaps and additions I’ve tried lately when I wanted to shake things up for a crowd.
If you’re used to wings that pack a serious punch, you can easily bump up the heat level. I usually start by adding just a little extra cayenne to the glaze mixture when I’m simmering it. But if you really want that slow-burn heat, don’t just rely on the pinch of cayenne—throw in about two teaspoons of your favorite bottled hot sauce right in at the end, just before you take the glaze off the heat. That bright vinegar base in hot sauces really cuts through the richness of the honey!
For those times when you’re craving that deep, smoky campfire flavor but you’re stuck inside baking, don’t worry! I mentioned it quickly before, but it bears repeating: add half a teaspoon of *liquid smoke* to the glaze ingredients before you simmer. You barely need any, but that concentrated wood flavor transforms a simple honey glaze into something that tastes like it spent hours on a backyard smoker. It’s amazing how potent that stuff is!
And hey, if you want to go for something fruitier instead of just smoky, try swapping out the apple cider vinegar for an equal amount of orange juice. That citrus brightens up the whole thing and gives you a slightly different, almost tropical BBQ vibe. It pairs fantastic with the honey!
Serving Suggestions for Glazed Chicken Wings for Dinner
These sticky wings are rich, sweet, and saucy, so you need sides that can stand up to all that flavor, or things that offer a cool, crunchy contrast. I almost never serve these beauties without something crisp to balance them out. My go-to, absolute must-have side item? Crunchy celery sticks and maybe some carrot sticks, served alongside a homemade blue cheese dip!
But if you’re serving these up for a real dinner—maybe a low-key Saturday night dinner instead of just Game Day munchies—you need some starch to soak up that extra glaze at the bottom of the platter. I know it sounds crazy, but a ridiculously creamy, savory side works wonders. Have you ever tried making slow cooker mashed potatoes? They are velvety smooth, and the saltiness cuts right through the heavy sweetness of the honey glaze. It’s the perfect comforting pairing.
Another great pairing is a simple, slightly acidic slaw. Skip the heavy mayo stuff. A quick vinegar-based coleslaw dressed lightly with a little apple cider vinegar and a tiny bit of sugar helps refresh your palate between bites of that thick BBQ sauce. It keeps the whole meal feeling lighter, even though the wings themselves are hearty!
Honestly, don’t overthink the sides too much. Because these wings are so impactful on their own, simple recipes that offer crunch or creamy comfort are always the winners in my book. Keep the focus where it belongs: on that perfect, sticky coating!
Storage and Reheating Instructions for Sticky BBQ Chicken Wings
Oh, leftovers! That’s the sign of a *truly* great recipe, right? If you manage to have any of these gorgeous wings left over—which is a minor miracle in my house—you need to treat them right. Sauce acts funny when it gets cold, and we certainly don’t want to ruin that amazing crispness we worked so hard to achieve with the baking powder trick!
First things first: storage. Once the wings have cooled down completely—and I mean completely, don’t seal them while they’re warm—you want to get them into an airtight container. They should keep perfectly fine in the fridge for about 3 to 4 days. I find if I leave them much longer than that, the honey glaze starts to get a little too firm and dense, and the skin starts weeping a sad little bit of moisture.
Now for the crucial part: reheating! Do yourself a massive favor and completely skip the microwave. Microwaving sticky wings is the fastest way to turn that beautiful skin into soft, gummy disappointment. We need heat that circulates and removes moisture quickly.
My favorite way to bring these back to life is in the oven. Preheat your oven to about 375°F (190°C). Spread the cooled wings out in a single layer on a wire rack set over a baking sheet—yes, just like when we baked them the first time! Bake them for about 8 to 10 minutes. This dries out the glaze just enough to firm it up again and crisps the skin right back up. They’ll taste almost as good as fresh!
If you’re in a real rush, the air fryer is your best friend. Pop them in at 360°F (180°C) for just 4 to 5 minutes. Watch them closely, though, because that concentrated heat can burn the sugar in the glaze fast. That quick blast gets them hot, crispy, and ready to devour in minutes. It’s the speedy option for getting your saucy fix without compromising texture!
Frequently Asked Questions About Sticky BBQ Chicken Wings with Honey Glaze
I totally get it—when you’re making something as glorious as homemade wings, you want zero guesswork! Baking powder, glaze reduction, twin baking steps… it’s natural to have a few questions pop up. Here are the things I hear most often from folks trying out this recipe for the first time. Let’s clear up any confusion so you can have the best **Honey Glazed BBQ Wings** ever! For more recipe ideas, feel free to browse our full collection of posts!
Can I make these Sticky BBQ Chicken Wings with Honey Glaze in an Air Fryer?
Absolutely, you can! The air fryer is fantastic for getting that initial crispness, which is step one for our wonderfully **Crispy Chicken Wings with Honey Drizzle**. You will skip the initial 45 minutes of oven baking. Instead, toss those dry, baking-powder-coated wings in the air fryer basket set to 380°F (195°C). Cook them for about 18 to 20 minutes, pausing halfway through to shake the basket vigorously. Once they are golden and crispy, proceed to the glazing steps, but be extra watchful during that final 5-minute bake—the air fryer is intense!
How to Make Wings Sticky Wet Without Burning the Honey?
This is the number one concern when dealing with honey—it turns into sugar lava fast! The key to getting those perfectly **Saucy BBQ Wings for Parties** without charring is separating the sauce application. We never pour all the glaze on at once. We coat half, bake for 5 minutes to set it (this caramelizes the surface just enough), and *then* we toss them in the remaining sauce right before serving. That final toss gives you that super wet, shiny look without the risk of over-caramelization in the oven. Trust me, that 5-minute bake in between coats makes all the difference!
Why is my glaze not thickening up like yours?
If your sauce is looking a bit thin, it just needs more quality time on the simmer! Remember, the goal is to reduce the liquid content so it can cling. You need that sauce to heavily coat the back of a spoon. Keep it at a bare simmer—tiny little bubbles only—for another few minutes. If you’re in a huge rush, you can mix one teaspoon of cornstarch with two teaspoons of cold water (that’s called a slurry), whisk that into your simmering sauce, and it’ll thicken almost instantly! It makes for a perfect **Quick Honey Glaze for Chicken Wings**.
Do I have to use baking powder for this Simple Sticky Wings Recipe?
If you want true, restaurant-style crispiness? Yes, you really, really should use the baking powder. It changes the pH level on the surface of the skin, which promotes browning and drying out those little skin pockets faster than regular seasoning can. For those who want to explore more baking science, I cover this a bit more on the blog. But honestly, the baking powder is what separates a good wing from a jaw-dropping one!
Nutritional Estimate for These Honey Glazed BBQ Wings
Now, when you’re diving into something this delicious—all that sticky, sweet, glorious sauce—it’s good to have a little idea of what you’re eating, right? I’m not a nutritionist, heavens no! I’m a cook who loves making food taste amazing. So, please treat these numbers like a general guideline rather than a strict mandate. These estimates are based on dividing the whole batch of Honey Glazed BBQ Wings into four reasonable servings.
Because we are using a good amount of honey in the glaze and keeping the skin on for that crisp texture, we see a nice blend of protein, fat, and natural sugars. Hey, it’s game day food, we gotta enjoy it!
Here is the breakdown for approximately one serving (about 4 wings):
- Calories: About 380
- Sugar: Roughly 25 grams (That’s where the honey and ketchup shine!)
- Fat: Around 22 grams, most of which is the great stuff from the skin and chicken.
- Protein: A solid 21 grams to keep you full.
- Carbohydrates: About 24 grams.
- Sodium: We keep it reasonable at around 450mg, but remember, Worcestershire sauce adds a little zip!
It’s a hearty appetizer, for sure! But honestly, when I smell that smoky paprika and the honey starts to caramelize, I’m not thinking about the macros. I’m just grabbing the next one. Remember, baking keeps it much lighter compared to deep frying! Enjoy every single bite!
Share Your Experience Making This Recipe
Okay, now that you’ve got the sticky, sweet, and savory wings cooling on the rack with that gorgeous glaze setting, I absolutely need to know how they turned out! Did the baking powder really work its magic? Did your kitchen smell like a backyard BBQ all day? I need the details!
Head down to the comments section right now and tell me everything. If you loved these wings—and honestly, how could you not?—please leave me a rating! Giving the recipe five stars helps other folks know that this oven method is the real deal. If you made any tweaks, like swapping the vinegar or loading up on the cayenne like I do sometimes, definitely share those little secrets too!
I’m always looking for ways to connect with you all, so if you snap a picture of your perfectly coated, juicy wings, tag me on social media! Seeing your creations makes my day, and then I know I need to keep sharing these family secrets.
If you run into any snags or have questions that I didn’t cover in the FAQs—maybe you want to know the best way to handle drumettes versus flats next time, or perhaps you have questions about dipping sauces—don’t hesitate to reach out! You can always drop me a direct note over on the contact page if you prefer to keep things private. Happy cooking, everyone, and enjoy those magnificent sticky wings!
PrintSticky BBQ Chicken Wings with Honey Glaze
Follow these steps to make chicken wings coated in a thick, sweet, and savory honey BBQ glaze.
- Prep Time: 15 min
- Cook Time: 55 min
- Total Time: 70 min
- Yield: 4 servings
- Category: Appetizer
- Method: Baking
- Cuisine: American
- Diet: Low Lactose
Ingredients
- 3 lbs chicken wings, separated into flats and drumettes
- 1 tablespoon baking powder
- 1 teaspoon salt
- 1/2 teaspoon black pepper
- 1 cup ketchup
- 1/2 cup honey
- 1/4 cup apple cider vinegar
- 2 tablespoons Worcestershire sauce
- 1 tablespoon smoked paprika
- 1 teaspoon garlic powder
- 1/2 teaspoon onion powder
- 1/4 teaspoon cayenne pepper (optional)
Instructions
- Preheat your oven to 425°F (220°C). Line a baking sheet with foil and place a wire rack on top.
- Pat the chicken wings completely dry using paper towels. This helps them crisp.
- In a bowl, toss the wings with baking powder, salt, and pepper until evenly coated.
- Arrange the wings in a single layer on the wire rack.
- Bake for 25 minutes. Flip the wings, then bake for another 20 to 25 minutes, or until the skin is crisp and the internal temperature reaches 165°F (74°C).
- While the wings bake, prepare the glaze. Combine ketchup, honey, apple cider vinegar, Worcestershire sauce, smoked paprika, garlic powder, onion powder, and cayenne pepper in a small saucepan.
- Bring the sauce to a simmer over medium heat, stirring occasionally. Reduce the heat to low and let it simmer for 8 to 10 minutes, stirring often, until the sauce thickens enough to coat the back of a spoon.
- Remove the wings from the oven and place them in a large bowl.
- Pour about half of the warm glaze over the wings and toss gently to coat them thoroughly.
- Return the glazed wings to the wire rack. Bake for an additional 5 minutes to set the glaze.
- Remove from the oven and toss with the remaining glaze just before serving.
Notes
- Drying the wings well before seasoning is key to achieving crispy skin.
- For extra smoky flavor, add 1/2 teaspoon of liquid smoke to the glaze mixture.
- If you prefer a spicier wing, increase the cayenne pepper or add a dash of your favorite hot sauce to the glaze.
Nutrition
- Serving Size: 4 wings
- Calories: 380
- Sugar: 25
- Sodium: 450
- Fat: 22
- Saturated Fat: 7
- Unsaturated Fat: 15
- Trans Fat: 0
- Carbohydrates: 24
- Fiber: 1
- Protein: 21
- Cholesterol: 85