

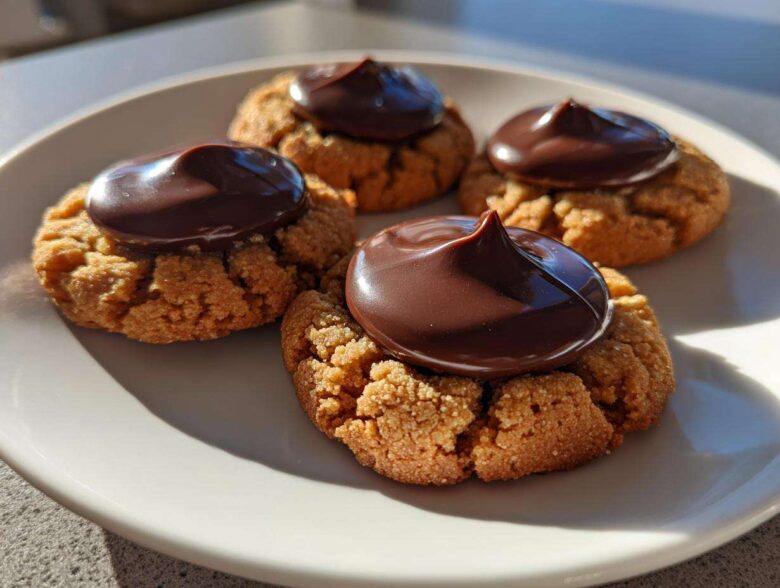
Oh, welcome! If you’re anything like me, the smell of a classic peanut butter cookie takes you right back to your childhood kitchen, right? There’s just something magical about those sweet, recognizable cookies that everyone fights over at holiday parties. Forget those dry, crumbly attempts you might have had—I’m handing you the absolute best, most reliable recipe for Peanut Butter Blossom Cookies you will ever need.
This isn’t just some recipe I found online; this is the foolproof classic that never fails to deliver that perfect crackle on the outside and a wonderfully soft center. I’ve tested this countless times, and I’m telling you, this specific balance of ingredients means your cookies will always come out looking just like they should. Trust me, these are going to be your new go-to comfort bake. If you want to know more about why we take baking so seriously around here, you can check out my journey over at our ‘About Us’ page!
Why This Classic Peanut Butter Blossom Cookies Recipe Works (E-E-A-T)
You know those cookies that look perfect but taste like cardboard? Not these, I promise! The reason this Peanut Butter Blossom Cookies recipe is so reliable comes down to a few key things that I always pay close attention to. First up, we want that beautiful classic crackle, and that comes from using both granulated sugar and brown sugar together. It gives the cookie structure but keeps the middle soft.
Also, pay attention to the peanut butter choice. I insist on creamy peanut butter here. Crunchy peanut butter messes with the dough balance, and we want everything smooth so we can roll those perfect little balls. This recipe has just the right amount of baking soda and baking powder working together to give us lift without making the cookies turn cakey. It’s truly the perfect foundation, and if you want more deep dives on cookie science, I actually wrote a whole post on specific baking tips for blossom cookies!
Achieving the Perfect Texture in Your Peanut Butter Blossom Cookies
When I talk about the perfect texture, I mean we want a slight firmness on the edge that gives way to an ultra-soft middle. This is how you get those fantastic Chewy Peanut Butter Cookies that don’t crumble when you pick them up. The trick is in that crucial baking time—eight minutes is usually the sweet spot. You want them to look slightly underdone when they come out because that residual heat is doing all the final work.
If you pull them out too soon, they’ll collapse when you press the chocolate in, but if you bake them too long, they turn into crunchy discs. We want the buttery, classic peanut butter flavor to shine through, not just the snap of a dry cookie. That balance makes these Peanut Butter Blossom Cookies irresistible!
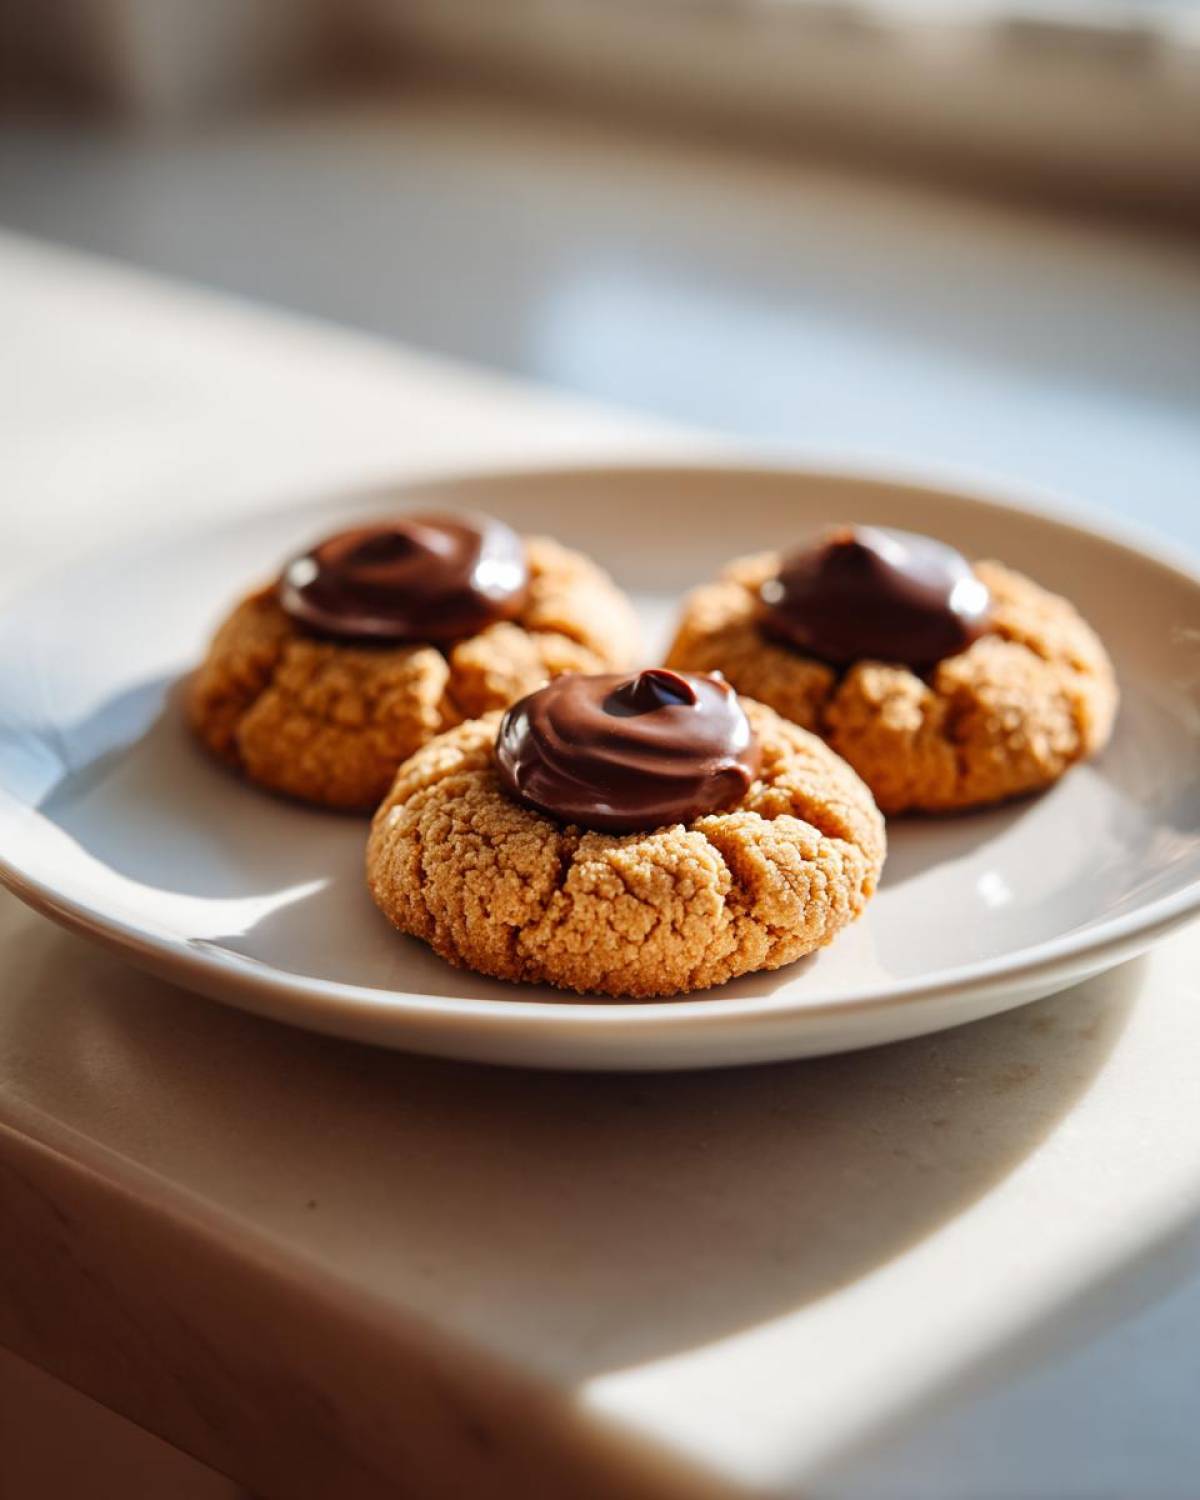
Gathering Ingredients for Perfect Peanut Butter Blossom Cookies
Alright, let’s talk about what goes into these treasures! Having the right ingredients, measured exactly right, is the first big step toward perfect Peanut Butter Blossom Cookies. I’m a firm believer that if you skip the precision here, you’re just asking for trouble later on. Please, please make sure your butter is soft—not melted, but soft enough for an indent to stay put when you press it!
Remember, the quality counts, especially with the sugar. We need one full cup of packed light brown sugar to get that deep molasses flavor that makes these what they are. Getting these basics right is what elevates them from good to truly wonderful. We treat baking like a science just enough to guarantee delicious results, and then we add the love later. If you’re ever curious about making other sweet fillings, I have a fun recipe for homemade marshmallows that might inspire you!
Ingredient Notes and Chocolate Kiss Substitutions for Peanut Butter Blossom Cookies
Now, here’s the non-negotiable part: the topping! For the true, classic experience, you absolutely must use unwrapped Hershey’s Kisses. They’re shaped perfectly, sized perfectly, and they melt just enough from the residual heat to give you that signature crater around the tip. Don’t try to sneak in a regular chocolate chip; it just won’t look or taste right on these Peanut Butter Blossom Cookies!
If you absolutely cannot find the Kisses—though I’d send you on a real treasure hunt first!—you can use a dollop of dark chocolate ganache or even a small Reese’s Miniature cup. Just know that the final look won’t be the traditional one. Stick with creamy peanut butter here, too; we want that smooth dough texture to stand up perfectly around the chocolate center. This attention to detail is what makes these the Best Peanut Butter Blossoms!
Step-by-Step Instructions: How to Make Peanut Butter Blossom Cookies
Okay, this is where our patience pays off! Making these Peanut Butter Blossom Cookies is surprisingly quick, but timing is everything. First things first: get that oven heated up to 375 degrees F, and line those baking sheets with parchment paper—it saves so much scrubbing later, trust me. We’re going to mix the wet stuff, whisk the dry stuff separately, and then combine them gently.
The dough comes together fast, but you have to be careful not to switch into overdrive. Once it looks just combined, we ball it up, maybe roll it in extra sugar for that classic holiday look, and bake them until they look *nearly* done. The absolute most important moment happens right when they exit the oven. You have about two minutes to press that unwrapped Hershey’s Kiss deep into the center of every warm cookie. If you wait, the chocolate won’t melt enough to stick, and then you just have a cookie with a chocolate hat sitting next to it! If you want the perfect roadmap for handling chocolate, I always refer back to my tips on making classic chocolate chip cookies, because technique matters!
Mixing the Dough for Chewy Peanut Butter Cookies
When you’re creaming the butter and both sugars, take your time to get it light and fluffy. This step whips air into the dough, which is essential for great texture later. Once the eggs and peanut butter are smoothly incorporated, transition to the dry ingredients. Here is my biggest warning: Stop mixing the second you don’t see streaks of flour anymore! Overmixing develops the gluten too much, and suddenly, those lovely soft balls turn into tough, dry buttons.
We are aiming for that beautiful soft structure that leads to the best Chewy Peanut Butter Cookies. Keep your mixer on low speed when adding the flour mixture, and pull it away before it’s perfectly uniform. That last little bit of mixing should happen by hand if necessary. It’s this gentle touch that makes these Peanut Butter Blossom Cookies so tender.
Baking and The Crucial Chocolate Kiss Press for Peanut Butter Blossom Cookies
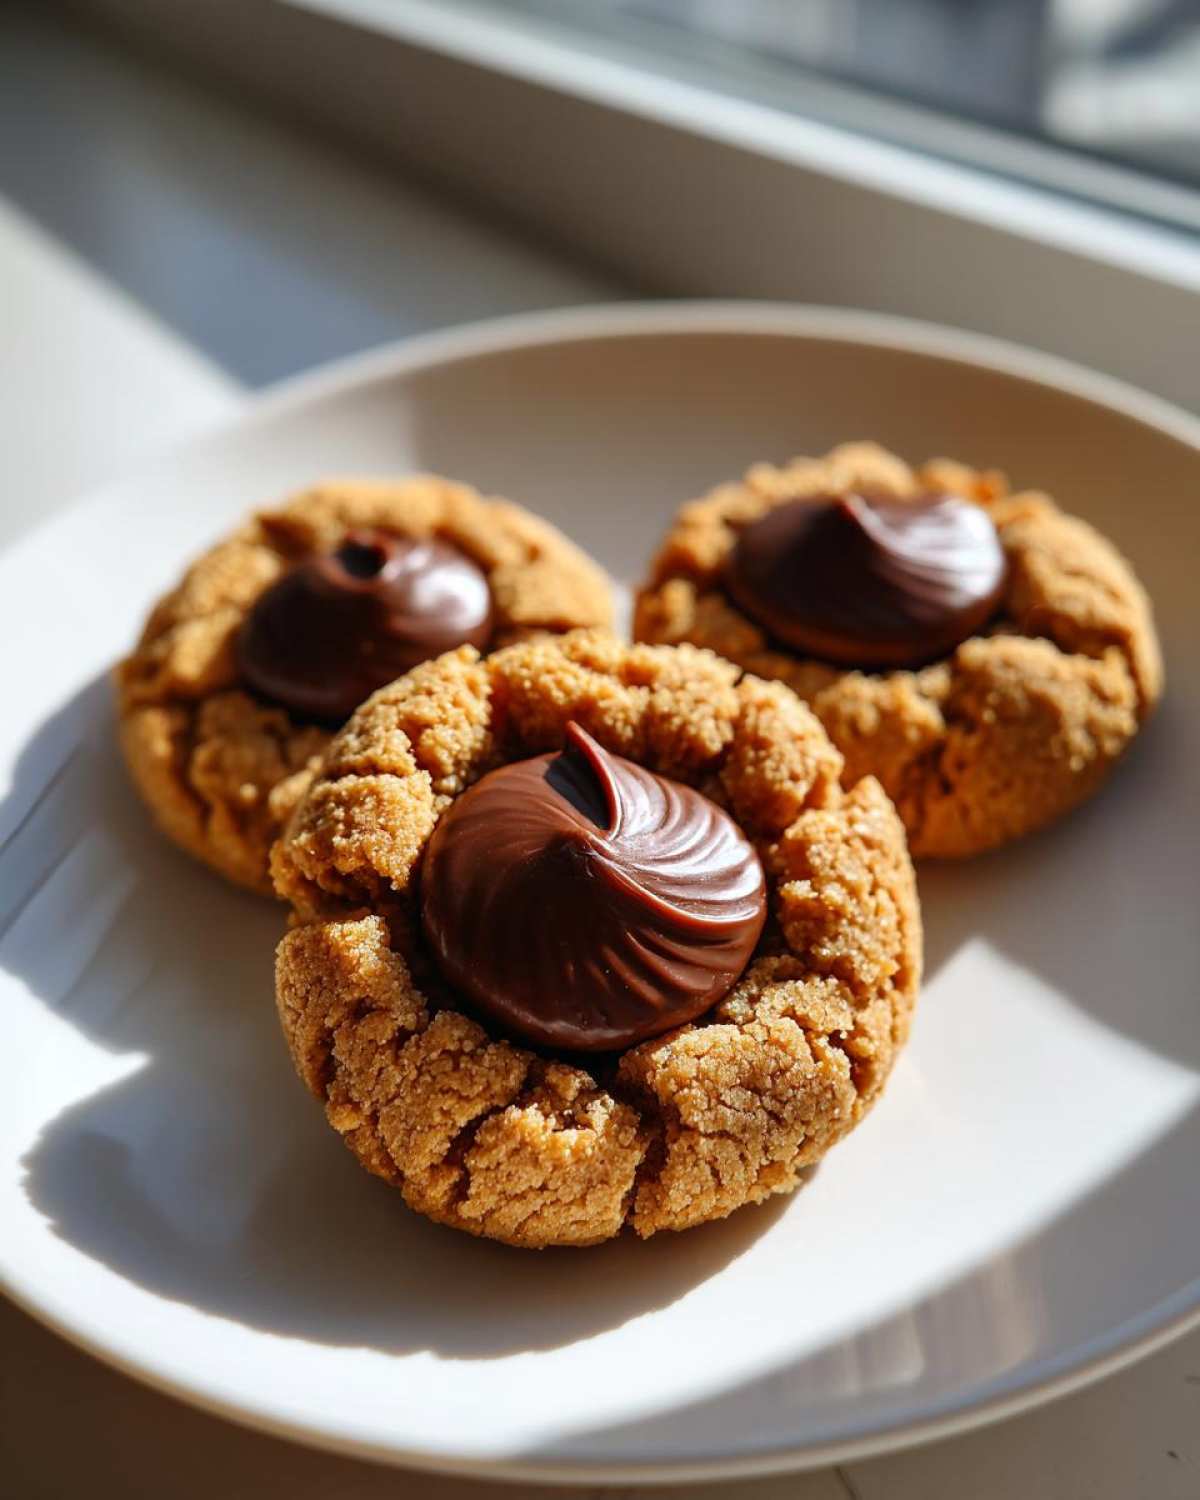
Pop those rolled balls into the 375-degree oven for 8 to 10 minutes. Watch them closely! They’re done when the edges are set and maybe just starting to turn a light golden brown, but the centers should still look a little soft. Immediately take the tray out! This is your window of opportunity to create the perfect Chocolate Kiss Cookies Recipe finish.
Press that unwrapped Kiss right into the center, straight down. The warmth of the cookie is what slightly melts the bottom of the chocolate, cementing it in place while keeping the top looking pristine. Don’t hesitate! Letting them sit on the hot pan for five minutes after pressing helps them set up properly before you move them to the cooling rack. Do this right, and you’ve mastered the classic Peanut Butter Blossom Cookies look!
Tips for Perfect Presentation of Your Peanut Butter Blossom Cookies
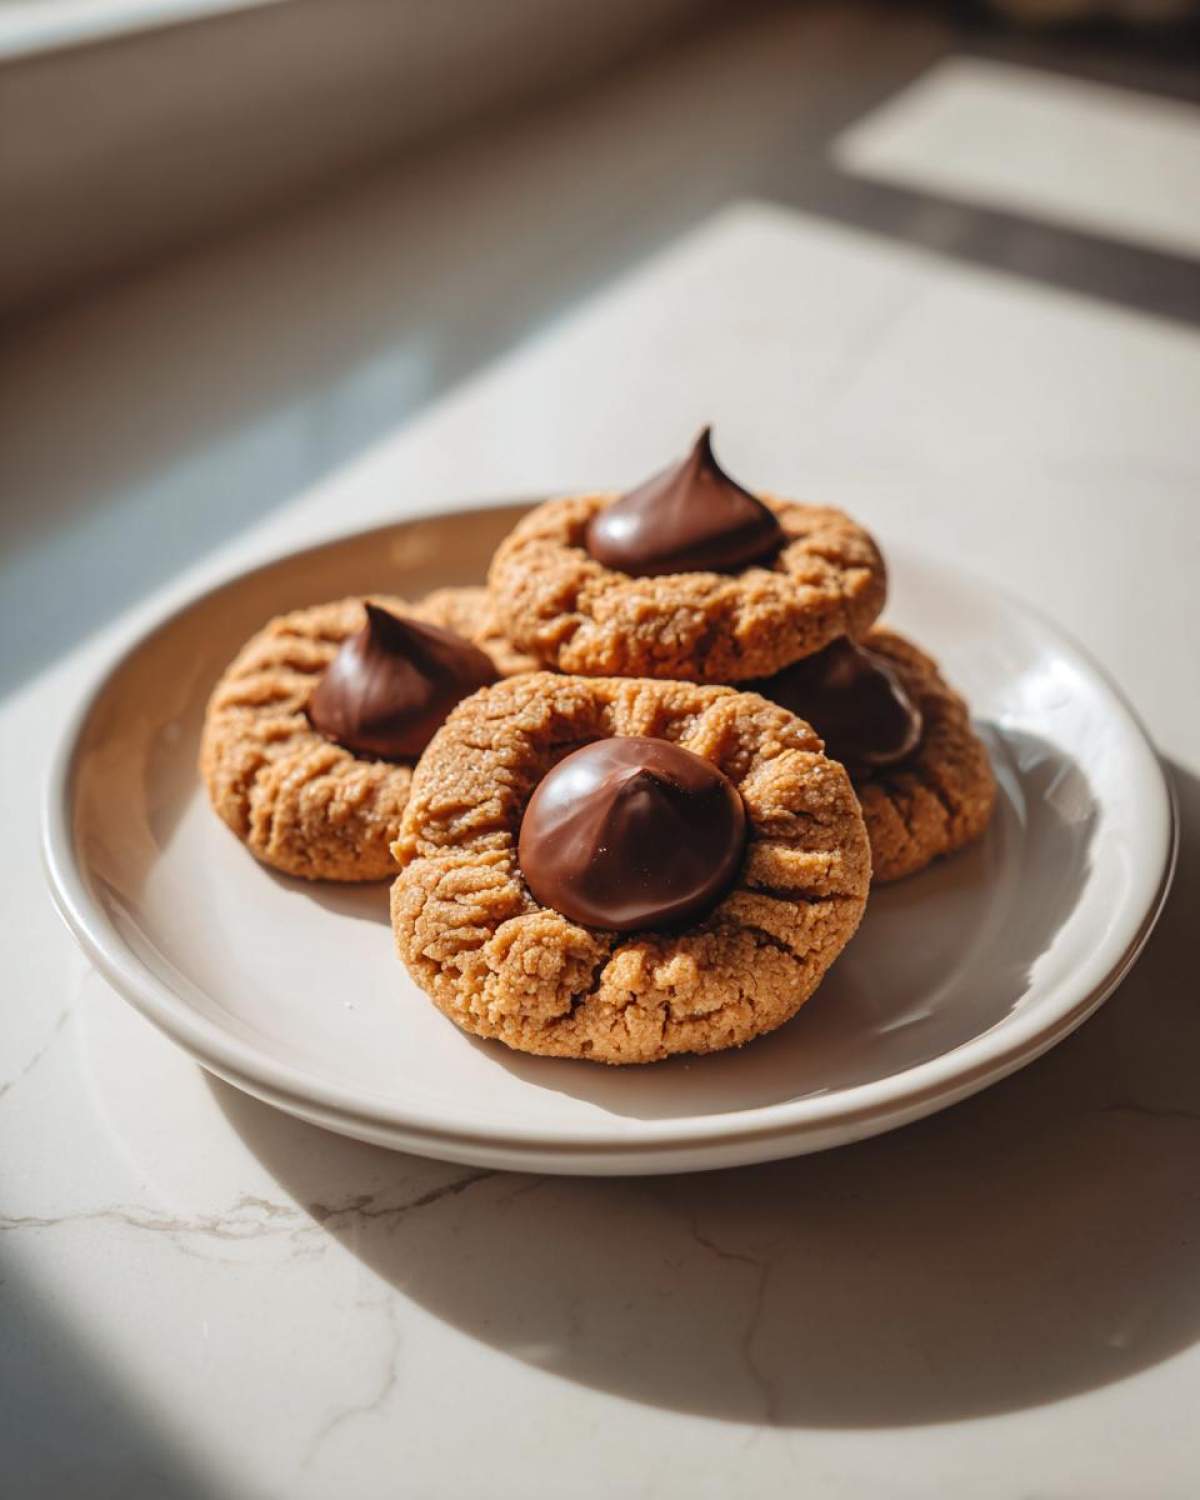
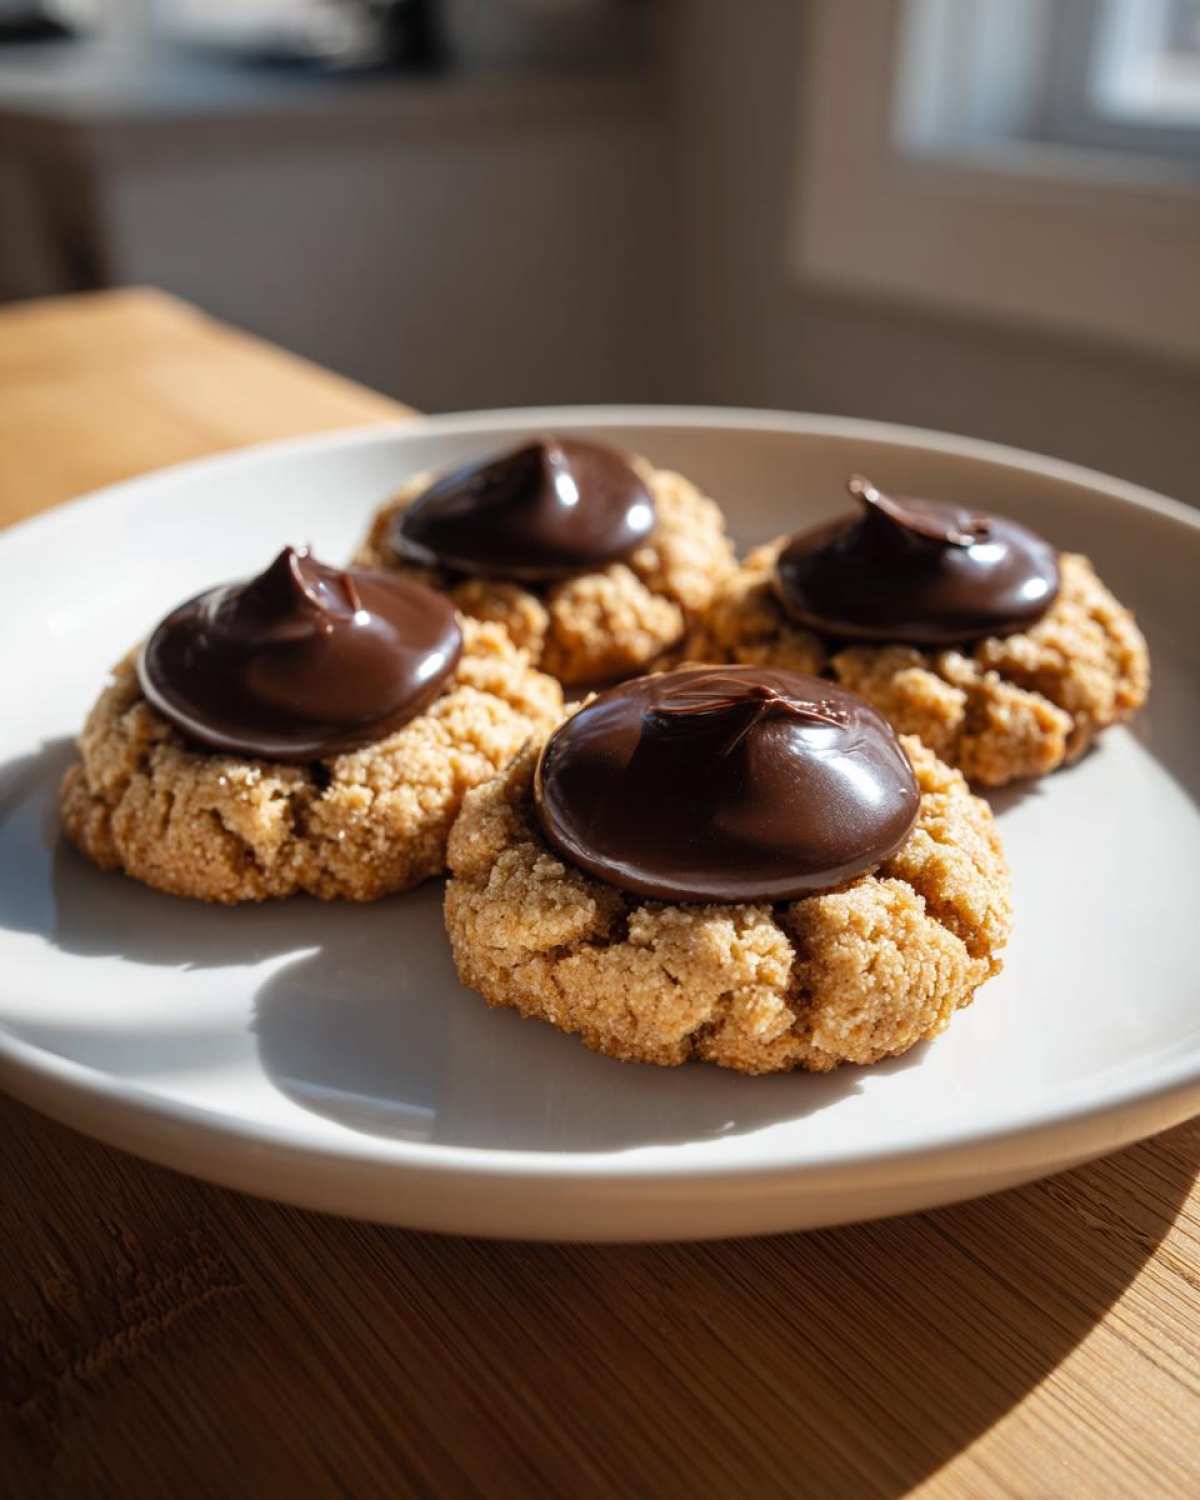
A beautiful cookie eats halfway with the eyes first, and we want these Peanut Butter Blossom Cookies to look every bit as good as they taste! The crackle pattern is honestly half the fun, and achieving that neat, symmetrical look is simple if you follow the steps. Remember how I mentioned rolling the dough balls in extra granulated sugar? That is your secret weapon for presentation!
That sugar coating doesn’t just taste great; it helps create those defined fissures when the cookie spreads slightly in the oven. Also, be mindful of your chilling time—if the dough balls go into the oven too warm, they spread too fast and the crackle doesn’t form nicely. A quick 15 minutes in the fridge before baking makes a huge visual difference. You want that classic, craggy surface surrounding that perfect, neat chocolate crown. For even more beautiful baking confidence, you might want to check out some of my great tips on making different kinds of dough—it all helps!
Storage and Shelf Life for Homemade Peanut Butter Blossom Cookies
Everyone wants to save these beauties, but we need to protect that beautiful chocolate top! The great news is that these Peanut Butter Blossom Cookies actually keep really well. Just make sure they are cooled completely before you even think about putting a lid on anything—otherwise, you get steam and sogginess, which we absolutely hate!
Store them in a tightly sealed, airtight container at room temperature. Seriously, no fridge needed! They should stay perfectly delicious and soft for up to a week. To stop that chocolate Kiss from smearing onto the cookie below it, line the container layers with a sheet of wax or parchment paper. This preserves the classic look of your amazing homemade peanut butter cookies!
Variations on the Classic Peanut Butter Blossom Cookies
While the classic look is truly iconic, sometimes you just need to tweak things up a little bit, right? Don’t worry, these Peanut Butter Blossom Cookies are super versatile! You can absolutely swap out the creamy peanut butter for crunchy if you want a little more texture in the dough itself, though you might need an extra teaspoon of milk to keep things pliable.
I also love adding just a tiny pinch of cinnamon or even a drop of almond extract into the main dough mixture—it gives the peanut butter flavor a lovely depth. For me, the most fun variation is playing with the center. If you ever want to mix things up and call them Peanut Butter Candy Center Cookies, try using a square of caramel or a peanut butter cup mini instead of the Kiss. Just remember, if you use something wider, you might need fewer cookies on your baking sheet! If you’re looking for other ways to pair peanut butter and chocolate, you have to check out my peanut butter pretzel bark recipe!
Frequently Asked Questions About Peanut Butter Blossom Cookies
I always get so many questions once people try this recipe—it really does bring out the best questions—so let’s clear up a few things right here so every batch of your Peanut Butter Blossom Cookies comes out amazing!
Can I use crunchy peanut butter in these Peanut Butter Blossom Cookies?
Yes, technically you can, but I highly recommend sticking to creamy. If you use crunchy, those hard bits of peanut interrupt the smooth dough consistency. The cookies will still taste great, of course, but the texture won’t be as uniform, and you might not get that perfect, classic look we’re going for. It’s a trade-off, but I always stick to creamy for the Classic Peanut Butter Cookies!
How do I prevent my Peanut Butter Blossom Cookies from spreading too much?
Spreading is usually an issue of temperature or flour. If your dough is too warm when it hits the oven, it melts too quickly before it has a chance to set, causing it to flatten out. For no-spread Holiday Cookie Baking Ideas, stick your rolled dough balls in the freezer for about 10 minutes before baking them. That little chill sets the fats firm, guaranteeing those gorgeous, thick cookies. If you want to learn more about make-ahead tricks, check out my favorite breakfast prep tips, because chilling dough uses a similar principle!
Estimated Nutritional Information for Peanut Butter Blossom Cookies
Listen, I bake with love, not with a lab coat! So, keep in mind these numbers are a friendly estimate based on standard calculations for one cookie in the batch. They certainly aren’t a guarantee, but they give you a good ballpark idea. This batch yields about 3 dozen, and based on that, you’re looking at roughly 180 calories per cookie, with about 15 grams of sugar.
These Peanut Butter Blossom Cookies are a treat, not a health food, so enjoy them for what they are! We’re getting around 10 grams of fat and about 4 grams of protein in each one. Just whip up a batch, share the joy, and don’t worry about tracking every tiny number!
Share Your Classic Peanut Butter Blossom Cookies Experience
Well, that’s the whole journey for making the absolute best Peanut Butter Blossom Cookies! I truly hope you loved how straightforward this classic recipe was. If you made a batch, please tell me—did you stick to the classic chocolate Kisses, or did you try a fun variation?
Drop a comment below, let me know how they turned out, and don’t forget to give the recipe a rating! If you have any questions or want to share a picture of your beautiful cookies, you can always reach out to me directly over at my contact page. Happy baking!
PrintClassic Peanut Butter Blossom Cookies

A straightforward recipe for making traditional peanut butter cookies topped with a chocolate kiss center.
- Prep Time: 20 min
- Cook Time: 10 min
- Total Time: 30 min
- Yield: 3 dozen
- Category: Dessert
- Method: Baking
- Cuisine: American
- Diet: Vegetarian
Ingredients
- 1 cup (2 sticks) unsalted butter, softened
- 1 cup granulated sugar
- 1 cup packed light brown sugar
- 2 large eggs
- 1 teaspoon vanilla extract
- 1 cup creamy peanut butter
- 2 3/4 cups all-purpose flour
- 1 teaspoon baking soda
- 1/2 teaspoon baking powder
- 1/2 teaspoon salt
- About 36 Hershey’s Kisses, unwrapped
Instructions
- Preheat your oven to 375 degrees F (190 degrees C). Line baking sheets with parchment paper.
- In a large bowl, cream together the softened butter, granulated sugar, and brown sugar until light and fluffy.
- Beat in the eggs one at a time, then mix in the vanilla extract and peanut butter until combined.
- In a separate medium bowl, whisk together the flour, baking soda, baking powder, and salt.
- Gradually add the dry ingredients to the wet ingredients, mixing on low speed until just combined. Do not overmix.
- Roll the dough into 1-inch balls. Roll each ball in granulated sugar (optional, for extra coating).
- Place the dough balls about 2 inches apart on the prepared baking sheets.
- Bake for 8 to 10 minutes, or until the edges are set but the centers are still slightly soft.
- Immediately upon removing the cookies from the oven, gently press one unwrapped Hershey’s Kiss into the center of each warm cookie. The residual heat will soften the chocolate slightly.
- Let the cookies cool on the baking sheet for 5 minutes before transferring them to a wire rack to cool completely.
Notes
- For a classic look, roll the dough balls in extra granulated sugar before baking.
- Press the chocolate kiss into the cookie right away; if you wait until the cookie cools, the chocolate will not adhere well.
- If you prefer a chewier cookie, slightly underbake them by about one minute.
- Store cookies in an airtight container at room temperature for up to one week.
Nutrition
- Serving Size: 1 cookie
- Calories: 180
- Sugar: 15
- Sodium: 110
- Fat: 10
- Saturated Fat: 4
- Unsaturated Fat: 6
- Trans Fat: 0
- Carbohydrates: 22
- Fiber: 1
- Protein: 4
- Cholesterol: 20