

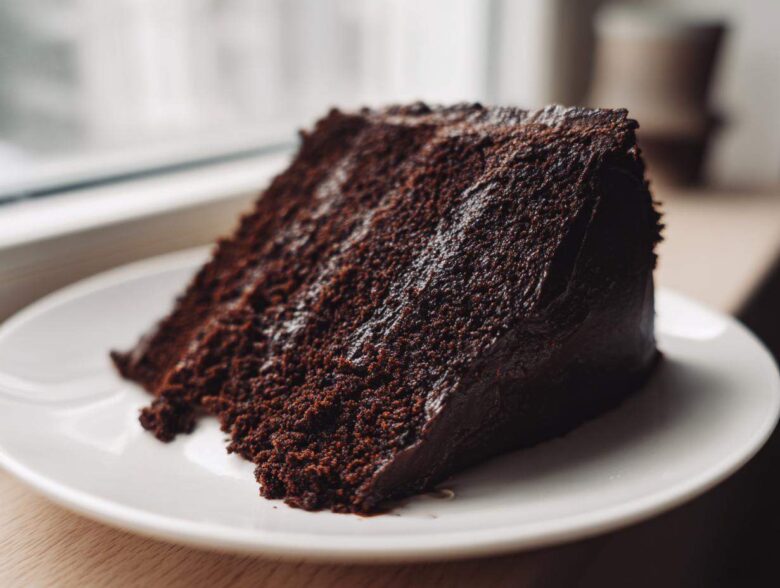
Oh, my goodness, have I got a secret victory to share with you today! If you’re tired of **Gluten-Free Chocolate Cake** recipes that turn out crumbly, dry, or just generally disappointing, you are in the absolute right place. For years, I fought that tragic dryness that seems baked into every GF dessert. But I kept tweaking and testing, and I finally unlocked the code!
I learned so much about ingredient science during my baking journey, which is something I discuss more over on my baking philosophy page. This recipe, my friends, is the one that made my partner ask if I accidentally grabbed the wrong flour canister. It delivers the fudgy, rich, deeply satisfying texture of a classic layer cake. We’re not settling for ‘good for gluten-free’ anymore—we’re aiming for ‘best cake ever,’ period. Trust me, after reading through what I learned about moisture retention, you’ll be whipping this up for every celebration!
Why This Is the Best Gluten-Free Chocolate Cake Recipe (Moist Gluten Free Chocolate Cake)
So, why exactly is this my go-to recipe? Honestly, it’s the texture. I finally eliminated that gritty, sandy feeling so common in chocolate dessert recipes without wheat. We use an easy, foolproof method that incorporates liquid at the very end. This simple technique locks in moisture, making this the best **Gluten Free Chocolate Cake** I’ve ever pulled from the oven. It’s so easy, too! You don’t need fancy specialty flours, just your favorite 1-to-1 blend.
This recipe lets you create a truly decadent, **fudgy Gluten Free Chocolate Cake** that stacks beautifully, too. If you need a great visual guide on pairing cakes, check out my tips on making amazing cookies—the principles of not overmixing apply here!
Achieving Texture: The Secret to a Moist Gluten Free Chocolate Cake
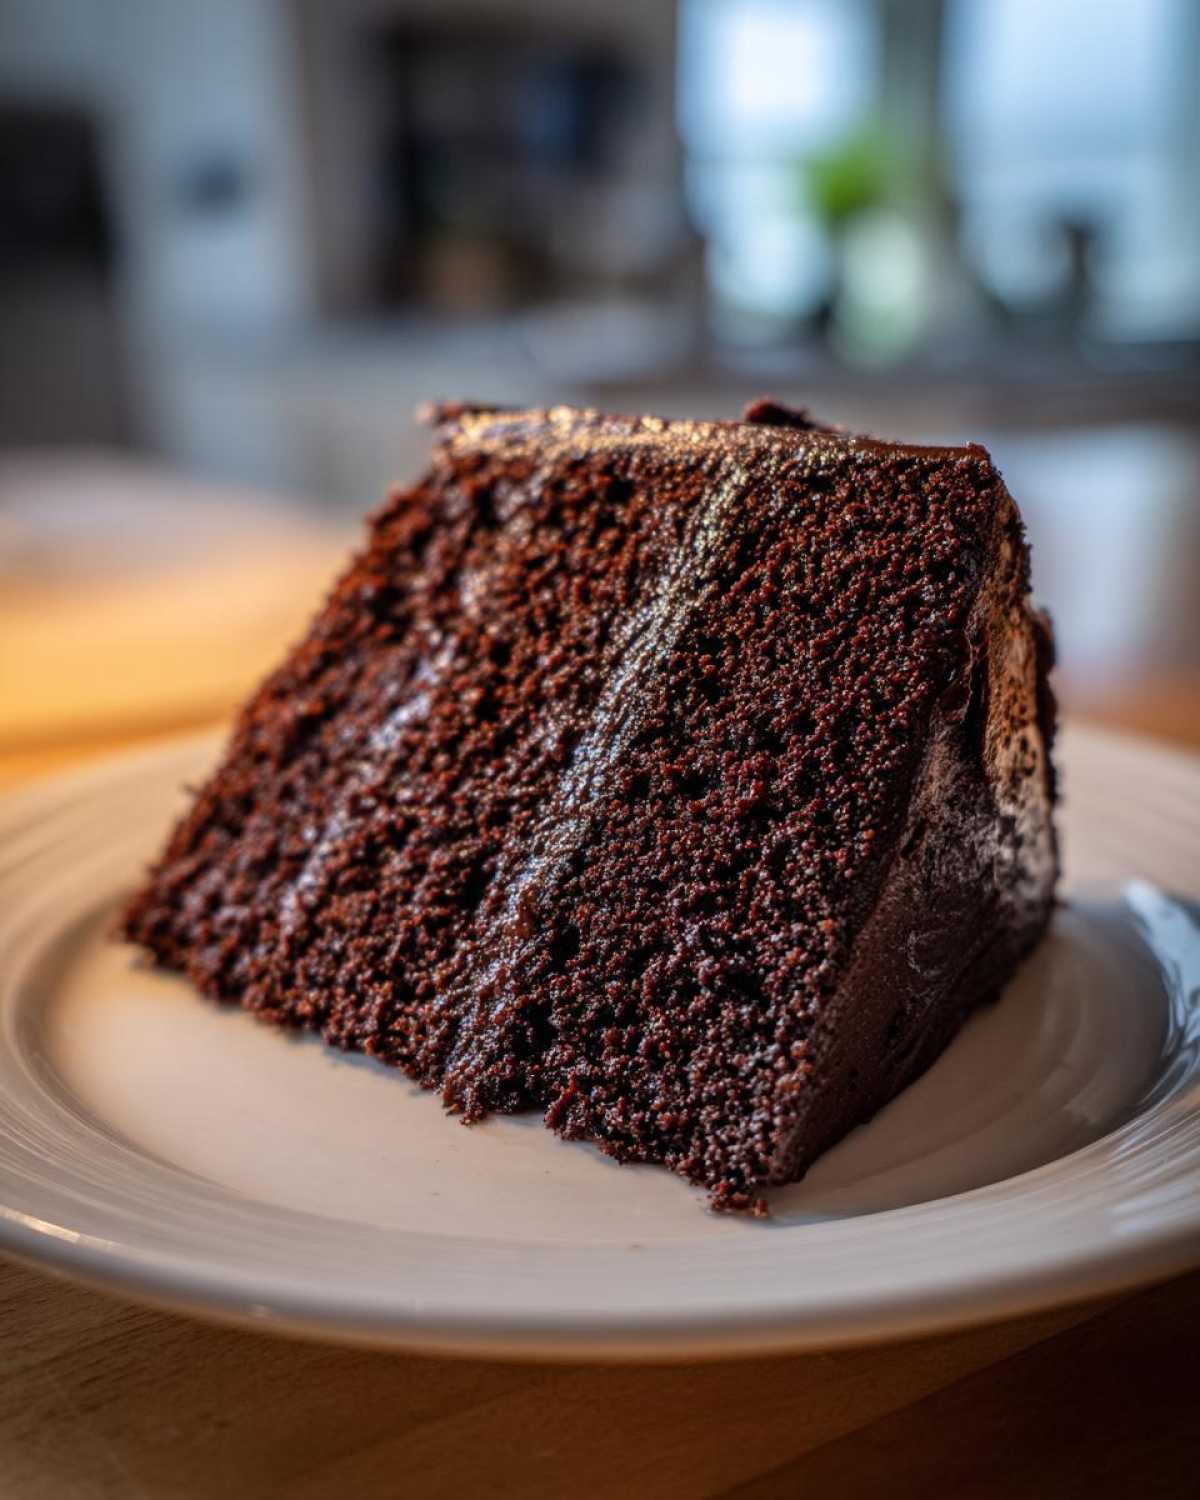
The real magic is twofold! First, we rely on buttermilk—that acidity helps tenderize the crumb. Second, we add a full cup of hot liquid right at the end. It looks weird because the batter gets super thin, but that really wakes up the cocoa powder and hydrates the GF flour blend perfectly. That thin batter is what gives us that gorgeous, **moist Gluten Free Chocolate Cake** result.
Flavor Profile of Our Rich Chocolate Cake Gluten Free
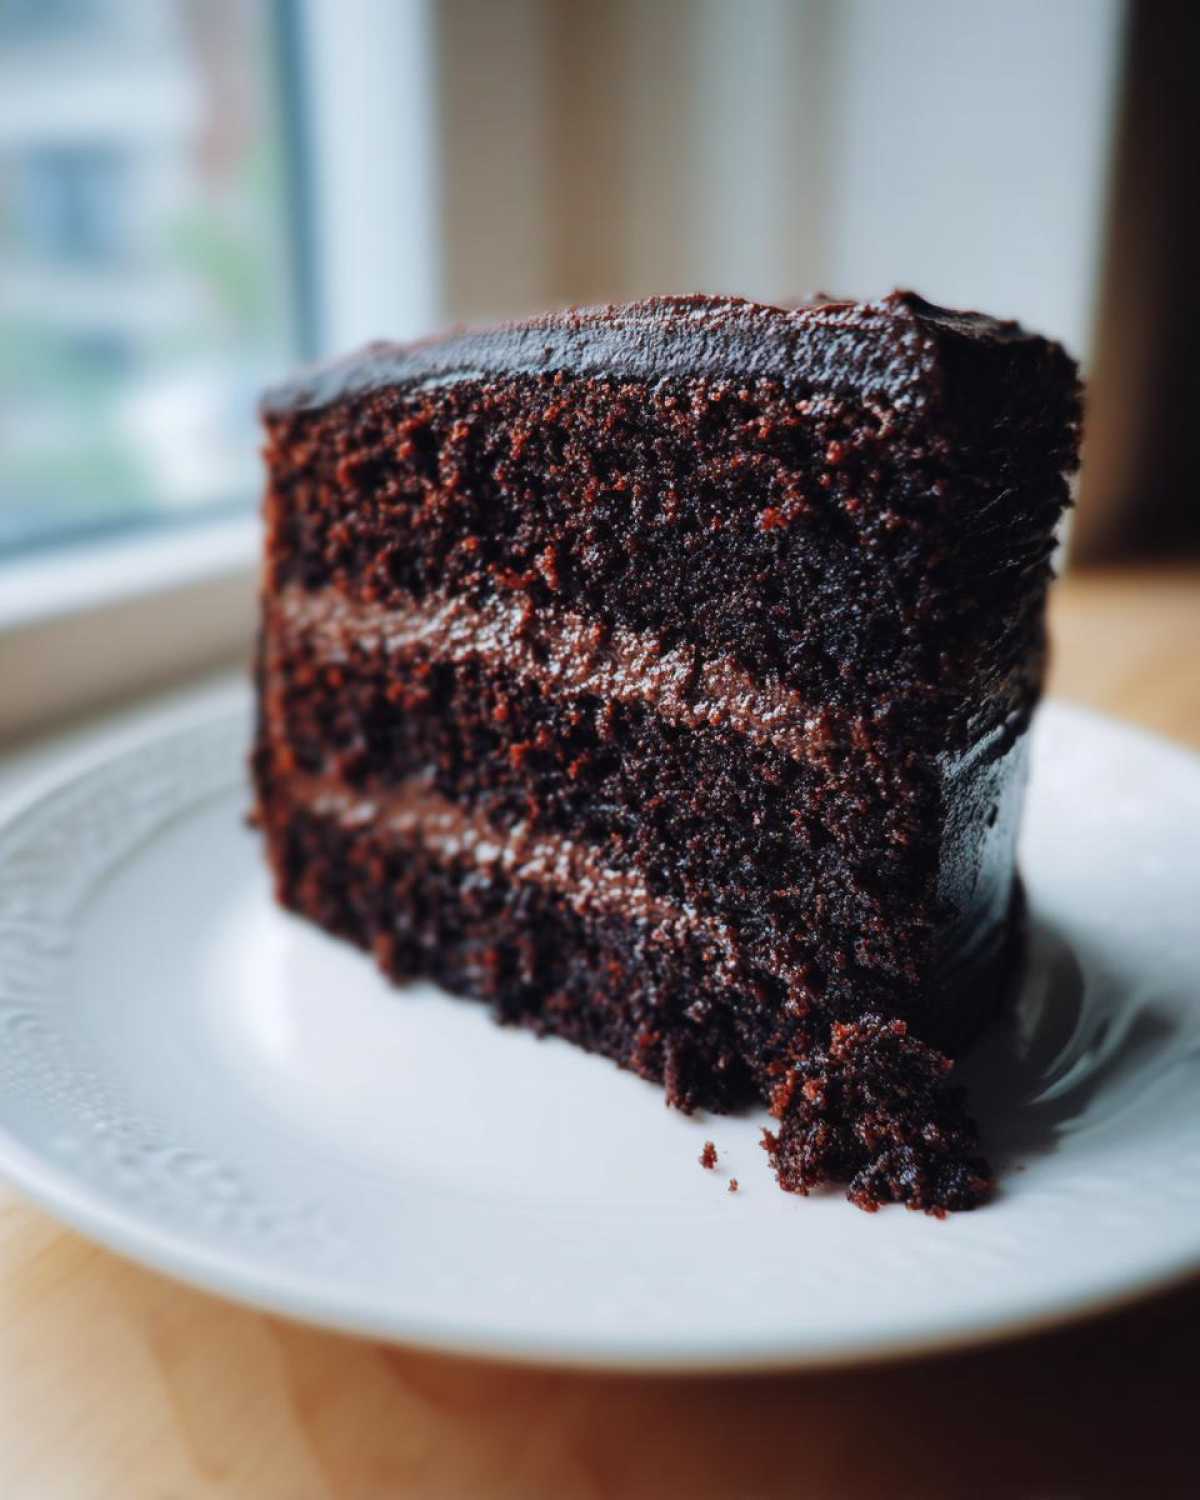
You truly get a **rich chocolate cake Gluten Free** experience here. I always use hot brewed coffee instead of plain hot water. Don’t panic; your cake won’t taste like a mocha! The coffee just acts as a deep, earthy amplifier for the cocoa. It makes the chocolate flavor so much deeper and more luxurious. You get that intensely satisfying, decadent flavor that satisfies every chocolate craving.
Gathering Ingredients for Your Gluten-Free Chocolate Cake
Pulling this recipe together is surprisingly simple because we rely on common items, even while making it completely wheat-free! For this recipe, we need two 9-inch round pans ready to go. Don’t skip greasing and dusting them with GF flour, or you’ll have tears later!
Here’s what you need to grab. It’s all mixed up right in one bowl!
- 1 3/4 cups gluten-free all-purpose flour blend (make sure it has xanthan gum!)
- 3/4 cup unsweetened dark cocoa powder
- 2 cups granulated sugar
- 1 1/2 teaspoons baking soda
- 1 teaspoon baking powder
- 1 teaspoon salt
- 2 large eggs
- 1 cup buttermilk (or make your own dairy-free version using milk mixed with a splash of vinegar)
- 1/2 cup vegetable oil
- 2 teaspoons vanilla extract
- 1 cup hot water or hot brewed coffee
Ingredient Notes and Substitutions for Gluten Free Chocolate Cake
Let’s talk swaps! If you can find a good quality 1-to-1 gluten-free flour blend, your life will be so much easier. If yours doesn’t happen to contain xanthan gum already, pop about 1 teaspoon of it into this dry mix—it’s what holds the whole thing together. If you’re going dairy-free, the vinegar trick works perfectly to curdle your plant milk into buttermilk substitute!
Remember how I mentioned coffee? If you’re worried about the flavor, skip it and use hot water, but I honestly think the depth you get from the coffee makes this the best flavor profile for a **rich Chocolate Cake Gluten Free**!
Step-by-Step Instructions for the Easy Gluten Free Chocolate Cake
I know baking from scratch can seem intimidating, especially when you have to worry about gluten-free ratios, but I promise this recipe is straightforward! Since we are aiming for a beautiful **Gluten Free Layer Cake**, make sure you’ve got both 9-inch pans prepped exactly as the recipe sheet says: greased, dusted, and lined with parchment paper circles on the bottom!
First things first: get that oven happy! Preheat it to 350°F (175°C) right away so it’s ready when your batter is mixed. That’s the first crucial timing step for any **easy Gluten Free Chocolate Cake**!
Mixing the Batter for Your Gluten Free Chocolate Cake Recipe
This recipe uses the ‘dump and mix’ style for the dry stuff, which I love. In a big bowl, you’ll just whisk together the GF flour blend, cocoa, sugar, baking soda, baking powder, and salt until it’s all happy and uniform. No sifting needed here, thank goodness!
Next, you add the wet side: eggs, that lovely buttermilk, oil, and vanilla. Beat that with your mixer on medium speed for a solid two minutes. Make sure you scrape down the sides! Now, pay close attention for step four: you’re going to pour in that cup of hot water or coffee. Mix it gently on low speed until it just disappears. Seriously, the batter will look like chocolate soup! Don’t panic; that’s exactly what we want for maximum moisture. If you want to see my favorite blending techniques, check out my guide on making blueberry banana bread—the low-and-slow addition of liquid is key there too.
Baking and Cooling the Gluten Free Layer Cake
Evenly divide that thin batter between your two prepared pans—try to eyeball it so they bake up the same size! Pop them into that hot oven for about 30 to 35 minutes. You’re looking for doneness when a wooden pick inserted right in the middle comes out clean. That means the structure has set.
This next part is important for a successful **Gluten Free Layer Cake** release. Leave them in the pans on a cooling rack for exactly 10 minutes. Not five, not fifteen—ten! Then, run a small offset spatula around the edge just to be sure, and carefully flip them out onto the cooling rack to cool completely. Don’t even *think* about frosting them warm, or you’ll end up with a melty disaster!
Tips for Success When Making This Gluten Free Chocolate Cake
Okay, baking with gluten-free flour is different from using wheat, and I want you to succeed! The number one rule I learned after throwing away so many hockey pucks? Temperature management is everything. Make sure your eggs and buttermilk are at true room temperature before you start mixing. Cold ingredients don’t emulsify well, and that separation leads straight to a dry, heavy cake structure, which we are actively fighting against!
Also, when you add that hot liquid at the end? Don’t be tempted to beat the heck out of the batter once it’s in there. We are mixing for hydration, not for structure development. Overmixing gluten-free flours can activate the starches in a bad way, leading to that gummy texture. Seriously, beat just until streaks disappear and then stop immediately. You can check out some of my other bake-throughs, like my chocolate chip banana bread post—the concept of minimal mixing is the same across the board for moist results!
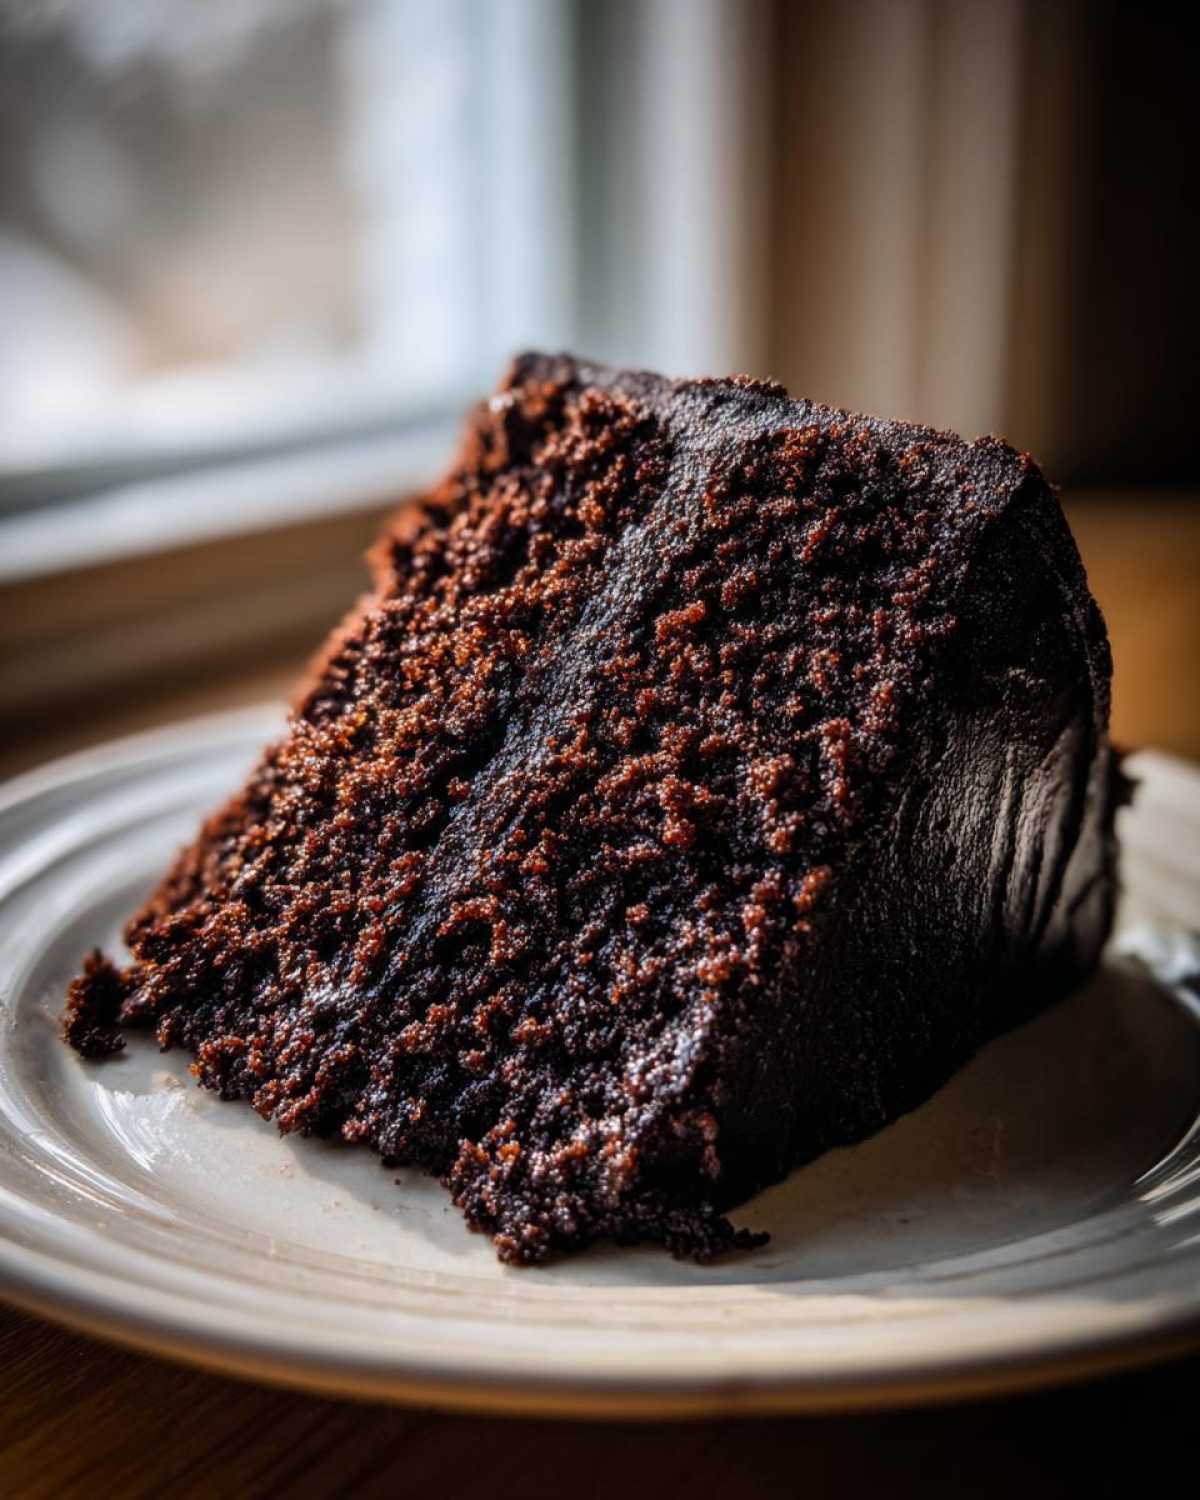
And one last pro-tip, which I can’t stress enough: if you use hot coffee in place of water, you are going to get the best, deepest chocolate flavor imaginable. It’s magic! The coffee mellows out the richness of the cocoa powder and brings this intense, nearly black color to the crumb, making it look incredibly decadent, even if it’s just a simple homemade **Gluten Free Chocolate Cake**!
Variations: Dairy Free Gluten Free Chocolate Cake Options
One of the best things about this recipe is how incredibly adaptable it is! Because we are already navigating the **Gluten Free Chocolate Cake Recipe** waters, switching out dairy is usually just as easy. If you need to make this completely dairy-free, you have a few super simple swaps to make, and honestly, you won’t even notice the difference in that dark, rich crumb structure, which is fantastic.
The buttermilk swap is the easiest thing in the world. Just take your favorite plain, unsweetened plant milk—almond, soy, or oat all work great—and add one tablespoon of white vinegar or apple cider vinegar to one cup of that milk. Let it sit on the counter for about five to ten minutes until it looks slightly curdled. That’s your new buttermilk right there! It provides the perfect tenderizing acidity for this **moist Gluten Free Chocolate Cake**.
For the frosting, which is critical for a great **Gluten Free Layer Cake**, you have options! You can stick to the classic buttercream, but you’ll substitute high-quality, room-temperature vegan butter sticks instead of dairy butter. Or, if you want something even richer and naturally dairy-free, go for a dark chocolate ganache. You only need two ingredients for a killer ganache!
To make a simple dairy-free ganache, just heat up one cup of solid dairy-free cream alternative (the full-fat kind in a can works amazing) until it’s steaming, then pour it right over one and a half cups of high-quality dairy-free chocolate chips. Let it sit for five minutes, then whisk until smooth. It’s intensely decadent and tastes like you spent hours laboring over it! If you want my absolute favorite way to dress up a homemade chocolate cake, I talk about it over on my guide to making a homemade chocolate cake recipe—it’s all about that glossy finish!
Serving Suggestions for Your Homemade Gluten Free Chocolate Cake
Now that you have this absolutely perfect, moist **Gluten Free Chocolate Cake** cooling on the rack, the fun part begins: deciding how to serve it! Because the cake itself has such an incredible depth of chocolate flavor, you actually don’t need to drown it in heavy frosting. Sometimes, simplicity is truly the way to go for the best flavor experience.
If you’re feeling lazy, or if you just baked this for an average Tuesday night dessert despite the instructions suggesting it’s for celebrations, a simple dusting works miracles. Use a fine-mesh sieve to shower the cooled layers or the whole cake with a light dusting of powdered sugar. It looks elegant, and it lets the wonderful texture of the cake shine through. Keep an eye on my guide for making the best homemade chocolate milk, because the same high-quality cocoa powder really makes a difference here!
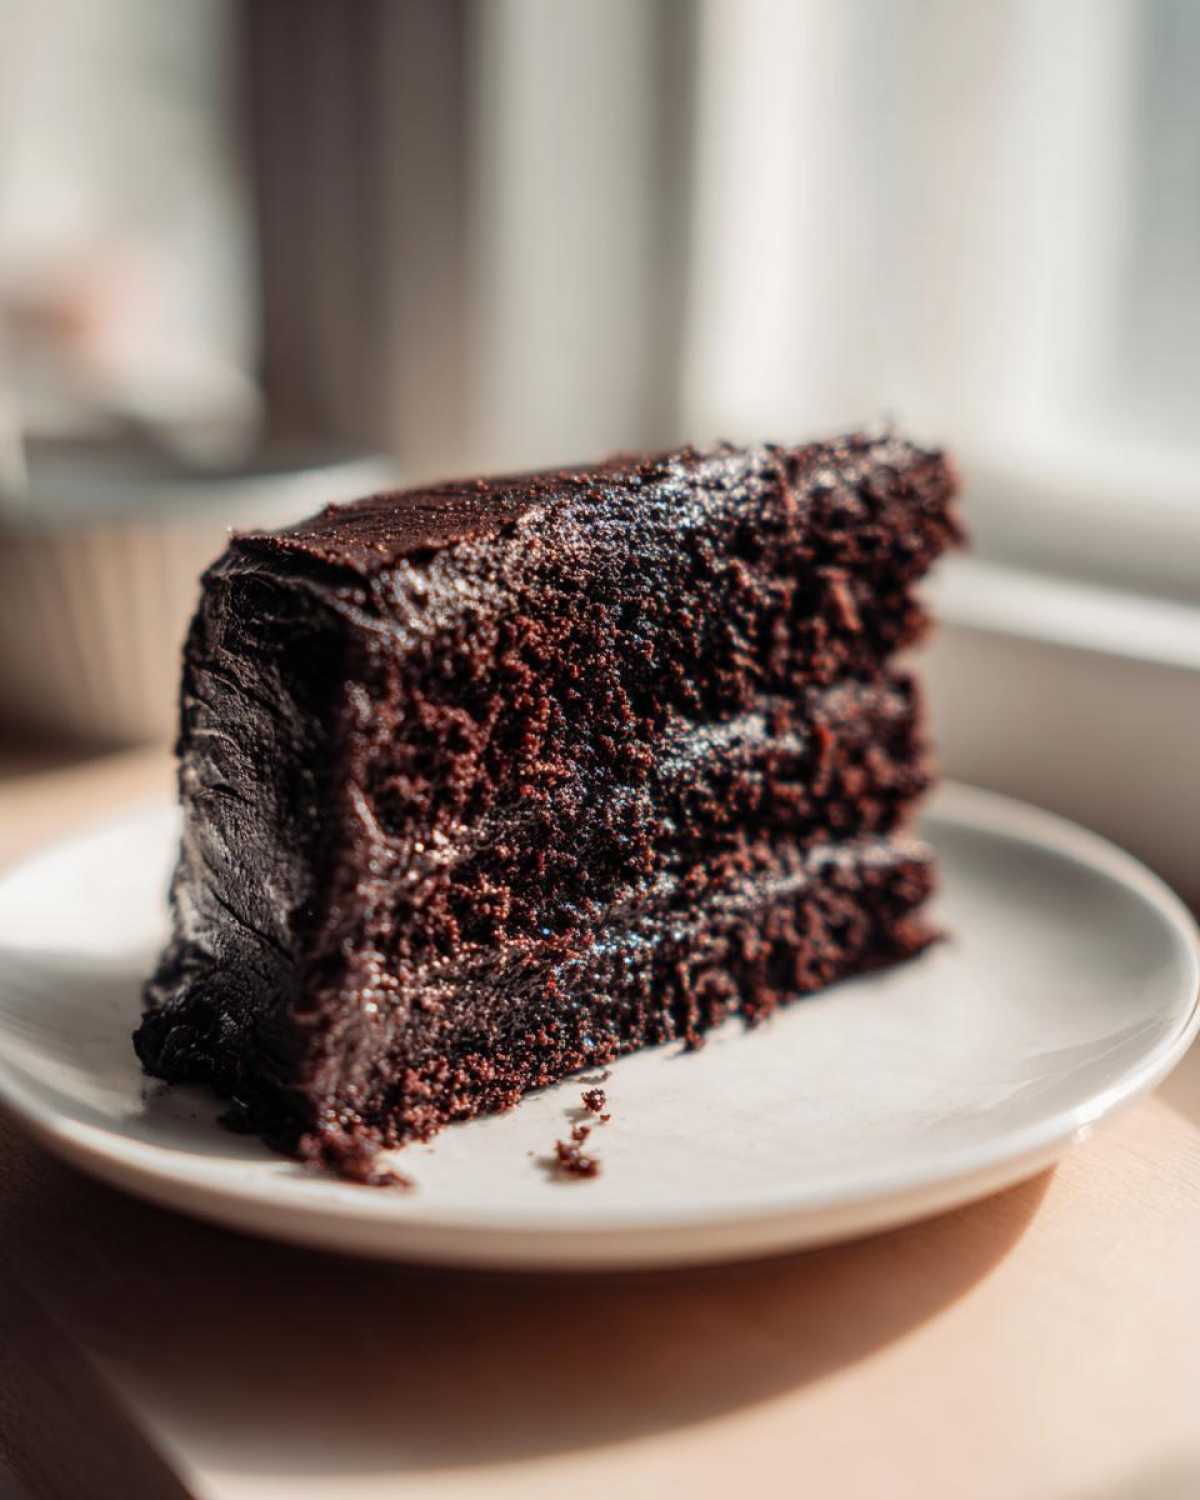
If you want something a bit more substantial for your **Gluten Free Layer Cake**, I have two favorite options that pair beautifully without overpowering the cake:
- Fresh Berries and Whipped Cream: This is my go-to summer choice! A simple, lightly sweetened whipped cream paired with tart raspberries or sweet strawberries cuts through the richness of the dark chocolate just perfectly. Make sure your cream is cold so it whips up stiff!
- Simple Chocolate Buttercream or Ganache: If you *must* have frosting, go for something straightforward. A classic American chocolate buttercream using good vanilla works wonders. If you want to stay dairy-free, a simple chocolate ganache (like the one I mentioned previously) poured over the cake when it’s slightly warm creates the most gorgeous, shiny, fudgy shell. It makes this simple **Gluten Free Chocolate Cake Recipe** look like it came from a fancy bakery window.
Honestly, whether you go all out with layers and fancy piping or just slice it warm with a dollop of yogurt, this cake disappears fast. Enjoy every non-crumbly bite!
Storage and Reheating Instructions for Gluten Free Chocolate Cake
Once you finally manage to put this incredible cake down (good luck with that!), you’ll want to know how to keep your leftovers tasting just as amazing as when they first came out of the oven. The good news is that because we used all those moisture tricks—the buttermilk and the hot liquid—this **Gluten Free Chocolate Cake** keeps really well!
Storage changes just a little bit depending on whether you’ve frosted it yet. Keep this in mind: gluten-free baked goods generally don’t last as long on the counter as wheat-based cakes because they lack that gluten structure that helps hold moisture over many days.
Storing Unfrosted Cake Layers
If you baked your layers but aren’t frosting until tomorrow, wrap each completely cooled cake layer tightly. I mean *tightly*! This is best done by wrapping once in plastic wrap, nice and snug, and then wrapping it again in aluminum foil or placing it in a large Ziploc bag. This double barrier keeps air out and stops it from drying up overnight.
You can store the wrapped, unfrosted layers on the counter for about two days, or pop them right in the freezer for up to three months. If you freeze them, just let them thaw on the counter completely wrapped before unwrapping them to frost. It’s my favorite way to get ahead on big baking projects!
Keeping Frosted Gluten Free Chocolate Cake Fresh
Once you top your **Gluten Free Chocolate Cake** with that rich frosting—especially if it’s a cream cheese or buttercream frosting—it needs refrigeration. Cover the entire cake loosely with plastic wrap. You don’t want the wrap directly touching the frosting if you can help it, because it can smear the pretty edges. If you can’t avoid touching, just use toothpicks inserted randomly around the side to create little tent poles for the plastic!
Store the frosted cake in the fridge for up to five days. It holds up incredibly well, though the texture is definitely best within the first three days.
How to Refresh a Slice
This is perhaps the most important tip for enjoying leftover cake: always bring it back to room temperature before eating! Cold cake is always going to taste drier and firmer, no matter how moist it is. If you’re grabbing a slice from the fridge, let it sit on the counter for at least an hour. If you’re impatient (and I totally get it!), try this:
- Wrap your individual slice loosely in a damp paper towel. Yes, damp!
- Microwave it for just 10 to 15 seconds, depending on your microwave’s strength.
That little bit of warmth, along with the moisture from the towel, revives the cake instantly, making it taste like it was just pulled from the oven. It brings that rich, fudgy texture right back to life. It’s my secret for enjoying the last few slices of my **Moist Gluten Free Chocolate Cake**!
Frequently Asked Questions About Gluten Free Chocolate Cake
Here are a few quick notes I get all the time about making this **Gluten Free Chocolate Cake Recipe**. I hope these clear up any last-minute worries so you can get baking!
Can I use almond flour instead of a 1-to-1 blend for this cake?
That’s a common question for anyone getting into **gluten-free baking for beginners**! Because this recipe relies so heavily on the structure provided by a specific cup-for-cup flour blend (which has rice flours, starches, and xanthan gum), switching entirely to something like almond flour won’t work without major adjustments. Almond flour is too heavy and moist. If you want to experiment with naturally gluten-free desserts that use almond flour, you’ll need a recipe specifically designed for it, like flourless cake, not this layer cake!
Can I easily turn this into a sheet cake or bake it in loaf pans?
Absolutely! I love how versatile this batter is. For a simple sheet cake, use a 9×13 inch pan. You won’t need to change the baking time much, maybe 30–35 minutes, but definitely check it at the 30-minute mark. If you decide to use loaf pans (great for gifting!), remember that the batter is deeper, so the baking time will jump up significantly—plan on maybe 45 to 55 minutes, and you must rely on that toothpick test!
How long does this rich chocolate cake gluten free stay fresh?
This is where GF cakes sometimes fall short, but because we packed this recipe with moisture boosters, it does great! Unfrosted, it stays moist on the counter for two days, though I prefer wrapping it tight and keeping it at room temperature. Once you frost it, stick it in the fridge and aim to eat it within 4 or 5 days for the best texture for your **decadent Gluten Free Chocolate Dessert**.
Can I freeze leftover pieces of this easy gluten free chocolate cake?
Yes, freezing is a lifesaver! If you have slices left, wrap each one super tight, first in plastic wrap and then in foil. This keeps out freezer burn. Your frozen slices will be perfect for up to two months. When you want one, just wrap the slice in a damp paper towel and microwave for under 20 seconds. It revives the moisture beautifully, making it taste fresh again!
For more deep dives into successful GF baking techniques, I highly recommend reading my guide on gluten-free baking for beginners!
Estimated Nutritional Data for This Gluten-Free Chocolate Cake
Now, I always feel a little funny putting nutritional information up because honestly, as a home baker passionate about flavor, I’m not a certified nutritionist! Plus, the final numbers depend huge amount on the exact brand of GF flour blend and your frosting choice. But, for folks who need a general idea of what’s inside one generous slice of this delicious, **rich Chocolate Cake Gluten Free**, here’s the estimate I pulled based on standard ingredient measurements:
- Serving Size: 1 slice
- Calories: 350
- Sugar: 45g (Wow, yes, it’s a treat!)
- Fat: 16g
- Carbohydrates: 50g
- Protein: 5g
Remember, these are just estimates for the plain cake layers before you add any gorgeous frosting. Enjoy every bite of your **homemade Gluten Free Chocolate Cake**!
Estimated Nutritional Data for This Gluten-Free Chocolate Cake
Now, I always feel a little funny putting nutritional information up because honestly, as a home baker passionate about flavor, I’m not a certified nutritionist! Plus, the final numbers depend huge amount on the exact brand of GF flour blend and your frosting choice. But, for folks who need a general idea of what’s inside one generous slice of this delicious, **rich Chocolate Cake Gluten Free**, here’s the estimate I pulled based on standard ingredient measurements:
- Serving Size: 1 slice
- Calories: 350
- Sugar: 45g (Wow, yes, it’s a treat!)
- Fat: 16g
- Carbohydrates: 50g
- Protein: 5g
Remember, these are just estimates for the plain cake layers before you add any gorgeous frosting. Enjoy every bite of your **homemade Gluten Free Chocolate Cake**!
PrintMoist Gluten-Free Chocolate Layer Cake
A rich and moist chocolate layer cake made using a 1-to-1 gluten-free flour blend, perfect for celebrations.
- Prep Time: 20 min
- Cook Time: 35 min
- Total Time: 55 min
- Yield: 12 servings
- Category: Dessert
- Method: Baking
- Cuisine: American
- Diet: Gluten Free
Ingredients
- 1 3/4 cups gluten-free all-purpose flour blend (with xanthan gum)
- 3/4 cup unsweetened cocoa powder
- 2 cups granulated sugar
- 1 1/2 teaspoons baking soda
- 1 teaspoon baking powder
- 1 teaspoon salt
- 2 large eggs
- 1 cup buttermilk (or dairy-free milk mixed with 1 tablespoon vinegar)
- 1/2 cup vegetable oil
- 2 teaspoons vanilla extract
- 1 cup hot water or hot brewed coffee
Instructions
- Preheat your oven to 350°F (175°C). Grease and flour (with GF flour) two 9-inch round cake pans. Line the bottoms with parchment paper.
- In a large bowl, whisk together the gluten-free flour blend, cocoa powder, sugar, baking soda, baking powder, and salt.
- Add the eggs, buttermilk, oil, and vanilla extract to the dry ingredients. Beat with an electric mixer on medium speed for two minutes.
- Carefully pour the hot water or coffee into the batter and mix on low speed until just combined. The batter will be thin.
- Divide the batter evenly between the prepared cake pans.
- Bake for 30 to 35 minutes, or until a wooden pick inserted into the center comes out clean.
- Let the cakes cool in the pans for 10 minutes before inverting them onto a wire rack to cool completely before frosting.
Notes
- Using hot coffee deepens the chocolate flavor without making the cake taste like coffee.
- If your GF flour blend does not contain xanthan gum, add 1 teaspoon to the dry ingredients.
- For a dairy-free version, use dairy-free milk and a dairy-free buttercream frosting.
Nutrition
- Serving Size: 1 slice
- Calories: 350
- Sugar: 45
- Sodium: 300
- Fat: 16
- Saturated Fat: 3
- Unsaturated Fat: 13
- Trans Fat: 0
- Carbohydrates: 50
- Fiber: 3
- Protein: 5
- Cholesterol: 50