

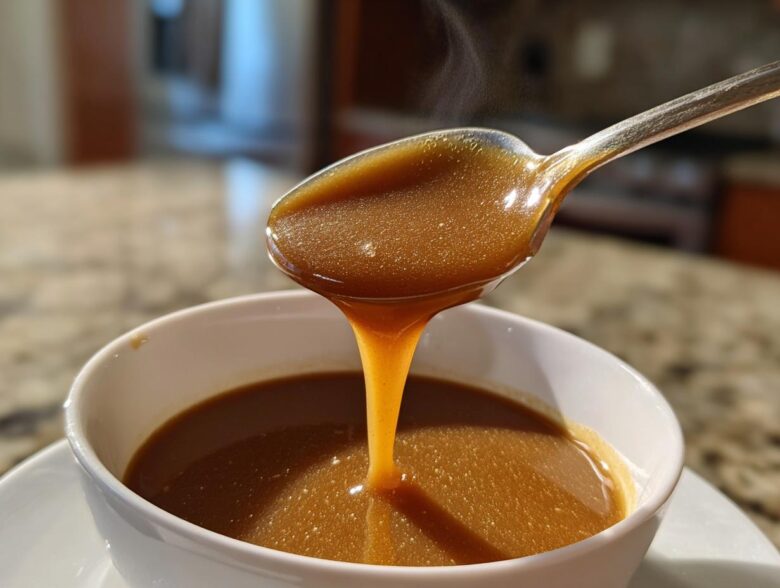
Oh, Thanksgiving! The house smells amazing, everyone is happy, and then you look down at your roasting pan, and panic starts to set in. We’ve all been there, right? Trying to hustle up a perfect, rich, turkey gravy just as the rolls are burning and the pie is cooling too fast. Not this year! I am handing you the secret weapon: my foolproof, make-ahead gravy recipe. Seriously, this is the only turkey gravy you will ever need again. It’s so consistent; it comes out smooth and deeply savory whether I use just the drippings or have to make it work with store-bought stock. This recipe saved my sanity last Christmas, and trust me, you deserve that relief too! You can read a little more about why I share these family secrets on my About page if you’re curious!
Why This Foolproof Turkey Gravy Recipe Works Every Time
I’m not kidding when I call this foolproof. So many gravy recipes seem great on paper, but then you get lumps, or it tastes flat. My method eliminates those worries, making this the perfect homemade turkey gravy recipe for beginners and pros alike. It all comes down to a couple of non-negotiable flavor and texture steps.
- The sauce has a deep, savory flavor because we always take the time to cook the roux properly—it’s the soul of the sauce!
- It’s incredibly flexible; you can swap the drippings for plain stock if your turkey shrinks, and it stays amazing.
- You get that velvety texture that people always rave about at my table.
Achieving Smooth Turkey Gravy Tips
Lumps are the devil, right? They sneak in when you dump the stock in too fast. The secret is slow addition while whisking like mad! We cook that flour and fat (the roux) for a few minutes until it’s fragrant—that slightly nutty scent means it’s ready to absorb liquid without forming sticky clumps. And here’s my final ace: If things still look a little iffy, just strain it through a fine-mesh sieve right before serving. That extra step guarantees smooth turkey gravy tips success.
Make Ahead Gravy Recipe Benefits
When you are juggling a huge bird and six side dishes, anything you can finish early is a blessing. This is a fantastic make ahead gravy recipe because it cools beautifully and reheats like a dream. I usually make it two days before Thanksgiving. When I pull it out of the fridge, it’s solid, but a slow, gentle warm-up on the stove with a little whisking brings it right back to life. No last-minute stress needed!
Ingredients for the Best Turkey Gravy From Drippings
Getting the right ingredients is half the battle, especially when you’re aiming for the absolute best turkey gravy from drippings. I’ve listed exactly what I use for that deep, classic holiday flavor. Don’t worry if your turkey didn’t produce enough fat; I built in a contingency plan so you aren’t stuck!
Here’s what you need for four good servings of this beautiful sauce:
- 1/2 cup turkey fat or unsalted butter
- 1/2 cup all-purpose flour
- 4 cups turkey stock (low sodium preferred)
- 1/2 cup reserved turkey pan drippings (optional, for richer flavor)
- 1 teaspoon salt (or to taste)
- 1/2 teaspoon black pepper (freshly ground preferred)
- 1/4 teaspoon dried sage (optional)
I always remember this ratio: equal parts fat and flour, followed by about eight times the volume in liquid stock. It’s a ratio I learned years ago, and it just works for this density!
Ingredient Notes and Substitutions for Rich Turkey Broth Gravy
Let’s talk specifics, because ingredient quality really shows up in a simple sauce like this. If you’re trying to make gravy without drippings because your turkey was lean or you roasted it on a rack with zero liquid runoff, don’t panic! That’s what the butter is for.
Use unsalted butter if you don’t have pure turkey fat, but make sure you use less salt overall in the recipe, since butter is salted. If you are using stock, please try to find low-sodium stock. Since we are relying on the drippings for most of the saltiness, we need control over what’s going in. If you must use regular stock, skip adding any salt until the very end, and taste carefully! When you use good quality stock, you get that fantastic rich turkey broth gravy flavor without needing a ton of additives. Speaking of richness, if you need some inspiration for baked sweets later, check out my favorite pumpkin spice cake recipe!
How to Prepare Easy Turkey Gravy Step-by-Step
You are about to make the easiest, most reliable easy turkey gravy ever. No stress, just simple stirring! It’s all about managing the heat and not stopping the whisk! I know when you’re cooking a big meal, you just want things to follow directions, and this method is super straightforward. It’s based on just a few core steps that ensure everything melts together beautifully.
Mastering the Roux Based Gravy Foundation
First things first: we need to prep that fat. If you have drippings, skim off a nice half cup of that golden fat right from the roasting pan. If you’re using butter or pure fat instead, melt that half cup in your sturdy saucepan over medium heat. Once it’s nice and liquid, dump in your half cup of flour all at once.
Now comes the whisking marathon! You are building a roux here. You need to stir this constantly for about two to three minutes until it stops looking pale and starts smelling a little nutty—like toasted wheat, not burnt marshmallows. Whisking constantly keeps it from scorching on the bottom! Don’t rush this part; cooking the raw flour taste out is key to a professional-tasting sauce. This is the magic of a good roux based gravy.
Simmering and Seasoning Your Homemade Turkey Gravy Recipe
When your roux hits that beautiful light tan color, slowly, slowly start pouring in your four cups of turkey stock. I mean it—a little bit at a time while you whisk away like your holiday reputation depends on it! Once all the stock is incorporated, whisk in those precious pan drippings if you skimmed any aside earlier. This step adds that extra layer of flavor to your homemade turkey gravy recipe.
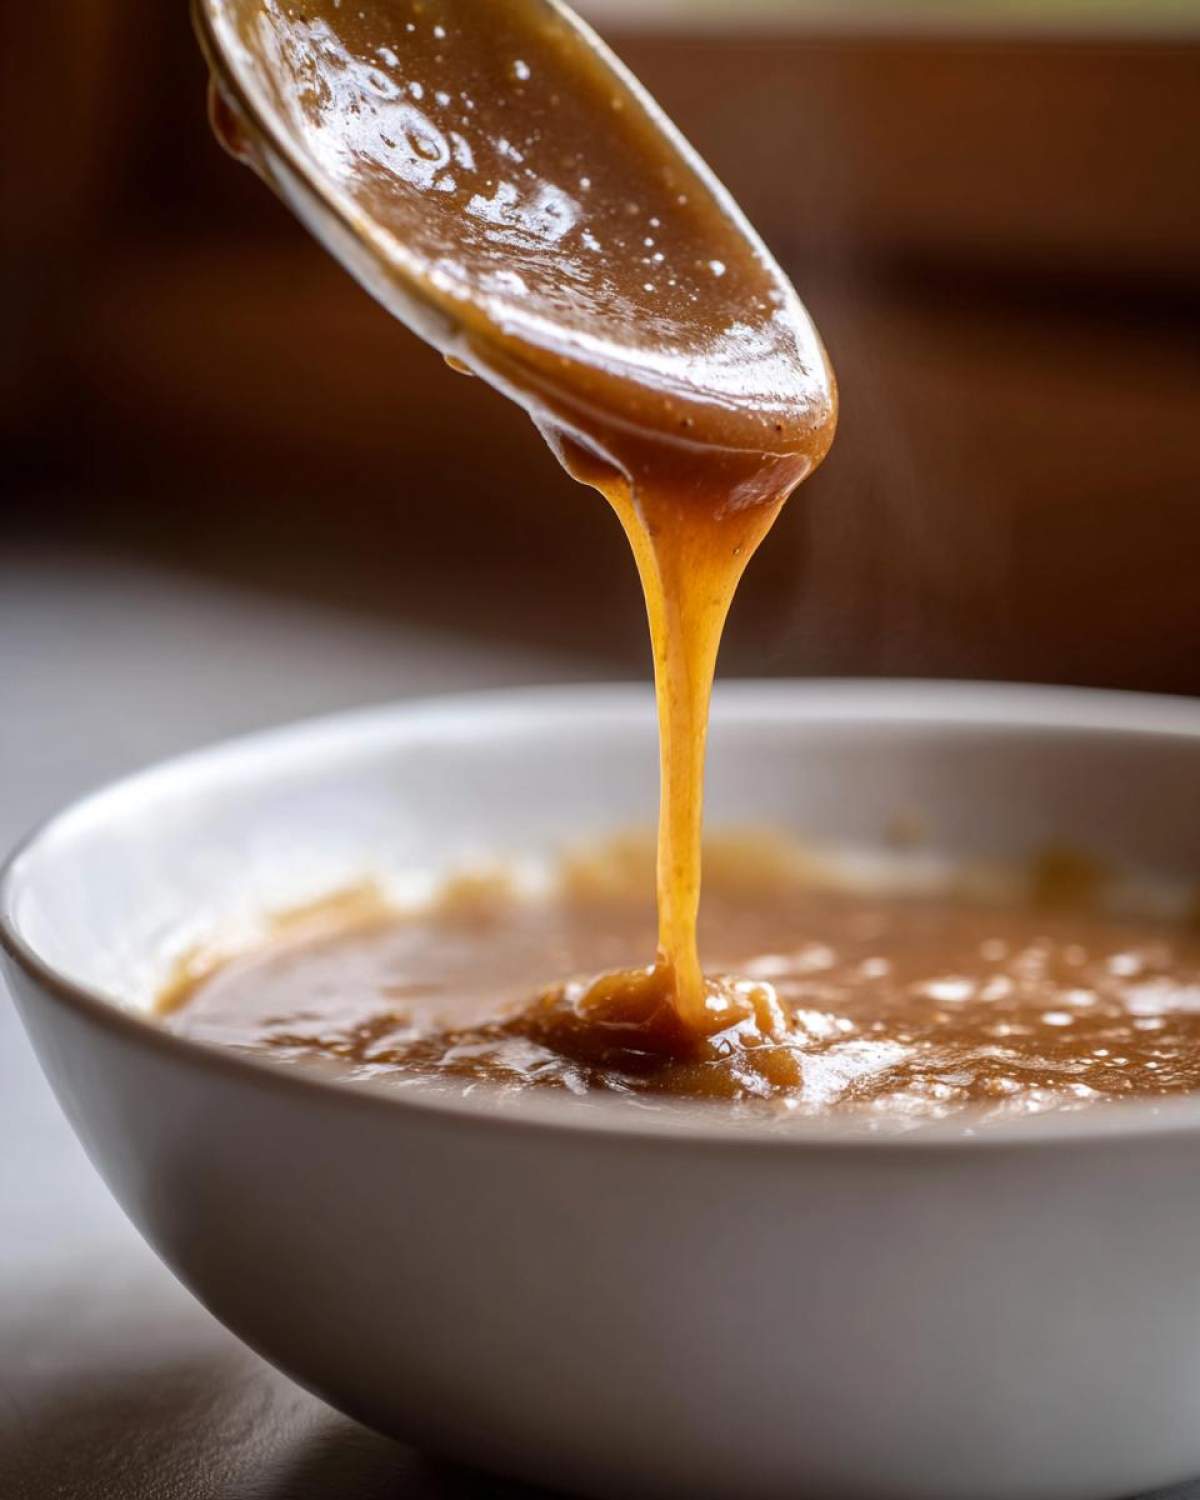
Bring the whole pot up to a gentle simmer. Keep that heat low and let it bubble slightly for another 5 to 10 minutes. You’ll know it’s ready when it coats the back of a spoon—that’s how I always test it! Finally, stir in your salt, pepper, and that optional sage if you like a little herbaceous hint. If you want it perfectly elegant, pour it through a fine-mesh sieve right before serving to catch any tiny stray flour bits. You’re done! If you need ideas for easy main courses to go with this perfect sauce, check out my garlic herb chicken sheet pan recipe!
Make-Ahead Turkey Gravy Recipe Storage and Reheating
This is where the stress actually melts away! Since this is an amazing make ahead gravy recipe, you absolutely need to know how to store it without turning it into a solid brick of flavor. When you finish making your gravy, the biggest mistake people make is trying to cool it down too fast, which encourages bacteria growth. Don’t do that!
Let the gravy cool down on the counter for about 30 minutes first. After that, slide it into an airtight container. You can keep it safe in the refrigerator for up to three days. Trust me, that’s usually long enough for us to finish off the leftovers!
If you’re planning way ahead, maybe for a big holiday or you just like to batch cook, this freezes like a dream! Pop it in a freezer-safe container—maybe one of those reusable silicone bags like the ones I use for freezer burritos—and it should stay delicious for up to three months. Just make sure you leave a little headspace at the top because liquids sometimes expand when they freeze, and we don’t want busted containers!
Reheating is just as easy as storing, but you must be patient. Never blast cold gravy in the microwave hoping it will fix itself! Take the container out and let it thaw a bit on the counter. Then, transfer the cold gravy to a saucepan over medium-low heat. Whisk constantly. If it seems way too thick—and it probably will, gravy firms up when cold—just whisk in a splash of warm turkey stock or even just plain water until that gorgeous, smooth texture returns. It thickens as it heats, so add liquid sparingly!
Serving Suggestions for Your Thanksgiving Gravy Sauce
Okay, the turkey gravy is perfect. It’s smooth, it’s rich, and now we need to talk about what glorious things deserve to swim in this pool of savory goodness! Seriously, once you have a sauce this good, you start putting it on everything. It stops being just a topping and becomes one of the main players on the plate.
For the big holiday table, this sauce elevates every classic side dish into something heavenly. Forget that thin, watery stuff Grandma used to pour out—this version demands attention. It transforms mashed potatoes from a simple side into a creamy cloud you just have to dip into.
Best Pairings for Your Holiday Feast Gravy
When I serve this thanksgiving gravy sauce, I always put a gravy boat right next to the potatoes and the stuffing. Everyone needs a generous pour. Mashed potatoes are the obvious choice, but you absolutely have to try it over:
- Slices of roast turkey (of course!)
- Stuffing or dressing—especially ones without much liquid already in them.
- Roasted root vegetables like parsnips or carrots. I sometimes toss roasted Brussels sprouts in a light coating just before serving!
- Even biscuits! I made a batch last month, and pouring this over hot, fresh biscuits made the most incredible snack. It’s almost a meal in itself. If you want to see a wild way I repurposed this, check out my Biscuits and Gravy Casserole idea.
If you are looking for a truly fantastic best side dish gravy experience, make sure you keep your side dishes warm, but not swimming. You want the gravy applied just before serving so the moisture doesn’t turn your crispy edges soggy!
Tips for Foolproof Gravy for Beginners
Even though this recipe is designed to be super-reliable, sometimes kitchen gremlins try to creep in. Since you’re making this beautiful turkey gravy for a special meal, I wanted to pull out the best troubleshooting advice straight from my notes section. Think of this as your emergency handbook so that even if something seems off, you’ll know exactly how to fix it fast. The goal is always that satisfying, smooth result, especially for those of you just starting out with sauce-making!
This is truly my advice for foolproof gravy for beginners—don’t sweat the small stuff, just follow these tweaks!
First, let’s tackle that cooling issue if you’ve made it ahead of time, as mentioned in the storage section. If your cold gravy is so thick you can stand a spoon in it, don’t panic and add tons of liquid right away. That’s normal! I always place the cold block of gravy into the saucepan and add just a tiny splash of warm stock to start. Heat it slowly over the lowest setting, whisking constantly. As it melts, you can judge the thickness much better than trying to loosen a frozen brick.
If you decided to go darker with your roux because you really wanted that deep color (which is totally awesome, by the way), remember that a darker roux means less thickening power. If you cooked your roux until it was deep brown, you might find your gravy just isn’t thick enough after simmering.
- The Fix for Under-Thick Gravy: If it’s still too thin after simmering for 10 minutes, don’t reach for cornstarch unless you absolutely must! Instead, melt an extra tablespoon of butter (or turkey fat) in a tiny, separate bowl, whisk in an extra tablespoon of flour to make a mini-roux, and then whisk that mixture into your simmering gravy. Cook for another minute or two, and you should see it thicken beautifully.
- The Secret Flavor Boost: If your gravy tastes rich but maybe a little… dull? That’s when you pull out the flavor enhancers. I always keep Worcestershire sauce handy. Adding just one teaspoon near the end, once you’ve seasoned with salt and pepper, gives it a savory background note that makes everyone ask, “What did you put in this?” It really deepens the flavor profile.
Remember, baking is chemistry, but gravy is forgiving! Don’t hesitate to taste often. You can always add what you need, but you can’t easily take it away. You can find some general kitchen wisdom on my About Us page, which covers how I approach cooking in general!
Frequently Asked Questions About Perfect Turkey Gravy
When you’ve got a table full of hungry people waiting, the last thing you want is to stare down a weird sauce consistency. I get so many questions about fixing things last minute, so let’s squash any potential turkey gravy problems right now. You’ve got this, and these simple fixes mean a perfect holiday meal!
How do I fix turkey gravy that is too thin or too thick?
This is the most common issue! If your gravy is too thin, the answer is usually patience. Just turn the heat up just a hair and let it simmer longer while you whisk occasionally. The evaporation will thicken it up naturally. If it’s still too thin after 10 minutes of simmering, you can make a very small slurry—mix one teaspoon of flour into two teaspoons of cold water until smooth, then whisk that into the simmering gravy. If your gravy is too thick, that’s easy! Just whisk in a little warm turkey stock or even just warm water, tablespoon by tablespoon, until it starts flowing nicely again.
Can I use chicken stock instead of turkey stock for this turkey gravy?
Oh yes, you absolutely can! Honestly, if you have good quality chicken stock on hand, it makes a wonderful turkey gravy substitute. The main difference is that the chicken stock is going to give you a slightly milder flavor profile. Using turkey stock is always my preference because it echoes the flavor of your roast bird perfectly, but chicken stock works in a pinch for a truly delicious, rich sauce!
What makes this savory turkey topping so rich?
What makes this savory turkey topping sing is the combination of fat quality and the roux we build right at the start. We use either pure turkey fat skimmed from the pan or good quality butter. That fat perfectly coats the flour when we create the roux, which traps all the flavor. If you were lucky enough to have skimmed half a cup of delicious drippings, whisking those in at the end seals the deal. It’s that combination that gives it deep, roasted flavor!
If you have other questions, feel free to reach out anytime through my contact page!
Nutritional Estimates for Your Savory Turkey Topping
Now, I know when we’re talking about holiday feasts and rich, comforting sauces like this turkey gravy, we aren’t exactly whipping out the nutritional charts. We’re focused on flavor supreme! But, since I promised you all the details on this recipe, here’s a quick rundown of what you’re generally looking at per half-cup serving.
This data is based on the standard ingredients listed—remember, this is an estimate! Why? Because if you use pure turkey fat versus butter, or if your stock is slightly saltier, those numbers shift a little bit. I always advise people to focus more on the rich flavor and less on counting calories when it comes to the most important sauce of the year!
For reference, here are the general estimates for half a cup of this savory turkey topping:
- Serving Size: 1/2 cup
- Calories: 180
- Fat: 14g
- Saturated Fat: 5g
- Carbohydrates: 8g
- Protein: 4g
- Sodium: 350mg
If you are watching your sodium, this is why I stress using low-sodium stock and holding off on adding salt until the very end. That 350mg figure can creep up fast if you aren’t careful about your broth choice! As always, for full details on how I handle recipes regarding dietary information, please read my official site disclaimer!
Share Your Holiday Feast Gravy Success
Well, that’s it! We’ve covered the roux, the simmering times, and the make-ahead magic. Now, I desperately want to hear about your results! You now hold the secret to the creamiest, most deeply flavored turkey gravy you’ve ever made at home.
Did you try the straining trick? Did you manage to make it smooth on the first go? Tell me everything! I love seeing pictures of everyone’s holiday tables featuring this sauce. Once you nail this recipe, it becomes your go-to comfort food sauce for every dinner, not just the big holidays. It truly is the ultimate classic roast turkey accompaniment.
If you try this recipe, please come back and drop a rating below! Your feedback helps other cooks know they can trust this recipe when their own holiday feast—or just Tuesday dinner—is on the line. Don’t forget to let me know what you poured it over! Maybe you even tried it on something crazy, like my pumpkin dump cake leftovers (kidding… mostly!). Happy cooking, everyone!
PrintFoolproof Make-Ahead Turkey Gravy Recipe

A reliable recipe for rich, smooth turkey gravy that works well using pan drippings or plain turkey stock, perfect for holidays or quick meals.
- Prep Time: 10 min
- Cook Time: 20 min
- Total Time: 30 min
- Yield: 4 servings
- Category: Side Dish
- Method: Stovetop
- Cuisine: American
- Diet: Vegetarian
Ingredients
- 1/2 cup turkey fat or unsalted butter
- 1/2 cup all-purpose flour
- 4 cups turkey stock (low sodium preferred)
- 1/2 cup reserved turkey pan drippings (optional, for richer flavor)
- 1 teaspoon salt (or to taste)
- 1/2 teaspoon black pepper (freshly ground preferred)
- 1/4 teaspoon dried sage (optional)
Instructions
- If using pan drippings, skim the fat from the roasting pan and measure out 1/2 cup. If you do not have drippings, use 1/2 cup of turkey fat or unsalted butter.
- In a large saucepan over medium heat, melt the fat or butter.
- Whisk in the flour to create a roux. Cook this mixture, stirring constantly, for 2 to 3 minutes until it smells slightly nutty and turns a light tan color. Do not let it brown deeply.
- Slowly pour in the turkey stock while continuously whisking to prevent lumps.
- If using pan drippings, whisk them in now.
- Bring the mixture to a simmer, still whisking occasionally. Reduce the heat to low and let it cook for 5 to 10 minutes, or until the gravy thickens enough to coat the back of a spoon.
- Stir in the salt, pepper, and dried sage, if using. Taste and adjust seasonings.
- For the smoothest texture, strain the gravy through a fine-mesh sieve before serving.
- To make ahead, cool the gravy completely, then store it in an airtight container in the refrigerator for up to 3 days or freeze for up to 3 months. Reheat gently on the stovetop, whisking in a splash of stock or water if it becomes too thick.
Notes
- To avoid lumps when reheating, place the cold gravy in a saucepan and heat slowly over medium-low heat, whisking constantly until smooth before adding extra liquid.
- If you prefer a darker gravy, cook the roux for an additional 2 minutes until it reaches a deeper brown color.
- For extra savory flavor, add 1 teaspoon of Worcestershire sauce during the final seasoning step.
Nutrition
- Serving Size: 1/2 cup
- Calories: 180
- Sugar: 1
- Sodium: 350
- Fat: 14
- Saturated Fat: 5
- Unsaturated Fat: 7
- Trans Fat: 0
- Carbohydrates: 8
- Fiber: 0
- Protein: 4
- Cholesterol: 15