

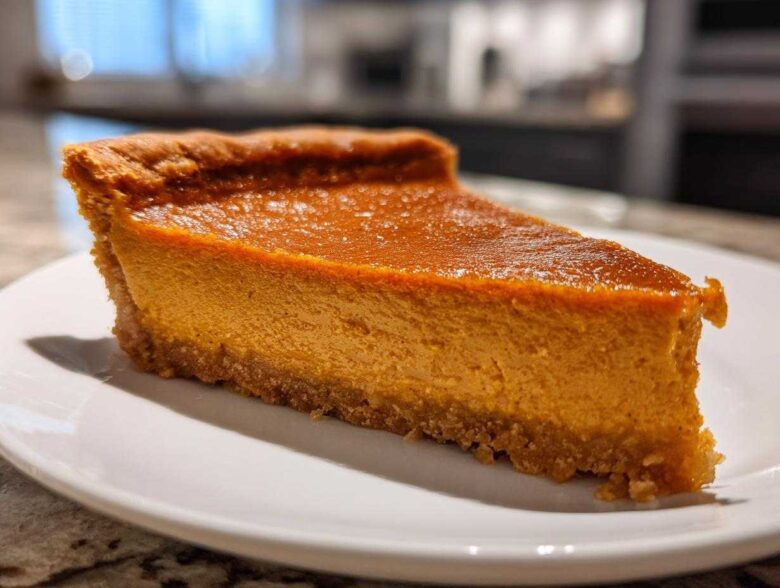
Ah, October hits and suddenly, the whole kitchen smells like cinnamon and that deep, earthy scent of fresh pumpkin—that’s my favorite kind of chill in the air! When it comes to the holidays, nothing really lands until that pie comes out of the oven. I’ve tweaked and tested dozens of variations over the years, trying to beat my mom’s version, but trust me when I say I finally cracked the code. This classic pumpkin pie recipe is the one you need. It’s absolutely foolproof, guaranteeing that perfectly creamy filling and a crust that actually stays flaky, even under the weight of all that spiced goodness. This isn’t just pie; it’s the taste of home.
I remember one Thanksgiving when my first batch looked more like scrambled eggs than custard. Disaster! Since then, I’ve figured out the precise temperature dance needed to keep things smooth. You can read all about my journey to pie perfection over at our About Us page, but for now, let’s get baking. This recipe is the result of years of trial and error, ensuring your holiday table gets the absolute best.
Why This Classic Pumpkin Pie Recipe is Your Thanksgiving Pie Must Have
I know you’ve tried recipes that promise the world but deliver a cracked, watery mess. That’s exactly why this version has become my go-to—it’s truly the best ever pumpkin pie. We are aiming for reliability here! This is a genuinely foolproof pie recipe because we tackle the main enemies of custard pies head-on: overbaking and cracking.
When you follow the two-stage baking method I lay out next, you essentially teach the filling to set gently rather than shocking it into submission. That’s the secret to a pie that looks as good as it tastes. You can find more of my holiday favorites over on my Fall Baking Recipes page.
Achieving That Velvety Pumpkin Pie Texture
Listen, the secret to that luxurious, smooth mouthfeel we all dream about—that perfect velvety pumpkin pie—isn’t just the puree. It’s the liquid balance! We use evaporated milk instead of heavy cream most times. Why? Evaporated milk is less fatty than cream, which actually helps prevent the custard from curdling under high heat. Also, pay attention to those two eggs. They are the binding structure. They must be lightly beaten—don’t whip air into them! Too much air invites bubbles, bubbles invite cracks. Simple science, big results!
Simple Pumpkin Pie Ingredients for Your Classic Pumpkin Pie Recipe
Okay, here is the easy part! One of the best things about this classic pumpkin pie recipe is that it uses pantry staples. You don’t need a specialized shopping trip for this traditional treat. I often grab ingredients for this while I’m prepping things like my pumpkin spice overnight oats because they use similar fall flavors. We are keeping it simple, relying on good technique rather than exotic items. I’ve listed out exactly what you need below to get that perfect spiced filling. Don’t worry if you think you only have a few minutes; prep time flies when the spices are calling your name!
- 1 (9 inch) unbaked flaky pie crust
- 1 (15 ounce) can pumpkin puree
- 1 (12 ounce) can evaporated milk
- 3/4 cup granulated sugar
- 1 teaspoon ground cinnamon
- 1/2 teaspoon ground ginger
- 1/4 teaspoon ground nutmeg
- 1/4 teaspoon ground cloves
- 1/2 teaspoon salt
- 2 large eggs, lightly beaten
Ingredient Notes and Substitutions for a Traditional Pumpkin Pie
Since this is meant to capture that old fashioned pumpkin pie feeling, spice quality matters! If your cinnamon jar is ancient and dusty, grab a new one. Fresh spices make a huge difference in how vibrant your pie tastes. Also, I know some people insist on pumpkin puree from scratch, which is lovely! If you use fresh puree, you might need an extra splash of evaporated milk since freshly roasted pumpkin can sometimes absorb more liquid than the canned stuff.
If you are trying to make this feel extra special and less like a quick fix, by all means, go for a homemade flaky pie crust. But hey, sometimes we just need a super easy holiday pie recipe, and store-bought works great here!
How to Prepare Your Foolproof Classic Pumpkin Pie Recipe Instructions
Alright, time to whip up this amazing, creamy pie! Getting the temperature right is the backbone of this classic pumpkin pie recipe. Remember that earlier failure I mentioned? It was because I didn’t respect the heat change! Baking at a high temperature first sets the crust and the outer edge of the filling quickly. Then, dropping the heat gently cooks the center custard without scrambling it or causing that awful crack across the top. This technique is everything for a beautiful final product! You can see my guide to muffing batter separation over here, which shares a similar philosophy on gentle heat application. Cinnamon streusel coffee cake muffins are tender because we treat them right, just like this pie!
Step-by-Step Guide for the Classic Pumpkin Pie Recipe
First things first, get that oven preheated to 425 degrees Fahrenheit and get your 9-inch unbaked crust settled onto a baking sheet for stability. Mix everything—puree, milk, sugar, and spices—until it’s smooth as silk! Then, whisk in those two eggs *just* until they disappear. Seriously, do not overmix the filling! Pour that glorious mixture into your crust.
Bake hard for exactly 15 minutes at 425°F. Then, without opening the oven door if you can help it, drop the heat right down to 350°F and bake for another 35 to 40 minutes. When you test it, you want a knife to come out clean. Most importantly, let it cool completely! Cooling slowly on a rack is the trick that prevents surface tension cracks.
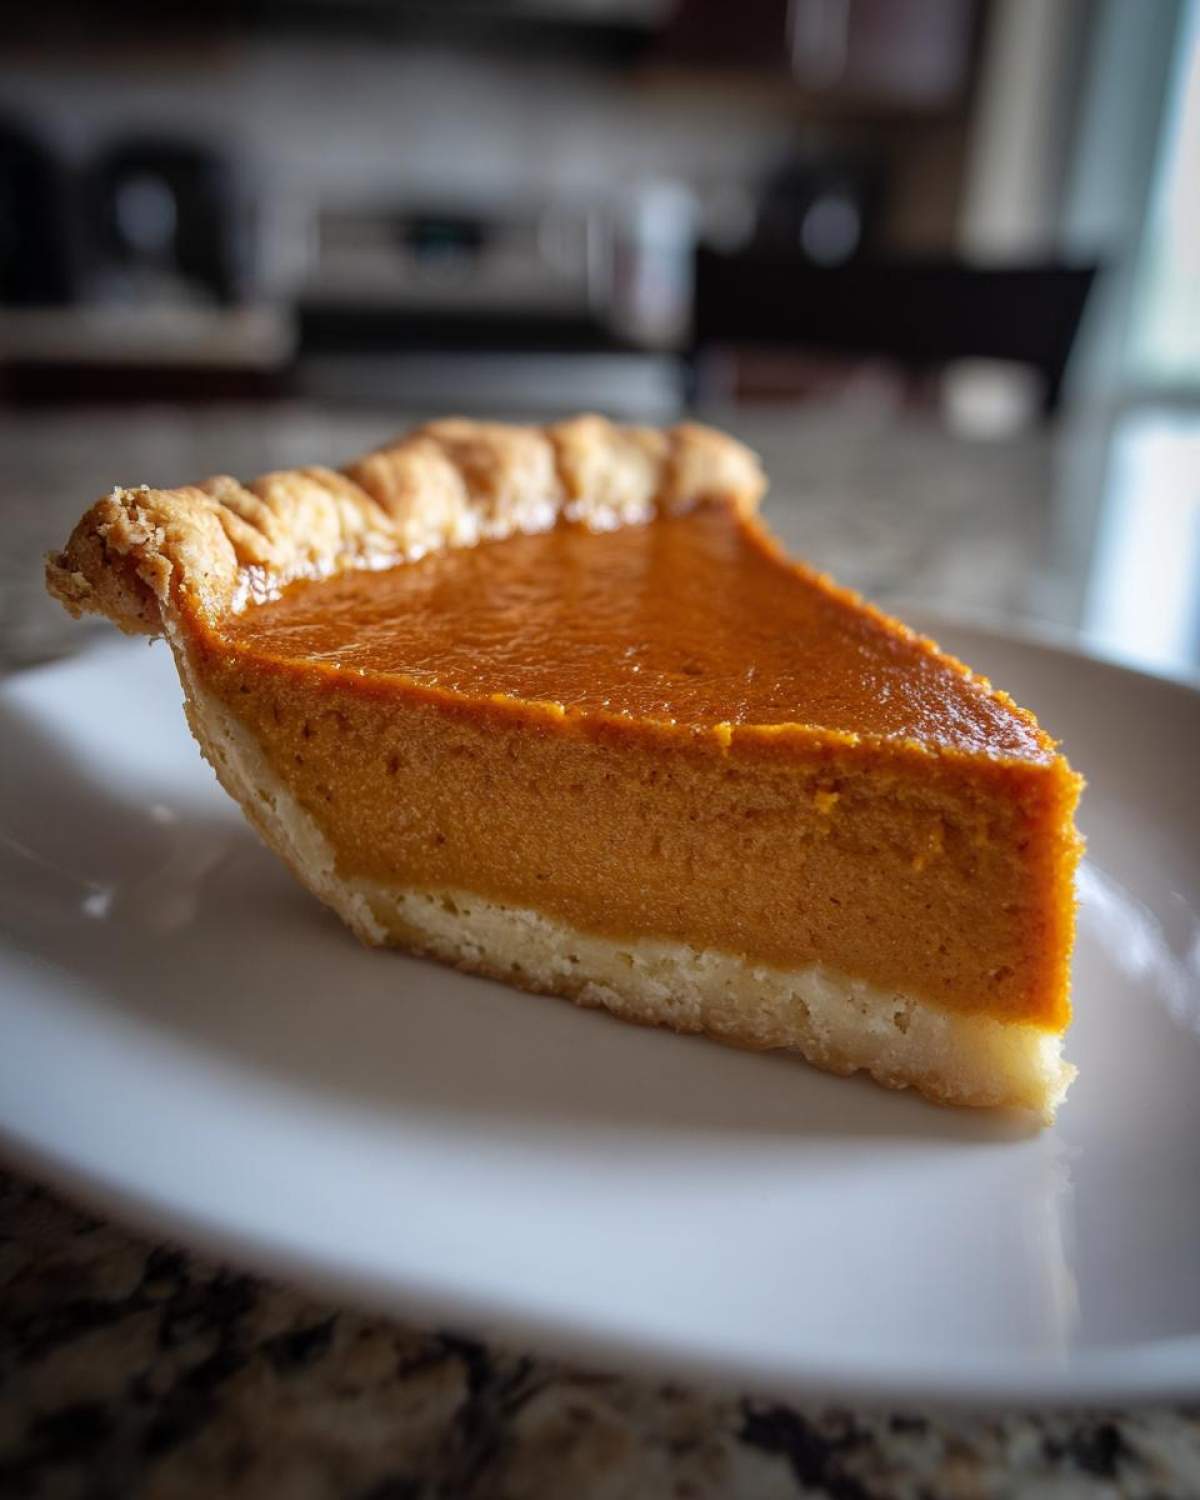
Tips for a Flaky Pie Crust and Perfect Spiced Pumpkin Pie Edges
If you notice your crust edges are browning too quickly—and they often do because they cook faster than the center custard—pull out that aluminum foil! Tear off strips and loosely tent the edges about halfway through the lower baking time. This shields them without steaming the pie.
For doneness, don’t rely only on the knife test! Gently shake the baking sheet when you think it’s ready. If the very center has a slight, almost imperceptible wobble—like thick jelly—it’s done! It will firm up beautifully as it cools down. Trust this jiggle test; it seals the deal for a perfect set every time.
Making Your Homemade Thanksgiving Dessert From Scratch
Even though this recipe relies on that reliable canned pumpkin puree—which, let’s be honest, is the foundation of most traditional pumpkin pie—we absolutely have to talk about making the crust from scratch if you want to call this a true homemade Thanksgiving dessert.
The flavor difference between a store-bought shell and a cold-butter homemade one is night and day! That flaky, slightly salty snap against the sweet, creamy filling? That’s what takes this from being just a dessert to being the memory-maker of the meal.
If you need a jump start on that crust, I’ve got you covered over on my guide for the Classic Pumpkin Bread, where I detail my favorite all-butter pie dough technique. Seriously, wrapping this amazing filling in homemade pastry makes all the difference!
Storage and Reheating Instructions for Your Classic Pumpkin Pie Recipe
Now that you’ve made this amazing dessert, keeping it perfect is vital! The best news about this classic pumpkin pie recipe is that the filling sets up beautifully in the fridge. You absolutely must cool the pie completely on the counter first—give it at least two hours before it even thinks about going into the cold.
Once cool, cover the pie loosely with plastic wrap, making sure not to let the wrap touch the surface of the creamy filling if you can help it, or it might stick! It keeps wonderfully in the refrigerator for up to four days. Honestly, I think the flavor gets even better on day two. If you really must reheat a slice, just a quick zap in the microwave—maybe 15 seconds—works wonders to bring back that warm spice aroma, but most of us just eat it cold!
Frequently Asked Questions About This Easy Holiday Pie Recipe
I get so many questions every year about making sure this goes perfectly, especially from first-time holiday bakers. It’s all about small tweaks, really! Don’t stress about fancy equipment; we are focusing on making this an incredibly easy holiday pie recipe that looks and tastes professional!
Can I use fresh pumpkin instead of canned for this traditional pumpkin pie?
Yes, you absolutely can! If you want that true homemade feel, roasting and pureeing your own pumpkin is wonderful. Just know that fresh puree is often wetter than the standard canned stuff. If you make your own, I highly recommend roasting it until it’s slightly drier than you think it should be. If your puree seems very watery when you mix the filling, start by only using about 3/4 of the evaporated milk and only add more if the batter seems too stiff. This helps keep that creamy pumpkin filling just right!
How do I know when the pie is truly done without opening the oven constantly?
Oh, the eternal question of custard pies! You have to trust the jiggle test we talked about. When you pull the oven rack out slightly and gently shake it, the edges should look shiny and set, but there should still be a very small, almost liquid-like ripple happening right in the absolute center. If you stick a knife in and it’s wet batter, obviously it needs more time. But if the knife comes out 100% dry, you’ve baked it too long! The residual heat will firm up that wobble as it cools, giving you that gorgeous texture, not a cracked desert top.
Can I make this ahead of time for my Thanksgiving dessert?
Definitely! This is a fantastic make-ahead dessert. I usually bake it completely the day before Thanksgiving. Once it’s cooled fully on the counter (this part is non-negotiable!), cover it and pop it in the fridge. It tastes divine slightly chilled the next day. If you need to speak to me about other baking emergencies, you know where to find me on the Contact page! It truly is the best comfort dessert baking staple.
Troubleshooting Common Issues with Custard Pies
Most issues boil down to two things, and surprise—they are related to heat! If your filling is weeping (releasing liquid) or it cracked, it almost always means it was taken out too late or cooled too fast. To prevent cracking next time, make sure you follow that two-stage temperature drop, and then let that pie cool slowly on the counter for hours before chilling. Don’t rush it! A rapid temperature change creates tension, and that tension shows up as cracks.
Estimated Nutritional Data for This Classic Pumpkin Pie Recipe
I always feel like I should start this section with a giant disclaimer, because let’s face it, when you are baking holiday magic, nobody is counting calories! But since you asked, here is the estimated breakdown for one slice of this pie based on the ingredients listed. Remember, these numbers are just guidelines.
If you use a store-bought crust versus my flaky homemade version mentioned earlier, or if you decide to sneak a little extra sugar in there (I won’t tell!), these numbers are going to shift. This data is based on yielding 8 generous servings, which is what I usually cut. For the full disclaimer on how I calculate these estimates, pop over to the disclaimer page.
- Serving Size: 1 slice
- Calories: 300
- Sugar: 28g
- Sodium: 250mg
- Fat: 14g
- Carbohydrates: 38g
- Protein: 7g
See? Not terrible for a slice of pure, spiced comfort dessert baking goodness! It’s important to know what you’re working with, even when it’s this delicious. Enjoy it guilt-free!
Share Your Perfect Spiced Pumpkin Pie Experience
Now that you’ve got the secrets to making this truly fail-proof, I absolutely want to hear about it! Did you manage that perfect spiced pumpkin pie without a single crack? How did your family react to that deep, traditional flavor?
Please come back and leave a star rating—it helps other bakers know this recipe is the real deal. And if you snapped a picture of your beautiful final pie, share it! I love seeing your creations on social media (don’t forget to tag me!). Head over to the main blog page to see what everyone else is baking this season!
PrintThe Ultimate Classic Homemade Pumpkin Pie
Follow these steps to make a traditional, creamy pumpkin pie with a perfectly spiced filling and a flaky crust. This is a foolproof recipe for a classic holiday dessert.
- Prep Time: 15 min
- Cook Time: 50 min
- Total Time: 65 min
- Yield: 8 servings
- Category: Dessert
- Method: Baking
- Cuisine: American
- Diet: Vegetarian
Ingredients
- 1 (9 inch) unbaked flaky pie crust
- 1 (15 ounce) can pumpkin puree
- 1 (12 ounce) can evaporated milk
- 3/4 cup granulated sugar
- 1 teaspoon ground cinnamon
- 1/2 teaspoon ground ginger
- 1/4 teaspoon ground nutmeg
- 1/4 teaspoon ground cloves
- 1/2 teaspoon salt
- 2 large eggs, lightly beaten
Instructions
- Preheat your oven to 425 degrees Fahrenheit. Place the pie crust on a baking sheet.
- In a large bowl, mix the pumpkin puree, evaporated milk, sugar, cinnamon, ginger, nutmeg, cloves, and salt. Stir until the mixture is smooth.
- Whisk the lightly beaten eggs into the pumpkin mixture until just combined. Do not overmix the filling.
- Pour the filling into the unbaked pie crust.
- Bake at 425 degrees Fahrenheit for 15 minutes.
- Reduce the oven temperature to 350 degrees Fahrenheit. Continue baking for 35 to 40 minutes, or until a knife inserted near the center comes out clean.
- Cool the pie completely on a wire rack before slicing. This helps prevent cracks in the filling.
- Serve chilled or at room temperature.
Notes
- For a richer flavor, use a homemade pie crust instead of store-bought.
- To prevent the crust edges from burning, cover them loosely with aluminum foil halfway through the baking time.
- If you notice the filling jiggling slightly in the very center when you gently shake the pan, the pie is done. It will set as it cools.
Nutrition
- Serving Size: 1 slice
- Calories: 300
- Sugar: 28
- Sodium: 250
- Fat: 14
- Saturated Fat: 5
- Unsaturated Fat: 9
- Trans Fat: 0
- Carbohydrates: 38
- Fiber: 2
- Protein: 7
- Cholesterol: 65