

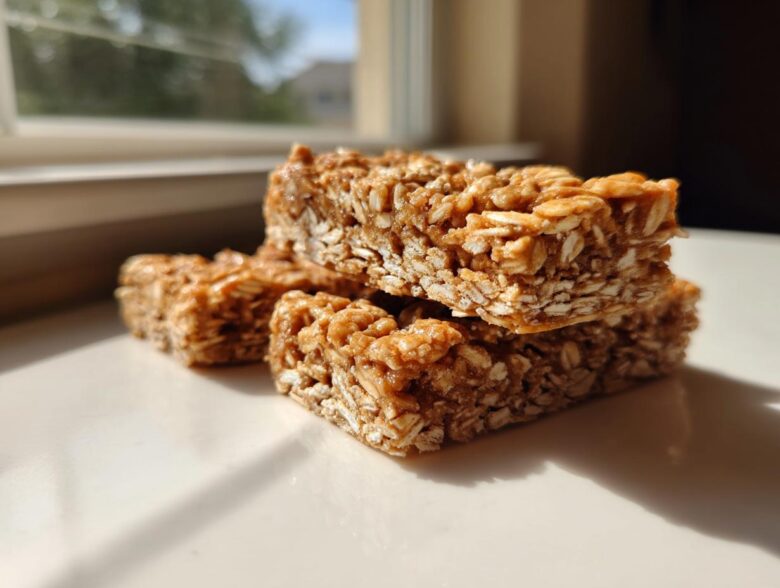
If you feel like you’re constantly chasing a healthy, quick snack that actually tastes good, I totally get it. Before Noah and I really committed to our kitchen project, I relied on those chalky, overly-processed bars from the grocery store. They were convenient, but wow, they were disappointing. So, I knew we needed a better system. That’s why I dedicated an entire afternoon to stress-testing this blueprint: our **Easy 5-Ingredient No-Bake Peanut Butter Protein Bars**. Trust me, these are the homemade **protein bars** that finally made me toss the commercial boxes. I, Lena, the Chief of Operations, obsessed over this ultra-simple recipe to ensure maximum flavor without any cooking required!
Ready to see how easy **protein bars** can be? Check out our full story on why we started building our empire one recipe at a time over at our About Us page, but first, let’s get mixing!
Why These Are the Best Homemade Protein Bars You Will Ever Make
Seriously, these are the **best homemade protein bars** you’ll find, and I don’t say that lightly! The secret is stripping everything away. We’re talking five ingredients. That’s it. No oven, no weird additives, and absolutely no chalkiness allowed in my kitchen! If you’ve ever been burned by a store-bought bar that tasted like dense cardboard, these are your remedy. I was so tired of that texture; I needed something reliably **chewy protein bars** that genuinely tasted like peanut butter treats. This recipe is my operational solution to on-the-go snacking perfection.
These bars taste so much better than the expensive ones we used to grab at the checkout line before we really focused on optimizing our routines. If you loved our blueprint for high-protein cottage cheese eggs, you’ll love how simple this holds up for even quicker **high protein snacks**!
Quick Prep Time for Easy Protein Bars
This is where these shine! We’re clocking in at about 10 minutes of actual hands-on work. That’s faster than brewing a pot of coffee! Because this recipe is so fast, it jumps to the top of my list when Noah runs out of his usual pre-workout fuel. If you need genuinely **quick protein snacks**, knowing you can whip up a week’s worth of fuel in less time than it takes to run to the store is a huge win for your schedule.
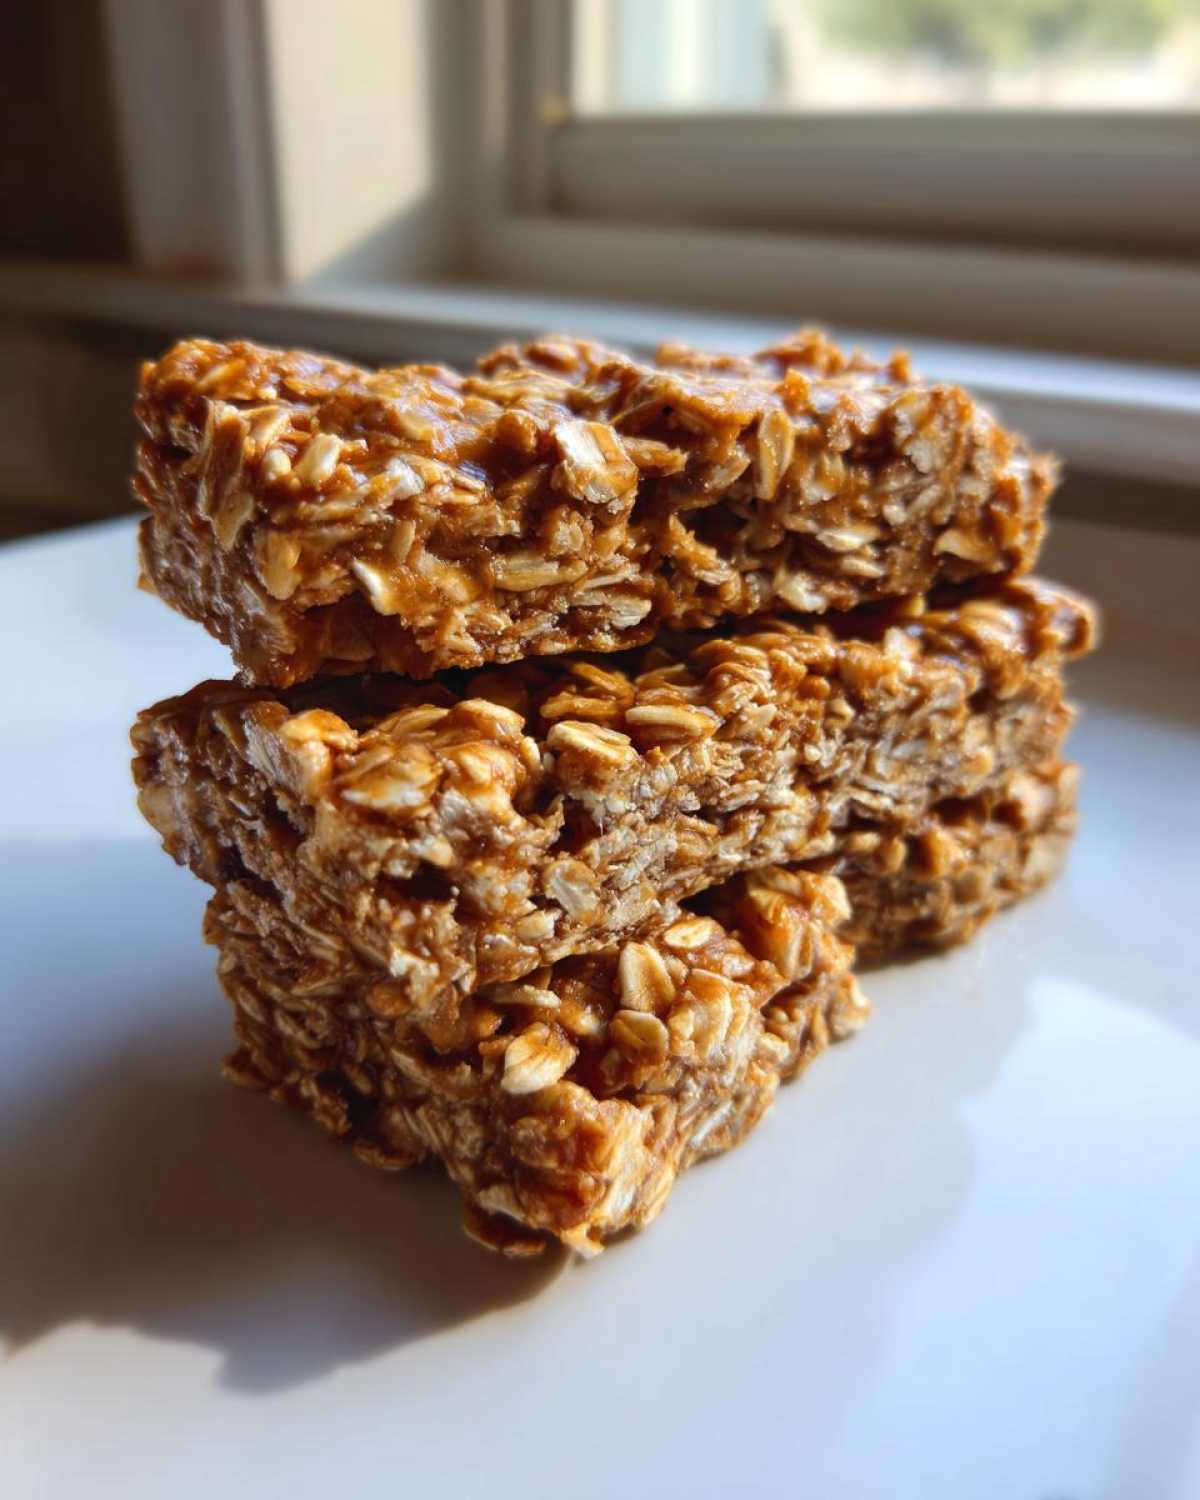
Blueprint for Perfect No Bake Protein Bars: Ingredients List
Getting the measurements right is essential when you’re working with powders and sticky binders! This blueprint for **protein bars** keeps things unbelievably simple—only five things stand between you and amazing fuel. Since Noah is obsessed with quality control, I make sure to always use natural peanut butter where the oil hasn’t separated too much. For real performance here, treat these quantities like gold; they’ve been tested for the perfect binding! If you love this kind of rich, sticky binding, you absolutely must check out our recipe for peanut butter rice krispie treats!
Here is exactly what you need for the base bars:
- 1 cup vanilla or unflavored protein powder
- 1 cup rolled oats
- 1/2 cup natural peanut butter
- 1/4 cup honey or maple syrup
- 1/4 cup milk (dairy or non-dairy)
We’ve gotten some questions about sourcing these ingredients. Because we aren’t baking anything, the oats should be standard rolled oats, not the quick-cooking kind, which can make the texture too mushy. We’re aiming for that satisfying density!
Ingredient Notes and Substitutions for Your Protein Bars
This is where you can customize your **no bake protein bars** while keeping the core structure intact. If you need this recipe to be completely vegan, just make sure you swap that honey for maple syrup—both work perfectly well as the binder here. If you have a nut allergy, sunflower seed butter is a decent swap for the peanut butter, but know that texture might feel slightly grainier, so watch your milk measurement!
If you’re trying to keep things lower in sugar, you can absolutely use a zero-calorie sweetener, but you might need to dial back the milk slightly because some sugar substitutes don’t bind quite the same way pure syrups do. Always mix slowly when substituting; that’s my Chief of Operations rule!
Operational Steps: How to Make These High Protein Snacks
Okay, putting this blueprint into action is the fun (and easy) part! Since there’s no cooking, we’re relying entirely on the right ratios and pressing technique to get those perfect **protein bars**. Don’t rush the setup; Noah can attest that the parchment paper overhang is key for lifting the whole slab out later. It saves so much cleanup stress!
- First things first: grab an 8×8 inch pan and line it with parchment paper. I leave about two inches hanging over the sides—this is your handle for later!
- In your biggest mixing bowl, combine the dry elements first: your protein powder and the rolled oats. Give those a good whisk so everything is evenly distributed before we introduce the sticky stuff.
- Now, add the heavy hitters: the peanut butter and your sweetener (honey or maple syrup).
- Time for the liquid. Slowly pour in the milk while you start mixing everything together. You need to work it until you have a thick, uniform dough. If you notice it looks crumbly or dry, add milk just a teaspoon at a time until it pulls together into one cohesive ball.
If you want another super easy, high-flavor snack that requires zero heat, you should check out my guide for easy 4-ingredient cheese crackers. But stick with me—we’re almost done with these bars!
Mixing the Dough for Chewy Protein Bars
Listen carefully on this step, because it determines if you have chewy **protein bars** or a crumbly mess! When you add that final little bit of milk, you have to stop mixing the second it all comes together into a dough. If you overmix once the liquid is in, you’re going to develop the oats too much, and they won’t hold their form when you cut them. If you see a tiny streak of dry mix left, that’s fine! It will get incorporated when you press it into the pan, trust me. We’re aiming for sticky but manageable, like thick cookie dough before baking.
Pressing and Chilling Your Homemade Protein Bars
This is the step where we create structural integrity! Scoop that dough into your lined pan and start pressing it down. You can use the back of a spatula, but I prefer using my hands (clean ones, of course!). You must press *firmly* and evenly across the entire surface. If you press hard enough, you eliminate those air gaps that lead to crumbling later on. Once it’s tightly compacted, cover it up! These **homemade protein bars** need a solid commitment to the fridge—a minimum of two hours. Don’t cheat this chilling time! If you try to cut them early, they just deflate and stick everywhere.
Tips for Perfect Peanut Butter Protein Bars Every Time
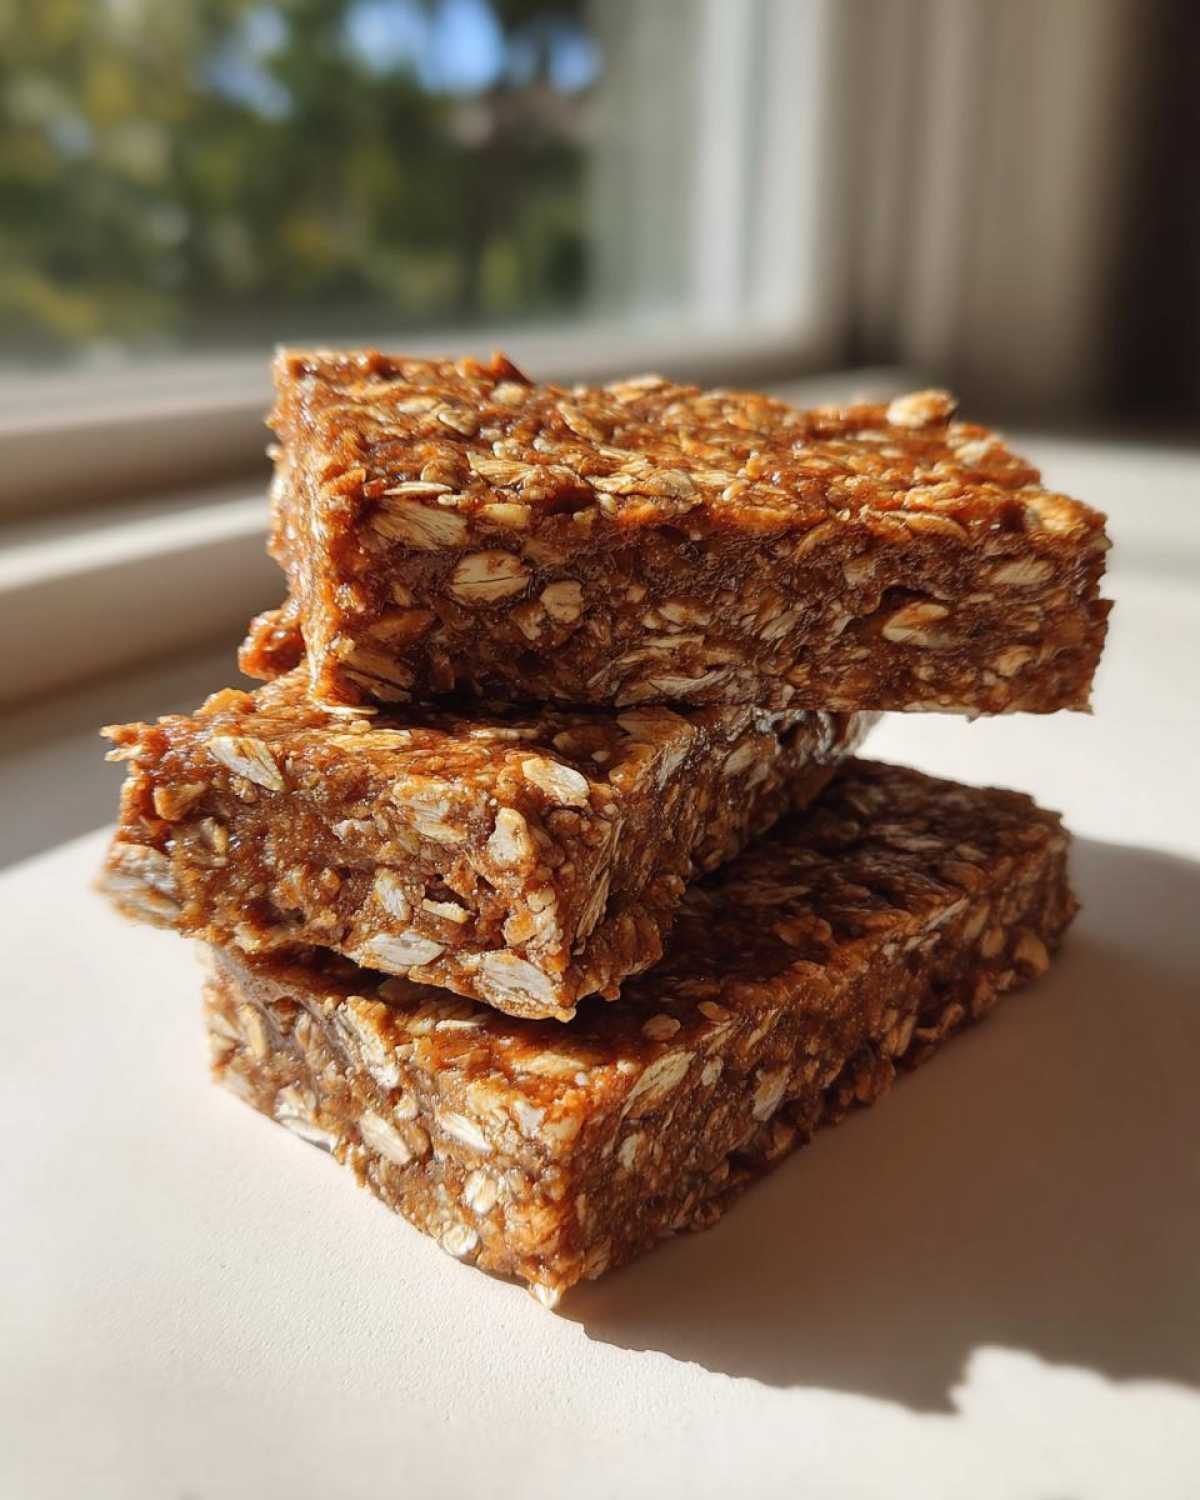
Since this is a no-bake situation, our tips are all about texture and clean removal! You already learned about using that parchment overhang, which is non-negotiable for me, but let’s talk chewiness. It’s all in that combination of peanut butter and the liquid; if the mixture feels too stiff *before* it hits the pan, you risk hard bars instead of soft, **chewy protein bars**. If that happens next time, just warm your 1/4 cup of milk for about 10 seconds in the microwave before adding it in!
And for a real visual upgrade—especially if these are for a special occasion—you have to try my little trick from the recipe notes. Once these **peanut butter protein bars** are totally firm from the fridge, melt about a half cup of dark chocolate chips with a tiny teaspoon of coconut oil. A little oil makes it smooth and shiny. Then, just drizzle it quickly right across the top before you do your final cuts. It makes them look store-bought fancy, but they are totally homemade!
If you’re looking for another simple, sticky recipe that turns out amazing every time, you should look at how I make easy homemade marshmallows—it uses a similar commitment to precision that you see here.
Making Ahead and Storing Your Protein Bars for Meal Prep
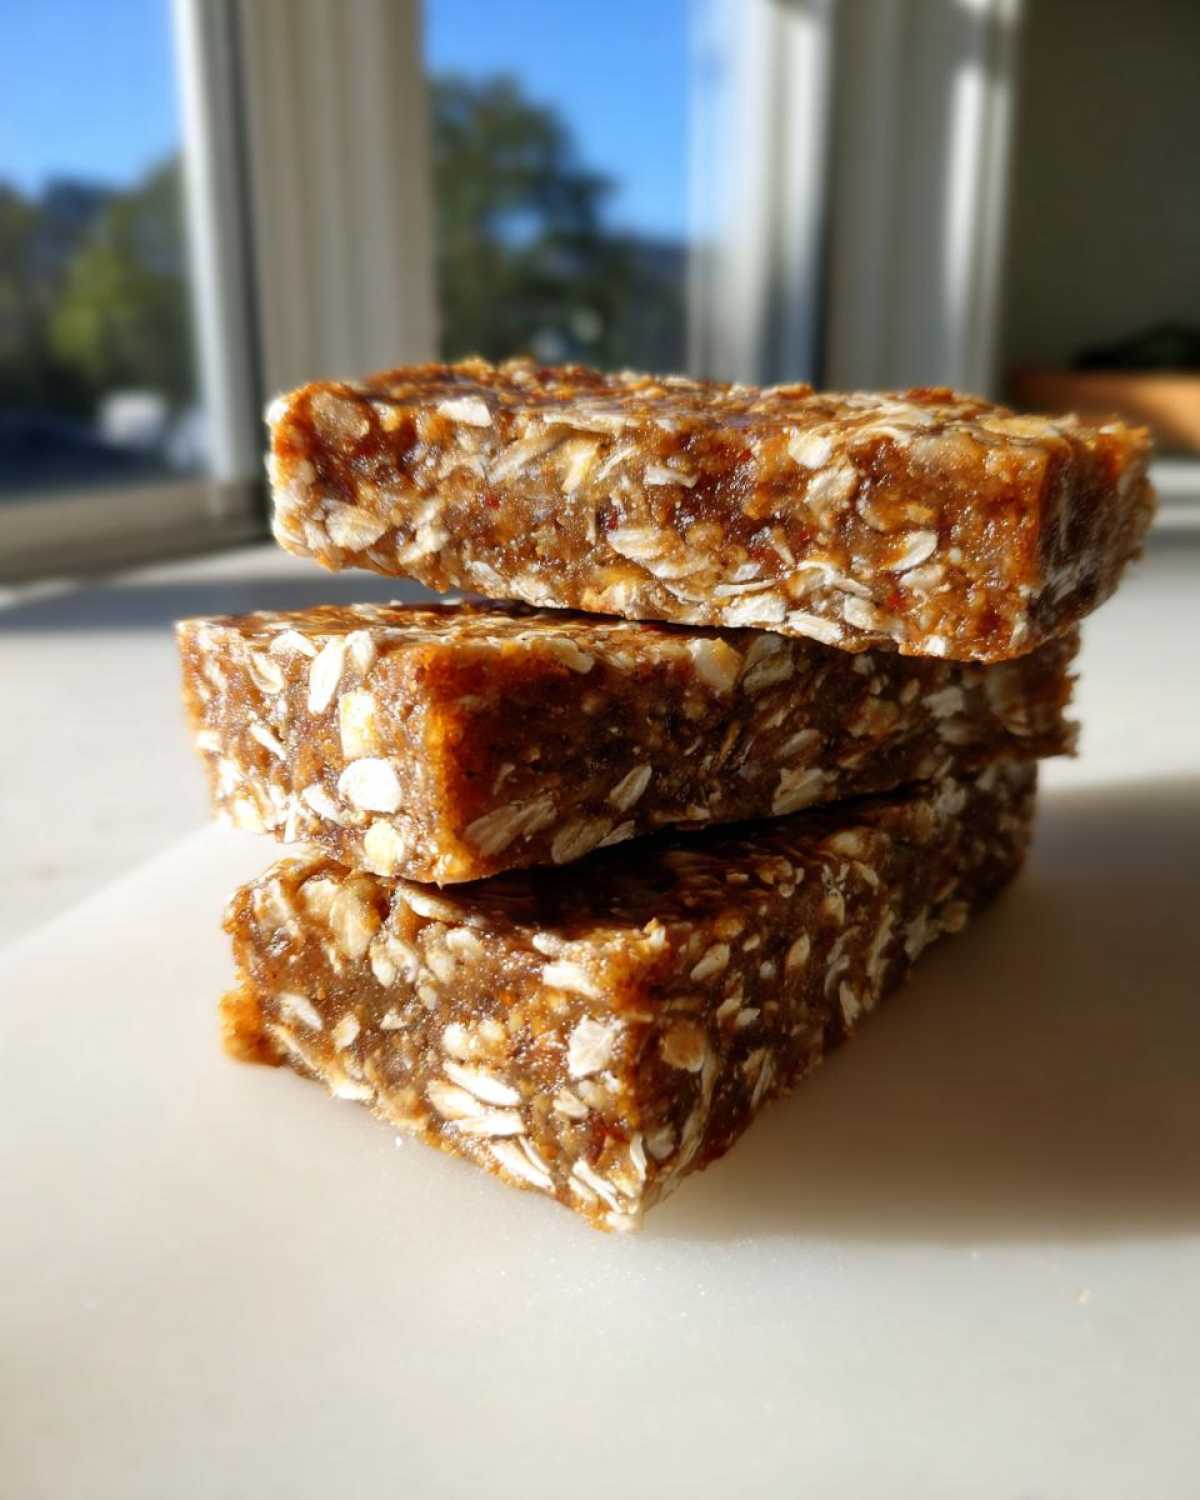
The whole point of making **protein bars** here at Epicure Empire is convenience, right? That’s why these are fantastic for meal prep! Once you’ve cut them, you need to store them in an airtight container. I keep mine in the fridge because that cold temperature is what locks in that perfect, chewy structure, preventing them from getting too soft or sticky at room temperature.
If you store them properly, these **meal prep bars** stay perfectly good for up to a full week! That means you can spend 15 minutes on Sunday and have healthy snacks ready for your entire busy week. If you’re prepping other things ahead of time, these fit right in with our egg muffin make-ahead breakfast blueprint!
Serving Suggestions for These Healthy Snack Bars
Honestly, I eat these **healthy snack bars** morning, noon, and night, but they truly shine in a few key moments. Post-workout recovery is a prime spot because they hit that protein requirement fast. If I need a quick breakfast that I can grab while packing Noah’s lunch, one of these with a hot black coffee does the trick perfectly!
Because they are so rich with peanut butter and optional chocolate drizzle, they satisfy that dessert craving without any guilt. For an extra treat, try heating one up for about 15 seconds—it makes the chocolate gooey and the whole bar taste like a fresh cookie. It pairs wonderfully with the kind of fuel we prep in our high-protein chili meal prep for dinner!
Frequently Asked Questions About Protein Bars
When Noah and I first started testing these basic blueprints, we had a million questions too! It’s smart to verify the details before you start mixing. Here are the things people always ask me about these easy homemade **protein bars**.
Can I make these vegan protein bars?
Absolutely, yes! We talk about this substitution above, but it’s worth repeating because it’s so easy. If you want **vegan protein bars**, the only thing you need to change is swapping the honey for maple syrup. Both liquids bind beautifully, but maple syrup keeps everything plant-based. Just be sure your protein powder is plant-based too, of course!
Why are my homemade protein bars crumbly?
This usually happens for one of two reasons, and it drives me crazy when it happens! First, you might have used quick oats instead of rolled oats, which don’t absorb the wet ingredients the same way. Second, and this is more common, you didn’t press the mix firmly enough into the pan. Remember, since there’s no baking, that physical pressure is what locks everything together. You need to compact it tightly!
How much protein is in these protein bars?
Based on standard scoop sizes for protein powder, each bar should clock in right around 15 grams of protein. They are designed to be substantial, filling **high protein snacks** that really keep you going until your next meal. Since everyone uses different brands of powder, just double-check your packaging, but 15g is a very reliable estimate for this recipe!
Can I use almond butter instead of peanut butter?
Yes, you can definitely work with almond butter here. We love the classic flavor of peanut butter, but almond butter is a fantastic swap for variety. If you’re looking for a nut-free version, sunflower seed butter works too. For more tips on tailoring our recipes to your pantry, check out our guide on making creamy avocado egg salad—we cover lots of ingredient swaps there!
Estimated Nutritional Profile for These Protein Bars
We always aim for transparency here at Epicure Empire. When Noah runs the numbers on these blueprints, he tries to keep things balanced, but since everyone uses different brands of protein powder or different types of milk, these figures should really be seen as a helpful starting point.
Based on the standard five-ingredient recipe for these **protein bars** (using unsweetened non-dairy milk and standard vanilla whey protein powder), here is the breakdown per bar (assuming 10 servings):
- Calories: 220
- Protein: 15g
- Carbohydrates: 22g
- Fat: 11g
- Sugar: 8g
This really tells you why these make such excellent **high protein snacks**, right? A solid 15 grams without leaning too heavy on the sugar! Please remember this is just an estimate, though. If you swap out peanut butter for almond butter or use different sweeteners, those numbers definitely shift around. For official tracking or dietary requirements, always refer to the nutrition labels of the specific products you use in your batch. We keep a more detailed breakdown of why we track nutrition over on our site disclaimer page, just so you know the full picture of how we calculate these things!
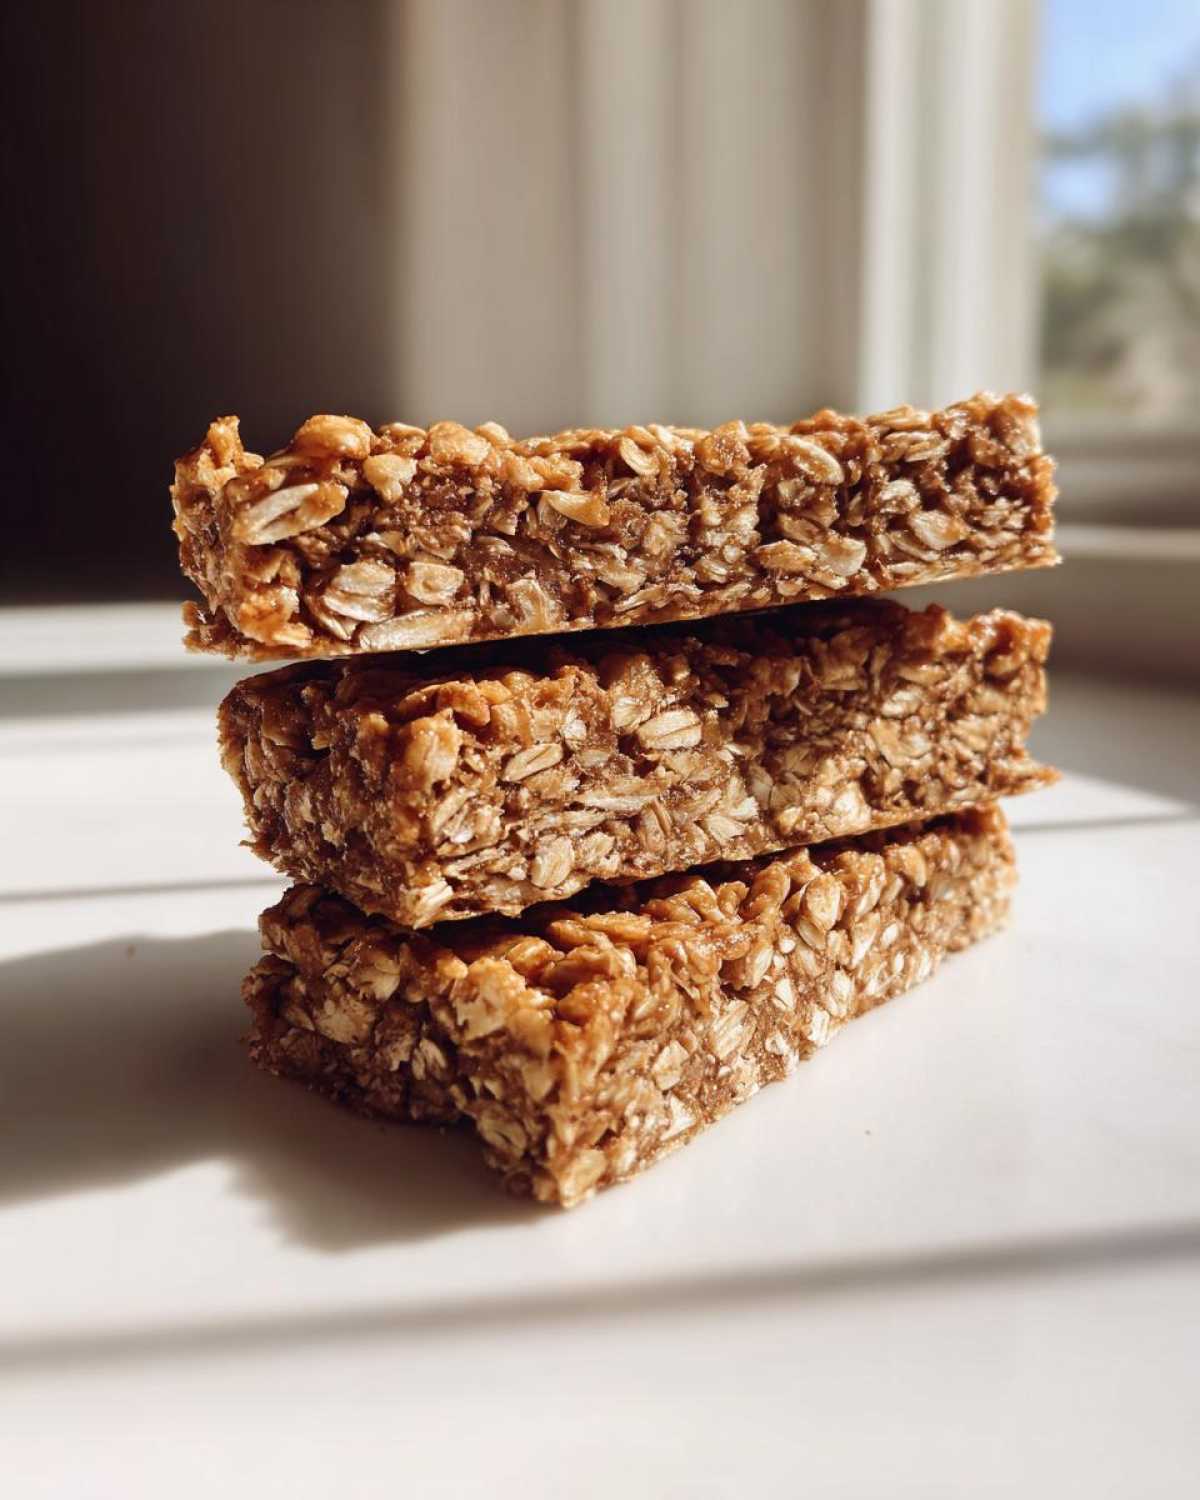
Share Your Homemade Protein Bars Success
Alright, team, that’s the blueprint executed! Now I genuinely want to see what you built. Seriously, that’s my favorite part of running this empire—seeing how my operational plans turn into delicious reality for you all. Did you use the chocolate drizzle? Did you find a perfect swap for the peanut butter? Don’t keep those victories secret!
If you followed along and these **easy protein bars** became your new go-to fuel, please do me a huge favor and pop back here to leave a five-star rating. Those ratings tell us which blueprints we nailed and which ones need further strategy sessions!
I also absolutely encourage you to snap a photo of your chilled, perfectly cut bars and tag us on social media. Seriously, seeing those photos is what makes all the testing worthwhile. If you run into any issues, or you just want to chat about flavor combinations, don’t hesitate to reach out to us directly through the contact page. Happy snacking, and thank you for building something delicious with us!
PrintEasy 5-Ingredient No-Bake Peanut Butter Protein Bars
Make these simple, chewy, no-bake protein bars at home. They use just five ingredients and are perfect for quick meal prep or an on-the-go high protein snack.
- Prep Time: 10 min
- Cook Time: 0 min
- Total Time: 2 hr 10 min
- Yield: 10 servings
- Category: Snack
- Method: No-Bake
- Cuisine: American
- Diet: Vegetarian
Ingredients
- 1 cup vanilla or unflavored protein powder
- 1 cup rolled oats
- 1/2 cup natural peanut butter
- 1/4 cup honey or maple syrup
- 1/4 cup milk (dairy or non-dairy)
Instructions
- Line an 8×8 inch baking pan with parchment paper, leaving an overhang on the sides for easy removal.
- In a large mixing bowl, combine the protein powder and rolled oats. Mix them well to ensure even distribution.
- Add the peanut butter and honey (or maple syrup) to the dry ingredients.
- Pour in the milk slowly while mixing everything together. You need to mix until a thick, uniform dough forms. If the mixture seems too dry, add milk one teaspoon at a time until it comes together.
- Press the dough firmly and evenly into the prepared baking pan. Use the back of a spatula or your hands to compact it tightly.
- Cover the pan and place it in the refrigerator to chill for at least 2 hours, or until the bars are firm enough to cut.
- Once firm, use the parchment paper overhang to lift the block out of the pan. Cut the block into 10 to 12 equal bars.
- Store your homemade protein bars in an airtight container in the refrigerator for up to one week.
Notes
- For a chocolate topping, melt 1/2 cup of dark chocolate chips with 1 teaspoon of coconut oil and drizzle over the chilled bars before the final cut.
- You can substitute peanut butter with almond butter or sunflower seed butter for a different flavor profile.
- If you want a lower sugar option, use a sugar-free sweetener instead of honey, but you may need to adjust the liquid slightly.
Nutrition
- Serving Size: 1 bar
- Calories: 220
- Sugar: 8
- Sodium: 110
- Fat: 11
- Saturated Fat: 2
- Unsaturated Fat: 9
- Trans Fat: 0
- Carbohydrates: 22
- Fiber: 3
- Protein: 15
- Cholesterol: 5