

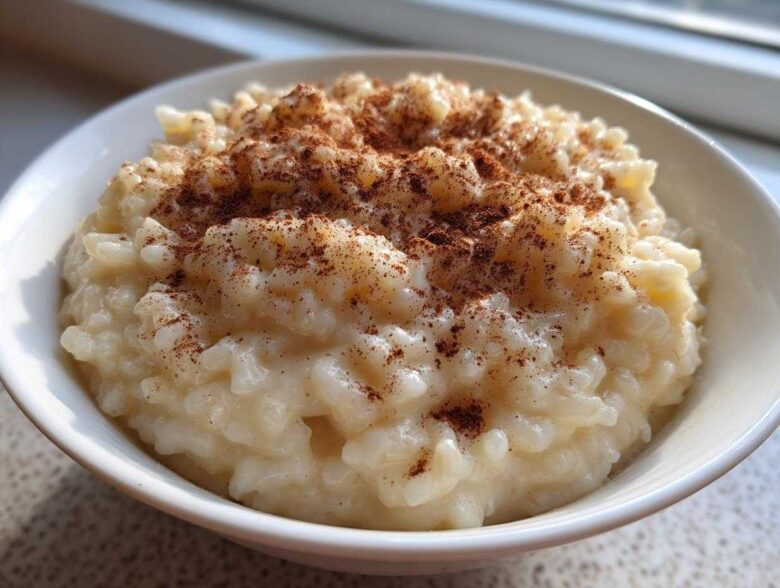
When Noah and I have had a tough week where the spreadsheets get too loud and the strategy meetings run too long, there’s only one thing that reliably brings us back to our own little Epicure Empire: comfort food. And honestly, nothing screams cozy, warm nostalgia like a perfect bowl of rice pudding. Forget those bland, gluey dishes you might have had years ago! I’ve perfected this recipe over dozens of attempts to make it the ultimate creamy, old-fashioned stovetop version that is surprisingly ready in under 45 minutes. This simple act of stirring the milk and rice together actually slows Noah and me down. It’s our favorite kind of project, and it guarantees absolute happiness in a bowl.
Why This Creamy Rice Pudding Recipe is Your Next Family Favorite Dessert
I’m telling you, this isn’t just another sweet dish; this has quickly become our true Family Favorite Dessert around here. When we talk about hitting all our targets—texture, flavor, and speed—this recipe scores every time. It just brings that wonderfully rich, warm feeling that only a truly great homemade dessert can offer.
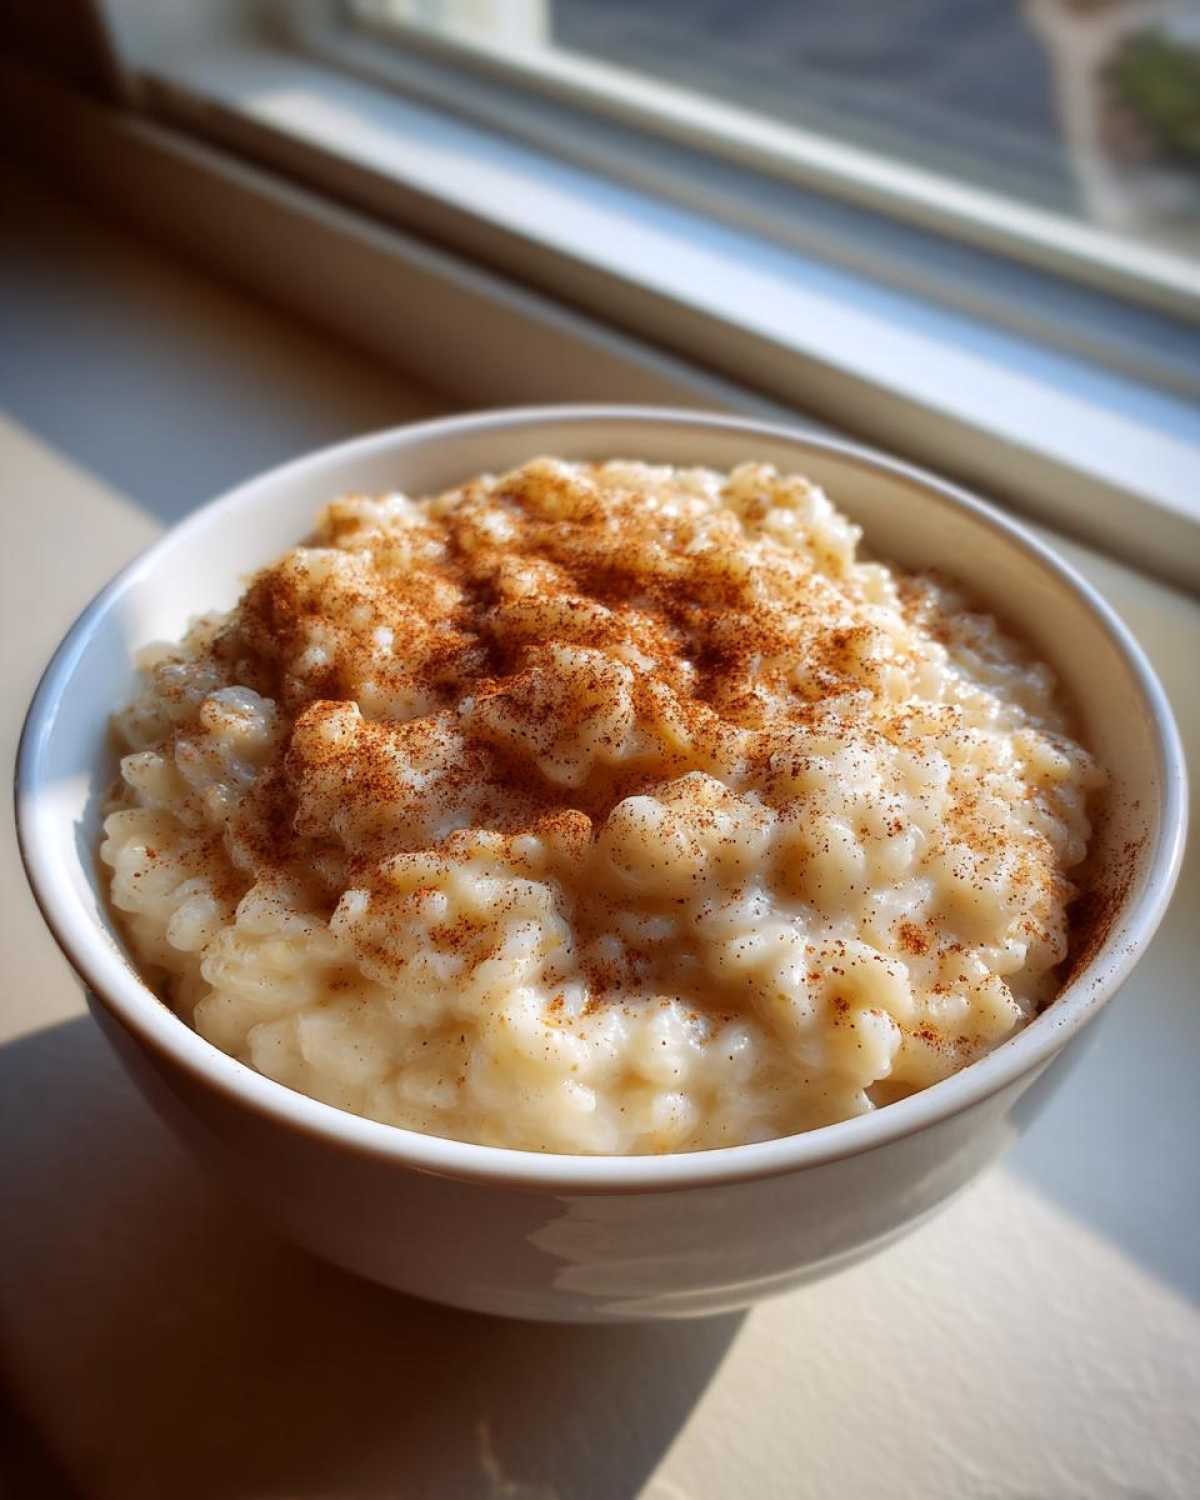
- It delivers that stunningly ultra-creamy texture you usually only find in Grandma’s kitchen.
- We keep that essential old-fashioned flavor profile intact—simple, pure, and comforting.
- The best part? It’s ready to eat in the time it takes to wrap up a meeting—under 45 minutes total time on the stove!
Achieving That Perfect Old Fashioned Rice Pudding Texture
The secret to making this perfectly creamy rice pudding isn’t complicated, but it demands the right grain. We always use short-grain rice, like Arborio if you have it, because those little plump kernels release just the right amount of starch as they cook down. That starch is what turns the milk into velvet! Then, you commit to that slow, gentle simmer—no rushing allowed—and you end up with tender grains swimming in the creamiest sauce imaginable. It’s simple science creating pure comfort.
Ingredients for the Best Old Fashioned Rice Pudding
As Chief of Operations here at Epicure Empire, I can assure you, the planning phase for this dessert is beautifully straightforward. We skipped the ten-ingredient requirement and hit a sweet spot right in the middle. What makes this old fashioned rice pudding so good is that we rely on quality staples—no weird thickening agents needed! When Noah and I mapped this out, we kept it simple because simple shines through when you treat your ingredients right.
Here is the baseline blueprint. Make sure you pick up the right rice, because that decision impacts the entire outcome!
- 1 cup short-grain white rice (Arborio works particularly well for us!)
- 4 cups whole milk (And yes, this needs to be whole milk for the richness, trust me.)
- 1/2 cup granulated sugar
- 1/4 teaspoon salt
- 1 teaspoon vanilla extract
- 1/2 teaspoon ground cinnamon (We use this in the cook, plus extra for sprinkling later!)
How to Make Stovetop Rice Pudding: Step-by-Step Instructions
Okay, this is where Noah’s strategic planning meets my operational execution! Making this creamy stovetop dessert is all about method. We are going to build that richness slowly. You start by combining your rice, whole milk, sugar, and salt right in a heavy-bottomed saucepan. That heavy bottom is non-negotiable—it’s our insurance plan against scorching, which is the enemy of good texture. You can research some of our initial attempts that ended up sticking right here: rice pudding recipe blueprint.
Next, we put it over medium heat. You must stir frequently at this stage. Remember, we want creamy, not crusted! Once you see it just starting to simmer gently, you need to lower that heat immediately. We are not boiling this aggressively; we are coaxing it along until those rice grains are soft and happy.
Simmering for Ultimate Creamy Rice Pudding
This is the main commitment phase of the whole plan, so pour yourself a cup of coffee! You need to keep the heat on low and continue stirring every few minutes for about 30 to 40 minutes. If you walk away too long, the bottom will stick, and you’ll lose that incredible texture we are aiming for in this rice pudding. Keep watching it; you’ll notice the pudding visibly thickening up. When it coats the back of your spoon nicely, you’re nearly done! Patience here guarantees that lush, creamy result.
Finishing Touches and Serving Suggestions
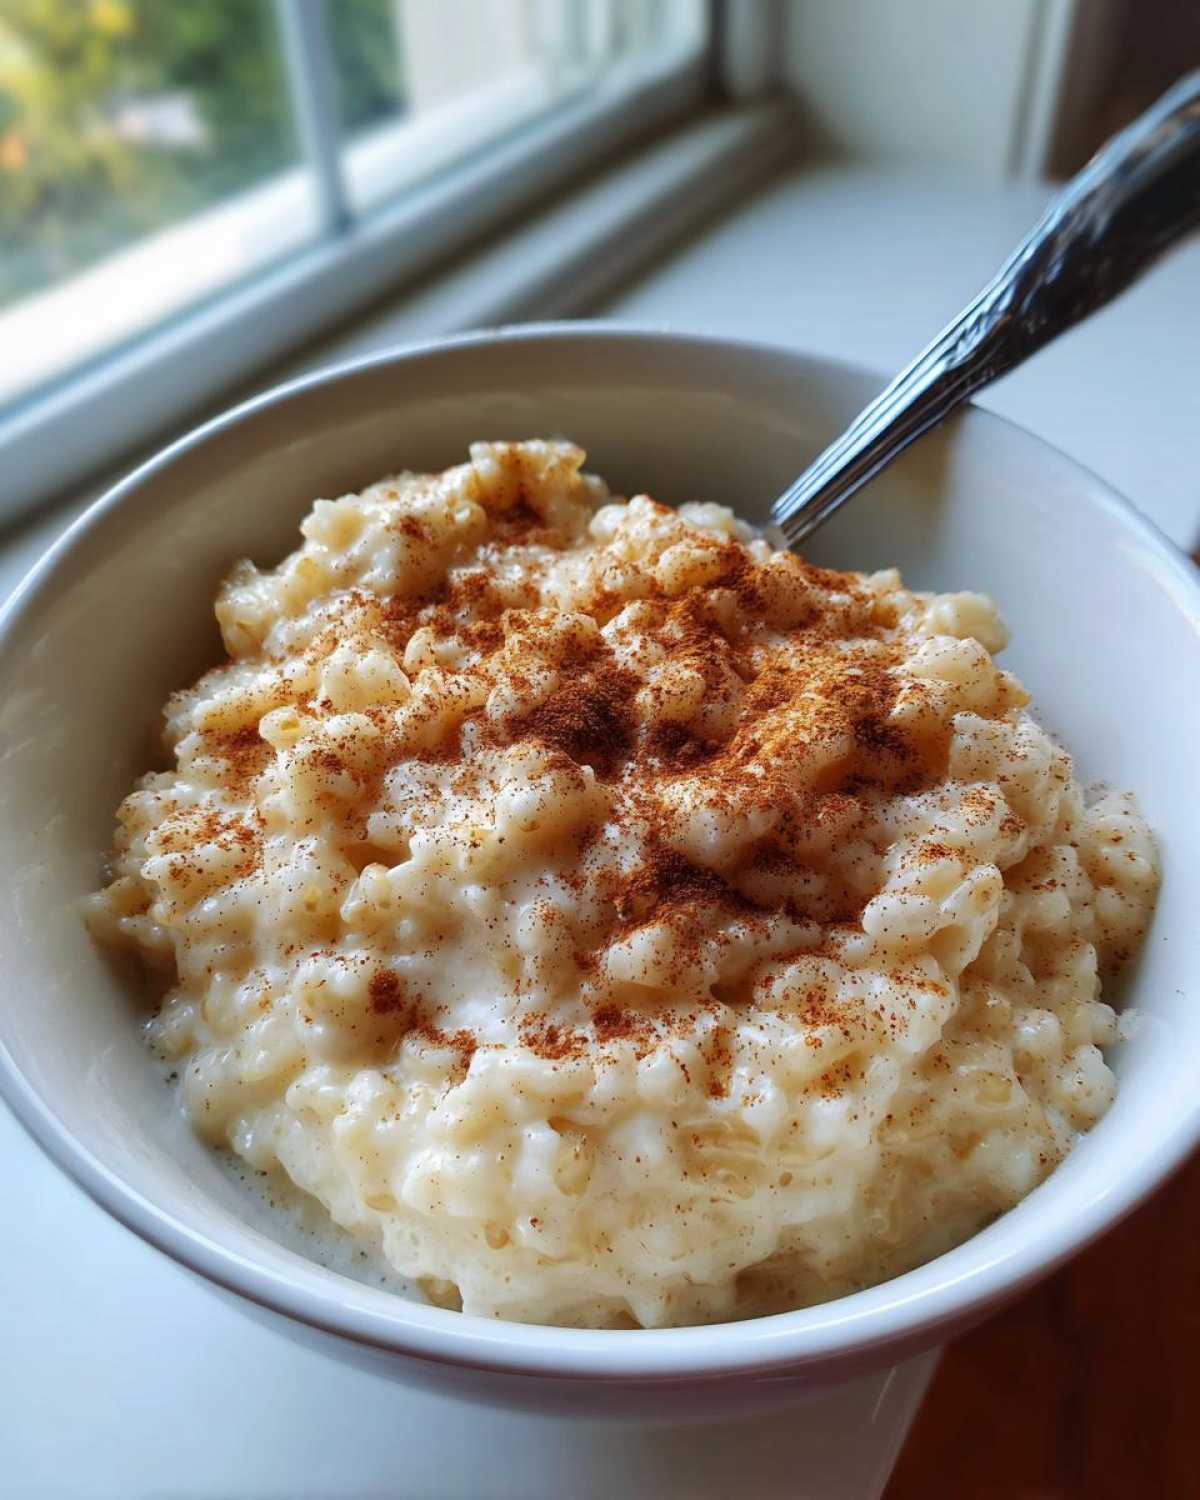
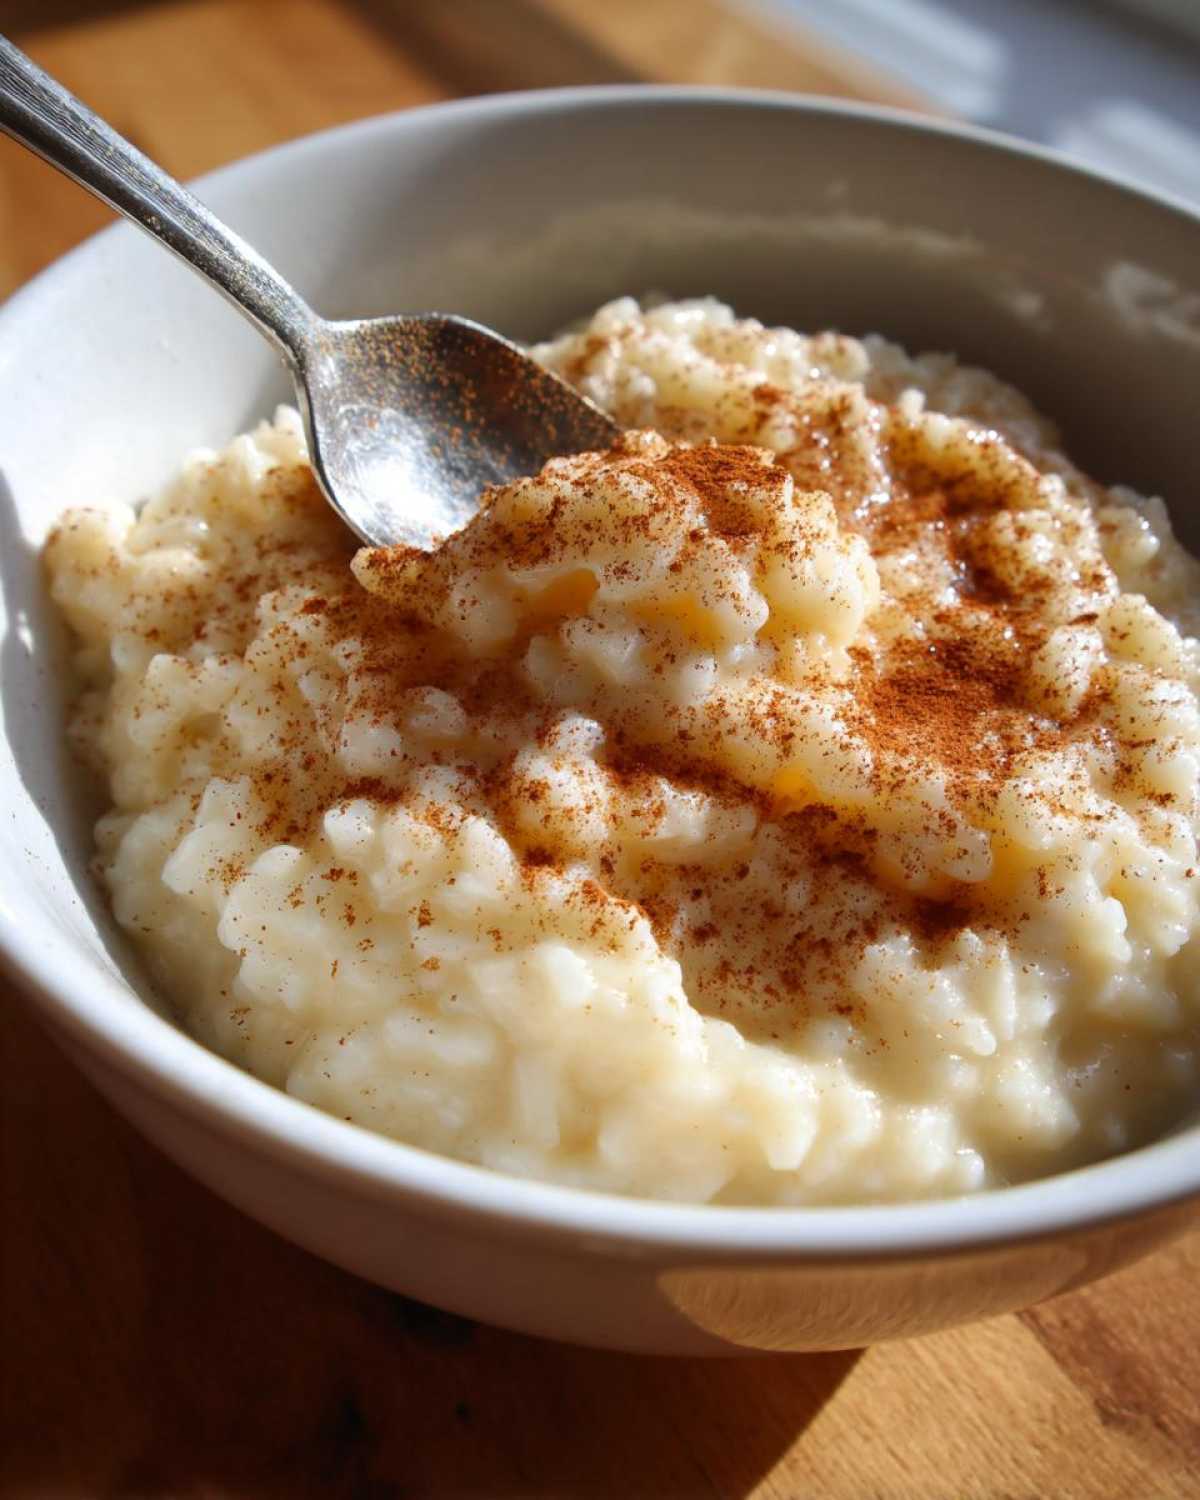
Once it looks perfectly thickened, pull that pan right off the heat. This is the moment for the good stuff! Stir in that beautiful vanilla extract. If you plan on chilling any of it later—which is totally delicious—you have to cover the surface directly with plastic wrap. This traps the steam and stops that awful rubbery skin from forming while it cools. This final touch really brings out that gorgeous Cinnamon Vanilla Pudding flavor profile beautifully, whether you serve it warm or cold later on.
Tips for Success: Mastering Your Homemade Pudding
Noah and I obsessed over these little details during our testing phase, because while the basic instructions are simple, the secrets to the *best* batch of rice pudding are the small adjustments. We keep a few cheat notes in the file, largely taken directly from the ‘Notes’ section of our official plan. If you follow these operational tips, you’ll never have a disappointing bowl again. For more on mastering your technique, check out our full guide on homemade pudding success!
Ingredient Substitutions for Rice Pudding
While I stand by whole milk for that essential richness—it’s worth the fat content, honestly!—we do have some flexibility here. If you want an even richer, almost decadent pudding, try swapping out half a cup of the whole milk for evaporated milk. It just amps up the richness factor nicely. Also, some people love raisins in their pudding! If you decide to add them, make sure you soak them in warm water first. This stops them from leeching moisture out of your lovely creamy pudding while it cooks.
Making Ahead Dessert and Storage for Your Rice Pudding
This is another area where this recipe shines; it’s a fantastic make ahead dessert! If you aren’t planning on serving it immediately, remember that crucial step of covering the surface directly with plastic wrap before it cools down. That keeps the texture perfect. You can safely store leftover rice pudding in an airtight container in the refrigerator for about three or four days. When you are ready to enjoy it again, you have a choice to make. You can serve it chilled straight from the fridge, where it will be much firmer, or you can reheat it gently on the stovetop over low heat, adding maybe a tiny splash of extra milk to bring back that lovely looseness.
Serving Suggestions for This Comfort Food Dessert
The best part about mastering this creamy stovetop treat is deciding how to serve your finished Comfort Food Dessert. Honestly, Noah and I like to keep it classic because the flavor is so pure, but I always keep a few different topping options ready just in case we have unexpected guests—which happens often around here!
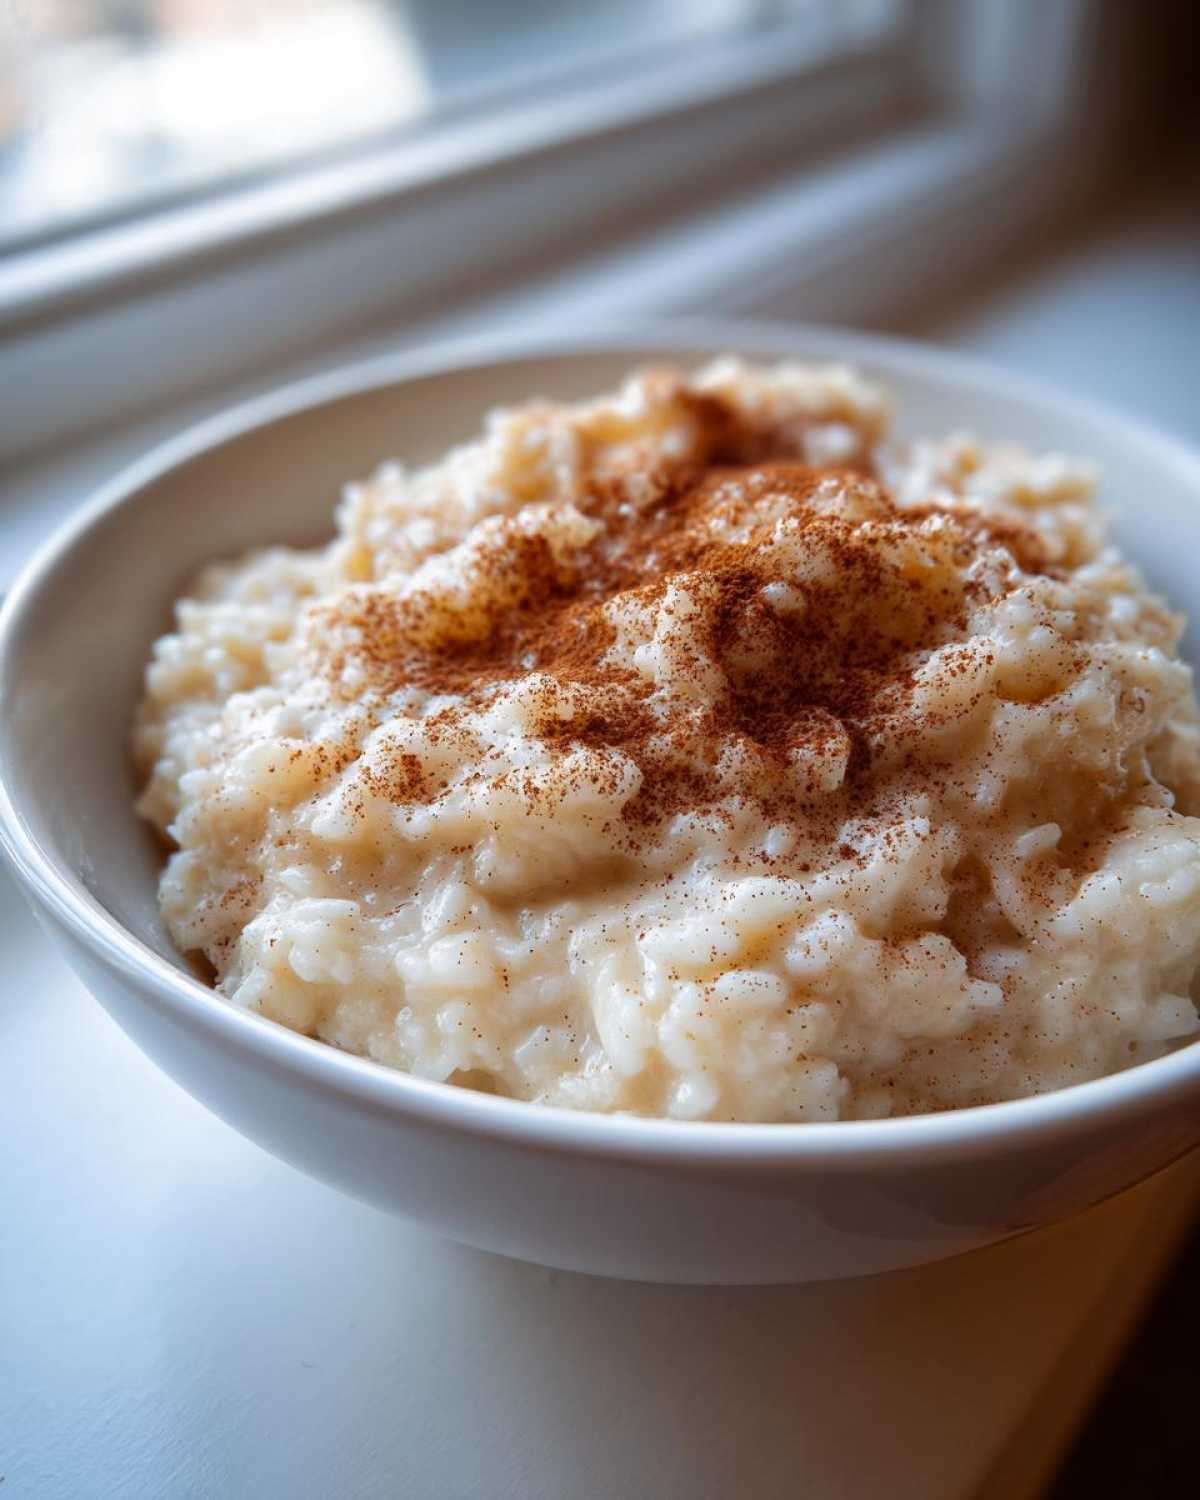
When we serve it warm right after it finishes simmering? That is peak cozy. It’s perfect alongside a strong, dark roast coffee, making for a super satisfying, simple weeknight indulgence. We just give it that extra dusting of ground cinnamon right before we hand the bowls over. It smells incredible, honestly!
But if we chill it down? That changes the whole game. Chilled pudding is firmer, almost like a delicate custard, and it begs for a totally different set of toppings. I highly recommend sprinkling toasted slivered almonds or a little drizzle of maple syrup on top for that extra textural crunch. It’s a fantastic, bright way to end a big dinner. You can find some of my favorite after-dinner finishing touches in our general guide to dessert plating!
Frequently Asked Questions About Easy Stovetop Rice Pudding
Whenever Noah and I wrap up a major project, we always have questions left over from the testing phase. I figured I’d address some of the biggest ones that come up regarding this Easy Stovetop Rice Pudding. Getting the texture just right is honestly what separates a good homemade pudding from a truly amazing one!
Can I use long-grain rice instead of short-grain for this rice pudding?
This is a crucial operational detail! I strongly suggest using short-grain rice, like Arborio—or even calling it the ‘risotto rice’ if you shop that way. Short grains are packed with starch, which is what dissolves into the milk as we gently simmer it, creating that wonderfully thick, creamy rice pudding recipe texture. If you only have long-grain rice, it will work, but you must cook it much longer, and it will never achieve that same velvety mouthfeel because it releases less starch. It’s doable, but it won’t be quite as nostalgic!
How do I prevent a skin from forming on my stovetop rice pudding?
Oh, the dreaded pudding skin! It’s the ultimate signal that you didn’t manage the cooling phase correctly. If you plan on chilling any leftovers (and you should, as it makes a great make ahead dessert!), you need this trick: once you pull the pot off the heat, take a piece of plastic wrap and press it directly onto the surface of the pudding. I mean, make sure it’s touching the surface everywhere—no air space allowed! This traps the moisture right where it needs to be and stops that dry, rubbery film from ever developing. It’s a quick trick that makes a huge difference!
If you’re looking for other highly-rated takes on this classic comfort food, you can check out what other folks recommend over at one of my favorite recipe clearinghouses: The BEST Rice Pudding Recipe.
Nutritional Estimates for Your Creamy Rice Pudding Recipe
Okay, so Noah is obsessed with the details—he says every good plan needs clear metrics, even our cozy desserts! Now, before you get too worried, this is a rich, classic, old-fashioned treat made with whole milk, so these numbers reflect that comforting reality. I always want to be transparent about what goes into our meals here at Epicure Empire.
The following nutritional breakdown is an estimate based on the ingredients listed above, assuming four equal servings. Remember, this is just a guideline, not a strict mandate! It’s a sweet indulgence, so enjoy it!
- Serving Size: About 1 cup
- Calories: Roughly 350 calories
- Total Fat: Around 8g (4g of that is saturated fat from the whole milk, which is what gives us that amazing richness!)
- Carbohydrates: About 60g
- Sugar: Approximately 25g (This includes the added sugar and the natural sugars from the milk.)
- Protein: About 10g
See? That protein count is respectable for a dessert, thanks to all that whole milk! It means you’re getting satisfying, rich fuel for those quiet, cozy nights we talked about. Focus on the joy of that creamy texture, not just the numbers!
Share Your Nostalgic Dessert Recipes
Now that you have the complete blueprint for creating this creamy, spectacular bowl of happiness, the final phase of the project is in your hands! Noah and I pour so much of our strategy and heart into these recipes to make sure they strengthen our empire, and we absolutely love hearing how they bring comfort to yours.
Did this Nostalgic Dessert Recipe bring back memories for you? Did you manage to keep stirring and achieve that perfect stovetop texture? Please, drop a rating below and let us know how it went! If you made any small adjustments—maybe you added a sprinkle of nutmeg instead of cinnamon, or you paired it with a special coffee—tell us all about it in the comments. We read every single one!
Seeing your creations makes us feel so connected to our community. Feel free to share photos of your cozy moments over on social media and tag us, or browse through our other developing blueprints over on the main blog. Thank you again for visiting Epicure Empire. We hope this little bit of warmth reinforces the life—and the love—you are building.
With love and a clean saucepan,
Lena
The Ultimate Creamy, Old-Fashioned Stovetop Rice Pudding

This recipe delivers the creamiest, old-fashioned rice pudding you can make right on your stovetop. It uses simple ingredients to create a rich, comforting dessert perfect for cozy nights.
- Prep Time: 5 min
- Cook Time: 40 min
- Total Time: 45 min
- Yield: 4 servings
- Category: Dessert
- Method: Stovetop
- Cuisine: American
- Diet: Vegetarian
Ingredients
- 1 cup short-grain white rice (Arborio works well)
- 4 cups whole milk
- 1/2 cup granulated sugar
- 1/4 teaspoon salt
- 1 teaspoon vanilla extract
- 1/2 teaspoon ground cinnamon (plus extra for topping)
Instructions
- Combine the rice, whole milk, sugar, and salt in a heavy-bottomed saucepan.
- Place the saucepan over medium heat. Stir frequently to prevent the rice from sticking to the bottom.
- Bring the mixture to a gentle simmer. Reduce the heat to low once simmering begins.
- Continue to cook, stirring every few minutes, for 30 to 40 minutes, or until the rice is tender and the pudding has thickened to your desired consistency. The longer you cook, the creamier it will become.
- Remove the saucepan from the heat. Stir in the vanilla extract.
- Serve the rice pudding warm, or transfer it to a bowl, cover the surface directly with plastic wrap to prevent a skin from forming, and chill completely before serving cold.
- Sprinkle with extra ground cinnamon before serving.
Notes
- For an ultra-creamy texture, use whole milk and stir often during the cooking process.
- You can substitute 1/2 cup of the milk with evaporated milk for added richness.
- This pudding tastes great warm, but the texture firms up nicely when chilled, making it a good make-ahead dessert.
Nutrition
- Serving Size: 1 cup
- Calories: 350
- Sugar: 25g
- Sodium: 180mg
- Fat: 8g
- Saturated Fat: 4g
- Unsaturated Fat: 4g
- Trans Fat: 0g
- Carbohydrates: 60g
- Fiber: 1g
- Protein: 10g
- Cholesterol: 25mg