

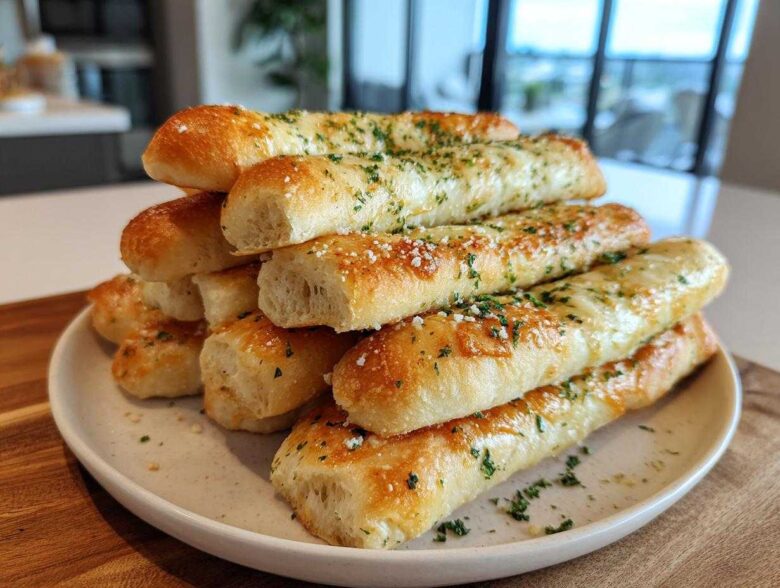
Ever get that intense craving for those warm, fluffy treats you only seem to get when you’re out for Italian? I know Noah and I used to stress out trying to mentally schedule a restaurant trip just for their amazing breadsticks! Well, consider that problem solved, my friends. This is it—the absolute best, ultimate Copycat Olive Garden breadsticks recipe you will ever need. I’m serious! It took some serious operational planning between Noah’s strategy and my hands-on execution, drawing on everything we learned about building this empire, which you can read more about over at our About Us page. By treating this like our most important project, we cracked the code for perfectly soft, buttery breadsticks right here in our own kitchen. Forget those hard, dry attempts; let’s build an empire of flavor!
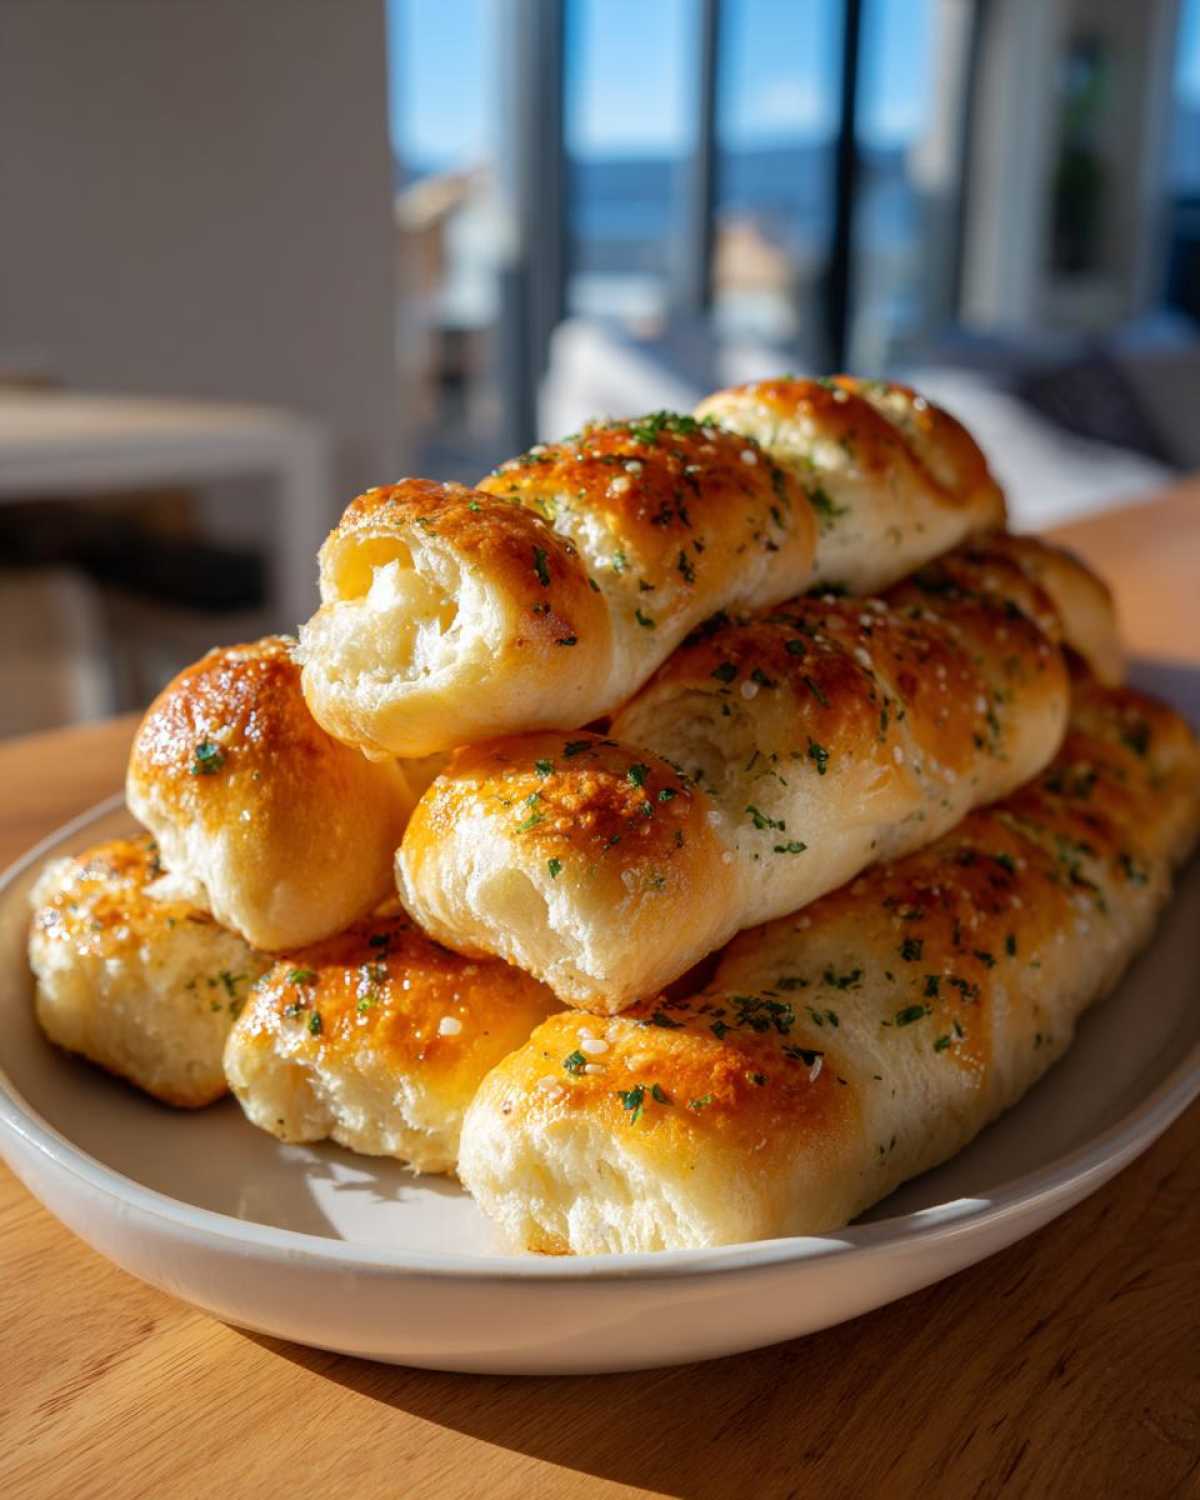
Why This Copycat Olive Garden Breadsticks Recipe Works (The Strategy)
This recipe isn’t just about dumping ingredients together; it’s precise, just like we like it! We’ve nailed the internal structure to guarantee you get those signature soft buttery breadsticks every time. Success hinges on two core areas: making sure the yeast is happy and not cutting corners on the finishing butter. Trust me, the flavor payoff is worth following the plan exactly. We tested batch after batch until the texture was perfect—light, airy, but still substantial enough to hold that amazing topping.
Achieving Fluffy Breadsticks with Active Yeast
The first step is crucial for ensuring you get those wonderfully fluffy breadsticks instead of flat, sad dough. We have to wake up the yeast! That little bubble party in warm water with sugar (Step 1) isn’t just for show; it tells us the yeast is alive and ready to work its magic. If it doesn’t foam up, toss it out and start over. Active yeast creates the beautiful lift and air pockets that keep these sticks tender instead of dense. It’s our bread’s foundation!
Ingredients for Perfect Soft Buttery Breadsticks
Okay, operation ingredient acquisition is next! For truly great breadsticks, precision matters, especially with the butter. We have two distinct components here, and mixing them up would be a disaster—Noah says mixing the dough and topping ingredients is like mixing our planning documents; they need separate phases! Let’s lay out exactly what you need so your mission succeeds.
Dough Components for Homemade Breadsticks
This is the bulk of the work, making beautiful, soft homemade breadsticks. Remember that warm water temperature—it has to be just right, right around 110°F! Anything hotter, and you kill the yeast; anything colder, and it sleeps in.
- 1 1/2 cups warm water (110°F)
- 2 1/4 teaspoons active dry yeast
- 2 tablespoons granulated sugar
- 4 cups all-purpose flour
- 1 teaspoon salt
- 1/4 cup unsalted butter, melted (for dough)
The Signature Garlic Butter Topping for Breadsticks
This topping is non-negotiable; it’s the flavor bomb! We need way more butter here than in the dough. Don’t skimp on it, or you won’t get that classic taste. This is the heart of our Garlic Butter Topping.
- 1/2 cup unsalted butter, melted (for topping)
- 2 teaspoons garlic powder
- 1 teaspoon dried parsley
- 1/2 teaspoon salt (for topping)
Step-by-Step Instructions for Your Quick Breadsticks Recipe
Alright, time to put the plan into action! Even though we have that mandatory rise time which keeps this recipe from being *instant*, the hands-on time is really short, fitting that quick prep goal we were aiming for. Noah calls this the ‘Operation Execution’ phase. Stick close to these steps, and you’ll have your breadsticks ready before you know it! I know when Noah and I were figuring out the strategy for this dough, we almost skipped the rising step entirely, thinking it was too long. But honestly, if you want true softness, you have to let the yeast do its job before trying complex operations like making homemade marshmallows!
Preparing and Proofing the Yeast for Breadsticks
First things first, we need to make sure our yeast is awake and ready to go. Combine your warm water, yeast, and sugar in a big bowl—it should be warm to the touch, like a nice hot shower, not scalding! Let this sit for about 5 to 10 minutes. If you see a nice foamy layer form on top, that’s your green light! That beautiful foam is your visual proof that the yeast is active and ready to add air to our dough.
Kneading and Rising: Building Structure in Your Breadsticks
Next, mix in the flour and salt, then get that dough onto a floured surface. You need to knead this for a solid 5 to 7 minutes until it’s smooth and elastic. This part is where we build the strength for those soft buttery breadsticks. Pop the dough in an oiled bowl, cover it up, and let it chill out in a warm spot for about an hour, or until it’s doubled in size. Don’t rush this rise!
Shaping and Baking the Breadsticks
Once doubled, gently punch that air out—it’s important not to deflate it completely! Preheat that oven to 400°F (200°C) and line a sheet pan with paper. Divide your dough into 12 equal pieces. Roll each one out into a long, thin stick, about 8 to 10 inches long. Lay them on the sheet and bake for 10 to 14 minutes. Keep an eye on them; you want light golden brown, not deep brown!
Finishing Your Garlic Breadsticks Recipe
This is the grand finale! While the sticks are baking, mix up that glorious topping—the melted butter, garlic powder, parsley, and final salt. The second you pull those hot breadsticks out of the oven, grab a brush and go to town coating every single surface, corner to corner! They need to soak up all that buttery goodness while they are steaming hot. That finishing step is what makes this the ultimate Garlic Breadsticks Recipe.
Tips for Making the Best Homemade Breadsticks
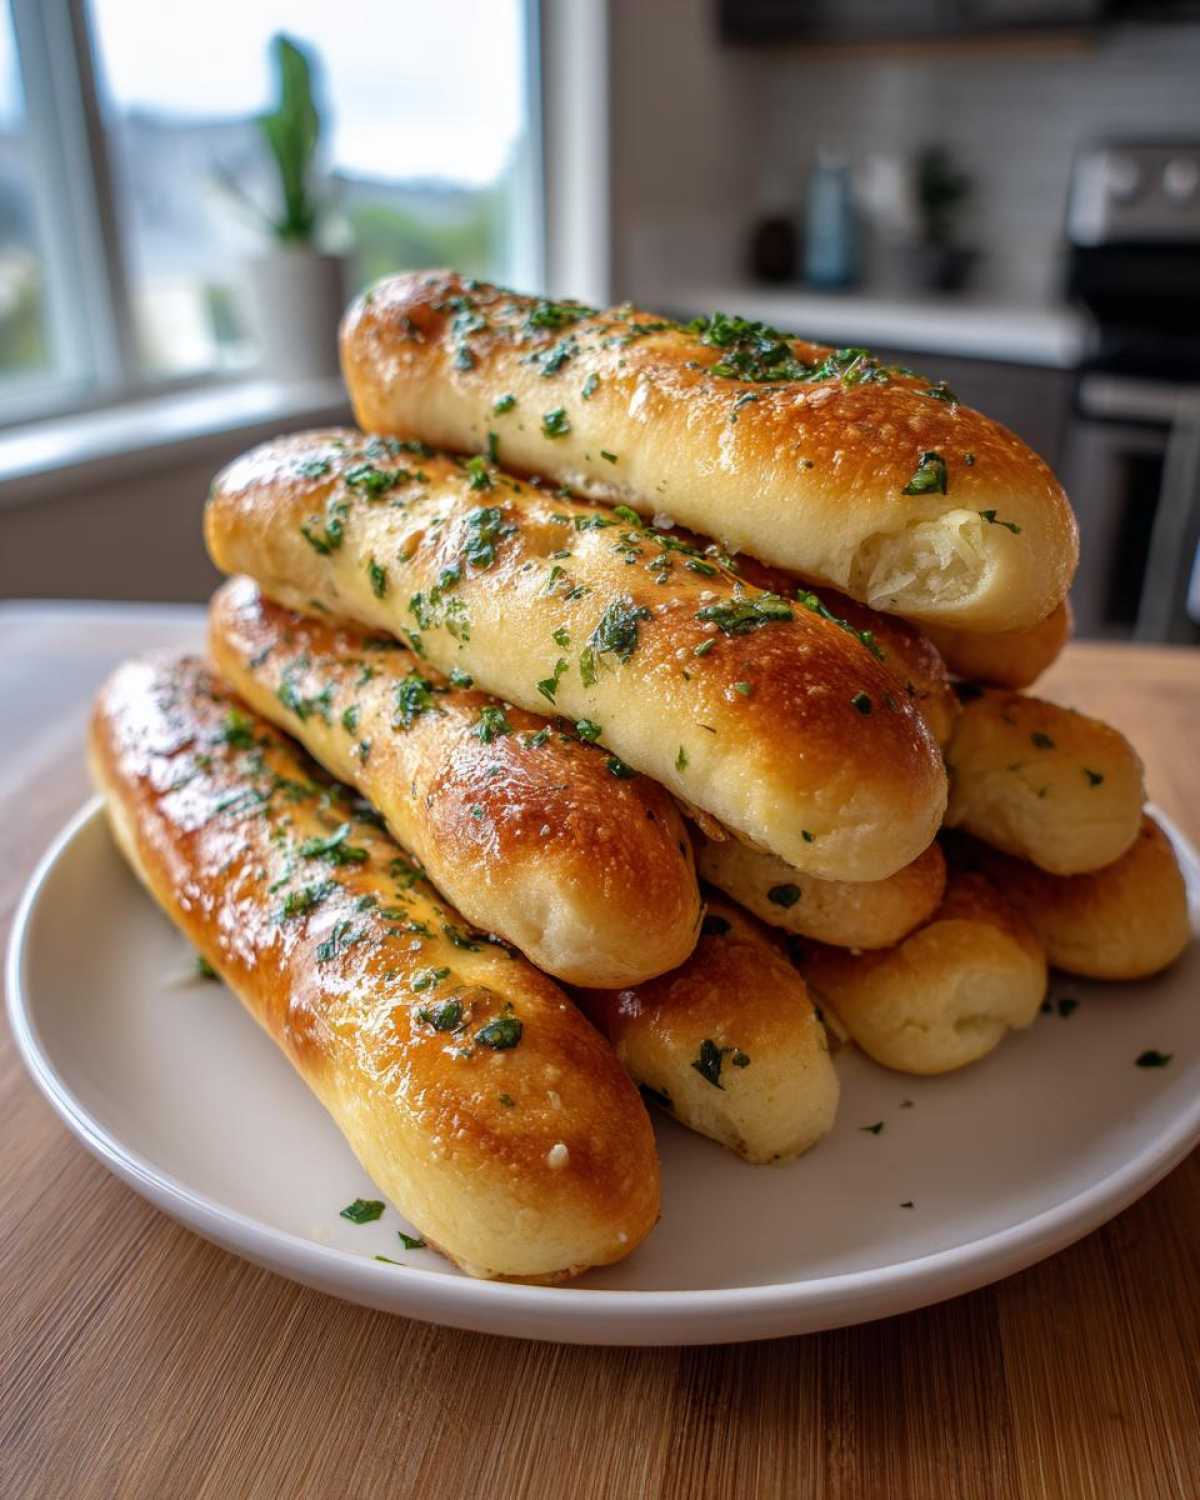
We spent weeks testing this dough, and I’ll tell you, one time Noah decided he could multitask and tried to steam-clean the kitchen floor while kneading. Disaster! He came back to sticky, uncooperative dough because he rushed the kneading process. Don’t be Noah; give the dough the time it needs! To make the absolute best homemade breadsticks, you need patience during that 5-minute knead. Also, remember what the instructions mentioned: if you are using instant yeast instead of active dry, you can skip the initial 5-minute proofing time, which totally cuts down on the wait! Seriously, though, the softest texture comes from making sure your water is only warm, not hot, when you start. If you love seeing our planning process and recipe dives, check out more insights on the blog!
Variations: Turning Your Breadsticks into Cheesy Breadsticks
So, while our classic garlic butter version is absolutely perfect for pasta night, I know what you’re thinking: ‘Could they possibly be better with cheese?’ The answer, my friends, is a resounding YES! And guess what? We make it super simple. This is the easiest operational tweak we have for leveling up your batch of breadsticks.
Remember that note we talked about? Right after you pull those piping hot sticks out of the oven and they are glistening with that garlic butter—that’s your moment! Immediately grab some grated Parmesan cheese—the real stuff, not the dusty shaker can! Sprinkle it liberally all over the hot surface. The heat from the breadsticks and the butter will instantly melt and cling to the cheese, creating that glorious, savory crust we all look for in cheesy breadsticks.
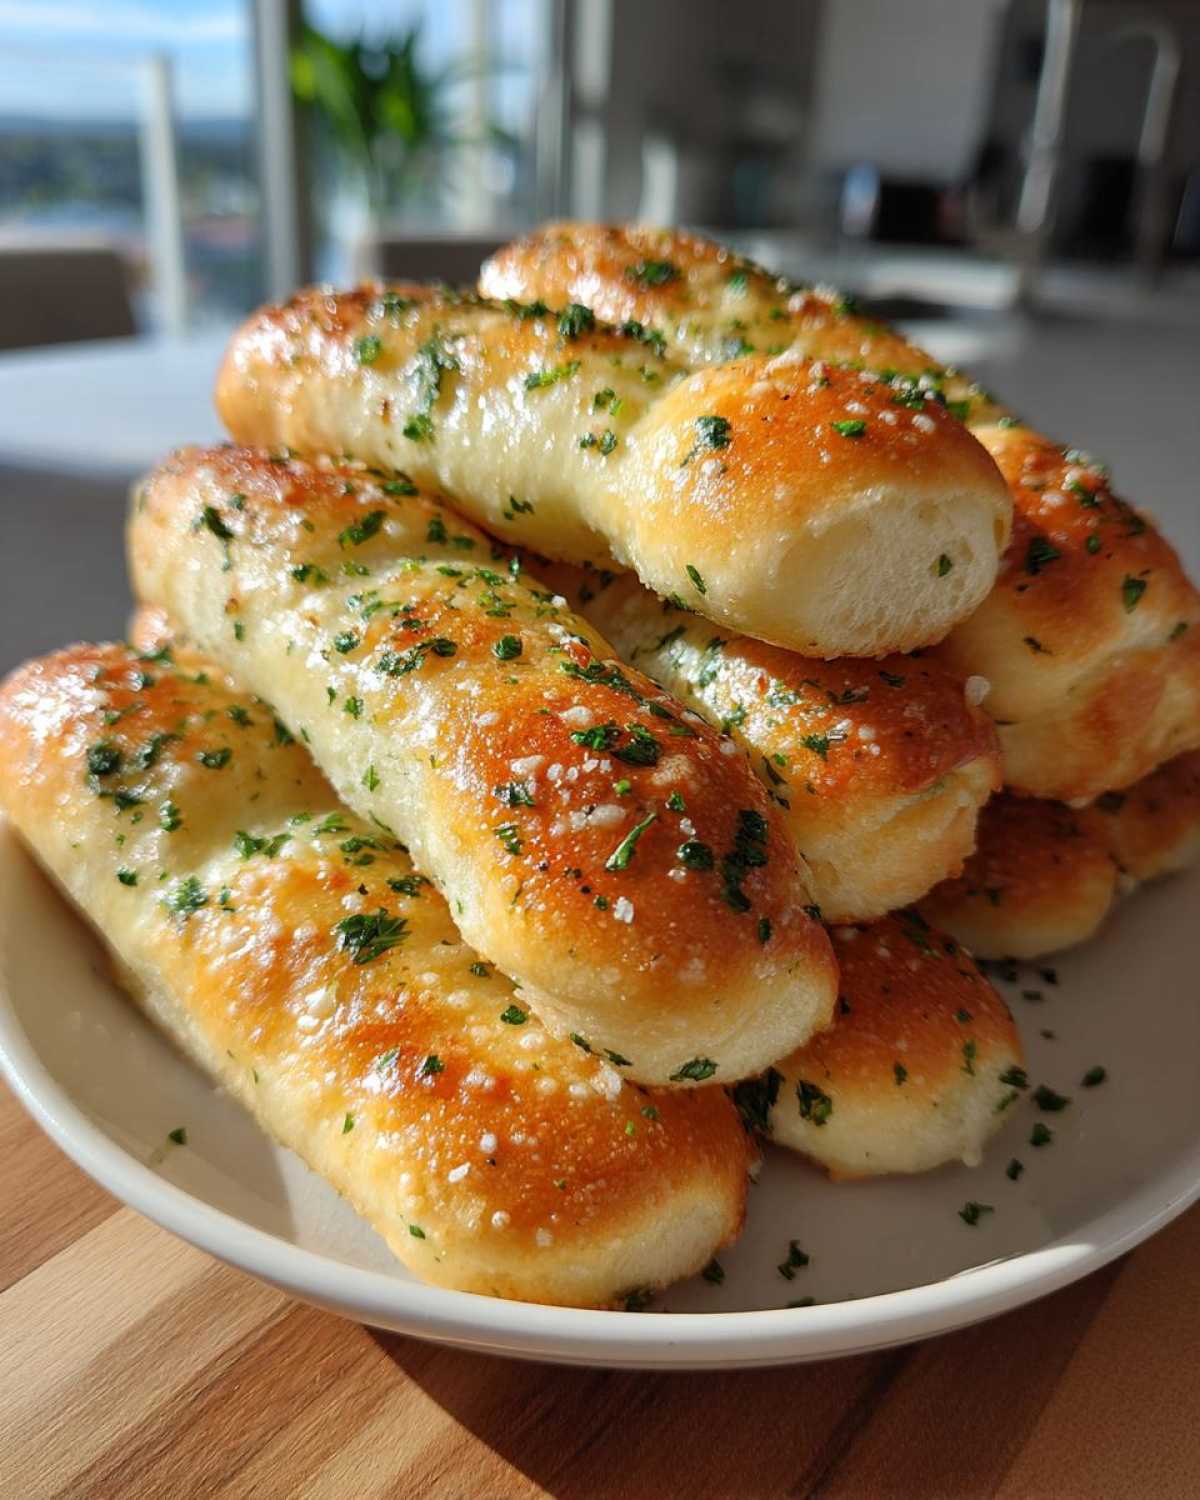
You don’t have to change the dough or the bake time at all; you just add this small, strategic layer on the end. It’s fantastic for parties or those nights when you just need something extra comforting. Trust me, once you try these cheesy breadsticks, you might never go back to just the plain garlic version!
Serving Suggestions for Your Appetizer Breadsticks
We always joke that these breadsticks are dangerous because they disappear before the main course even hits the table! Because they’re so fluffy and perfectly seasoned, they work beautifully as appetizer breadsticks all on their own. But if you’re planning a full Italian spread, they are the mandatory dunking tool.
They are the absolute best dinner side breadsticks for soaking up extra sauce—seriously, don’t let a drop go to waste! If you’re leaning into soups, you have to try dipping them into our super cozy Creamy Chicken Tortellini Soup. And of course, they are the only acceptable accompaniment for a rich pasta dish, like our decadent Creamy Garlic Mushroom Pasta. Plan your meal around these, not the other way around!
Storage and Reheating Instructions for Leftover Breadsticks
One of the few downsides to baking the best breadsticks in town is that we rarely have leftovers! But if you manage to save some, we need a clear operational strategy for storage. Keep any extras sealed tightly in an airtight container at room temperature—never the fridge, trust me, that makes them hard! If you’re storing them for more than a day, they might lose a little of that fresh-from-the-oven softness.
To bring them back to life, the microwave is too aggressive; it makes them chewy. Instead, I use the oven—just a quick 5-minute blast at 350°F (175°C) is usually all it takes. If you really want that buttery texture back, brush them lightly with a tiny bit of extra melted butter right before popping them in. They’ll be perfect again!
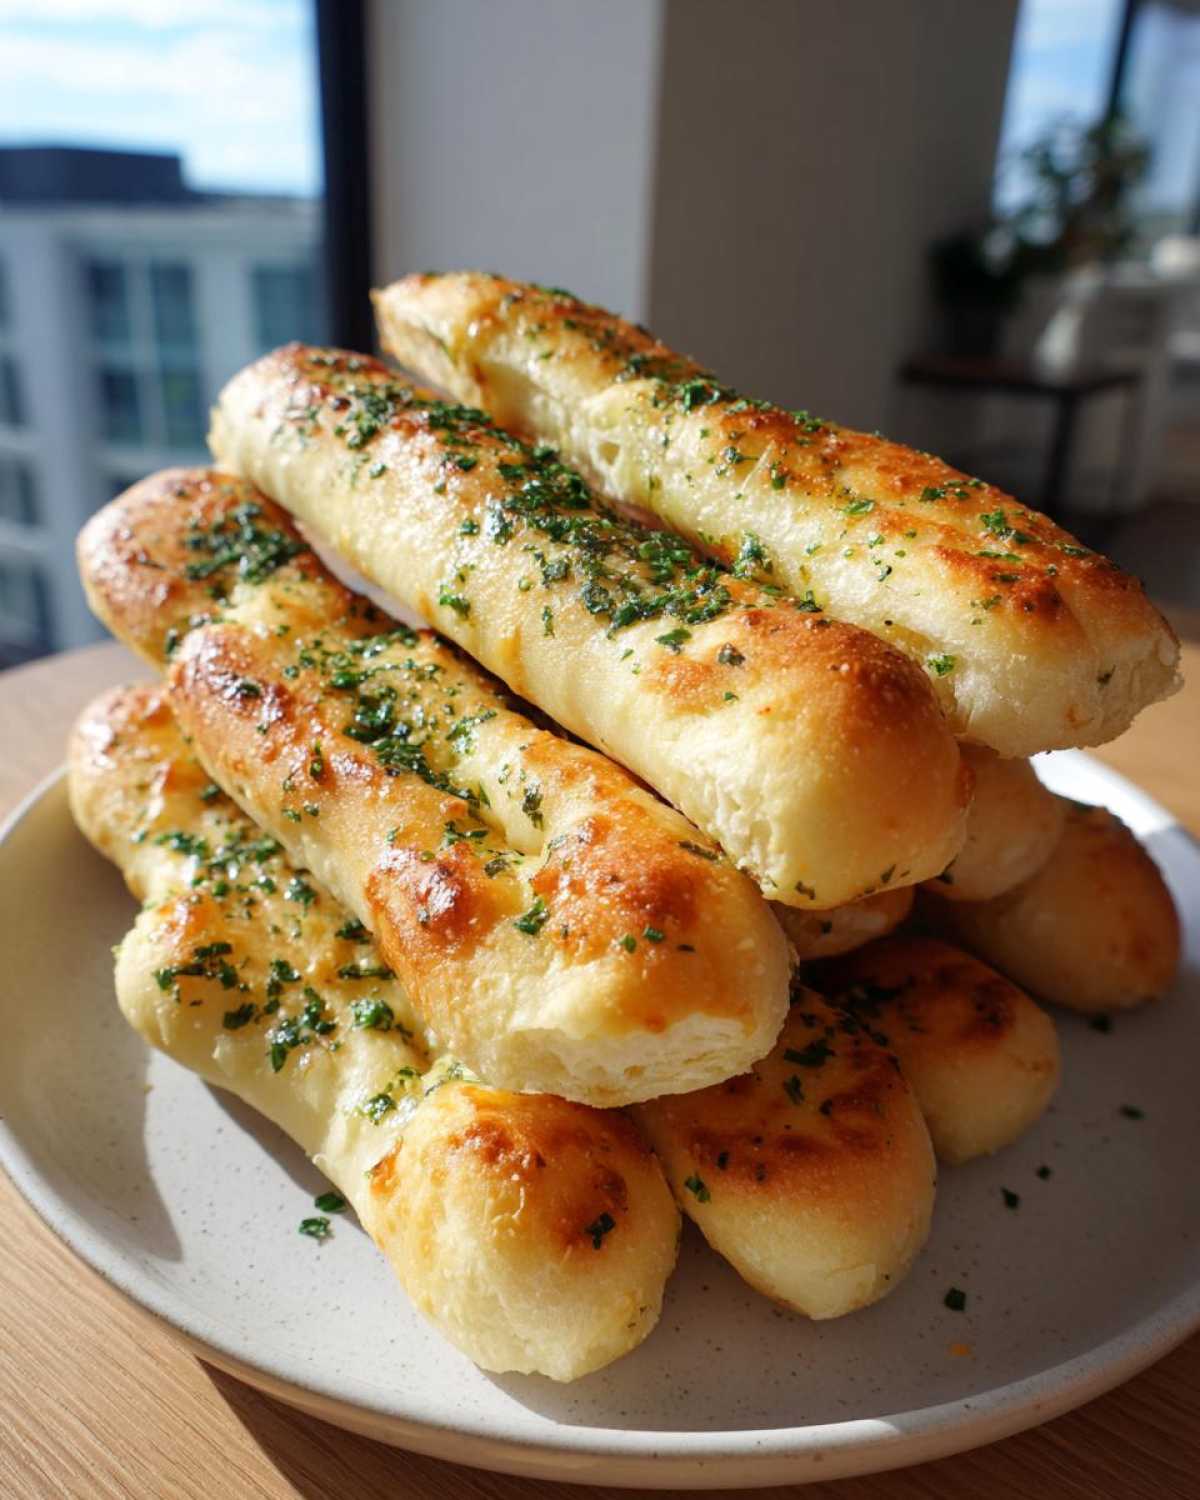
Frequently Asked Questions About These Breadsticks
I know when Noah and I were planning out the strategy for this post, we had a million questions ourselves about timing and results. It’s completely normal! We want your experience making these breadsticks to be seamless, so I pulled together the top queries we usually get about replicating the restaurant magic at home. If you want to check out other resources, this recipe seems similar to what you can find over here too!
Can I make these breadsticks without waiting for the dough to rise?
That’s the eternal question when you want a quick breadsticks recipe! You *can* speed things up if you absolutely must. If you use instant yeast instead of active dry yeast, you can technically skip the 10-minute proofing time with the water. However, the full one-hour rise is what builds up those internal air pockets needed for truly fluffy results. If you rush it, they will still be tasty, but they won’t have that signature pull-apart softness we are chasing.
What makes these Olive Garden Breadsticks Copycat so soft?
It’s a two-part operation, honestly! First, you need to correctly knead the dough until it’s smooth and elastic—that builds the structure. But the real secret to those amazing soft buttery breadsticks is Step 4: applying a generous amount of that melted garlic butter mixture immediately after they come out of the oven. That hot dough sucks up the fat, locking in moisture and ensuring they stay tender for hours. Don’t be shy with the brush!
Nutritional Estimates for One Serving of Breadsticks
Noah always insists on seeing the breakdown; he’s our Chief Strategist, after all, and needs the data! While we are focused way more on flavor and structure here at Epicure Empire, I always run the numbers just so we know what we are serving up. These are just estimates based on the ingredients called for in this batch of breadsticks. If you add extra cheese or use different flour, your numbers will shift, of course. For our full policy on recipe data, you can check out our official disclaimer page.
For one single breadstick serving, here is the general breakdown of what you can expect:
- Serving Size: 1 breadstick
- Calories: 180
- Fat: 7g (with 4g Saturated Fat)
- Cholesterol: 15mg
- Sodium: 250mg
- Carbohydrates: 27g (with 2g Sugar and 1g Fiber)
- Protein: 5g
See? Not bad at all for something that tastes like it required a full day of baking and a professional chef! These are fantastic appetizer breadsticks to enjoy alongside our main courses without feeling too weighed down. Enjoy them responsibly (or don’t; they’re that good!).
PrintCopycat Olive Garden Breadsticks Recipe: Soft, Buttery, and Garlicky
You can make soft, buttery breadsticks just like the famous Olive Garden version right in your own kitchen. This easy copycat recipe delivers fluffy, garlicky breadsticks perfect as an appetizer or dinner side.
- Prep Time: 20 min
- Cook Time: 14 min
- Total Time: 94 min
- Yield: 12 breadsticks
- Category: Appetizer
- Method: Baking
- Cuisine: American
- Diet: Vegetarian
Ingredients
- 1 1/2 cups warm water (110°F)
- 2 1/4 teaspoons active dry yeast
- 2 tablespoons granulated sugar
- 4 cups all-purpose flour
- 1 teaspoon salt
- 1/4 cup unsalted butter, melted (for dough)
- 1/2 cup unsalted butter, melted (for topping)
- 2 teaspoons garlic powder
- 1 teaspoon dried parsley
- 1/2 teaspoon salt (for topping)
Instructions
- Combine the warm water, yeast, and sugar in a large bowl. Let this mixture sit for 5 to 10 minutes until it becomes foamy. This shows your yeast is active.
- Add the flour and 1 teaspoon of salt to the yeast mixture. Mix until a shaggy dough forms.
- Turn the dough out onto a lightly floured surface and knead for about 5 to 7 minutes until the dough is smooth and elastic.
- Place the dough in a lightly oiled bowl, turning to coat. Cover the bowl with plastic wrap or a clean kitchen towel. Let the dough rise in a warm place for about 1 hour, or until it has doubled in size.
- Preheat your oven to 400°F (200°C). Line a large baking sheet with parchment paper.
- Gently punch down the risen dough. Divide the dough into 12 equal pieces. Roll each piece into a long, thin stick shape, about 8 to 10 inches long. Place the breadsticks on the prepared baking sheet.
- Bake for 10 to 14 minutes, or until the breadsticks are lightly golden brown.
- While the breadsticks bake, prepare the garlic butter topping. In a small bowl, whisk together the 1/2 cup melted butter, garlic powder, parsley, and 1/2 teaspoon salt.
- Immediately after removing the breadsticks from the oven, brush the warm garlic butter mixture generously over all the breadsticks.
- Serve your homemade breadsticks warm.
Notes
- For the softest texture, ensure your water is warm, not hot, to properly activate the yeast.
- If you want cheesy breadsticks, sprinkle grated Parmesan cheese over the garlic butter topping while the breadsticks are still hot from the oven.
- You can use instant yeast if you prefer, skipping the 5-minute proofing step.
Nutrition
- Serving Size: 1 breadstick
- Calories: 180
- Sugar: 2
- Sodium: 250
- Fat: 7
- Saturated Fat: 4
- Unsaturated Fat: 3
- Trans Fat: 0
- Carbohydrates: 27
- Fiber: 1
- Protein: 5
- Cholesterol: 15