

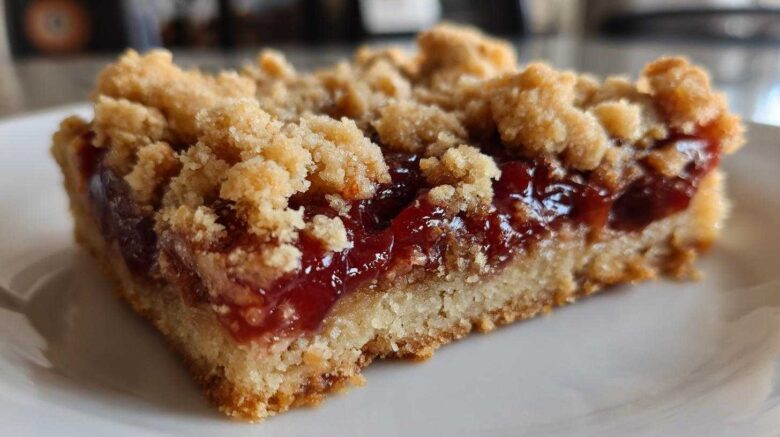
The Best Cherry Pie Bars: A Sweet Strategy for Connection
Life used to feel like a sprint. Noah and I were always on the go. Our kitchen was just a pit stop. We needed a change. We found it in our kitchen. We started a new project. We called it “Epicure Empire.” It’s about building a life together. We build it one recipe at a time. These cherry pie bars are a perfect example. They bring classic pie flavor to an easy bar. It’s a delicious way to connect.
Why You’ll Love These Cherry Pie Bars
These bars are a dream.
- They’re super easy to make.
- They taste just like traditional cherry pie.
- They’re perfect for any gathering.
- Picnics, parties, or just a Tuesday treat.
- Everyone loves a good cherry pie bar.
Our Journey to the Perfect Cherry Pie Bars
Noah and I love a good challenge. Our project is about finding joy in the everyday. This recipe started as a way to capture that. We wanted a dessert that felt special. But it also needed to be simple. We tested and tweaked. We wanted the classic taste of cherry pie. We wanted it in a convenient bar form. These cherry pie bars represent our journey. They are a sweet success. They embody our mission. We build our life together. We build it with love and good food.
Gathering Your Ingredients for Cherry Pie Bars
Every great recipe starts with great ingredients. For these delicious cherry pie bars, we’re focusing on simple, quality items. Having everything ready makes the baking process so much smoother. It’s like Noah’s strategic planning for a new project. We want the best results. This means fresh, reliable ingredients. Let’s get our kitchen prepped for these delightful cherry pie bars.
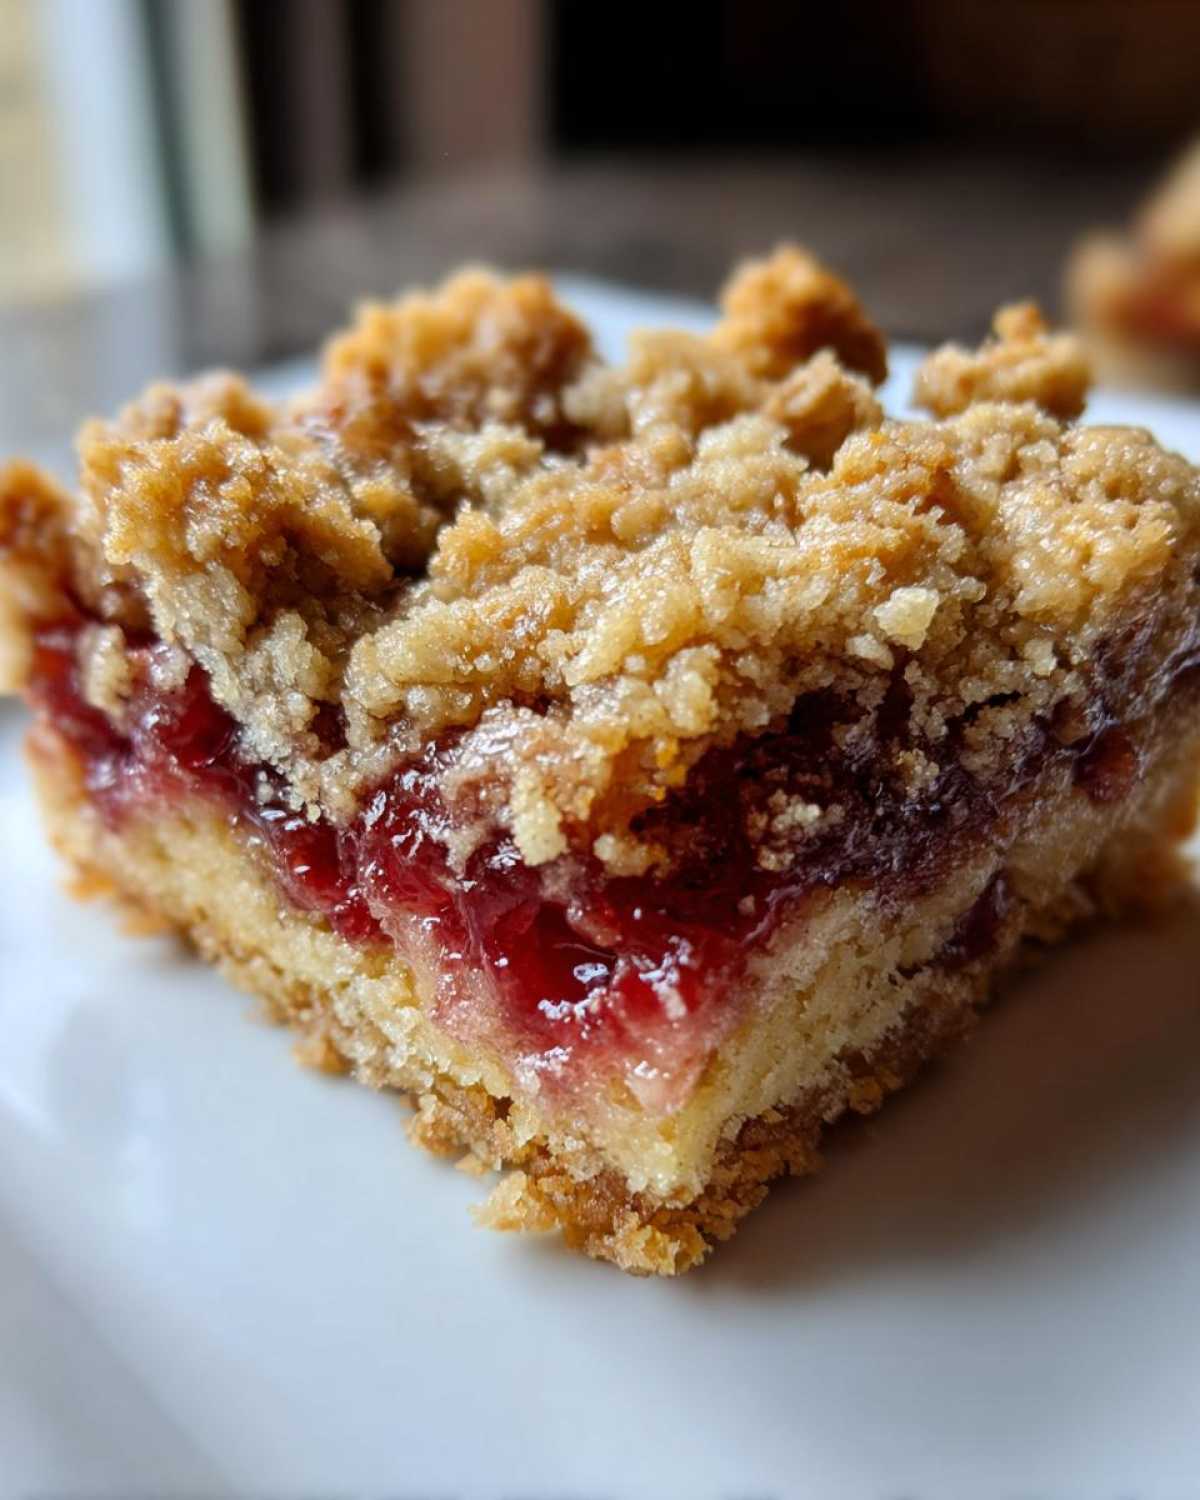
For the Crust and Topping
We need some basics for our buttery crust and crumbly topping. You’ll need:
- 1 cup unsalted butter, softened
- 1 cup granulated sugar
- 2 large eggs
- 1 teaspoon vanilla extract
- 2 1/2 cups all-purpose flour
- 1 teaspoon baking powder
- 1/2 teaspoon salt
Make sure your butter is truly softened. It makes a big difference when creaming. And use large eggs for the best texture.
For the Luscious Cherry Filling
The heart of our bars is the cherry filling!
- 2 (21 ounce) cans cherry pie filling
- 1/2 cup chopped pecans or walnuts (optional)
We’re using canned cherry pie filling for ultimate ease. It’s already perfectly sweetened and thickened. If you love a little crunch, go ahead and add those chopped nuts. They add a lovely texture contrast.
Your Blueprint for Delicious Cherry Pie Bars
Now for the fun part: putting it all together! Think of this as our operational plan for baking success. Every step is designed to get us those perfect cherry pie bars. Let’s get baking!
Preparing the Pan and Dough Base
First, preheat your oven. Set it to 350°F (175°C). This ensures it’s ready when we are. Next, grab a 9×13 inch baking pan. Grease it well. Then, dust it lightly with flour. This is key for easy removal later. In a big bowl, cream together the softened butter and sugar. Beat them until they’re light and fluffy. This creates our rich base. Then, add the eggs, one at a time. Mix them in well. Stir in the vanilla extract. This adds that wonderful aroma.
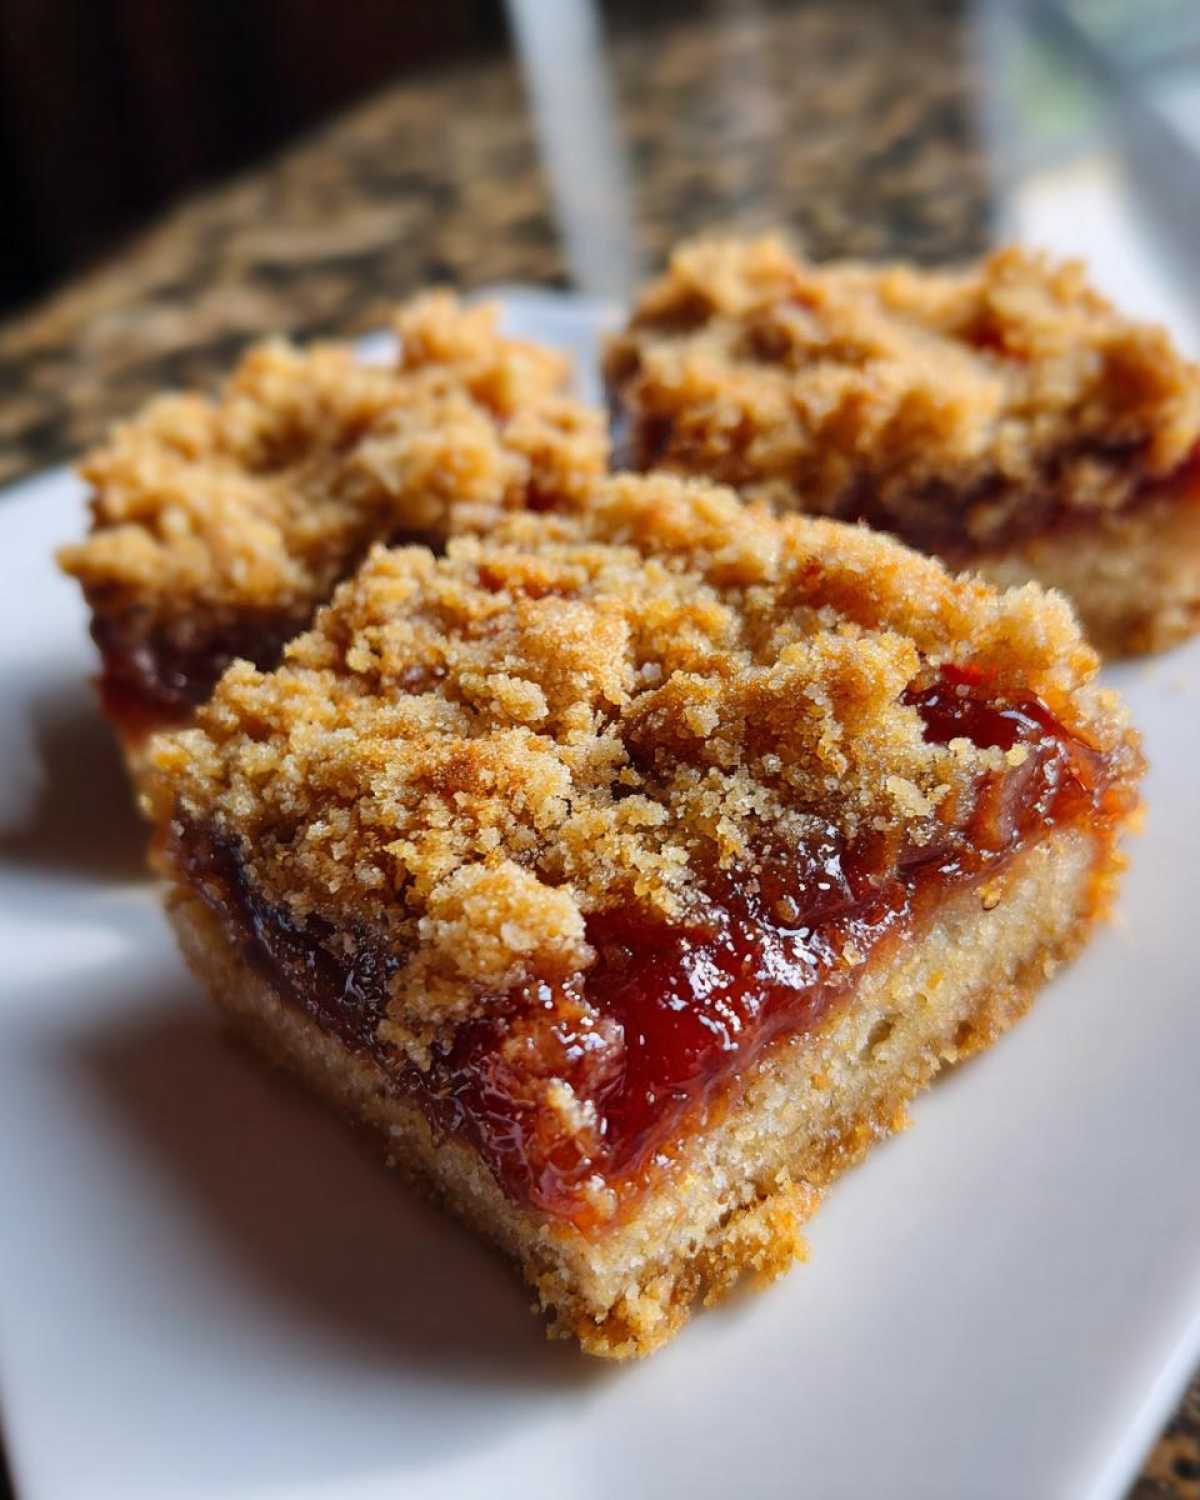
Combining the Dry Ingredients
In a separate bowl, let’s mix our dry goods. Whisk together the flour, baking powder, and salt. Doing this separately ensures everything is evenly distributed. No one wants a bite with too much baking powder! This step is simple but important.
Creating the Dough Layers
Now, let’s combine wet and dry. Slowly add the dry ingredients to the wet mixture. Mix only until they are just combined. Don’t overmix! Overmixing can make the bars tough. We want a tender crumb. Press about two-thirds of this dough. Spread it evenly across the bottom of your prepared pan. This forms our delicious crust.
Assembling Your Cherry Pie Bars
Time for the cherry goodness! Spread the cherry pie filling evenly over the crust. Make sure it covers the entire base. If you’re using nuts, sprinkle them over the cherry filling now. They add a lovely crunch. Then, take the remaining one-third of the dough. Crumble it over the top. This creates a wonderful streusel topping. It gets nice and golden as it bakes.
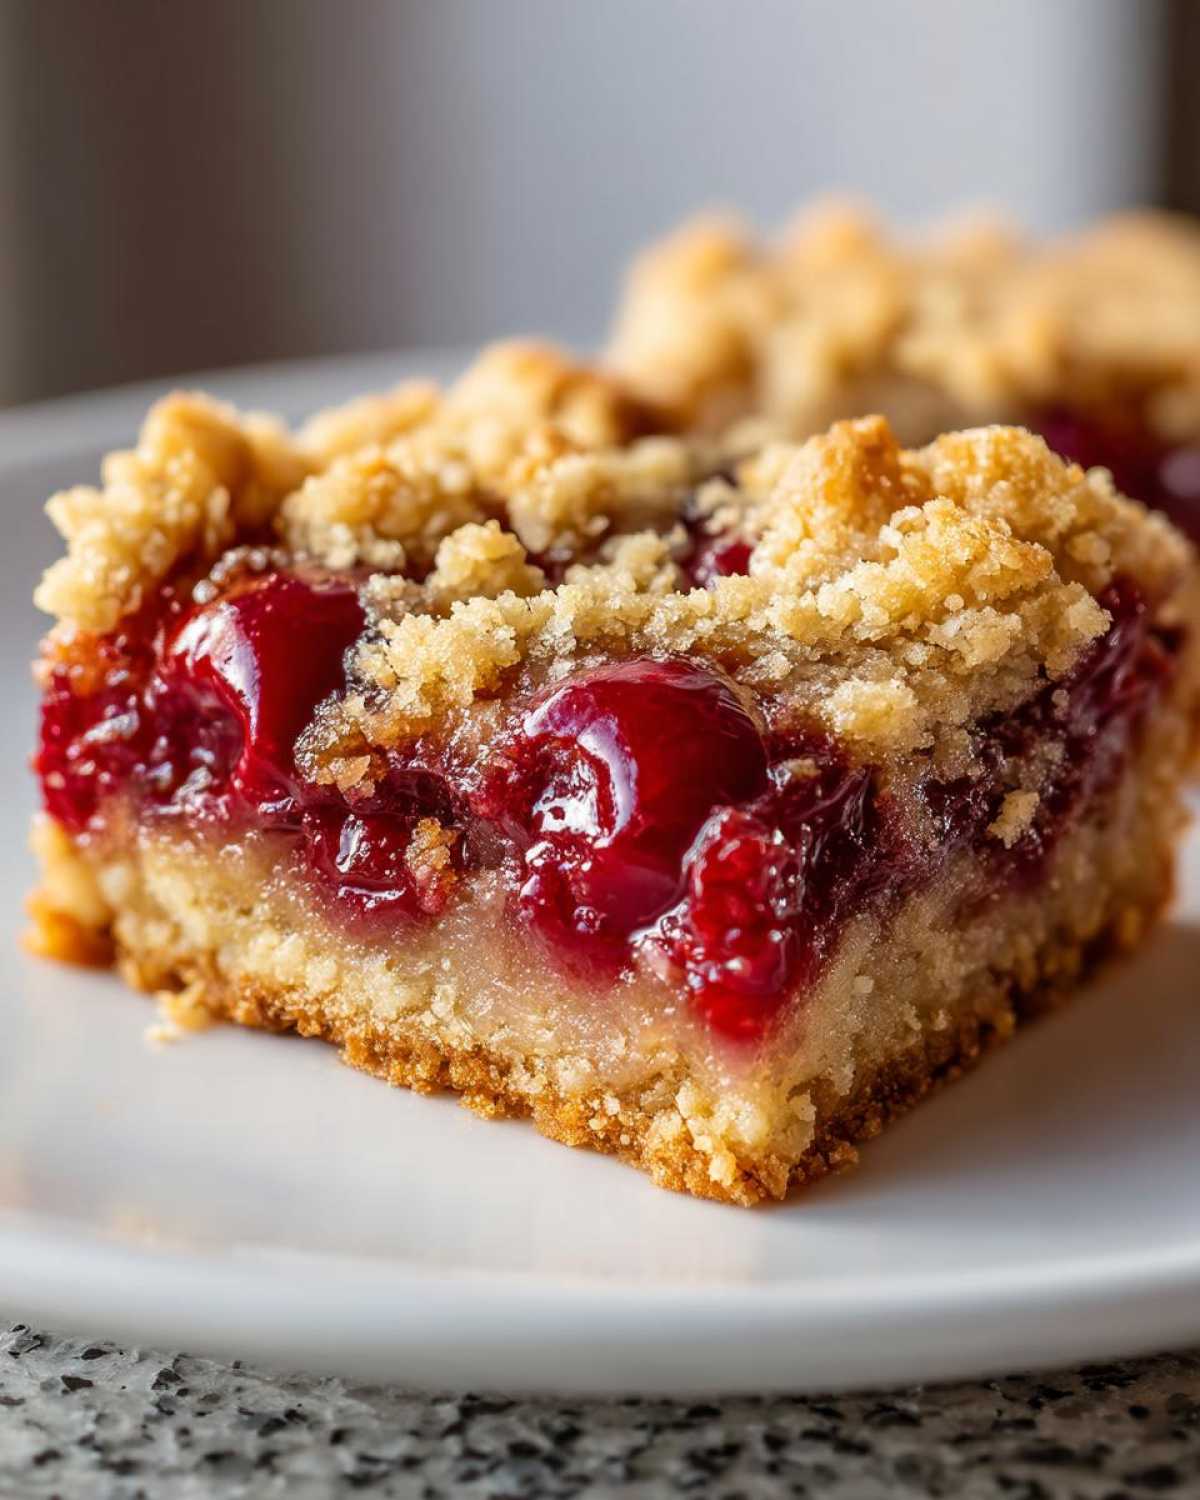
Baking and Cooling for Perfection
Bake the bars for 40-50 minutes. You’re looking for a golden brown topping. The filling should be bubbly. This means it’s cooked through. Once they’re out of the oven, resist the urge to cut them right away. Let the cherry pie bars cool completely in the pan. This is crucial. It allows them to set properly. Cooling ensures clean cuts and prevents them from falling apart. Patience is key here!
Tips for Mastering Your Cherry Pie Bars
We want every batch of these cherry pie bars to be a triumph! Baking is a science, but it’s also an art. A few little tricks can elevate your results. These tips come from our own kitchen experiments. We’ve learned what works best for these bars. Follow these and you’ll be golden.
Achieving the Perfect Topping
For that irresistible golden-brown topping, keep an eye on your oven. If the topping is browning too quickly, you can loosely tent the pan with foil. Want an extra flavor kick? Add a pinch of cinnamon to the topping mixture before crumbling. It adds a warm, inviting aroma and taste. This simple addition makes our cherry pie bars even more special.
Ensuring Clean Cuts
This is crucial for presentation. Let your cherry pie bars cool completely in the pan. I mean it – completely cool! If you try to cut them while they’re even slightly warm, the filling will ooze out. The bars will crumble and look messy. Patience is truly a virtue when baking. A fully cooled bar will slice cleanly. It makes for beautiful, neat squares every time.
Variations to Your Cherry Pie Bars
Want to make these cherry pie bars uniquely yours? We love experimenting! You can easily customize this recipe. It’s a fantastic base for creativity. Think of it as adding your own strategic flair. These simple tweaks can make our cherry pie bars even more exciting.
Flavor Boosts and Additions
Feeling adventurous? Add a pinch of cinnamon to the topping mixture. It gives a lovely warmth. You could also try a touch of almond extract with the cherries. For a different fruit profile, mix in some fresh blueberries or raspberries with the cherries. Just be sure to drain any excess liquid from fresh fruit. This prevents a soggy crust.
Serving and Storing Your Cherry Pie Bars
Once your cherry pie bars are perfectly baked and cooled, it’s time to enjoy them! These bars are wonderful on their own. But a few simple additions can make them truly spectacular. Proper storage ensures you can savor them for days.
Serving Suggestions
These cherry pie bars are delightful served slightly warm or at room temperature. For an extra special treat, try a scoop of vanilla bean ice cream alongside. A dollop of freshly whipped cream is also a lovely touch. It adds a creamy contrast to the sweet cherries.
Storing Leftovers
Store any leftover cherry pie bars in an airtight container. You can keep them at room temperature for up to two days. If you need to store them for longer, refrigerate them for up to a week. They reheat beautifully in a low oven or microwave.
Frequently Asked Questions About Cherry Pie Bars
We get asked a lot of questions about our cherry pie bars. It’s wonderful to see so many of you enjoying them! Here are some common queries Noah and I get. We hope these answers help you make the best fruit bars possible.
Can I use fresh cherries instead of canned filling?
Yes, you absolutely can! If using fresh cherries for your cherry pie bars, you’ll need about 5-6 cups of pitted cherries. Toss them with about 1/2 cup sugar, 1/4 cup cornstarch, and a tablespoon of lemon juice. Cook this mixture on the stovetop until thickened before using it as your filling. This makes a lovely homemade pie filling base.
How do I prevent the bottom crust from being soggy?
A soggy bottom can happen! For these bars, pressing the dough firmly into the pan helps. Baking until the filling is bubbly is also key. If you’re worried, you can pre-bake the bottom crust for about 10 minutes before adding the filling. This gives it a head start on crisping up.
Can these cherry pie bars be made ahead of time?
Definitely! Cherry pie bars are great for making ahead. You can bake them a day or two in advance. Let them cool completely. Store them in an airtight container at room temperature. This makes them perfect for parties or when you need a dessert ready to go. They hold up really well.
Estimated Nutrition for Cherry Pie Bars
Here’s an estimated nutritional breakdown for these delicious cherry pie bars. Please remember these are approximate values per serving. They can change based on exact ingredients and portion sizes. We aim for balance in our baking!
- Serving Size: 1 bar
- Calories: 350
- Fat: 18g
- Carbohydrates: 45g
- Protein: 3g
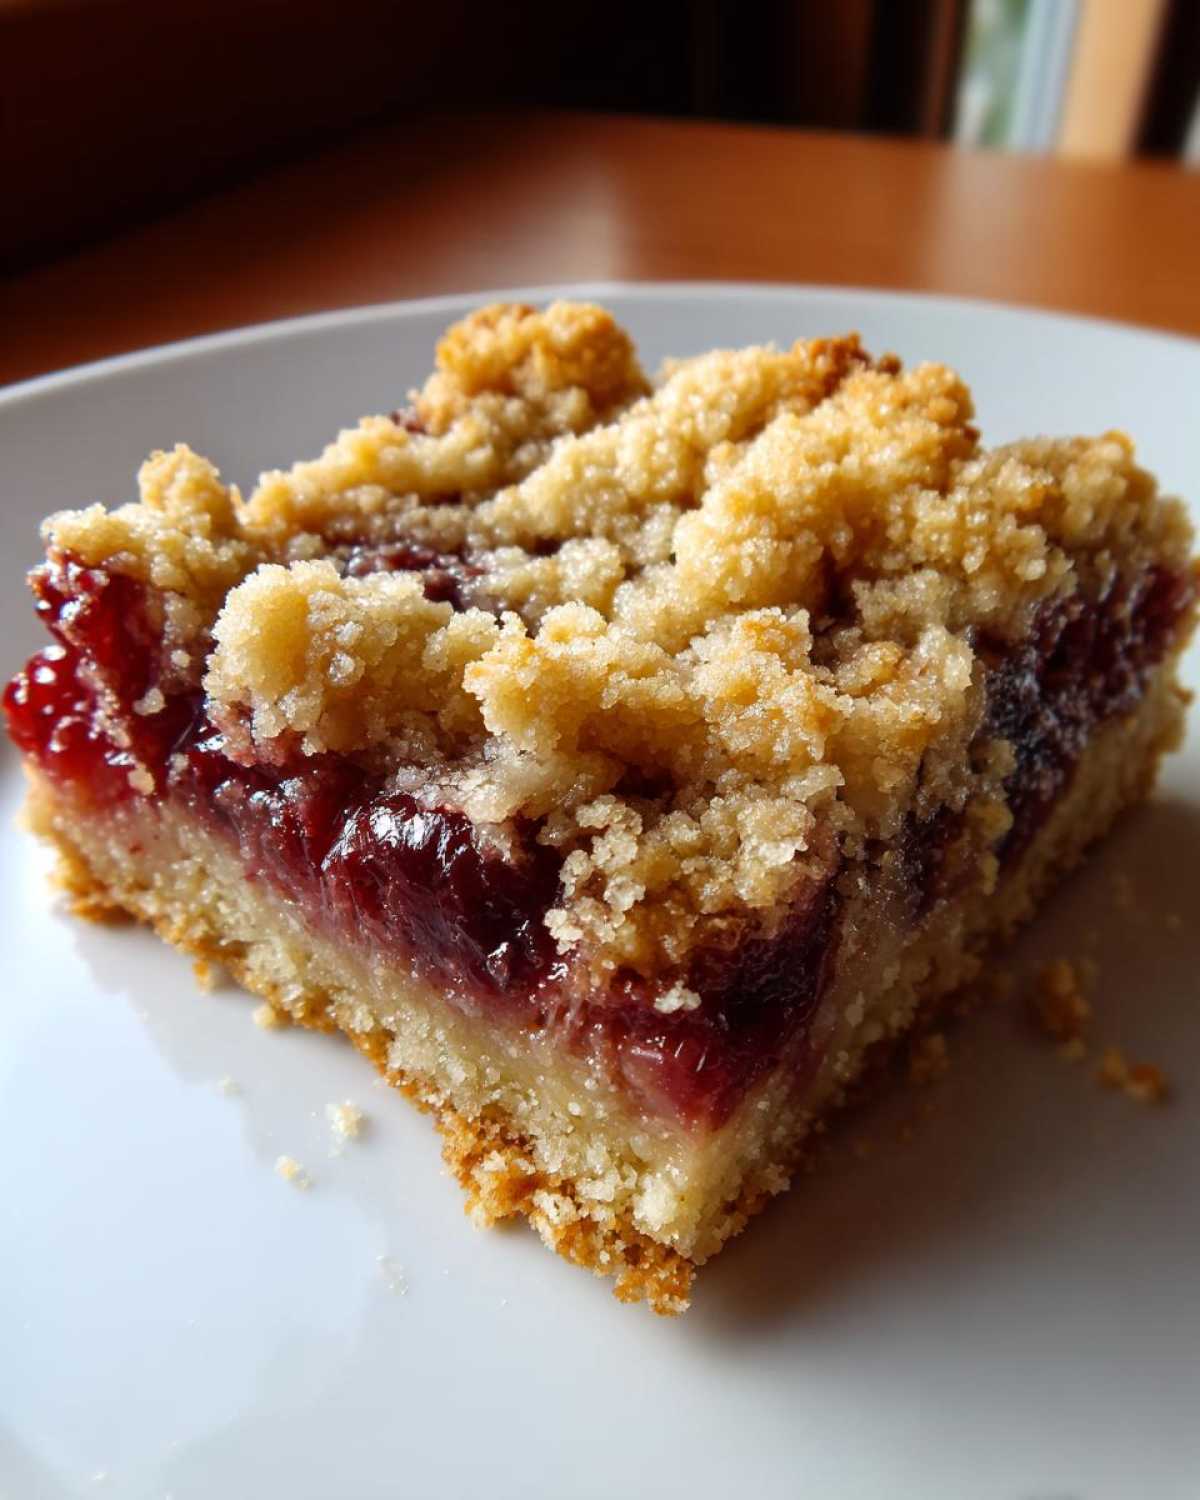
Awesome Cherry Pie Bars: 1 Sweet Bite
Enjoy the classic taste of cherry pie in an easy-to-eat bar form. These cherry pie bars are perfect for picnics, potlucks, or any occasion where you want a delicious homemade dessert without the fuss of a traditional pie.
- Prep Time: 20 minutes
- Cook Time: 45 minutes
- Total Time: 1 hour 5 minutes
- Yield: 24 bars
- Category: Dessert
- Method: Baking
- Cuisine: American
- Diet: Vegetarian
Ingredients
- 1 cup unsalted butter, softened
- 1 cup granulated sugar
- 2 large eggs
- 1 teaspoon vanilla extract
- 2 1/2 cups all-purpose flour
- 1 teaspoon baking powder
- 1/2 teaspoon salt
- 2 (21 ounce) cans cherry pie filling
- 1/2 cup chopped pecans or walnuts (optional)
Instructions
- Preheat your oven to 350°F (175°C). Grease and flour a 9×13 inch baking pan.
- In a large bowl, cream together the softened butter and granulated sugar until light and fluffy.
- Beat in the eggs one at a time, then stir in the vanilla extract.
- In a separate bowl, whisk together the flour, baking powder, and salt.
- Gradually add the dry ingredients to the wet ingredients, mixing until just combined.
- Press about two-thirds of the dough evenly into the bottom of the prepared baking pan to form the crust.
- Spread the cherry pie filling evenly over the crust.
- If using, sprinkle the chopped nuts over the cherry filling.
- Crumble the remaining one-third of the dough over the top of the filling to create a streusel topping.
- Bake for 40-50 minutes, or until the topping is golden brown and the filling is bubbly.
- Let the bars cool completely in the pan before cutting into squares.
Notes
- For an extra touch of flavor, you can add a pinch of cinnamon to the topping mixture.
- If you prefer a softer topping, you can reduce the baking time slightly.
- Ensure the bars are completely cooled before cutting to prevent them from falling apart.
Nutrition
- Serving Size: 1 bar
- Calories: 350
- Sugar: 25g
- Sodium: 150mg
- Fat: 18g
- Saturated Fat: 10g
- Unsaturated Fat: 8g
- Trans Fat: 0g
- Carbohydrates: 45g
- Fiber: 2g
- Protein: 3g
- Cholesterol: 50mg