

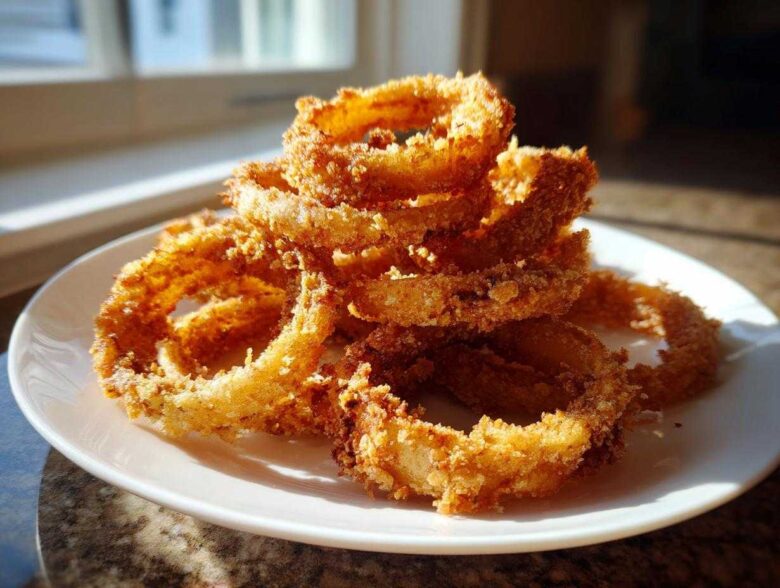
You know those times you desperately want something fried—that satisfying, loud crunch—but the thought of a giant pot of oil makes you shudder? Same here! Forget that mess. Seriously, forget it. I spent months testing different coating thicknesses and temperatures because I was obsessed with nailing legitimately restaurant-quality crispiness using just my air fryer. I’m thrilled to tell you, I cracked the code! This recipe for Air Fryer Onion Rings is my absolute go-to because it delivers that incredible, golden crunch with barely any oil. Watch out, because these are almost *too* easy to make, and trust me, once you get the breading right, you’ll never go back to deep frying for this snack again.
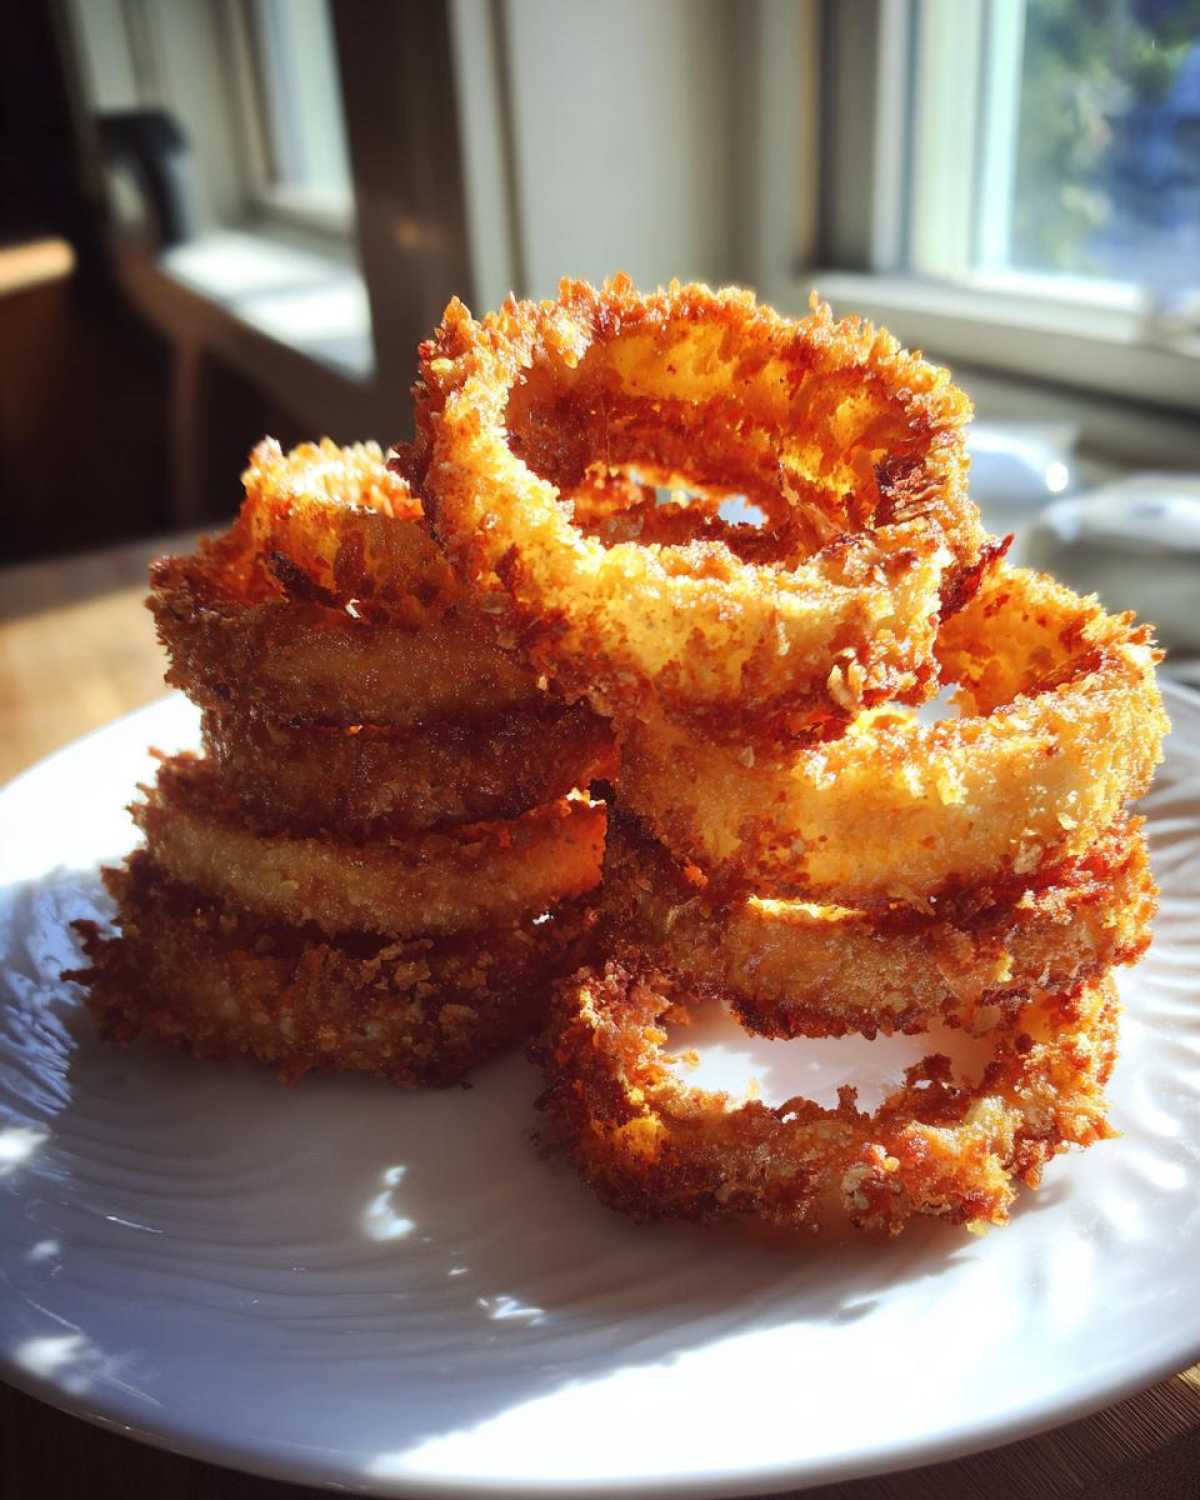
Why This Is the Best Air Fryer Onion Ring Recipe (Crispy Air Fryer Onion Rings)
Look, I love a good indulgence as much as the next person, but I don’t love the cleanup or the greasy feeling afterward. That’s why I keep coming back to this setup. When you search for the Best Air Fryer Onion Ring Recipe, you usually find things that end up sad and limp halfway through eating. Not these! We are aiming for crunchy, golden perfection here.
The biggest win, as you can probably guess, is that these are seriously Healthy Onion Rings Air Fryer style. We get all the flavor, minimal fat, and they cook way faster than heating up a huge Dutch oven full of oil. Plus, they don’t absorb that oil, so they taste cleaner, if that makes sense?
The real secret weapon, which you see listed in the ingredients, is the Panko. Seriously, don’t try to trick me with regular breadcrumbs here. Panko flakes are irregular and airy. They create these beautiful little spikes when cooked, which lock in the crispness and stop that dreaded sogginess in its tracks. Trust me on the Panko revolution!
If you’re looking for fantastic snacks that don’t require hours of soaking in batter or waiting for oil to heat, bookmark this page. You can check out some of my other quick eats over in my snacks category for inspiration later!
Ingredients for Perfect Air Fryer Onion Rings
Getting the perfect result starts way back at the grocery store, honestly. You want good, firm onions—yellow onions are my favorite for their balance of sweet and sharp when cooked. Don’t try to use those flimsy ones that feel soft; they just won’t hold up to the dredging process, and you’ll end up with onion mush!
Here’s what you’ll need tucked away in your dishes before you start slicing:
- 2 large yellow onions (the stars of the show!)
- 1 cup all-purpose flour
- 1 teaspoon salt (use kosher if you have it)
- 1/2 teaspoon black pepper
- 1/2 teaspoon paprika (just for a little color, don’t skip it!)
- 2 large eggs
- 1 tablespoon water
- 1 1/2 cups Panko breadcrumbs (I mean it, Panko!)
- Cooking spray (this is important, we’ll talk about it in a minute)
See how straightforward that is? We’ve got three bowls set up for dredging, and that’s all you need for the coating process. I always slice my onions about 1/4-inch thick. Any thinner, and the coating takes over; any thicker, and you need a huge amount of time to cook the center through.
Ingredient Notes and Substitution Guidance
Okay, let’s tackle those supporting roles. First, that cooking spray. Please, please try to find a pure oil spray like avocado or olive oil, and avoid the super-cheap aerosol no-stick sprays if you can. Some of those cans have propellant additives that can sometimes mess with the non-stick surface of your air fryer basket, and we definitely don’t want that damage!
The breadcrumbs are non-negotiable for that texture. To get those fantastic Crispy Air Fryer Onion Rings we are aiming for, Panko is your best friend. Regular fine breadcrumbs absorb too much moisture from the egg wash and sit kind of heavy on the onion. Panko stays light and airy, giving you that shatteringly crisp exterior when it hits the hot air.
If you absolutely cannot find Panko, you can use regular ones, but then you need to follow up with an extra drizzle of spray before cooking, otherwise, they might end up a little pasty instead of crunchy.
Air Fryer Breading Techniques for Crispy Air Fryer Onion Rings
If you want these to come out golden and truly amazing, the dredge is everything. Soggy rings happen when the coating can’t grip the onion, or when moisture sneaks in before the Panko gets a chance to crisp up. We use the classic three-step method, but we execute it with purpose!
First, the flour mixture—that’s your moisture barrier. Toss the separated onion rings in the seasoned flour and shake off anything that doesn’t cling lightly. This dry layer gives the egg wash something to hold onto. Next, a quick dip into the egg mixture. Don’t let them soak; just a quick full coat is all they need.
Now for the payoff: the Panko! This is where my biggest tip comes in for these Air Fryer Breading Techniques. Once the ring is in the Panko, you need to press! Seriously, use your fingers to gently, but firmly, push that breadcrumb crust all over the ring. A casual toss won’t do it. I like to lay them on a wire rack immediately after coating. This lets any excess moisture escape while they sit for a minute before heading to the preheated air fryer basket. If you want them extra hardy, chilling them for fifteen minutes before cooking is my trick!
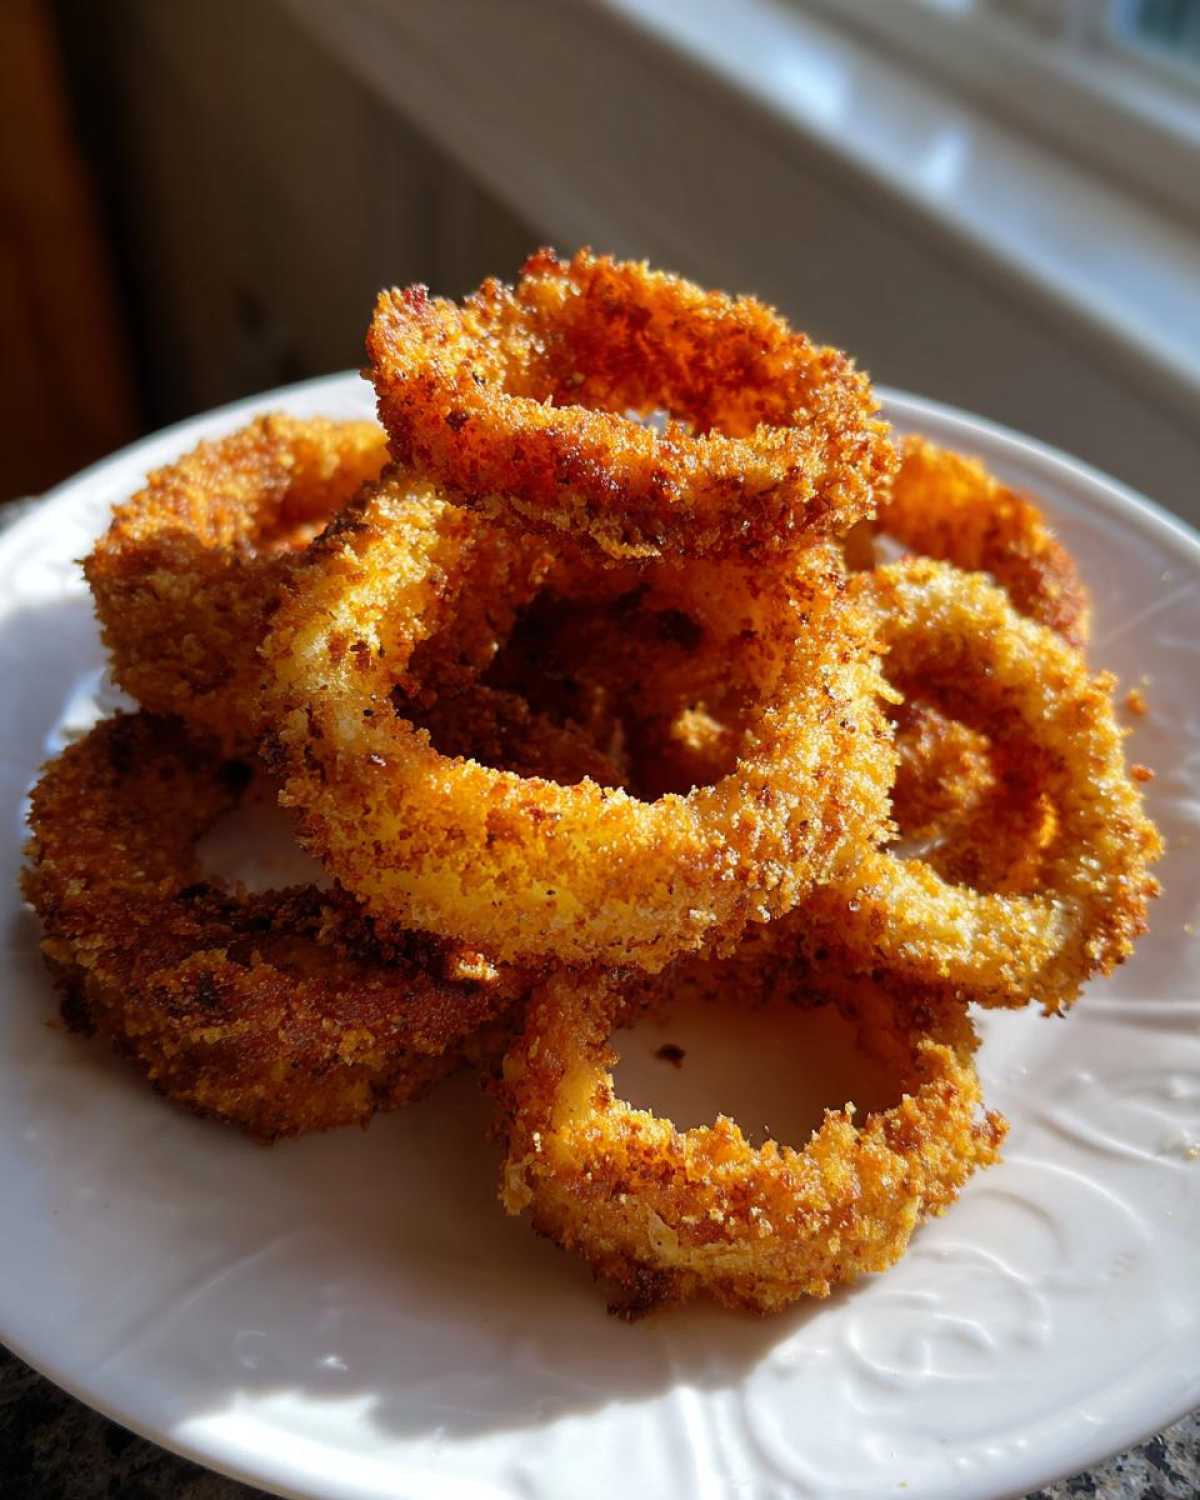
This process is key to pulling off Perfect Air Fryer Rings that don’t shed their coating mid-air fry. If you need other ideas for using your air fryer, you should definitely check out my tips on making perfect shrimp while the oven is cold!
Step-by-Step Instructions: How to Make Crispy Onions in Air Fryer
Okay, we’ve got our onions coated and they’re looking gorgeous. Now for the easy part! The absolute first thing you need to do—and don’t skip this, because air fryers hate cold baskets—is preheat! Set your machine to the magic temperature we discovered for these beauties.
Here’s the process, nice and simple. I’ve numbered it so you can follow along easily:
- First things first: Get that air fryer hot! Preheat to 380°F (195°C).
- Give the basket a quick, light spray with your oil. This helps prevent any sticking right off the bat.
- Carefully place your breaded rings into the basket. This is crucial: they need to be in a single layer. If you stack them up, they steam instead of crisping, and we just spent all that time making sure that Panko was stuck tight!
- If you have a ton of rings, work in batches. Seriously, cramming them in is the number one way to end up with soggy, sad results. We want these to be Perfect Air Fryer Rings!
- Once the first batch is in, you need to finish setting them up for success. Give the tops a very light misting of cooking spray. This little bit of oil is what helps drive that deep golden color and extra crispiness.
- Set your timer! They cook fast, usually between 10 and 12 minutes total.
See? That was barely anything! For more tips on crispy items, my recipe for air fryer potato chips uses the same low-oil philosophy.
Setting the Air Fryer Onion Ring Cooking Time Temperature
We settled on 380°F (195°C) because it cooks the onion through before the outside burns, which is a delicate balance! The total cooking time usually ends up being 10 to 12 minutes, but you must, must, *must* flip them halfway through. That’s usually around the 5 or 6-minute mark, depending on what your specific machine likes.
When you flip them over, the bottom side will look good, but the top side needs that second hit of heat activation. So, before you close the basket again, give the second side another tiny, light spray of cooking spray. That ensures beautiful, even browning across the whole batch. When they come out looking deep golden brown and they feel rigid when you tap them, they’re done. Serve them instantly!
Tips for Success with Homemade Onion Rings Air Fryer No Oil
You want that *truly* crispy result when making Homemade Onion Rings Air Fryer No Oil, or at least, almost no oil! Remember, we are using a light misting of spray, not zero oil, which is what really gets the crunch going. If your coatings are falling off, try my favorite trick: pop those breaded rings onto a wire rack and stick them in the freezer for about fifteen minutes.
Chilling the coated rings firms up the coating and helps it adhere perfectly during that crucial first few minutes in the air fryer. That’s a game-changer, trust me.
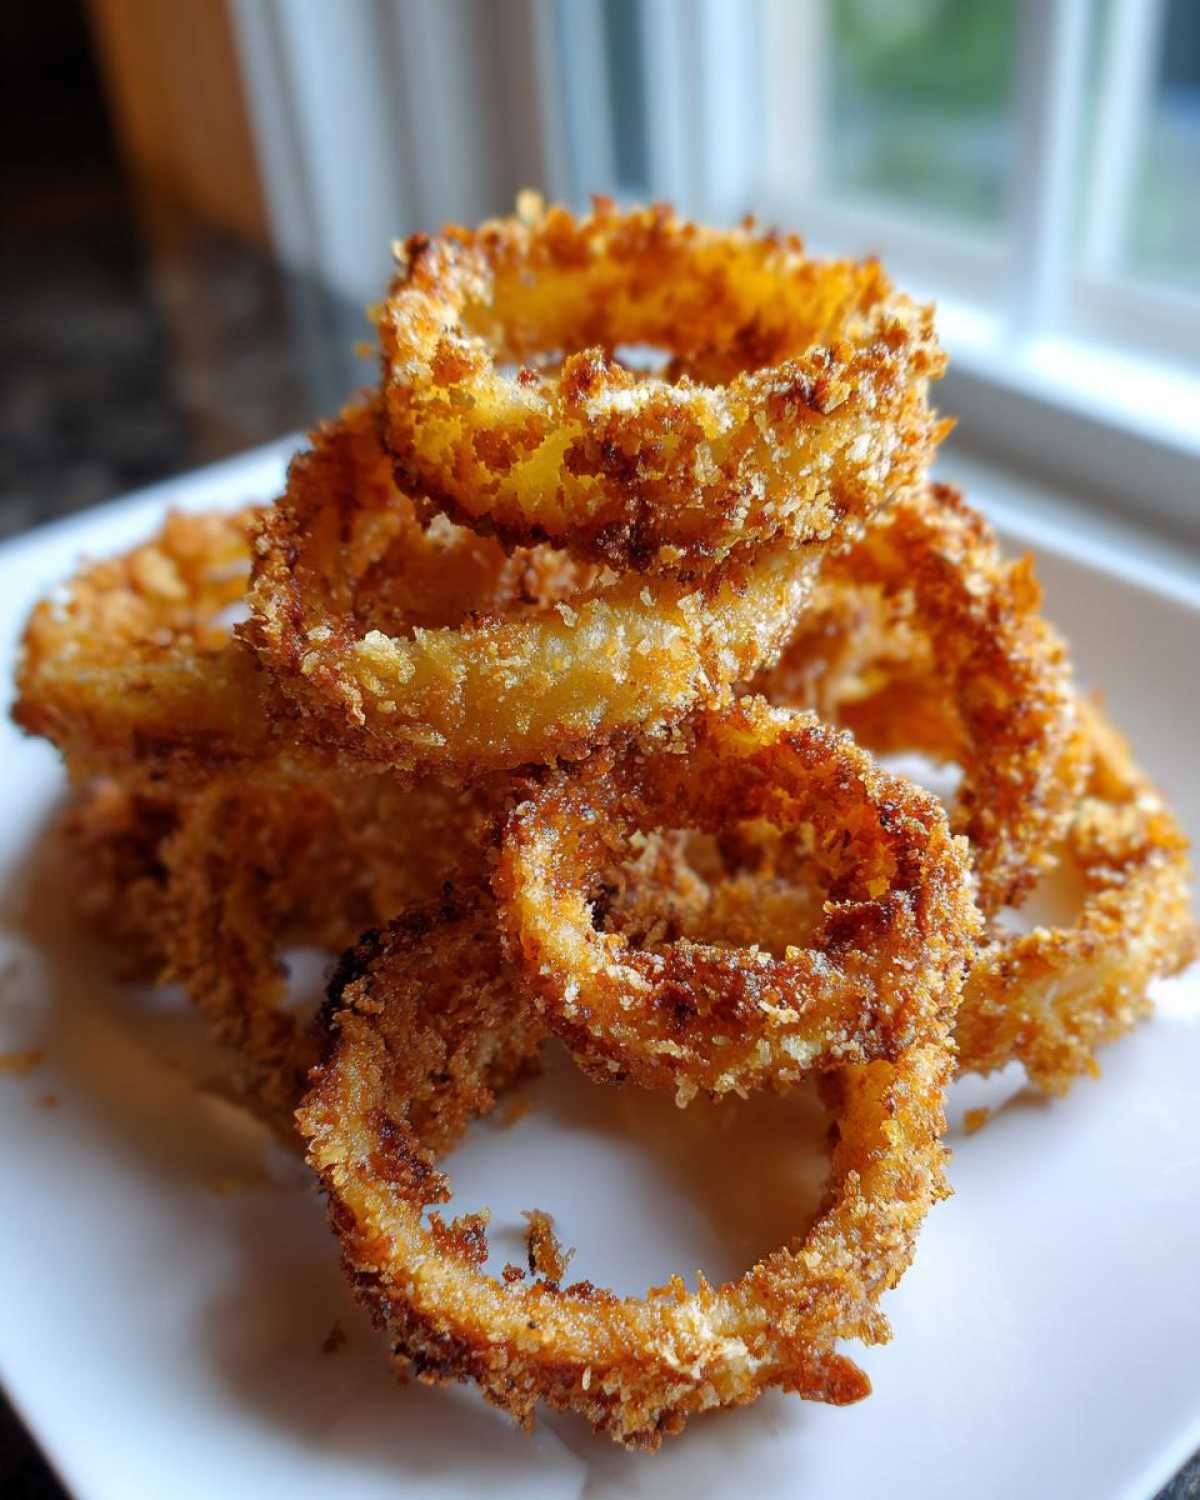
How do you know when they’re done? Forget pale gold! These need to be a rich, deep golden brown. If they look pale, they aren’t crispy yet. You can check out my dipping sauce pairing ideas later on if you need inspiration for what to serve them with; I have a fantastic spicy one that goes perfectly with crispy shrimp, which uses a similar flavor profile!
Serving Suggestions for Your Easy Air Fryer Appetizer
Now that you’ve got these perfectly crunchy Air Fryer Onion Rings—which, I’ll say again, are seriously the best!—you can’t just serve them plain, right? Half the fun of an appetizer, even a healthy homemade one, is having something delicious to dunk it into. This is where you take your Easy Air Fryer Appetizer from great to legendary!
I usually keep three jars going on game day because everyone has a favorite. You don’t need fancy stuff; just a little mixing skill and you’re done. Here are the three players I always whip up:
- Spicy Mayo Bomb: This is my favorite. It’s just half a cup of good quality mayonnaise mixed with two tablespoons of Sriracha—or if you feel brave, use a dash of your favorite hot sauce. A tiny squeeze of lime juice brightens it up immediately. It’s creamy with a kick!
- Classic Ranch Upgrade: Use your favorite store-bought ranch, because we’re already making onion rings from scratch, and sometimes you need a shortcut! To make it special, mix in a teaspoon of smoked paprika and a pinch of dried dill. Way better than straight from the bottle.
- Sweet & Tangy Honey Mustard: This is great if you’re serving kids or just prefer something less spicy. Mix equal parts Dijon mustard and mayonnaise, then stir in one tablespoon of real honey. Some people like adding a tiny splash of apple cider vinegar to cut the sweetness, but I usually leave it super simple.
Dunking is mandatory, folks! You want to save room for seconds of those crispy rings, so don’t overdo it—but you definitely need a sauce on the side. If you are looking for another fun little sweet treat to make sometime, check out how I whip up easy homemade marshmallows; they are shockingly simple!
Troubleshooting Common Air Fryer Onion Ring Issues
Even with the best directions, sometimes the air fryer gods just aren’t smiling on us, right? Don’t panic if your first batch acts up! Air fryers are powerful little beasts, but they have quirks. Figuring out what went wrong is half the battle in mastering these Perfect Air Fryer Rings.
I’ve been there myself, pulling out rings where the beautiful Panko crust decided to vacate the premises mid-cook. Here are the three big problems I hear about most often and how I fix them *every single time*.
Problem 1: The Breading is Evaporating!
If your coating is sloughing off, it almost always means you didn’t press hard enough during that third dredging step, or you skipped the optional chilling time. Remember that tip I gave you in the dredging section? You have to physically press that Panko onto the egg-washed onion. Really commit to it! Also, if you haven’t baked the coated items yet, that short fifteen-minute chill in the fridge really lets that coating set up hard, making it way less likely to fall off during the intense hot air bombardment.
Problem 2: My Rings Are Sort of… Limp?
Limpness equals steam, and steam means moisture trapped somewhere it shouldn’t be. This is usually one of two things: either you didn’t preheat your air fryer properly, or you crowded the basket. If the machine isn’t ripping hot when the rings go in, the coating starts steaming before it can crisp. And if you pile them on top of each other, the air can’t circulate around them, so they steam themselves soft right there in the basket. Work in small, single layers, and make sure that basket is screaming hot when you load it up!
Problem 3: One Side is Burnt, and the Inside is Still Cold
This is a classic case of needing to pay attention halfway through. Air fryers push heat from the top element down, so the top always cooks faster. That’s why flipping is non-negotiable for even cooking. If you are seeing some parts get too dark before the others, make sure you are flipping them over and giving that second side a little spritz of oil. That oil spray helps promote that gorgeous, even browning you want across the entire surface.
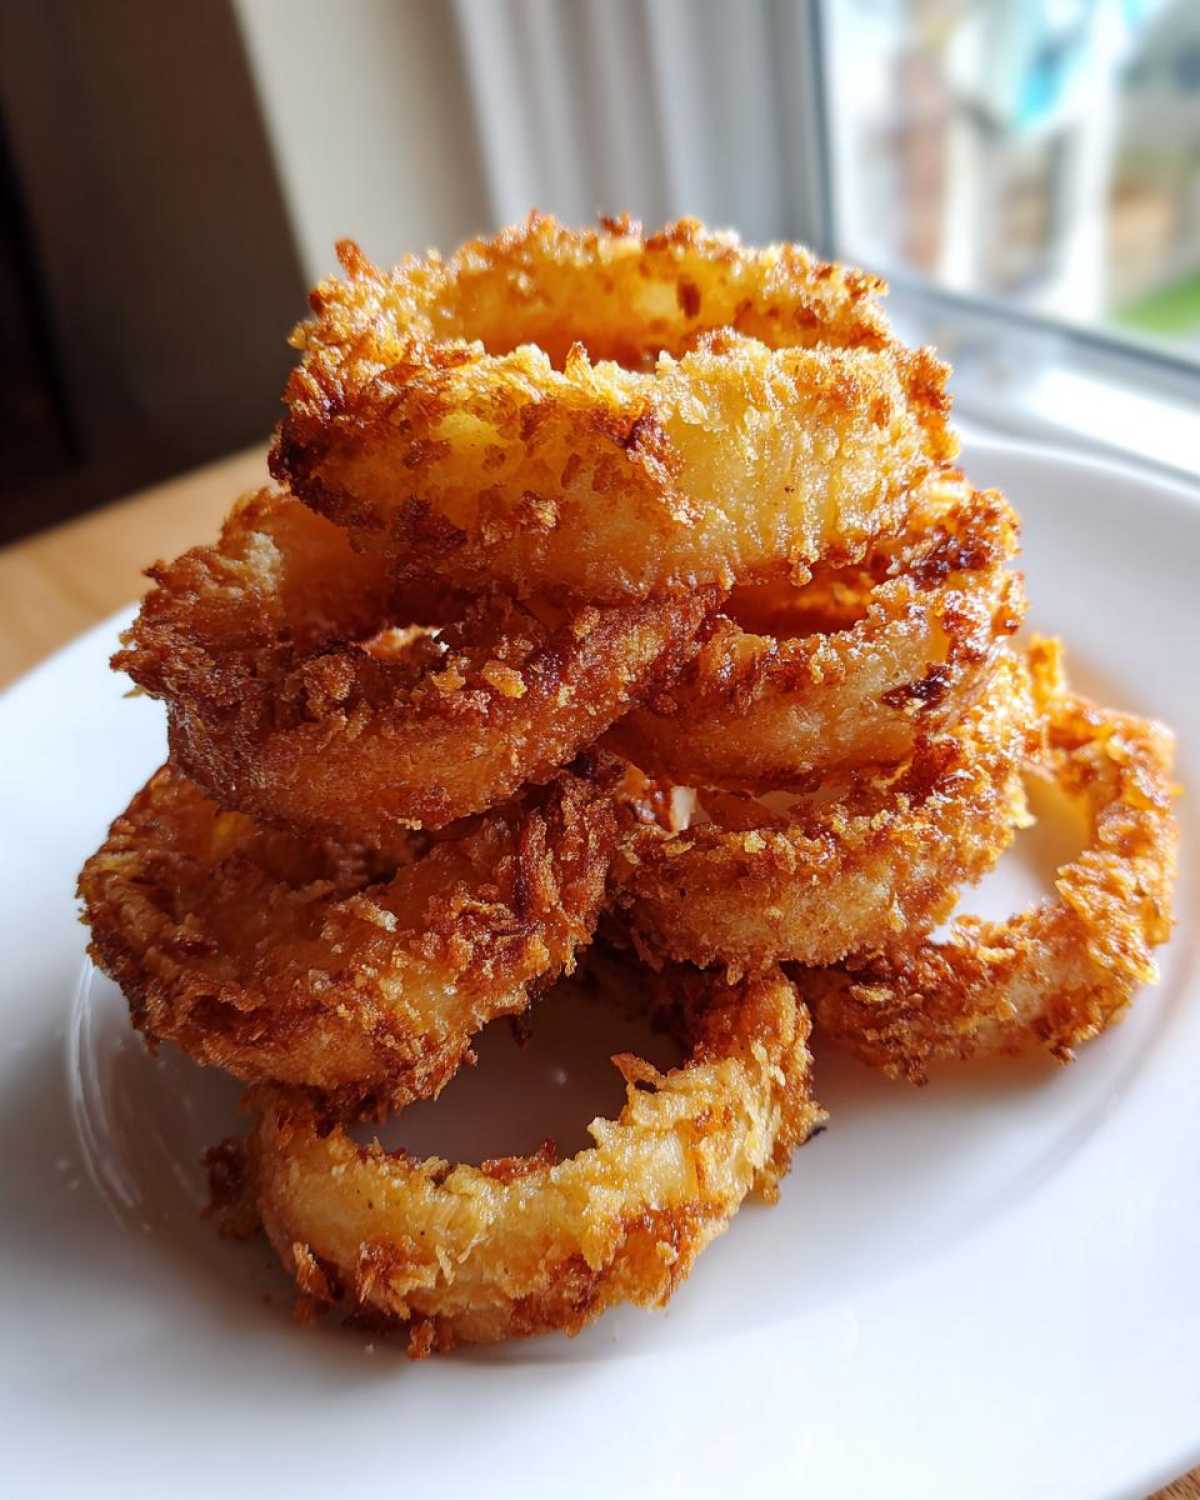
Solving these little hiccups lets you enjoy the best, healthiest fried snack experience possible. If you need other general appliance advice, I’ve got a lot of general kitchen wisdom over on my main blog page!
Frequently Asked Questions About Air Fryer Onion Rings
I get so many emails asking quick little questions once people see how easy these Crispy Air Fryer Onion Rings are! Trying to troubleshoot your first batch can sometimes feel confusing when you’re just trying to get those Perfect Air Fryer Rings, so here are the top five things I always get asked about when people start making Homemade Onion Rings Air Fryer style at home.
Can I use frozen onion rings instead of making them fresh?
You absolutely can! But I won’t lie, the results aren’t quite as epic as when you make them fresh. If you use frozen ones, you skip the whole dredging process, which is awesome for speed. For frozen rings, you want to set your air fryer to 390°F (200°C). You need a slightly higher temperature to blast the initial ice away, and you’ll cook them for about 12 to 15 minutes, shaking the basket every five minutes. Make sure you spray the frozen rings with oil first, too, otherwise, they just dry out!
What is the best temperature for these Air Fryer Onion Rings?
For those beautifully coated, fresh onion rings, I stick firmly to 380°F (195°C). This temperature hits the sweet spot for getting that exterior Panko perfectly golden brown while still allowing the heat time to get the raw onion center tender. If you go much higher, you risk burning that nice breading before the inside is soft. We want Air Fryer Onion Ring Cooking Time Temperature to work *with* the onion, not against it!
Can I make the breaded rings ahead of time?
Yes, you can! This is perfect for entertaining. Prepare the rings all the way through the breading step, place them on a baking sheet lined with parchment paper, and place them in the fridge for up to 4 hours. I actually prefer this chilling step over the freezer one sometimes for the crust texture. You don’t need to adjust the Air Fryer Onion Ring Cooking Time Temperature much if they are fridge-cold, as they are still relatively room temperature compared to frozen.
Why are my rings tasting kind of bland?
Usually, blandness means you skimped on seasoning the flour mixture! The flour is where most of your salt, pepper, and paprika go, so it seasons the coating directly. If your coating tastes bland, your rings will taste bland! Make sure you taste that flour mixture—it should taste slightly over-seasoned on its own because it has to flavor the onion underneath. Don’t forget to check out more general kitchen know-how over on my main blog page, too!
What’s the best way to reheat leftovers to keep them crispy?
Never, ever use the microwave for leftovers if you want to keep them crunchy! The microwave introduces steam, and that steam instantly makes them soggy. The absolute best way to revive them is back into the hot air fryer! Preheat to 375°F (190°C) and cook them for just 3 to 5 minutes, spraying them very, very lightly with cooking spray first. They heat up fast and crisp right back up—it’s like magic!
Storage and Reheating Instructions for Air Fryer Onion Rings
I’m going to be honest with you: these Air Fryer Onion Rings are so perfect right when they come out of the basket that they rarely last long enough to need storage! But when they do linger—maybe you hid a few from the hungry crowd—you need to know how to treat them so they taste fantastic the next day. The goal here is preserving that amazing crispiness we worked so hard for during the breading stage.
First and foremost, you must let them cool down completely before storage. If you put warm onion rings into a sealed container, the residual steam gets trapped, and you are basically baking them into mush overnight. Let them sit out on the counter until they reach room temperature. Then, transfer them to an airtight container.
If you’re leaving them out for just a day, the counter is fine. For anything longer than 24 hours, definitely pop that container in the fridge. They won’t be as good as fresh, but they will survive!
Bringing Back the Crunch: Reheating in the Air Fryer
This is the most important tip for leftovers: if you love crunch, you must avoid the microwave. The microwave heats the water molecules inside the onion and the coating, turning everything instantly soft and chewy. We want them rigid and crispy again!
The air fryer is your best friend for revival. You need to set the temperature a little lower than the initial cook—remember, we aren’t cooking raw food; we are just warming them through and drying out the surface moisture. I set mine to 375°F (190°C).
Toss the cooled rings lightly with a tiny spritz of oil—just enough to sheen them up—and place them back into the air fryer basket in a single layer! Don’t overlap them, or they will stay soft in the middle. Cook them for about 3 to 5 minutes. Keep an eye on them! They heat up incredibly fast. When they are hot all the way through and you hear that glorious little *snap* when you pick one up, they are ready to go.
If you want to get extra fancy with your reheated rings, a quick brush of flavorful topping works wonders. You might want to check out my recipe for easy homemade garlic butter—a tiny brush of that on the reheated rings makes them taste almost brand new!
PrintCrispy Air Fryer Onion Rings
A straightforward recipe for making crispy homemade onion rings using an air fryer with minimal oil.
- Prep Time: 20 min
- Cook Time: 12 min
- Total Time: 32 min
- Yield: 4 servings
- Category: Appetizer
- Method: Air Frying
- Cuisine: American
- Diet: Vegetarian
Ingredients
- 2 large yellow onions
- 1 cup all-purpose flour
- 1 teaspoon salt
- 1/2 teaspoon black pepper
- 1/2 teaspoon paprika
- 2 large eggs
- 1 tablespoon water
- 1 1/2 cups Panko breadcrumbs
- Cooking spray (oil-based)
Instructions
- Slice the onions into 1/4-inch thick rings. Separate the rings and set aside.
- Prepare the dredging stations. In the first shallow dish, mix the flour, salt, pepper, and paprika.
- In the second shallow dish, whisk the eggs and water together.
- In the third shallow dish, place the Panko breadcrumbs.
- Dredge each onion ring first in the flour mixture, shaking off excess.
- Dip the floured ring into the egg mixture, letting excess drip off.
- Coat the ring thoroughly in the Panko breadcrumbs, pressing gently to adhere. Place coated rings on a wire rack.
- Preheat your air fryer to 380°F (195°C).
- Lightly spray the air fryer basket with cooking spray.
- Arrange the onion rings in a single layer in the basket. Do not overcrowd the basket; work in batches if necessary.
- Spray the tops of the onion rings lightly with cooking spray.
- Air fry for 10 to 12 minutes, flipping the rings halfway through the cooking time. Spray the second side lightly with cooking spray before flipping.
- Continue cooking until the rings are golden brown and crispy.
- Remove from the air fryer and serve immediately.
Notes
- For extra crispiness, chill the breaded rings for 15 minutes before air frying.
- If you prefer a thinner coating, use regular breadcrumbs instead of Panko.
- Use a neutral oil spray like avocado or canola oil for the best results.
Nutrition
- Serving Size: 5 rings
- Calories: 280
- Sugar: 6
- Sodium: 350
- Fat: 7
- Saturated Fat: 1
- Unsaturated Fat: 5
- Trans Fat: 0
- Carbohydrates: 48
- Fiber: 3
- Protein: 8
- Cholesterol: 75