

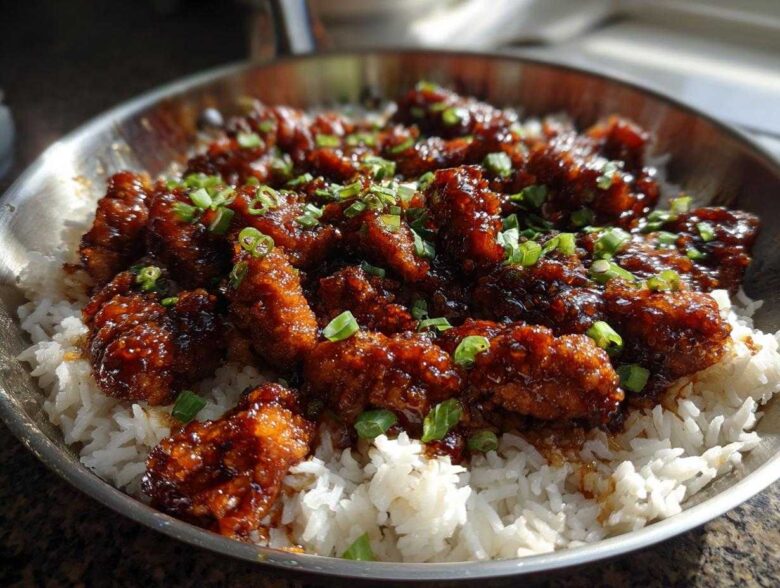
Oh, weeknights! Aren’t they just the worst when you’re trying to wrangle dinner without dirtying half your kitchen cabinets? I used to stare into the fridge, defeated, usually ending up ordering takeout. But that all changed the day I finally nailed this Honey Garlic Chicken Skillet with Rice. Seriously, this recipe is my weeknight savior!
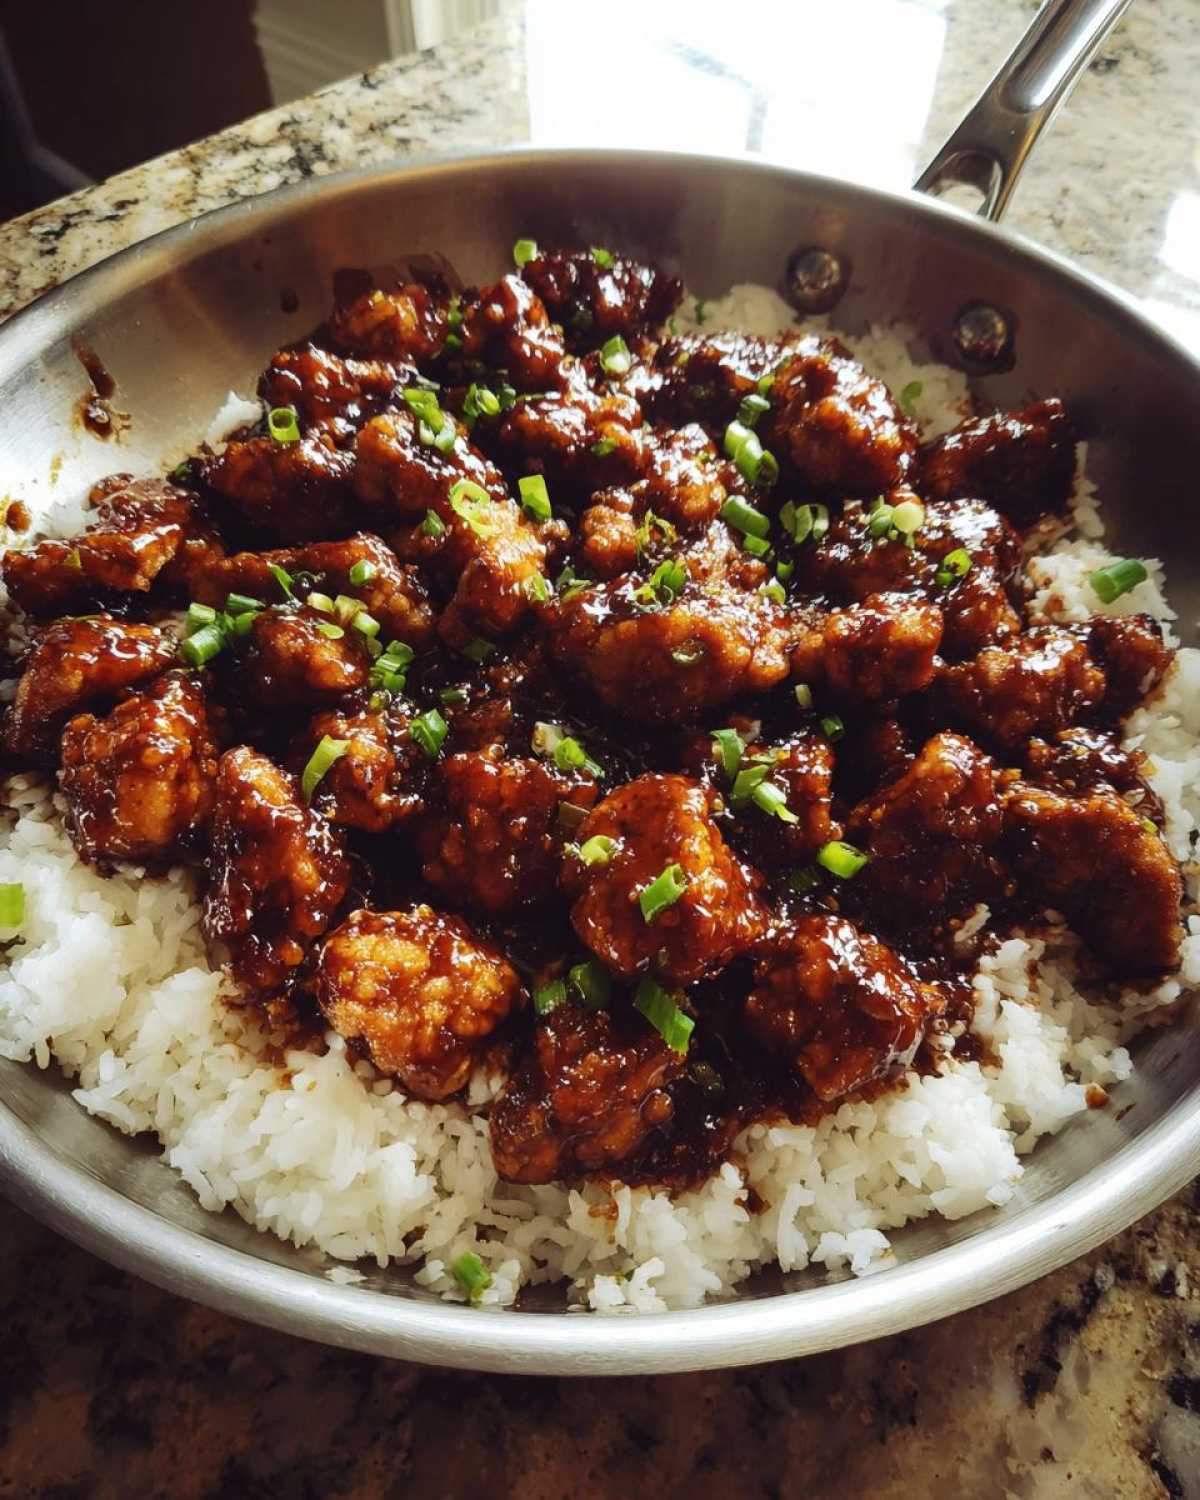
It’s the complete meal—tender chicken bathed in the stickiest, shiniest honey garlic sauce you’ve ever made, paired with rice that steams right there in the same pan. Can you believe it? We’re talking maximum flavor payoff for minimal dishwashing. That perfect balance of savory soy and sweet, sticky honey—I spent ages tinkering with the ratios to get that glaze exactly right, and trust me, this is the foolproof version.
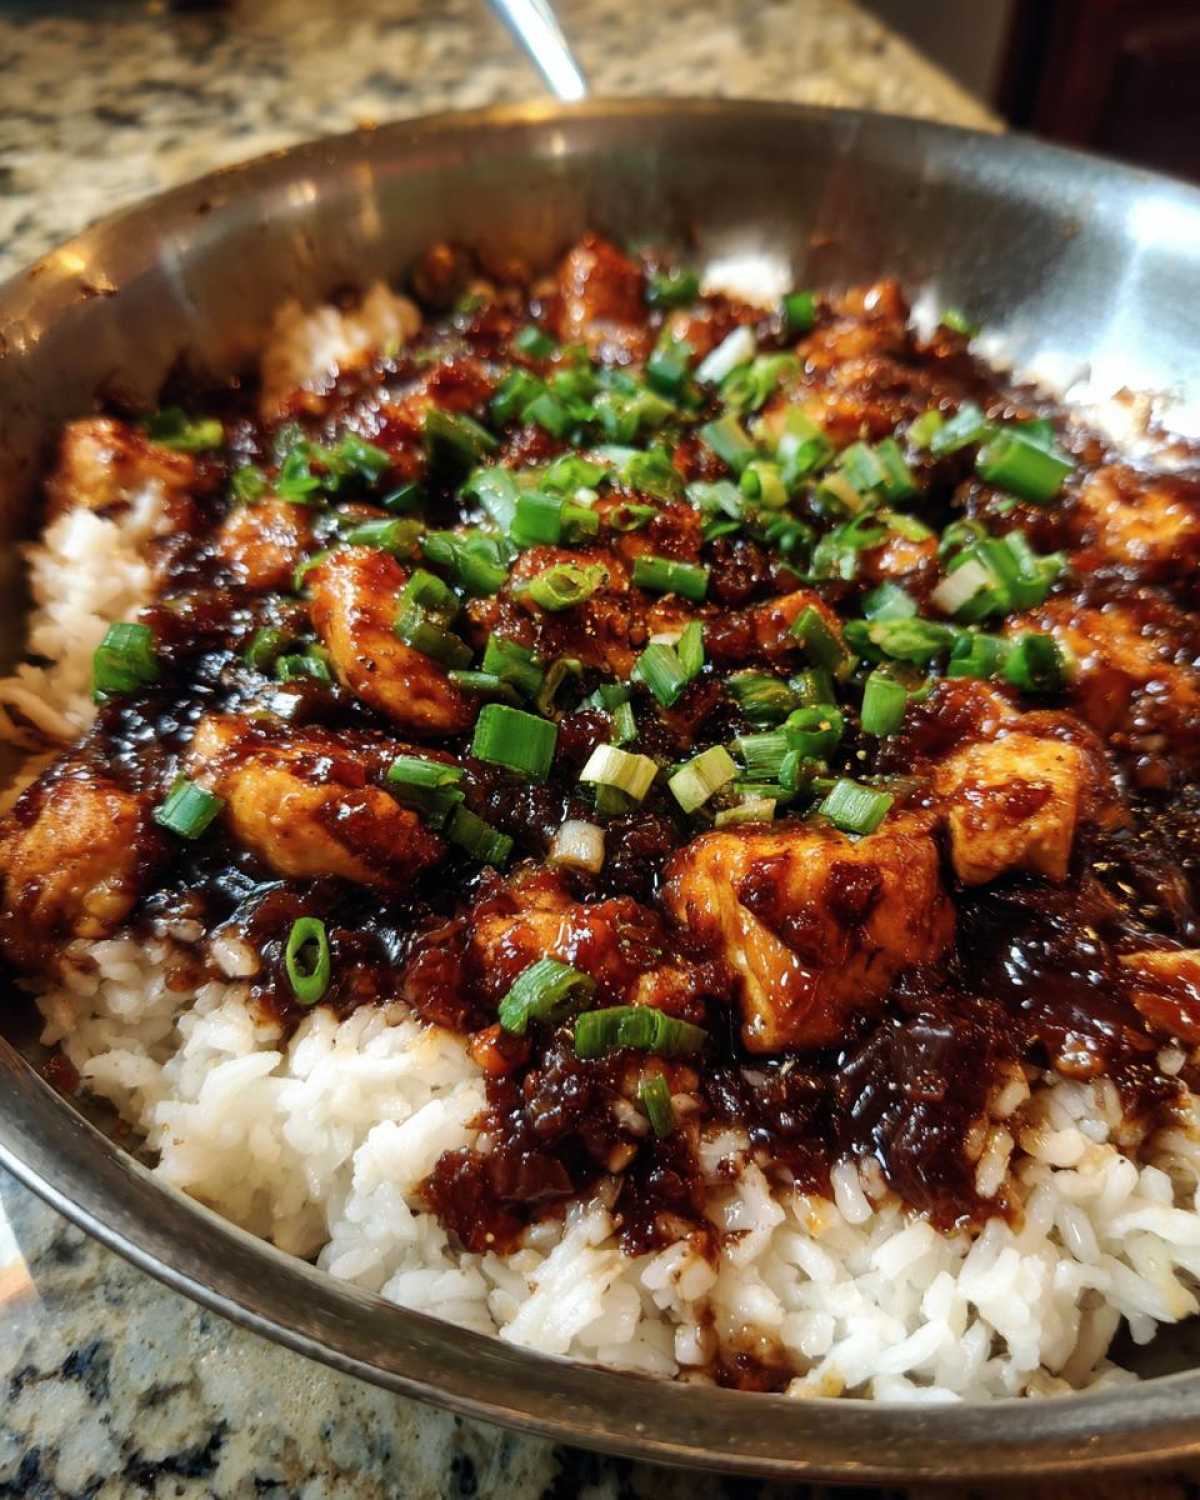
If you’re looking for one of those magic One Pan Chicken and Rice Meals that tastes like you spent way more time on it than you actually did, you’ve found your spot! You can see more of my favorite quick hits over on my latest blog posts!
Why You Will Make This Honey Garlic Chicken Skillet with Rice Every Week
I know what you’re thinking: “Another one-pan meal that leaves the rice gummy?” Nope! Not this recipe. I promise you that this Easy Honey Garlic Chicken and Rice recipe actually delivers on its promises. It’s earned a permanent spot in my rotation, and it’s about to be yours too. Why? Because it checks all my boxes for a perfect weeknight dinner.
- Cleanup is Almost Non-Existent: We’re using one deep skillet from start to finish. That means less scrubbing and more time relaxing after work. It’s the ultimate Minimal Cleanup Chicken Dinner solution!
- Flavor Bomb Alert: That sauce isn’t just sweet; it’s that complex, savory-sweet glaze you usually only get at restaurants. The garlic and ginger toast right in the pan, giving everything a massive flavor base before the liquid even goes in.
- It’s Truly a Complete Meal: We’re not making chicken and then scrambling to boil water for some sad side rice. Rice, broth, and chicken all finish cooking together, absorbing all those amazing honey-garlic juices.
- Speed Demon: If you chop your chicken quickly and have your ingredients measured out, you are looking at less than 40 minutes total time. It easily qualifies as one of my favorite 30 Minute Honey Garlic Chicken options. I linked another quick cleanup favorite if you want more ideas!
You just won’t believe how tender the chicken stays while the sauce thickens perfectly around the fluffy rice. It’s truly a showstopper for such little effort.
Essential Ingredients for Your Honey Garlic Chicken Skillet with Rice
Okay, listen up. The magic of any great Stovetop Chicken and Rice Recipe is making sure you have the right building blocks before you even turn on the heat. For this Honey Garlic Chicken Skillet with Rice, organization is everything, especially since we aren’t using separate pots. Get everything prepped first, and this cooking process flies by!
I always lay everything out on the counter so I can see it all. No hunting for the soy sauce lid when the chicken is already browning, trust me! You want these specific items ready to go:
- Boneless, skinless chicken breasts (about 1.5 lbs), cut into messy, easy 1-inch pieces. Don’t worry about uniform sizes too much; they catch the sauce beautifully anyway!
- One tablespoon of olive oil for that initial sear. Just plain good quality stuff is fine here.
- One cup of long-grain white rice. Crucial step: make sure you’ve given it a good rinse under cold water until the water runs almost clear. This washes off excess starch and helps keep our skillet rice fluffy instead of gummy.
- Two cups of chicken broth. This is the main liquid for both steaming the rice and thinning the sauce base.
- The flavor stars: Half a cup of honey (yes, that much—it makes that beautiful glaze!), a quarter cup of soy sauce, and two tablespoons of rice vinegar. The vinegar is key; it cuts through the sweetness just enough so it doesn’t taste like dessert.
- Four cloves of garlic, minced. Don’t skimp here! This is where so much of the “garlic” in the honey garlic comes from.
- One teaspoon of ground ginger and half a teaspoon of black pepper for depth.
- And for that final thickening moment (the part that makes it truly sticky), mix one tablespoon of cornstarch with two tablespoons of cold water separately. This is called a slurry, and it’s your secret weapon.
- Finally, grab two green onions, sliced thin, to toss on top at the very end. That touch of freshness really pops against the rich sauce.
If you ever need a substitute for the oil or just want to add some extra depth of flavor to your base liquids, check out my thoughts on making easy homemade garlic butter—it works wonderfully here when swapped in for the olive oil!
Step-by-Step Guide to the Best Sticky Honey Garlic Sauce
Okay, the chicken is seared and waiting patiently, and now it’s time to build the real star of the show: that glorious, thick, flavorful sauce. This is what separates a good stir-fry from a truly great Garlic Honey Glazed Chicken Meal. You want that beautiful, shiny coating on every single grain of rice and piece of chicken, right?
In that same skillet, with all those beautiful brown bits leftover from the chicken clinging to the bottom, you’re going to toss in your liquids. Whisk together the honey, soy sauce, rice vinegar, minced garlic, and ginger right there in the pan. Bring that mixture up to a gentle boil over medium heat. It smells absolutely incredible at this stage, I swear! You have to resist the urge to taste it yet because it’s too thin.
Next up is the secret to making it actually sticky—the slurry. Remember how we mixed that cornstarch and cold water? Slowly drizzle that mixture into your simmering sauce while stirring constantly. Watch how quickly it transforms! Within about 60 to 90 seconds, that thin liquid turns into a rich glaze capable of coating your chicken perfectly. I found over at this linked recipe that they use a similar technique for their thighs, which confirms this method works wonders for the sauce texture.
Expert Tip for the Best Sticky Honey Garlic Sauce
Here’s a little something I learned the hard way: when you’re adding your ginger, please, please use *freshly grated* ginger if you have it, not the dried powder. Fresh ginger has an almost floral, sharp bite that stands up beautifully against the richness of the honey. If you use dried ginger, you risk it tasting dull or muddy once it simmers down. Fresh ginger truly elevates this entire Simple Sweet and Savory Chicken dish!
Cooking the Chicken and Preparing the Rice in the Honey Garlic Chicken Skillet with Rice
This is where the “one-pan magic” really kicks in! We need to build layers of flavor here, starting with a good sear on our chicken pieces. Make sure that large, deep skillet is nice and hot over medium-high heat with your olive oil shimmering. Toss in those seasoned chicken chunks and let them get a good, golden-brown crust on all sides. This searing step takes about 5 to 7 minutes total. Don’t crowd the pan, or they’ll steam instead of brown! Once they look beautiful and browned, scoop them out onto a clean plate and set them aside. They aren’t going back in until the very end, so don’t worry that they aren’t fully cooked yet.
Now comes the move that feels slightly counter-intuitive but is essential for our One Pan Chicken and Rice Meal success: toasting the rice. Immediately after the chicken comes out, drop your rinsed rice straight into that hot pan. Stir it constantly for just one minute. You want every grain kissing that oily, flavorful bottom of the pan—this step helps keep the rice from getting mushy later on. You’re prepping the stage for the Perfectly Cooked Skillet Rice!
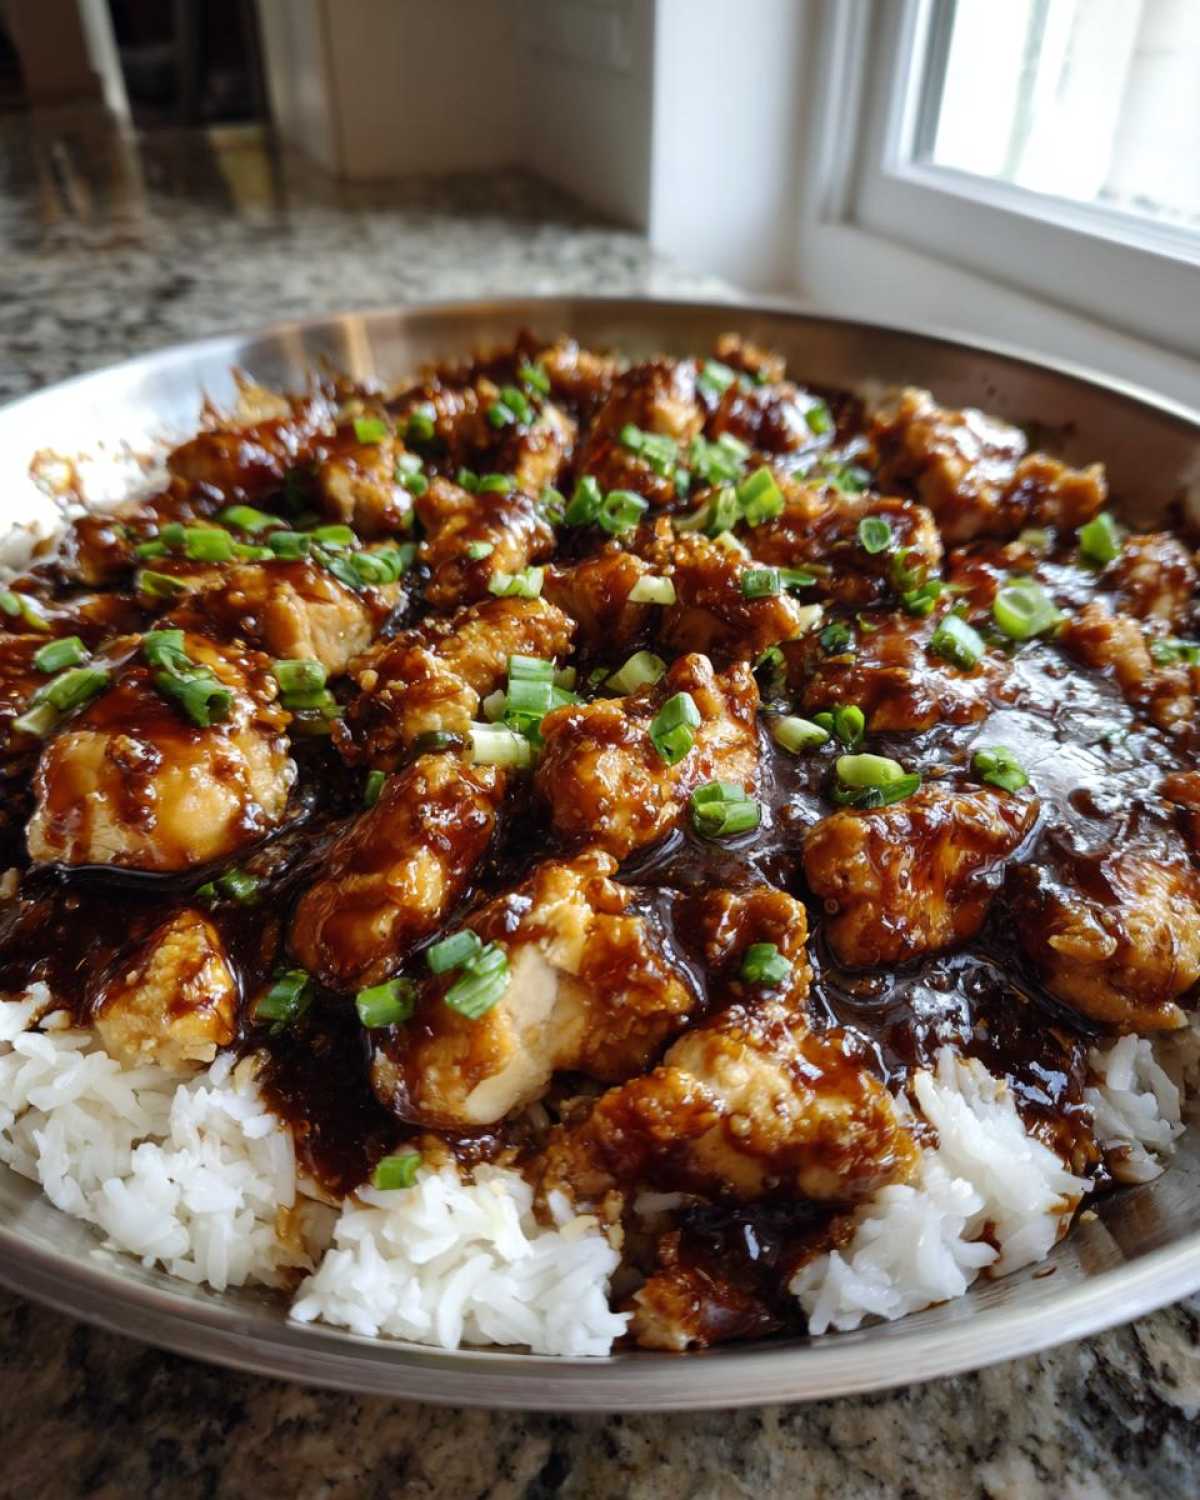
Once toasted, immediately pour in all your cooking liquids: the chicken broth, honey mixture, soy sauce, vinegar, garlic, ginger, and pepper. Give it one good, authoritative stir to lift any browned bits clinging to the bottom—that’s pure flavor gold! Then, you immediately reduce that heat way, way down to low, cover the skillet TIGHTLY, and let it simmer undisturbed for 15 minutes. Seriously, treat that lid like it’s sealed with wax! Remember, chicken is safe to eat when it hits 165°F internal temperature, and it’ll get there during the second simmer phase, but we have to let the rice do its thing first without releasing all that precious steam.
Achieving Perfectly Cooked Skillet Rice
The secret to getting our rice just right in this Stovetop Chicken and Rice Recipe is all about trusting the timing and the steam. Once you’ve covered the skillet on low heat, you absolutely must resist the urge to peek! Lifting the lid releases the steam needed to cook those starchy grains evenly. Fifteen minutes is the sweet spot for long-grain white rice when paired with this much liquid. You just let it go. When the 15 minutes are up, that’s when we gently bring the chicken back into the mix.
After returning the seared chicken, it goes back under the same tight lid for just five more minutes. This second steam bath allows the chicken to gently finish cooking through to that safe 165°F temperature while the rice soaks up any last bit of broth remaining. You’ll notice the rice is tender and nearly all the liquid is gone by the time this second phase is over. I actually learned a lot about different searing methods when I was researching crispy chicken thigh techniques, and that initial high-heat searing is always the key to locking in flavor!
Finishing Touches for Your Family Friendly Chicken Skillet
We are so close to eating, I can almost smell that sweet and savory aroma mixed with toasted garlic! After that second 5-minute steaming period for the chicken and rice, it’s time for the grand finale. Take the lid off, and you’ll see that most of the broth is gone, but the mixture might still look a little too soupy. We need that thick, luscious coating for our Family Friendly Chicken Skillet!
Grab that cornstarch slurry—the cold water and cornstarch mix we made earlier. Give it one last quick stir because cornstarch loves to settle at the bottom. Slowly drizzle that slurry into the skillet while stirring everything together gently. Don’t just dump it! We want to keep the rice intact.
Turn the heat up just slightly to medium, and let it cook, uncovered, for only one to two minutes. You will physically watch the sauce transform. It goes from a thin liquid to a beautiful, syrupy glaze that clings perfectly to the chicken and rice. Stop stirring right when that glossy coating happens. You need to be awake for this bit, because if you leave it too long, you might end up with the dreaded sticky bottom of the pan, even though this is a Quick Skillet Dinner Recipe!
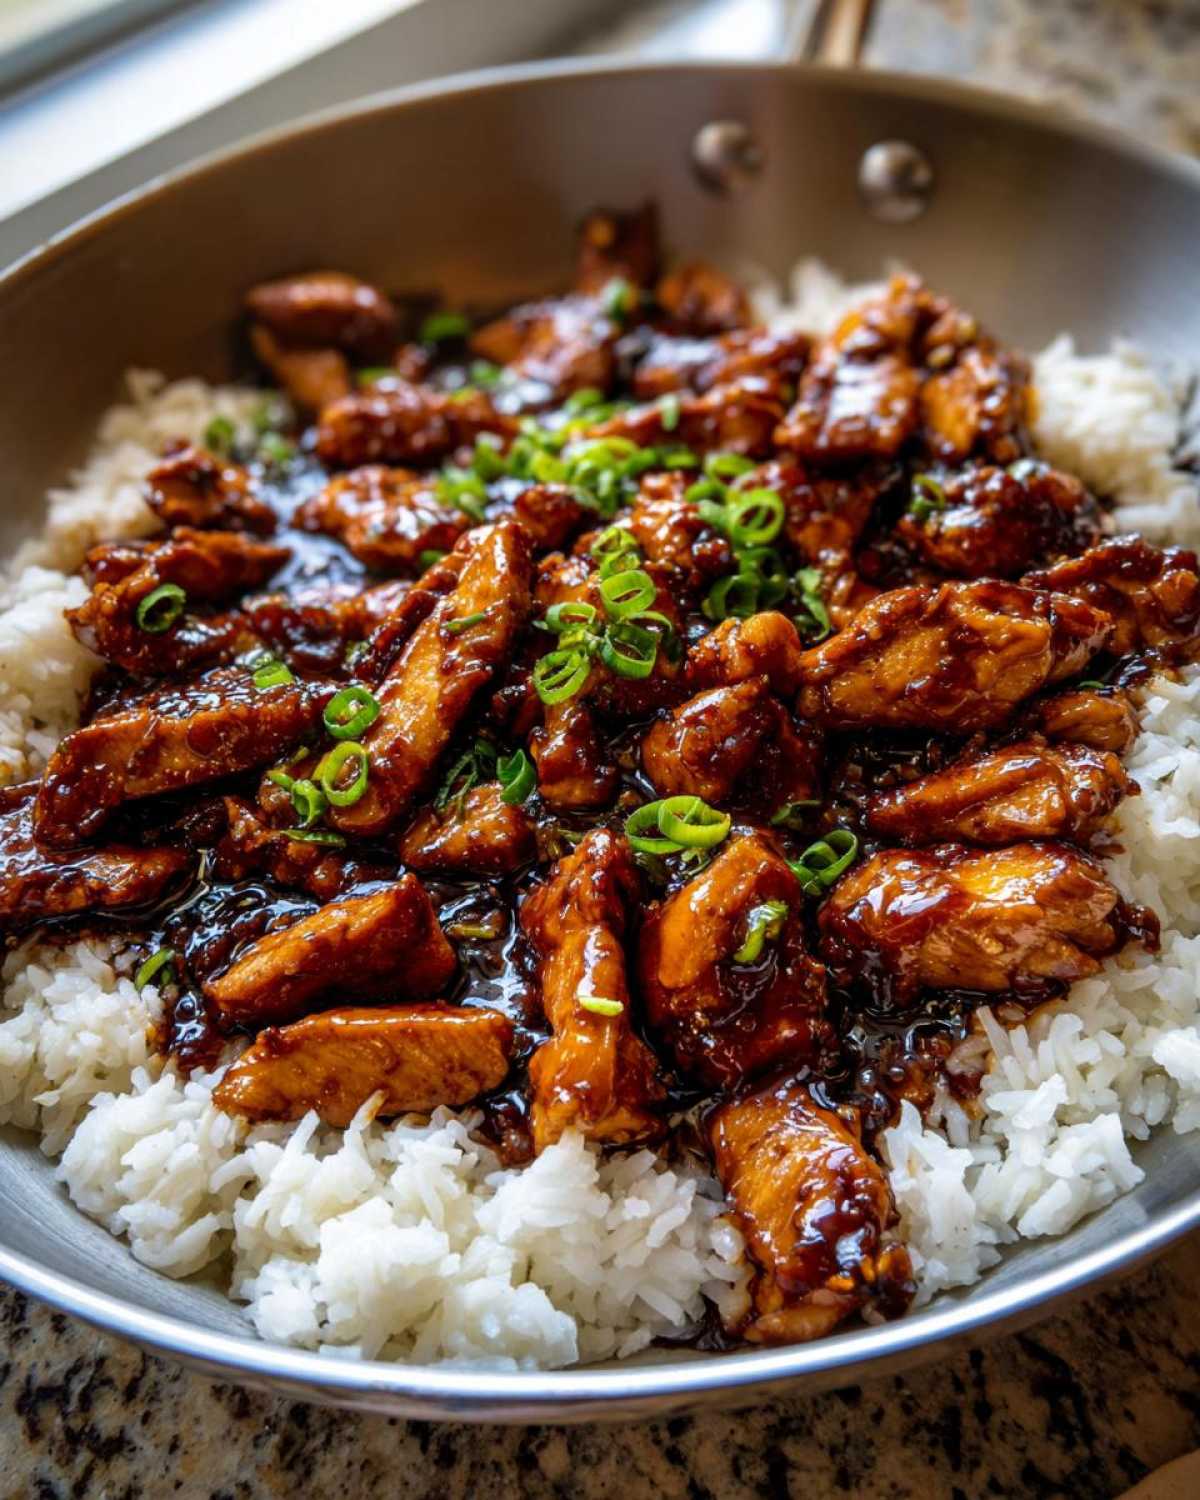
Once the sauce is clinging perfectly, kill the heat immediately. This is my most crucial piece of advice for this dish: take the whole skillet off the burner and let it just sit there, uncovered, for five minutes. This resting time is non-negotiable! Those final five minutes allow the sauce to fully set up and the residual heat gently finishes steaming the rice grains to fluffy perfection without turning them mushy. It also lets the chicken relax a bit. After resting, toss those sliced green onions over the top, give it one last gentle fold—and dig in! I look at other quick stovetop meals, but nothing beats the simplicity of this easy chicken and rice bake for pure hands-off ease, but this skillet version has better sauce control!
Ingredient Notes and Flavor Variations for Honey Garlic Chicken Skillet with Rice
So, you’ve mastered the core Honey Garlic Chicken Skillet with Rice, but maybe you want to mix it up next time because, let’s be honest, eating the same thing three nights in a row is boring, even if it’s delicious! I love playing around with this recipe because the sauce base is so forgiving. It’s all about smart swaps and additions that keep the integrity of that **Sticky Honey Garlic Sauce** intact.
First off, let’s talk sweetness. If you find this dish a tad too sweet for your liking—maybe you’re sensitive to honey, or perhaps your honey brand is naturally sweeter—you have a really easy fix. My notes suggest cutting back the honey by one good tablespoon and kicking in about a teaspoon of dark brown sugar instead. The brown sugar adds a little molasses note that complements the soy sauce beautifully, balancing the overall savoriness. It’s a subtle change, but it makes a difference if you aren’t a huge sweet-and-savory fan!
Now, if your family demands vegetables with their dinner (mine certainly does!), this is one of the easiest Weeknight Chicken and Rice Ideas to bulk up. Since the rice cooks in the last 20 minutes sitting under the lid, you need veggies that can handle that steam bath or those that can be added right before the very end.
The best time to introduce them is right when you stir the rice back in during step 6, or maybe during that final simmer when you check on the rice. About a cup of frozen peas or chopped broccoli florets works wonderfully. They thaw and steam perfectly in that remaining liquid. You just need to stir them in gently with the chicken and cover it back up for those final five minutes. They absorb just enough of the sauce flavor without getting completely soaked.
If you really want to punch up the garlic flavor—and seriously, who doesn’t?—you can always swap out that initial olive oil for some homemade garlic butter! I often use a ratio of that butter right before searing the chicken. It adds a richer mouthfeel and layers in loads of extra garlic goodness. You can read about how I whip up my favorite batch over on my garlic butter parmesan chicken bites recipe—it’s easily adaptable here!
The main takeaway is this: the honey-soy-vinegar-ginger combo is the backbone. Toss in whatever sturdy veggies you have on hand—diced carrots or bell peppers work too, just add them during the initial rice toasting stage so they soften up while the rice simmers!
Storage and Reheating Instructions for Leftover Honey Garlic Chicken and Rice
Because this Honey Garlic Chicken Skillet with Rice is so unbelievably tasty, you’ll probably have leftovers—which is a good thing! Once everything has cooled down slightly, transfer the chicken and rice mixture into an airtight container. It will keep beautifully in the fridge for about three or four days. I try not to push it past four days, just because the rice texture can get a little firm.
When you’re ready to reheat, I have two methods I swear by. For a quick fix, use the microwave—cover it loosely with a paper towel and heat in 45-second bursts, stirring in between. If you have a few extra minutes, the stovetop is better for maintaining that fluffy rice! Just toss a splash of broth or water into a small saucepan, add the leftovers, cover, and heat gently on low until warmed through. Keep that heat low, or you’ll risk turning the bottom layer into a sticky brick!
Frequently Asked Questions About This Stovetop Chicken and Rice Recipe
I always get so many questions when people try this dish for the first time, and that’s great! It just proves how many people are looking for a fantastic Quick Skillet Dinner Recipe like this one. Here are the ones I hear most often about making the best Honey Garlic Chicken Skillet with Rice.
Can I substitute the long-grain white rice with brown rice in the Honey Garlic Chicken Skillet with Rice?
Oh, you absolutely *can* swap in brown rice, but you need to adjust your expectations and your ratios! Brown rice is much heartier, so it needs more time and more liquid to cook properly. Since we are specifically aiming for a 30 Minute Honey Garlic Chicken meal, using brown rice will push you closer to 45 or 50 minutes of total cooking time. When using brown rice, I recommend adding about a half cup more chicken broth—maybe even three-quarters a cup more—and letting that initial covered simmer go for a full 25 minutes before you add the chicken back in for the second steam. Keep the lid on tight!
What is the best way to ensure the chicken stays moist?
Moisture is all about technique, not just ingredients! There are two moments in this Stovetop Chicken and Rice Recipe that lock in the tenderness. First, that initial sear! Medium-high heat and getting real color on the chicken pieces ensures the outside cooks quickly and seals in the juices before we pull it out. Don’t overcook it during that first step; it should still look slightly underdone in the center. Second, and this is vital, you *must* let it rest after the final simmer. Those five minutes off the heat, right before you garnish? That rest period allows the juices migrating to the outside of the meat to redistribute back into the center. If you skip the rest, those juices run out onto the plate instead of staying in the chicken!
If you are looking for more great easy weeknight meals, you can always browse all my favorites categorized by time over on the main Dinner category page!
Share Your 30 Minute Honey Garlic Chicken Success
Well, that’s it! You have successfully navigated your way through making the absolute best Honey Garlic Chicken Skillet with Rice. I’m so excited for you to sit down and enjoy that sticky, savory, perfectly cooked one-pan dinner. I really hope this becomes a staple in your home just like it is in mine!
Now, I’m nosy—I want to know what you thought! Did it turn out perfectly sticky? Did your kids actually eat all the rice? Please, please let me know down in the comments below. Five stars? Tell me about it! If you tried adding any specific veggies, I’m taking notes for next time too.
If you took a picture of your beautiful, glossy skillet dinner—and I really hope you did, because this dish photographs so well—tag me on social media! Seeing your creations makes my day and reminds me why I love sharing these simple, delicious recipes. You can always send me a direct message or share your thoughts when you get in touch via my contact page. Happy cooking, everyone!
PrintHoney Garlic Chicken Skillet with Rice
Make this easy, flavorful honey garlic chicken and rice meal entirely in one skillet for quick weeknight cooking and minimal cleanup.
- Prep Time: 10 min
- Cook Time: 30 min
- Total Time: 40 min
- Yield: 4 servings
- Category: Dinner
- Method: Stovetop
- Cuisine: Asian Inspired
- Diet: Low Fat
Ingredients
- 1.5 lbs boneless, skinless chicken breasts, cut into 1-inch pieces
- 1 tablespoon olive oil
- 1 cup long-grain white rice, rinsed
- 2 cups chicken broth
- 1/2 cup honey
- 1/4 cup soy sauce
- 2 tablespoons rice vinegar
- 4 cloves garlic, minced
- 1 teaspoon ground ginger
- 1/2 teaspoon black pepper
- 1 tablespoon cornstarch mixed with 2 tablespoons cold water (slurry)
- 2 green onions, sliced, for garnish
Instructions
- Season the chicken pieces lightly with salt and pepper.
- Heat the olive oil in a large, deep skillet over medium-high heat. Add the chicken and cook until browned on all sides, about 5 to 7 minutes. Remove the chicken from the skillet and set aside.
- In the same skillet, add the rinsed rice and toast for 1 minute, stirring constantly.
- Pour in the chicken broth, honey, soy sauce, rice vinegar, minced garlic, ginger, and pepper. Bring the mixture to a boil.
- Once boiling, stir well, reduce the heat to low, cover the skillet tightly, and simmer for 15 minutes without lifting the lid.
- After 15 minutes, stir the chicken back into the rice mixture. Cover again and cook for another 5 minutes, or until the rice is tender and the liquid is mostly absorbed.
- Stir the cornstarch slurry into the skillet. Cook uncovered over medium heat for 1 to 2 minutes, stirring gently until the sauce thickens and coats the chicken and rice.
- Remove from heat. Let stand for 5 minutes before serving. Garnish with sliced green onions.
Notes
- For a thicker sauce, increase the honey slightly or use a slightly larger cornstarch slurry.
- If you prefer more vegetables, add 1 cup of frozen peas or chopped broccoli during the last 5 minutes of cooking.
- To adjust sweetness, reduce the honey by 1 tablespoon and add 1 teaspoon of brown sugar.
Nutrition
- Serving Size: 1 serving
- Calories: 550
- Sugar: 22g
- Sodium: 950mg
- Fat: 8g
- Saturated Fat: 2g
- Unsaturated Fat: 6g
- Trans Fat: 0g
- Carbohydrates: 75g
- Fiber: 2g
- Protein: 40g
- Cholesterol: 105mg