

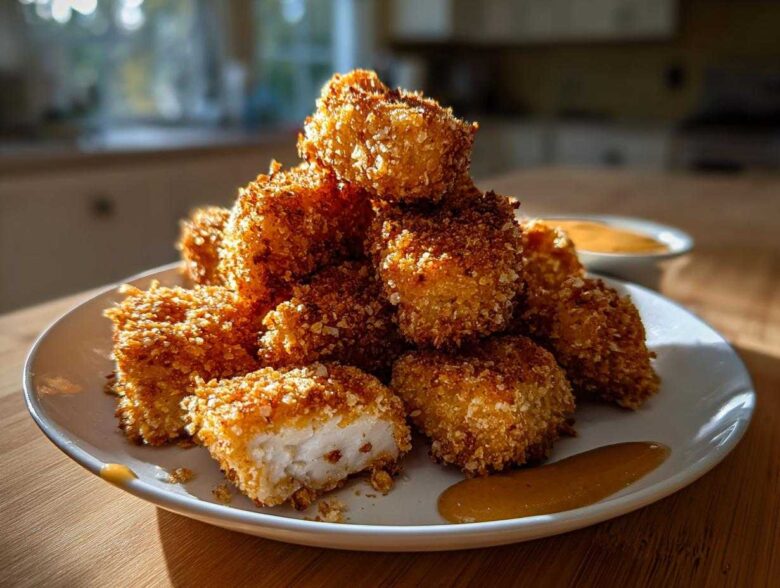
Oh my gosh, let’s just be real for a second: there are few things in life more comforting than dipping a perfectly crunchy nugget into something sweet. I spent years trying to replicate that fast-food crunch at home and kept ending up with sad, floppy disappointments. Forget that! I finally cracked the code. We’re talking about genuinely shattering crispness on the outside and juicy chicken on the inside, all paired with my ridiculously easy homemade dip. Trust me, once you make these Crispy Chicken Nuggets with Honey Dip from scratch, you will never go back to the freezer aisle again. It’s quick enough for a weeknight, but tastes way too good for a Tuesday!
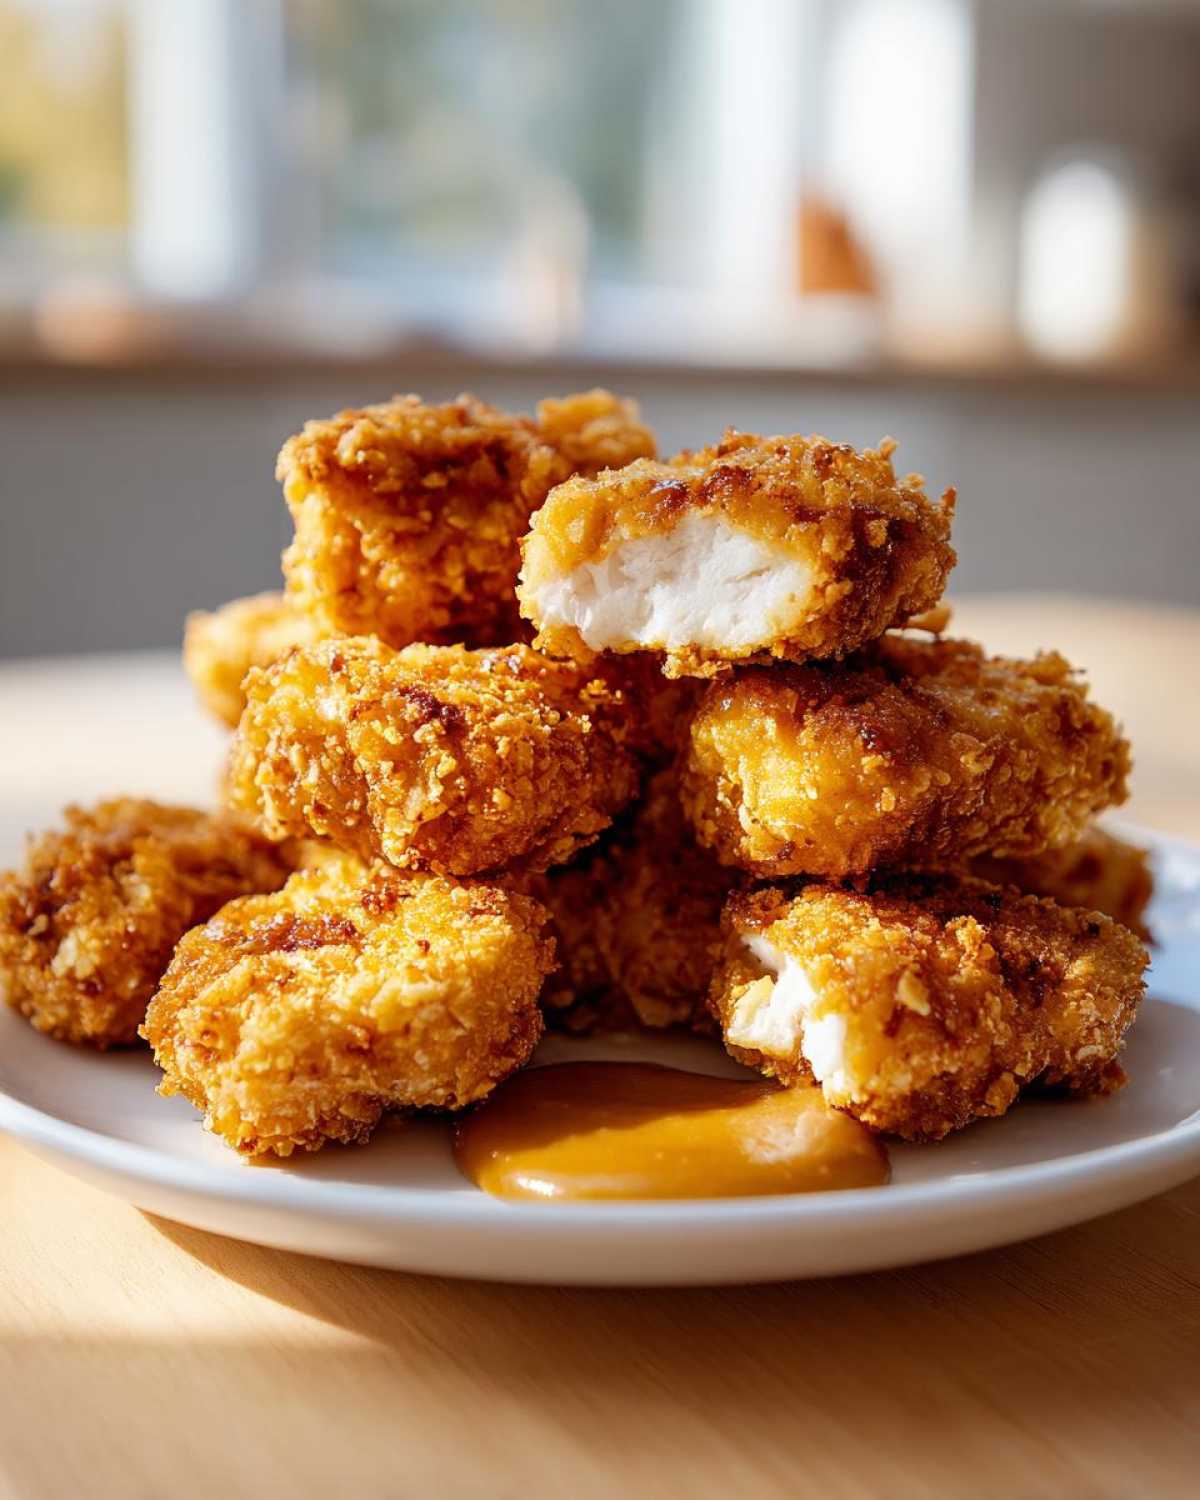
Why You Will Master These Crispy Chicken Nuggets with Honey Dip
Seriously, these nuggets are foolproof. I’ve tried tweaking them a million ways—using breasts, thighs, even cutting them into weird shapes—and they always come out fantastic thanks to the coating method. You’re going to nail this on your first try, I promise!
- The Ultimate Crunch Factor: We are using Panko breadcrumbs, and because of the triple dredge system, these nuggets achieve that satisfying, loud crunch you only get from the best take-out joints.
- Quick Weeknight Win: Prep time is under 15 minutes! You can get these seasoned, coated, and into the fryer or oven before the kids even finish setting the table for this amazing kid-friendly chicken dinner idea.
- The Honey Dip Steals the Show: This isn’t some store-bought goo. The dip cuts the richness of the chicken perfectly with that sweet, tangy combo of honey and Dijon. It’s genuinely the best dipping sauce for chicken nuggets you’ll ever whip up.
- Flexible Cooking: Whether you’re deep-frying them for pure indulgence or air frying them for a lighter meal, the method is designed to deliver amazing, golden brown results every single time.
- From Scratch Flavor: You know exactly what’s going into the coating—no weird fillers or stabilizers here! It’s just simple, clean flavor for a much better than takeout chicken experience.
- Kid-Approved Guarantee: If my picky eater dives into these, they are a certified smash hit. They’re the perfect size for little hands to grab and dip!
Essential Ingredients for Crispy Chicken Nuggets with Honey Dip
Okay, gathering your supplies is half the battle! Don’t panic about the setup; it just looks like a lot of stuff because we are doing that triple-layer crunch coating we talked about. Make sure your chicken breasts are nice and uniform—about one-inch, bite-sized chunks works best. Also, don’t forget to season the chicken itself before it even hits the breading station!
Here is everything you need to grab for the nuggets themselves:
- 1.5 pounds of boneless, skinless chicken breasts, cut into perfect one-inch pieces
- 1 cup of all-purpose flour (this is your dry base layer)
- 2 large eggs, whisked until they look frothy
- 1.5 cups of Panko breadcrumbs—and make sure they’re Panko! This is non-negotiable for the crunchy coating for chicken we want!
- 1 teaspoon of salt
- 0.5 teaspoon of black pepper
- 0.5 teaspoon of garlic powder (a little extra never hurt anyone)
- Vegetable oil for frying, or just your cooking spray if you’re doing the air fryer route.
For the Homemade Honey Dip Sauce
This is your sweet and savory chicken dip, and it’s so simple I feel like I’m cheating! Whisk these four things together, and you’ve got a dipping sauce that beats bottled stuff every time. Keep this small bowl ready in the fridge until serving time.
- 0.5 cup of pure honey
- 2 tablespoons of Dijon mustard (the tang is important!)
- 1 tablespoon of apple cider vinegar
- 1 teaspoon of water (just to loosen it up a hair)
Setting Up Your Dredging Station for Maximum Crunch
Okay, this is where the magic happens! If you want truly Crispy Chicken Nuggets with Honey Dip, you cannot skip organizing your little assembly line. This process is called dredging, and we’re doing the holy trinity: flour, then egg, then breadcrumbs. Having everything lined up—a small plate for each of the three ingredients—saves so much time and keeps our kitchen relatively less messy, which is always a win!
First, make sure your chicken pieces (already seasoned lightly, remember?) hit the flour dish. You want them totally coated, but then you need to shake off the excess like you’re dusting off a magic wand. Too much flour makes the egg slip off later!
Next up is the egg bath. Dip that floured piece right into the beaten eggs. Let it drip, drip, drip! You want a nice, wet coat to act as the glue.
Finally, the important part: the Panko! Toss that wet nugget into the Panko mixture (which has our salt, pepper, and garlic powder mixed in). Now, here’s my biggest secret for that commercial-grade crunch: don’t just gently roll it. Press it! Really press that Panko into the chicken piece with your fingers until the entire surface is covered and firmly stuck. This firm press is what prevents the coating from falling off during cooking, ensuring you get that beautiful, crunchy exterior even if you choose the air fryer route!
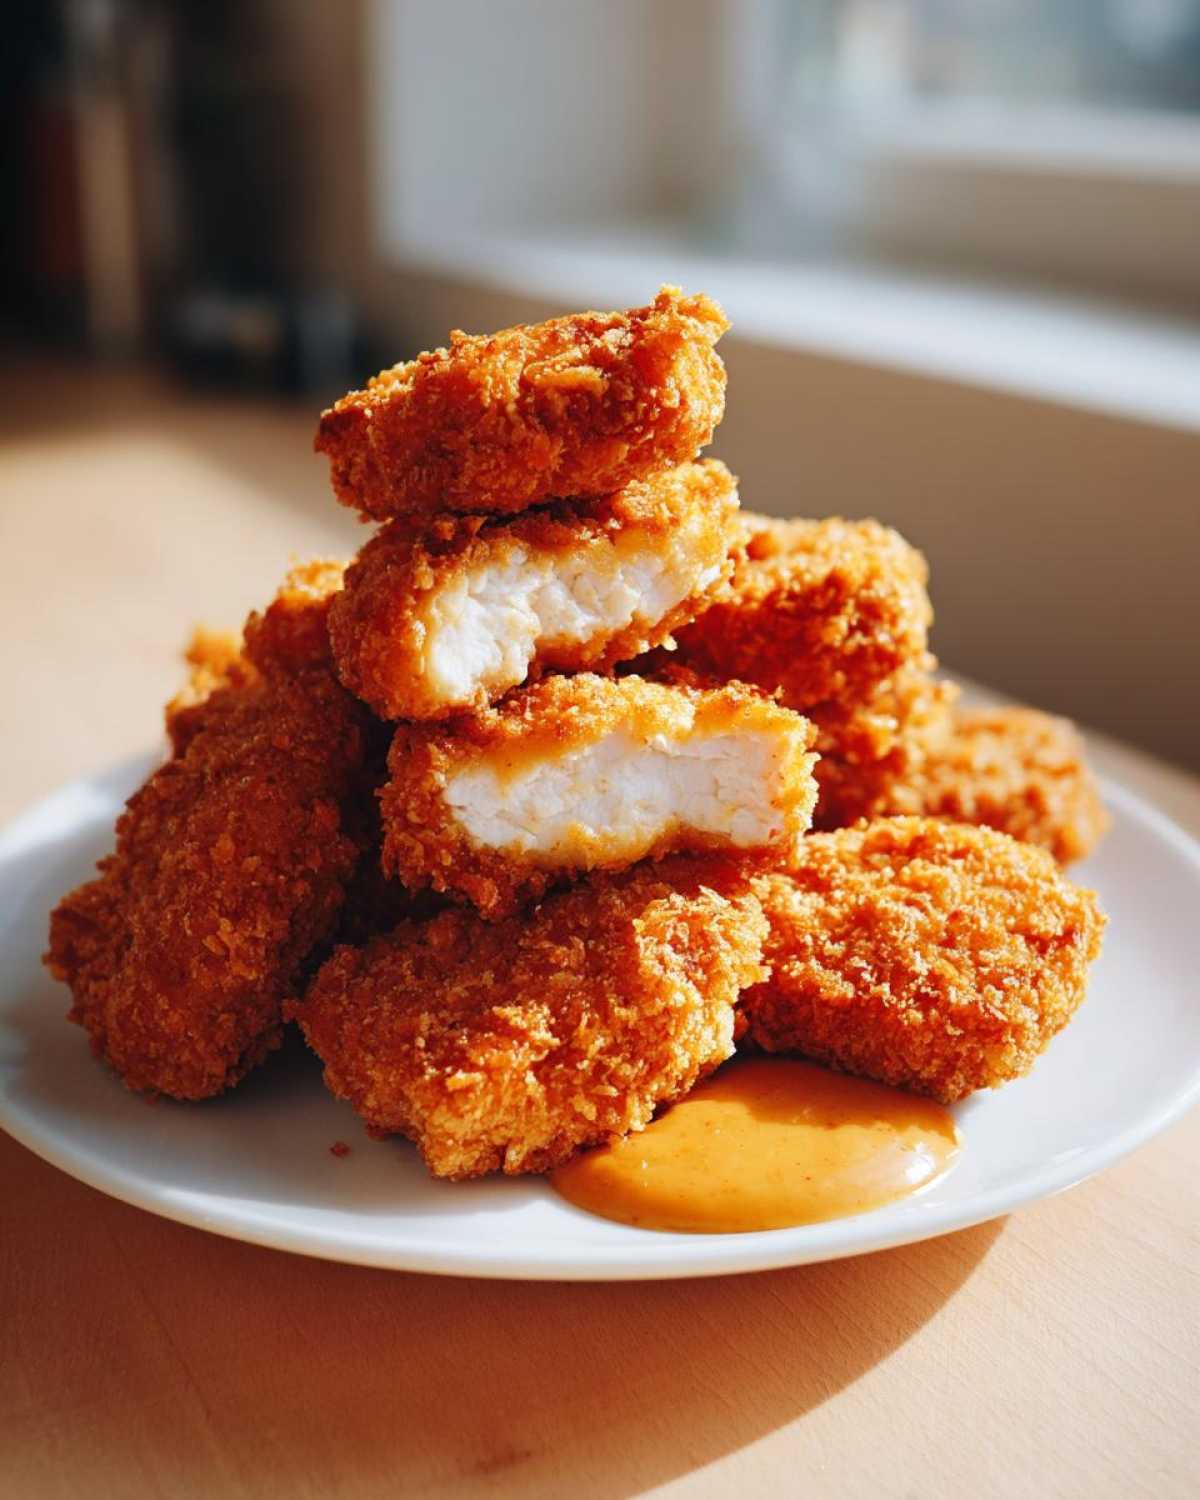
Once they are all coated, put them on a clean plate or rack until you’re ready to cook. Don’t let them sit too long, or the moisture from the chicken will start soaking into that gorgeous crunchy coating for chicken we just lovingly applied!
How to Prepare Crispy Chicken Nuggets with Honey Dip: Step-by-Step
Alright, we’ve got our little Panko-crusted beauties ready to go. This is the payoff moment! Since everyone has a different setup—some of you own deep fryers, some of you swear by the oven, and some of you are purely air-fry devotees—I’ve laid out the three best ways to cook these so they turn out perfectly golden brown and crunchy. Pick your poison, but remember, no matter which method you pick, you gotta make sure they cook through! Chicken breasts can dry out fast if you overcook them.
Cooking Method 1: Traditional Frying for Classic Crispy Chicken Nuggets
If you want that classic, restaurant-quality crackle, frying is the way to go. Pour about an inch of vegetable oil into a heavy-bottomed skillet. You need a thermometer if you want consistent success, so aim your oil for exactly 350°F (175°C). If the oil is too cool, the nuggets get greasy; too hot, and they burn before the inside cooks. That’s why we work in small batches!
Gently lower your coated nuggets into the hot oil. Don’t overcrowd the pan! Give them a little space to breathe. They’ll start to float slightly. Cook them for about 4 to 6 minutes total. You’re looking for that beautiful, deep golden color—not dark brown, but that sweet spot where the Panko is evenly browned. Once they look perfect, quickly pull them out with a slotted spoon and put them directly onto a wire rack set over a paper towel. Letting them drain, not sit in the oil, is key to keeping these easy crispy chicken nuggets recipe from getting greasy!
Cooking Method 2: Healthier Baked Chicken Nuggets Tutorial
This is my go-to when I need to make a big batch and don’t want to stand over hot oil. Preheat your oven way up high to 400°F (200°C). Line a sturdy baking sheet with parchment paper—it really helps with cleanup!
Before you place the nuggets on the sheet, give them a generous spritz of cooking spray. Seriously, don’t skip this. The fat helps that Panko crisp up like it was fried! Arrange them in a single layer, and then, once they are in the oven, flip them halfway through the cooking time (around the 10-minute mark). They usually need about 18 to 22 minutes total to get golden and fully cooked through. These Healthier Baked Chicken Nuggets Tutorial nuggets are fantastic!
Cooking Method 3: Air Fryer Chicken Nuggets Tutorial
The air fryer gets you SO close to the fried texture with minimal fuss. Preheat your air fryer to 380°F (195°C). Make sure you spray your air fryer basket lightly so nothing sticks. You can find tons of tips in my dedicated air fryer chicken nuggets tutorial!
Place your nuggets in a single layer in the basket. Remember, air fryers circulate hot air, so overcrowding means soggy spots. You’ll cook them for about 10 to 12 minutes total. The trick here is shaking the basket vigorously halfway through. This moves the nuggets around so all sides get that blast of hot air and turn into crunchy little stars!
Finalizing Your Homemade Chicken Nuggets with Honey Sauce
While your nuggets are finishing up (no matter how you cooked them!), grab that little bowl of dip you mixed earlier. Give it one last quick whisk just to make sure it’s totally combined.
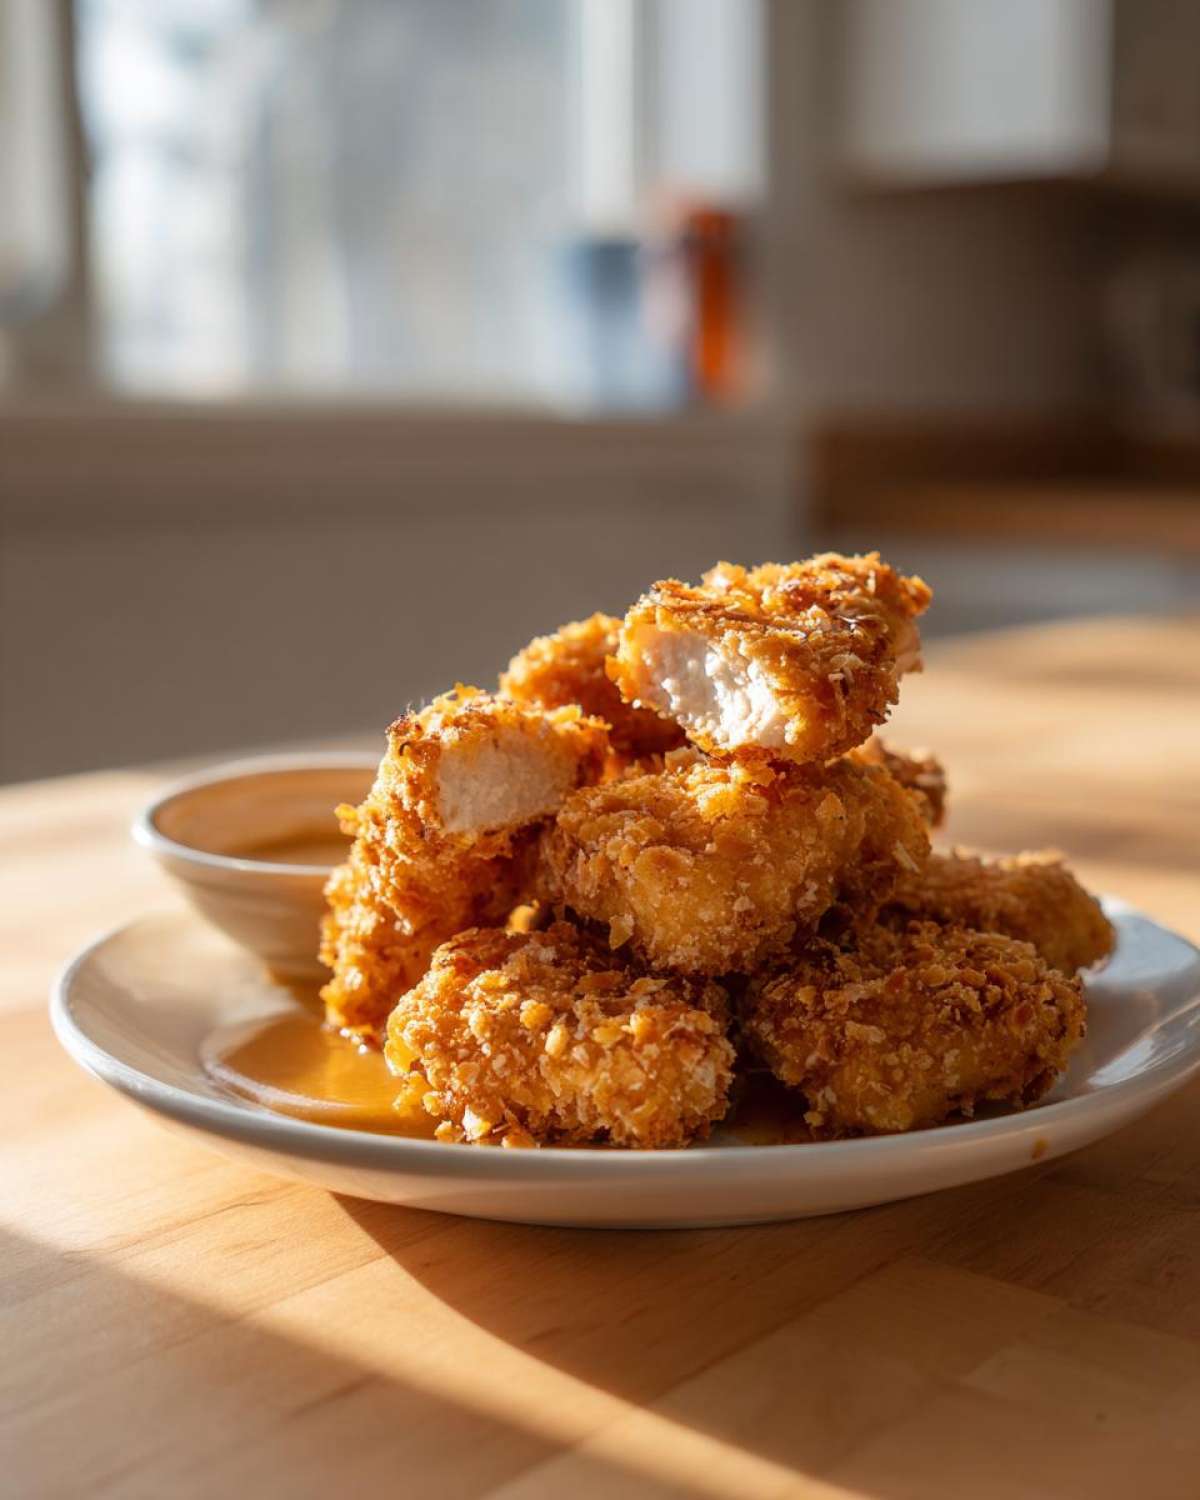
As soon as the nuggets come out of the oil or air fryer, serve them immediately! That initial blast of heat is when the coating is at its absolute crispest. Arrange them nicely on a platter, grab a small bowl of that sweet honey dip, and stand back before they disappear. These Crispy Chicken Nuggets with Honey Dip taste so much better when they are perfectly hot!
Tips for Success Making Crispy Chicken Nuggets with Honey Dip
Look, I’m going to share the secrets I learned through trial and—I’ll admit it—a few batches that were definitely mushy. The difference between a good nugget and a truly amazing one (like these Crispy Chicken Nuggets with Honey Dip) comes down to tiny details. Listen to these non-negotiable rules, and you’ll never have a breading disaster again!
First off, Panko versus regular breadcrumbs: I know you saw it in the ingredients, but let me explain *why*. Regular breadcrumbs are powdery; they soak up oil and steam the chicken. Panko breadcrumbs, though, are huge, airy flakes. They create little shields around the chicken, which means they fry up lighter, absorb less grease, and give you that lasting, audible crunch. It’s a world of difference!
The Extra Crispness Boost for Non-Fried Methods
If you are baking or air frying, you’re doing this for health or convenience, but we don’t want to sacrifice texture. My top tip here is the spray! Don’t just spray the pan; you need to lightly coat the top surface of the breaded chicken before it goes into the hot air. That bit of fat acts as the required catalyst to turn the coating golden brown instead of pale yellow. Think of it like giving the breading a little kiss of oil to help it crisp up beautifully instead of drying out.
Swapping it Up: Cornflakes vs. Panko
While Panko is my gold standard for that incredible crunch, my Mom always added cornflakes when she was trying to free up space in the pantry! If you want to mix things up, try swapping half of that 1.5 cups of Panko for crushed cornflakes. You can just put them in a Ziploc bag and crush them with the bottom of a heavy mug. The cornflakes add a slightly sweeter, shatteringly crisp note that works really well, especially if you have kids who love a little extra texture.
Boosting the Dip Flavor
The honey dip recipe is perfect as written—sweet, sharp, savory—but sometimes you just want that extra zing! If you’re feeling adventurous, especially if you’re serving these to adults, try adding just a small dash of hot sauce right into the honey mixture. It won’t make it spicy, but it gives the dip complexity that really plays nicely with the savory chicken. Another fun addition, especially if you have a lemon sitting around, is adding a tiny squeeze of fresh lemon juice to the dip mixture. It brightens everything right up!
Storage and Reheating for Leftover Crispy Chicken Nuggets
We all know the struggle: you make a double batch of homemade nuggets because they are just too good to stop eating, and suddenly you have leftovers. Don’t you dare reach for that microwave! Microwaving is the enemy of crunch; it turns the best part of these nuggets—the Panko coating—into sad, soggy mush. We have to treat these leftovers with respect if we want them to be nearly as good the next day.
For storage, the rule is simple: cool them completely first! If you put warm nuggets into an airtight container, the steam gets trapped, and you guarantee sogginess. Once totally cool, put them in a single layer in an airtight container. If you have a lot, layer them between sheets of paper towels to absorb any residual moisture. They should keep well in the fridge for about three or four days.
How to Reheat for Maximum Crispness
If you forgot to make enough for dinner the next night, don’t worry! Reheating is the only way to bring those crispy coating back to life. You have two excellent options here, and both require dry heat:
The Oven Method: This is the most reliable way to reheat a large batch. Preheat your oven to 375°F (190°C). Spread the chilled nuggets out on a wire rack set over a baking sheet. The rack is super important because it lets air circulate underneath, so the bottom doesn’t steam. Bake them for about 8 to 10 minutes, maybe 12 if they were in the back of the fridge. Keep checking until they are hot all the way through and that crunch is back.
The Air Fryer Method: If you’re only reheating a few, the air fryer is faster. Set it to 375°F (190°C) and cook them for 5 to 7 minutes. Give the basket a shake halfway through. Because the air fryer is so efficient, you’ll get that great texture back in record time. They come out piping hot and perfect for dipping into any leftover honey dip sauce you saved!
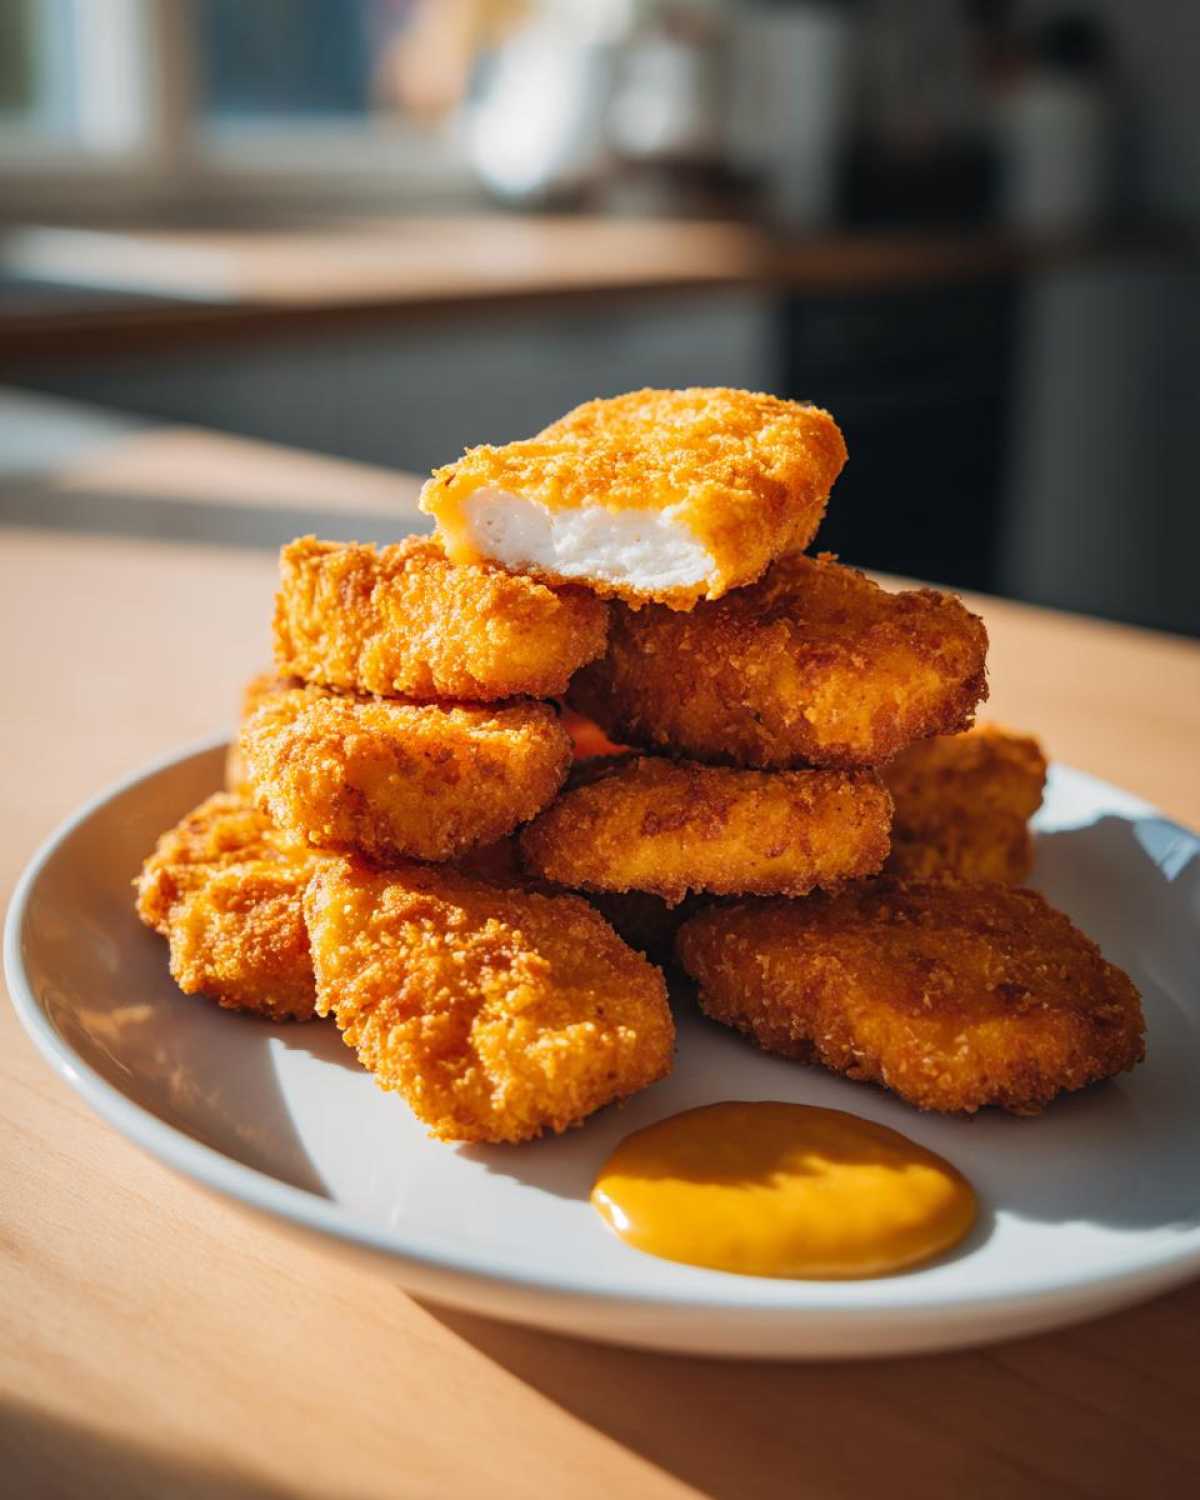
And please, give that honey dip sauce a good whisk before serving, even if it was in the fridge. It settles out, but whisking it just brings that fantastic sweet and savory balance right back!
Frequently Asked Questions About Crispy Chicken Nuggets with Honey Dip
I get so many questions whenever I post these because everyone wants to know the secret to getting that perfect texture! Here are the most common things people ask about making these amazing Crispy Chicken Nuggets with Honey Dip. I hope this clears everything up for you!
Can I use chicken thighs instead of breasts for these nuggets?
Absolutely! Chicken thighs are actually a fantastic choice if you prefer a darker, richer meat that stays juicier. They are slightly higher in fat, which helps them stay tender. Just make sure you cut them into similar one-inch pieces as the breasts. The coating process stays exactly the same, so you still get that perfect crunch! If you’re looking for more guidance on using different cuts, check out my post on the best homemade chicken nuggets!
Can I make the homemade honey dip sauce ahead of time?
Yes, you totally can, and I highly recommend it! The honey dip sauce is actually better made a few hours ahead of time, or even the day before. Why? Because the Dijon mustard and the apple cider vinegar need a little time to marry up with the honey. It really lets those flavors deepen. Just keep it tightly sealed in the fridge. Remember that honey thickens up when cold, so give it a really good whisk or stir right before you serve it so it’s pourable and perfect for dipping!
What is the best oil to use if I’m going to fry these?
When frying for that deep golden brown color, you need an oil with a high smoke point. My personal favorite for frying is peanut oil because it has a very high smoke point and a neutral flavor, so it doesn’t compete with the chicken. Vegetable oil (the run-of-the-mill kind) works perfectly fine too, and it’s usually cheaper! The most important thing isn’t the *type* of oil as much as the *temperature*. Keep that pan right at 350°F (175°C). If you go lower, you get grease monsters!
Why do my air-fried nuggets sometimes come out pale on the bottom?
This is the classic air fryer dilemma! It happens because the bottom surface isn’t getting the direct blast of hot air that the top is. When you’re making these easy crispy chicken nuggets recipe in the air fryer, you *must* shake the basket vigorously halfway through the cooking time. Don’t gently stir! Lift that basket out, give it a solid shake to toss all the nuggets, and then place it back in. If you forget, just flip them over manually after about 6 minutes. That circulation is what guarantees even, golden results on all sides!
How can I make this recipe spicy instead of just sweet and savory?
If you want to amp up the heat while keeping that honey vibe, you have a couple of easy options! For the dip, you could add a teaspoon of sriracha or a pinch of cayenne pepper to the mixture. For the nuggets themselves, when you’re seasoning the Panko breadcrumbs in that third dish, swap the garlic powder for onion powder and add 1/2 teaspoon of smoked paprika and a tiny dash of cayenne. It gives the coating a fantastic warmth that tastes incredible paired with the sweet dip!
Nutritional Estimates for This Recipe
Listen up, because I always get asked about the nitty-gritty health stuff when I post these amazing Crispy Chicken Nuggets with Honey Dip. It’s tricky business getting the numbers exactly right since you have three cooking options, right? Frying them in oil is going to bump up the fat and calories compared to when you spritz them lightly for the air fryer. So, these numbers are estimates based on using the lighter, air-fried/baked approach, without counting the honey dip for every bite.
If you manage to keep the honey dip usage reasonable and go for the air fryer or oven, you end up with a genuinely great kid-friendly chicken dinner that isn’t overly processed or full of junk. These estimates are per serving size, which we calculated as about 6 nuggets:
- Serving Size: About 6 nuggets
- Calories: Roughly 350 calories
- Fat: About 15g total fat
- Saturated Fat: Keep this low, aiming for about 3g
- Carbohydrates: Around 30g (mostly from the coating)
- Protein: A solid 25g to keep everyone full!
- Sodium: Tries to stay under 450mg
I always tell folks to calculate the dip separately because nobody dips just once! The dip adds a definite sugar boost because, hello, it’s honey! If you are tracking seriously, use our easy dip recipe and factor in the exact amount you use per nugget. But honestly, knowing you made these from scratch chicken nuggets instead of grabbing a box is half the battle won right there!
Share Your Homemade Chicken Nugget Creations
Whew! Now you have all the secrets to making the absolute best Crispy Chicken Nuggets with Honey Dip right in your own kitchen. I’ve given you the foolproof dredging station, the secret to that shattering Panko crunch, and three ways to cook them to golden perfection. But honestly, the recipe isn’t finished until I hear about it from you!
I seriously want to see your snack platters! Did you go full-on deep-fried indulgence, or did you manage to nail the crunch using the air fryer one day? Snap a picture of your beautiful, golden brown chicken pieces next to that sweet and savory honey dip and tag me on social media! It genuinely makes my day when I see my recipes coming to life in your homes. If you’re curious about who’s behind all these delicious recipes, you can always check out our story here!
Don’t be shy about leaving a rating below either. If you followed the steps and loved the crunch, do me a favor and give this recipe a solid five stars! If you had to adjust the dipping sauce just a bit, or if you found a temperature that worked better for your oven, drop all that wisdom in the comments section. Think about it—your feedback helps the next cook master these better than takeout chicken nuggets too. I’m hanging out down there reading every single comment, and I love hearing which cooking method everyone preferred!
PrintCrispy Chicken Nuggets with Honey Dip

Make genuinely crispy chicken nuggets from scratch and pair them with a simple, sweet honey dipping sauce.
- Prep Time: 15 min
- Cook Time: 15 min
- Total Time: 30 min
- Yield: 4 servings
- Category: Dinner
- Method: Frying or Baking/Air Frying
- Cuisine: American
- Diet: Low Fat
Ingredients
- 1.5 lbs boneless, skinless chicken breasts, cut into 1-inch pieces
- 1 cup all-purpose flour
- 2 large eggs, beaten
- 1.5 cups panko breadcrumbs
- 1 teaspoon salt
- 0.5 teaspoon black pepper
- 0.5 teaspoon garlic powder
- Vegetable oil, for frying (or cooking spray for baking/air frying)
- For the Honey Dip:
- 0.5 cup honey
- 2 tablespoons Dijon mustard
- 1 tablespoon apple cider vinegar
- 1 teaspoon water
Instructions
- Prepare the chicken: Place chicken pieces in a bowl. Season lightly with salt and pepper.
- Set up the dredging station: Place flour in one shallow dish. Place beaten eggs in a second dish. Mix panko breadcrumbs, remaining salt, pepper, and garlic powder in a third dish.
- Dredge the chicken: Take one piece of chicken and coat it thoroughly in flour, shaking off excess. Dip it into the egg mixture, letting excess drip off. Finally, press the chicken firmly into the panko mixture until fully coated. Repeat for all pieces.
- Cook the nuggets (Frying Method): Heat about 1 inch of oil in a large skillet to 350°F (175°C). Fry the nuggets in batches, turning occasionally, until golden brown and cooked through, about 4-6 minutes. Remove and place on a wire rack or paper towel-lined plate.
- Cook the nuggets (Baking Method): Preheat oven to 400°F (200°C). Lightly spray a baking sheet with cooking spray. Arrange nuggets in a single layer and spray the tops lightly. Bake for 18-22 minutes, flipping halfway, until golden and crisp.
- Cook the nuggets (Air Fryer Method): Preheat air fryer to 380°F (195°C). Lightly spray the basket. Cook nuggets in a single layer for 10-12 minutes, shaking the basket halfway through, until golden and crisp.
- Make the honey dip: Whisk together honey, Dijon mustard, apple cider vinegar, and water in a small bowl until smooth.
- Serve the crispy chicken nuggets immediately with the honey dip.
Notes
- For extra crispness when baking or air frying, lightly spray the coated nuggets with cooking spray before cooking.
- You can substitute half of the panko breadcrumbs with crushed cornflakes for a different crunch texture.
- If you prefer a sweeter dip, add 1 teaspoon of maple syrup to the honey dip mixture.
Nutrition
- Serving Size: 6 nuggets
- Calories: 350
- Sugar: 18g
- Sodium: 450mg
- Fat: 15g
- Saturated Fat: 3g
- Unsaturated Fat: 12g
- Trans Fat: 0g
- Carbohydrates: 30g
- Fiber: 1g
- Protein: 25g
- Cholesterol: 80mg