

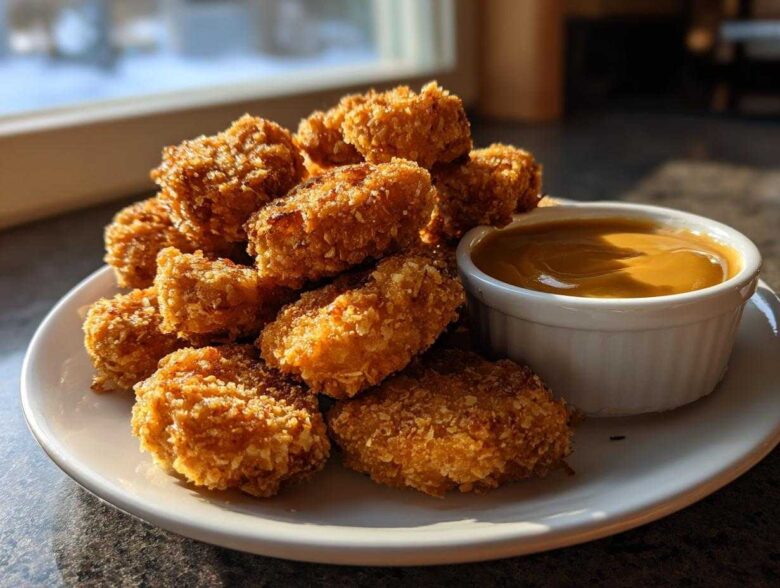
If you’re anything like me, sometimes you just crave those perfectly crisp, salty nuggets you remember from childhood, but you want them to taste like actual, real chicken. Seriously, forget those cardboard-y frozen things! I spent way too many weekends messing up the coating until I finally cracked the code for the best crispy chicken nuggets. I’m talking about a coating so crunchy it sings when you bite into it! And honestly, the nugget is only half the battle, right? The real winner here is the homemade honey garlic dipping sauce. It’s sticky, sweet, savory, and just perfect for dipping. I even sometimes serve these alongside some warm, fluffy homemade naan bread if I’m having a carb kind of night! Making these from scratch chicken nuggets might sound intimidating, but trust me; once you nail the breading station, you’ll be churning these out for family dinner ideas quick!
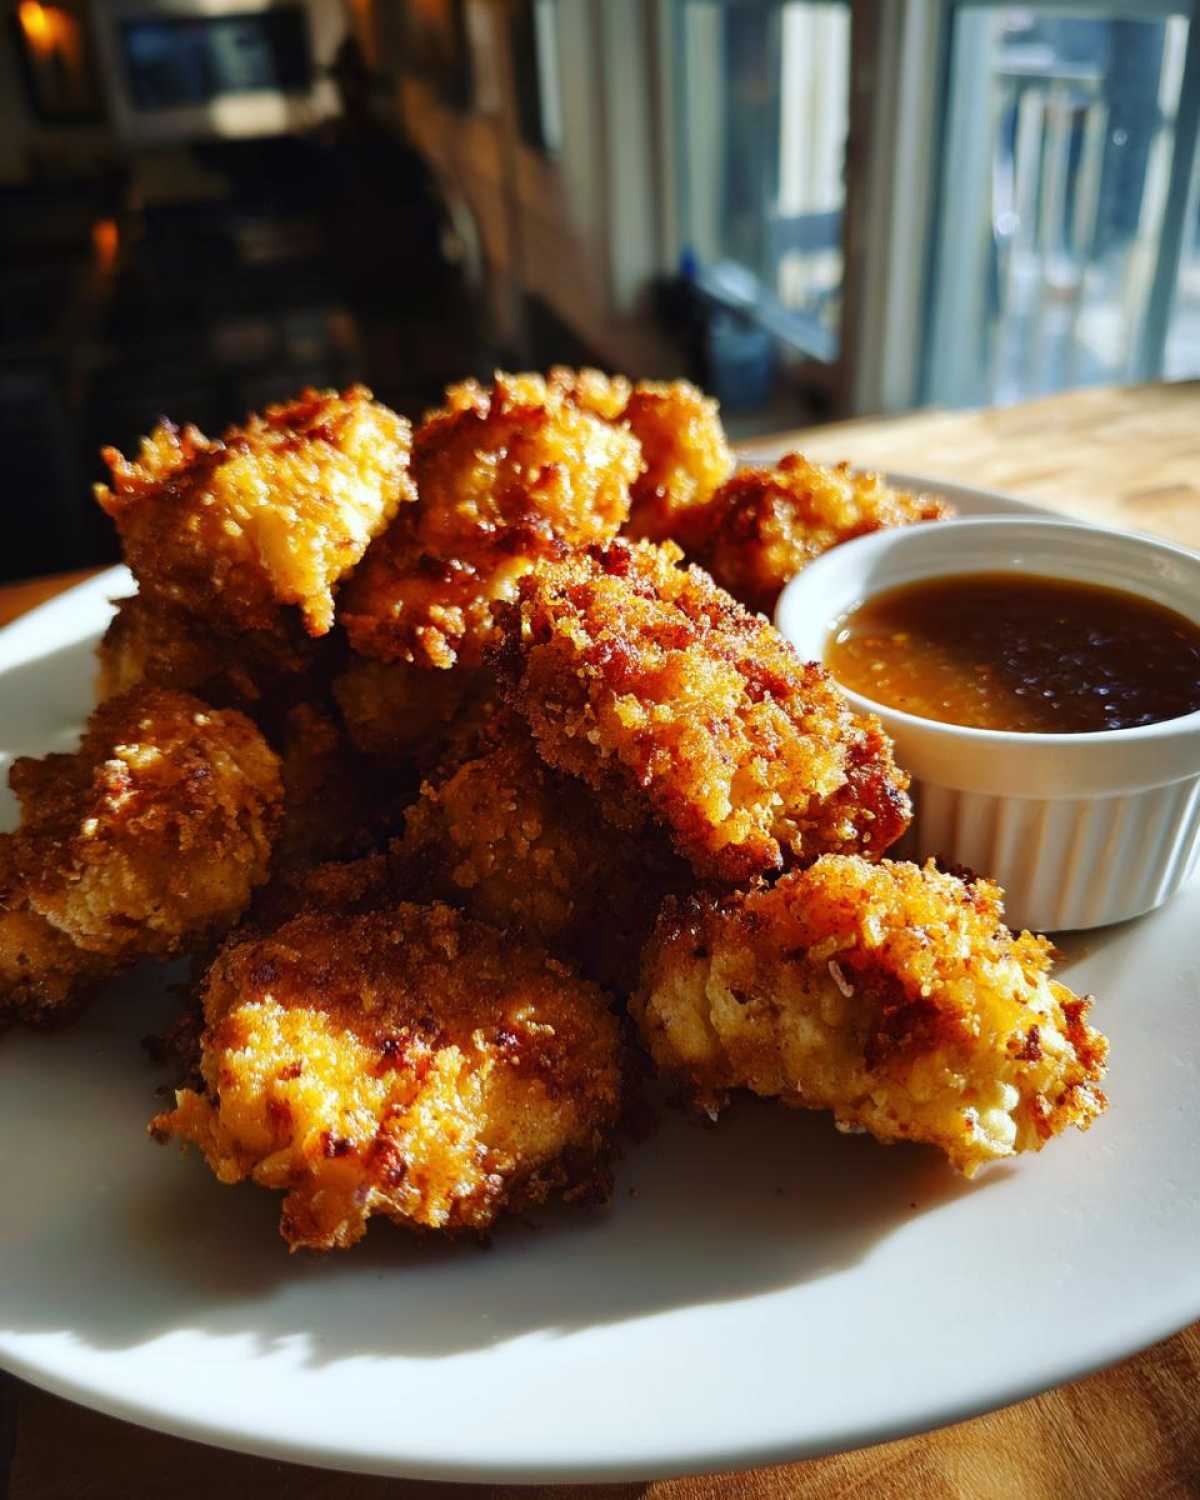
Why You Will Love Making Crispy Chicken Nuggets with Honey Garlic Dip
I know what you’re thinking: “Why bother when I can grab a bag from the freezer?” Great question! But once you taste these, you won’t go back. Seriously, these homemade nuggets change the whole game. They are totally worth the few extra steps, especially when you realize how fast they come together. If you are looking for quick kid friendly chicken recipes that feel like a treat, this is it!
- Maximum Crunch Factor: The Panko breadcrumbs and double-dip technique create a shatteringly crisp exterior that stays crisp longer than any frozen variety. You just can’t beat that sound!
- Real Chicken Flavor: We’re starting with fresh breast meat, not mysterious chicken parts. Plus, you control the seasoning right from the start.
- The Dip is the Star: This honey garlic dipping sauce is so much better than bottling the stuff. It’s sticky, sweet, and savory, and it perfectly complements the salty crunch of the nugget.
- Super Speedy Weeknight Meal: Honestly, once you organize your breading station, these nuggets are ready to fry in under 15 minutes of active time. Perfect for those hectic evenings!
- Healthier Than Fast Food: You control the oil (or you can use the air fryer!), and you skip all the fillers and weird preservatives found in store-bought versions.
- Customizable Coating: Don’t like regular breadcrumbs? You can swap them out easily! I give you the gluten-free tips later on, so everyone gets to enjoy these easy chicken nugget recipe favorites.
Ingredients for the Best Crispy Chicken Nuggets with Honey Garlic Dip
Gathering your ingredients is half the battle when you’re setting up a breading station. It keeps things moving smoothly and means you won’t be scrambling while the oil heats up. For the nuggets themselves, we need chicken, the usual suspects for dredging, and of course, Panko—I can’t stress enough how crucial the Panko is for that super crunchy texture! The dip ingredients are pretty standard pantry items, but getting that cornstarch slurry right ensures the sauce gets properly sticky.
This recipe makes enough for maybe four hungry people, or one very happy kid! Want to see how I make equally delicious, fluffy treats? Check out my recipe for easy homemade marshmallows for dessert afterward!
For the Chicken Nuggets
- 1.5 lbs boneless, skinless chicken breast, cut into 1-inch pieces (make sure they are bite-sized!)
- 1 cup all-purpose flour
- 1 teaspoon salt (use kosher if you have it!)
- 1/2 teaspoon black pepper
- 1/2 teaspoon paprika
- 2 large eggs, beaten until frothy
- 1.5 cups panko breadcrumbs (this is the secret weapon!)
- Vegetable oil, for frying (or cooking spray if you’re going the air fryer route)
For the Honey Garlic Dipping Sauce
- 1/2 cup honey (real quality honey makes a difference here)
- 1/4 cup soy sauce
- 2 tablespoons apple cider vinegar (for that needed sharpness)
- 2 cloves garlic, minced incredibly fine—I mean paste territory!
- 1 teaspoon grated fresh ginger
- 1 teaspoon cornstarch mixed with 1 tablespoon cold water (This is the slurry that gives us that thick, luscious coating.)
Mastering Crispy Coating Techniques for Your Crispy Chicken Nuggets
Alright, this is where the magic happens if you want truly best crispy chicken nuggets and not just sad, soggy bits of chicken. The breading station needs to be set up in this exact order—flour, egg, Panko—and you have to trust the process! First things first: pat your cut chicken pieces completely, utterly dry with paper towels. Seriously, if there’s moisture, the flour won’t stick to the chicken, and the whole thing fails. I learned that the hard way!
Next, we dredge. Dust that nugget thoroughly in the seasoned flour mixture first. Shake off any loose white powder because we don’t want that flavorless excess baking right off. Then it gets a quick swim in the egg, letting the excess drip for just a second. Finally, smash that piece into the Panko breadcrumbs. Don’t just roll it; I mean press it on firmly with your fingers on all sides. You need that Panko to really embed itself in the egg wash. If you want next-level crunch—like, restaurant crunch—treat that coated nugget to a second dip: egg, then back into the Panko again. It’s obsessive, but the payoff is huge! If you’re trying to keep things crunchy, I highly recommend checking out my guide for crispy coconut shrimp; the Panko concepts are very similar.
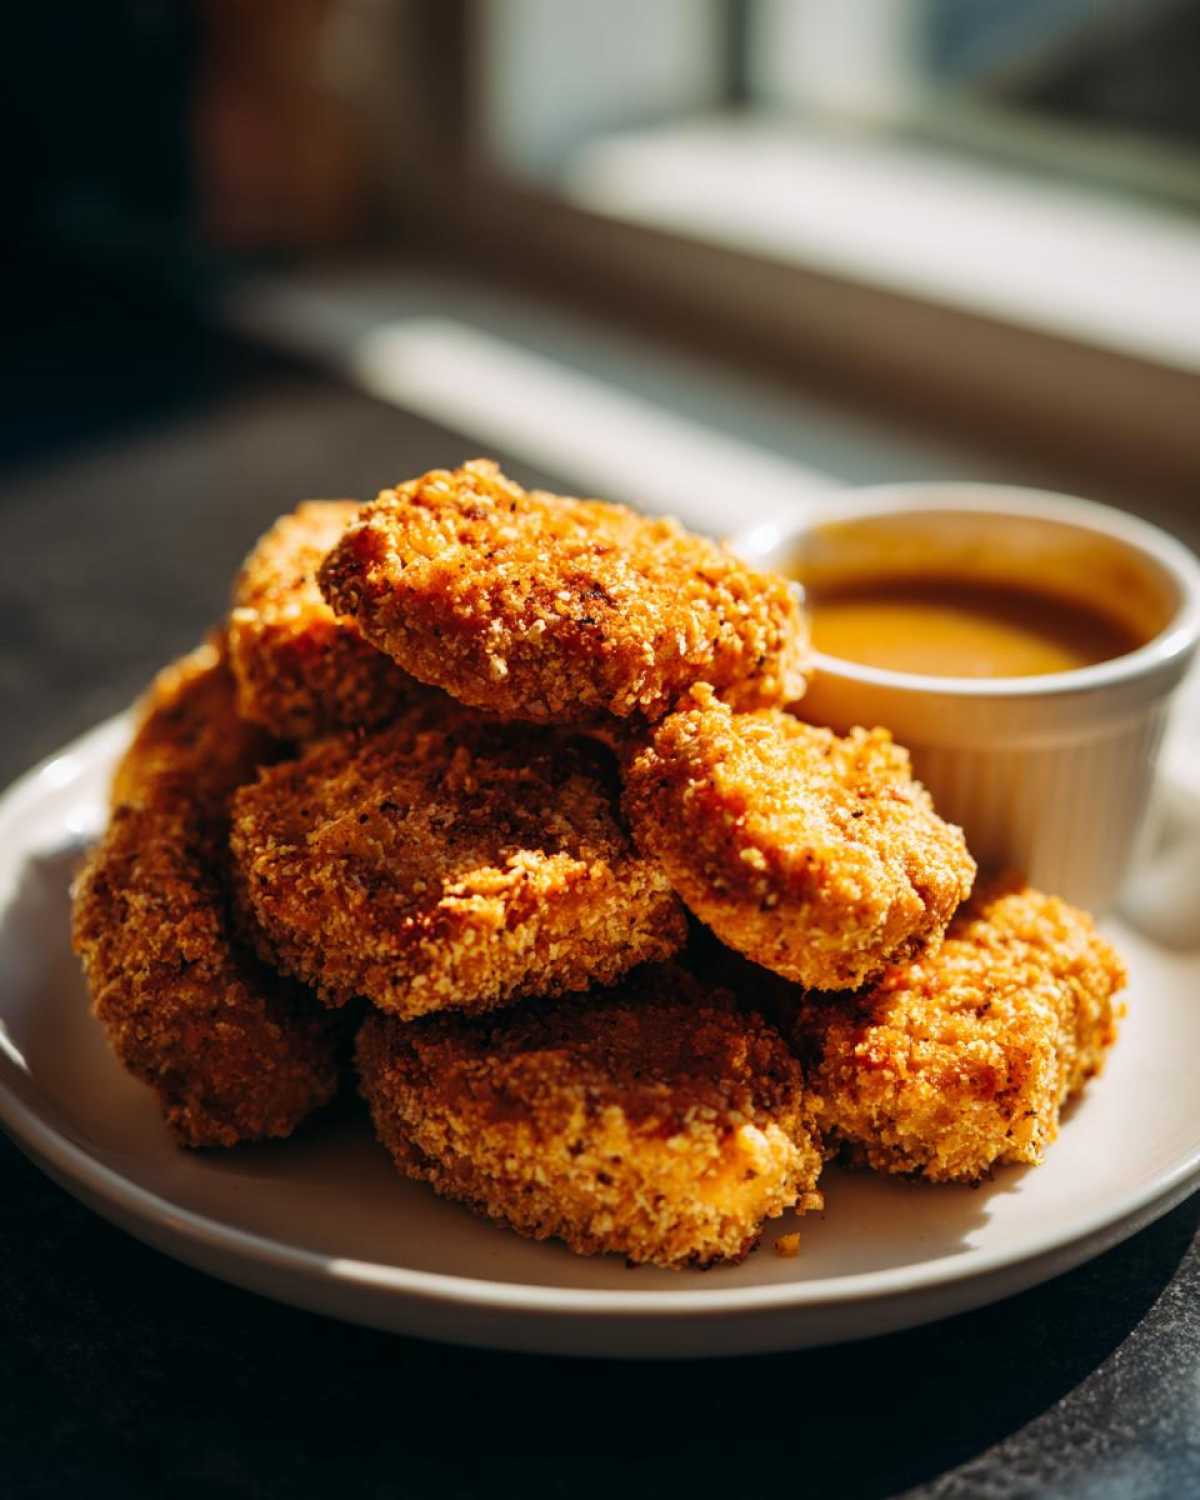
Step-by-Step Instructions for Crispy Chicken Nuggets with Honey Garlic Dip
Okay, let’s get cooking! Follow these steps exactly, and you’ll have perfect nuggets on the table faster than you think. Since frying gets the absolute best crisp, I’ll start there, but I promise the air fryer method is almost as good. Remember, organization is key when you’re breading things; you don’t want wet hands touching the flour!
Preparing the Chicken and Breading Station
First, grab your chicken pieces. You need to pat them so dry—I mean, really pat them—with paper towels. If they are even slightly damp, that flour coating is going to slide right off once it hits the heat. Get your three dishes lined up: one for the seasoned flour, one for the beaten eggs, and the last, glorious one, full of those Panko breadcrumbs.
Take one piece of chicken and dredge it totally in the flour mixture, shaking off the excess. Don’t be shy; make sure it’s covered. Then, dip it into the egg bath, making sure every surface gets coated. Finally, press it hard into the Panko. I always work these nuggets onto a wire rack right away so any loose crumbs fall off and aren’t burning in the oil later.
Cooking Methods: Frying or Air Frying Your Crispy Chicken Nuggets
For that ultimate crunch, use the frying method. Heat about two inches of vegetable oil in a deep skillet until it hits exactly 350°F (175°C) on a thermometer. If you don’t have a thermometer, drop a tiny bit of breadcrumb in; if it immediately sizzles happily, you’re good to go! Fry the nuggets in small batches—don’t crowd the pan, or your oil temperature drops and they get greasy! They take about 4 to 6 minutes until they are perfectly golden brown. Drain them swiftly on paper towels.
If you’re using the air fryer (which is my weeknight go-to!), preheat that baby to 380°F (195°C). Line your basket and give those coated nuggets a good, even spray with cooking oil—this is crucial for browning! Cook them for 10 to 12 minutes, but be sure to flip them halfway through. If you happen to have some amazing air fryer potato chips going too, just make sure the nugget basket isn’t overly packed.
Creating the Sticky Honey Garlic Dipping Sauce
While your nuggets are cooking (or waiting for the air fryer), whip up this incredible sticky honey garlic flavor sauce. Toss the honey, soy sauce, cider vinegar, minced garlic, and ginger into a very small saucepan. Bring that mixture just to a gentle simmer over medium heat. Don’t let it boil too hard!
Now for the sticky part! Take your cornstarch slurry (that cold water and cornstarch mix) and whisk it right into the simmering sauce. Keep whisking constantly for about a minute. You’ll see it transform almost instantly! Pull it off the heat the second it’s thick enough to lightly coat the back of a spoon. That’s your sign! Pour it into a little bowl, and serve it warm right next to those hot, crispy beauties.
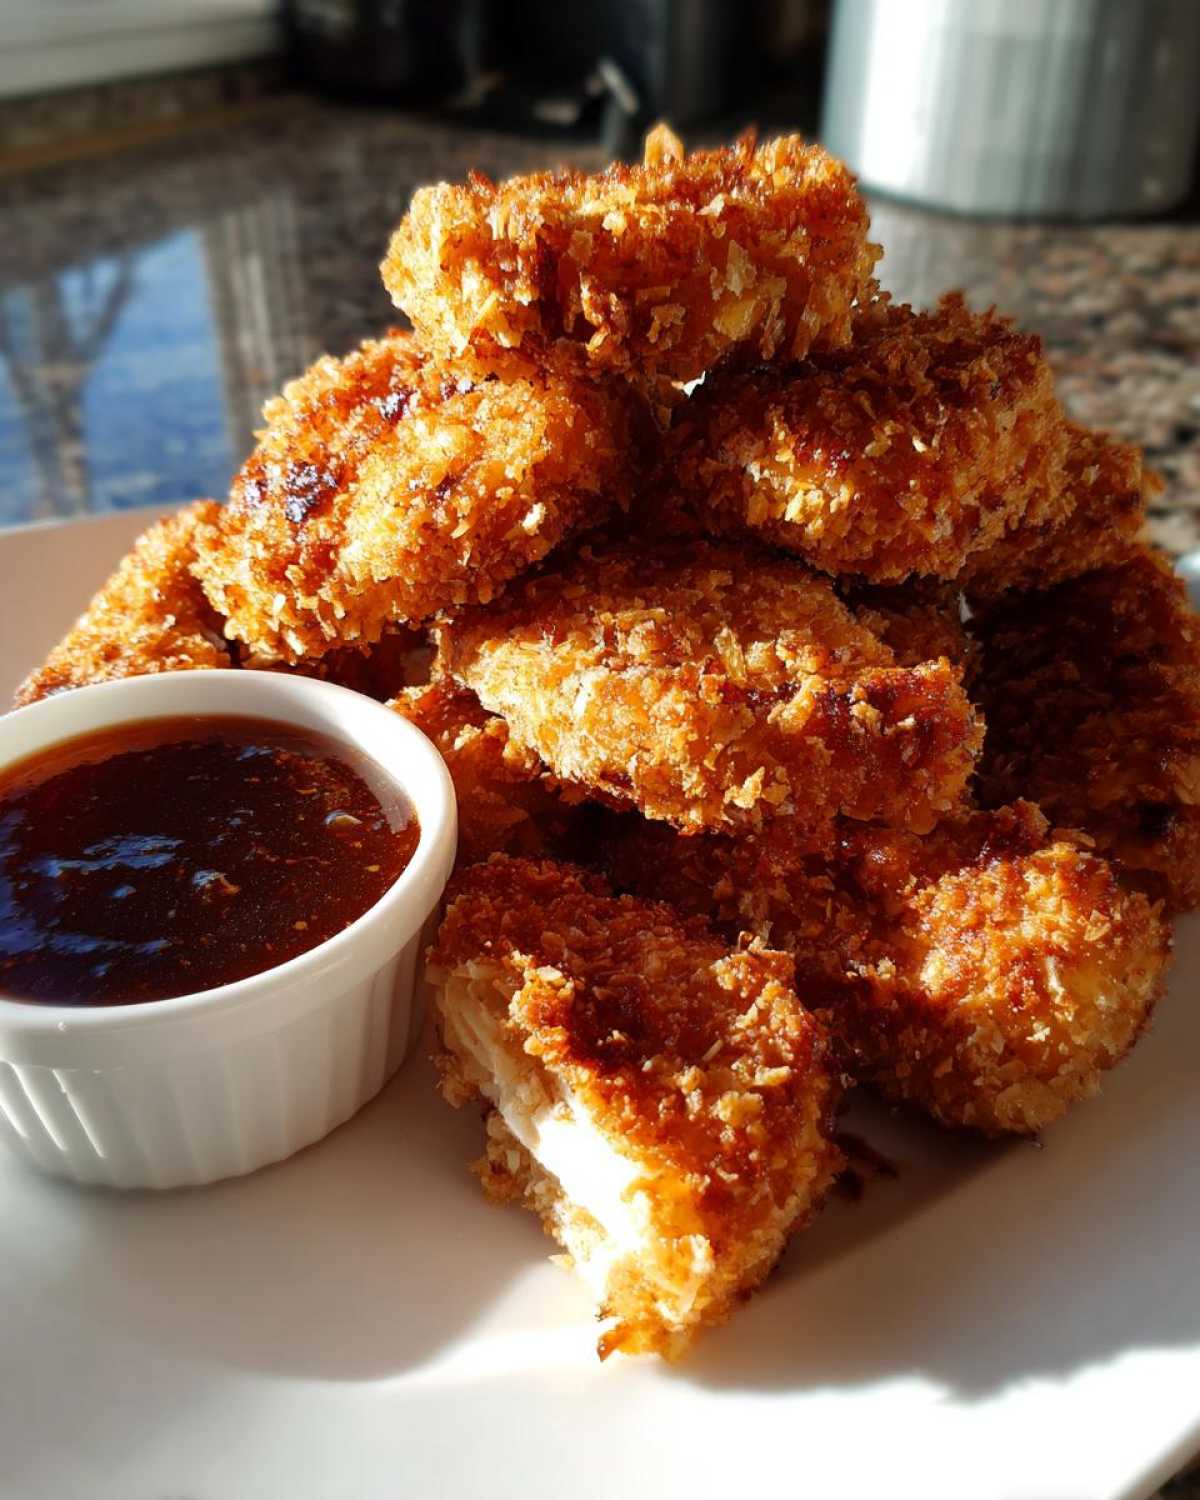
Ingredient Notes and Substitutions for Your Homemade Chicken Nuggets Recipe
I get asked all the time about tweaking recipes, and honestly, for these nuggets, most ingredients are solid gold, but a couple are totally switchable! The biggest thing is the coating—please, please, please use Panko breadcrumbs instead of regular fine breadcrumbs. Regular crumbs give you a dense, grainy crust, but Panko gives you those airy little spikes that get incredibly crispy, whether you’re frying or baking a homemade hamburger helper style dish or these nuggets.
If you need a gluten-free option for your gluten free chicken nuggets option, it’s super easy. Just swap the all-purpose flour for rice flour—it helps keep things lighter. Then, use certified gluten-free Panko breadcrumbs or, if you are in a pinch, even crushed cornflakes work amazingly well for a different kind of crunch! The dip is also flexible; if you’re low on dark honey, you can thin it slightly with a tiny bit of water, but trust me, the full flavor comes from that quality honey!
Tips for Perfectly Crispy Chicken Nuggets with Honey Garlic Dip Every Time
Listen, even when you follow the steps, sometimes things go slightly sideways, right? That is why I wrote down all the little tricks I learned over those first few frustrating batches of homemade chicken nuggets! Consistency is your best friend here, whether you are deep-frying or air-frying your crispy chicken nuggets.
If you’re frying, keep an eye on that oil thermometer! If the temperature drops below 325°F, your nuggets will soak up oil like a sponge, making them heavy and greasy instead of perfectly crisp. Add them in small waves, never cram them in, to keep that heat steady.
For the air fryer folks, the biggest mistake is overcrowding the basket. You need that hot air to circulate completely around every piece for that glorious, even golden-brown finish. If they are stacked up, the middle ones will steam! If you want great grilling advice later, I learned a lot from my friend’s best chicken marinade guide.
And one last thing about the dip: taste it before turning off the heat! Sometimes the vinegar needs a tiny boost right at the end to keep that sweet and savory chicken dip from being too heavy on the honey.
Storage and Reheating Instructions for Leftover Crispy Chicken Nuggets
So, you miraculously have leftover crispy chicken nuggets with honey garlic dip? That’s basically a win for tomorrow’s lunch! Don’t even think about putting them back in the fridge covered, though; that’s a recipe for sogginess. Keep the nuggets and the leftover dip in separate, airtight containers. They should last beautifully in the refrigerator for about three days, maybe four if you’re lucky!
The microwave is officially banned in my house for reheating these. It just steams the Panko right into sludge. The absolute best way to bring back that crunch is either back in the air fryer for about four minutes at 375°F, or in a regular oven set to 375°F until they’re piping hot through the center. If you like reheating potatoes, these nuggets reheat just as well as my crispy mashed potato cakes!
Frequently Asked Questions About Crispy Chicken Nuggets with Honey Garlic Dip
I always get questions after folks try these! It’s funny how simple comfort food can spark so much curiosity. Here are the things I hear most often regarding getting the best results for these homemade chicken nuggets and that perfect honey garlic dipping sauce.
Can I bake these nuggets without spraying oil?
You absolutely can try, but I really wouldn’t recommend it if you are chasing that supreme crispiness we talked about! Baking them plain just steams them a little, and they end up pale and slightly chewy, not golden and crunchy. If you must skip the oil spray (maybe for an ultra-healthy homemade nuggets version), you can try setting them on a wire rack *inside* your baking sheet—this lets air circulate underneath. But honestly, a light spritz of canola or avocado oil really makes the Panko brown perfectly.
How can I make the dip spicier than the classic honey garlic?
I love this question because sometimes you just need a little kick, right? The base for our dipping sauce recipes is fantastic, but you can easily adjust it! Right when you add the garlic and ginger to the pot, toss in 1/4 teaspoon of red pepper flakes. If you want a slower build of heat, use a dash of Sriracha or even some finely minced jalapeño instead of the flakes. It pairs surprisingly well with the sweetness of the honey!
Can I use chicken tenders instead of cutting up breast meat?
Yes, you can totally use tenders! That just turns this into an almost instant chicken tender breading situation! The cooking time might change ever so slightly, depending on how thick the tenders are. I find tenders cook a tiny bit faster, so just check them around the 3-minute mark if frying. They are a fantastic alternative when you need quick weeknight chicken meals.
Do these freeze well if I make a huge batch?
They freeze okay, but you have to prep them right! Cook the nuggets completely first, let them cool *completely* on a wire rack (this stops them from sticking together), and then flash freeze them on a baking sheet for an hour. Once they are rock solid, transfer them to a freezer bag. When you reheat them later (air fryer or oven only!), they come out much closer to fresh!
Is there a way to keep the dip warm while serving?
Since the dip has cornstarch, it will thicken up a lot as it cools. If you are serving a big batch of copycat nugget recipe favorites at a party, put the sauce in a small slow cooker set to the ‘Warm’ setting. If you are just keeping it warm for your family, transfer it to a small insulated thermos or just keep it right near the oven vent. If it gets too thick, splash in a teaspoon of warm water or white vinegar to thin it back out!
If you’re serving these nuggets up and wondering what to make for dessert next time, definitely check out my recipe for chicken tortilla soup—just kidding! But seriously, if you are looking for another easy main, that soup recipe is fantastic!
Serving Suggestions for Your Homemade Chicken Nuggets
Wow, now that you have the ultimate crispy chicken nuggets with honey garlic dip, what do you put next to them? Honestly, because that dip is so rich and savory, you want something light and cooling to cut through it. I usually go for a big, bright green salad with a sharp vinaigrette—it cleanses the palate perfectly between those crunchy bites!
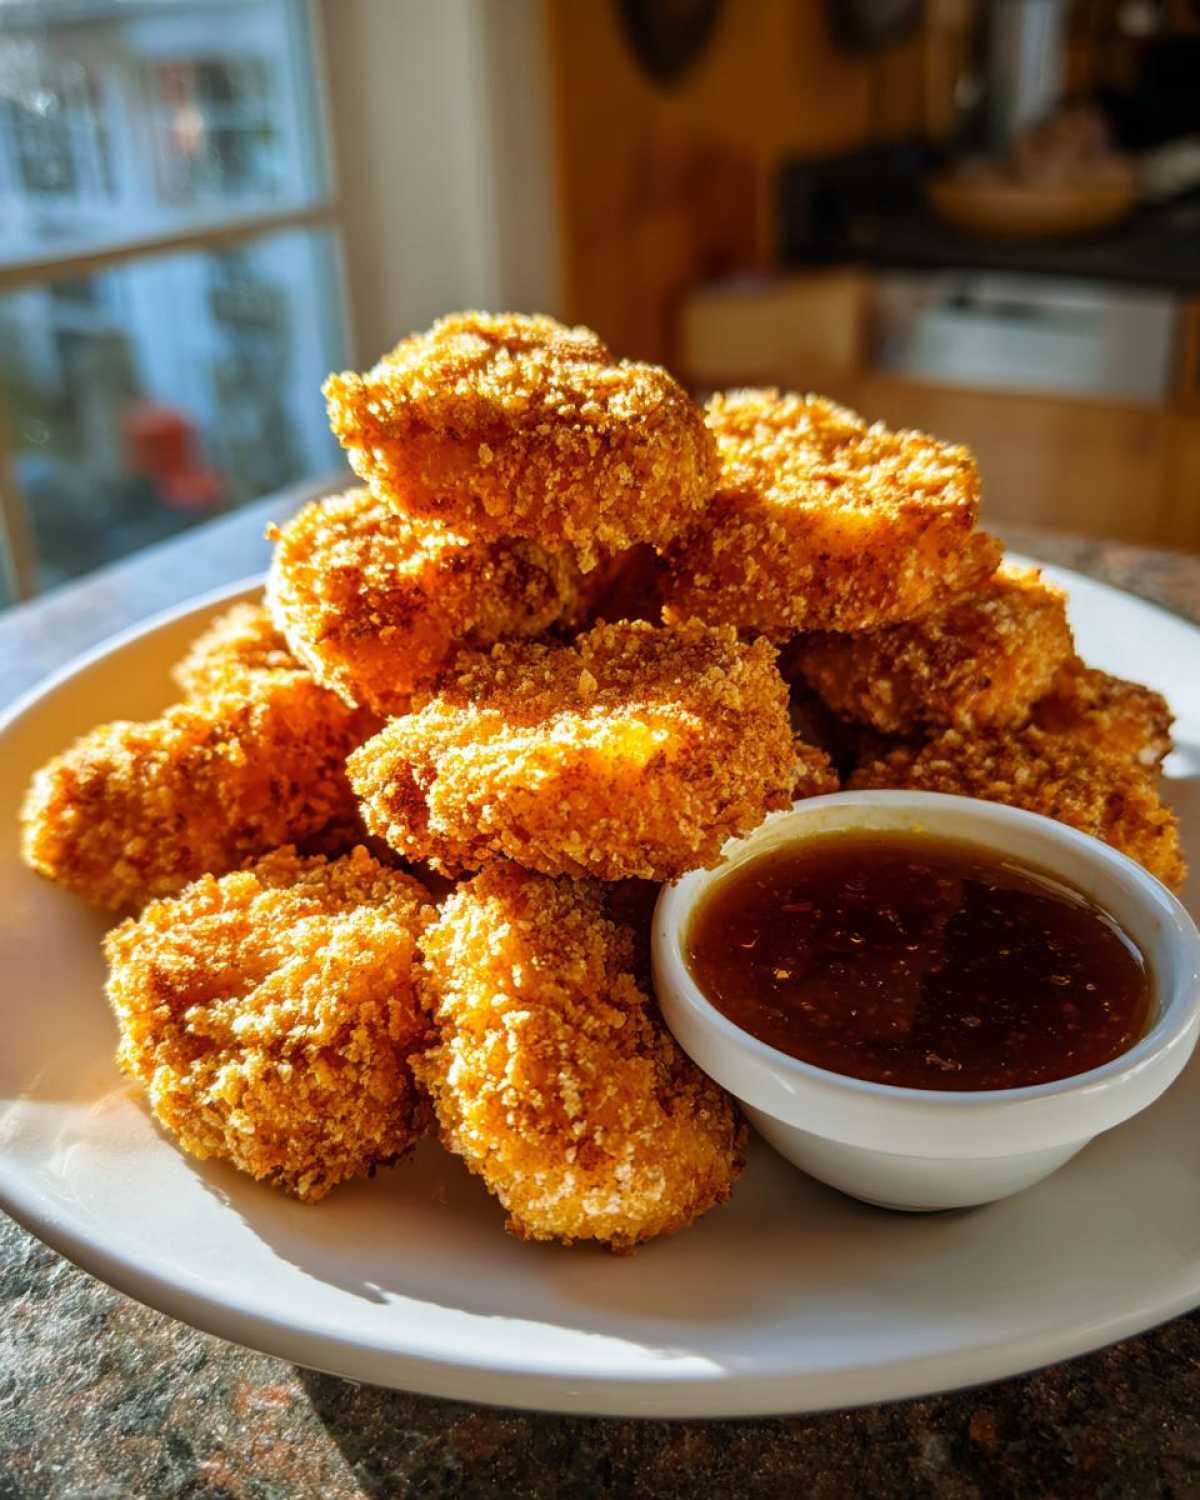
If you need something more substantial though, our family loves pairing these with some simple roasted veggies. Or, if you’re feeling extra, you could whip up some of my amazing crispy breakfast potatoes; they are technically for breakfast, but they are 100% perfect for dinner, too! A simple, creamy coleslaw is another winner that balances the sweetness of the honey just right.
PrintCrispy Chicken Nuggets with Honey Garlic Dip
Make restaurant-quality crispy chicken nuggets from scratch and pair them with a simple, sticky honey garlic dipping sauce.
- Prep Time: 20 min
- Cook Time: 15 min
- Total Time: 35 min
- Yield: 4 servings
- Category: Main Course
- Method: Frying or Air Frying
- Cuisine: American
- Diet: Low Fat
Ingredients
- 1.5 lbs boneless, skinless chicken breast, cut into 1-inch pieces
- 1 cup all-purpose flour
- 1 teaspoon salt
- 1/2 teaspoon black pepper
- 1/2 teaspoon paprika
- 2 large eggs, beaten
- 1.5 cups panko breadcrumbs
- Vegetable oil, for frying (or cooking spray for air frying)
- For the Honey Garlic Dip:
- 1/2 cup honey
- 1/4 cup soy sauce
- 2 tablespoons apple cider vinegar
- 2 cloves garlic, minced
- 1 teaspoon grated fresh ginger
- 1 teaspoon cornstarch mixed with 1 tablespoon cold water (slurry)
Instructions
- Prepare the chicken: Pat the chicken pieces completely dry with paper towels. This helps the coating stick.
- Set up the breading station: In one shallow dish, mix the flour, salt, pepper, and paprika. In a second dish, place the beaten eggs. In a third dish, place the panko breadcrumbs.
- Coat the chicken: Dredge each chicken piece first in the flour mixture, shaking off excess. Dip it into the egg, letting excess drip off. Finally, press it firmly into the panko breadcrumbs to coat completely. Place coated nuggets on a wire rack.
- Cook the nuggets (Frying Method): Heat 2 inches of oil in a deep skillet to 350°F (175°C). Fry the nuggets in batches, turning occasionally, until golden brown and cooked through (about 4-6 minutes). Remove and drain on paper towels.
- Cook the nuggets (Air Fryer Method): Preheat your air fryer to 380°F (195°C). Lightly spray the nuggets with cooking spray. Air fry for 10-12 minutes, flipping halfway through, until golden and crisp.
- Make the dip: Combine honey, soy sauce, vinegar, minced garlic, and ginger in a small saucepan. Bring to a simmer over medium heat.
- Thicken the dip: Whisk in the cornstarch slurry. Continue to cook and stir until the sauce thickens enough to coat the back of a spoon (about 1 minute). Remove from heat.
- Serve the nuggets immediately with the warm honey garlic dip.
Notes
- For extra crispiness, you can double-coat the nuggets: after the first breading, dip them back into the egg and then the panko again.
- To make gluten-free nuggets, substitute the flour with rice flour and the panko with gluten-free breadcrumbs or crushed cornflakes.
- Store leftover cooked nuggets in the refrigerator for up to 3 days; reheat in an oven or air fryer for best crispness.
Nutrition
- Serving Size: 6 nuggets (approx)
- Calories: 350
- Sugar: 18
- Sodium: 450
- Fat: 15
- Saturated Fat: 3
- Unsaturated Fat: 12
- Trans Fat: 0
- Carbohydrates: 30
- Fiber: 1
- Protein: 25
- Cholesterol: 80