

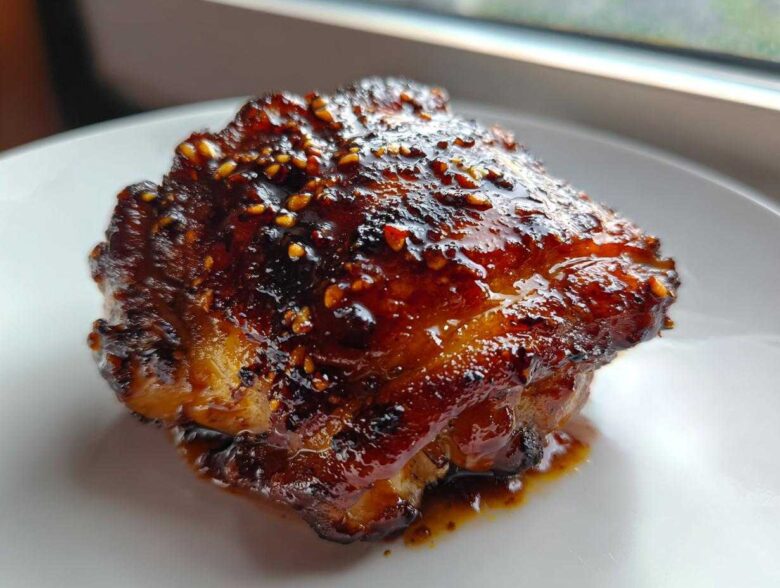
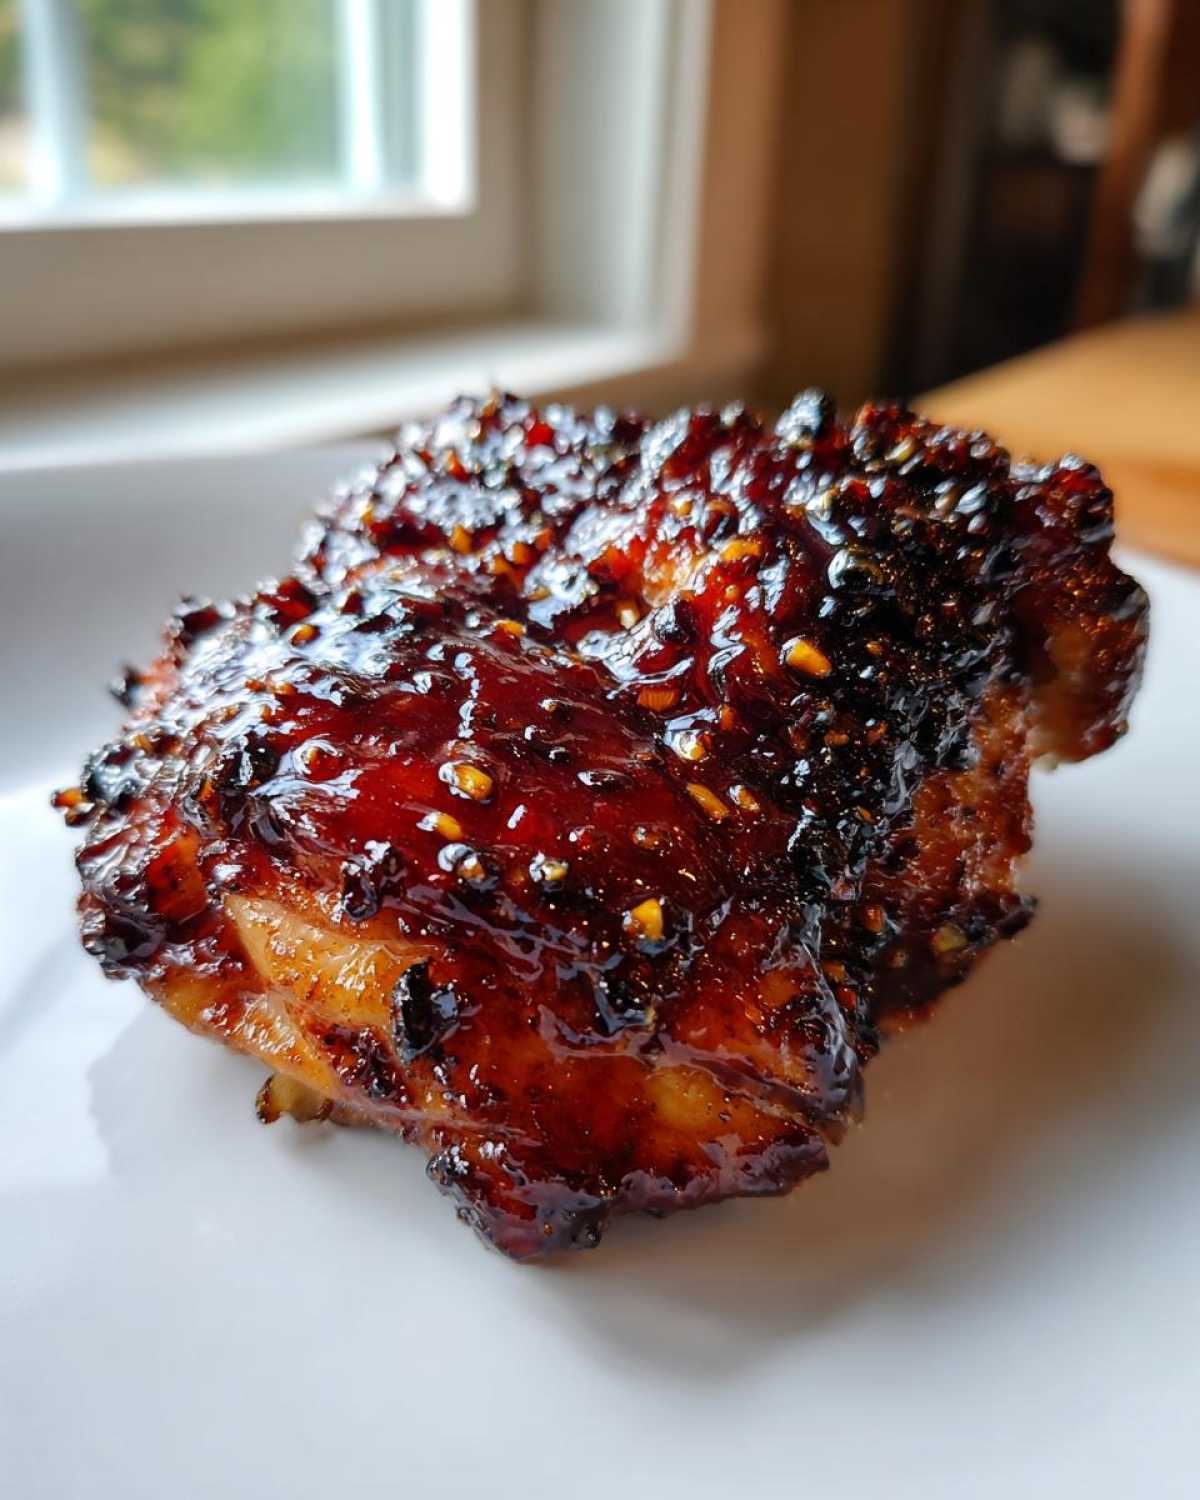
Forget every dry, thin glaze you’ve ever battled trying to make stick to a chicken breast! We’re talking about real weeknight magic here. I spent ages messing around with store-bought stuff and thin sauces that just slid right off the pan. But trust me, this approach is the absolute winner. This recipe delivers the ultimate Sticky Teriyaki Chicken Thighs with Garlic—you get that unbelievably juicy meat, the promise of crispy skin if you treat it right, and a thick, glossy glaze that actually stays put. Getting that perfect salty, sweet, and potent garlic punch for my honey garlic glazed chicken thighs took a few tries, but this balance is pure gold. You have to try this one; it’s going straight into rotation!
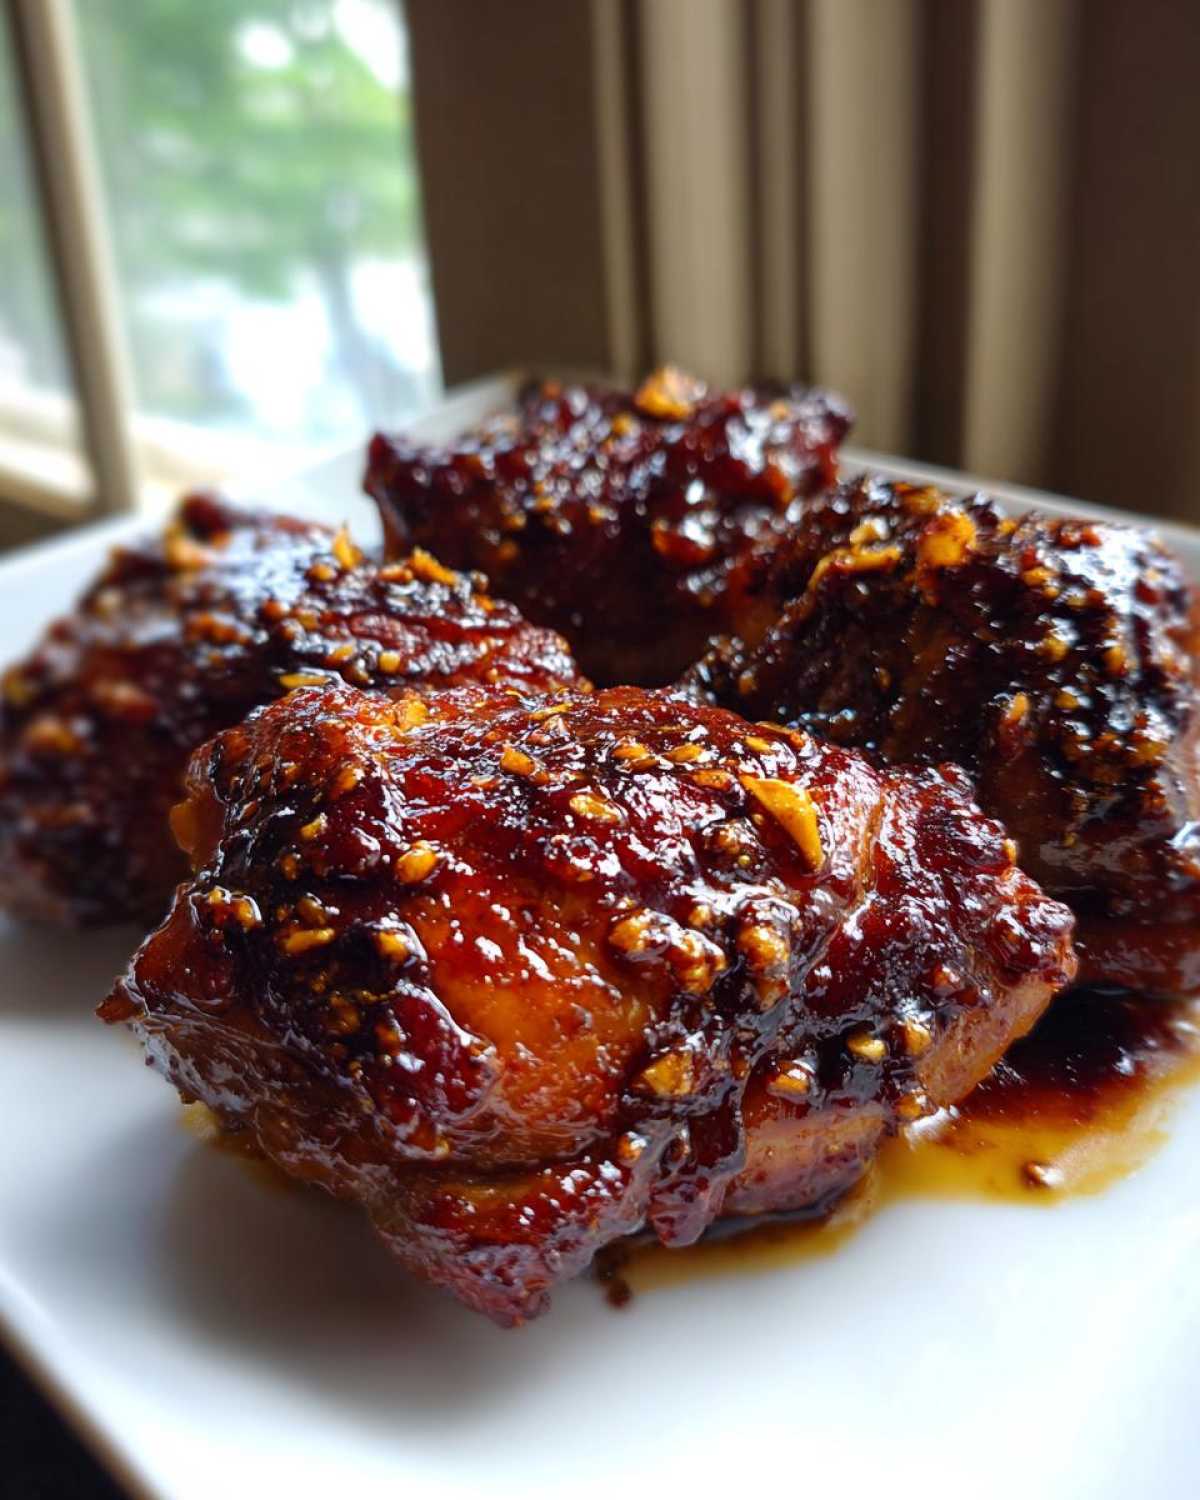
Why This Is the Best Sticky Teriyaki Chicken Thighs with Garlic Recipe
Look, I love chicken breasts, but they just can’t hang with dark meat when we’re making something this intensely flavored. The secret weapon here is using bone-in, skin-on thighs. All that extra fat keeps the meat ridiculously juicy, even after 20 minutes in the oven! Plus, that glorious skin gets crackly before we drown it in sauce.
This is hands-down the Sticky Teriyaki Chicken Thighs with Garlic recipe you need because we nail the texture! We’re not using some watery sauce here; we’re building a true, thick reduction. And oh, the garlic—we use a whole four cloves, making sure every bite sings!
- Thighs mean juiciness—no more dry dinners!
- The sauce reduces down into that perfect, dark, sticky coating.
- We get fantastic texture contrast between crispy skin and tender meat.
Achieving Maximum Flavor in Your Garlic Teriyaki Chicken Thighs
The single most important step, seriously, is searing the skin first. Don’t skip it! You need high heat and patience to render out that fat and get that stunning, deep golden brown color right in the pan. That initial sear locks in the flavor foundation. You’re building up that beautiful sweet-and-salty umami base right there in the hot pan before we even add the sauce ingredients. Trust me, that base flavor is non-negotiable for a truly great garlic naan bread pairing, too!
Gathering Ingredients for Sticky Teriyaki Chicken Thighs with Garlic
Okay, gathering your arsenal is super simple for this one, but we need to discuss quality, especially for our **Sticky Teriyaki Chicken Thighs with Garlic**! Get yourself six bone-in, skin-on chicken thighs. The bone helps keep the meat insulated and super tender, which is exactly what we want.
For the sauce base, you’ll need that fantastic trio: soy sauce (I use low-sodium so I can control the salt later), mirin, and sake. If you can’t find sake, you can try substituting it with a dry white wine in a pinch, but the mirin is key for that classic Japanese sweetness. We’re loading up on the aromatics, too—four full cloves of garlic, minced fine, and some fresh ginger grated up. Don’t even think about dried ginger here!
Finally, for the thickening magic—the true key to that sticky situation—we create a basic slurry. That means just whisking one tablespoon of cornstarch with two tablespoons of ice-cold water until it’s completely smooth. If it’s not cold water, it’ll clump up, and nobody has time for lumpy teriyaki!
I love making my own easy homemade garlic butter recipe to sear these in, but the recipe calls for just one tablespoon of vegetable oil to start. Make sure to grab that teaspoon of sesame oil for finishing the glaze, too. These ingredients are what lift this dish way above just ‘chicken and sauce.’ It’s cooking with intention!
Step-by-Step Instructions for Juicy Chicken Thighs Glazed Recipe
Alright, let’s get cooking! This process sounds long, but honestly, most of the time is hands-off cooking. We are aiming for tender meat first, and then we lock in that beautiful glaze. First things first: pat those chicken thighs completely dry. I mean bone-dry! Get a paper towel and blot every bit of moisture off the skin. Water is the enemy of crispy skin, and we want crispy skin supporting our amazing glaze for these Sticky Teriyaki Chicken Thighs with Garlic!
Heat up a tablespoon of oil in your oven-safe skillet—medium-high heat is the target. Lay the thighs skin-side down. You should hear a happy sizzle right away! Let them sear for a solid 6 to 8 minutes until that skin is deeply golden and crunchy. Seriously, don’t touch them for five minutes! Flip, cook for just 2 minutes more on the second side, and pull that skillet off the heat.
Now for our homemade teriyaki magic. While the chicken is searing, mix your soy sauce, mirin, sake, brown sugar, and all that minced garlic and ginger in a small saucepan. Bring it up to a simmer until the sugar melts away. This is where we start building that thickness!
Searing and Oven Finishing for Perfect Sticky Teriyaki Chicken Thighs
Once the sauce is simmering gently, it’s time for the slurry—remember that cornstarch and cold water mix? Whisk it into the sauce while it simmers. It thickens up fast, practically instantly, turning into that glossy sauce we dreamed about. Kill the heat and stir in the sesame oil. See how shiny that is? That’s your **How to Make Sticky Chicken Glaze** working! Trust me, if you want to see another great option for crispy baked chicken thighs, juicy recipe, check that one out, but this teriyaki sear is the start we need today.
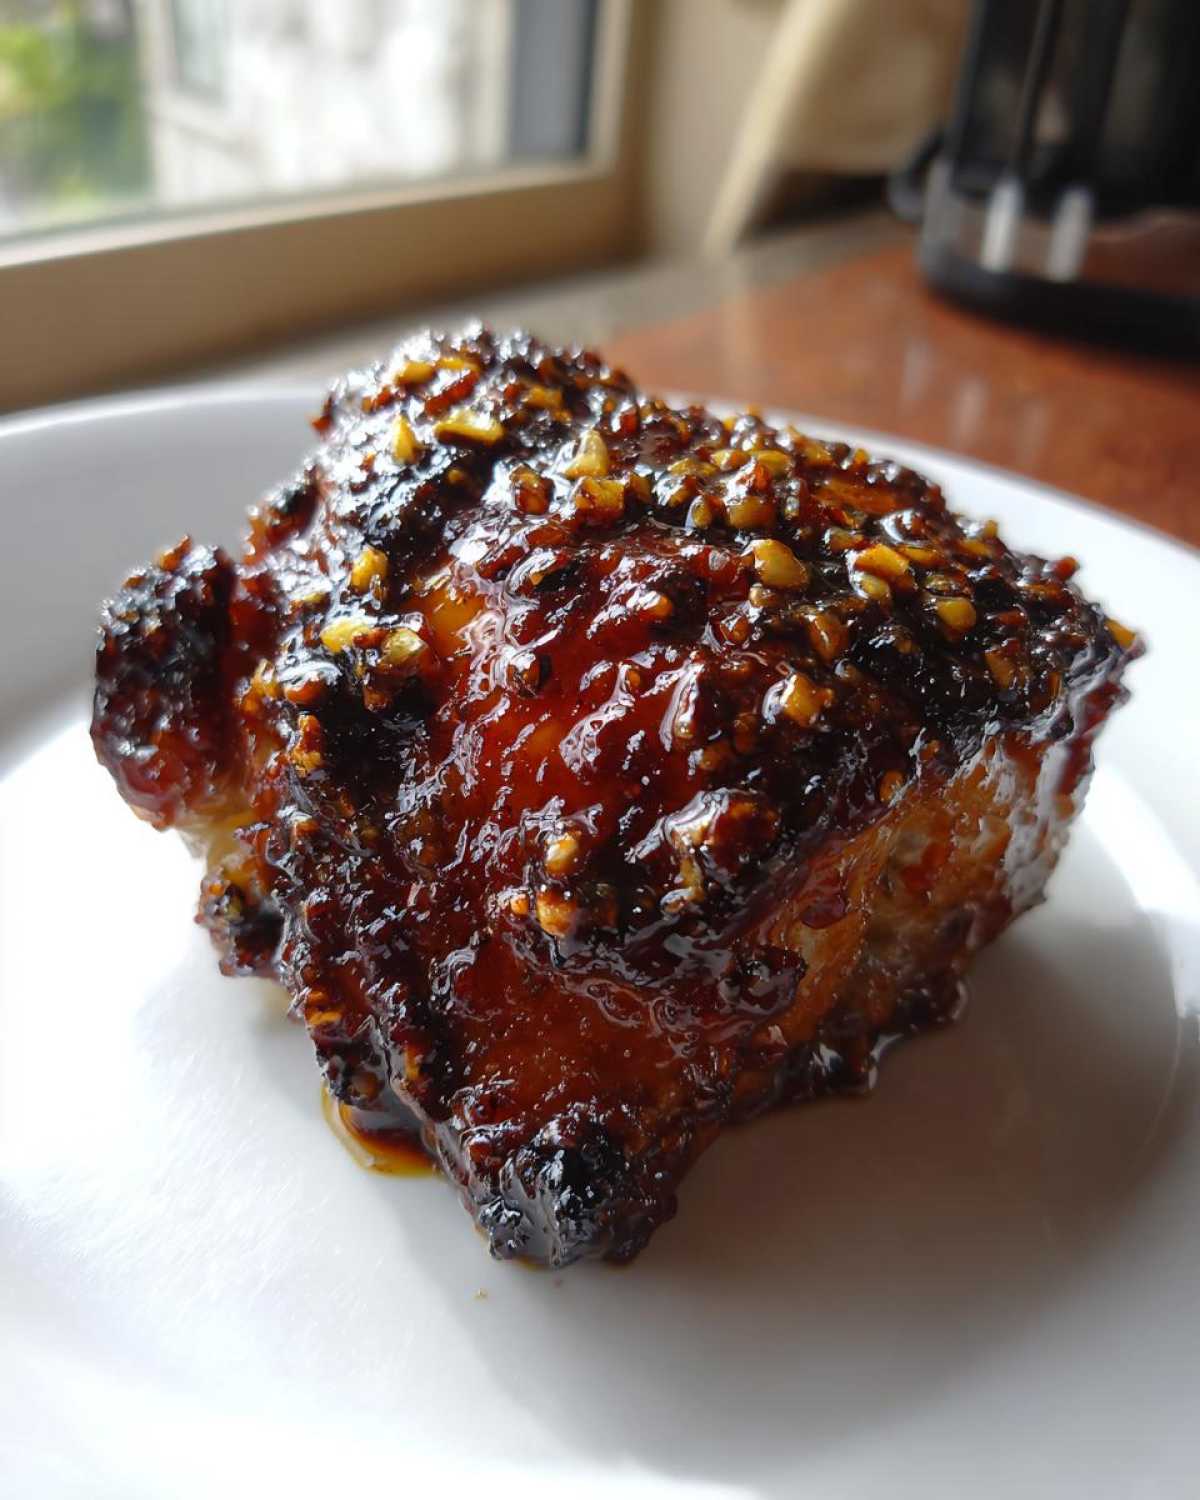
Take that skillet with the seared chicken, and pour about half that luscious sauce right over the tops. Don’t be shy! Then, slide the whole pan straight into your oven, cranked up to 400 degrees for about 15 to 20 minutes. You need to check the temperature; we want 165 degrees inside the thickest part. Pull them out, brush on the remaining glaze—yes, all of it!—and let them rest right there in the pan for five minutes before you serve them warm over rice.
Tips for Making the Ultimate Sticky Chicken Glaze
Getting that perfect, thick, almost lacquer-like coating is what separates an okay teriyaki from the absolute best Sticky Teriyaki Chicken Thighs with Garlic. It’s all about timing with the cornstarch slurry. You absolutely must add that slurry only when the sauce is already simmering because if you dump it into cold liquid, you end up with sweet, disappointing clumps instead of that glorious gloss.
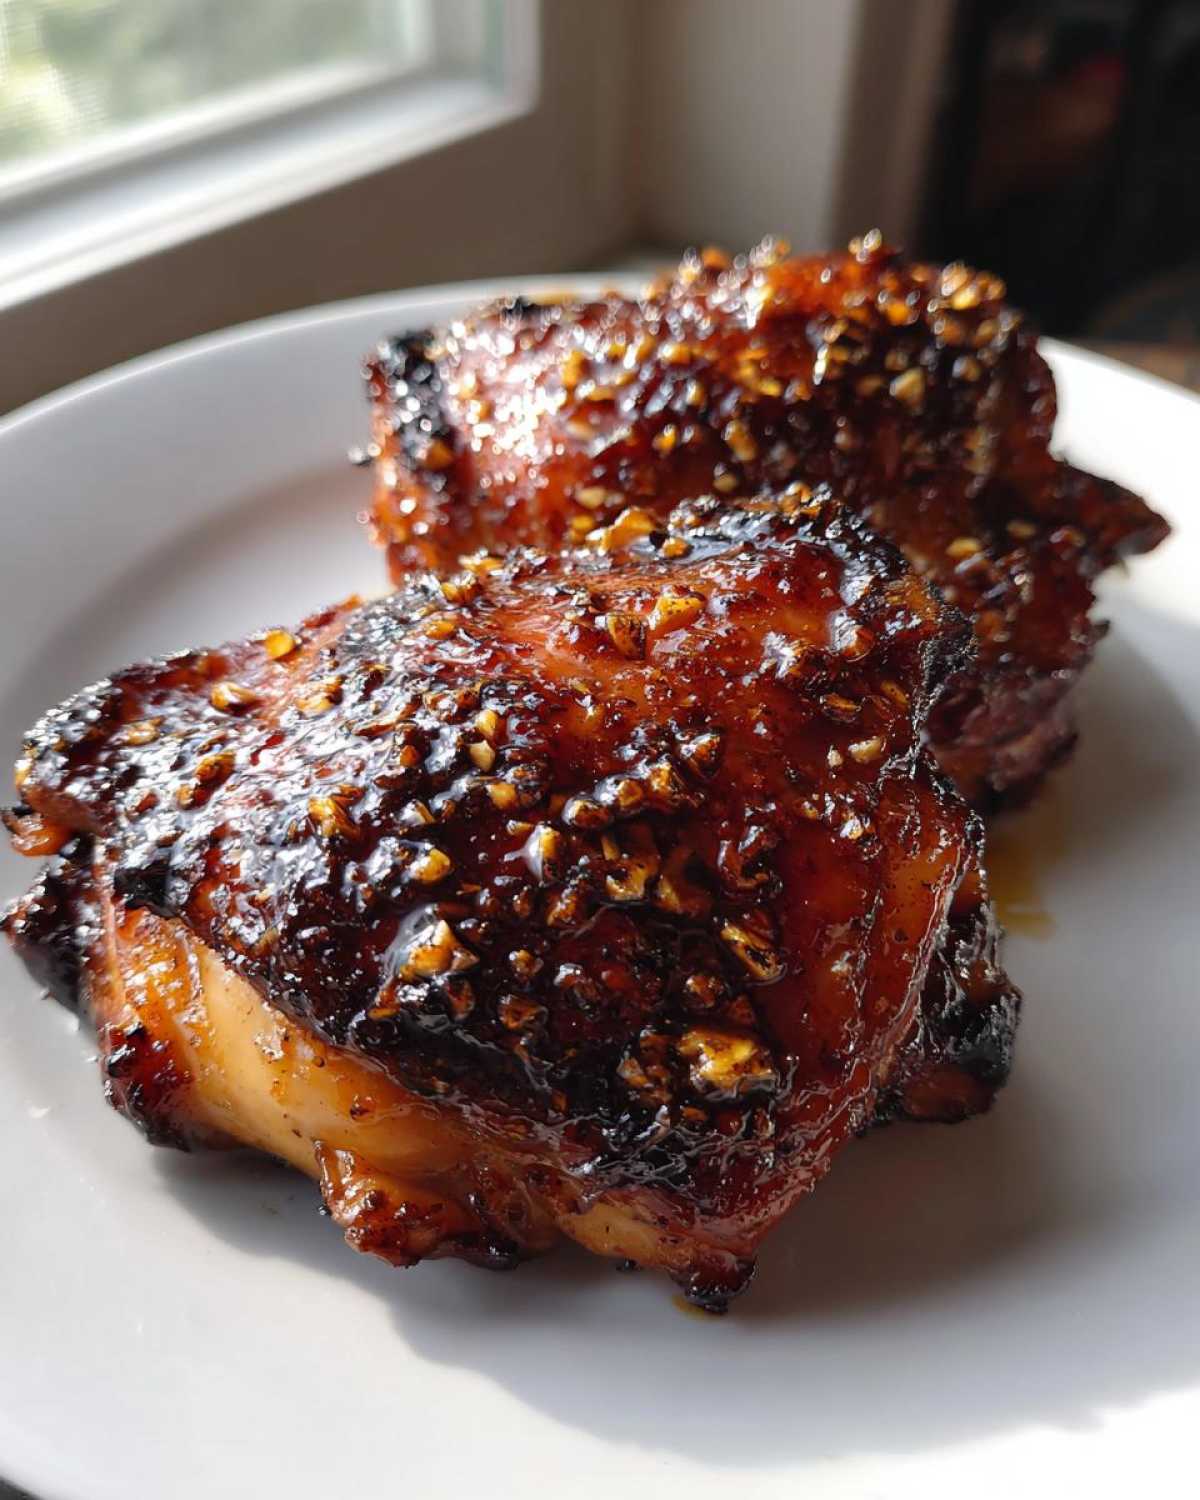
If you taste the sauce before adding the starch and it seems too salty, don’t panic! You can add another teaspoon of brown sugar to balance it out right before the slurry goes in. If it’s not thick enough after simmering for two minutes with the starch, let it go another 30 seconds. You want it thick enough to coat the back of a spoon completely. This precise control makes all the difference for your final Sticky Teriyaki Chicken Thighs with Garlic!
Equipment Needed for Pan Seared Teriyaki Chicken Thighs
You don’t need a ton of fancy gadgets for this, which is why I love that it works well for a simple sheet pan garlic herb chicken and veggies night, too. Having the right basics makes the process so much smoother, though!
The most important piece of gear you need for this specific method is a good, heavy-duty oven-safe skillet. Since we sear on the stovetop and then move right into the oven, you can’t skip the oven-safe part! A 10- or 12-inch cast iron skillet works like a dream here because it holds that heat for that perfect sear.
Beyond the skillet, you’ll need a small saucepan for reducing that luscious teriyaki sauce. Make sure you have a reliable whisk for mixing up the sauce and that cornstarch slurry—you want smooth, not clumpy!
- One oven-safe skillet (cast iron is my number one pick)
- A small saucepan for building the glaze
- Whisk and a rubber spatula
- Tongs for flipping those hot pieces of chicken
- Paper towels—you need lots of these for drying the skin!
That’s really it! With these few things ready to go, you’re all set to make an amazing weeknight dinner without pulling out every pot in the kitchen.
Serving Suggestions for Your Flavorful Glazed Chicken Dinner Ideas
You’ve mastered the perfect sticky coating and your chicken thighs are resting, glistening under the oven light. Now, what are you going to put on the plate next to them? Since this is such a big, bold, sweet-and-savory dish, you need sides that complement it without fighting for attention. I always lean toward fresh, simple vegetables that act like a sponge for any extra glaze that drips off the meat.
Steamed rice is the absolute champion here. It’s simple, slightly sticky itself, and it catches every bit of that sauce! I usually make plain white rice, but you could swap in some brown rice if you want a nuttier texture. If you’re feeling fancy, even a little bit of garlic fried rice works wonders!
For the greens, keep them bright. Steamed or lightly sautéed broccoli or green beans are perfect. They just need a tiny splash of soy sauce or maybe a squeeze of lemon to cut through the richness of the glaze. I love how the bright green pops against the deep, dark color of the teriyaki.
But hey, if you need something seriously comforting on the side, don’t forget how delicious these go with something creamy! My family loves when I pair these with slow cooker mashed potatoes. It’s a fusion disaster that tastes like heaven—the salty-sweet glaze mixing into creamy mash? Perfection! It turns an Asian-inspired dish instantly into a comforting American dinner centerpiece.
Storage and Reheating Instructions for Leftover Sticky Teriyaki Chicken Thighs with Garlic
Oh man, I hope you have leftovers, because these are great the next day! Store your Sticky Teriyaki Chicken Thighs with Garlic in an airtight container in the fridge for up to three days. The glaze will stiffen up a bit, which is totally normal because of all that sugar.
The reheating secret is low and slow heat. I never use the microwave for glazed meat, it just turns the skin rubbery! Instead, pop them in a little oven-safe dish with a tablespoon of water or chicken broth at about 325 degrees Fahrenheit until they are warmed through. That steam prevents the sugary glaze from immediately burning before the meat is hot. Enjoy the leftovers!
Frequently Asked Questions About Homemade Teriyaki Sauce for Thighs
I get so many questions every time I post this recipe! People want to know how to tweak it for their own pantry, which totally makes sense. Believe me, I’ve tested every trick in the book for the Best Garlic Teriyaki Chicken Thighs, so let’s chew over some of your best queries!
Can I make Sticky Teriyaki Chicken Thighs with Garlic ahead of time?
You absolutely can make the sauce ahead of time—that’s a huge time-saver for a Weeknight Chicken Thighs Meal! Keep the sauce sealed up in the fridge for up to five days. But listen closely: I strongly recommend searing and baking the chicken fresh. When you reheat glazed chicken, that sugar can burn really fast, and you lose that fantastic crispness the thighs got during the initial sear. Cook fresh, sauce fresh, for the best result!
What is the best substitute for Mirin in this recipe?
If you can’t get your hands on mirin, don’t worry! You can substitute it with dry white wine, but you have to sneak that sweetness back in somehow. I usually add an extra teaspoon of light brown sugar along with the wine called for. This helps maintain that crucial sweet quality that balances the soy sauce in our Homemade Teriyaki Sauce for Thighs. It’s not 100% identical, but it gets you very close!
How do I stop the glaze from being too thin?
If your glaze seems thin after simmering, it just means you maybe didn’t cook it long enough to activate the cornstarch, or you might need a tiny bit more. Keep it simmering gently—don’t boil it hard! If it’s still too runny, just mix one teaspoon of cornstarch with one tablespoon of cold water in a tiny cup, whisk that into the whole sauce, and let it simmer for another minute or two. You’ll have a beautiful reduction for your Sticky Teriyaki Chicken Thighs with Garlic in no time!
What if I only have boneless, skinless thighs?
That’s a common swap, but achieving perfectly Juicy Chicken Thighs Glazed Recipe texture is trickier without the fat cap. If you use boneless, skinless, you still need to sear them really well to get color, but you must reduce the baking time significantly—we’re talking maybe 10 to 12 minutes max at 400F. They cook so much faster! And definitely brush that glaze on them just before they go into the oven so it doesn’t burn while you wait for the temp to rise.
For more tips on making quick, amazing Asian flavors, check out my thoughts on my teriyaki chicken stir fry guide!
Nutritional Estimates for This Glazed Chicken Thighs Recipe
Look, I’m not a nutritionist, okay? I’m just here to make sure you get the best flavor possible! But I do track things roughly because I like to know what I’m putting into my body, and I know some of you are watching macros. So, please take these numbers as a friendly guide only, based on the ingredients list for these incredible Sticky Teriyaki Chicken Thighs with Garlic.
This estimate is based on serving six people, so we’re dividing everything by six. The final dish is packed with flavor, and yes, the glaze adds sugar, but it’s worth it for that gorgeous sticky finish!
- Serving Size: 1 thigh
- Calories: Approximately 450 per serving
- Total Fat: About 25g (Remember, a lot of that is the healthy fat rendering out of the skin!)
- Saturated Fat: Around 8g
- Protein: A hearty 32g to keep you full!
- Total Carbohydrates: About 28g
- Sugar: Near 22g (This is mostly from the mirin and brown sugar in the glaze)
- Sodium: Around 750mg (If you use low-sodium soy sauce, you can cut that down!)
If you’re planning out your whole week of eating, you can always check out my general meal ideas over in the main dinner category! But honestly, for a meal this satisfying, these numbers are pretty darn good for an amazing Garlic Infused Teriyaki Dinner.
PrintSticky Teriyaki Chicken Thighs with Garlic
A recipe for making tender, juicy chicken thighs coated in a thick, dark, and glossy homemade teriyaki glaze infused with strong garlic flavor.
- Prep Time: 15 min
- Cook Time: 35 min
- Total Time: 50 min
- Yield: 6 servings
- Category: Dinner
- Method: Pan-Searing and Baking
- Cuisine: Japanese-Inspired
- Diet: Low Lactose
Ingredients
- 6 bone-in, skin-on chicken thighs
- 1 tablespoon vegetable oil
- 1/2 cup low sodium soy sauce
- 1/2 cup mirin (sweet rice wine)
- 1/4 cup sake (Japanese rice wine)
- 1/4 cup packed light brown sugar
- 4 cloves garlic, minced
- 1 tablespoon fresh ginger, grated
- 1 teaspoon sesame oil
- 1 tablespoon cornstarch
- 2 tablespoons cold water
Instructions
- Pat the chicken thighs completely dry using paper towels. Season the skin lightly with salt and pepper.
- Heat the vegetable oil in a large, oven-safe skillet over medium-high heat. Place the chicken thighs skin-side down in the hot oil. Sear for 6 to 8 minutes until the skin is deeply golden brown and crisp.
- Flip the chicken thighs and cook for 2 minutes on the second side. Remove the skillet from the heat.
- While the chicken sears, prepare the sauce: In a small saucepan, combine the soy sauce, mirin, sake, brown sugar, minced garlic, and grated ginger. Bring the mixture to a simmer over medium heat, stirring until the sugar dissolves. Reduce the heat and let it simmer gently for 5 minutes.
- In a separate small bowl, whisk together the cornstarch and cold water to create a slurry. Pour the slurry into the simmering sauce while whisking constantly. Continue to cook for 1 to 2 minutes until the sauce thickens significantly and becomes glossy. Remove from heat and stir in the sesame oil.
- Pour half of the prepared teriyaki glaze over the chicken thighs in the skillet, coating the tops well.
- Transfer the skillet to a preheated oven at 400 degrees Fahrenheit (200 degrees Celsius). Bake for 15 to 20 minutes, or until the internal temperature of the chicken reaches 165 degrees Fahrenheit (74 degrees Celsius).
- Remove the chicken from the oven. Brush the remaining teriyaki glaze over the chicken thighs. Let the chicken rest in the skillet for 5 minutes before serving.
Notes
- For extra crispiness, you can briefly place the chicken under the broiler for the last 1-2 minutes after baking, watching carefully to prevent burning the glaze.
- Serve immediately over steamed white rice with a side of steamed broccoli or green beans.
- If you prefer boneless, skinless thighs, reduce the baking time by approximately 5 to 7 minutes.
Nutrition
- Serving Size: 1 thigh
- Calories: 450
- Sugar: 22
- Sodium: 750
- Fat: 25
- Saturated Fat: 8
- Unsaturated Fat: 17
- Trans Fat: 0
- Carbohydrates: 28
- Fiber: 1
- Protein: 32
- Cholesterol: 110