

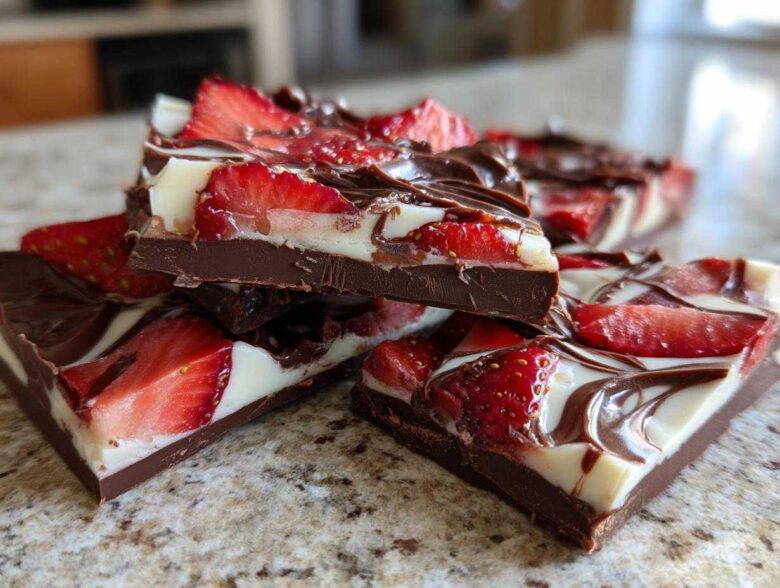
When the holidays roll around, or I just need a pretty, quick fix for my sweet tooth, I always turn to homemade candy. And let me tell you, nothing beats my super simple **Chocolate Covered Strawberry Bark** for instant wow factor! This isn’t some fussy, double-boiler required mess; this is truly the easiest, no-bake way to get that gorgeous look of layered chocolate and fresh fruit. It looks so gourmet, but I whip up a batch in about fifteen minutes of actual work. If you need cute DIY chocolate gifts that taste incredible, stop looking—this is the one. It’s so easy, you could even make homemade marshmallows next week!
Why This Chocolate Covered Strawberry Bark is Your New Go-To Recipe
Seriously, I make this **Chocolate Covered Strawberry Bark** all the time because it checks every single box for a perfect quick dessert. First off, it’s completely no-bake! That means when the weather’s hot, or my oven is already busy roasting dinner, I can still whip up something gorgeous. The prep is lightning fast—you’re mostly just melting chocolate and slicing berries.
The visual appeal is what gets me every time. It looks like those fancy, expensive slabs you see in gourmet candy shops, but you made it yourself in less time than it takes to boil a pot of water. This makes it fantastic for last-minute holiday treat boxes. Think Valentine’s Day or just a sweet little something to take to a party. You can even find great inspiration for DIY chocolate gifts using this recipe!
- No oven required—perfect for summer snacking!
- Looks way more complicated than it actually is.
- Uses fresh fruit, which makes me feel slightly less guilty about eating half of it myself.
- Breaks into perfect, shareable pieces; no fussy cutting!
Essential Ingredients for Perfect Chocolate Covered Strawberry Bark
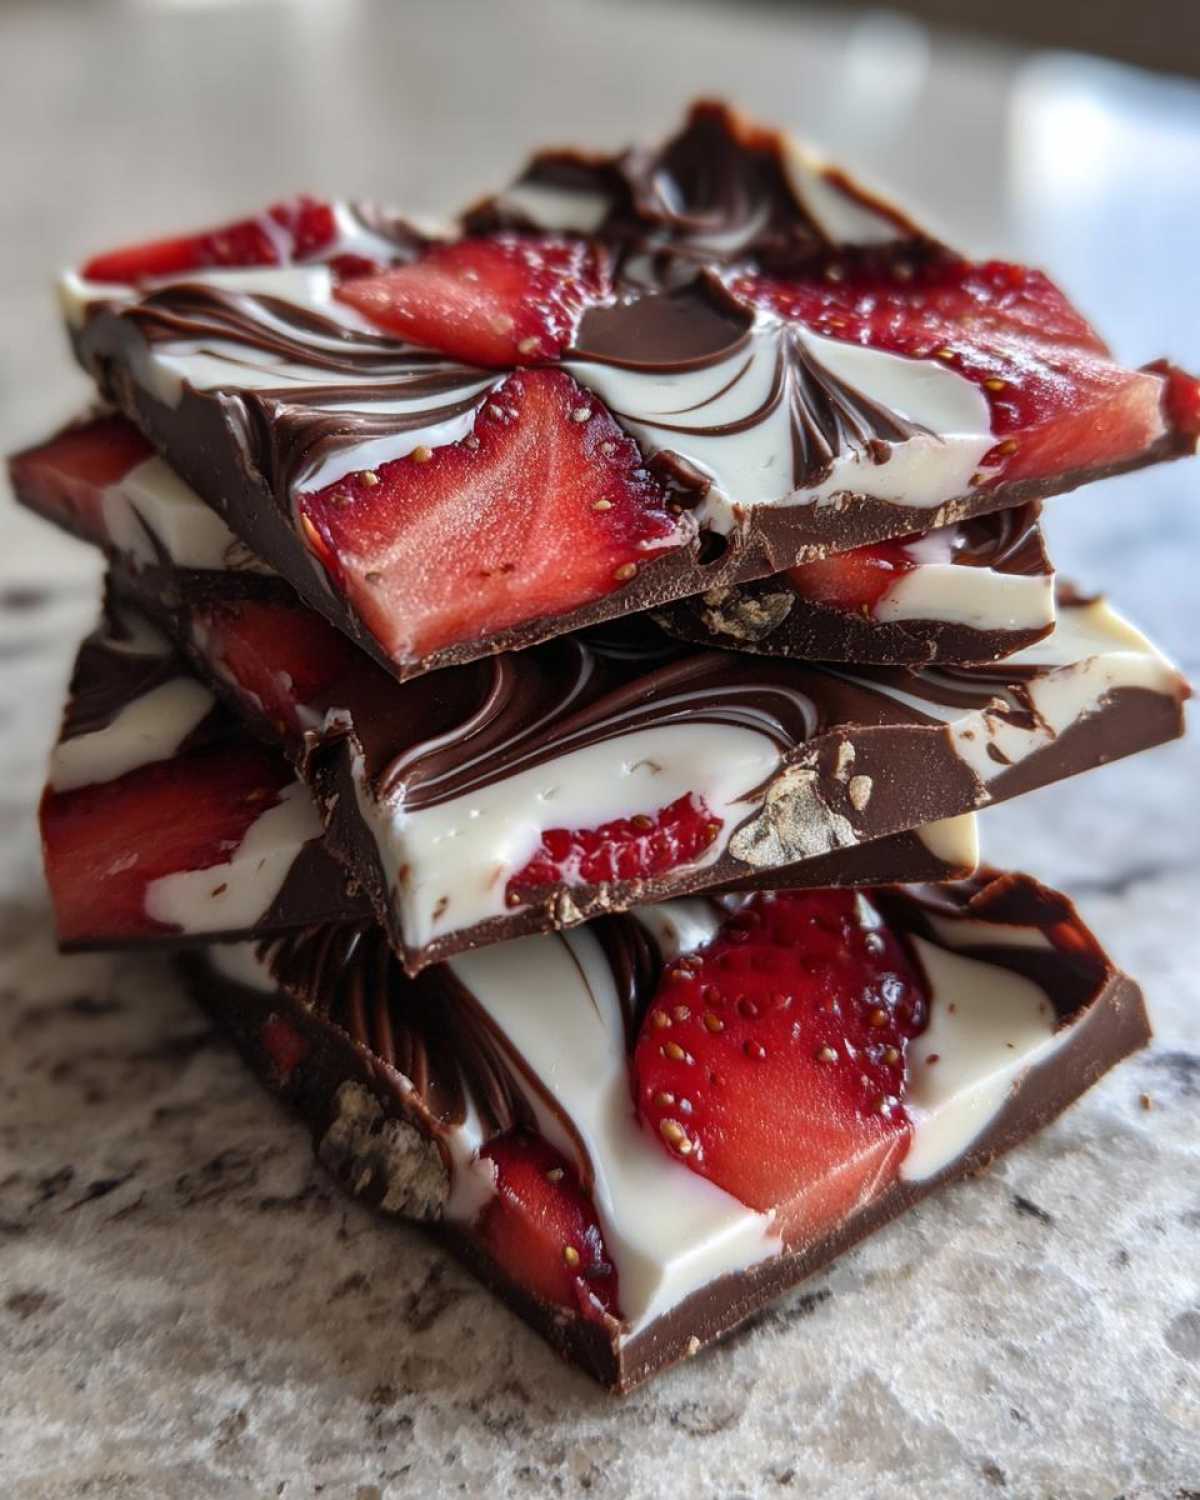
You honestly don’t need much to make this incredible **Chocolate Covered Strawberry Bark**, which is why I love it so much. We’re keeping it minimal, but quality really matters here since there are so few ingredients to hide behind!
- 12 ounces of white chocolate chips – this is our base layer!
- 8 ounces of dark or milk chocolate chips – this is for the beautiful top swirl.
- 1 cup of fresh strawberries, sliced super thin. I mean razor-thin if you can manage it.
- 1 teaspoon of coconut oil (optional, but trust me, it makes the chocolate silky smooth when melting).
Now, the most crucial thing you must do? Pat those strawberries until they are bone dry. Any water left on them will make your melted chocolate instantly seize up into a grainy mess. Oops!
Ingredient Notes and Substitution Tips
Since this is basically just chocolate and berries, you want the best chocolate you can get. If you use those waxy wafers, your **Chocolate Covered Strawberry Bark** won’t snap nicely. I always recommend using good quality chips or even better, chopping up high-quality bars if you can afford the extra step—check out my guide on the best chocolate for bark if you’re curious.
If you absolutely hate dark chocolate, go ahead and use milk chocolate for the swirl. But watch the sugar content; if you use milk chocolate on top of white chocolate, it can get very sweet, real fast! I stick to dark because its slight bitterness really cuts through the sweetness of the berries and the white chocolate foundation.
Step-by-Step Guide to Making Your Chocolate Covered Strawberry Bark
Okay, time to get messy—er, I mean, time to get making! This process goes super fast once you start, so have your sheet pan ready and your berries completely dry. If you’ve never made how to make candy bark before, don’t sweat it, the steps are easy peasy. Remember, we aren’t baking anything, just melting and chilling! That’s the beauty of this treat.
Preparing the Base Layer of Chocolate Covered Strawberry Bark
First things first: grab a baking sheet and line it really well with parchment paper. This is key so your amazing creation doesn’t glue itself to the metal. Next, tackle those strawberries. You absolutely must pat them dry using paper towels until they feel almost dusty. If they’re even a little damp, the white chocolate will freak out and seize up. Seriously, take your time here!
Grab your white chocolate and that optional coconut oil. Melt it slowly in the microwave, pausing every 30 seconds to stir until it’s totally smooth. Pour that liquid gold onto your lined sheet and spread it out nice and even, about a quarter-inch thick. Now, carefully arrange your dried strawberry slices across this white layer. If you want an extra firm result, try chilling the strawberries for ten minutes first—it’s my little secret for a firmer **Chocolate Covered Strawberry Bark**!
Swirling and Setting the Gourmet Flavored Bark
Once the strawberries are down, it’s dark chocolate swirl time. Melt your dark or milk chocolate the same way you melted the white—slowly! Then, just drizzle it artistically all over the top. I grab a toothpick or a butter knife and gently drag it through the layers to get that beautiful marbled, or ‘swirled,’ look. You want the pattern, but don’t mix it too much, or you’ll lose that two-tone effect that makes this look so gourmet.
When you’re happy with your swirls, slide that whole sheet pan straight into the refrigerator. You need it to chill completely. Give it a good hour minimum, or until the whole slab is rock hard. Patience! Once it’s totally firm, it’s time for the fun part: breaking it into irregular pieces. You’re done!
Tips for Success with Your No Bake Strawberry Dessert
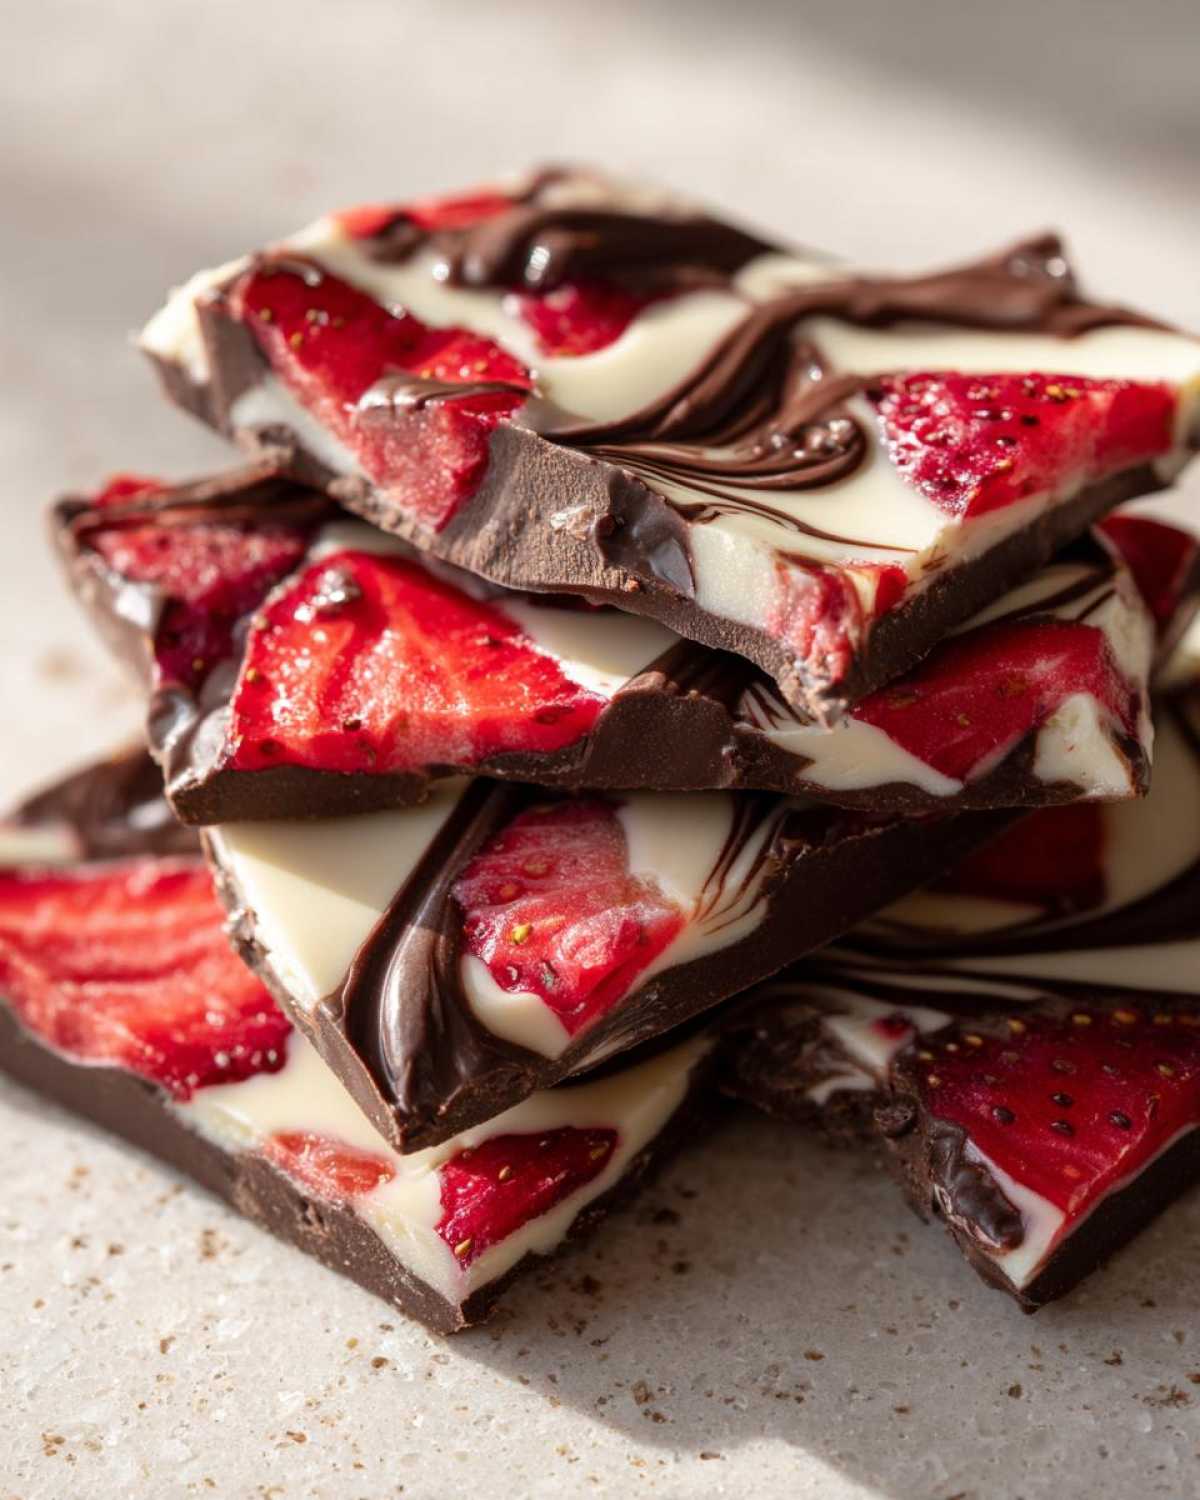
I’ve made this delicious **Chocolate Covered Strawberry Bark** enough times to know exactly where things can go sideways, so let me share a few things I learned the hard way! The biggest worry people have, besides seized chocolate, is the strawberries bleeding pink juice into the white layer. To stop that, you *must* dry your berries completely, like I said before. But a second trick is freezing them for just 15 minutes before you place them on the melting white chocolate layer. That cold shock helps them hold their shape and stops that moisture transfer immediately.
The second thing everyone asks about is that clean break. If you want those sharp, satisfying shards of candy bark, make sure your chocolate is fully set—no soft spots at all! Place the chilled slab on a clean countertop and use a heavy knife or rolling pin to gently tap along the edges first, then crack it down the middle. It should shatter beautifully.
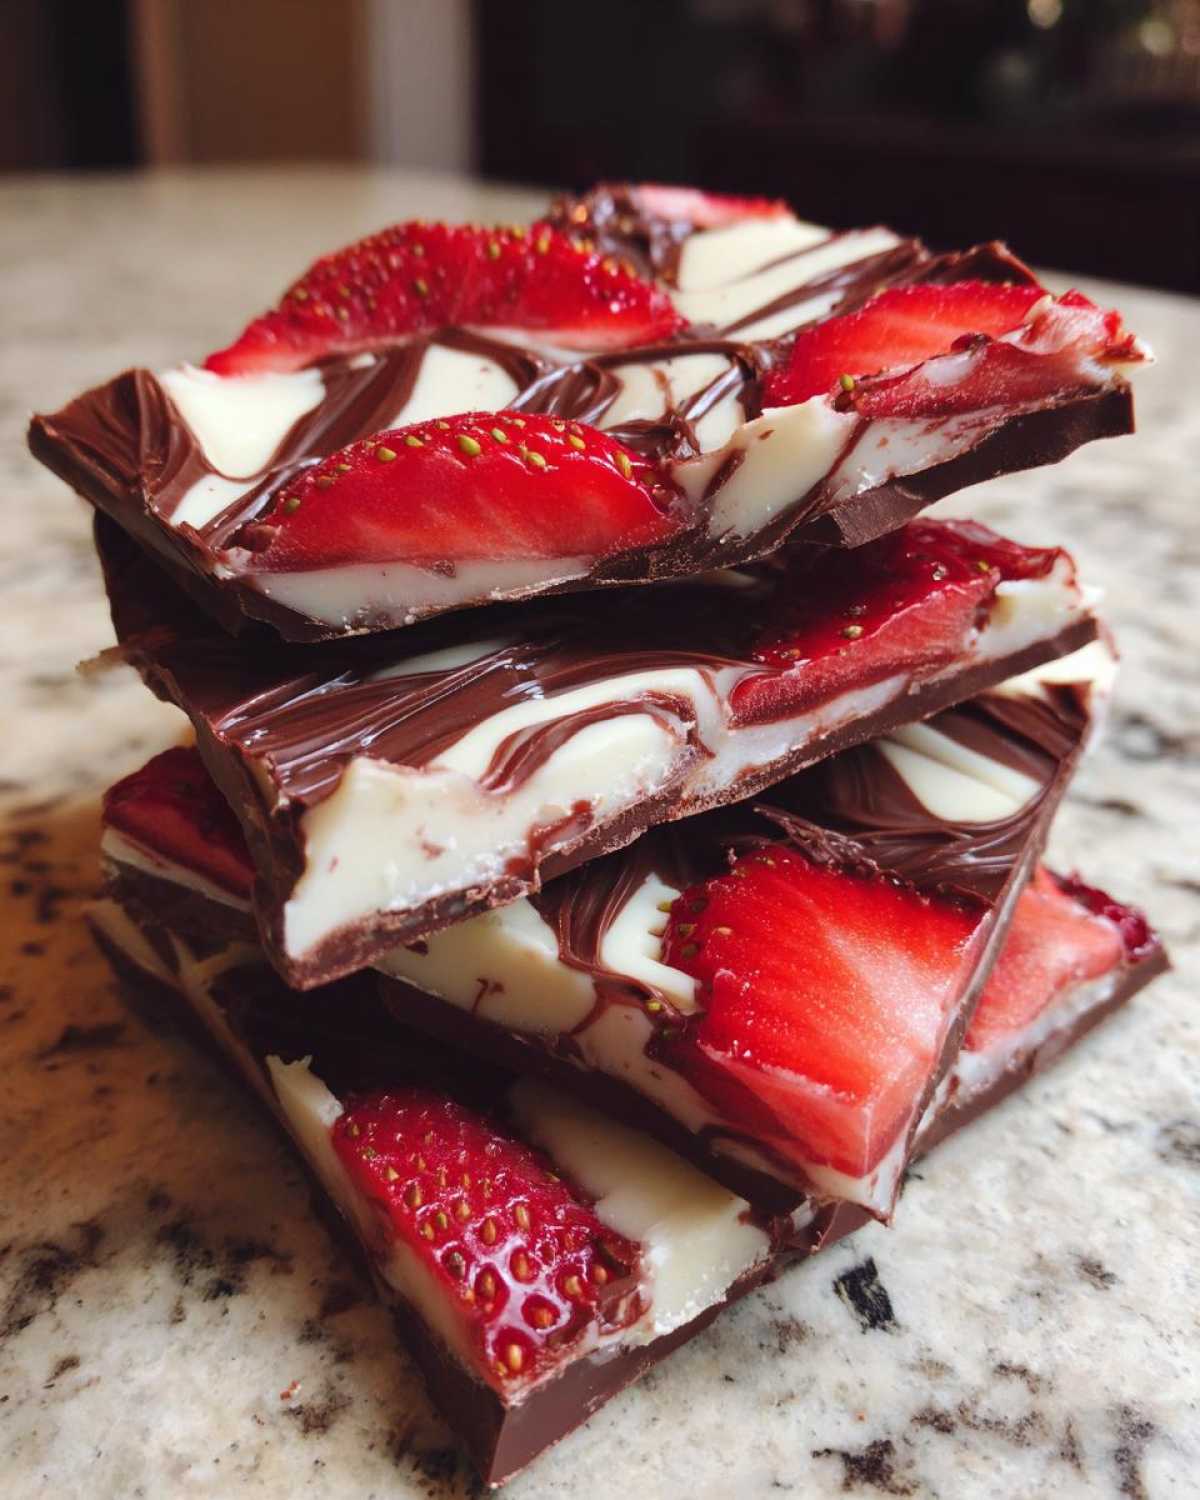
If you need a visual refresher on getting those textures right, check out this great chocolate dessert tutorial. Following those steps really helped me master the snap required for perfect **Chocolate Covered Strawberry Bark**!
Variations on Chocolate Covered Strawberry Bark
One of the best things about making a simple slab like this **Chocolate Covered Strawberry Bark** at home is that you can totally customize it! My basic recipe is great, but if you want to turn this into a true gourmet flavored bark, you have options. For instance, if you adore the creamy factor, skip the dark chocolate swirl entirely and maybe just top the white chocolate base with freeze-dried strawberry powder for a solid, vibrant pink look—that’s your pure **white chocolate strawberry bark**!
If you want more contrast, go all in with a rich, thick layer of melted dark chocolate, maybe thinning it slightly with extra coconut oil to get a beautiful **dark chocolate strawberry swirl**. Don’t be afraid to add texture! I sometimes sprinkle coarsely chopped pecans or crushed pretzels onto the dark chocolate right before it sets. It adds the most fantastic crunch.
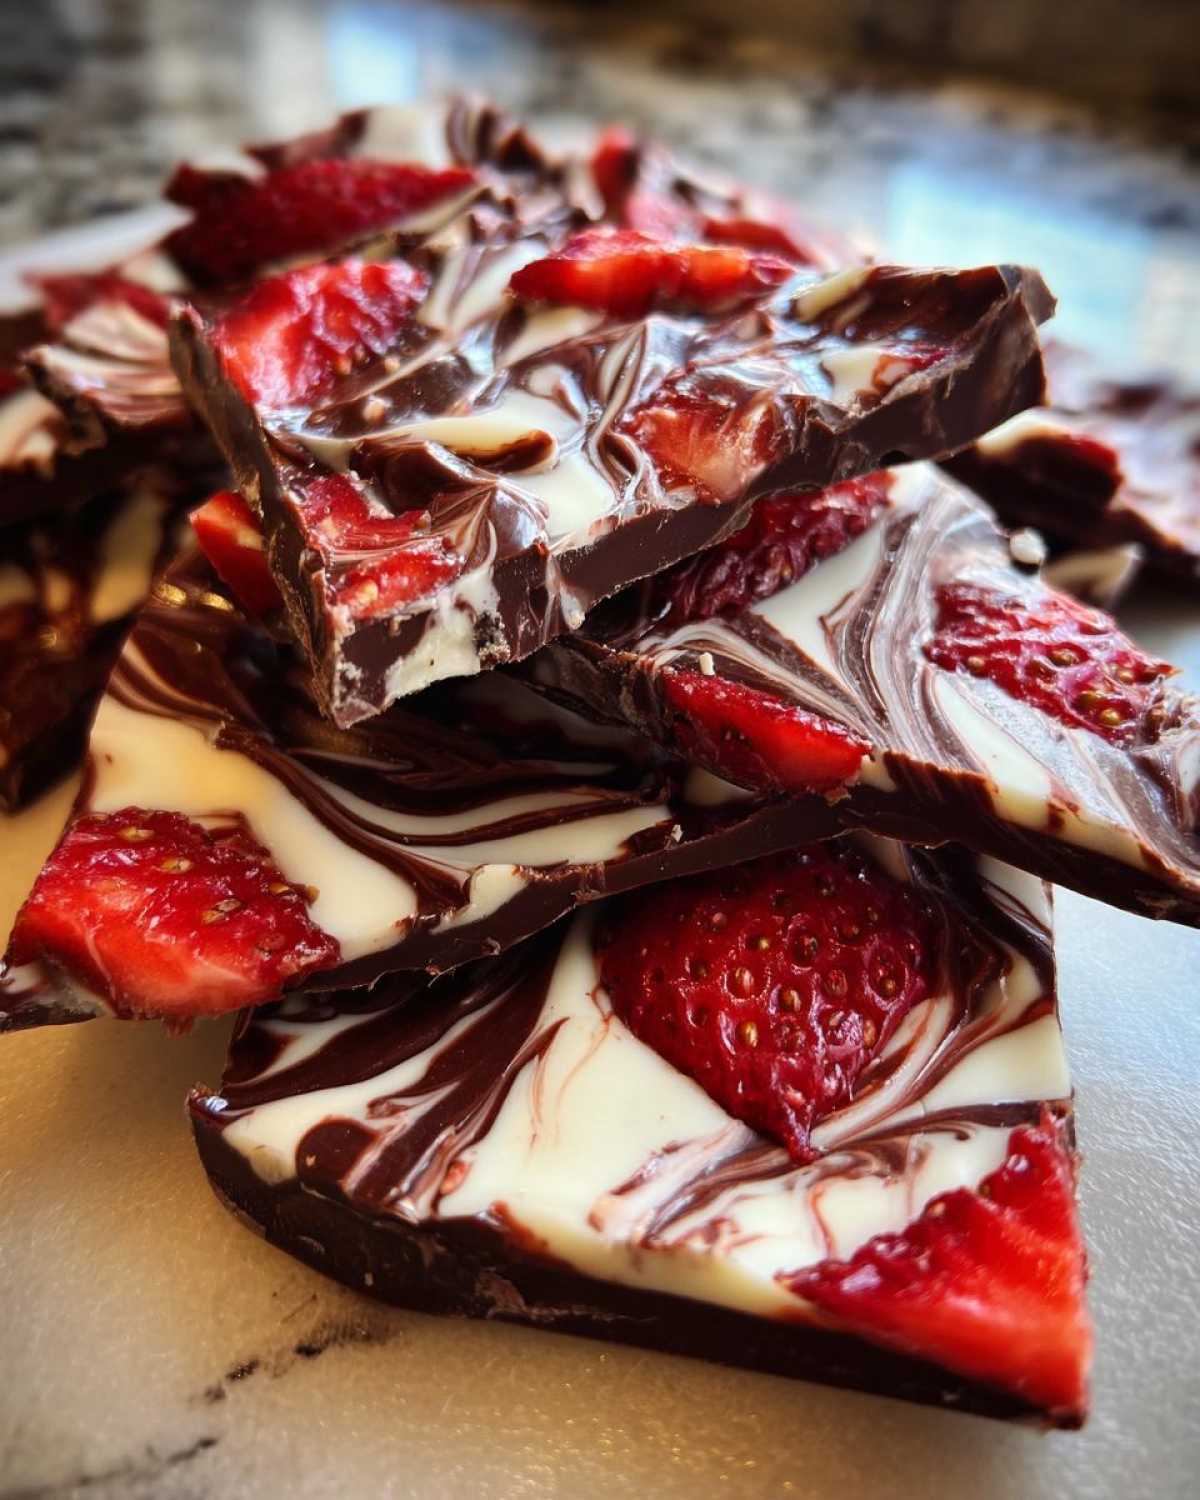
It’s always fun to see what other easy bark toppings people use. If you’re feeling extra festive, check out some ideas on Peanut Butter Pretzel Bark Recipe for inspiration on mix-ins. You really can’t go wrong when you start with quality chocolate and dried fruit!
Storing Your Homemade Candy Making Creation
Okay, you’ve made this fantastic **Chocolate Covered Strawberry Bark**, and now you’re staring at a whole pound of amazing candy. What do you do with it all? Good news: this homemade candy making creation keeps really well, but you have to treat it right.
It is absolutely essential to store your finished candy bark in an airtight container. Not a plastic baggie—I mean a real container with a tight lid. If you just toss it on a plate on the counter, the chocolate will start absorbing smells from the kitchen, and honestly, it might get soft quick.
I always keep mine in the refrigerator. Because we are using fresh fruit, and because chocolate itself softens in warmer air, the fridge keeps that beautiful crisp snap we worked so hard for. It should stay perfect for about a week this way. When I’m ready to serve it, I sometimes pull it out about ten minutes ahead of time, just so it’s not aggressively cold, but chilling it is the best way to guarantee that satisfying break when you take a bite!
Frequently Asked Questions About Chocolate Covered Strawberry Bark
I know you’re probably still admiring your beautiful slab, but you might have a quick question or two before you stash it away. Dealing with fresh fruit in candy can be tricky, so let’s clear up any last-minute doubts about making this **Chocolate Covered Strawberry Bark**!
Can I use frozen strawberries instead of fresh ones?
That’s a great question, especially if you’re trying to use up leftovers! I strongly advise against using regular thawed frozen strawberries. When strawberries thaw, they release a ton of water, and that moisture is guaranteed to mess up your smooth chocolate, causing it to seize. If you *must* use frozen, only use them if you’re attempting the ‘frozen strawberry bark trick’ I mentioned: keep them frozen solid and quickly place them onto the white chocolate layer *immediately* before putting the whole thing in the fridge. Don’t let them sit out!
What is the best chocolate for bark in this recipe?
Honestly, the best chocolate for bark—for any bark, really—is the one with the highest quality you can afford! Since this is such a simple recipe, the flavor of the chocolate really shines through. Look for couverture chocolate or high-quality chips that list cocoa butter high up on the ingredients list. If you want that perfect snap, avoid cheap compound coatings. You can always find more tips in my guide on the easy chocolate bark recipe page!
Is this considered a quick dessert bar?
Absolutely! Because you aren’t baking it at all—it’s zero cook time—this is the definition of a **quick dessert bar**. Your active hands-on time is probably under twenty minutes! You just have to wait for chilling time, which is hands-off. It’s perfect when you realize you need a dessert for tomorrow morning, or you just need one of those satisfying **chocolate coated fruit slabs** right away!
How do I stop the strawberries from bleeding red/pink color?
This is the trickiest part of any **white chocolate strawberry bark**! The key, like I keep shouting from the rooftops, is dryness! Pat them dry, then dry them again. If you notice the color starting to move into the white chocolate base while you’re swirling, that means there is residual moisture. The best defense is using really firm, perfectly ripe berries and patting them vigorously before they even touch the chocolate.
Estimated Nutritional Snapshot for Chocolate Covered Strawberry Bark
So, you’ve successfully made this ridiculously easy and beautiful **Chocolate Covered Strawberry Bark**! Before you break off the next gigantic piece, I wanted to give you a quick heads-up about the nutrition. I put together a little snapshot based on the full batch using standard measurements, but please remember this is just an estimate!
Since this recipe relies heavily on chocolate, it is definitely more of a treat than an everyday snack, but hey, everything in moderation, right? These numbers are based on dividing the entire recipe yield into roughly one-ounce pieces, so keep that in mind when you’re grabbing a handful!
- Serving Size: About 1 ounce
- Calories: Approximately 150
- Fat: Around 10g (with about 6g being saturated fat from the chocolate)
- Carbohydrates: Roughly 16g
- Sugar: This clocks in around 15g, mostly coming from the chocolate chips.
- Protein: About 2g
- Sodium: Around 15mg
It turns out the fresh strawberries don’t change the nutritional profile drastically, but they do give you a little something over and above plain chocolate candy. Treat yourself! You deserve this gorgeous **no bake strawberry dessert** after all that careful melting and swirling!
Share Your Diy Chocolate Gifts Experience
Well, that’s it! You’ve nailed the **Chocolate Covered Strawberry Bark**, and I bet it looks incredible. I truly want to know how yours turned out! Please head down to the comments below and give this recipe a rating. Did you manage that perfect swirl? If you shared photos on social media, tag me—I love seeing your finished **Diy chocolate gifts**! If you have any last-minute questions, you can always drop me a line over on the contact page!
PrintEasy Chocolate Covered Strawberry Bark
A simple, no-bake recipe for making layered chocolate bark featuring fresh strawberries.
- Prep Time: 15 min
- Cook Time: 0 min
- Total Time: 1 hour 15 min
- Yield: About 1 pound
- Category: Dessert
- Method: No Bake
- Cuisine: American
- Diet: Vegetarian
Ingredients
- 12 ounces white chocolate chips
- 8 ounces dark or milk chocolate chips
- 1 cup fresh strawberries, thinly sliced
- 1 teaspoon coconut oil (optional, for smoother melting)
Instructions
- Prepare a baking sheet by lining it with parchment paper.
- Pat the sliced strawberries very dry using paper towels. This step prevents the chocolate from seizing.
- Melt the white chocolate chips with the coconut oil (if using) in a microwave-safe bowl in 30-second intervals, stirring until smooth.
- Pour the melted white chocolate onto the prepared baking sheet and spread it into an even layer, about 1/4 inch thick.
- Arrange the dried strawberry slices evenly over the white chocolate layer.
- Melt the dark or milk chocolate chips using the same method as the white chocolate.
- Drizzle or swirl the melted dark chocolate over the strawberries and white chocolate base. You can use a knife or toothpick to create a marbled effect.
- Place the baking sheet in the refrigerator and chill for at least 1 hour, or until the bark is completely firm.
- Once set, break the chocolate bark into irregular pieces.
Notes
- Use high-quality chocolate for the best flavor and texture.
- For a firmer bark, you can briefly freeze the strawberries before placing them on the white chocolate layer.
- Store the finished bark in an airtight container in the refrigerator for up to one week.
- If you prefer a solid color, use only one type of chocolate and mix the strawberries directly into the melted chocolate before spreading.
Nutrition
- Serving Size: 1 ounce
- Calories: 150
- Sugar: 15
- Sodium: 15
- Fat: 10
- Saturated Fat: 6
- Unsaturated Fat: 4
- Trans Fat: 0
- Carbohydrates: 16
- Fiber: 1
- Protein: 2
- Cholesterol: 5