

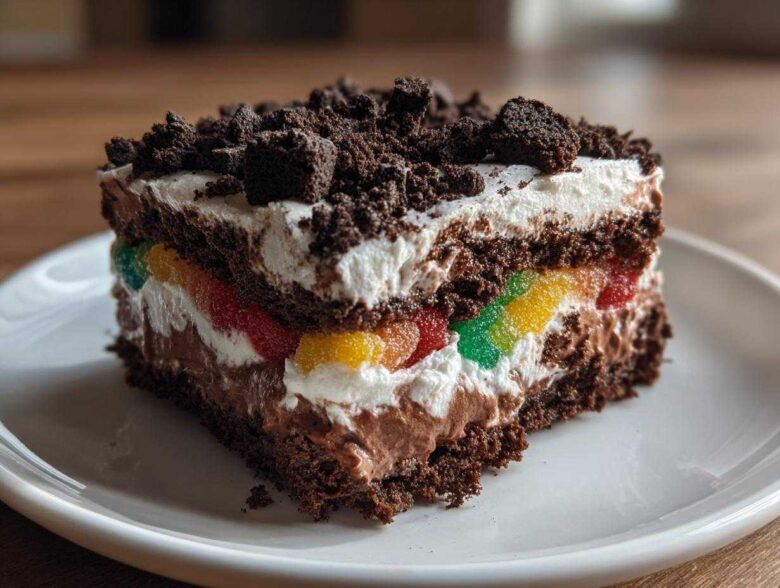
Okay, stop whatever spreadsheets you are looking at right now, because we need to talk about pure, messy, nostalgic fun! Sometimes, building our Epicure Empire requires a break from strategic planning, and that’s when we turn to the absolute best dirt cake recipe known to humankind. Forget complicated baking; this is the ultimate no-bake Oreo dirt cake, layers upon layers of creamy chocolate magic that reminds me of childhood parties. If you want to see the blueprint for how we started finding our way back to each other through food, check out our story! Noah and I tested the layering technique until it was absolutely perfect, so we guarantee this version gives you the best texture every single time. It’s quick, it’s kid-friendly, and it’s the perfect Family Night Treat when you just need some pure joy in a bowl.
Why This Classic dirt cake Recipe is a Must-Make
I truly believe that every successful dessert collection needs a staple that requires zero oven time. This recipe has become one of our go-to potluck dessert ideas because it’s foolproof and everyone dives right in. Seriously, these nostalgic desserts never fail to make people smile.
The Ultimate No Bake Dirt Cake Experience
- It’s a genuine Quick Dessert Recipe—prep is under 30 minutes, and then the fridge does all the hard work for you.
- Absolutely no turning on the oven means less hassle on busy weeknights or during hot summer gatherings.
- It’s inherently Kid Friendly Desserts material; they love helping crush the cookies and stick the gummy worms in!
Perfect for Potlucks and Parties
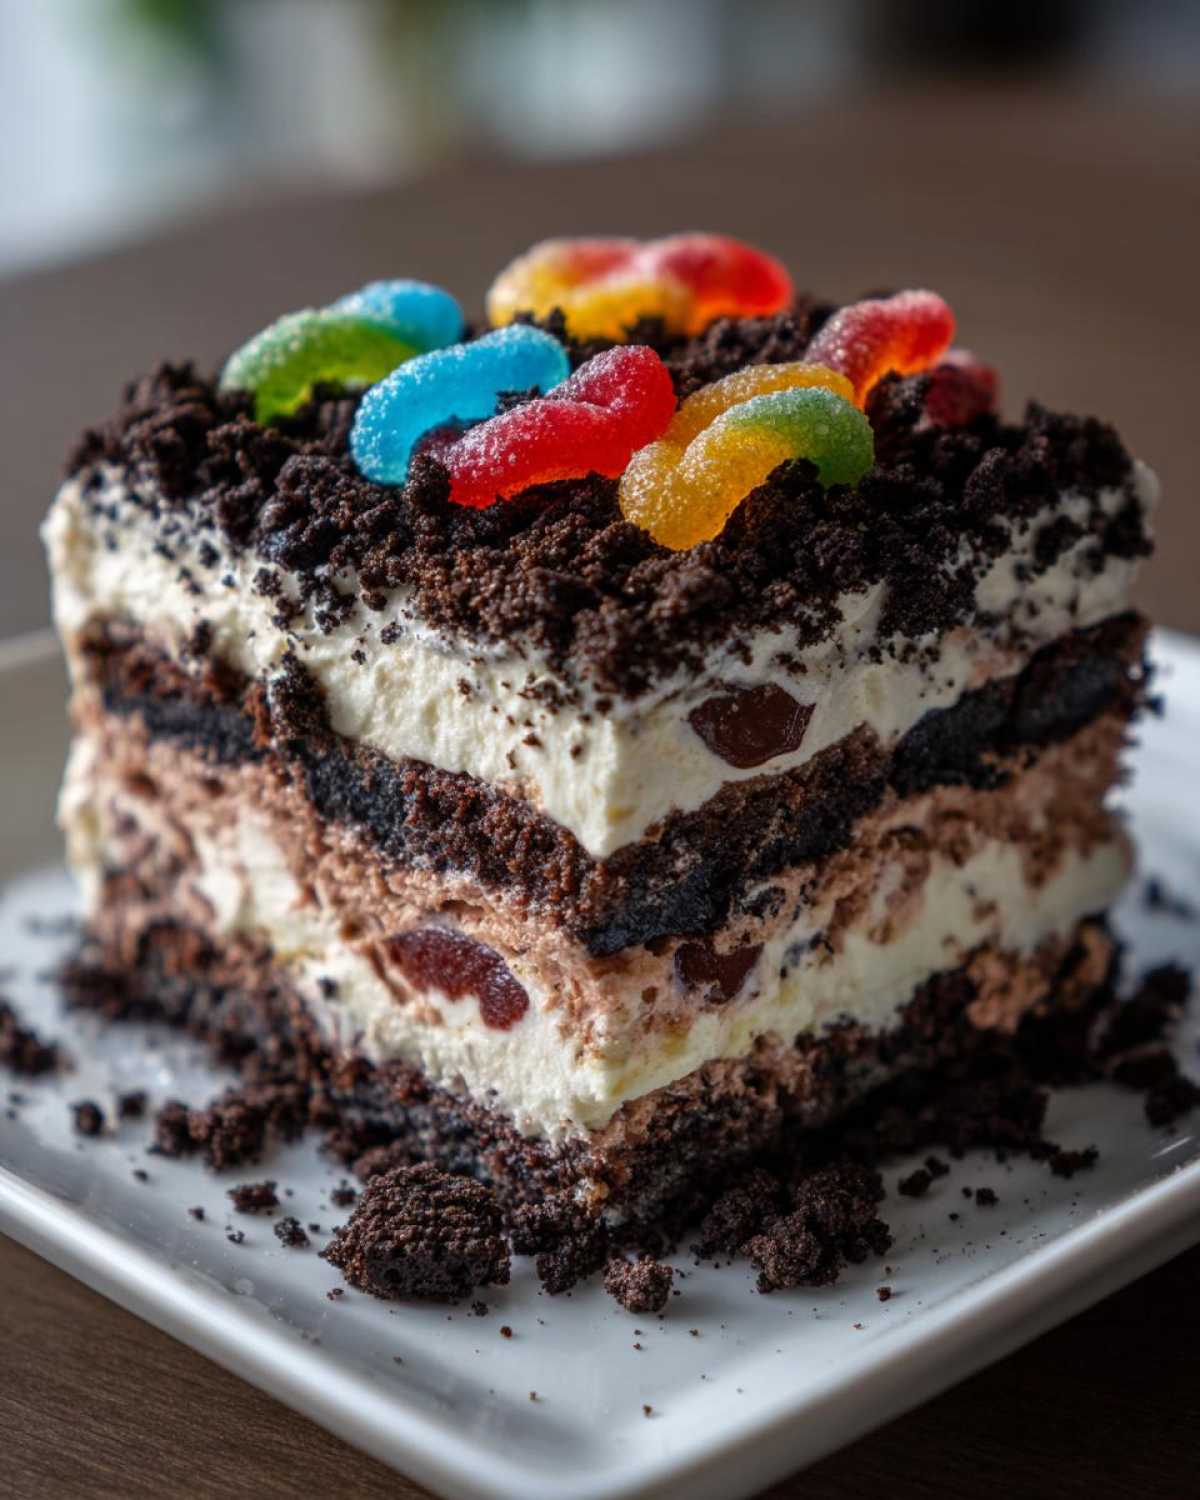
When Noah and I need a reliable, large-batch dessert for a gathering, this is what we reach for. It scales beautifully, and the fun factor is through the roof. When you finish it off with the optional, but highly recommended, dirt dessert with gummy worms sticking out, it becomes the centerpiece of the table!
Gathering Ingredients for Your dirt cake
Okay, now that we know this is the dessert we need, let’s talk construction materials! For any excellent recipe, especially a layered one like this Classic dirt cake, the quality of your components matters more than you think. Noah always insists on checking the ingredient list twice before we start, just like we plan our next big culinary project. We need everything perfect to avoid any lumps in that gorgeous cream layer!
Cream Layer Components for the dirt cake
This middle layer is what gives our dessert that signature melt-in-your-mouth texture. You’ll need that 8 oz package of cream cheese and a full cup of butter, and listen to Lena on this: they absolutely have to be fully softened. I mean, they should feel totally pliable—if they are cold, you’ll end up with chunks instead of silken smooth filling. Don’t forget the powdered sugar for sweetness, and don’t skimp on the thawed whipped topping! If you’re looking for another amazing project centered around creamy fillings, check out my guide on homemade marshmallows; it’s all about technique!
Pudding and Crushed Oreo Dessert Elements
For the bulk of the “dirt” and the next crucial layer, we grab the foundation: about 14 ounces of Oreos. You’ll be crushing these up, so save that 1 cup aside for the very top decoration! The pudding needs to be the instant kind—this is non-negotiable for a No Bake Dirt Cake because it thickens up so fast. You’ll need two small (3.4 oz) boxes of instant chocolate pudding mix and three cups of cold milk. That milk has to be cold, cold, cold, or your pudding won’t set correctly, and we aren’t having that!
Step-by-Step Instructions for the Best dirt cake Recipe
Alright, Chief of Operations reporting for duty! This is where the strategy pays off. Turning those beautiful ingredients into the perfect Layered Oreo Dessert requires careful assembly. We want defined layers, not some messy pile, which is why I obsessed over the sequence here. If you’re like us and don’t have a massive food processor, don’t stress; we’ve got a tactical workaround for crushing those cookies perfectly. We want this to look perfect for family night, kind of like how careful we are when testing a new recipe like my amazing chocolate chip cookies!
Preparing the Crushed Oreo Dessert Base
First things first: we need dirt! Take almost all of your Oreos and crush them up until they look legitimately like rich soil. If your equipment is limited, here’s my trick: toss the cookies into a sturdy, freezer-safe zip-top bag. Seal it, leaving a little air out, and take a rolling pin or the bottom of a heavy saucepan and just go wild! It’s surprisingly therapeutic. Once you have your pile of crumbs, set aside just about one cup of the finest crumbs for the very top decoration. That reserved cup is important for the final presentation!
Creating the Simple dirt cake Layers
Now for the creamy heart of the dessert. In a large bowl, you want to beat that softened cream cheese, softened butter, and powdered sugar until it’s completely smooth. Remember what I said, soft ingredients mean smooth results! Once that’s lovely and creamy, carefully fold in your thawed whipped topping. I mean fold—gently combine it; we don’t want to punch out all the air we built up! That’s your cream layer done. In a separate bowl, whisk your instant pudding and cold milk for about two minutes until it starts thickening up nicely. Now, let’s build: start spreading the main pile of crushed Oreos into your dish, then top that with half of your cream mixture. Spread that gently!
Final Assembly and Chilling the Layered Oreo Dessert
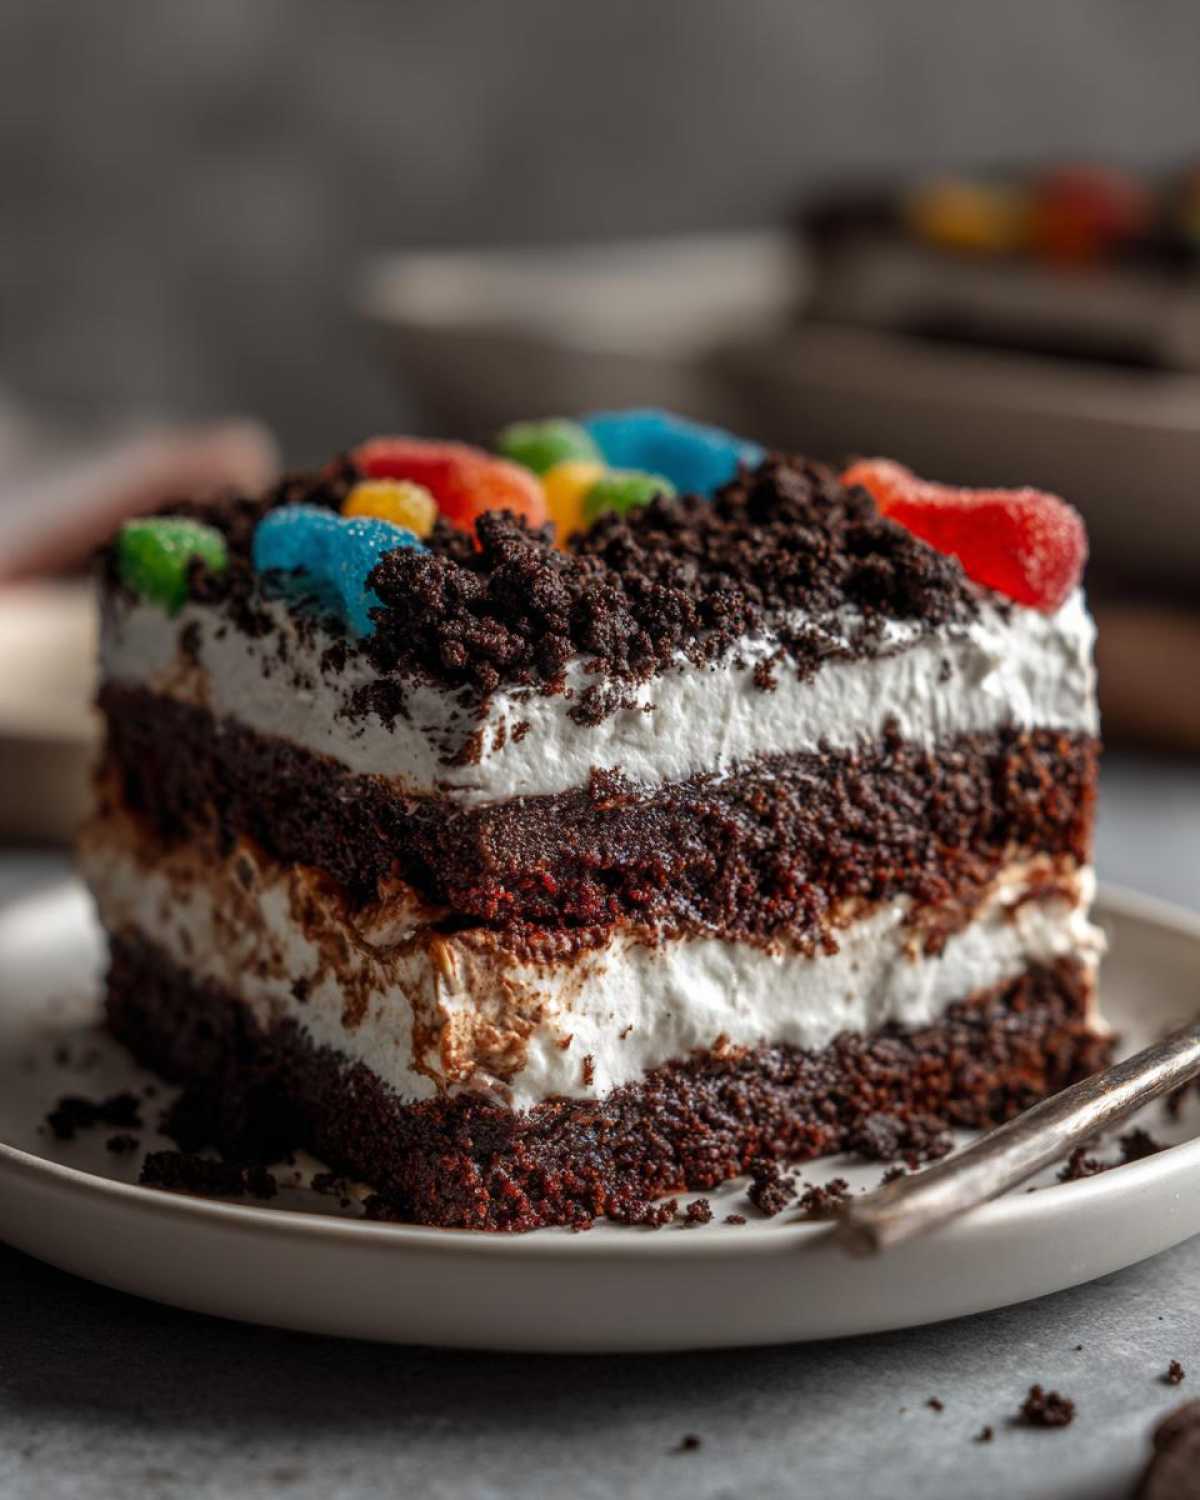
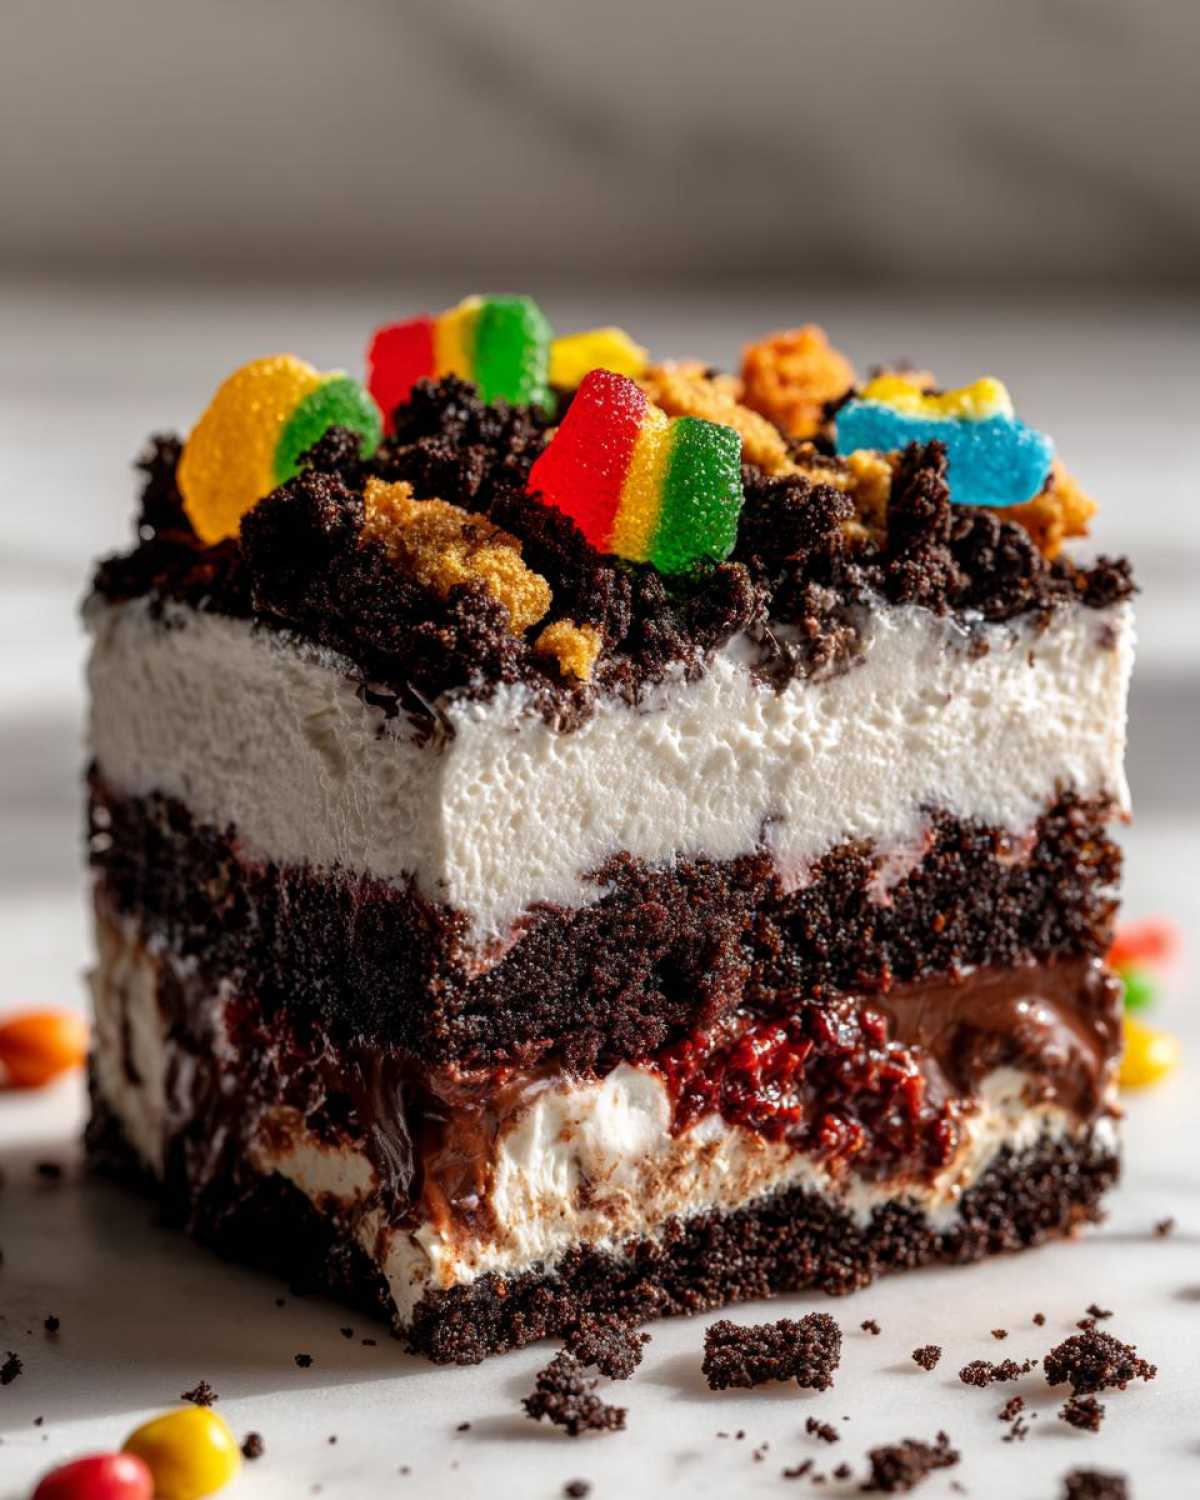
Next up is the chocolate pudding—spread all of that right over the cream layer. Keep going! Top that pudding with the rest of your cream mixture. This creates a fantastic cushion. Now, take that last reserved cup of fine crumbs and sprinkle it everywhere across the top to seal in the moisture and create that perfect ‘dirt’ look. If you’re going whimsical, gently poke those gummy worms halfway into the top layer now—make sure they look like they’re crawling out! The final, most crucial step in this Quick Dessert Recipe is patience. You need to cover it tightly, Noah usually handles the plastic wrap logistics, and chill it for a minimum of four hours, but honestly, overnight is best. That chilling time lets the whole structure of this No Bake Dirt Cake settle perfectly.
Tips for Success with Your dirt cake
When we first started experimenting with this recipe, trying to get those Simple dirt cake Layers to stay distinct was tricky! Trust me; I learned a few things the hard way so you don’t have to. The biggest mistake people make is rushing the foundational chill time. That four-hour minimum isn’t just a suggestion; it’s essential for the pudding to firm up and hold those creamy layers separate.
Also, go back and check your butter and cream cheese temperatures. They have to be truly soft, not warm, but pliable enough that you can easily dent them with a finger. If they fight you when you try to cream them, stop! Go back and let them sit on the counter longer. Those small checks are what turn a good dessert into the Best Dirt Cake Recipe experience. If you need another tip on mastering easy ingredients to get that perfect texture, check out how I handle the dough for my garlic naan bread; handling soft materials is key!
Variations for Your Chocolate Dirt Dessert
While this classic chocolate version is fantastic for satisfying that intense craving for a Chocolate Dirt Dessert, sometimes you need to shake things up! Noah and I love taking a successful blueprint—like this layered treat—and tweaking it just slightly for a different flavor profile. Since we already mastered the essential layering technique, adapting it for new flavors is honestly so easy. You can swap tons of things out without ruining the structural integrity of the Classic dirt cake.
For real variety, try switching up the pudding flavor! If you aren’t strictly a chocolate-on-chocolate person, use vanilla pudding for a cookies-and-cream vibe, or even butterscotch pudding if you’re feeling bold. If you want to see a recipe where we play with a similar creamy base but go completely different on flavor, check out my strategy for the butterscotch pie!
Making Individual dirt cup Recipe Servings
This is one of my favorite operational adjustments, especially when we have a smaller crowd or if we’re sending treats to friends. Instead of assembling the whole thing in one big 9×13 pan or trifle dish, you can easily turn this into a perfectly portioned dirt cup recipe. Grab small clear cups, mason jars, or even those cute little plastic parfait glasses. You just layer everything exactly the same way we did in the steps above: a scoop of crushed Oreos, a dollop of cream, a scoop of pudding, and repeat. Layering them individually makes serving a breeze and looks really sharp when you line them up on a tray. Plus, everyone gets a perfect ratio of dirt to cream in every single serving!
Storage and Make Ahead dirt cake Instructions
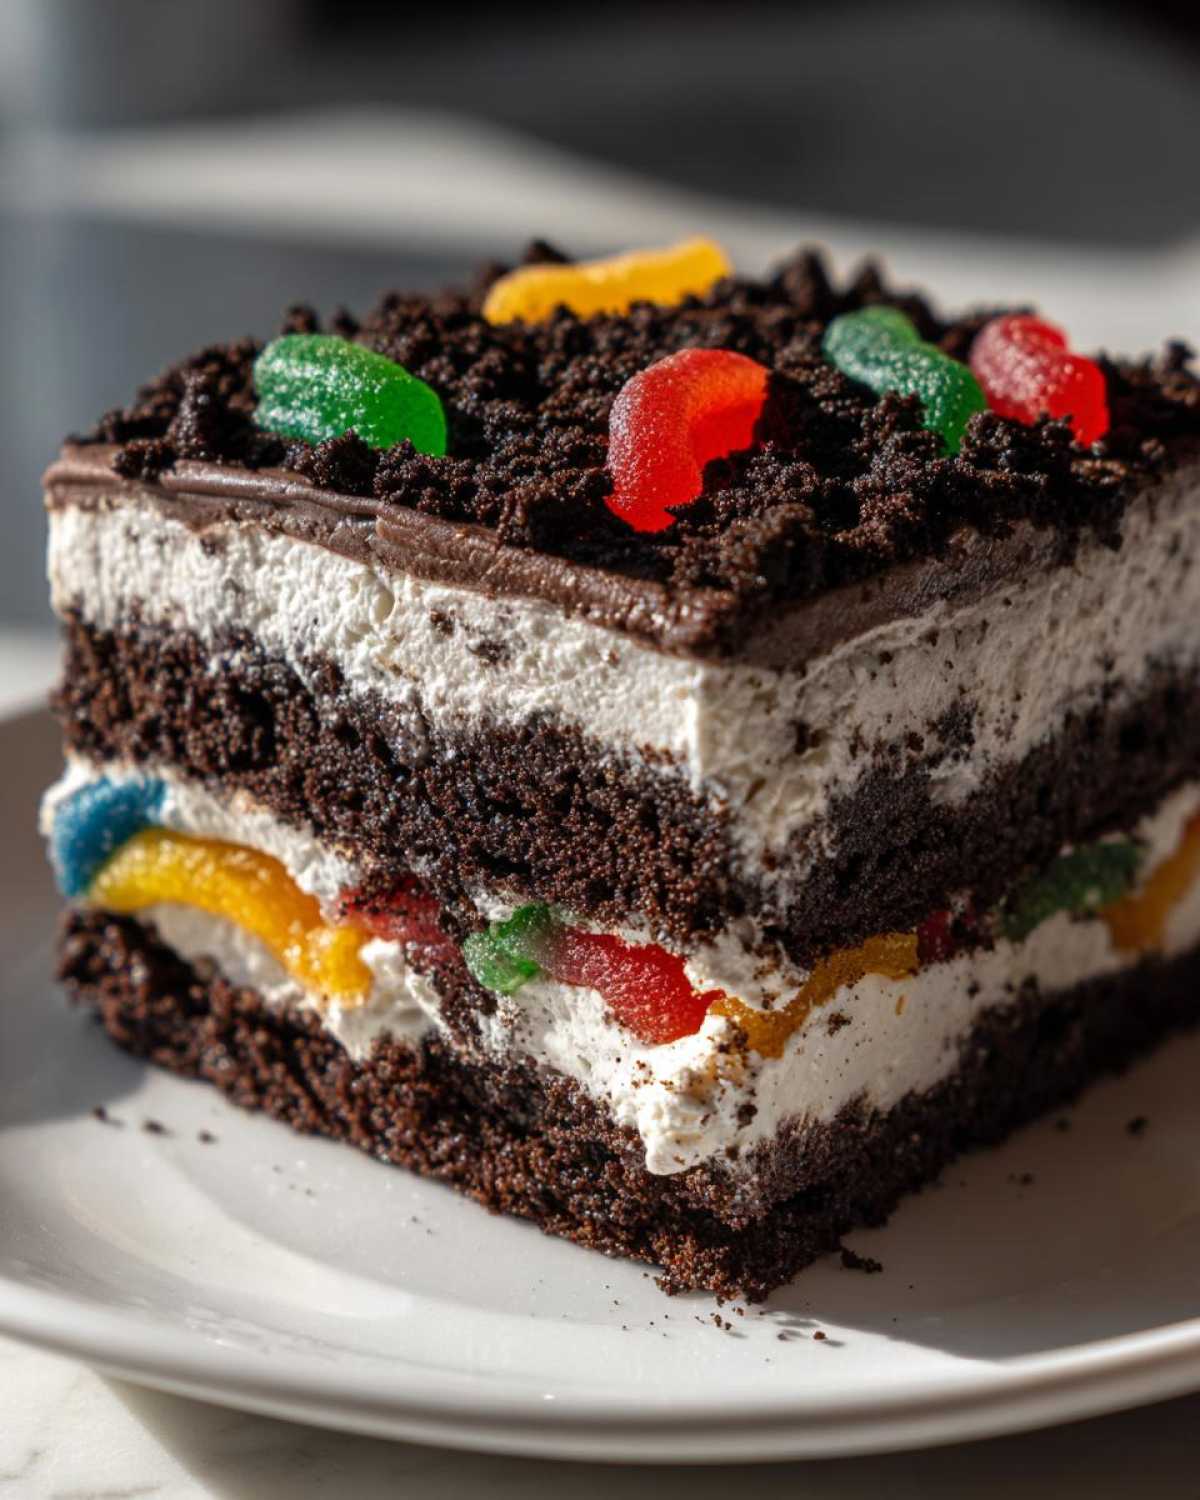
One of the best things about executing this entire recipe—and I mean this from the bottom of my heart—is that it’s a spectacular Make Ahead Dessert. When Noah and I are planning for a weekend gathering, knowing I can tackle this on Thursday night and have it waiting perfectly, covered and chilling, on Saturday morning? That’s strategic planning paying off! Because this is a No Bake Dirt Cake, it actually *needs* that make-ahead time for the flavors to marry and the layers to firm up properly.
You have to cover the dish tightly, of course. I usually use plastic wrap pressed lightly against the top layer of the chocolate crumbs so dust doesn’t get everywhere, then cover the whole thing with foil for good measure. Keep it tucked away in the coldest part of your refrigerator. Under these conditions, this layered dessert stays absolutely pristine for about three to four days. It’s fantastic because, unlike baked goods, it doesn’t dry out; in fact, those cookie crumbs soften just enough against the pudding to be even more decadent on day two!
If you’re prepping this way ahead of time, make sure you look at my guide on my favorite grab-and-go strategy, which covers make-ahead egg muffins. That concept of planning and prepping ahead is what building our Epicure Empire is all about, and applying that organizational spirit to dessert is just as important!
Serving Suggestions for this Creamy Chocolate Pudding Dessert
Wow, after all that richness—the butter, the cream cheese, the chocolate—you might think you need something equally heavy, but believe me, balancing this decadent Creamy Chocolate Pudding Dessert with something bright is the key to serving perfection! Since the Oreo Dirt Cake Recipe is so intensely sweet and chocolaty, I always pair it with something that cuts through that richness. It just cleanses the palate beautifully.
My number one pairing suggestion, especially if you’re serving this after a heavy meal or on a hot day, is fresh fruit. A simple bowl of vibrant, tart raspberries or strawberries offers the perfect counterpoint. The acidity just sings against the dark chocolate and the sweet cream. We often serve it alongside a small side of slightly sweetened whipped cream mixed with a little lemon zest—we call it “Summer Snow.” It looks beautiful next to the dirt mound!
And of course, because Noah and I are coffee fanatics, we always serve this alongside something dark and strong. A bold, freshly brewed cup of coffee is amazing. If you’re serving this to kids, you absolutely have to try making that fun, customized chocolate base we use for our homemade chocolate milk—it reminds them of the pudding flavor in a lighter format!
Frequently Asked Questions about Oreo Dirt Cake Recipe
It’s totally normal to have questions when you’re planning out a new recipe blueprint! Noah and I get asked these all the time before we finalize the operational plan. Don’t worry if you need clarification on the details; that’s why we put this FAQ section together for you. Keep building that empire!
Can I use homemade pudding instead of instant for this dirt cake?
Oh, I strongly advise sticking to the instant pudding mix here, trust me. We need this to be a No Bake Dirt Cake that sets up reliably quickly. Homemade pudding requires cooking on the stovetop, and it needs to cool completely before you layer it. If you don’t do that perfectly, it can end up too loose and turn your beautiful layers into one melty puddle. Instant pudding is formulated to work with the whipped topping and setting agents to create that perfect, firm structure we need for clean slices!
How long can I keep the dirt dessert with gummy worms refrigerated?
This is such a great Make Ahead Dessert because it holds up really well! You can absolutely keep this in the fridge, tightly covered, for up to three or four days. Now, full disclosure: as time goes on, especially past day two or three, those gorgeous Oreo crumbs on top will start to absorb moisture from the layers below. They go from crunchy to wonderfully soft and cake-like. If you absolutely crave that crunch, reserve a small handful of the finest crumbs to sprinkle on right before serving!
If you have more questions as you plan your construction, feel free to check out our main blog for more strategic cooking guides, or use this classic source recipe from Taste of Home here for comparison planning!
Nutritional Estimate for Your dirt cake Serving
Okay, let’s touch on the numbers, because even in our fun, messy Epicure Empire, we like transparency! I put together these figures based on the standard ingredients we used in our testing—remember, every brand of cream cheese or Oreo cookie can vary slightly, so take this as a solid estimate for planning your day around this delicious treat.
This information is crucial for anyone planning menus or tracking intake, and you can always find more details about our process on our official disclaimer page regarding recipe sourcing.
- Serving Size: 1 slice
- Calories: 450
- Sugar: 35g
- Sodium: 320mg
- Fat: 28g
- Saturated Fat: 15g
- Unsaturated Fat: 13g
- Trans Fat: 0.5g
- Carbohydrates: 45g
- Fiber: 2g
- Protein: 5g
- Cholesterol: 55mg
There you have it! It’s rich, yes, because it’s made with real butter and cream cheese—it’s dessert, after all! But knowing the details lets you plan the perfect balanced meal around this amazing No Bake Dirt Cake. Enjoy every single bite!
PrintEasy No-Bake Oreo Dirt Cake Recipe with Gummy Worms

You can make this fun, nostalgic Oreo Dirt Cake easily. It layers creamy chocolate pudding with crushed Oreos for a dessert everyone loves. This is the perfect make ahead dessert for parties or family night treats.
- Prep Time: 25 min
- Cook Time: 0 min
- Total Time: 4 hr 25 min
- Yield: 12 servings
- Category: Dessert
- Method: No Bake
- Cuisine: American
- Diet: Vegetarian
Ingredients
- 1 (14.3 ounce) package Oreo cookies
- 1 (8 ounce) package cream cheese, softened
- 1 cup unsalted butter, softened
- 1 cup powdered sugar
- 1 (12 ounce) container frozen whipped topping, thawed
- 2 (3.4 ounce) packages instant chocolate pudding mix
- 3 cups cold milk
- 1 package gummy worms (optional, for decoration)
Instructions
- Crush all the Oreo cookies until they resemble fine dirt. Set aside about 1 cup of the crushed cookies for the top layer.
- In a large bowl, beat the softened cream cheese, softened butter, and powdered sugar together until the mixture is smooth and creamy.
- Fold the thawed whipped topping into the cream cheese mixture until just combined. This is your cream layer.
- In a separate bowl, whisk together the instant chocolate pudding mix and cold milk for about two minutes, or until the pudding begins to thicken.
- Assemble the dirt cake in a large trifle dish or 9×13 inch pan. Start with a layer of the crushed Oreos (the majority of what you crushed).
- Spread half of the cream cheese mixture evenly over the Oreo layer.
- Spread all of the thickened chocolate pudding over the cream cheese layer.
- Top the pudding layer with the remaining half of the cream cheese mixture.
- Sprinkle the reserved 1 cup of crushed Oreos over the top layer to create the ‘dirt’ effect.
- If you are using gummy worms, gently press them into the top layer so they look like they are emerging from the dirt.
- Cover the dish and chill in the refrigerator for at least 4 hours, or preferably overnight, to allow the layers to set completely. This is a great make ahead dessert.
Notes
- For the best texture, make sure your cream cheese and butter are fully softened before mixing.
- You can use milk chocolate or dark chocolate pudding mix depending on your preference.
- If you are making individual dirt cups, layer the ingredients in small clear cups instead of a large dish.
- This dessert tastes best after chilling for several hours, allowing the cookies to soften slightly against the pudding.
Nutrition
- Serving Size: 1 slice
- Calories: 450
- Sugar: 35g
- Sodium: 320mg
- Fat: 28g
- Saturated Fat: 15g
- Unsaturated Fat: 13g
- Trans Fat: 0.5g
- Carbohydrates: 45g
- Fiber: 2g
- Protein: 5g
- Cholesterol: 55mg