

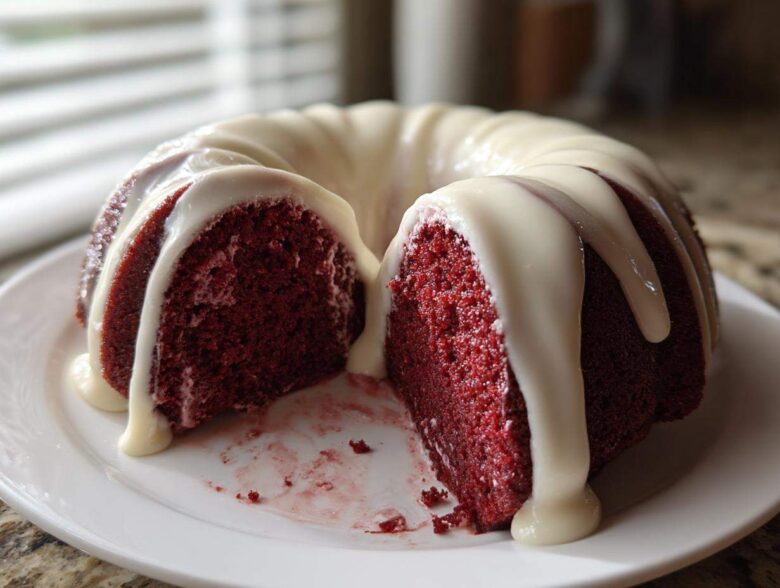
Oh, you guys! If there is one thing that looks inherently special on a dessert platter, it’s a beautiful Bundt cake. The fluted edges catch the glaze in all the right ways, making even the simplest recipe look like it belongs in a fancy bakery window! When Noah and I were looking for the perfect dessert for our anniversary last year—something truly striking—we knew we had to tackle the classic flavor combination in this stunning shape. We spent weeks perfecting the balance of rich cocoa and tang, and I honestly think we nailed it. Prepare yourselves for the ultimate Moist Red Velvet Bundt Cake with Tangy Cream Cheese Glaze. This recipe isn’t just a cake; it’s a statement! If you want to read more about how baking became the foundation of our life together, check out our story here.
Why This Red Velvet Bundt Cake Recipe is Your New Favorite Showstopper Bundt Cakes
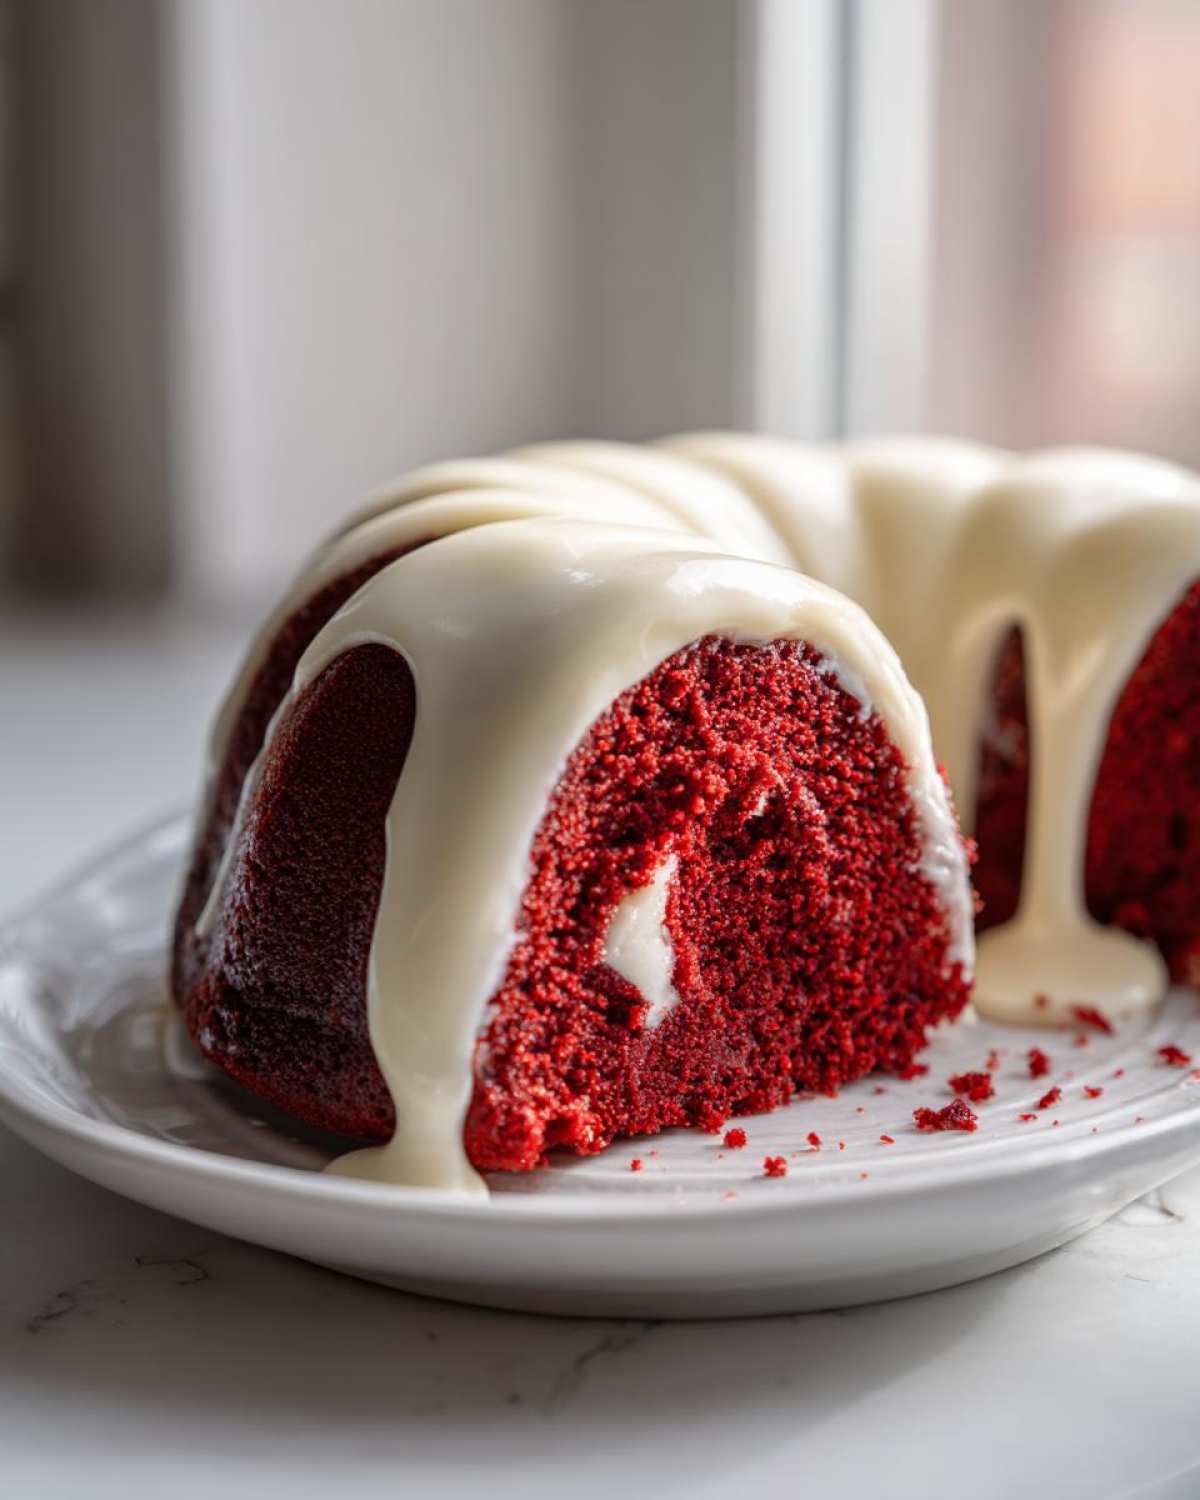
I’m telling you, this is the red velvet bundt cake you’ve been searching for. When we decided to attempt a Moist Red Velvet Cake in Bundt form, I wanted something that screamed elegance but didn’t fight me in the kitchen. The Bundt shape is just genius for showcasing that beautiful, deep red color once the glaze drips down those curves. These truly become showstopper bundt cakes! The balance between that subtle chocolate note and the required tanginess underneath the sweet topping is just heavenly.
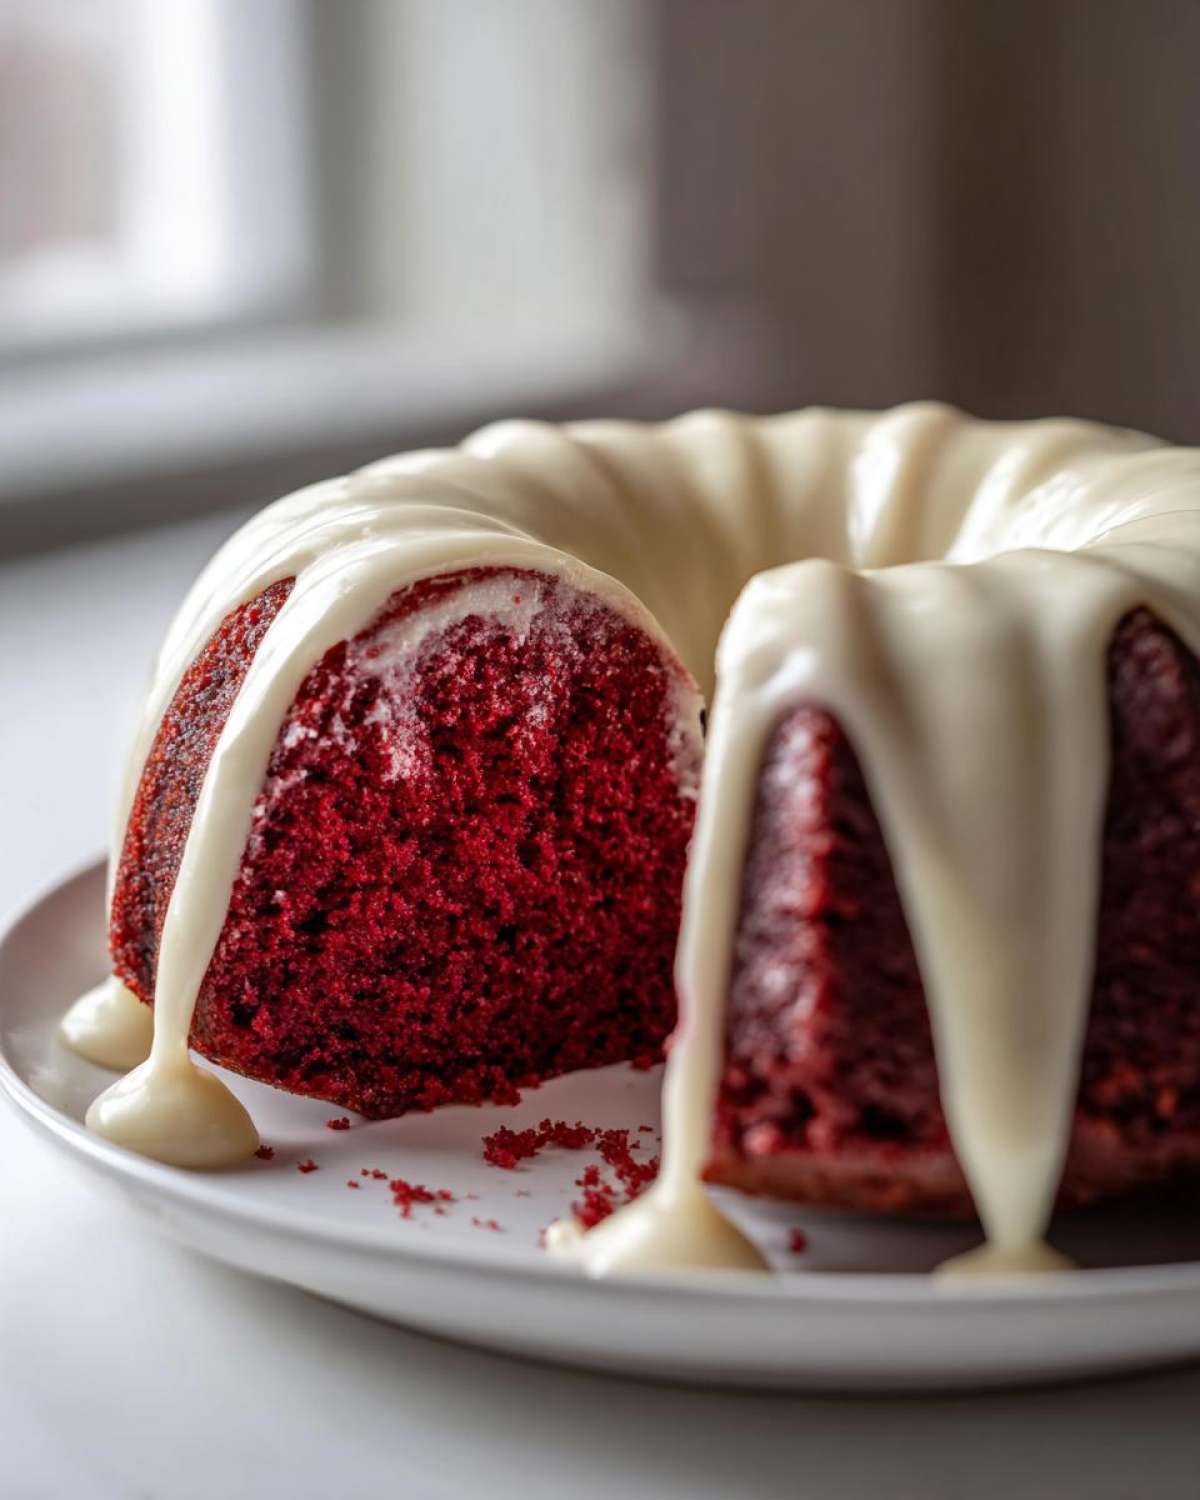
Achieving the Perfect Tender Red Velvet Baking
If you want that velvety, cloud-like texture, you absolutely *must* respect the acid! The combination of buttermilk and vinegar isn’t just for flavor, even though it tastes great. Those two partners react with the baking soda to give us that beautiful lift and tender crumb we need. Skipping them usually results in a tougher cake, and we certainly don’t want that for such a gorgeous dessert!
Gathering Ingredients for Your Homemade Red Velvet Bundt Cake
Okay, before we even think about preheating the oven, we need to gather our components. For me, organizing ingredients beforehand is half the battle won. Since this is a homemade red velvet bundt cake endeavor, we need three lists: the main cake, that gorgeous swirled center, and the final drizzle. The biggest rule I learned from endless testing is that your eggs and buttermilk absolutely *have* to be at room temperature. Trust me, that little bit of advanced planning gets you a dramatically more tender crumb. It’s all about proper emulsification!
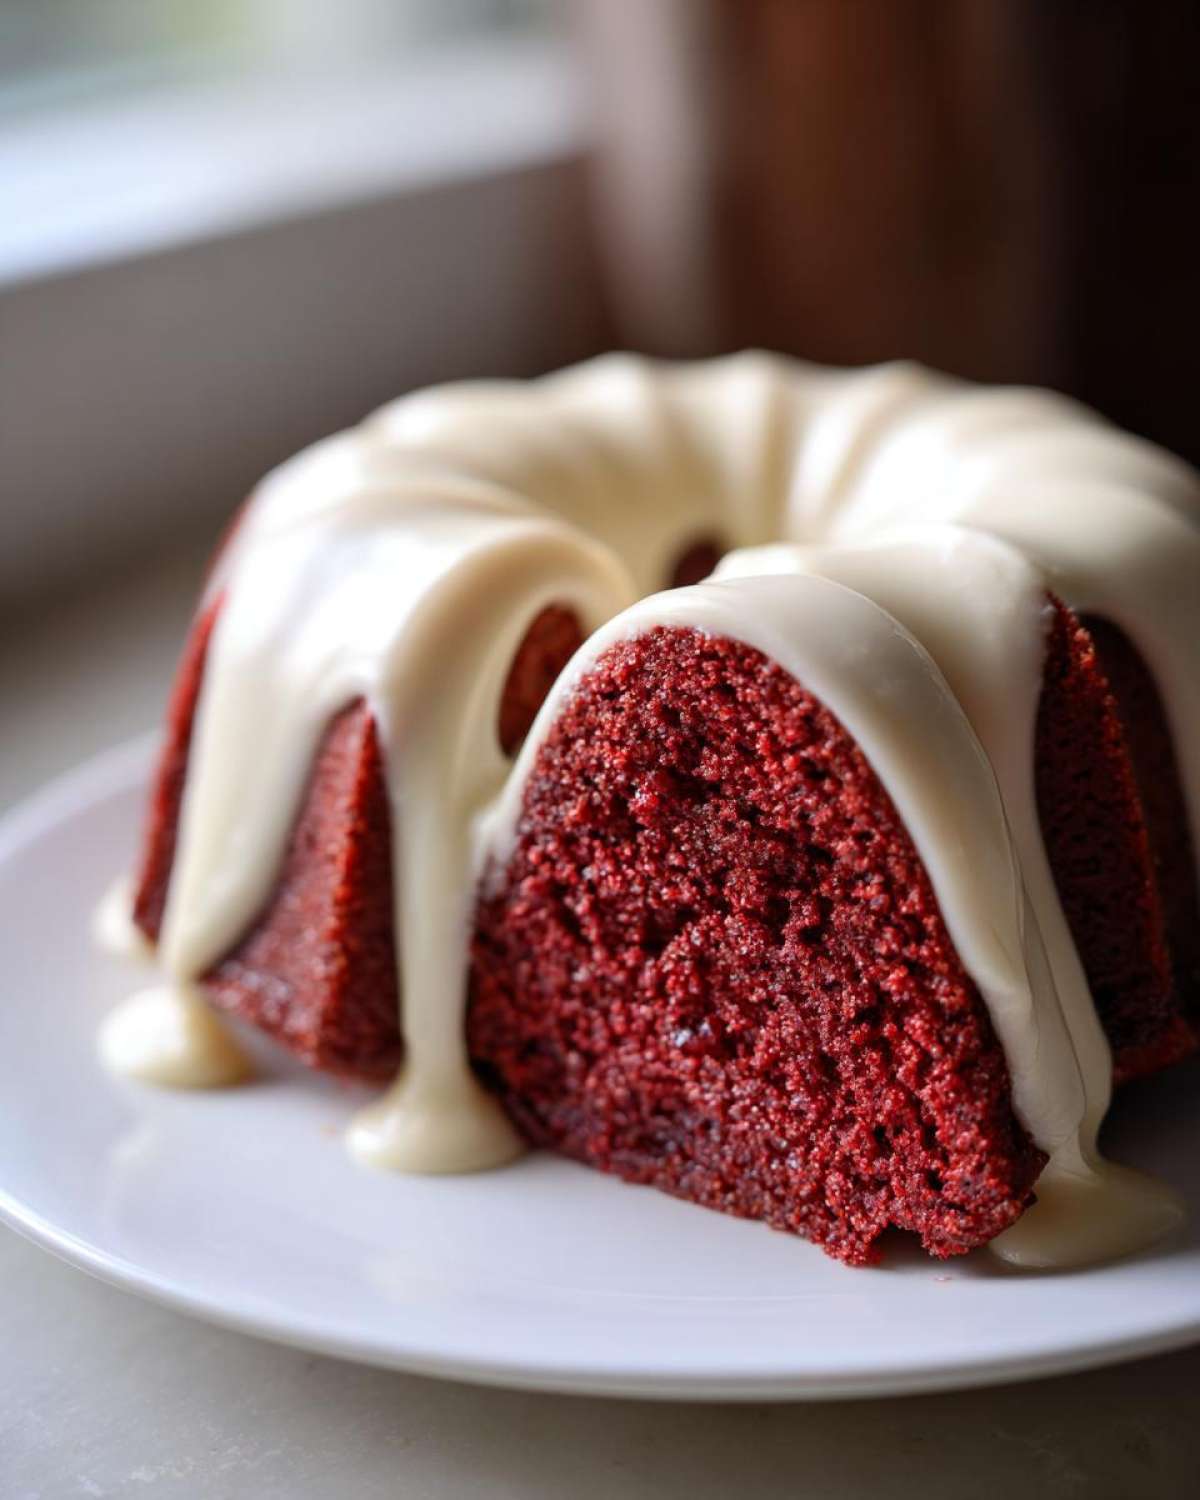
Cake Batter Ingredients for the red velvet bundt cake
We’re keeping the core chocolate flavor subtle, letting the red shine through beautifully. Here’s what you need for the main portion of the batter:
- 1 3/4 cups all-purpose flour
- 1 1/2 cups granulated sugar
- 1 teaspoon baking soda
- 1 teaspoon unsweetened cocoa powder
- 1/2 teaspoon salt
- 1 cup buttermilk, room temperature
- 1/2 cup vegetable oil
- 2 large eggs, room temperature
- 1 teaspoon white vinegar
- 1 teaspoon vanilla extract
- 1 tablespoon red food coloring (or gel paste for deeper color—it makes a huge difference!)
Cream Cheese Swirl Components
This little layer of tangy goodness tucked inside is non-negotiable for me! It keeps everything so moist and gives you that classic flavor profile:
- 4 ounces cream cheese, softened
- 1/4 cup granulated sugar
- 1 large egg yolk
- 1/2 teaspoon vanilla extract
Ingredients for Cream Cheese Glaze for Bundt Cake
We want this glaze thick enough to sit nicely on the ridges but thin enough to drizzle elegantly. This is where the magic happens for the final presentation of your Cream Cheese Glaze for Bundt Cake.
- 1 cup powdered sugar
- 2 tablespoons cream cheese, softened
- 1 tablespoon milk or heavy cream
- 1/2 teaspoon vanilla extract
Step-by-Step Instructions for the Red Velvet Bundt Cake Recipe
Alright, here’s the operational plan for executing this incredible Red Velvet Bundt Cake Recipe! Baking is all about following the system, and this method ensures you get that perfect, rich texture every single time. Pay close attention to the cooling stages—that’s where most Bundt cakes go wrong! We want this masterpiece to come out clean, just like those beautiful cakes you see online that leave everyone speechless.
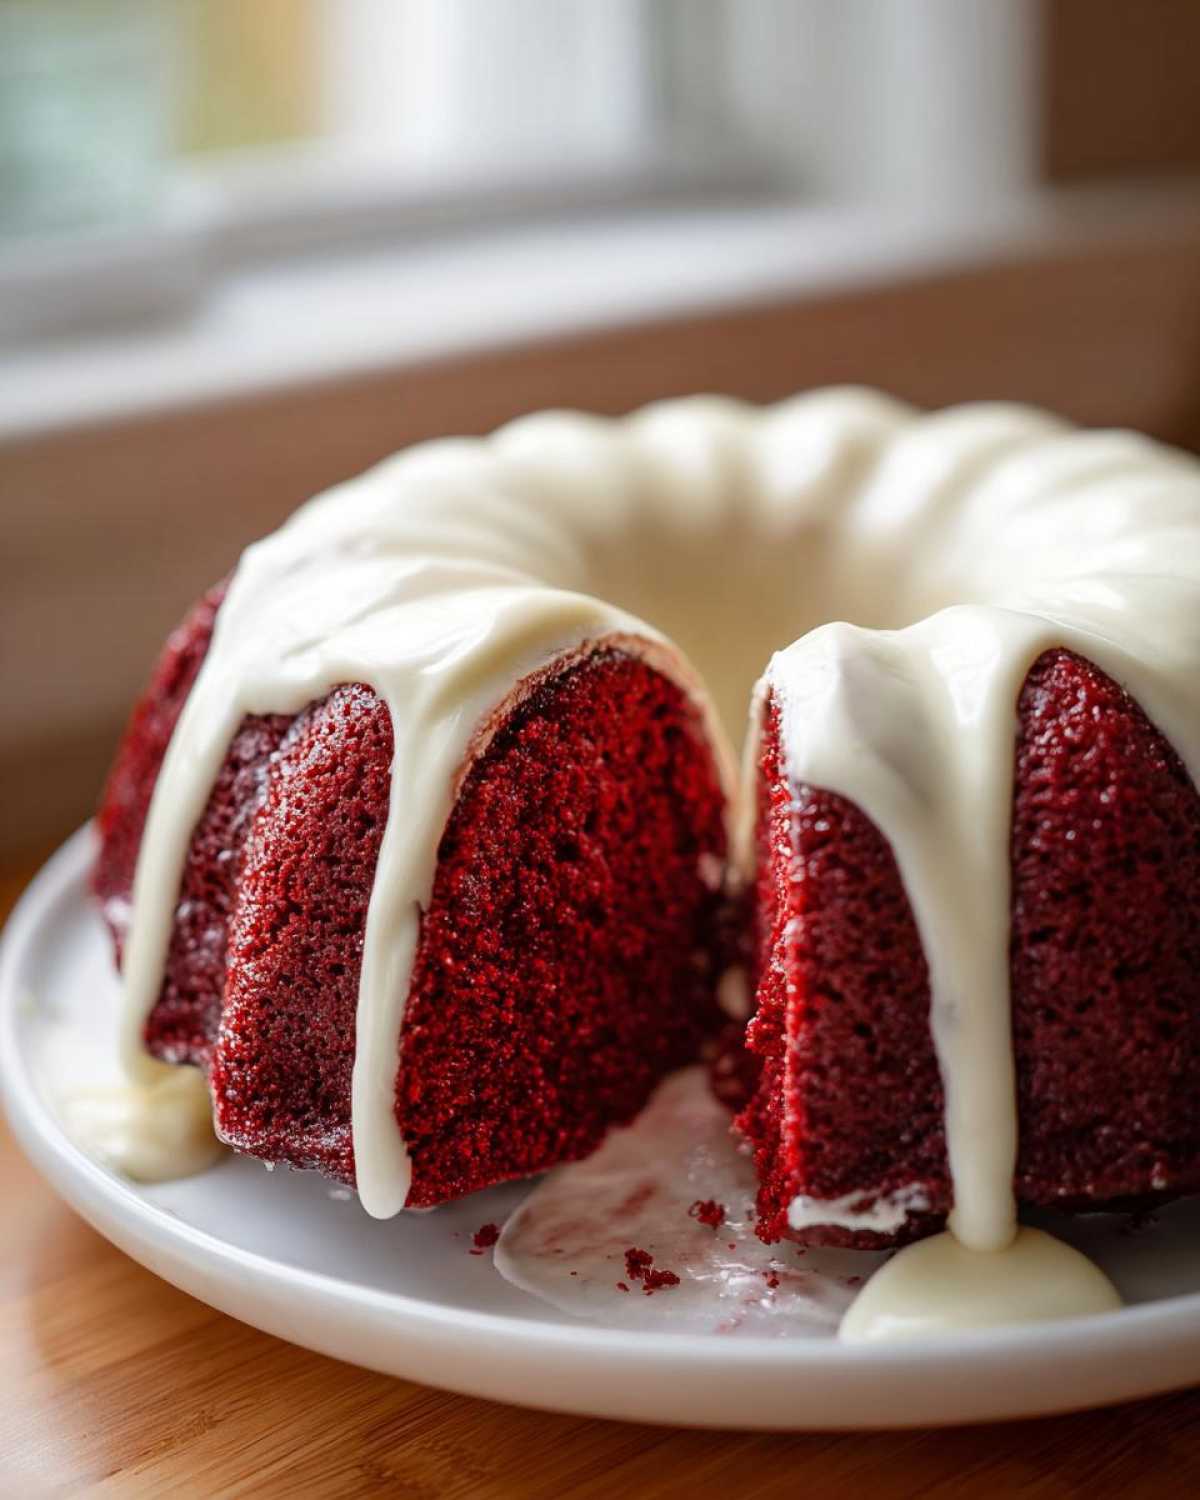
Preparing the Pan and Mixing the Batter
First things first: 350°F (175°C) in the oven. Now, Noah always says: treat your Bundt pan like gold. You need to grease and flour it *super* well since we want all those gorgeous ridges to release cleanly. If you have baking spray that contains actual flour in it, use that; it’s the best non-stick insurance! While that preheats, whisk your dry ingredients (flour, sugar, soda, cocoa, salt) in one big bowl. In a separate dish, whisk together all the wet stuff—buttermilk, oil, eggs, vinegar, vanilla, and all that vibrant red coloring—until it’s a uniform color. Then, very carefully, pour the wet into the dry. Mix on low, just until you stop seeing white streaks. Seriously, resist the urge to whip it! Check out my tips on ingredient prep for other recipes, like this one for our favorite naan bread; the principle of preparing ingredients first is the same!
Creating the Swirl and Filling the Bundt Pan
While the batter rests for a second, quickly whip up that small batch of cream cheese filling until it’s silky smooth. Now for the layering! Spoon about one-third of the red batter into your prepared pan. Dollop half of your cream cheese mixture right on top. Then, repeat: another third of the batter, the rest of the cream cheese, and top with the final batter layer. To get that beautiful definition, take a butter knife and gently run it through the layers only once or twice. We’re creating ribbons, not making mud!
Baking Times and Cooling Protocol for Tender Red Velvet Baking
Pop it into the preheated oven for about 45 to 55 minutes. You know it’s done when a wooden skewer inserted right into the thickest part comes out clean—no wet batter clinging is the goal! Once out, this is non-negotiable: let it sit in the pan on a wire rack for exactly 15 minutes. If you rush it and try to flip it immediately, I promise you, parts of it will stick. After 15 minutes, flip that baby out and let it cool completely on the rack before we even *think* about glazing.
Finishing with Tangy Cream Cheese Glaze for Bundt Cake
For the final flourish, make sure your cake is totally cool. If it’s warm, the glaze melts right off, and we want that nice, slightly opaque finish. Beat the leftover cream cheese with the powdered sugar, and add the milk slowly until it drizzles beautifully. It should flow easily off your spoon but still hold its shape a bit. Drizzle that tangy coating over your cake, stand back, and admire your handiwork.
Tips for a Perfect Red Velvet Bundt Cake Copycat Cake
I know so many of you are chasing that perfect bakery vibe when you make this, aiming for that famous Red Velvet Copycat Cake. It’s totally achievable! Noah and I fought this battle many times early on, resulting in sunken middles and pale colors. But fear not, I’ve cracked the code! These small operational fixes will elevate your red velvet bundt cake from good to “wait, you baked this?!” especially when dealing with something as delicate as a large Bundt pan.
Ingredient Temperature Matters for Moist Red Velvet Cake
I mentioned this before, but hear me out: room temperature isn’t a suggestion; it’s an operational requirement for a truly moist Red Velvet Cake. When your eggs and buttermilk are cold, they don’t emulsify properly with the fat (the oil). What happens then? A slightly curdled mixture, which translates into a dense, uneven texture instead of that light, tender crumb we’re aiming for. Make sure those items sit out for at least an hour. It’s a foundational step for any great from scratch bundt cake!
Color Depth: Liquid Drops vs. Gel Paste
If you want that show-stopping, deep crimson without tasting overwhelmingly of food coloring, you need to switch from standard liquid drops to gel paste. Most grocery store liquid coloring still has a lot of water content. That extra water can slightly thin your batter, which contributes to sinking, and you end up needing way more of it to fight the natural brown of the cocoa powder.
Gel paste is super concentrated. You’ll use less product, which means less liquid interference, and you get a much richer, truer red color that really pops under that white glaze. If you want to see how we apply this same principle to our favorite chocolate chip cookies recipe—where ingredient concentration is key—you can check that one out!
When you’re looking for professional results, sometimes you just need that little hack. For the absolute best copycat texture when dealing with cream cheese elements, check out this guide on copycat recipes for comparison!
Storage & Reheating Instructions for Your Red Velvet Bundt Cake
Now for the reality check: will there be leftovers? Probably not, but we plan for contingencies! Since this beautiful red velvet bundt cake has that creamy glaze on top, we have to be smart about storage. If you plan on eating it within two days, room temperature, covered loosely, is totally fine. I like to keep mine on a cake stand covered with a dome.
If you need to keep it longer, or if your kitchen is super warm, pop it in the fridge. Just remember to let it sit out for about 30 minutes before serving so the cake warms up slightly; cold cake just doesn’t have the right texture!
Reheating isn’t really necessary; this cake is fantastic chilled or at room temp. But if you absolutely must warm a slice, microwave it on 50% power for just 10 seconds. Don’t you dare put this gorgeous thing in the toaster oven!
Serving Suggestions for this Easy Red Velvet Dessert
This cake is such an easy red velvet dessert option because it looks so festive just sitting there with that glaze dripping! Since it’s already so rich, you don’t need much fuss. I love serving big slices alongside a perfectly brewed cup of hot coffee—the slight bitterness really cuts through the sweetness of the cake and the glaze. For holidays, like Christmas or Valentine’s Day, this cake stands completely on its own, maybe with just a few fresh raspberries scattered around the plate for color contrast.
If you have littles who need a special treat, skip the fancy coffee and make them a glass of our favorite rich, homemade chocolate milk—you can find the blueprint for that warming beverage right here. Honestly, though, once that beautiful Red Velvet Bundt Cake hits the table, everyone will just want a fork!
Frequently Asked Questions About the red velvet bundt cake
I get so many questions whenever I post a picture of this cake—it’s clearly a favorite! I pulled together the three biggest queries I always receive about this particular red velvet bundt cake masterpiece so we can get you baking confidently right away. Don’t worry if you’re new to Bundt pans; we’ve covered the tricky bits!
Can I skip the cream cheese swirl in this red velvet bundt cake?
You totally can, although I really hope you don’t! That little bit of filling baked inside adds moisture where it matters most and gives you those essential tangy breaks from the sweetness. If you must skip it, just divide the red velvet batter evenly into your prepared pan and proceed with baking. The cake will still be delicious, but it won’t have that extra layer of creamy texture we love so much.
What makes this cake so moist?
This is the secret sauce! The moisture comes primarily from the oil instead of butter, paired with the acidity of the buttermilk. Oil coats the flour differently than butter does, which prevents tough gluten development, resulting in that characteristic soft and tender crumb. It’s a standard feature of a great moist red velvet cake!
How do I prevent my red velvet bundt cake from sticking?
This is the most important question for any Bundt baker! You cannot be lazy here. You must thoroughly grease every nook and cranny of that patterned pan. I prefer using a homemade cake goop (equal parts shortening, oil, flour mixed into a paste) and brushing it everywhere. Then, I dust it lightly with flour, tapping out the excess. This two-step attack ensures even the sharpest edges of your red velvet bundt cake release cleanly. If you want to check out some other baking blueprints we obsess over, feel free to browse the rest of our blog!
Estimated Nutritional Data for Your Red Velvet Bundt Cake
So, planning ahead is my jam—Noah handles the vision, I handle the operations, right? That means we look at the whole picture, and sometimes that includes knowing what’s going into this deliciousness! Here is the estimated nutritional breakdown for one slice of this beautiful cake. While I always try to use standard ingredients, keep in mind that exact values can swing based on the brand of oil or cocoa powder you choose.
Please remember, these figures give you a general idea for a serving size of one slice:
- Serving Size: 1 slice
- Calories: 420
- Sugar: 45g
- Sodium: 280mg
- Fat: 22g
- Saturated Fat: 7g
- Unsaturated Fat: 15g
- Trans Fat: 0.5g
- Carbohydrates: 55g
- Fiber: 1g
- Protein: 4g
- Cholesterol: 65mg
This is a rich dessert, no doubt about it, but it’s meant for special occasions like our anniversary or the holidays! Just factor that in when you’re planning out your beautiful feast.
Share Your Thoughts on This Festive Bundt Desserts
Wow, you made it to the end! I sincerely hope you’re heading to your kitchen right now to bake up this stunning red velvet bundt cake. Seriously, when this comes out of the oven, it’s impossible not to feel like a baking rockstar! We poured so much into testing this formula—from the precise ratio of cocoa to the perfect cream cheese glaze consistency—so I truly hope it brings a little extra joy to your table, whether it’s for a big holiday gathering or just a random Tuesday!
Once you slice into this beauty, I desperately want to see your masterpiece! Please, take a photo of your finished festive bundt desserts and share it on social media. Make sure to tag us so Noah and I can cheer you on! Your success helps build our little empire, one perfectly glazed cake at a time.
And if you’ve already tried the recipe, don’t be shy! Drop a rating below using the stars—your feedback tells us which blueprints are worth keeping front and center. If you have any lingering operational questions after baking, or if you just want to share your experience, you can always reach out to us directly through the contact page. Happy Baking, everyone!
PrintMoist Red Velvet Bundt Cake with Tangy Cream Cheese Glaze
Bake a show-stopping, moist Red Velvet Bundt Cake from scratch. This recipe includes a rich chocolate flavor and is topped with a silky, tangy cream cheese glaze for an elegant dessert.
- Prep Time: 20 min
- Cook Time: 55 min
- Total Time: 75 min
- Yield: 12 servings
- Category: Dessert
- Method: Baking
- Cuisine: American
- Diet: Vegetarian
Ingredients
- 1 3/4 cups all-purpose flour
- 1 1/2 cups granulated sugar
- 1 teaspoon baking soda
- 1 teaspoon unsweetened cocoa powder
- 1/2 teaspoon salt
- 1 cup buttermilk, room temperature
- 1/2 cup vegetable oil
- 2 large eggs, room temperature
- 1 teaspoon white vinegar
- 1 teaspoon vanilla extract
- 1 tablespoon red food coloring (or gel paste for deeper color)
- 4 ounces cream cheese, softened (for swirl)
- 1/4 cup granulated sugar (for swirl)
- 1 large egg yolk (for swirl)
- 1/2 teaspoon vanilla extract (for swirl)
- 1 cup powdered sugar (for glaze)
- 2 tablespoons cream cheese, softened (for glaze)
- 1 tablespoon milk or heavy cream (for glaze)
- 1/2 teaspoon vanilla extract (for glaze)
Instructions
- Preheat your oven to 350°F (175°C). Grease and flour a 10-cup Bundt pan thoroughly.
- In a large bowl, whisk together the flour, 1 1/2 cups sugar, baking soda, cocoa powder, and salt.
- In a separate medium bowl, whisk together the buttermilk, oil, 2 eggs, vinegar, vanilla extract, and red food coloring until fully combined.
- Pour the wet ingredients into the dry ingredients. Mix on low speed until just combined. Do not overmix the batter.
- Prepare the cream cheese swirl: In a small bowl, beat the 4 ounces of softened cream cheese, 1/4 cup sugar, egg yolk, and 1/2 teaspoon vanilla until smooth.
- Spoon about one-third of the red velvet batter into the prepared Bundt pan. Dollop half of the cream cheese mixture over the batter. Repeat with another third of the batter, the remaining cream cheese mixture, and top with the final third of the red velvet batter. Use a knife to gently swirl the layers together.
- Bake for 45 to 55 minutes, or until a wooden skewer inserted into the center comes out clean.
- Let the cake cool in the pan on a wire rack for 15 minutes. Invert the cake onto the wire rack and allow it to cool completely before glazing.
- Prepare the cream cheese glaze: In a small bowl, beat the 2 tablespoons of softened cream cheese until smooth. Gradually beat in the powdered sugar, milk, and 1/2 teaspoon vanilla until you reach a thick, pourable consistency. Add more milk, one teaspoon at a time, if the glaze is too thick.
- Drizzle the cream cheese glaze evenly over the cooled Red Velvet Bundt Cake. Let the glaze set before slicing and serving.
Notes
- For the deepest red color, use a high-quality red gel food coloring instead of liquid drops.
- Ensure your buttermilk and eggs are at room temperature; this helps create a more tender crumb.
- If you prefer a thicker topping, reduce the liquid in the glaze slightly.
- This cake is excellent for holiday baking and special occasions.
Nutrition
- Serving Size: 1 slice
- Calories: 420
- Sugar: 45g
- Sodium: 280mg
- Fat: 22g
- Saturated Fat: 7g
- Unsaturated Fat: 15g
- Trans Fat: 0.5g
- Carbohydrates: 55g
- Fiber: 1g
- Protein: 4g
- Cholesterol: 65mg