

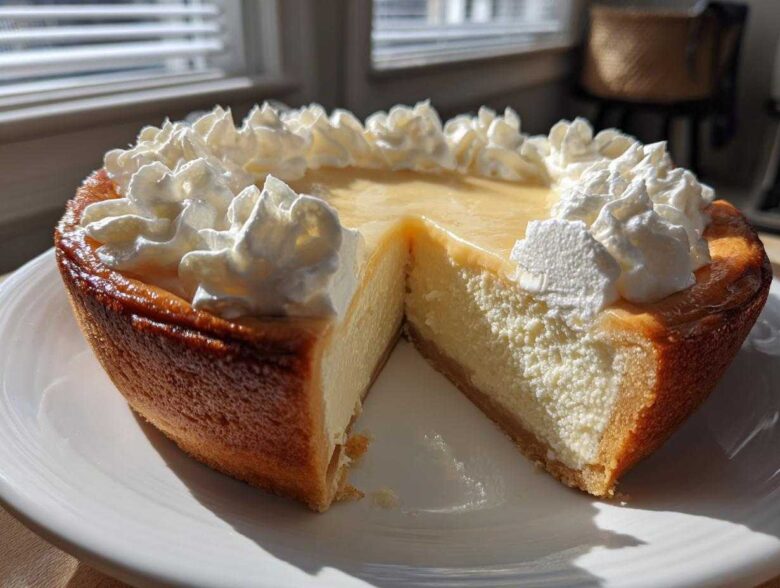
When we first started trying to pivot our lives away from spreadsheets and toward something tangible we could share, we knew we needed a cornerstone. We needed a recipe that felt both foundational and indulgent. And honestly, what beats a truly spectacular, old-fashioned dessert?
This butterscotch pie is that cornerstone for our Epicure Empire. It’s rich, it’s deep, and when you get that filling just right—absolutely velvety smooth—it feels like a victory. For Noah and me, mastering this classic dessert wasn’t just about baking; it proved we could execute a complex, comforting vision together. Trust me, mastering this comforting, creamy classic is worth every minute you spend whisking.
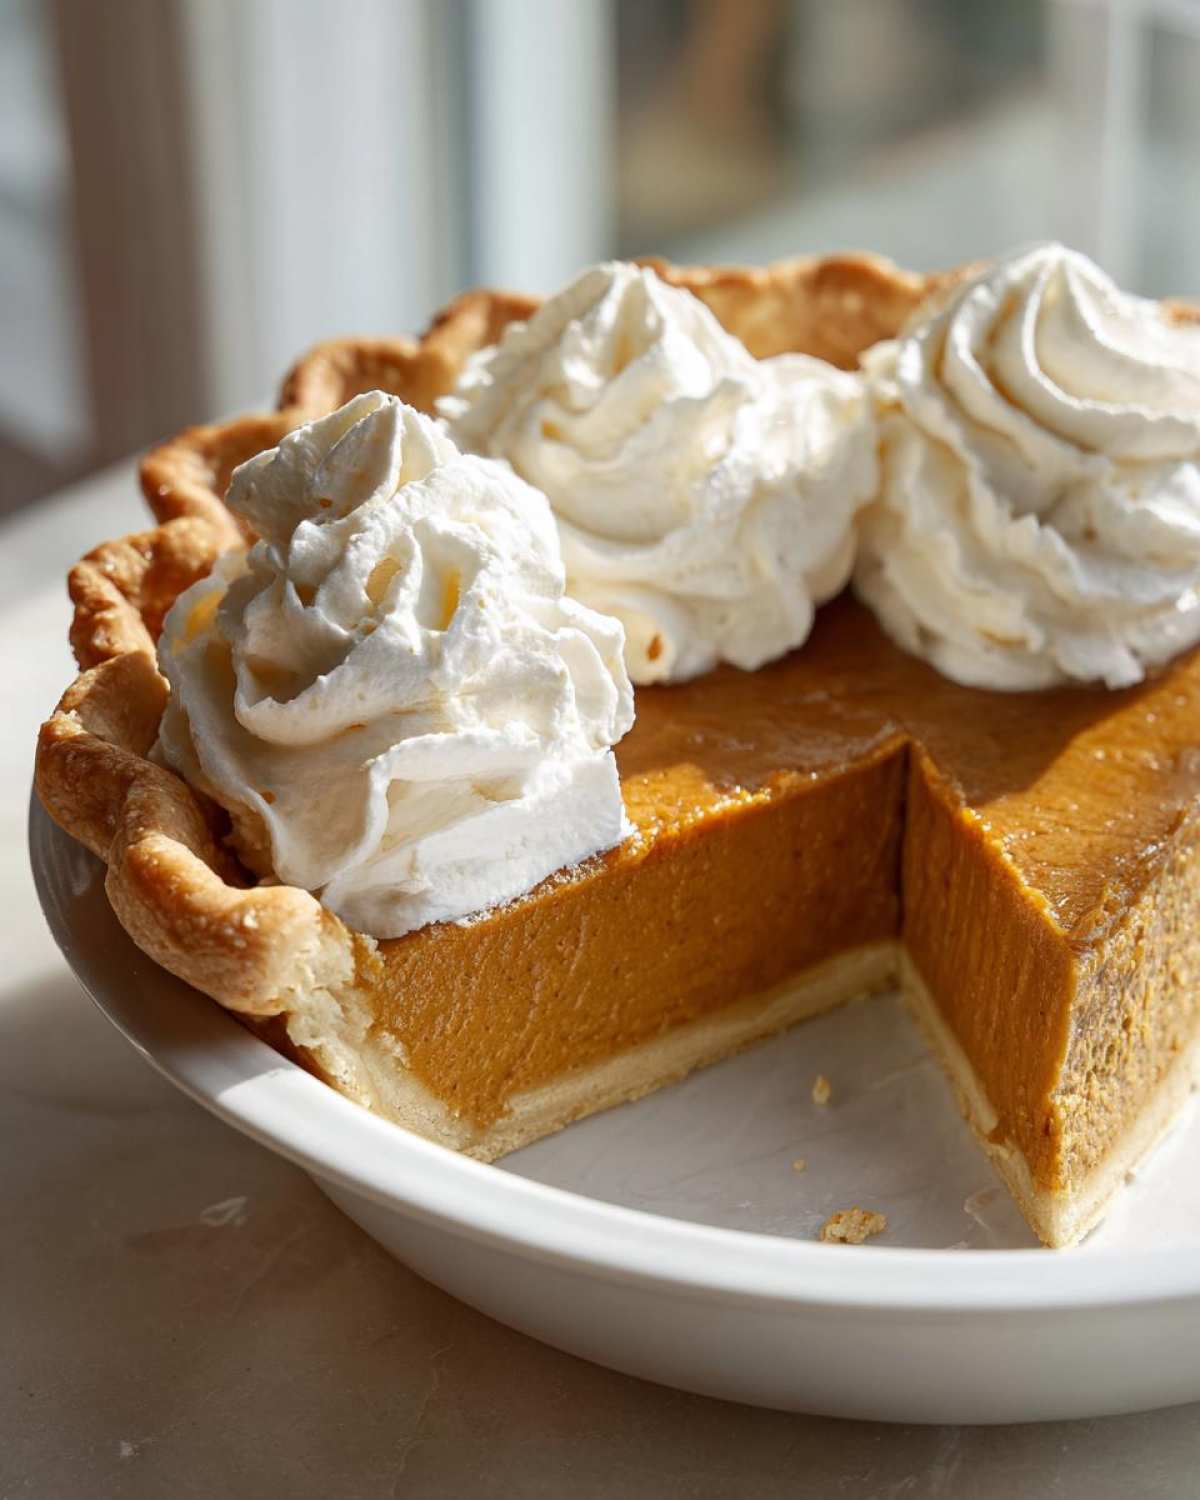
If you’re looking for the best holiday pie recipe that feels like a warm hug from the past, you’ve found it. Check out our blueprint for success right here: how we built our kitchen headquarters.
Why This Old-Fashioned Butterscotch Pie Recipe Works (The Strategy)
We spent weeks perfecting this approach because, frankly, mediocre butterscotch pie is a tragedy! This isn’t some rushed, gloppy dessert; this is a proper, old fashioned butterscotch pie built on technique. The whole point here is delivering those luxurious, rich dessert recipes that stand up to the best Southern style pies. You can find more on our testing process for this creamy butterscotch pie recipe right here: our deep dive into the perfect ratios.
Our strategy centers entirely on getting that silky smooth pie filling every single time. That means no lumps, no graininess, and certainly no scrambled egg surprises. It’s all about treating the ingredients right from the start and trusting the process we mapped out.
Achieving That Velvety Butterscotch Pudding Pie Texture
The absolute game-saver here is how we handle the egg yolks. If you dump them straight into the hot sugar mixture, you’ll end up with little cooked bits floating around—and nobody wants that! We temper them first. That means slowly introducing hot liquid to the yolks bit by bit while whisking like crazy.
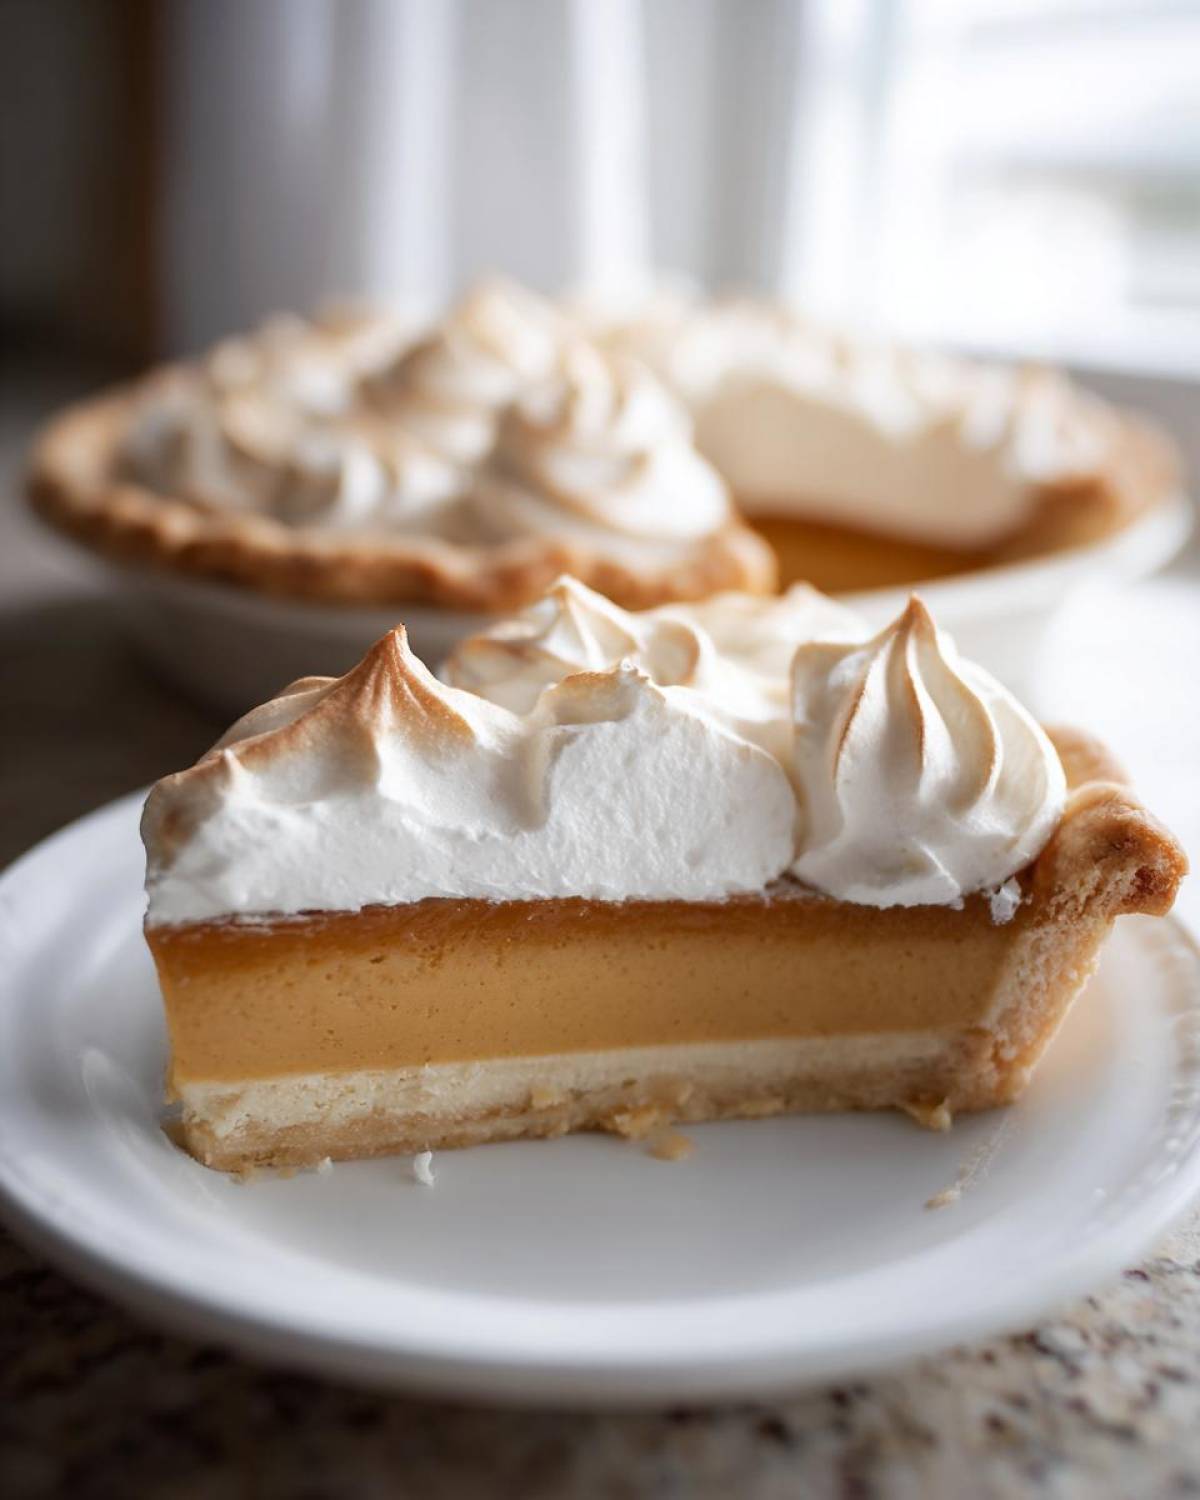
This gentle introduction warms the eggs slowly, getting them ready to thicken the filling beautifully. It’s the essential step for guaranteeing that stunning, silky smooth pie filling you see in the photos. It takes an extra minute, but I promise you, the payoff is huge! Don’t skip it!
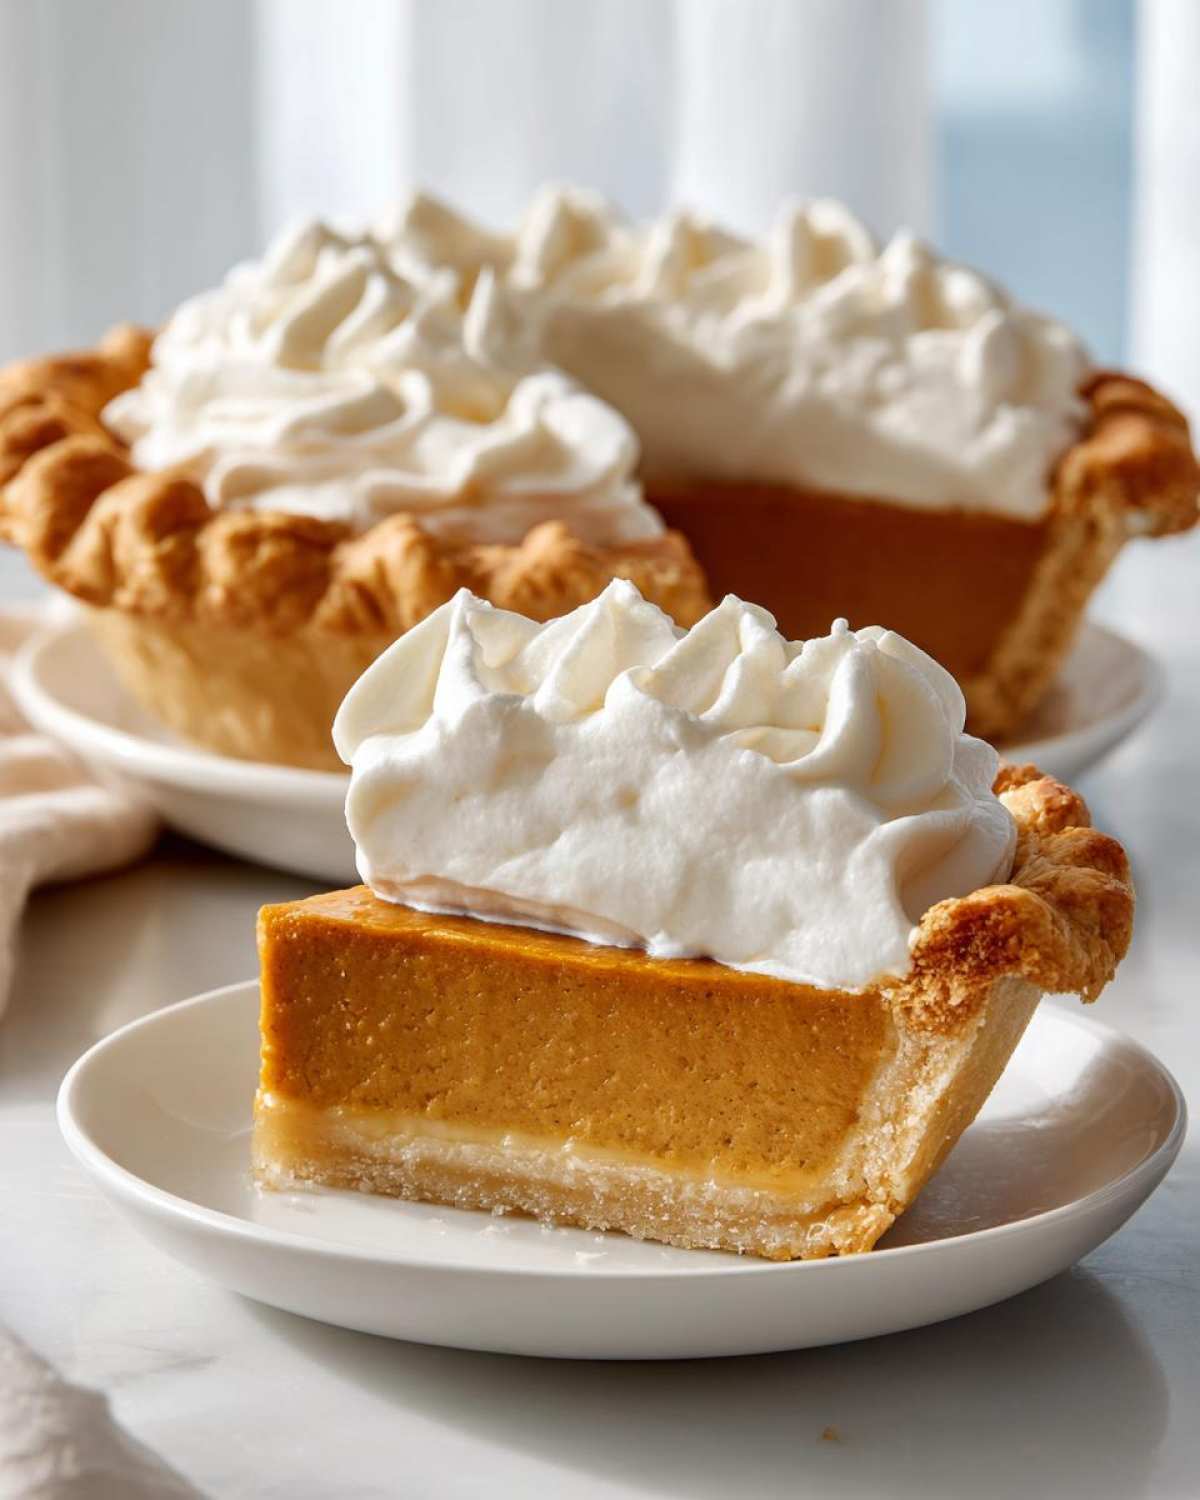
Ingredients for Your Creamy Butterscotch Pie Recipe
Okay, let’s look at what you need for this showstopper! Even though my blueprint here uses a store-bought crust to keep things moving smoothly for you hungry folks, you absolutely can swap that out for your favorite from scratch pie crust if you’re feeling extra ambitious.
For the filling itself, precision matters. Make sure your butter is cut up so it melts right down when it hits that hot custard. Here’s the official ingredient inventory:
- 1 pre-made 9-inch pie crust (or use your favorite from scratch recipe)
- 1 cup packed light brown sugar
- 1/4 cup all-purpose flour
- 1/4 teaspoon salt
- 1 1/2 cups whole milk
- 3 large egg yolks, lightly beaten
- 1/2 cup (1 stick) unsalted butter, cut into pieces
- 1 teaspoon vanilla extract
- 1 cup heavy whipping cream
- 2 tablespoons powdered sugar
- 1/2 teaspoon vanilla extract (for topping)
Gathering all these components is the first step to nailing that perfect, rich dessert flavor profile!
How to Prepare Your Old-Fashioned Butterscotch Pie
Okay, this is where the magic truly happens! Making a classic pudding-style pie means treating your stovetop with respect. We want a thick, luxurious custard, not a grainy mess, so pay attention to those heat levels. Remember, this is our deep, brown sugar dessert pie coming together, so we need patience in these crucial moments. If you need more general cooking strategy, you can always browse over at the main blog page.
Building the Silky Smooth Pie Filling Base
First things first—make sure that crust you’re using is totally cooled down, or the whole filling will just melt right out. Next, grab a medium saucepan. Whisk your brown sugar, flour, and salt together—we’re mixing dry first, always! Then slowly stream in the whole milk while you whisk continuously until it looks nice and uniform. Cook this over medium heat, stirring constantly until it coats the back of your spoon. That’s usually about 8 to 10 minutes. Don’t let it go wild boiling!
Once it’s thickened, immediately pull it off the heat! Now, take your lightly beaten egg yolks in a small bowl. Slowly trickle about half a cup of that hot milk mixture into the yolks while you whisk the yolks hard. That temper step is key! Pour that warmed yolk mixture right back into the pot. Go back to medium-low heat for just a minute or two until it thickens again—but seriously, do not boil. Pull it off for good, stir in that lovely butter until it vanishes, and then add your teaspoon of vanilla extract. Wow, look at that filling!
Setting and Chilling the Butterscotch Pie
Pour that hot, glorious filling straight into your cooled pie shell. Don’t wait around! Right away, you need to stop a skin from forming on top. I just take a piece of plastic wrap and gently press it directly onto the surface of the filling. It sounds fussy, but it keeps that surface perfectly smooth and ready for topping.
Now, stick it in the fridge! This creamy butterscotch pie recipe needs time to firm up. Seriously, set a timer for at least four hours, but if you can manage it, chill it overnight. If it’s not cold and firm, your slices won’t hold their shape when you try to serve them.
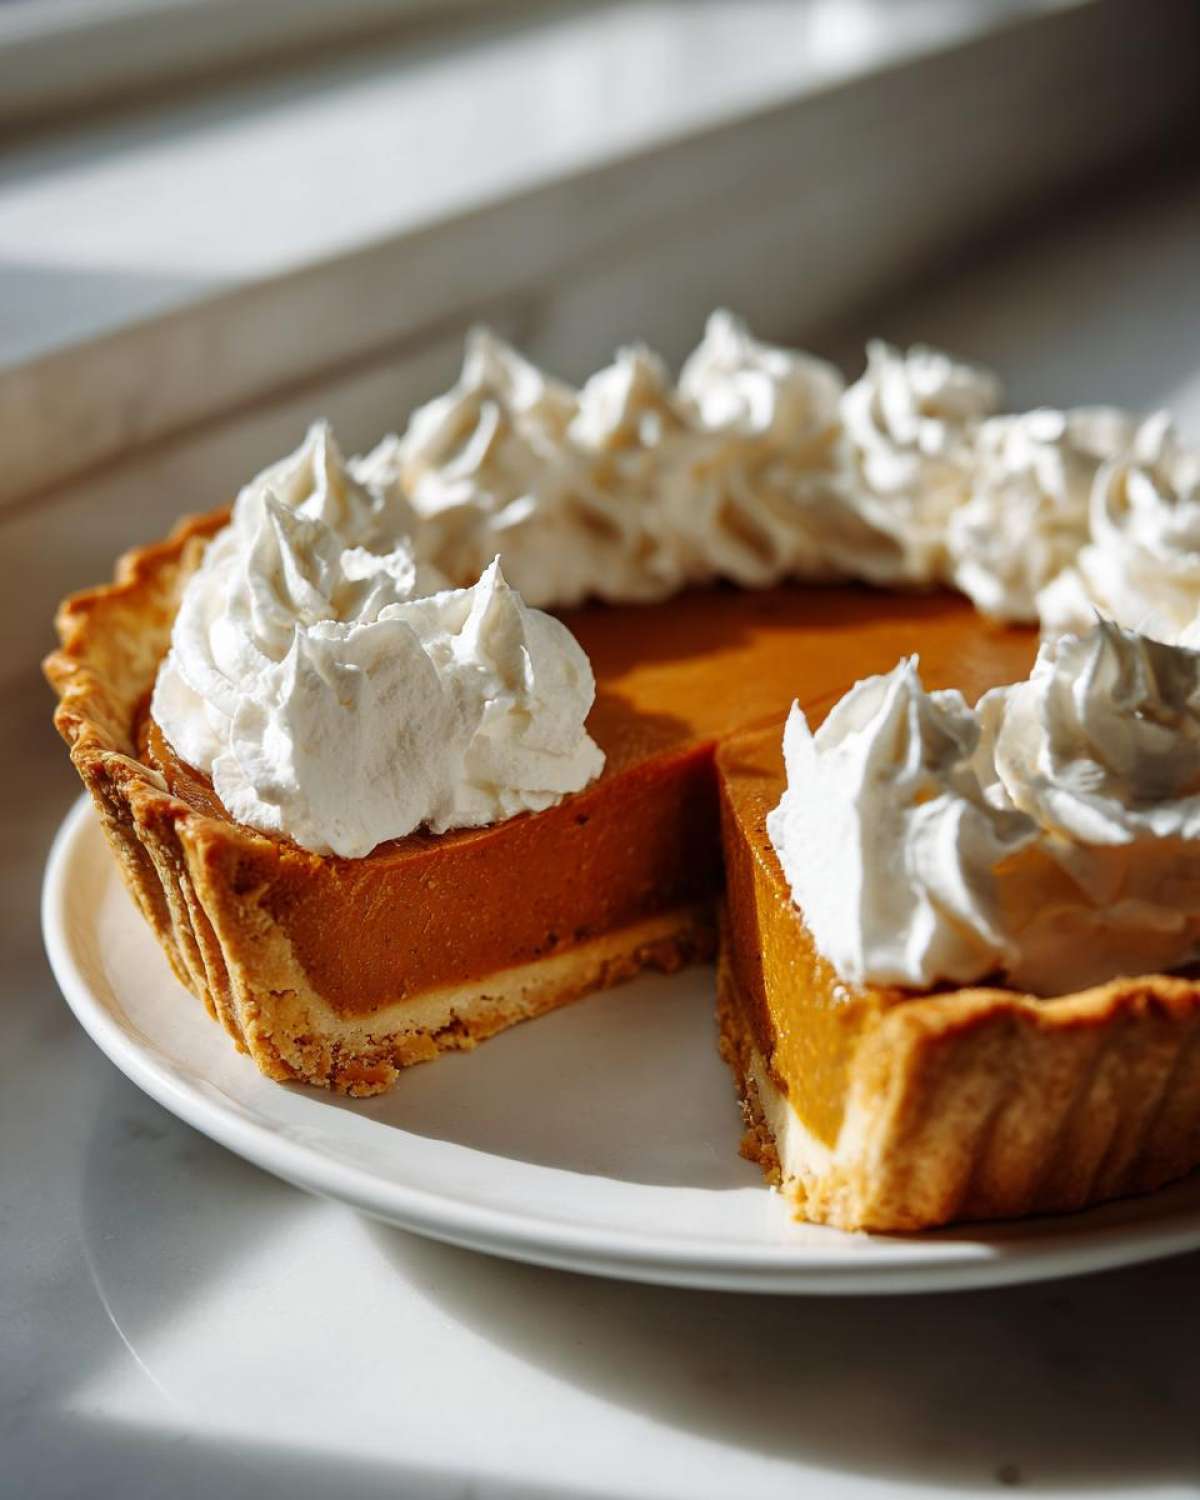
Tips for the Best Butterscotch Pie
You’ve got the structure down, but let’s talk about dialing up that deep flavor, which is what separates a good pie from an epic one. If you want the absolute richest, deepest flavor that really screams ‘old-fashioned,’ try switching that light brown sugar out for dark brown sugar. It adds such a wonderful molasses note that works perfectly with the butter. You can snag our little tutorial on making homemade caramels for extra inspiration on using that rich sugar!
Remember that plastic wrap trick I mentioned for chilling? Keep that plastic wrap touching the surface of the filling until it’s fully set. This prevents that slightly dry, weird skin from forming on top of your beautiful custard. Also, as I noted in the recipe card, if you are serving this for a big holiday gathering and want those impossibly neat slices—get it done the day before. Chilling overnight makes cutting this creamy butterscotch pie recipe much cleaner.
Serving Suggestions for Your Classic Dessert to Bake
This old fashioned butterscotch pie truly shines when it’s the star of the show! Because it’s so rich and comforting, it works perfectly as a centerpiece for any holiday table—it makes our list of the best winter desserts every year. It pairs beautifully with something simple, like a strong, black cup of hot coffee, which cuts right through the sweetness.
I specifically remember the first time we served this to Noah’s parents after we formalized our ‘Epicure Empire’ business plan. They loved it! It felt so much warmer and more personal than a fancy store-bought item. Finish it with that billowy homemade whipped cream for the best presentation, and watch everyone dive in!
Storage and Reheating Instructions for Butterscotch Pie
Since this is such a glorious custard pie, handling it right in the fridge is super important! You absolutely need to keep your leftovers chilled the entire time. Cover that remaining pie tightly with plastic wrap—make sure the wrap doesn’t touch the whipped cream topping if you’ve already added it. It should stay perfect in the cold for about three to four days.
Here’s the critical part about that amazing whipped cream: only put it on right before you plan to serve it. If you cover the whipped cream and chill those leftovers, it can start to deflate or weep, and we certainly don’t want that!
If you baked the crust but haven’t added the filling yet, wrap that baked crust well, and it can stay at room temperature for a day. But once that silky filling is in there, it’s fridge time!
Frequently Asked Questions About Making Butterscotch Pie
I know you might have a few last logistical questions before you dive in! It’s smart to plan ahead, especially when making a show-stopping dessert like this one. We constantly get asked about how to simplify things or how this compares to other brown sugar treats. If you’re looking for another easy, no-fuss winner in the empire, check out our thoughts on no-bake Oreo pie for comparison!
Can I make this butterscotch pie without baking the crust first?
For this specific recipe—and honestly, for almost any custard-based pie—you really, really should bake that crust first! This is called blind baking. Since our filling cooks so quickly on the stovetop and then just chills to set, if you put that wet filling into a raw crust, you’ll end up with that dreaded soggy bottom. We need that crust fully cooked and cooled before that gorgeous pudding goes in!
How does this differ from a traditional caramel custard dessert?
Oh, that’s a great question about flavor profiles! A traditional caramel custard usually relies on caramelizing white sugar separately to create its base flavor. That gives you a cleaner, sharper sweetness. Our old fashioned butterscotch pie gets its depth from using brown sugar right from the start. That molasses content in the brown sugar deepens the flavor significantly, turning it into that buttery, slightly smoky caramel note we all adore in a rich dessert recipe.
Also, if you were hoping for a no bake butterscotch pie, this isn’t technically it; the filling cooks on the stove! But it sets up beautifully in the fridge later, so it skips the oven time after the crust is done, making it feel way less stressful than a full baked pie.
Nutritional Estimate for One Slice of Rich Dessert
Now, let’s talk numbers! I know some of you folks in the empire are tracking macros, and some of us just prefer knowing what we’re getting into before diving spoon-first into something this decadent. Remember, this is just a blueprint for the nutrition, not a chemical analysis!
Since this recipe balances a rich custard with a flaky crust and is topped with whipped cream, it definitely lands in the ‘indulgent sweet treats’ category. The nutritional profile can change wildly depending on whether you use that pre-made crust or whip up one of our lighter from scratch pie crust versions, so take these estimates with a grain of salt—or maybe just a pinch of brown sugar!
- Calories: 410
- Fat: 24g
- Carbohydrates: 48g
- Protein: 6g
- Sugar: 35g
The primary contributors to the fat content are that beautiful butter in the filling and the heavy cream topping, which gives us that incredible creamy texture we worked so hard for. It’s a splurge, for sure, but you deserve a real, honest-to-goodness classic dessert to bake now and then!
Share Your Epicure Empire Moments
Now that you have the blueprint for this amazing butterscotch pie, I really, truly want to see what you create! Honestly, seeing your bakes brings such a smile to my face—it means our little kingdom of flavor is growing, one dessert at a time.
When you pull that pie out of the fridge, shining under that fluffy whipped cream, snap a picture! Tag us on social media so Noah and I can cheer you on. We live for seeing your results, especially since this recipe promises that famously silky smooth pie filling.
Tell me honestly: Did it set up perfectly? Was the texture everything you hoped for? Drop a comment below and give this recipe a star rating! Five stars if it brought you pure comfort and flavor, naturally. If you have any last-minute questions, you can always shoot us a message right here on our contact page. Happy baking, Empire Builders!
PrintOld-Fashioned Creamy Butterscotch Pie: Your New Favorite Dessert

You will love this rich, velvety butterscotch pie made completely from scratch. This classic recipe delivers a silky-smooth filling perfect for holidays or any gathering.
- Prep Time: 20 min
- Cook Time: 15 min
- Total Time: 35 min
- Yield: 8 servings
- Category: Dessert
- Method: Stovetop Cooking
- Cuisine: American
- Diet: Vegetarian
Ingredients
- 1 pre-made 9-inch pie crust (or use your favorite from scratch recipe)
- 1 cup packed light brown sugar
- 1/4 cup all-purpose flour
- 1/4 teaspoon salt
- 1 1/2 cups whole milk
- 3 large egg yolks, lightly beaten
- 1/2 cup (1 stick) unsalted butter, cut into pieces
- 1 teaspoon vanilla extract
- 1 cup heavy whipping cream
- 2 tablespoons powdered sugar
- 1/2 teaspoon vanilla extract (for topping)
Instructions
- Prepare your 9-inch pie crust according to your preferred method and let it cool completely.
- In a medium saucepan, whisk together the brown sugar, flour, and salt until combined.
- Gradually whisk in the milk until the mixture is smooth.
- Cook the mixture over medium heat, stirring constantly, until it thickens enough to coat the back of a spoon, about 8 to 10 minutes. Do not let it boil rapidly.
- Remove the saucepan from the heat. In a small bowl, lightly beat the egg yolks.
- Temper the egg yolks by slowly whisking about 1/2 cup of the hot milk mixture into the yolks. This prevents scrambling.
- Pour the tempered yolk mixture back into the saucepan with the remaining milk mixture.
- Return the saucepan to medium-low heat. Cook, stirring constantly, for 1 to 2 minutes until the filling thickens further. Do not allow it to boil.
- Remove from heat. Stir in the butter pieces until fully melted and incorporated. Stir in 1 teaspoon of vanilla extract.
- Pour the hot butterscotch filling immediately into the cooled pie crust. Press plastic wrap directly onto the surface of the filling to prevent a skin from forming.
- Chill the pie in the refrigerator for at least 4 hours, or until the filling is completely set.
- When ready to serve, beat the heavy whipping cream, powdered sugar, and 1/2 teaspoon vanilla extract until stiff peaks form.
- Spread or pipe the whipped cream topping over the chilled pie. Slice and serve your rich dessert.
Notes
- For a truly old-fashioned flavor, use dark brown sugar for a deeper caramel note.
- If you want a pie that holds up well for serving a crowd, chill it overnight before topping with whipped cream.
- To achieve that silky smooth pie filling, make sure you whisk constantly, especially when the eggs are added, to avoid lumps.
Nutrition
- Serving Size: 1 slice
- Calories: 410
- Sugar: 35
- Sodium: 250
- Fat: 24
- Saturated Fat: 14
- Unsaturated Fat: 10
- Trans Fat: 0.5
- Carbohydrates: 48
- Fiber: 1
- Protein: 6
- Cholesterol: 110