

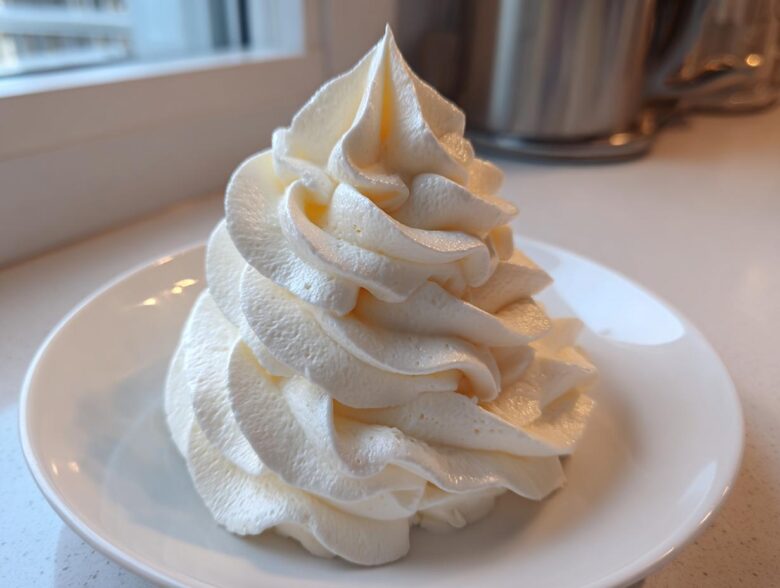
Listen, if you’re going to spend time baking the perfect cake or those amazing cupcakes we just shared, the topping has to be legendary, right? We learned this the hard way when Noah and I were treating cooking like a spreadsheet project—we needed foundational recipes that just *worked*. Trust me when I say that discovering the absolute best **vanilla buttercream frosting** changed everything in our kitchen. You can read more about how we started building our culinary fortress over on our About Us page. This isn’t just icing; this is the blueprint for fluffy, creamy perfection that pipes beautifully every single time. We’ve tested every wobble and spread, and this American buttercream is the one that finally made it into our little Epicure Empire legacy collection. It’s fast, it’s reliable, and it’s genuinely the only one you’ll ever need.
Why This Vanilla Buttercream Frosting Recipe Is Your New Baking Essential
If you’ve been burned by grainy, weepy icing before, I get it. That’s why we put this American buttercream through rigorous testing—Noah swore half the frostings we tried were structurally unsound! What sets our **vanilla buttercream frosting** apart is that it delivers on texture without needing a chemistry degree or hours of waiting time. It’s the perfect middle ground between ultra-sweet and subtly flavorful, making it the *Best Buttercream for Cakes* you’ll ever use.
We’re focused on foundational success here at the Empire. This recipe is designed to be your lifetime go-to for everything from a simple spread to intricate decorating work. It’s solid, it’s dependable, and most importantly, it tastes exactly like you want frosting to taste!
Achieving That Perfect Creamy and Fluffy Texture
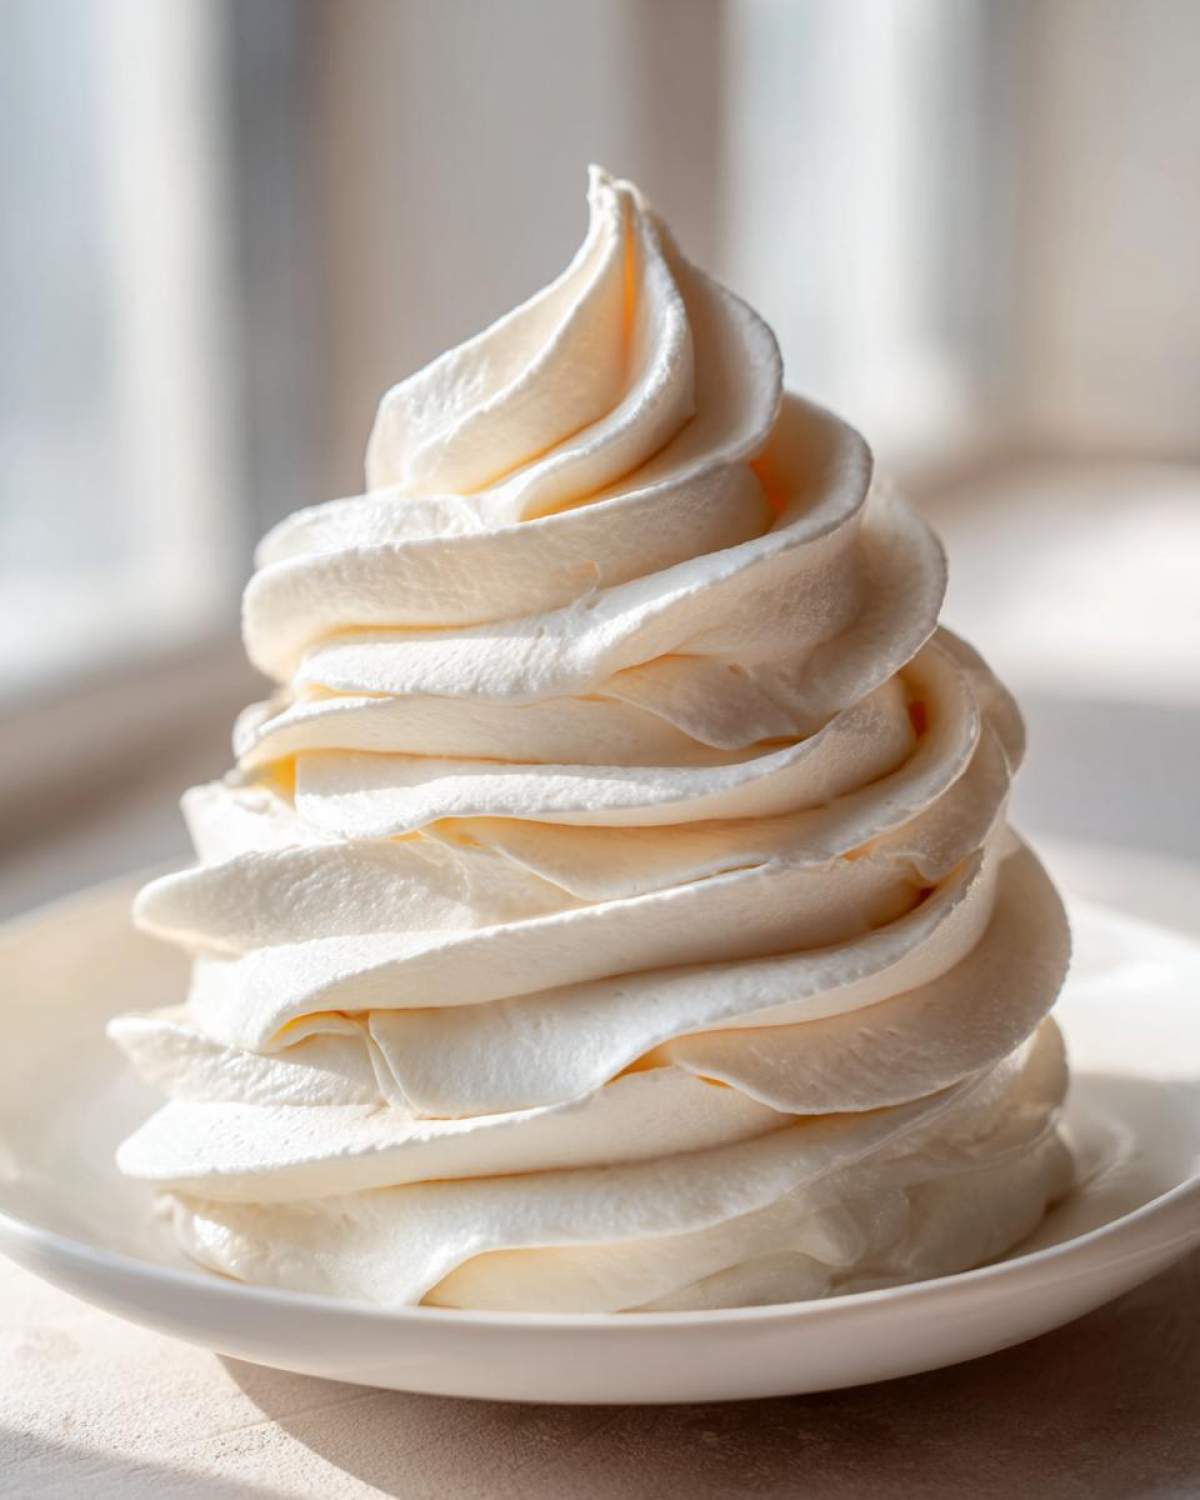
When I say creamy and fluffy, I mean it. We aren’t aiming for the greasy, dense stuff. The secret to that light cloud-like quality is entirely in the final mixing step. Those last few minutes on medium-high speed whip air right into the fats and sugars, transforming it into a gorgeous **Creamy Dessert Topping**. It sounds simple, but that vigorous beating time is absolutely non-negotiable if you want that luxurious mouthfeel.
Speed and Simplicity: The Quick Buttercream Recipe Advantage
Life is too short to wait an hour for frosting to set! This recipe is truly phenomenal because it’s ready in about 10 minutes, total! Seriously, less time than it takes to clean the mixing bowl if you forget to soak it. Since it requires zero cooking or chilling time, it earns the title of an **Easy Buttercream Frosting**. It is the ultimate **No Cook Frosting** for those last-minute birthday emergencies. You can check out another one of our lightning-fast recipes, like our Garlic Naan Bread, if you need proof that fast doesn’t mean sacrificing quality in our kitchen!
Gathering Ingredients for Classic Vanilla Buttercream Frosting
Okay, before we even power up the mixer, let’s talk components. Since we aren’t cooking this frosting, the quality of your ingredients really shines through—this is how we achieve that true **Rich Vanilla Flavor Frosting**. We keep it super simple because, honestly, the magic is in the technique, not in hunting down fancy stuff. But please, listen to your Chief of Operations: Room temperature butter is key!
You’ll need:
- 1 cup unsalted butter, softened right to room temperature—it shouldn’t look oily, just easily dented.
- 4 cups powdered sugar, and this is important, it absolutely must be sifted!
- 1 teaspoon pure vanilla extract. Use the good stuff; it makes such a difference here.
- 3 to 4 tablespoons of heavy cream or whole milk. Cream gives a richer taste, but milk always works in a pinch.
- A tiny pinch of salt to balance out all that sweet goodness.
Get those measured out first, and you’re halfway to frosting heaven!
The Operational Blueprint: How to Prepare Vanilla Buttercream Frosting
Alright, Noah’s favorite part—the strategy section! Making stellar **vanilla buttercream frosting** isn’t mysterious; it’s just about following the mixing sequence perfectly. We can’t just dump everything in and hope for the best; that ends in a sugar volcano across your counter, trust me. We need control, people! These steps ensure we incorporate air properly instead of just mixing ingredients into a dense paste. Follow this blueprint exactly, and you’ll have bakery-quality icing ready to go. If you’re looking for baked goods to put this on, check out our guide for the Best Chocolate Chip Cookies!
Step 1: Creaming the Butter for Smoothness
First things first: the paddle attachment goes on the mixer, and the room-temperature butter goes in. Don’t try to rush this; if your butter is too cold, it won’t mix right. We are beating this butter on medium speed until it looks completely smooth and dreamy—we need about two full minutes for this. Stop, scrape down the sides of that bowl thoroughly. We can’t have any unincorporated butter chunks hiding out!
Step 2: Incorporating Sugar and Flavor
This is where you need patience. Turn the mixer down to low speed. We are adding that sifted powdered sugar in one cup at a time. Low speed is your friend here; it keeps the sugar dust contained inside the bowl where it belongs! Once the sugar is mostly incorporated after each addition, toss in your pure vanilla extract and that little pinch of salt. Give it a quick mix on low until everything looks combined.
Step 3: Whipping to Achieve Fluffy Cupcake Icing
Now we speed things up! Add three tablespoons of your heavy cream or milk. Turn the mixer up to medium-high speed and just let it run for a solid 3 to 5 minutes. This whipping time is absolutely non-negotiable if you want that light, airy result. This process turns dense icing into the beautiful, stable **Fluffy Cupcake Icing** we’re aiming for. If you check it and it still seems a bit stiff for spreading easily, that’s when you add that fourth tablespoon of cream, one teaspoon at a time.
Tips for Perfect Piping Buttercream Guide
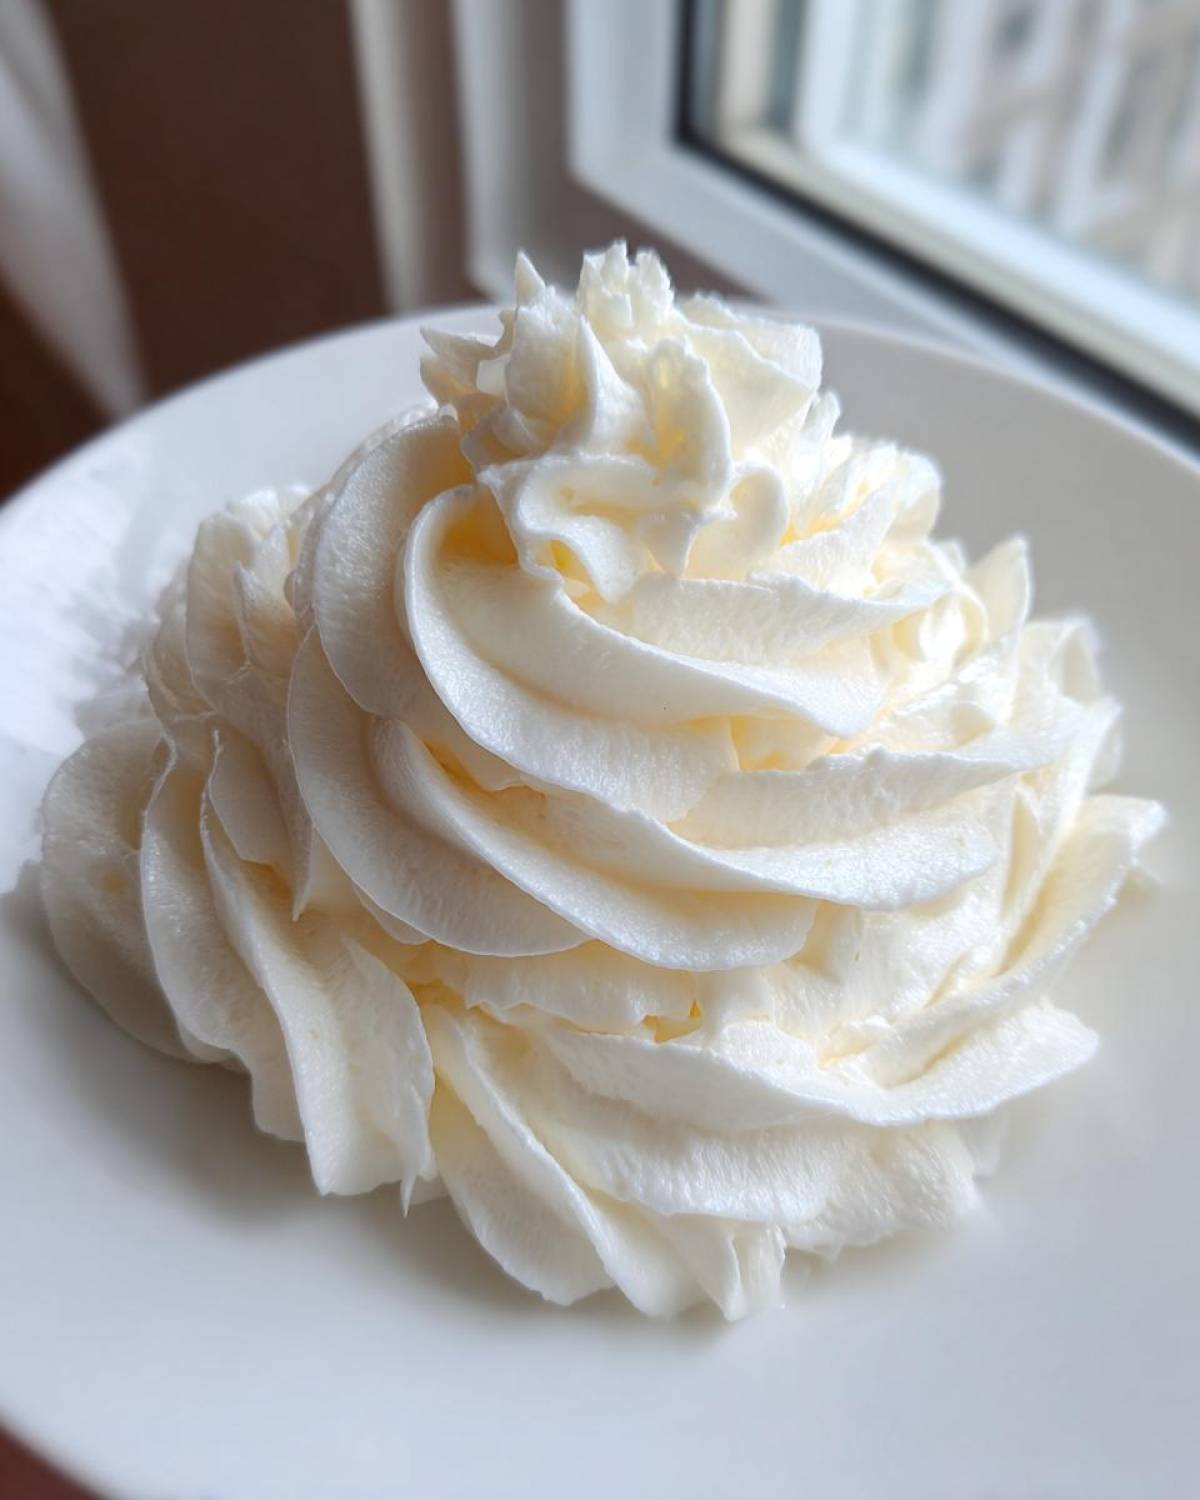
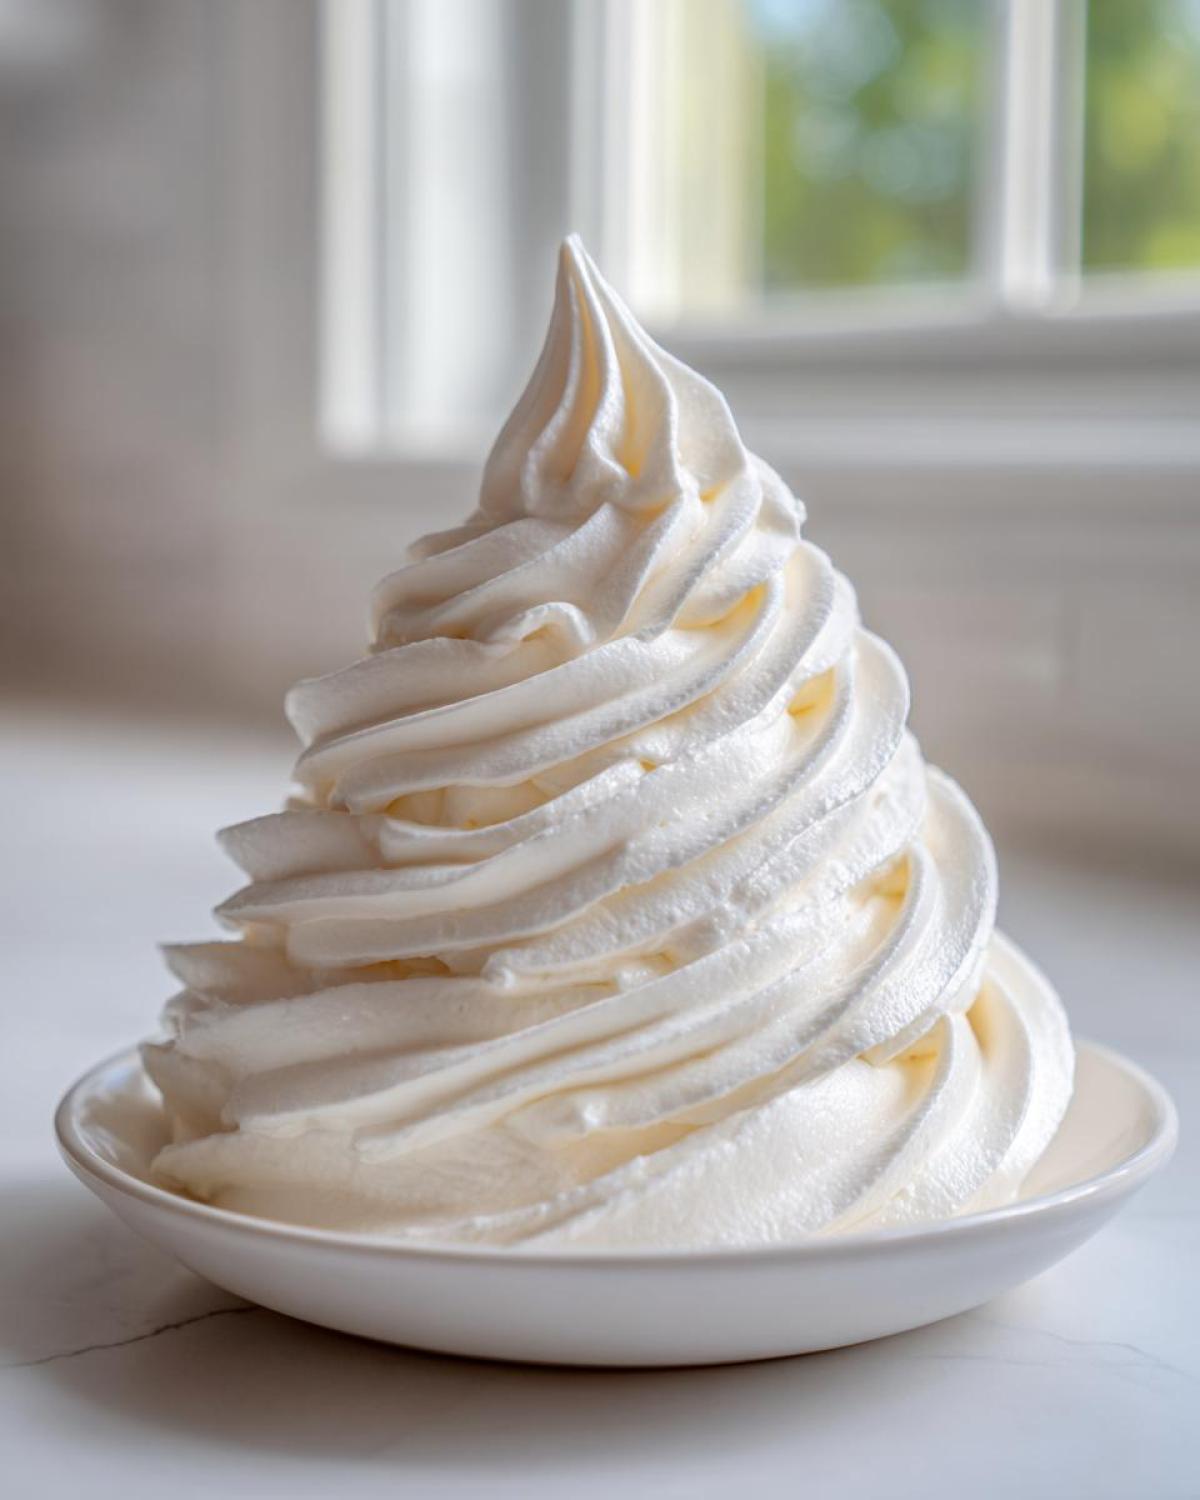
So, you want those gorgeous swirls on your cupcakes that look like they came from a professional bakery? That’s exactly why this **vanilla buttercream frosting** is engineered to be stable! If your primary goal is decoration, my Number One tip from our operational playbook is to hold back on the liquid ever so slightly. When you’re on Step 3, stop adding cream once you hit that three-tablespoon mark. Taste it first. Does it feel firm enough to hold a sharp edge?
If it seems too stiff to even stir easily, add that fourth tablespoon, but only a tiny bit at a time. A frosting that holds its shape beautifully for piping is always slightly stiffer than one you’re just smoothing over a layer cake. If you realize mid-pipe that you added too much milk and it’s getting sloppy, don’t panic! Just whip in another half cup of sifted powdered sugar. It firms up instantly, and you’ll be back to making those beautiful rosettes in no time. It’s all about control, and you’ve got this! Check out our Chocolate Chip Pancakes—they love this stuff!
Troubleshooting Common Issues with Your Homemade Vanilla Icing
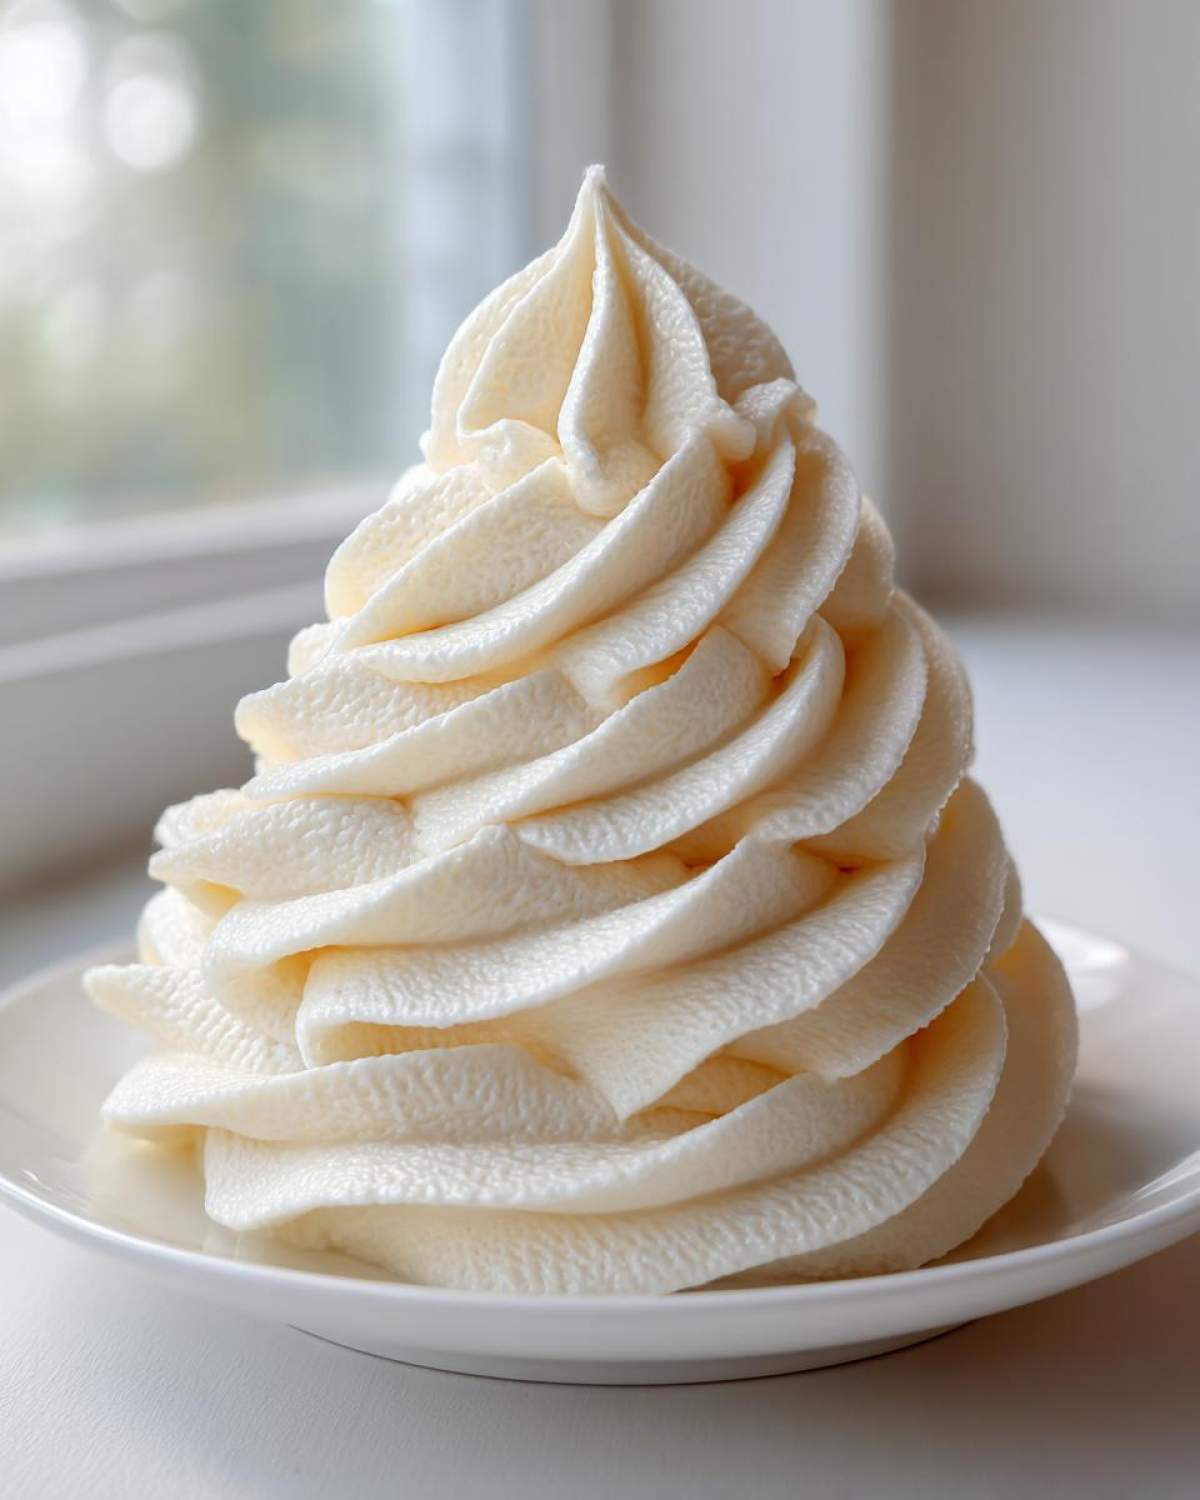
Even when we have the best blueprint, sometimes things go slightly sideways in the kitchen. That’s totally normal! Before you decide your **Homemade Vanilla Icing** is ruined, give these fixes a try. Remember, the beauty of this particular recipe—the American buttercream—is that it’s so forgiving!
If your frosting has gone rogue and feels too dense or stiff to even spread, don’t worry about re-mixing from scratch. That just means you leaned a little too heavily on the powdered sugar side, or maybe the environment is cooler than usual. Grab a teaspoon of heavy cream or milk—just one!—and gently mix it in on low speed. You might need two teaspoons, but approach it slowly. You can always add liquid, but adding it back once it’s absorbed is an absolute pain!
Now, what if you went too far and it’s become soupy or too runny? You’ve added too much liquid, and that’s okay, it happens when you’re moving fast! The fix is incredibly simple and requires zero new ingredients, just a little more mixing time. Slowly add in about a quarter cup of sifted powdered sugar, mixing on low until it’s incorporated, then crank the mixer back up to medium-high for another minute. This often firms it right back up without compromising the texture.
And finally, the dreaded grainy texture. This is usually the sign that the butter and sugar crystals didn’t fully dissolve during the beating phase. My trick is to put the mixer on medium-high and just let it whip for an extra two minutes of air time. Often, the friction from beating them together longer does the trick and smooths out those gritty bits. If that doesn’t work, sometimes a tiny dash more vanilla helps bind it, but beating usually fixes it!
Storage & Reheating Instructions for Best Buttercream for Cakes
Noah insists on an inventory management system for leftovers, but honestly, who has time for that? We usually manage to eat most of this gorgeous **vanilla buttercream frosting** the day we make it, but when you do have leftovers, storage is super easy. Just pop your extra batch into a truly airtight container. If you’re planning on using it within two or three days, leaving it covered right on the counter is usually fine, especially if your kitchen isn’t super warm.
If you need it to last longer, definitely move it to the fridge. When you pull refrigerated icing out, it will be rock solid—don’t try to use it like that! Let it sit on the counter for at least an hour, maybe two, until it softens back up. Once it’s mostly soft, pop it into your mixer, add a splash of cream—maybe half a teaspoon—and beat it again for a minute. It comes right back to life! It’s the perfect finish for cakes like our Blueberry Banana Bread.
Variations on This American Buttercream Tutorial
Part of building our Epicure Empire is learning how to customize a core successful recipe. Once you master the basic technique for this fantastic **American Buttercream Tutorial**—and I know you will, it’s so simple!—you can start experimenting with flavor profiles. It’s like having one powerful engine, and you just change the fuel type depending on what you’re baking that day. I love taking the basic vanilla structure and just tweaking it slightly to match a different cake flavor.
Here are a few ways we switch things up without changing the fundamental whipping process. Remember, keep that initial butter/sugar base the same, and these additions just layer right on top!
Adding Zest for Brightness
If you’re frosting a lemon cake, or even just a plain vanilla one that needs a little pop, zest is your secret weapon. Before you add the vanilla extract in Step 2, throw in the zest of one lemon or even one orange. Make sure you are only grating the bright colored part, not the white pith underneath—that stuff is bitter and will ruin the sweetness! The citrus oils incorporate beautifully into the fat, giving you a truly vibrant flavor that tastes super fresh.
Flavor Swaps: Almond or Maple
Sometimes vanilla gets boring, and that’s okay! If you want a richer, nuttier flavor that pairs wonderfully with chocolate or yellow cake, swap out half of the vanilla extract for pure almond extract. Almond is potent, so use caution! If you want a totally different seasonal feel, especially around the holidays, you can swap the heavy cream for pure maple syrup. If you use maple syrup, cut the amount slightly (maybe start with just 2 tablespoons) because maple has more moisture than cream. We did this once when making frosting for our Avocado Egg Salad sandwiches (kidding, kidding! Mostly.)
Making Chocolate Buttercream
This is the easiest pivot from vanilla to chocolate, and it’s perfect for a quick holiday dessert topping upgrade. After you’ve finished the 5-minute whipping time in Step 3 and you are satisfied with the texture, turn the mixer down to low. Sift in about a half cup of unsweetened cocoa powder. Mix slowly until it’s just incorporated, then whip it on medium speed for one more minute to make sure it’s smooth. That’s it! You’ve just gone from vanilla to chocolate with almost no extra effort.
Frequently Asked Questions About Vanilla Buttercream Frosting
Can I use salted butter instead of unsalted butter for this frosting?
Oh, I advise against it if you can help it! Since this **vanilla buttercream frosting** doesn’t get baked, that pinch of salt we add is highly important for balancing the sweetness. If you only have salted butter on hand, go ahead and use it, but you must eliminate that extra pinch of salt we called for in Step 2 entirely. Then, taste it before you finish beating. You might even need to cut back on the added salt entirely since salted butter usually has about 1/4 teaspoon of salt per stick. It’s all about controlling the final flavor!
How do I successfully color this buttercream for decorating?
This American buttercream takes color beautifully, which is why it’s such a great base for decorating. My trick here is to use gel food coloring, not the liquid drops you find in the baking aisle. Liquid drops add unnecessary moisture, and if you add too much, it instantly messes up the consistency we worked so hard to achieve during the whipping phase. Start with a small toothpick dip of gel color, mix it in on low speed, and then whip it on medium-high for about 30 seconds to fully bloom and distribute that color. You want vibrant colors for those party cakes!
How long will this vanilla buttercream frosting last if stored properly?
If you keep your leftovers in an airtight container, this frosting is really quite stable since it’s primarily sugar and fat. At room temperature, I’d say you have about three days before you notice any change in texture or appearance. If you refrigerate it—sealed up tight—it should last up to two weeks. Remember what I detailed earlier: When you take it out of the fridge, let it soften at room temp for an hour or two, then give it a quick whip with a splash of cream to revive that signature fluffiness. For more tips on how we document our culinary planning, you can look at our Egg Salad Recipe post, which details our storage approach!
Is this frosting firm enough to handle thick piping work, like large rosettes?
Absolutely! Achieving that structure is why we are so meticulous about the liquid measurement. When you are ready to pipe, use only those initial three tablespoons of cream, even if it feels stiff. Our instructions are designed to produce a frosting that holds its shape sharply. If it seems marginally too firm to push through the piping bag, add a teaspoon of additional cream or milk, but stop right there. If you want a reference for excellent piping, check out how Natasha’s Kitchen handles theirs here. That stability is what makes this the *Best Buttercream for Cakes* when decoration is your goal.
Nutritional Information for This Simple Vanilla Frosting
Noah and I always try to keep track of what we’re putting into our bodies, even when it comes to something purely joyful like frosting! We know that knowing the basics helps us plan the rest of our meals for the week. Since this **Simple Vanilla Frosting** is rich in butter and sugar—because, well, that’s what makes it delicious—the numbers can add up quickly. Think of this data as purely foundational guidance, like our initial budget planning; the actual calorie count might shift slightly based on which brand of butter or variety of cream you end up using.
These estimates are based on a serving size of 1/4 cup of the final batch:
- Serving Size: 1/4 cup
- Calories: Approximately 350
- Sugar: Around 45 grams
- Sodium: About 45 mg
- Total Fat: 18 grams
- Saturated Fat: 11 grams
- Unsaturated Fat: 7 grams
- Trans Fat: 0.5 grams (We try to keep this low, use brick butter!)
- Carbohydrates: 48 grams
- Fiber: 0 grams
- Protein: 1 gram
- Cholesterol: 45 mg
Just a quick reminder, since this is a core component of our baking adventures here at Epicure Empire: these values are based only on the recipe provided and do not account for any baked goods you might frost with it! Enjoy every delicious, unmeasured bite of your beautiful, creamy topping!
PrintThe Best Classic Vanilla Buttercream Frosting: Creamy and Fluffy for Piping
You need a reliable, smooth, and fluffy vanilla buttercream frosting that holds its shape for decorating cakes and cupcakes. This American buttercream recipe is quick to make and uses simple ingredients for that rich, classic flavor.
- Prep Time: 10 min
- Cook Time: 0 min
- Total Time: 10 min
- Yield: About 3 cups
- Category: Dessert Topping
- Method: Mixing
- Cuisine: American
- Diet: Vegetarian
Ingredients
- 1 cup unsalted butter, softened to room temperature
- 4 cups powdered sugar, sifted
- 1 teaspoon pure vanilla extract
- 3 to 4 tablespoons heavy cream or milk
- Pinch of salt
Instructions
- Place the softened butter in the bowl of a stand mixer fitted with the paddle attachment. Beat the butter on medium speed until it is completely smooth and creamy, about 2 minutes. Scrape down the sides of the bowl.
- Gradually add the sifted powdered sugar, one cup at a time, mixing on low speed until just combined after each addition. This prevents a sugar cloud in your kitchen.
- Add the vanilla extract and a pinch of salt. Mix on low speed until incorporated.
- Add 3 tablespoons of heavy cream or milk. Increase the mixer speed to medium-high and beat for 3 to 5 minutes until the frosting is light, fluffy, and smooth. This whipping time is key for texture.
- Check the consistency. If the frosting seems too stiff for spreading or piping, add the remaining tablespoon of cream, one teaspoon at a time, until you reach your desired consistency. If it is too soft, add a little more sifted powdered sugar.
- Use immediately to frost your cakes, cupcakes, or cookies.
Notes
- For the smoothest texture, ensure your butter is truly at room temperature—soft but not melted.
- If you are piping intricate designs, use only 3 tablespoons of liquid initially to keep the frosting firm.
- If the frosting seems grainy, continue beating it for an extra minute or two; the friction helps dissolve the sugar.
- This recipe makes enough frosting to cover one 8-inch two-layer cake or about 18 standard cupcakes.
Nutrition
- Serving Size: 1/4 cup
- Calories: 350
- Sugar: 45
- Sodium: 45
- Fat: 18
- Saturated Fat: 11
- Unsaturated Fat: 7
- Trans Fat: 0.5
- Carbohydrates: 48
- Fiber: 0
- Protein: 1
- Cholesterol: 45