

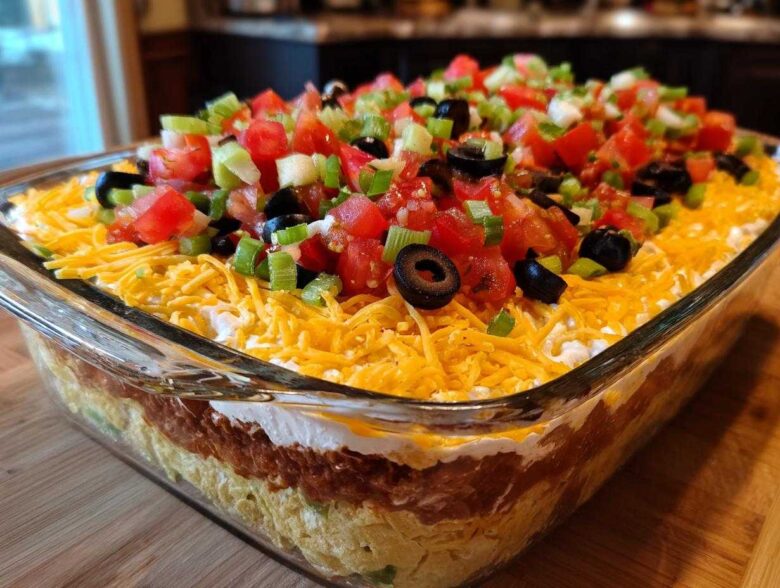
Let’s be honest, when you’re planning a get-together, the appetizers are often more important than the main course. Everyone flocks to the snack table first! If you want to be the hero of the potluck without spending your entire afternoon chained to the stove, you need a strategy, and the cornerstone of any great spread is the Seven layer dip. This isn’t just a snack; it’s the ultimate Tex-Mex appetizer, designed to be scooped deep and enjoyed with friends. Noah, being the strategist, always insists on perfect separation, so the layers don’t just become one brown mush—that’s where our blueprint comes in. Trust me when I say this is the foolproof plan for constructing the absolute best 7-layer dip you’ve ever served. If you want even more incredible game-day options, check out our seven layer taco dip tips while you’re here!
Why This Seven Layer Dip Blueprint Guarantees Party Success
Look, I’m Lena, the Chief of Operations around here, and I love efficiency. This dip is great because it’s almost entirely assembly, meaning zero oven time for you. It’s the easy seven layer dip that always looks like you spent hours perfecting it—which is the best kind of meal prep, right?
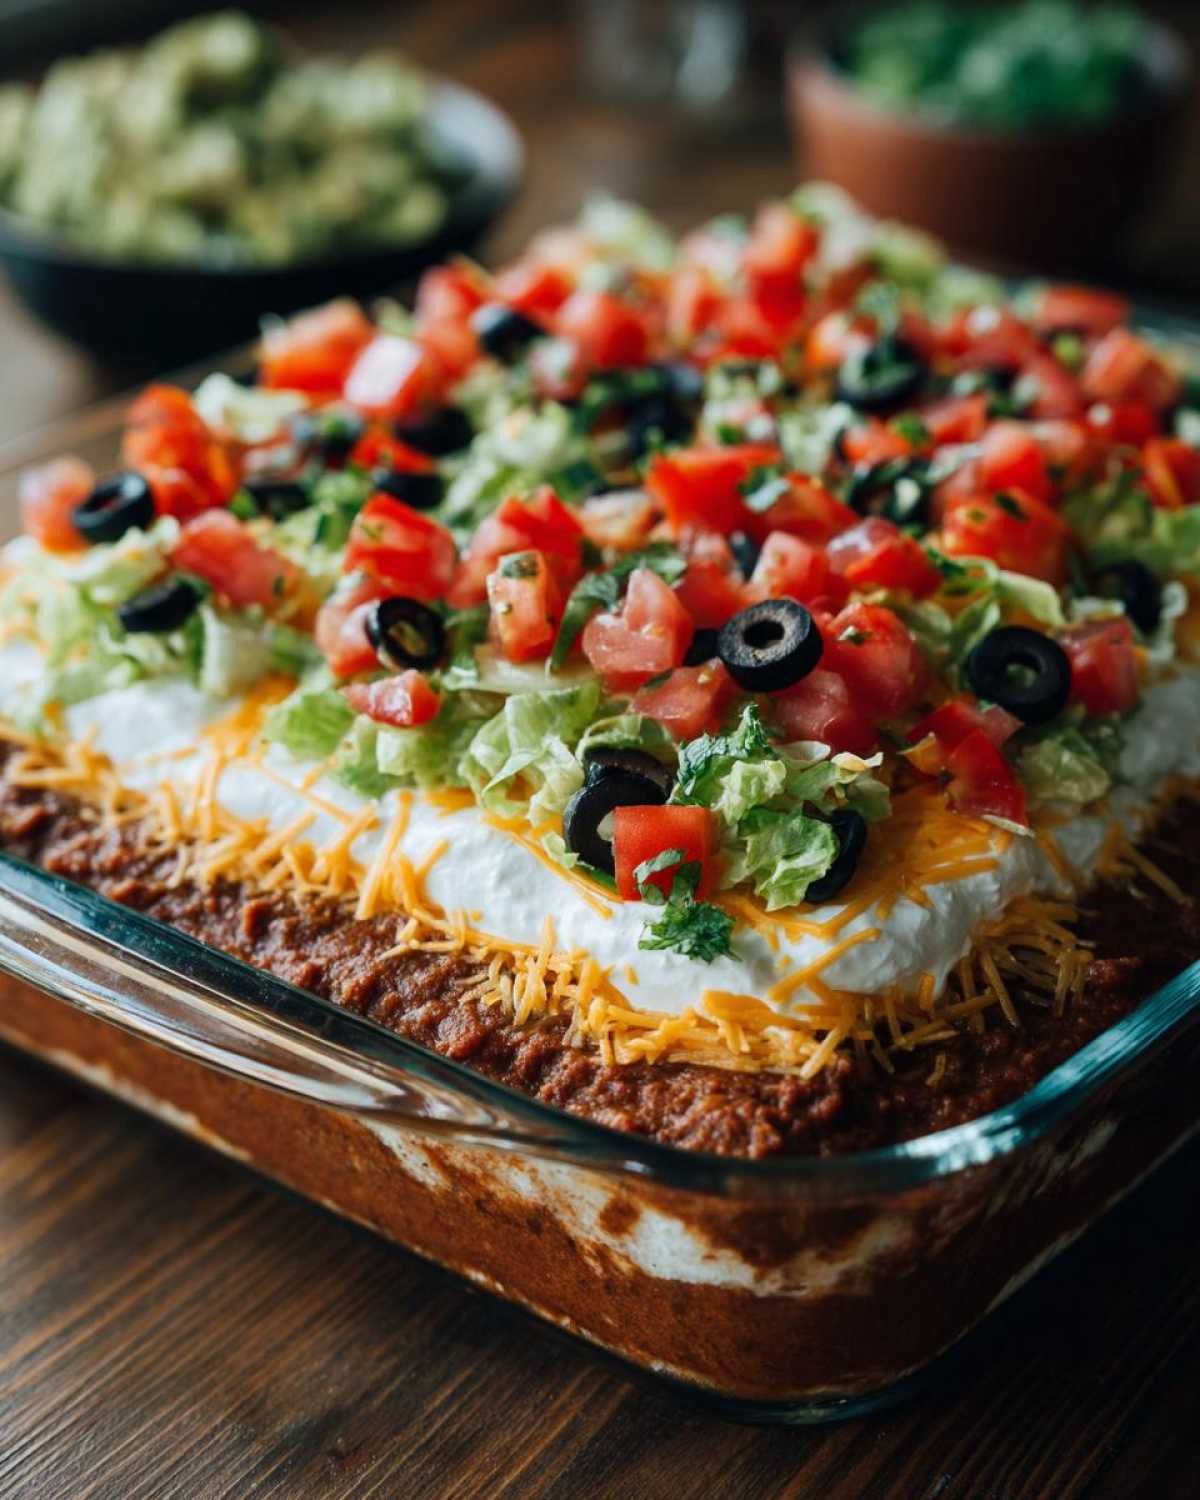
- It’s a visually stunning Tex-Mex appetizer that showcases every component.
- The layers are designed to hold their shape beautifully until the very last chip scoop.
- It’s always the first thing that disappears at any gathering we bring it to.
Key Components of the Perfect Seven Layer Dip
The magic comes from knowing the exact sequence. This recipe guarantees every scoop gets a taste of everything important. We are building from the bottom up:
- Spiced Refried Beans
- Seasoned Sour Cream
- Fresh Guacamole
- Salsa
- Shredded Cheese
- Diced Tomatoes
- Black Olives
Gathering Your Ingredients for the Seven Layer Dip
Noah always says preparation is half the battle. To execute this layered masterpiece perfectly, you need fresh ingredients and the right amounts. We’re keeping this blueprint specific so you don’t end up with a soupy mess. Gather every component exactly as listed here before you even think about spreading that first bean layer.
Ingredient Notes and Substitution Strategy
A quick word on keeping things fresh! To keep that beautiful middle layer looking bright green, you absolutely must press plastic wrap directly onto the guacamole surface before adding the salsa. That stops the air! If you don’t have Monterey Jack, a basic Mexican blend works just fine for the cheese layer, but please, stick to the required amounts for the others.
- Refried Beans: Make sure you mix in that cumin and chili powder for a flavor jump start.
- Avocados: They need to be perfectly ripe so they mash easily into the guac layer.
- Olives: They have to be nice and drained; nobody wants swimming pool water in their dip!
How to Make Seven Layer Dip: Step-by-Step Assembly
Okay, here’s where the real strategy comes into play, just like a planned operation in our kitchen headquarters. You need to approach this assembly calmly so every layer stays distinct. Remember, we’re using a clear dish so everyone can see the architectural perfection of this Tex-Mex appetizer! If you prefer to make the guacamole from scratch (and trust me, you should!), check out our classic guacamole recipe first.
Layering the Base: Beans and Seasoned Cream
First up is the foundation. Take your refried beans and mix in the chili powder and cumin right in a bowl—don’t just dump them in the dish. Spread that seasoned mix out evenly across the bottom of your serving plate. Next comes the sour cream layer. You absolutely must combine that sour cream with the lime juice and the whole packet of taco seasoning first. Whisk it until it’s totally uniform, and then spread it gently over those spiced beans. Don’t press down too hard here; we want soft layers!
Building the Middle Layers for the Best 7-Layer Dip
Now we hit the critical stage: the guacamole. Mash those avocados until they are mostly smooth but still have a little texture, then stir in your chopped onion and cilantro. This is the layer you need to be extra careful with! Spread the guacamole slowly and evenly over the sour cream. If you rush, it will mix, and you’ll ruin the defined look of this party layered dip. Once the green is set, pour the salsa right on top—use the back of a spoon to distribute it without disturbing the guac underneath. Finally, sprinkle that shredded Monterey Jack cheese over the salsa.
Finishing and Setting the Seven Layer Dip
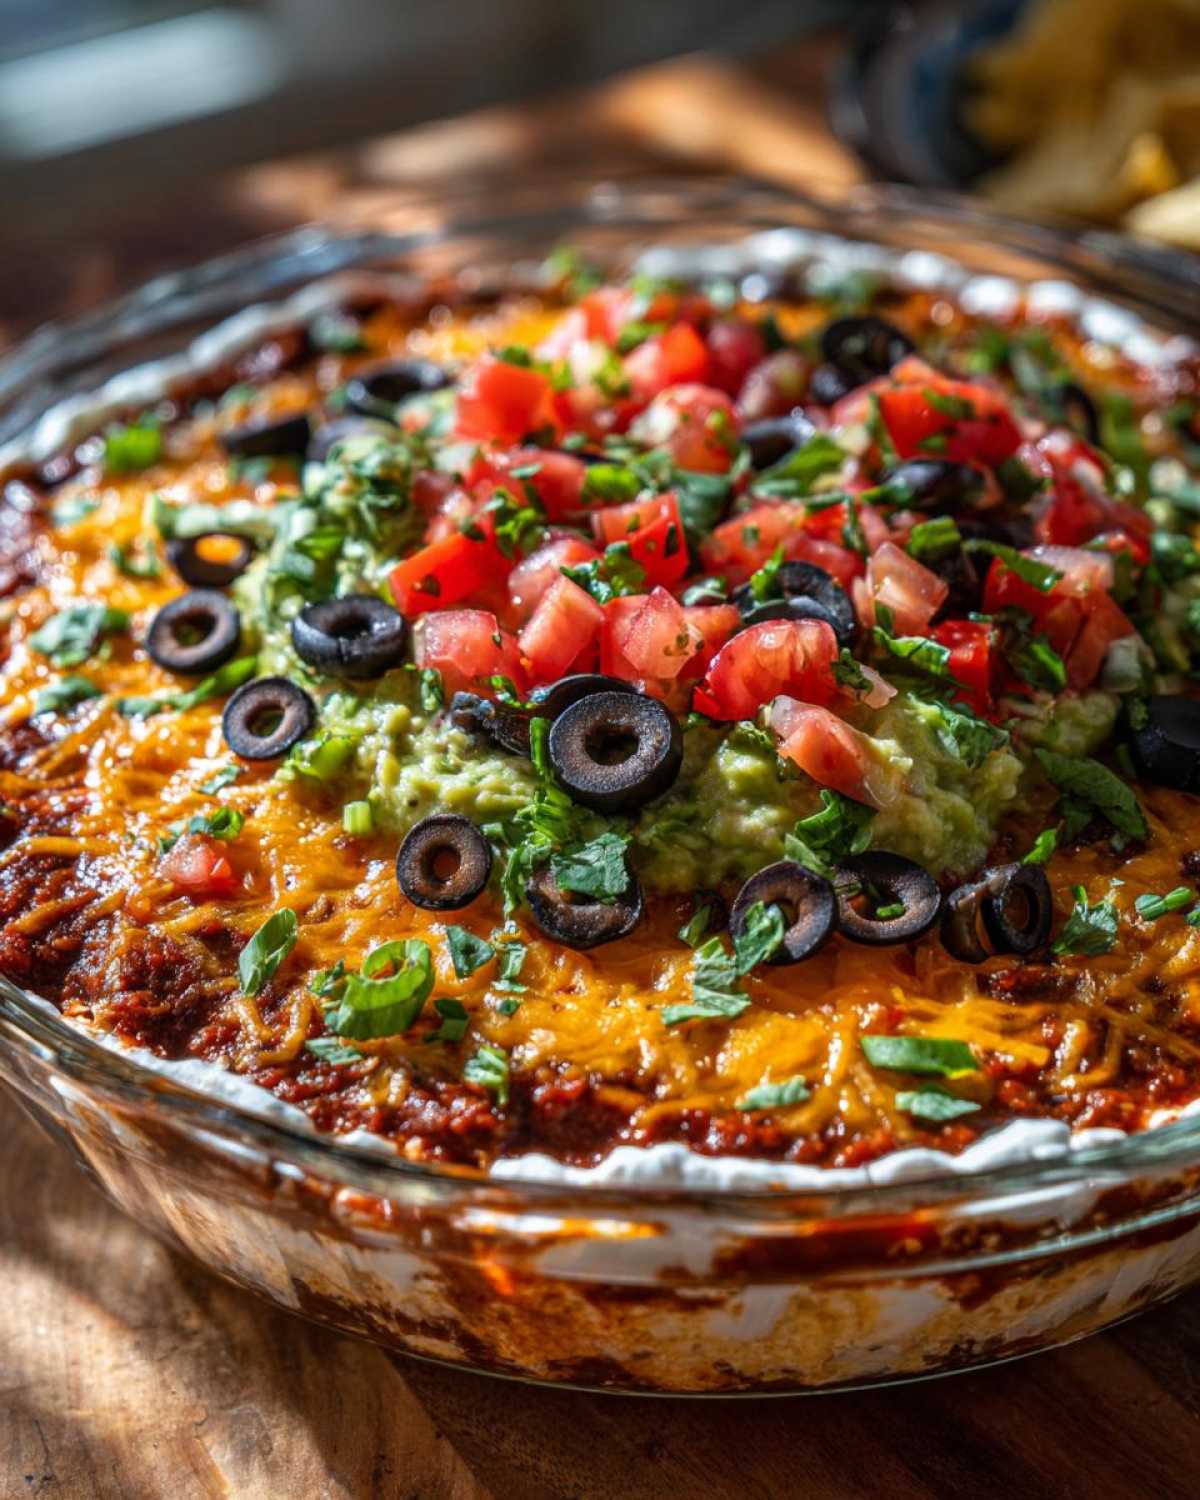
We are in the home stretch! Sprinkle your chopped Roma tomatoes evenly across the cheese. Next, take your drained black olives and scatter them over the top—they provide the perfect dark contrast. Once everything is placed, cover the dish carefully. This next step is non-negotiable for a solid dip: you need to chill it for at least one hour. This chilling time lets all those layers marry up and firm up, so when the chips start flying, your dip holds its incredible seven-layer structure.
Expert Tips for a Flawless Seven Layer Dip Presentation
Okay, we’ve assembled the dish, but how do we guarantee it looks just as good when the last chip is dipped as it did when it first came out of the fridge? This is where Noah’s pre-planning brain really shines. We want this Tex-Mex appetizer to maintain its gorgeous lines, which means paying attention to moisture control—that’s the secret to staying foolproof!
Preventing Layer Separation in Your Tex-Mex Appetizer
The biggest potential disaster in a layered dip is the guacamole layer weeping or mixing into the layer above it. I can’t stress this enough: after you spread that beautiful mashed avocado mixture, immediately use plastic wrap and press it directly onto the surface. I mean there should be no air trapped between the wrap and the green stuff! This is purely about preventing oxidation, and it keeps your dip looking vibrant.
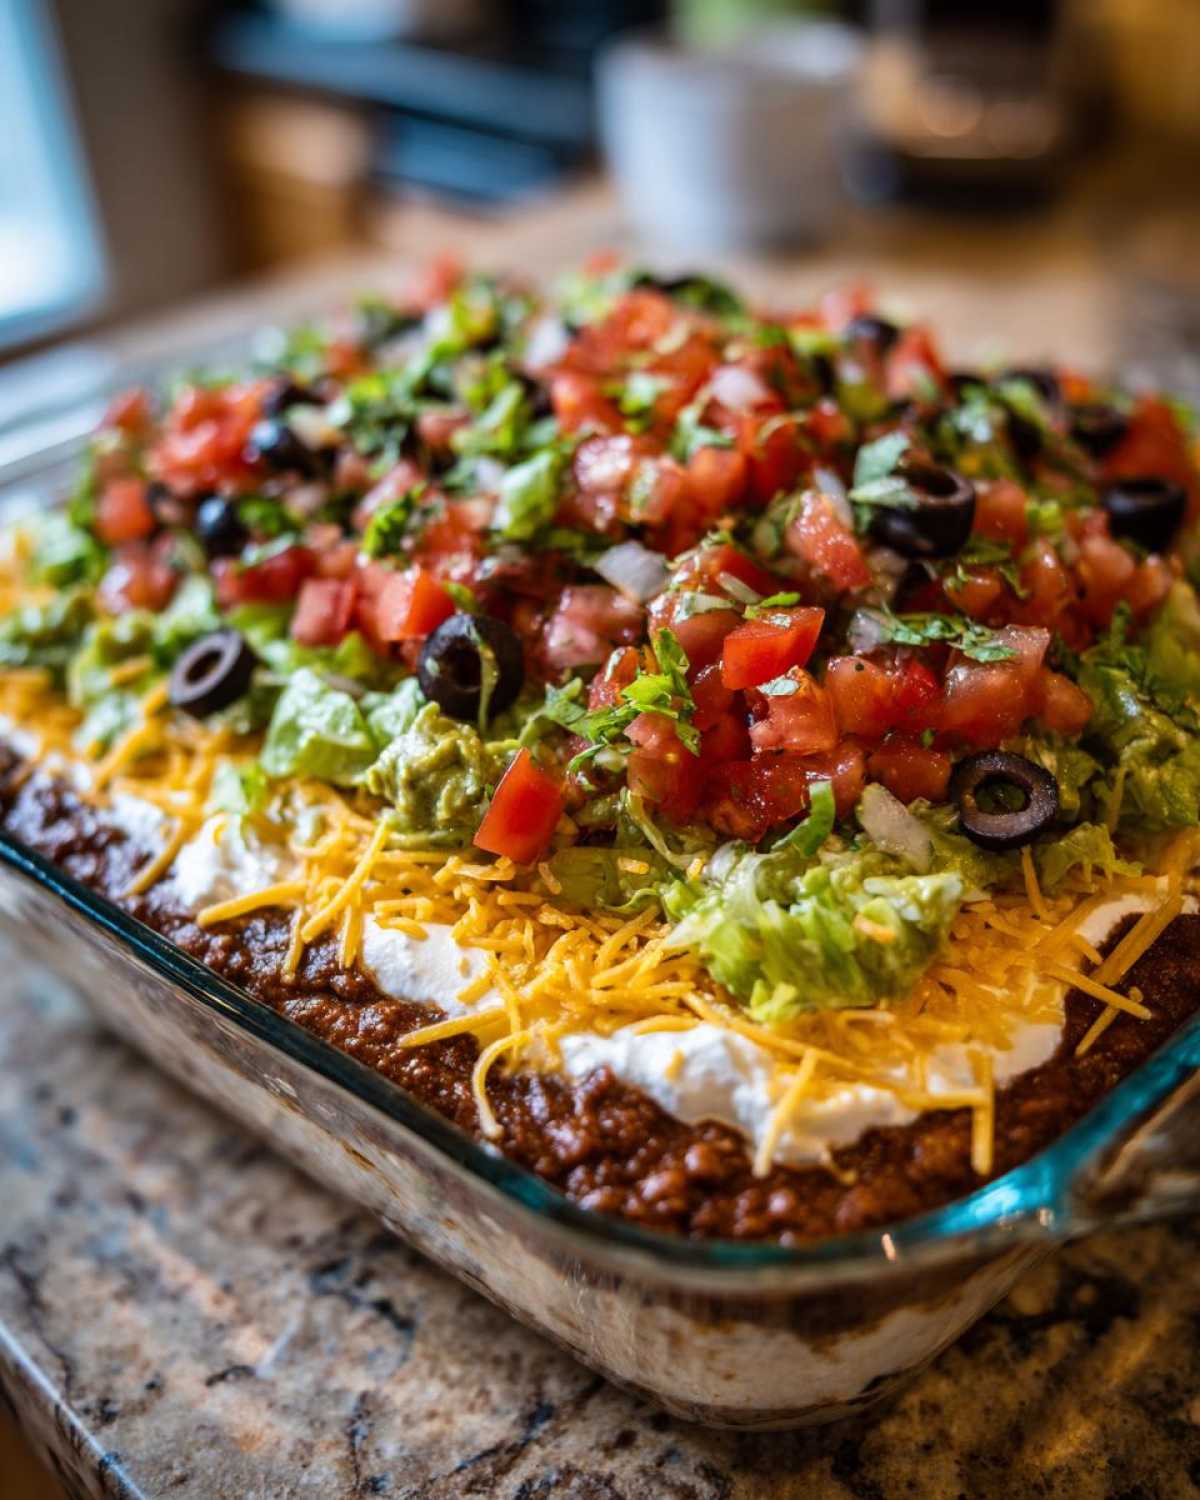
Another thing I learned the hard way is salsa choice. If you use a really watery salsa, that excess liquid will seep down and make your cheese layer slimy or, worse, thin out your sour cream and bean base. Always opt for a thicker salsa, or if the salsa you love is a little runny, spoon it into a fine-mesh sieve over a bowl for about fifteen minutes before layering. You want flavor, not sinkage, in your party layered dip!
Serving Suggestions for Your Seven Layer Dip
Once your seven layer dip is perfectly chilled and set—which, remember, is where all the magic solidifies—you need the right vehicle for transportation from the serving dish to your mouth! While regular, sturdy tortilla chips are totally non-negotiable for a classic Tex-Mex appetizer, why stop there when you’re hosting a crowd? We like to give our guests options, especially if they’re trying to manage a lot of food on one small plate, ha!
For that authentic, crunchy texture, make sure your tortilla chips are on the thicker side. Thin chip lovers might break off when they hit that dense refried bean layer at the bottom, and that’s just sad. I always try to have a mix of round chips and scoops.
But let’s think outside the chip bag for a minute. If you’re serving this at a party, having some fresh, hearty dippers makes the whole spread feel more robust. Roasted bell pepper strips are fantastic—they add a little sweetness that plays perfectly with the spice. Also, thick-cut cucumber rounds are surprisingly good; they offer a cool crunch against the warm spice profile of the beans and taco seasoning.
If you have guests who prefer low-carb options, this dip holds up beautifully with celery sticks, though you need to make sure they are freshly cut so they still have a snap. And speaking of flavor upgrades for other dishes, if you’re planning on making garlic bread alongside your Tex-Mex spread, you absolutely have to try our technique for easy homemade garlic butter; it’s a completely different kind of comfort food, but your guests will thank you for the variety!
Storage and Make-Ahead Strategy for Your Party Layered Dip
When you’re the host, planning ahead is everything, right? I want to get this amazing seven layer dip assembled so I can focus on greeting guests instead of chopping tomatoes last minute. The big question with layered dips is always, “How far ahead can I actually make this?” Well, I have good news and one minor caution for keeping your masterpiece looking perfect.
Generally, you can assemble the entire dip, start to finish, about 4 to 6 hours before you plan to serve it. This gives the layers crucial time to chill and firm up, which helps everything stay in place when people start scooping. If you go much longer than that—say, overnight—you risk the top layers absorbing moisture from the bottom or looking a little sad.
The real enemy here is time working against the fresh ingredients. The refried bean base and the seasoned sour cream are totally fine sitting for a day, but the avocado layer is what dictates your timeline. If you make the guacamole and spread it on too early, even protected by plastic wrap, it can start to darken slightly or weep water into the sour cream below it.
Here’s my real-world strategy for the absolute best 7-layer dip experience: I prepare the bean layer and the sour cream layer the night before and cover them tightly. I keep them in the fridge overnight. Then, the morning of the party, I whip up the fresh guacamole, spread it, add the salsa, cheese, tomatoes, and olives, and then chill it for at least an hour before anyone arrives. That way, the risky fresh ingredients are added just before serving, guaranteeing vibrancy!
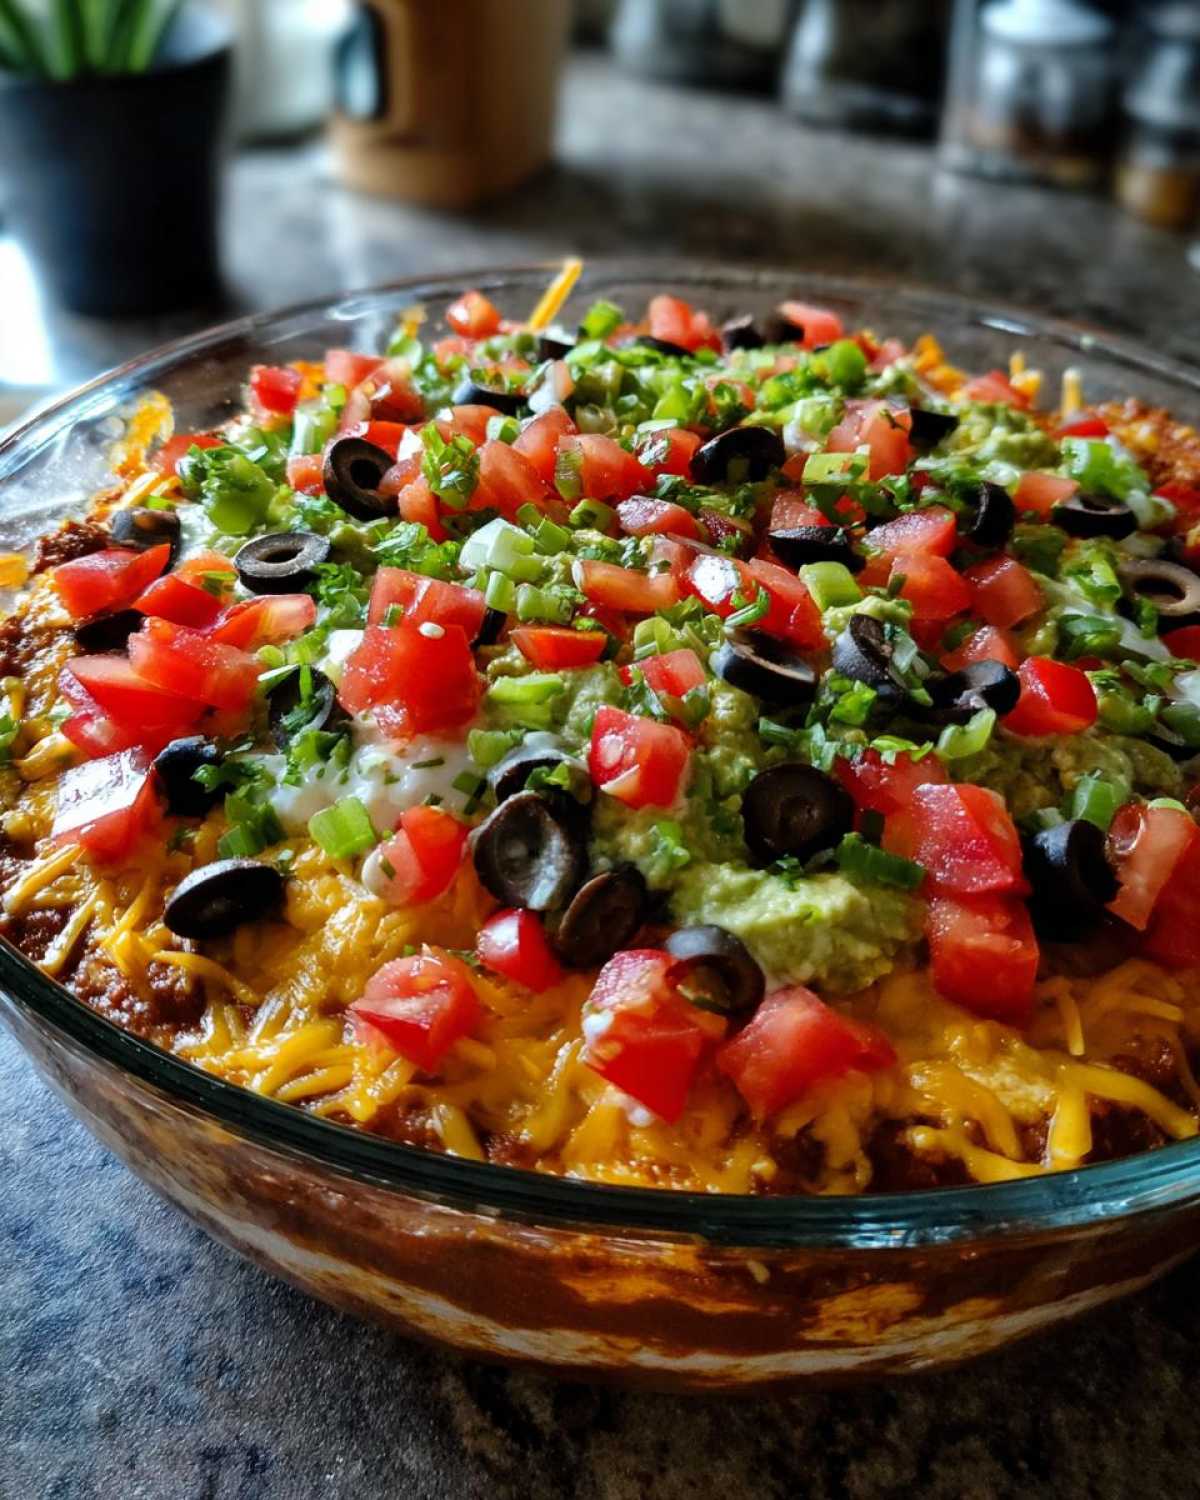
If you have leftovers (which sometimes happens if you forget to buy enough chips!), cover it tightly and keep it refrigerated. It should last about two days, but honestly, the texture starts to degrade after day one, especially since the salsa and tomatoes can soften up the cheese and beans underneath. Always prioritize serving it fresh whenever possible!
Frequently Asked Questions About the Easy Seven Layer Dip
I know when Noah and I were first mapping out the strategy for a party layered dip, we had a hundred little questions pop up. It’s all about making sure the final product looks as good as it tastes when everyone digs in! Here are some of the things people ask most often about our foolproof recipe for this easy seven layer dip.
Can I make this Seven Layer Dip more than one day ahead?
Honestly, you really shouldn’t try to make the whole thing 24 hours ahead if you want the vibrant look we’re aiming for. The main issue is the avocado layer. Even if you press that plastic wrap on tight, the guacamole will start to get sad and possibly weep a little liquid into the sour cream layer underneath. If you absolutely have to prep ahead, you can make the bean layer and the seasoned sour cream layer the night before. Keep those two layers tightly wrapped, and only add your fresh guacamole, salsa, cheese, tomatoes, and olives in the morning, giving it that final, mandatory hour of chill time before guests arrive.
What is the best dish to use for the best 7-layer dip?
This is where presentation strategy comes in! You absolutely need a clear, shallow dish. We usually opt for a glass 9-inch pie plate because it’s shallow enough that the layers stand up tall, and the glass lets everyone see the beautiful colors stacked up. Square glass dishes or wide, shallow trifle bowls work too, but you have to be more meticulous when spreading the layers evenly on a square surface. If your dish isn’t clear, it instantly loses that visual wow factor that makes this Tex-Mex appetizer so popular!
We also get asked about deep bowls versus shallow plates. Stick shallow! If you use a deep bowl, the chips tend to dig straight down the middle, and people miss out on getting a perfect scoop that captures all those flavors from the bottom to the top. For the best 7-layer dip, visibility and access are key to a successful party experience!
For more behind-the-scenes insights on how we test and perfect our recipes before we share the blueprints—even for simple things like this dip—you can always read more about our journey over on our About Us page!
Nutritional Estimates for This Tex-Mex Appetizer
Okay, let’s talk fuel for the party! While this Tex-Mex appetizer is definitely designed for maximum flavor and crowd appreciation rather than counting every macro, Noah always insists on having a general idea of what we’re serving up. When we map out a menu, we consider the nutritional impact, even for something as simple as a layered dip. So, here is the basic estimated breakdown for one portion—that’s about 1/8th of the whole dip, assuming you actually stop after one serving because, let’s be real, that’s unlikely!
Keep in mind, this is our standard strategy when charting recipes: these figures are based on the exact ingredients listed, using standard versions of canned products and medium cheese blends. But you know how it is—if you swap out low-fat sour cream for full-fat, or use a higher-sodium salsa, things will shift a little!
- Serving Size: 1/8 of dip (about 2 tablespoons)
- Estimated Calories: 185 per serving
- Total Fat: Around 14g
- Saturated Fat: Roughly 6g
- Carbohydrates: About 11g
- Protein: Approximately 6g
So, you can see, it brings a nice mix of flavor carriers, but it’s definitely satisfying! The fat content comes mainly from the avocado and the cheese, which is where you get all that marvelous richness. Just consider this a loose guideline, like a ballpark estimate for your fun spread. The most important measurement is how much joy it brings to your gathering!
Share Your Experience Building This Seven Layer Dip
We’ve given you the blueprint, we’ve laid out the strategy, and now it’s your turn to execute! We truly love hearing how our recipes fit into your lives—especially when it comes to hosting. Did you serve this easy seven layer dip at a huge game day party? Did one of your guests try to sneak the recipe card before you could hide it?
We built this little Epicure Empire to share these moments. So, please, if you tested out this recipe, let us know how it went! Would you give it a full five stars for party success? Did you try a surprise variation on the top layer—maybe adding crumbled cotija cheese instead of olives? We always appreciate hearing solid, tested feedback that helps us refine our approach for next time.
Drop a comment below sharing your results, tips, and stories from your gathering. We read every single one, and your feedback helps strengthen our empire! If you need to reach out directly for more strategic advice or just to say hello, you can always find us over at the Contact page.
Happy hosting and happy building!
Warmly,
Noah
PrintThe Best Seven Layer Dip Recipe for Your Next Gathering

Follow this simple blueprint to construct the ultimate party layered dip, featuring seven distinct, flavorful Tex-Mex layers that everyone will enjoy.
- Prep Time: 20 min
- Cook Time: 0 min
- Total Time: 1 hr 20 min
- Yield: 8 servings
- Category: Appetizer
- Method: Layering
- Cuisine: Tex-Mex
- Diet: Vegetarian
Ingredients
- 1 (16 ounce) can refried beans
- 1 teaspoon chili powder
- 1/2 teaspoon ground cumin
- 1/2 cup sour cream
- 1 tablespoon lime juice
- 1 packet (1 ounce) taco seasoning mix
- 2 ripe avocados
- 1/4 cup chopped fresh cilantro
- 1/4 cup finely chopped red onion
- 1 cup salsa (medium heat recommended)
- 1 cup shredded Monterey Jack or Mexican blend cheese
- 1/2 cup chopped Roma tomatoes
- 1/4 cup sliced black olives, drained
Instructions
- In a small bowl, mix the refried beans with chili powder and cumin. Spread this mixture evenly as the first layer in a clear 9-inch pie plate or shallow serving dish.
- In a separate bowl, combine the sour cream, lime juice, and taco seasoning mix. Spread this seasoned sour cream mixture evenly over the bean layer.
- Prepare the guacamole: Mash the avocados and mix in the cilantro and red onion. Spread this mixture over the sour cream layer.
- Pour the salsa evenly over the guacamole layer.
- Sprinkle the shredded cheese over the salsa layer.
- Top the cheese with the chopped Roma tomatoes.
- Finish the dip by scattering the sliced black olives over the top layer.
- Cover the dish and chill in the refrigerator for at least one hour before serving to allow the layers to set. Serve with tortilla chips.
Notes
- To keep your guacamole layer looking fresh, press a piece of plastic wrap directly onto the surface of the avocado mixture before adding the next layer.
- Use a clear glass dish so your guests can see all seven layers.
- You can adjust the spice level by choosing mild, medium, or hot salsa.
Nutrition
- Serving Size: 1/8 of dip
- Calories: 185
- Sugar: 3
- Sodium: 350
- Fat: 14
- Saturated Fat: 6
- Unsaturated Fat: 8
- Trans Fat: 0
- Carbohydrates: 11
- Fiber: 3
- Protein: 6
- Cholesterol: 25