

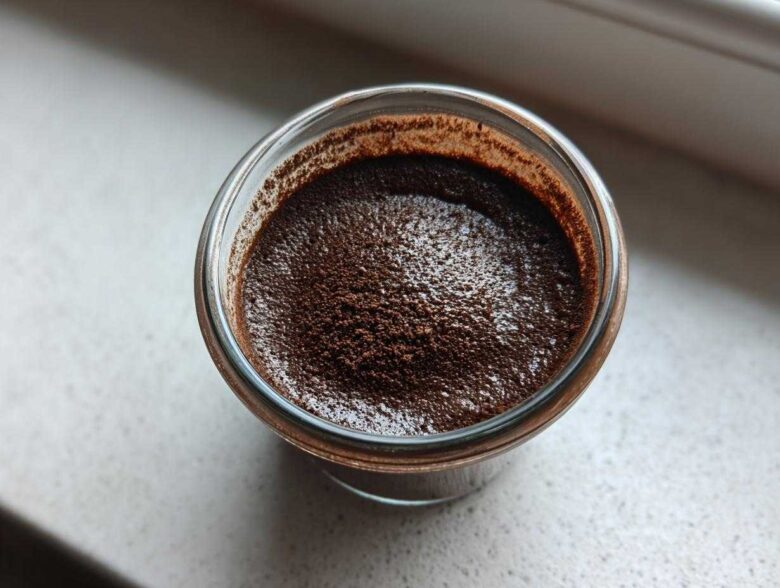
Oh, I know exactly what you’re craving. Forget those sad, waxy puddings from a box—we’re not messing around with that watery nonsense here. Sometimes you just need that hug-in-a-bowl feeling, right? That’s why I spent ages perfecting this homemade chocolate pudding. It had to have it all: deep chocolate flavor, a texture that melts in your mouth, and absolutely no lumps. Seriously, I developed this specific homemade chocolate pudding recipe because I needed something faster than baking but infinitely better than anything ready-made. If you love a good brown butter chocolate chip cookie, you’ll appreciate my dedication to deep flavor notes here. Trust me when I say this stovetop method gives you the most divine, velvety smooth chocolate dessert you’ll ever scoop up with a spoon.
Why This Creamy Chocolate Pudding From Scratch is Your New Favorite Dessert
If you’re tired of that slightly grainy texture you get from mixes, then you’ve come to the right place. My goal with this creamy chocolate pudding from scratch was simple: make it taste like it simmered all day, even though it really doesn’t. This isn’t just dessert; it’s pure comfort you can whip up fast. It’s the ultimate no-fuss, totally decadent treat.
It’s a genuinely easy chocolate pudding recipe that relies on real ingredients doing the heavy lifting, not artificial stabilizers. The result is just stunningly rich.
Achieving the Best Homemade Pudding Texture
Okay, let’s talk texture because that’s everything with pudding. We avoid that gummy mess you sometimes get because we use both cornstarch *and* egg yolks. That combination is how we lock in the richest, smoothest structure possible. This method ensures you get that beautiful, heavy, velvety smooth chocolate dessert everyone dreams about. It’s the secret to the best homemade pudding texture, hands down.
Quick Chocolate Pudding: Ready in Under 30 Minutes
I hear you—sometimes you need dessert *now*. The fun part about this recipe is that the total time comes in under 30 minutes! Once it thickens on the stove, it’s practically done. This makes it the perfect easy weeknight dessert when you need a serious chocolate fix without a ton of fuss or heating up the oven. It satisfies that craving super fast.
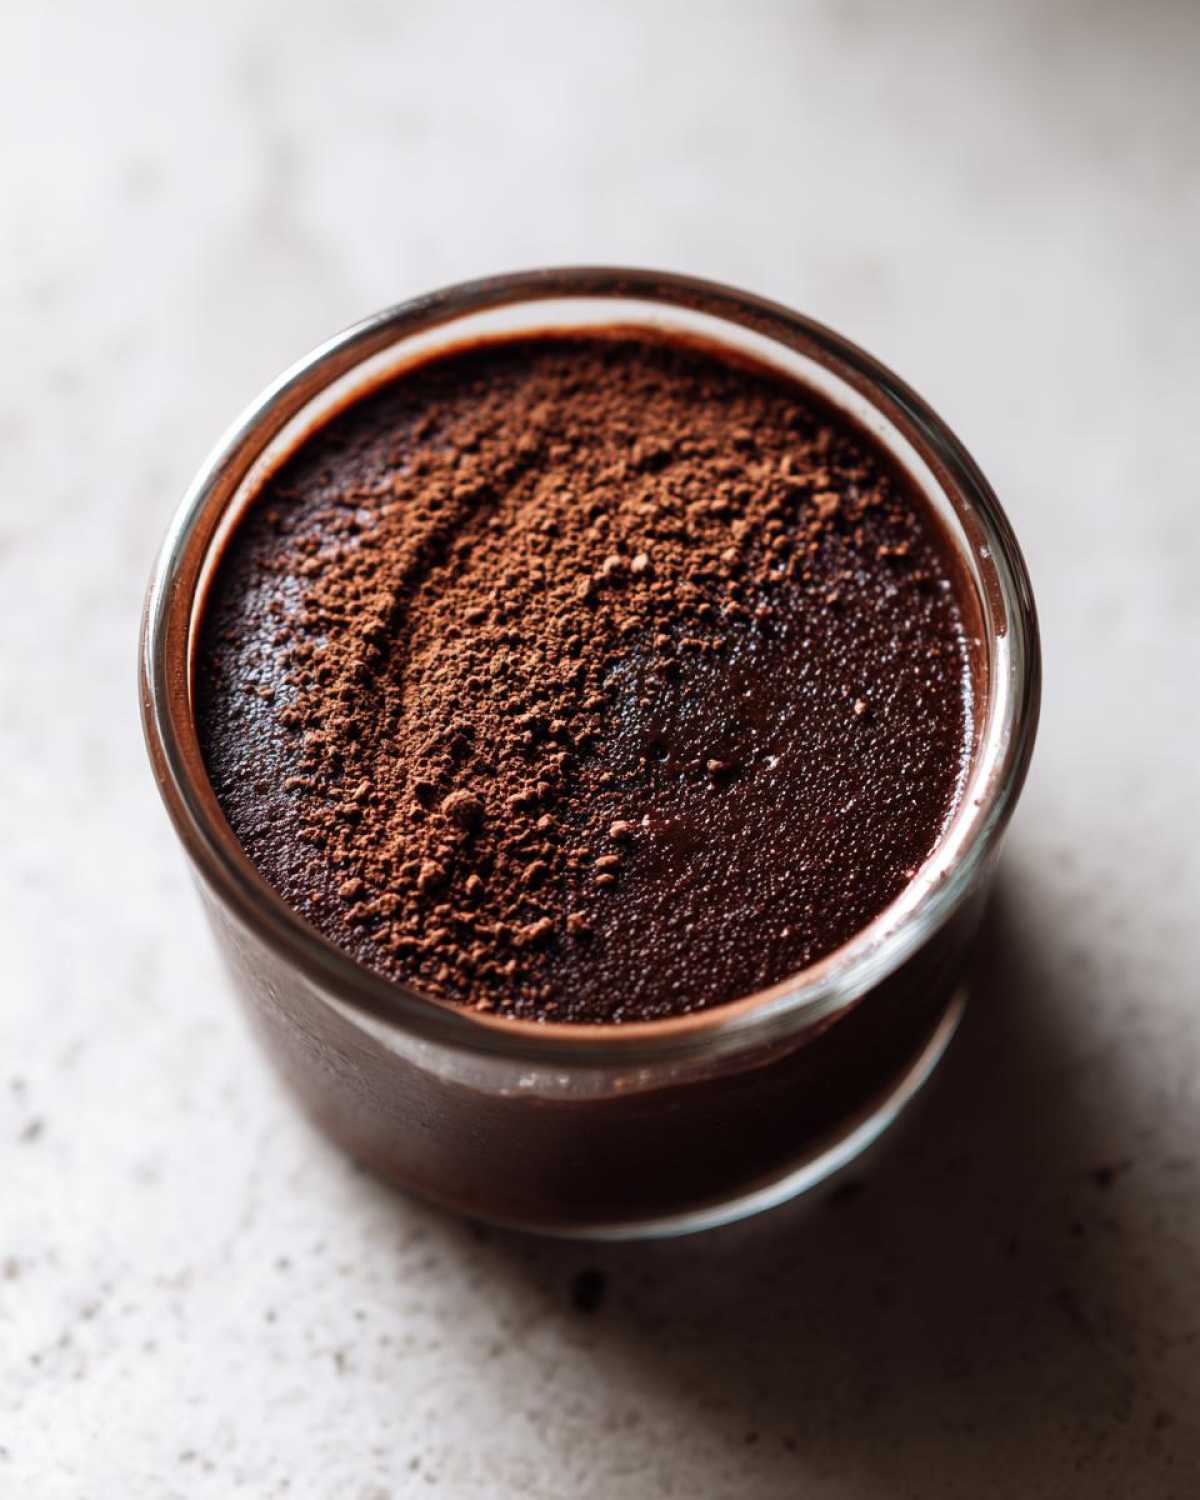
Simple Pudding Ingredients for Rich Chocolate Pudding
You won’t need any weird stuff for this homemade chocolate pudding, which is the beauty of it! We stick to simple, pantry staples to create something truly decadent. You’ll grab your whole milk, sugar, cocoa powder, salt, vanilla, butter, and those two superstar thickeners: cornstarch and egg yolks. Seriously, grab that chocolate chip banana bread recipe later, but right now, focus on these essentials!
Ingredient Notes and Substitutions for Homemade Chocolate Pudding
Listen, if you want the absolute smoothest result when making your homemade chocolate pudding, you absolutely have to sift those dry things—the cocoa powder, sugar, cornstarch, and salt—before they even see milk. This is non-negotiable for avoiding tiny, annoying clumps! Also, for a deeper flavor profile that screams ‘gourmet,’ try swapping out one tablespoon of cocoa powder for one ounce of good quality, chopped bittersweet chocolate. It amps up the richness nicely without changing the overall structure needed for this rich chocolate pudding.
How to Prepare Easy Stovetop Pudding Recipe Instructions
Getting this creamy magic on the stove is surprisingly fast, but you have to pay attention! This is where you turn simple powders and milk into that glorious, thick consistency. The first thing you do is whisk your dry items—the sugar, cocoa, cornstarch, and salt—in your pan until they are totally uniform. No dry pockets allowed! Then add the milk and whisk it again until it looks completely smooth. It’s important to get that lump-free base set up before you even think about turning on the heat.
Once the heat is on medium, I mean it, you cannot walk away! You need to stir this constantly, scraping the bottom corners of the pan, for about eight to ten minutes. You’ll see it start to bubble slowly and get noticeably thicker. That’s the moment you pull it off the heat and move on to the most crucial part of the whole entire easy stovetop pudding recipe process.
Mastering the Tempering Step for Velvety Smooth Chocolate Dessert
This is where people panic, but don’t! Tempering means saving your yolks from becoming scrambled little chunks in your beautiful pudding. Take about half a cup of that hot milk mixture and whisk it, very slowly and deliberately, into your lightly beaten egg yolks. You’re warming them up gently. Once they’re warmed through, you pour that yolk mixture right back into the saucepan. If you add the yolks too fast, you’ll get flecks of cooked egg instead of that gorgeous velvety smooth chocolate dessert we’re aiming for. Cook it just a tiny bit longer after that, stirring constantly, and then take it straight off the heat!
After that, just stir in your vanilla and that lovely cold butter until it’s completely incorporated. If you feel like you might have messed up and see a tiny lump, don’t stress! Just pour it through a fine-mesh sieve right before you dish it out. You can check out quick tips for perfect one bowl fudgy brownies, but this pudding method is almost foolproof if you temper right!
Tips for Success Making Homemade Chocolate Pudding
Even though this is a simple, quick chocolate pudding, a few little tricks will take yours from “good” to “I can’t believe I made this from scratch!” The biggest tip I can give you, which I touched on above, is this: if you have any doubt at all once you’ve taken it off the heat, just pass the whole batch through a fine-mesh sieve into your serving dishes. I know it feels fussy, but it guarantees that perfect, creamy chocolate pudding from scratch texture we want. Zero lumps, guaranteed!
Also, the chill time is not flexible! You absolutely must let your classic chocolate pudding recipe chill for a minimum of two hours. That time allows the starches to fully hydrate and set the pudding properly. When I’m serving this decadent chocolate dessert the next day, I like to sneak a peek and see how smooth it settled. If you’re looking for more reliable baking advice, you can always check out my baking philosophy!
Storage and Reheating Instructions for Your Homemade Chocolate Pudding
Okay, you’ve made the best homemade chocolate pudding ever, and now you have leftovers—or maybe you want to make it ahead because you’re smart like that! The most important rule when storing this rich chocolate pudding is tackling the dreaded skin formation. You cannot just let it sit uncovered in the fridge!
You grab a piece of plastic wrap—and this is key—and you press it *directly* onto the surface of the pudding. I mean touch the pudding with the wrap. This traps the moisture and keeps that creamy top smooth and perfect. Make sure it chills for at least two hours before serving so it sets up nicely. Stored this way, your pudding will stay wonderfully fresh for about three or four days in the refrigerator. It holds up really well!
Serving Suggestions for This Classic Chocolate Pudding Recipe
Now that you have this gloriously rich, velvety smooth chocolate dessert, the fun part begins: dressing it up! While this classic chocolate pudding recipe is honestly perfect all by itself, toppings elevate it instantly. I always keep heavy cream on hand just so I can whip up some quick, unsweetened whipped cream to contrast that intense chocolate sweetness. A sprinkle of finely shaved dark chocolate makes it look fancy, too.
If you’re feeling a bit brighter, fresh raspberries or sliced strawberries are just amazing next to the richness. For a slightly different flavor twist, you could always serve a scoop alongside a slice of my amazing pumpkin spice cake with cream cheese frosting—just kidding! But seriously, berries are the secret weapon here. It’s wonderful seeing what fun ways people dress up their homemade chocolate pudding!
Frequently Asked Questions About Homemade Chocolate Pudding Recipe
You know, I get so many lovely questions after people try this recipe for the first time! Most of them revolve around texture or ingredient swapping, which makes total sense when you are trying to achieve that perfect result. Here are the ones I hear the most often when folks are trying to make their creamy chocolate pudding from scratch.
Can I make this easy chocolate pudding recipe vegan?
That’s a great question! Yes, you absolutely can adapt this easy chocolate pudding recipe. Since we are already using cornstarch as a primary thickener, you can skip the egg yolks completely! Just use a nice creamy plant-based milk—oat or soy works best for fat content—and substitute the butter with a good quality vegan butter. You’ll still get a lovely, rich pudding!
How do I ensure my homemade chocolate pudding is lump-free?
Oh, the dreaded lump! If you follow Step 1 perfectly—meaning you whisk the sugar, cocoa, cornstarch, and salt together until it looks like uniform cocoa sand *before* adding any liquid—you should be fine! But if you are nervous, or if you just want to be extra sure you have that velvety smooth chocolate dessert, just pour the entire warm mixture through a fine-mesh sieve into your serving bowls right before you chill it. It’s my little insurance policy against lumps!
Is this a no bake chocolate pudding?
It’s kind of a hybrid! It is a no bake chocolate pudding in the sense that you don’t bake it in the oven, thank goodness. It’s made entirely on the stovetop. However, you do have to cook it to activate the starch and thicken the milk. The ‘baking’ part happens in the fridge as it chills! So while it’s quick pudding prep, it does require that stovetop time and chill time to set up perfectly.
If you have any more questions once you’ve made your batch of classic chocolate pudding, feel free to check out the full site disclaimer or just drop me a note in the comments below!
Nutritional Estimates for Your Rich Chocolate Pudding
Now, I’m not a nutritionist by any means, and I certainly don’t count calories when I’m having a genuine comfort food moment, but I know some of you like to keep track! These values are just rough estimates based on the whole milk and standard pantry ingredients we used in this recipe. If you swap the milk for almond or use dark chocolate instead of cocoa, these numbers will shift, of course!
Think of this as a guide, not a strict rulebook. We’re here to enjoy the rich chocolate dessert, right? Don’t let numbers stop you from enjoying a good scoop!
- Serving Size: 1 serving (about 1 cup)
- Calories: Approximately 280
- Sugar: Around 30g
- Fat: About 12g (with 7g saturated)
- Protein: 8g
- Carbohydrates: 35g
- Sodium: 150mg
One really important standard I always stick to when posting things like this is transparency, which is huge for E-A-T! So, please know these figures are carefully calculated estimations based on typical measurements. They are a starting point, especially if you are swapping out ingredients for a lighter version of this homemade chocolate pudding.
Share Your Decadent Chocolate Dessert Experience
Now that you’ve successfully navigated the stovetop and tucked your glorious homemade chocolate pudding into the fridge to chill, I absolutely want to hear all about it! Seriously, this is my favorite part—seeing all your results and hearing what you thought.
Did it turn out perfectly creamy chocolate pudding from scratch the first time? Did the kids devour it? Did you add a swirl of my homemade whipped cream on top? Don’t keep that gorgeousness to yourself!
Please, if you loved this decadent chocolate dessert, leave a comment right below this section. Give it a star rating so other folks know it’s the real deal! And if you snap a picture of your bowl, tag me on social media. Seeing your creations really makes my day and keeps me excited to share more easy weeknight dessert ideas with you all. You can always reach out directly through my contact page if you have any lingering questions after whipping up this batch!
PrintCreamy Homemade Chocolate Pudding From Scratch
Make a rich, velvety smooth chocolate pudding on the stovetop using simple ingredients. This recipe avoids box mixes and delivers a classic comfort dessert quickly.
- Prep Time: 10 min
- Cook Time: 15 min
- Total Time: 25 min
- Yield: 4 servings
- Category: Dessert
- Method: Stovetop
- Cuisine: American
- Diet: Vegetarian
Ingredients
- 2 cups whole milk
- 1/2 cup granulated sugar
- 1/4 cup unsweetened cocoa powder
- 2 large egg yolks
- 2 tablespoons cornstarch
- 1/4 teaspoon salt
- 1 teaspoon vanilla extract
- 2 tablespoons unsalted butter
Instructions
- In a medium saucepan, whisk together the sugar, cocoa powder, cornstarch, and salt until combined.
- Whisk in the milk until the mixture is smooth and no lumps remain.
- Place the saucepan over medium heat. Stir constantly until the mixture thickens and begins to bubble. This takes about 8 to 10 minutes.
- Remove the saucepan from the heat.
- In a small bowl, lightly whisk the egg yolks.
- Temper the yolks by slowly whisking about 1/2 cup of the hot milk mixture into the yolks. Do this slowly to prevent scrambling the eggs.
- Pour the tempered yolk mixture back into the saucepan with the remaining milk mixture.
- Return the saucepan to medium-low heat. Cook, stirring constantly, for 1 to 2 minutes until the pudding is very thick. Do not boil after adding the yolks.
- Remove from heat. Stir in the vanilla extract and butter until the butter melts completely.
- Pour the pudding into individual serving dishes or a single bowl. Press plastic wrap directly onto the surface of the pudding to prevent a skin from forming.
- Chill in the refrigerator for at least 2 hours before serving.
Notes
- For the smoothest texture, sift the cocoa powder and cornstarch before mixing them with the sugar.
- If you prefer a richer chocolate flavor, substitute 1 ounce of chopped bittersweet chocolate for 1 tablespoon of the cocoa powder.
- If lumps form, you can strain the pudding through a fine-mesh sieve before chilling.
Nutrition
- Serving Size: 1 serving
- Calories: 280
- Sugar: 30
- Sodium: 150
- Fat: 12
- Saturated Fat: 7
- Unsaturated Fat: 5
- Trans Fat: 0
- Carbohydrates: 35
- Fiber: 2
- Protein: 8
- Cholesterol: 90