

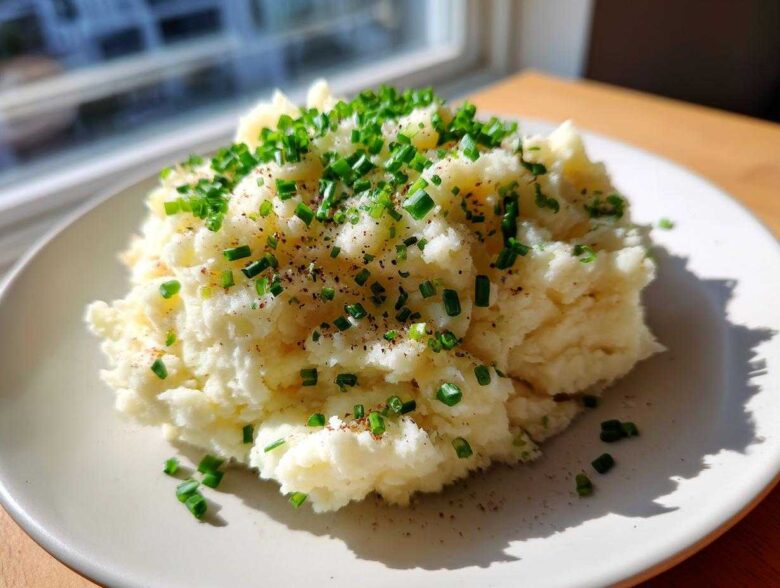
When life gets busy, there’s nothing that pulls you back to center like the perfect scoop of velvety comfort food, right? For Noah and me, that perfect dish isn’t some fancy main course, it’s the humble side dish elevated to god-tier status: our garlic mashed potatoes. We’ve transformed thousands of spreadsheets into silky, buttery perfection to bring you this recipe.
When we first started Epicure Empire, we realized we needed to master the classics before we could build our culinary kingdom. And let me tell you, we tested every single variable to ensure these creamy garlic mashed potatoes had that deep, mellow sweetness from roasted garlic. We argued over the cream-to-milk ratio (Noah wanted more butter, naturally). After relentless testing—seriously, we probably made five batches in one week—we finally landed on the blueprint for what I now call the ultimate mashed potato experience. These aren’t just good; they are the gold standard we use to measure all other sides against.
Why These are the Ultimate garlic mashed potatoes (The Blueprint for Success)
I’m telling you, these aren’t your standard, gloppy, microwaveable potatoes. When Noah and I set out to perfect our signature side dish, we were aiming for the absolute peak of comfort food—the kind of garlic mashed potatoes that make people stop talking mid-sentence. We’ve engineered this recipe for flavor and texture, meaning you get all the silky goodness without any of the common pitfalls. This is our strategic approach to making the absolute best batch every single time.
- Incredible, mellow flavor from slow-roasted garlic.
- A ridiculously buttery finish that melts in your mouth.
- They are shockingly simple to execute, even during holiday chaos.
- The satisfying richness makes them perfect for any weeknight dinner sides.
Achieving Restaurant Style Creamy Mashed Potatoes
If you are chasing that dreamy, velvety texture—the kind they serve when you go out—it all comes down to two things. First, we insist on using Yukon Gold potatoes; their lower starch content keeps things from getting sticky. Second, and this is huge for restaurant style mashed potatoes: you need to respect the mash! We never, ever use an electric mixer. Overworking the starch turns your fluffy dreams into gummy paste. You want smooth, but with body.
Ingredients for Perfect garlic mashed potatoes
Alright, let’s talk operations. When you’re building something great, you need quality materials, and these garlic mashed potatoes are no exception. I’ve detailed everything below exactly how I map it out in my planner. Having everything ready to go before we start simmering is half the battle won! It’s all about mise en place, people.
Remember, using Yukon Gold potatoes is non-negotiable if you want that signature creamy result. Russets are just too starchy for this specific texture goal we have for an easy side dish.
- Potatoes: 3 lbs Yukon Gold potatoes, peeled and quartered. We want uniform pieces so everything cooks at the same speed.
- The Garlic Star: 1 whole head of garlic. Don’t be scared of a whole head—roasting turns it sweet and mild!
- For Roasting: 2 tablespoons olive oil and 1 teaspoon salt.
- Dairy Section (The Critical Part): 1/2 cup heavy cream, warmed, and 1/2 cup whole milk, warmed. Warming them up is a procedural step we absolutely cannot skip, trust me!
- The Richness Factor: 8 tablespoons unsalted butter, softened. Make sure it’s softened, not melted, so it incorporates nicely when we fold it in.
- Seasoning: 1 teaspoon salt (for mashing), 1/2 teaspoon black pepper, and just a tiny pinch of nutmeg, if you’re feeling fancy—it really wakes up the potato flavor!
- Garnish: 2 tablespoons fresh chives, chopped. Because every masterpiece needs a little finishing touch.
Step-by-Step Instructions for Roasted garlic mashed potatoes
Okay, we are at the operational phase! This is where the strategy really comes together to create the ultimate garlic mashed potatoes. Timing everything correctly is how we ensure everything finishes hot and perfectly creamy. I’ve broken the process down into three manageable phases. Follow these closely, and I promise you’ll feel like you just pulled these off at a fancy five-star restaurant!
Roasting the Garlic: The Flavor Foundation
This roasting step is vital because it takes the spicy bite out of raw garlic and transforms it into something sweet, nutty, and spreadable. Get your oven preheated to 400°F (200°C) first. Take that whole head of garlic, slice just the top off so you see the cloves, drizzle it with oil, wrap it snug in foil, and pop it in. You’re looking for that deep golden brown color after about 35 to 45 minutes—enough time for you to prep everything else feeling completely calm!
Preparing and Cooking the potatoes for fluffy potatoes
While that garlic is softening up, get your potatoes going. Put the peeled and quartered Yukon Golds into your big pot and cover them with *cold*, salted water. Bringing them up slowly helps them cook evenly from the center out. Boil them hard until they surrender easily when you poke them with a fork—usually 15 to 20 minutes. Once they are done, drain them like your life depends on it into a colander. Then, this is my operational secret for fluffy potatoes: let them sit there and steam-dry for a solid five minutes. No added moisture means a fluffier final texture!
Mashing and Finishing Your garlic mashed potatoes
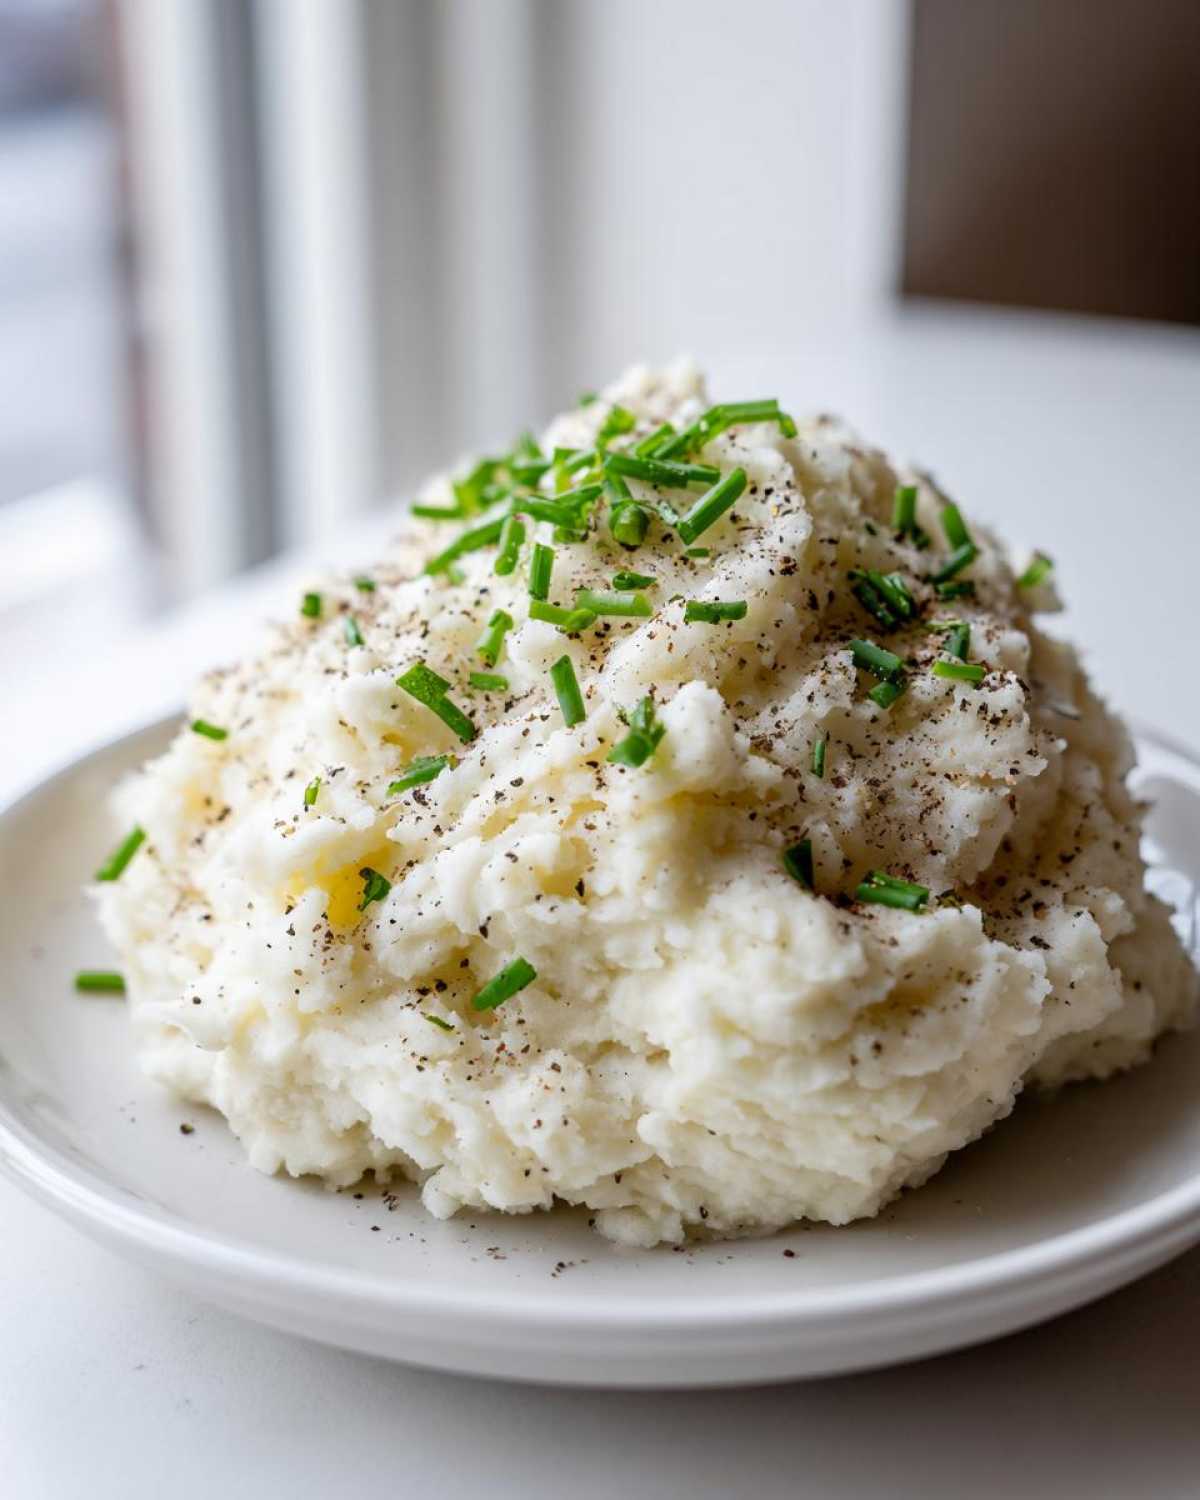
Once the garlic is cool enough to handle, squeeze that gorgeous, soft pulp right into a bowl and mash it up with a fork until it’s totally smooth. Now, back to the dry potatoes in the warm pot! Mash them roughly first. Next, add your softened butter and the dairy—remember, both the heavy cream and milk *must* be warm! Gently stir everything (butter, warm liquids, and the roasted garlic pulp) until it mostly combines. Season with salt, pepper, and that optional nutmeg. Please, for the love of all things creamy, do not use an electric mixer here! Keep folding it gently by hand until you reach your desired density. If you need that ultra-smooth, restaurant style mashed potatoes finish, now is the time to use your potato ricer after this initial mix.
Expert Tips for Better garlic mashed potatoes
We’ve gone through the blueprint, but sometimes in the heat of the moment (especially when Noah realizes we are running behind schedule for dinner!), we need those quick operational reminders. These aren’t just suggestions; these are the hard-won lessons I’ve gathered from perfecting these garlic mashed potatoes to guarantee they are always perfectly rich and fluffy. Think of these as your mandatory checkpoints for success!
- Stick to Yukon Gold: Seriously, friends, this is key for that amazing creamy texture. Russets are better suited for frying. Yukon Golds inherently have a buttery mouthfeel that just beats out the competition here.
- Warm Your Dairy, Always: This is where so many home cooks mess up! If you dump cold heavy cream or milk into hot potatoes, it drops the overall temperature instantly. This causes the starch to seize up, leading to that gluey texture we hate. Warm up your milk and cream gently first—it makes the final mixture blend like velvet.
- The Rule of the Gentle Fold: Once the butter and liquids are in, you stop beating and start *folding*. Remember what I said before? An electric mixer is forbidden territory here. If you want fluffy potatoes, you massage the ingredients in gently with a spatula or hand masher. As soon as it looks combined, you stop working it!
- Make Roasted Garlic Ahead: If you’re planning these for a big holiday like Thanksgiving, make the roasted garlic a day or two ahead! It stores beautifully in the fridge. It frees up oven space and reduces stress on the big day, making these holiday side dishes manageable.
Variations on this Buttery Potato Side
While I genuinely believe our foundational recipe for ultimate mashed potatoes is the one you need in your life, Noah and I always love experimenting once the essential blueprint is nailed. Cooking is all about iterating and making things your own, right? Once you have that creamy base, you can dress it up for any occasion—super casual weeknights or something a little fancier for the holidays. Here are a few ways we like to switch things up!
We call this section “Operational Upgrades.” Every idea here is designed to enhance the richness or introduce a new layer of flavor complexity to that beautiful, simple side.
- The Cheese Power-Up: If you want to turn this into true decadent comfort food recipes, start folding in cheese towards the end of Step 8. Sharp white cheddar melts beautifully and adds a delightful tang. Or, if you’re feeling truly indulgent, a quarter cup of grated Parmesan or Gruyère works wonders with the roasted garlic’s earthiness.
- Herb Swaps: Chives are great for a fresh, oniony brightness, but don’t be afraid to try different greens! I love using finely chopped fresh thyme when we serve this alongside roast chicken. If you’re feeling bold, adding just a teaspoon of fresh, minced rosemary gives that classic roast flavor profile.
- Tangy Alternatives: Sometimes you need a little brightness to cut through all that butter. Instead of using all milk, try swapping out half of the heavy cream portion for high-quality sour cream or Greek yogurt. It will add a welcome, slight tang without compromising the overall silky texture too much. Scoop it right in with the butter!
- Garlic Butter Potatoes Twist: This one is for when you want maximum flavor impact! Before you even add the dairy, mix a tablespoon or two of leftover roasted garlic pulp right into some softened butter with a pinch of salt. Then, instead of just adding the softened butter, fold in this herbed garlic butter at the end for an extra punch of flavor! It’s amazing how much better that tastes.
See? It’s so easy to adapt this base recipe for whatever you are craving. Just make sure you respect that no electric mixer rule, no matter what fantastic goodies you decide to throw in!
Storage and Reheating for your garlic mashed potatoes
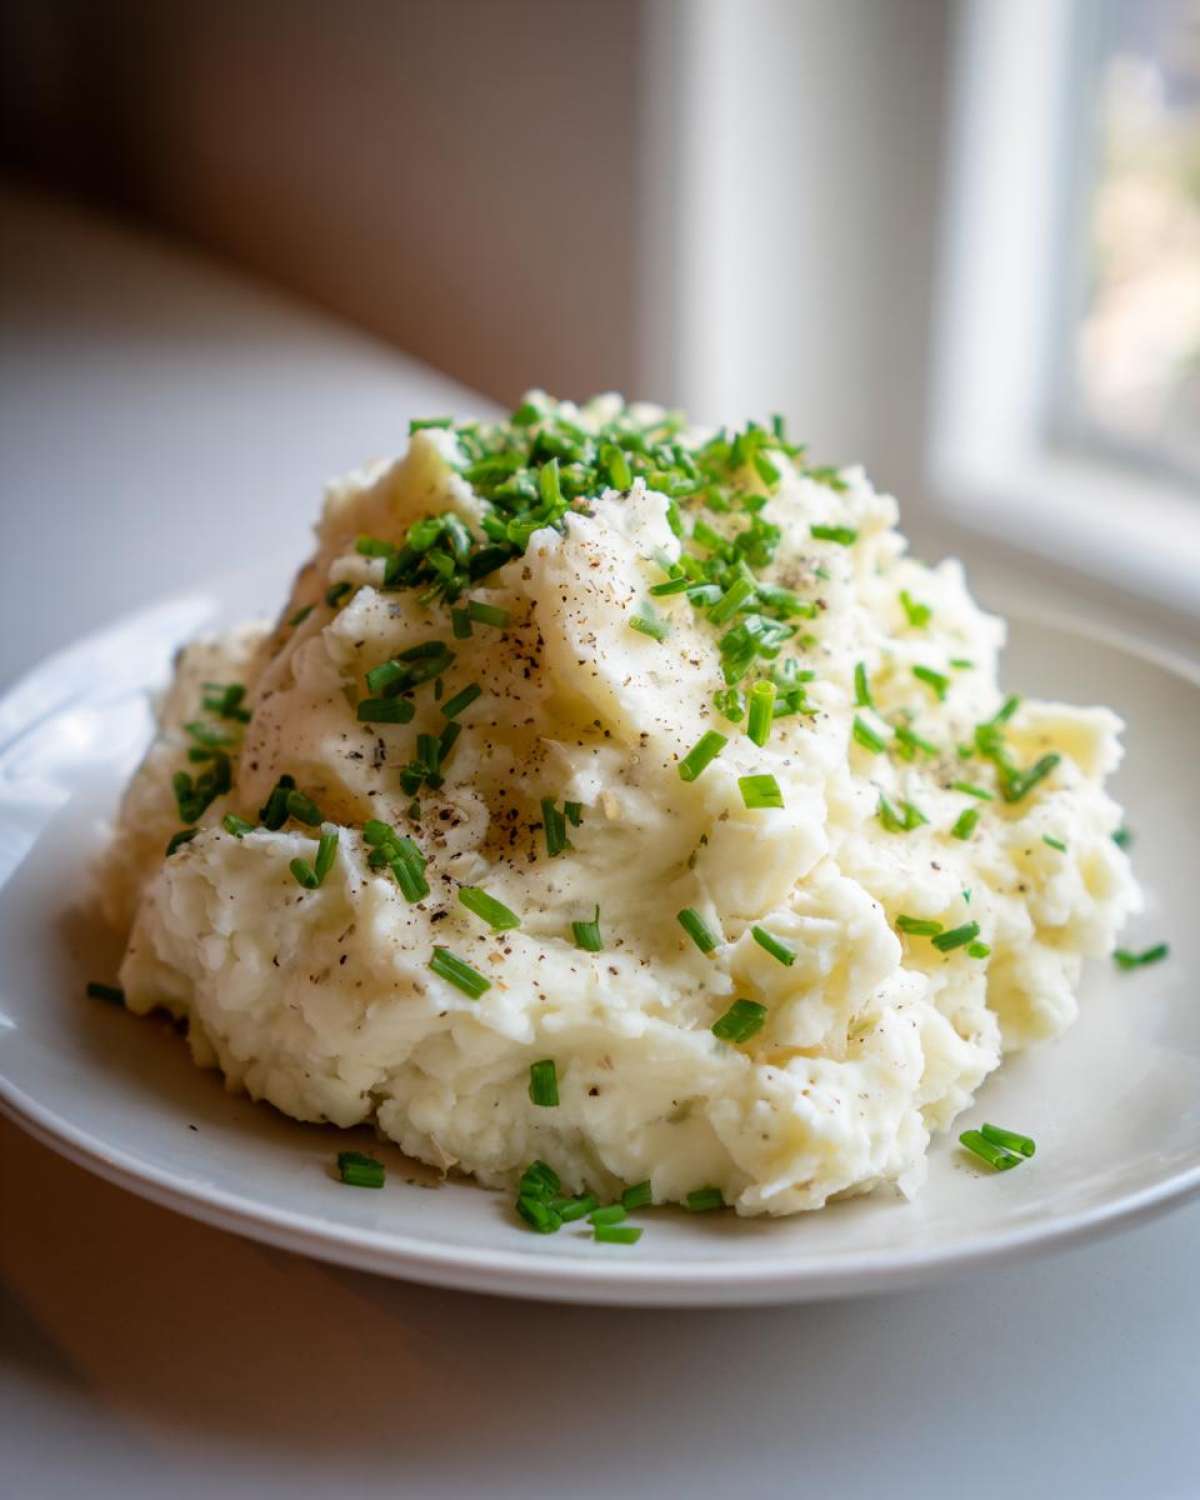
Okay, this is crucial logistical planning, folks. Even though these garlic mashed potatoes are usually devoured in about ten minutes flat at our house, sometimes—miraculously—we have leftovers. And we absolutely cannot let those creamy leftovers go to waste! Since we put so much effort into achieving that perfect buttery texture, we need a solid plan for storage and reheating so they come back to life beautifully.
Don’t panic if you have extra from the holiday table; we’ve got you covered. The key to reviving these potatoes is moisture management.
Storage Guidelines
For refrigerator storage, make sure the potatoes are stored in an airtight container. I usually transfer mine to a large Ziploc bag, press out most of the air, and stick it in the fridge. They keep really well this way for about three to four days. If you need to keep them even longer, say past the weekend buffet? Freeze them!
When freezing your garlic mashed potatoes, use a freezer-safe container or heavy-duty freezer bag. You can freeze them for up to two months. I find that freezing them in single-serving portions works best for speedy thawing later on when we just need a quick comfort food recipes boost on a Tuesday night.
The Reheating Strategy
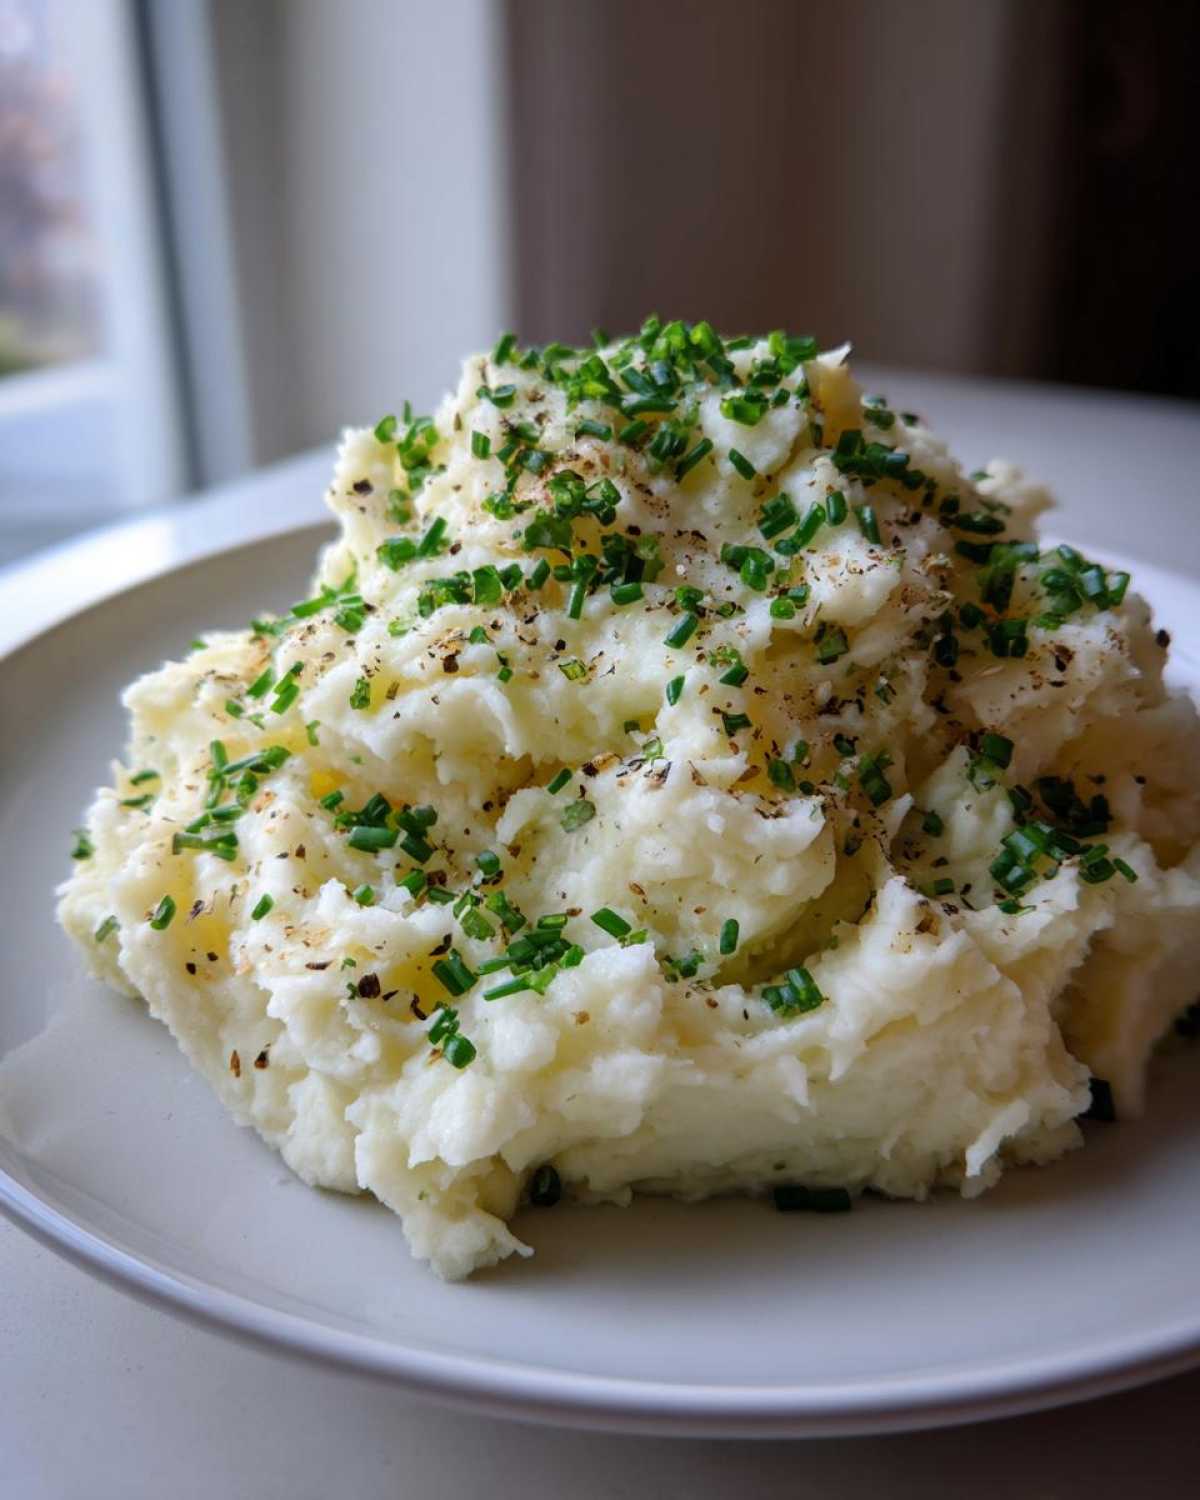
The biggest hurdle when reheating mashed potatoes is bringing back that lovely, silky consistency. They tend to firm up because the butter cools and solidifies, and some moisture evaporates. The solution for bringing these creamy mashed potatoes back to glory is adding liquid while they heat up.
Here’s the foolproof operation:
- Transfer the refrigerated potatoes to a saucepan or use a microwave-safe bowl.
- Add about one tablespoon of extra milk or a small knob of butter (or both!) for every two cups of potatoes you are reheating. This replenishes the moisture and fat lost during storage.
- Heat them slowly over low heat on the stove, stirring constantly until they are just heated through. If you are using the microwave, heat them in 30-second bursts, stirring well between each burst, until they feel creamy again.
Resist the urge to blast them on high heat! Slow and steady wins the race here. A little patience, and you’ll have glorious, buttery garlic mashed potatoes ready to accompany dinner again, tasting almost as good as the first batch!
Frequently Asked Questions about garlic mashed potatoes
Noah always says that the greatest part of building our empire is seeing what questions come up when people start executing our blueprints! We’ve covered everything from roasting the garlic to the final fluff factor, but sometimes you just need a quick answer to confirm things. Here are a few things folks ask us most often about whipping up the best mashed potatoes recipe that turns out perfectly every time.
Can I make the roasted garlic recipe ahead of time?
Oh, YES, and I highly recommend it! That’s one of the best procedural hacks when preparing for bigger meals, like when you’re planning your Thanksgiving potatoes menu. You can absolutely roast the garlic and squeeze the pulp out ahead of time. It keeps wonderfully sealed up tight in the refrigerator for up to a full week. Just pull it out when you start boiling your potatoes, and it’s ready to fold right in!
What is the best potato for creamy mashed potatoes?
If you want that luxurious, unbelievably creamy mashed potatoes finish, drop everything and grab Yukon Gold potatoes. I know Russets are common, but they are too high in starch, and that starch turns gummy and sticky when mashed vigorously. Yukon Golds have a naturally buttery taste and a lower starch content. They mash up beautifully, yielding a natural fluffiness that works perfectly with the roasted garlic.
How do I prevent my garlic mashed potatoes from becoming gluey?
This is the million-dollar question! Gluey potatoes happen when you agitate the starch too much. My biggest operational command here is to absolutely avoid using a food processor or an electric stand mixer. These are too powerful for potatoes! We use a hand masher for the initial incorporating of the butter and liquids, and if you need ultra-smooth results, use a potato ricer or a food mill very briefly afterward. A gentle hand is the secret hero for keeping these ultimate mashed potatoes soft and plush. Remember the goal: we want decadent, not dense!
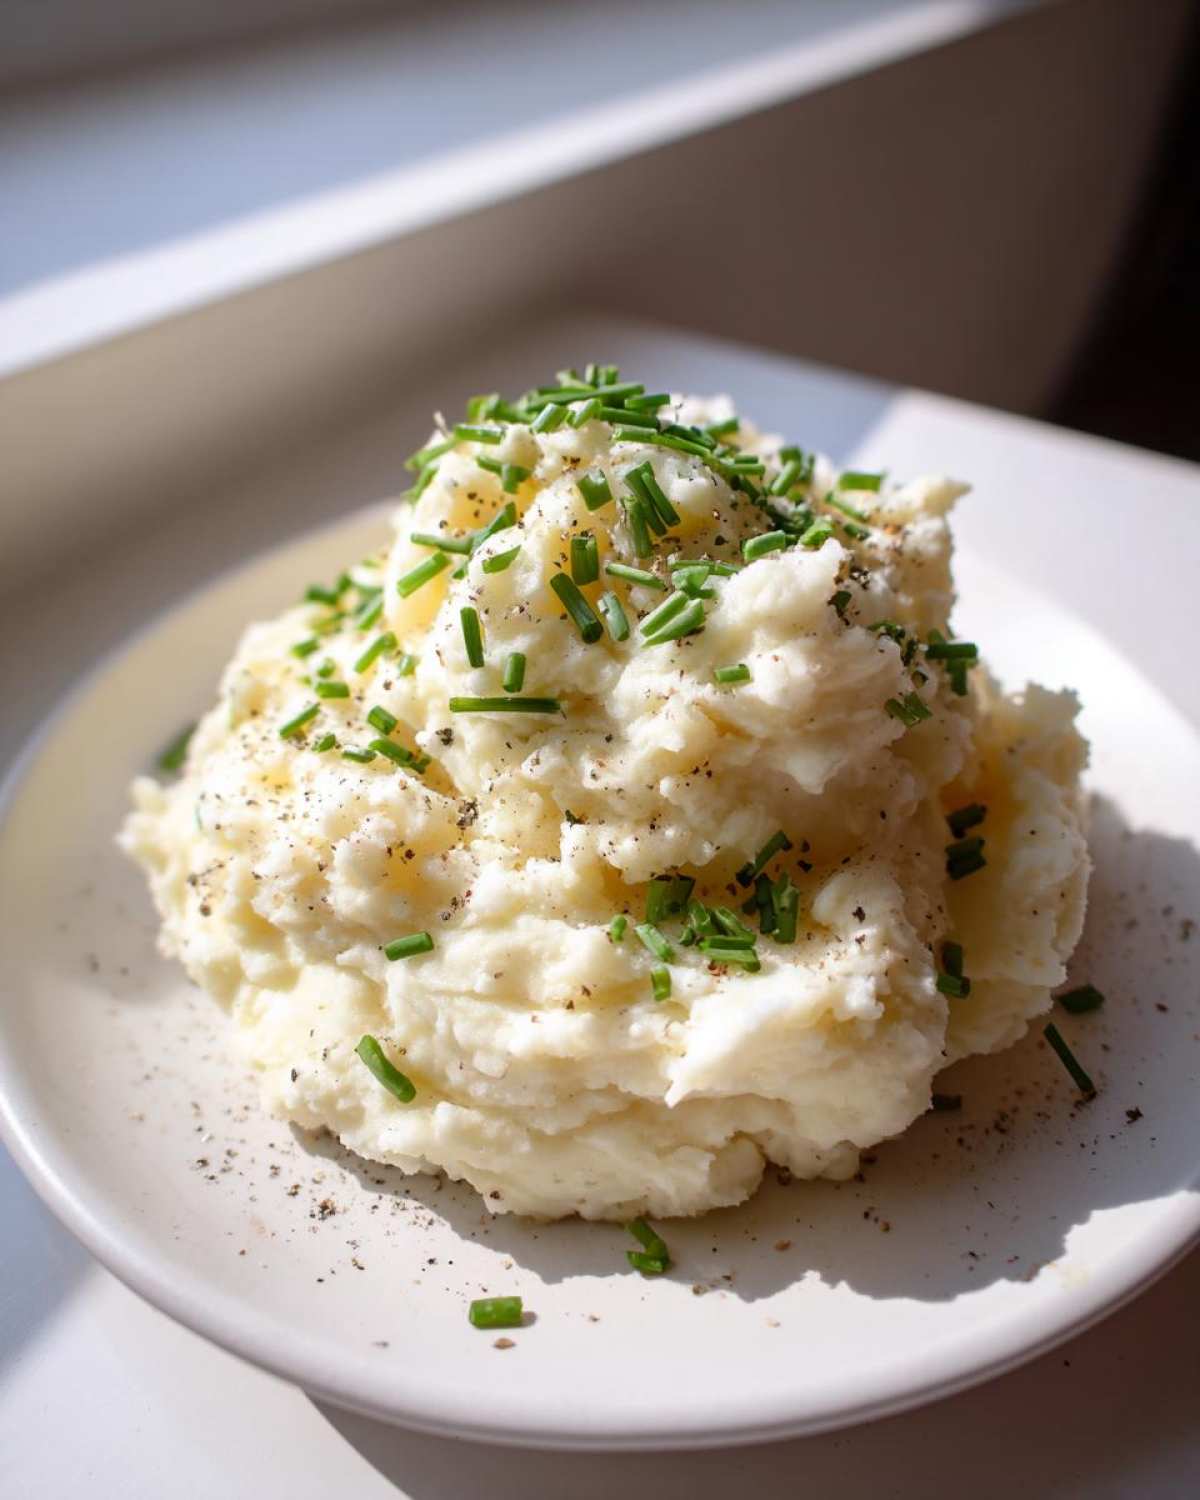
Nutritional Estimates for this Comfort Food Recipes
When we structure these recipes for Epicure Empire, we map out every single variable, but when it comes to nutrition, I always give a friendly operational warning: these numbers are based on the exact measurements I listed in the ingredients section, using standard products. If you swap heavy cream for low-fat milk or load up on extra butter (which, honestly, I totally get), your final counts will shift a bit. Think of this as the baseline estimate for our foundational buttery potato side!
For one serving of these incredible garlic mashed potatoes, here is what our math looks like:
- Serving Size: 1 serving
- Calories: 350
- Sugar: 3g
- Sodium: 450mg
- Fat: 20g
- Saturated Fat: 12g
- Unsaturated Fat: 8g
- Trans Fat: 0g
- Carbohydrates: 38g
- Fiber: 4g
- Protein: 6g
- Cholesterol: 55mg
This batch is designed to yield about six generous servings. If you end up with seven servings, the numbers drop slightly across the board! We aim for these rich comfort food recipes to be satisfying, and with that fat count, I guarantee they deliver!
Share Your Epicure Empire Creations
Now that you have the blueprint, it’s time for you to take command of the kitchen! Noah and I put our hearts and our absolute highest standards of testing into these garlic mashed potatoes, and honestly, the best part of building the Empire is seeing what you all create. Did you try melting cheddar into them? Did you manage to get that perfect silky restaurant texture we talked about? I want to hear all the details!
Please, drop a comment below letting us know what you thought. A rating of five stars means you think these are truly the ultimate mashed potatoes, and we’ll be cheering you on from our own kitchen! You can check out some of our other construction projects over on the main blog page if you need more blueprints!
If you shared your masterpiece on social media, tag us! I love scrolling through the posts and seeing our strategies applied in real life. Building this shared world of flavor is what it’s all about—we’re in this together, one buttery bite at a time. Happy cooking, and thank you again for trusting our process!
PrintUltimate Creamy Roasted Garlic Mashed Potatoes
Make the ultimate comfort food with this easy recipe for creamy roasted garlic mashed potatoes. We share the simple method for achieving restaurant-style, buttery, fluffy potatoes perfect for any weeknight dinner or holiday feast.
- Prep Time: 20 min
- Cook Time: 50 min
- Total Time: 70 min
- Yield: 6 servings
- Category: Side Dish
- Method: Boiling and Mashing
- Cuisine: American
- Diet: Vegetarian
Ingredients
- 3 lbs Yukon Gold potatoes, peeled and quartered
- 1 whole head of garlic
- 2 tablespoons olive oil
- 1 teaspoon salt (for roasting)
- 1/2 cup heavy cream, warmed
- 1/2 cup whole milk, warmed
- 8 tablespoons unsalted butter, softened
- 1 teaspoon salt (for mashing)
- 1/2 teaspoon black pepper
- Pinch of nutmeg (optional)
- 2 tablespoons fresh chives, chopped (for garnish)
Instructions
- Preheat your oven to 400°F (200°C). Slice the top quarter off the head of garlic to expose the cloves. Place the head on a small piece of aluminum foil, drizzle with olive oil, and sprinkle with 1 teaspoon of salt. Wrap the foil tightly around the garlic.
- Roast the garlic for 35 to 45 minutes, or until the cloves are very soft and golden brown. Let it cool slightly.
- While the garlic roasts, place the peeled and quartered potatoes in a large pot and cover them with cold, salted water. Bring the water to a boil over high heat.
- Cook the potatoes until they are fork-tender, about 15 to 20 minutes. Drain them completely in a colander and let them steam dry for 5 minutes. This step is key for fluffy potatoes.
- Squeeze the soft, roasted garlic pulp out of the skins directly into a small bowl. Mash the roasted garlic with a fork until smooth.
- Return the drained potatoes to the hot, empty pot. Mash them using a potato masher until mostly smooth. Do not over-mash at this stage.
- Add the softened butter, warm heavy cream, and warm milk to the potatoes. Stir gently until the liquids are incorporated.
- Stir in the roasted garlic pulp, 1 teaspoon of salt, pepper, and nutmeg (if using). Continue stirring until you reach your desired creamy texture. For restaurant-style smoothness, use a ricer or food mill after the initial mashing.
- Taste and adjust seasoning if needed. Serve immediately, garnished with fresh chives.
Notes
- For the creamiest texture, use Yukon Gold potatoes; they have less starch than Russets.
- Warm the dairy (milk and cream) before adding them to the potatoes; cold liquids make the mash gluey.
- Do not use an electric mixer or food processor, as this develops the starch and makes the potatoes gummy. A hand masher or ricer works best.
- Make the roasted garlic ahead of time; it stores well in the refrigerator for up to one week.
Nutrition
- Serving Size: 1 serving
- Calories: 350
- Sugar: 3
- Sodium: 450
- Fat: 20
- Saturated Fat: 12
- Unsaturated Fat: 8
- Trans Fat: 0
- Carbohydrates: 38
- Fiber: 4
- Protein: 6
- Cholesterol: 55