

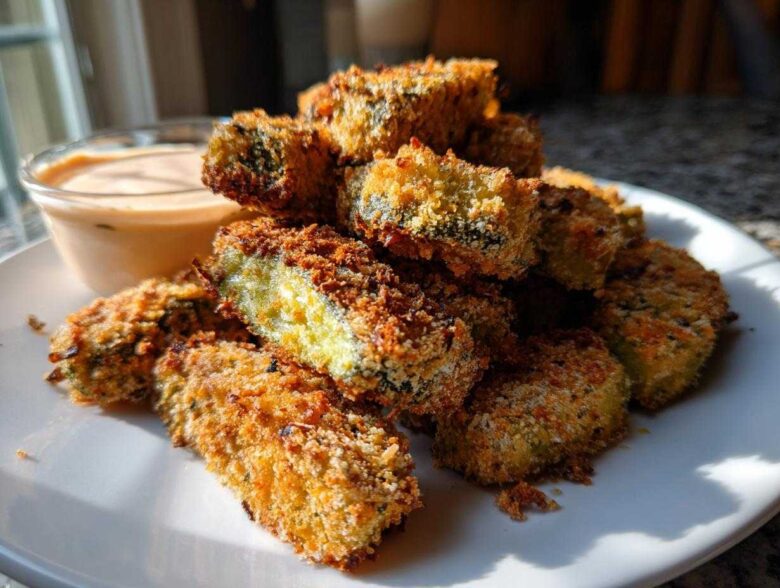
There’s something unbelievably satisfying about that salty, sharp tang instantly followed by a warm, golden crunch. You know the moment—you’re at a sports bar or on a date night, and someone orders the basket of Fried Pickles. Suddenly, that perfectly seasoned appetizer is the only thing you can think about, right?
Well, Noah and I decided that waiting for restaurant quality just wasn’t efficient for our happiness goals! That’s why we cracked the code on making the Best Fried Pickles Appetizer right here in our own kitchen. I’m Lena, and mastering this snack really brought some fun back into our planning time. We figured out the secrets to making them perfectly crispy, whether you’re going full old-school deep-fried or trying out our lighter, yet totally satisfying, air fryer method.
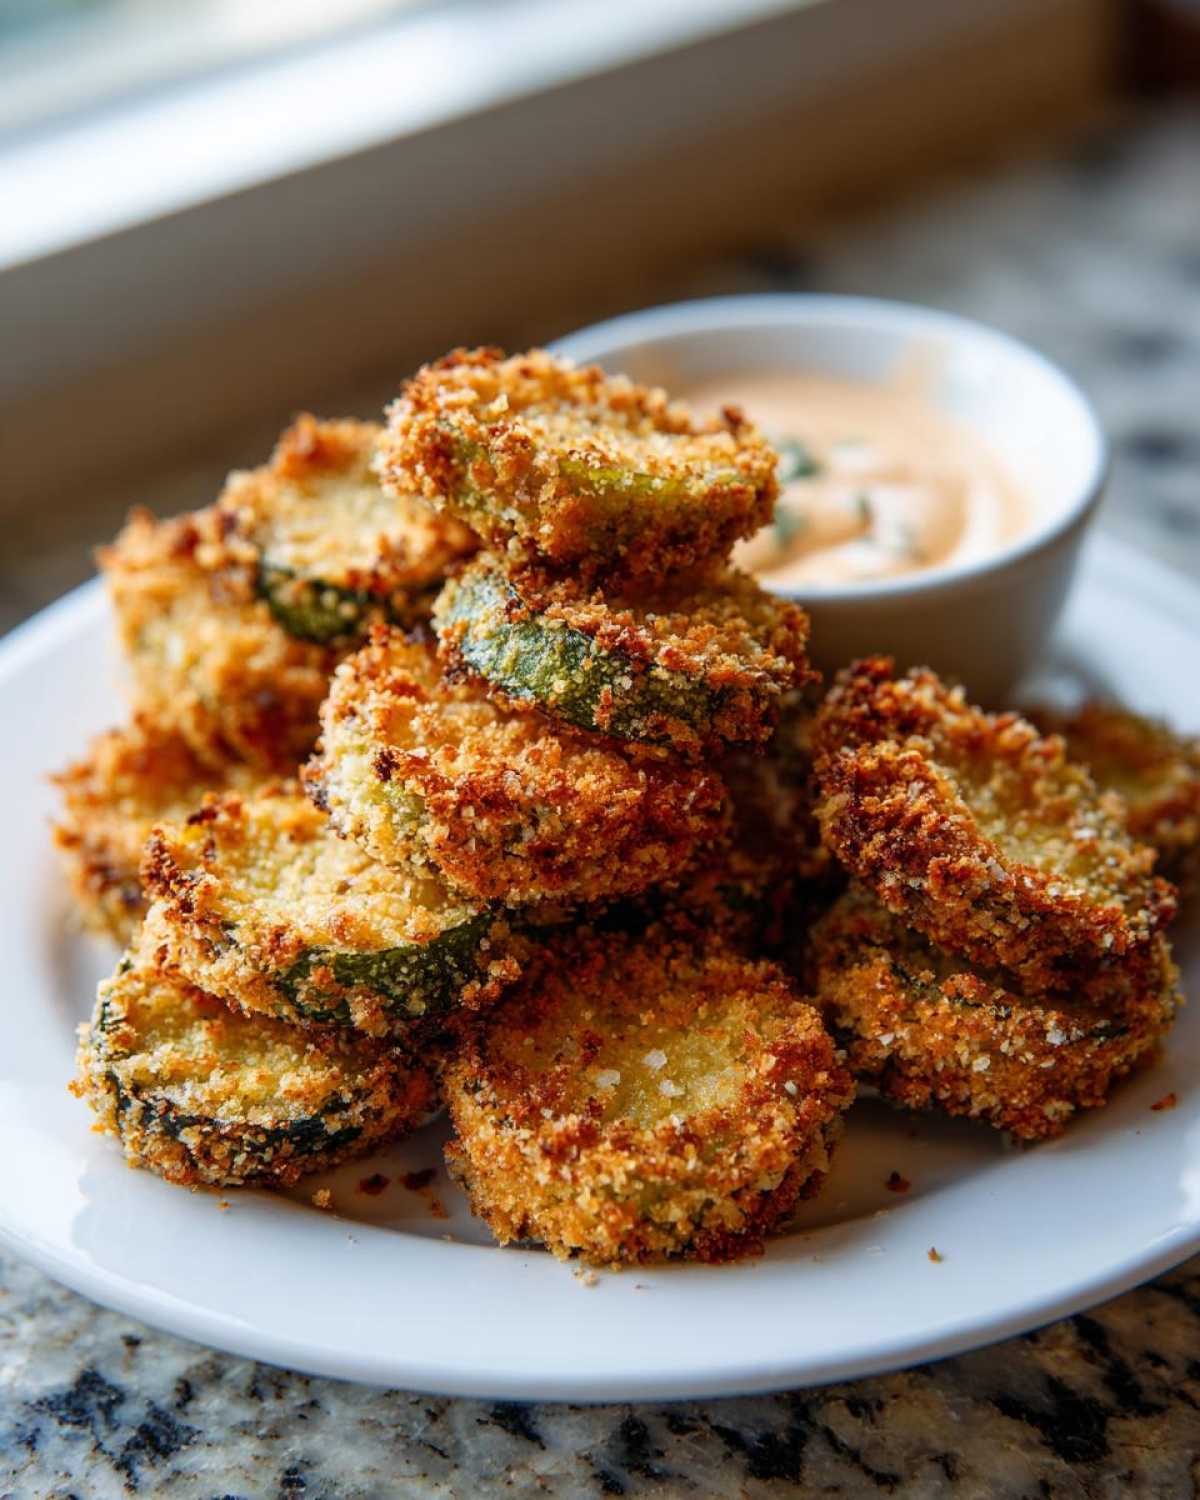
Trust me, once you taste these homemade versions, you won’t look at the appetizer menu the same way again. Click over to learn more about how we build our empire, one delicious recipe at a time, over at the About Us page!
Why This Homemade Fried Pickles Recipe Works (The Strategy)
When Noah and I plan a recipe, we treat it like a culinary construction project—we need a rock-solid foundation. For these Fried Pickles, the goal isn’t just to coat them in flour; the goal is achieving that perfect, resilient crunch that survives the transfer from fryer to plate. That’s what separates a soggy snack from the Crispy Fried Pickles everyone loves.
We tested batch after batch until we found the absolute non-negotiable steps. We figured out the precision needed for that signature seasoning profile, too. Stick to this strategy, and you’ll never deal with breading fallout again!
The Secret to Ultra-Crispy Fried Pickles
If you ask me how to make fried pickles crispy, I’ll give you two answers that are mandatory: dry pickles and Panko. Those pickle slices hold so much liquid! If you skip patting them bone-dry, that moisture steams out during cooking and ruins your beautiful coating. Then, we use Panko breadcrumbs—they are bigger and create those wonderful, jagged edges that stay crisp longer. No exceptions!
Achieving Texas Roadhouse Fried Pickles Copycat Flavor
Everyone loves that famous restaurant version, right? We spent an entire Saturday mapping out that flavor profile. To nail that specific taste of the Texas Roadhouse Fried Pickles Copycat recipe, you need to lean into the paprika for color and a tiny pinch of dried oregano in your flour station. It adds just a hint of savory depth that makes people wonder how you did it.
Gathering Ingredients for the Best Fried Pickles Appetizer
Okay, now that we have the strategy down, it’s time for the mission briefing—the ingredients! Remember, our goal here is the Best Fried Pickles Appetizer, and that starts with having exactly the right components laid out before we even turn on the heat. Noah always makes sure all my bowls are ready before I start the dredging. It’s all about efficient operations!
You’ll need three main ingredient groups: the pickles themselves, the dredging stations (which will include your flour mixture and Panko), and the liquid binder. We’re using dill pickle chips because they give you the best crunchy base, but make sure they come from the jar well-drained. I use the specified amounts for about four hungry people, easily devouring this snack mid-game!
- One jar (16 oz) of dill pickle chips—and seriously, drain them well!
- 1 cup all-purpose flour
- For seasoning: Salt, pepper, paprika, garlic powder, onion powder (use all of these!), and a pinch of cayenne if you like a little kick.
- Two large eggs mixed with 1/2 cup of milk for the dip.
- And the star for crunch: 1 full cup of Panko breadcrumbs. Don’t substitute these; Panko is non-negotiable for restaurant-level crispiness!
Components for the Zesty Fried Pickle Dipping Sauce
Honestly, a crunchy fried pickle deserves a dipping sauce that can stand up to its tang! This dipping sauce is super simple, but it ties everything together perfectly. It’s creamy, has a little heat, and complements those delicious Fried Pickles like nothing else. You mix mayonnaise, sour cream, a bit of hot sauce for bite, lemon juice for brightness, and just a touch more garlic powder.
Seriously, don’t skip this! A great dipping sauce elevates this simple snack into something truly special. Chloe from accounting (who tried my leftovers last week!) insisted this sauce alone should be bottled.
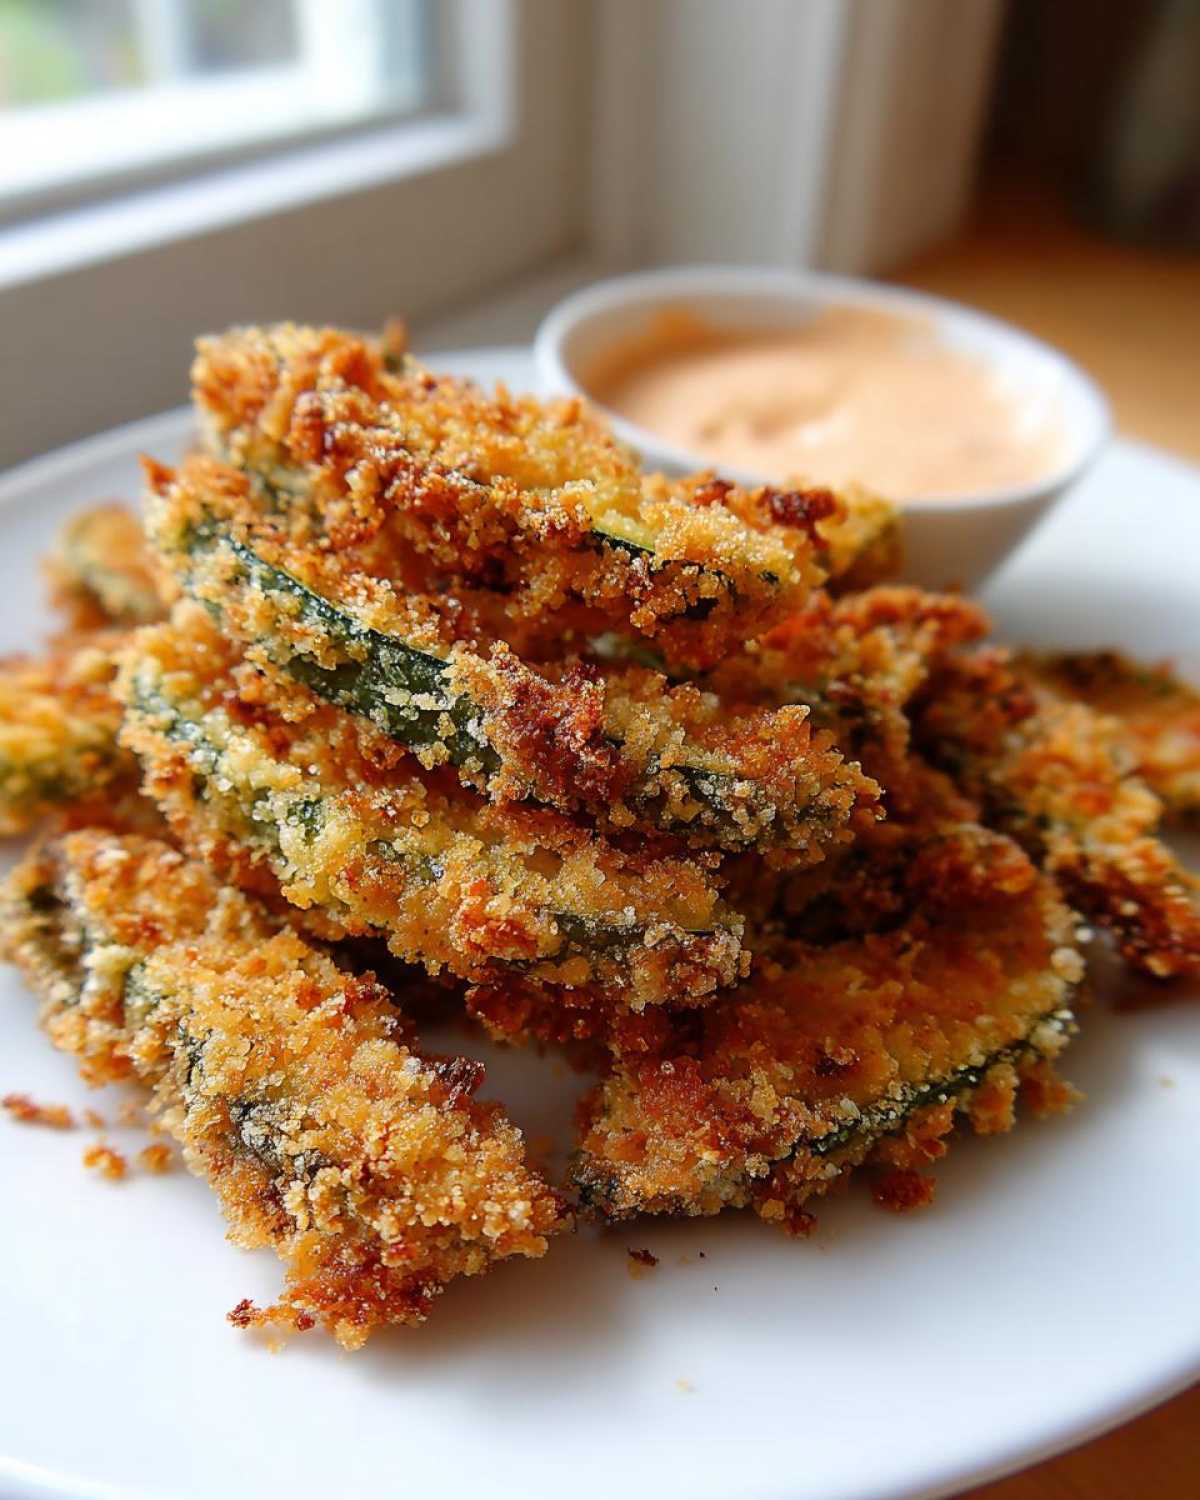
Step-by-Step Instructions for Homemade Fried Pickles Recipe
Alright, here is the blueprint for creating the ultimate Homemade Fried Pickles Recipe! This is where Noah and I put our heads together and ensure every single step is airtight. We need to move from prep, through the breading stations, and finally to the heat source. Remember, the timing here is crucial to avoid getting mushy snacks. We want that hot, crispy exterior that just sings! Mastering the seasoning is key; we use a ton of garlic powder in our dredge, which reminds me of how we make our easy homemade garlic butter recipe—layering that flavor right into the foundation!
The Essential Pickle Preparation and Dredging Process
First things first, we always tackle the prep. Remember what I said about drying? Lay those drained pickle chips out on several layers of paper towels. We pat them—and I mean really pat them—until they feel slightly tacky, not wet. Next, set up your three stations. Station one is the seasoned flour mix. Station two is the egg and milk blend. Station three is, you guessed it, the Panko breadcrumbs. Working in small batches, dredge a few pickles in the flour, shake off the excess, dip them thoroughly into the egg wash, and then press them firmly into the Panko. You need to press that coating on so it adheres perfectly!
Cooking Method 1: Perfect Deep Fried Pickles
For the classic, pub-style crunch, we go deep-fry, baby! Heat about two inches of vegetable oil in a heavy pot until it hits exactly 375°F (190°C). If your oil isn’t hot enough, the breading soaks up grease—it’s a disaster. Carefully drop the breaded chips in small batches; do not overcrowd the pot, or the temperature will drop too fast. They cook lightning fast, maybe just 1 to 2 minutes until they are perfectly golden brown. Pull them out immediately with a slotted spoon and place them directly onto a wire rack set over a paper towel-lined baking sheet. That rack lets air circulate, which keeps the bottoms from steaming!
Making Air Fryer Fried Pickles for a Healthier Snack
Now, I know what some of you planners out there are thinking: “Lena, this sounds amazing, but I need a slightly less oily option for our Tuesday night snacks.” I totally get it! Noah prefers the lighter approach sometimes, too. That’s why we dedicated serious time to perfecting the Air Fryer Fried Pickles. Trust me, you can still get that addictive crunch without drowning them in oil. This method really proves we can build flavor without compromise!
For this version, the preparation stays almost exactly the same—you absolutely need that dry pickle and that firm Panko coat. The main difference comes in the cooking environment. We toss the coated pickles in a tiny bit of oil before they go in. I use cooking spray primarily, but if you’re following tips for other air fryer recipes, you know a light mist is key to getting that golden color.
Set your air fryer to 380°F (195°C). Work in single layers, and don’t forget to spray the tops lightly before you start them cooking. They only need about 8 to 10 minutes total, flipping halfway through. It’s so fast! I sometimes read those great tips over at Dinner Flare while I wait, and honestly, the results are fantastic for a lighter appetizer.
Tips for Success with Your Crunchy Pickle Chips
We’ve built the structure, but let’s talk about the final operational details to ensure you get those unbeatable Crunchy Pickle Chips every time. This is where the little things make the biggest difference, Noah always reminds me! Out of all the testing we did, two points always rose to the top, especially when aiming for that rich, golden finish.
First, if you have time to spare—and I know we are all busy—chill those breaded pickles! Yes, seriously! We learned this the hard way. The *first* time I made a batch without chilling, the coating just slid right off into the oil. It was a disaster that took 30 minutes to clean up! Chilling them for just 15 minutes allows the coating to really bond to that damp pickle slice.
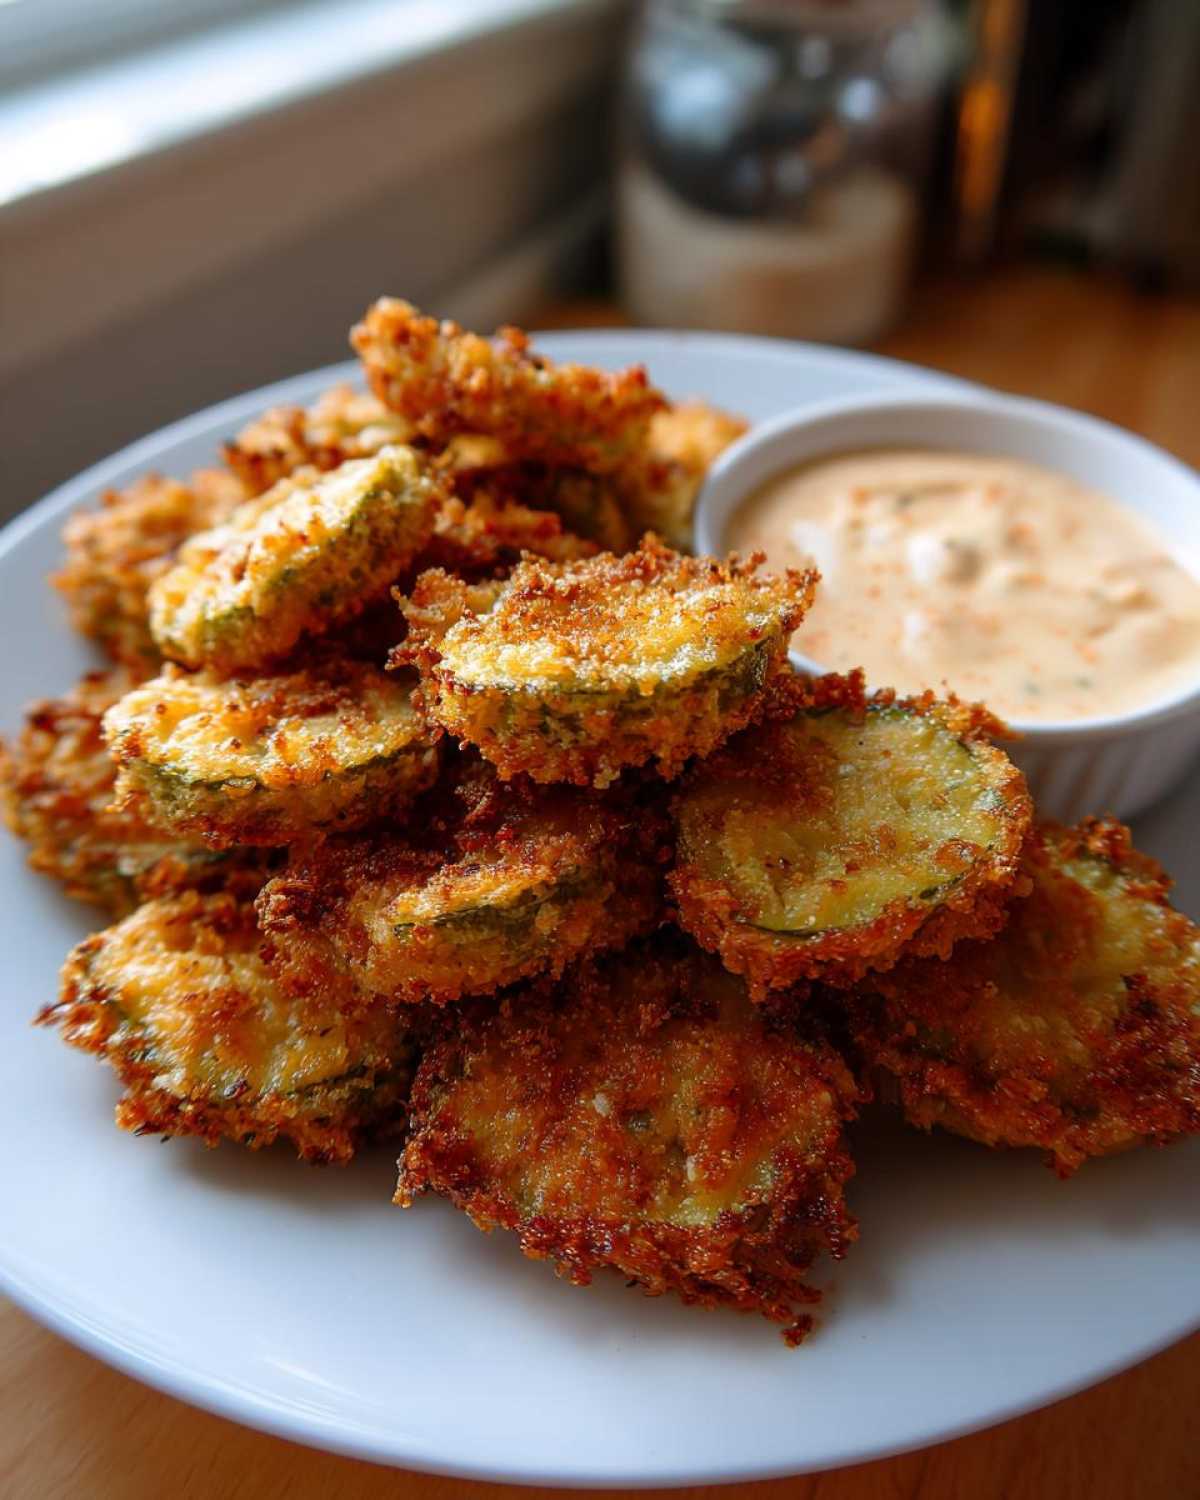
Second, choose your starting material wisely. We noted that using thick-cut dill pickle chips yields the best texture after cooking. The thin ones turn great, but they can get soft faster. Thicker slices hold that crisp coating longer, which is perfect for a party setting where people graze!
Serving Suggestions for Your Game Day Fried Pickles
We’ve made the absolute best snack, but how do we serve these Game Day Fried Pickles? Presentation matters, even in our little empire! Honestly, you cannot skip that zesty dipping sauce we whipped up—it’s the essential partner here. Serve a generous bowl right in the center of the plate.
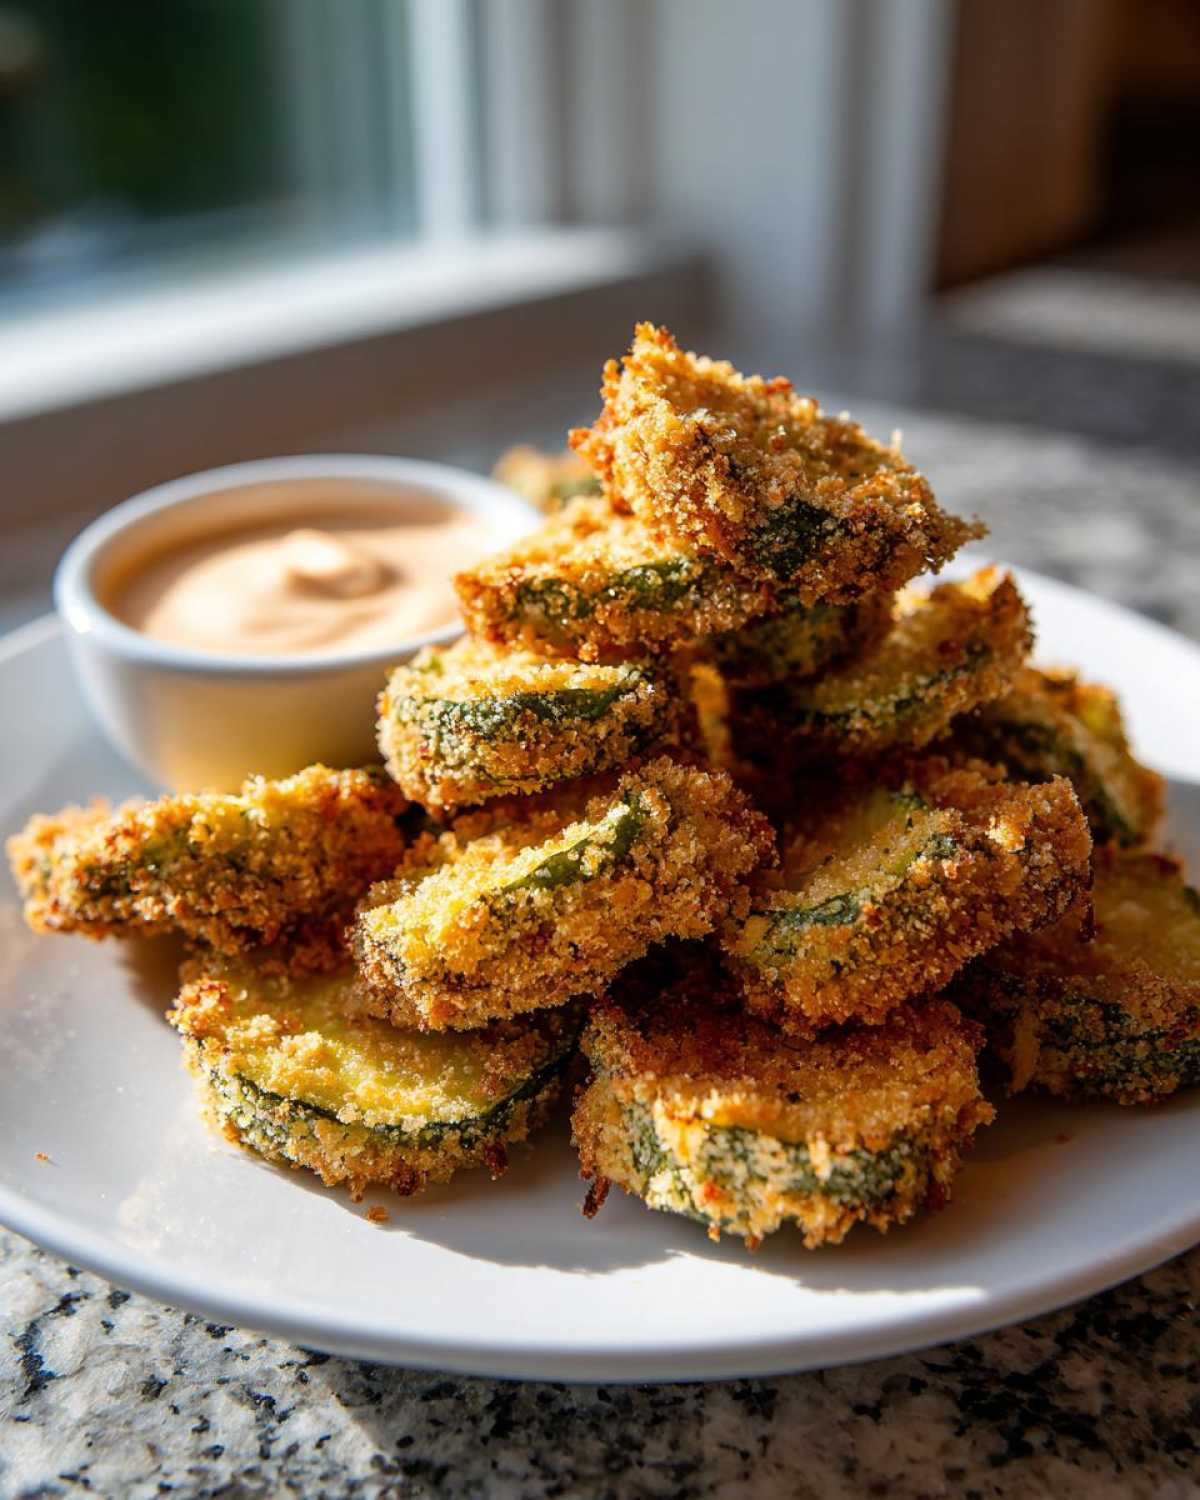
However, if you’re hosting a big crowd, why not offer a pairing station? These tangy bites go amazing with something cold, like crisp beer, or maybe even some of Noah’s famous easy beer cheese dip if you want to go all-out appetizer mode! They are sturdy enough to sit out for a bit, but trust me, they won’t last long.
Storing and Reheating Your Golden Fried Pickles
Let’s be real—the best part about these Golden Fried Pickles is eating them piping hot, immediately after that perfect crunch develops. They are truly a ‘make-and-eat-now’ kind of snack, and I’m not judging if you eat the whole batch yourself! But if you do have leftovers (which is rare in our house!), you need a reheating strategy.
Do not, I repeat, do NOT try to microwave them. That is the fastest way to guarantee a soggy, sad pickle experience. For reheating, you want dry heat to bring back that glorious crispness. The air fryer is your absolute best friend here; set it to about 350°F for just 3 to 5 minutes. If you don’t have an air fryer, a regular oven cranked to 400°F on a baking sheet works perfectly fine too!
Frequently Asked Questions About Making Fried Pickles
I always know we’ve created a solid blueprint when questions pop up! Noah hates getting emails about details we *thought* we covered, so I put together a quick FAQ addressing the things people ask most often about getting perfect Fried Pickles. These little troubleshooting tips will save you time!
Can I use sweet pickles instead of dill for these Fried Pickles?
Oh, you totally *can*, but you need to know what you’re signing up for! If you swap the classic dill chips for sweet pickles, you’re losing that trademark tangy ‘zing’ we worked so hard to create. You’ll end up with a sweet and savory snack, which is fine, but it won’t taste like the typical pub-style appetizer. For this recipe, stick to dill if you want that sharp contrast with the seasoned crust.
What is the best oil temperature for Deep Fried Pickles?
This is one of those vital operational details! For deep-frying, the temperature absolutely has to be 375°F (190°C). I know it seems super hot, but if it’s too cool—say, 350°F—your beautifully breaded slice just sits there soaking up oil like a sponge instead of actually frying. That’s how you get that heavy, greasy mouthfeel instead of a light, crispy shell. Keep that thermometer steady!
How do I make the coating stick better to the pickle?
This loops right back to my strategy section! If your coating is falling off, 99% of the time it’s because the pickle wasn’t dry enough, or you didn’t press the Panko on firmly enough. Remember, water is the enemy of adhesion! Make sure those pickles are totally dry after draining. Then, when you press them into that final Panko layer, really press them in—don’t just gently roll them. You need to create a strong, deliberate bond!
Share Your Epicure Empire Fried Pickles Creations
Whew! We made it through the entire blueprint for guaranteed deliciousness. Now comes the fun part, the construction phase where you get to enjoy the spoils of our strategizing! We put so much work into testing and refining this recipe, from optimizing the spice blend for that Texas Roadhouse Fried Pickles Copycat flavor to making sure the air fryer technique delivered results. I truly want to know what you think!
Please, after you’ve made these, pop back over and leave a rating or a comment below. Did you go deep-fried for maximum crunch, or did you stick to our Healthy Fried Pickles air fryer method? I am genuinely fascinated to hear which version your family preferred. Don’t forget you can always tag us on social media with your crispy beauties!
We love seeing our recipes flourish outside our own kitchen. Your feedback helps us build an even better empire, one crispy snack at a time. Happy cooking, and check out the rest of our blueprints right here on the blog!
With love and strategy,
Lena
PrintThe Ultimate Crispy Fried Pickles Recipe (Restaurant-Style & Air Fryer Options)
Learn how to make perfectly crispy, restaurant-style deep-fried pickles or try our lighter Air Fryer Fried Pickles. This easy recipe delivers the tangy crunch you crave, perfect for game day or any gathering.
- Prep Time: 20 min
- Cook Time: 15 min
- Total Time: 35 min
- Yield: 4 servings
- Category: Appetizer
- Method: Deep Frying or Air Frying
- Cuisine: American
- Diet: Vegetarian
Ingredients
- 1 jar (16 oz) dill pickle chips, drained well
- 1 cup all-purpose flour
- 1 teaspoon salt
- 1 teaspoon black pepper
- 1 teaspoon paprika
- 1/2 teaspoon garlic powder
- 1/2 teaspoon onion powder
- 1/4 teaspoon cayenne pepper (optional, for heat)
- 2 large eggs
- 1/2 cup milk
- 1 cup panko breadcrumbs (for extra crispiness)
- Vegetable oil, for deep frying (or cooking spray for air fryer)
- For Dipping Sauce: 1/2 cup mayonnaise, 1/4 cup sour cream, 1 tablespoon hot sauce, 1 teaspoon lemon juice, 1/2 teaspoon garlic powder
Instructions
- Prepare the pickles: Lay the drained pickle chips on several layers of paper towels and pat them completely dry. This step is crucial for a crispy coating.
- Set up the dredging stations: In one shallow bowl, whisk together the flour, salt, pepper, paprika, garlic powder, onion powder, and cayenne pepper. In a second bowl, whisk the eggs and milk until combined. In a third bowl, place the panko breadcrumbs.
- Coat the pickles: Working in small batches, dredge the dry pickle chips first in the flour mixture, shaking off excess. Dip them into the egg mixture, letting excess drip off. Finally, press them firmly into the panko breadcrumbs, ensuring they are fully coated. Place the coated pickles on a clean, dry baking sheet.
- Prepare the dipping sauce: Whisk together all dipping sauce ingredients (mayonnaise, sour cream, hot sauce, lemon juice, garlic powder) until smooth. Cover and chill while you fry the pickles.
- For Deep Frying: Heat 2 inches of vegetable oil in a heavy-bottomed pot or deep fryer to 375°F (190°C). Carefully drop the breaded pickles into the hot oil in small batches, being careful not to overcrowd the pot. Fry for 1 to 2 minutes, turning once, until golden brown and crispy. Remove with a slotted spoon and drain on a wire rack lined with paper towels.
- For Air Frying: Preheat your air fryer to 380°F (195°C). Lightly spray the air fryer basket with cooking spray. Arrange the coated pickles in a single layer in the basket (work in batches). Lightly spray the tops of the pickles with cooking spray. Air fry for 8 to 10 minutes, flipping halfway through, until golden and crunchy.
- Serve immediately with the zesty dipping sauce.
Notes
- For a Texas Roadhouse Copycat flavor, increase the paprika and consider adding a pinch of dried oregano to the flour mixture.
- If you want the crunchiest results, chill the coated pickles on the baking sheet for 15 minutes before frying or air frying.
- Use thick-cut dill pickle chips for the best texture; thin slices can become soggy faster.
Nutrition
- Serving Size: 1/4 of recipe (approx. 10 pickles)
- Calories: 350
- Sugar: 3
- Sodium: 850
- Fat: 22
- Saturated Fat: 4
- Unsaturated Fat: 18
- Trans Fat: 0
- Carbohydrates: 30
- Fiber: 2
- Protein: 8
- Cholesterol: 95