

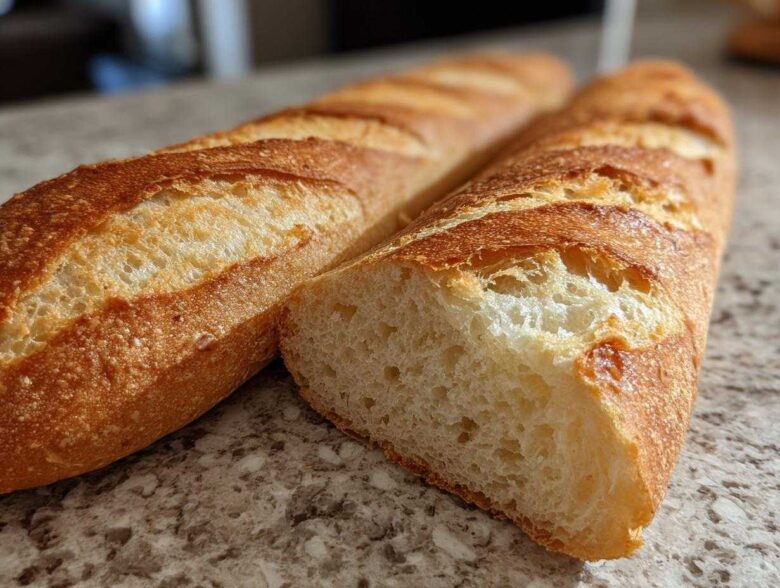
Oh, friends, you haven’t lived until you’ve pulled a loaf of truly amazing, crackly **french bread** straight out of your own oven. That sound—the crust immediately starting to sing as it cools—that’s the music of a successful baking mission! Lena and I spent ages trying to replicate that perfect, chewy interior and shatteringly crisp exterior you find at the best little bakeries, and honestly, it felt like advanced warfare at first. But guess what? As the strategist, I finally nailed the formula here. This recipe isn’t just good; it’s the blueprint for bakery-style bread at home without all the fuss. If you want to know more about how our partnership led to conquering the oven, check out our story over on the About Us page!
We took our complicated artisan bread notes—the ones that required an all-day fermentation—and ruthlessly cut them down to the essentials. What remains is pure gold: a recipe that relies on simple science and good oven technique to give you that phenomenal, crusty bread every single time. Trust me when I say, making your own baguette-style loaf is one of the most rewarding things you can do in the kitchen. Ready to ditch the grocery store bags?
Why This Homemade French Bread Recipe is Your New Baking Blueprint
Look, I’m Noah, and I love strategy, but I don’t love wasting a whole weekend waiting for bread to rise. What makes this recipe my favorite blueprint is how it delivers serious results without demanding your entire day. We focused on making this the best homemade bread recipe without needing complicated tools.
- It captures that desired crackly crust that feels so authentic.
- It uses just four main ingredients—you probably have them right now!
- It gets you from mixing bowl to cooling rack faster than most other artisan loaves.
If you want to dive deeper into advanced techniques like long fermentation, check out our detailed Artisan Bread Baking guide, but for today, we are keeping things wonderfully simple.
Achieving Bakery Style Bread at Home
The secret weapon for that true bakery style bread at home isn’t some fancy flour; it’s the steam! When you blast that hot oven with steam right at the start, you keep the surface of the dough flexible for those crucial first few minutes. This lets the loaf expand fully before the crust sets rigid. That steam is what gives you that audible CRUNCH when you slice into it!
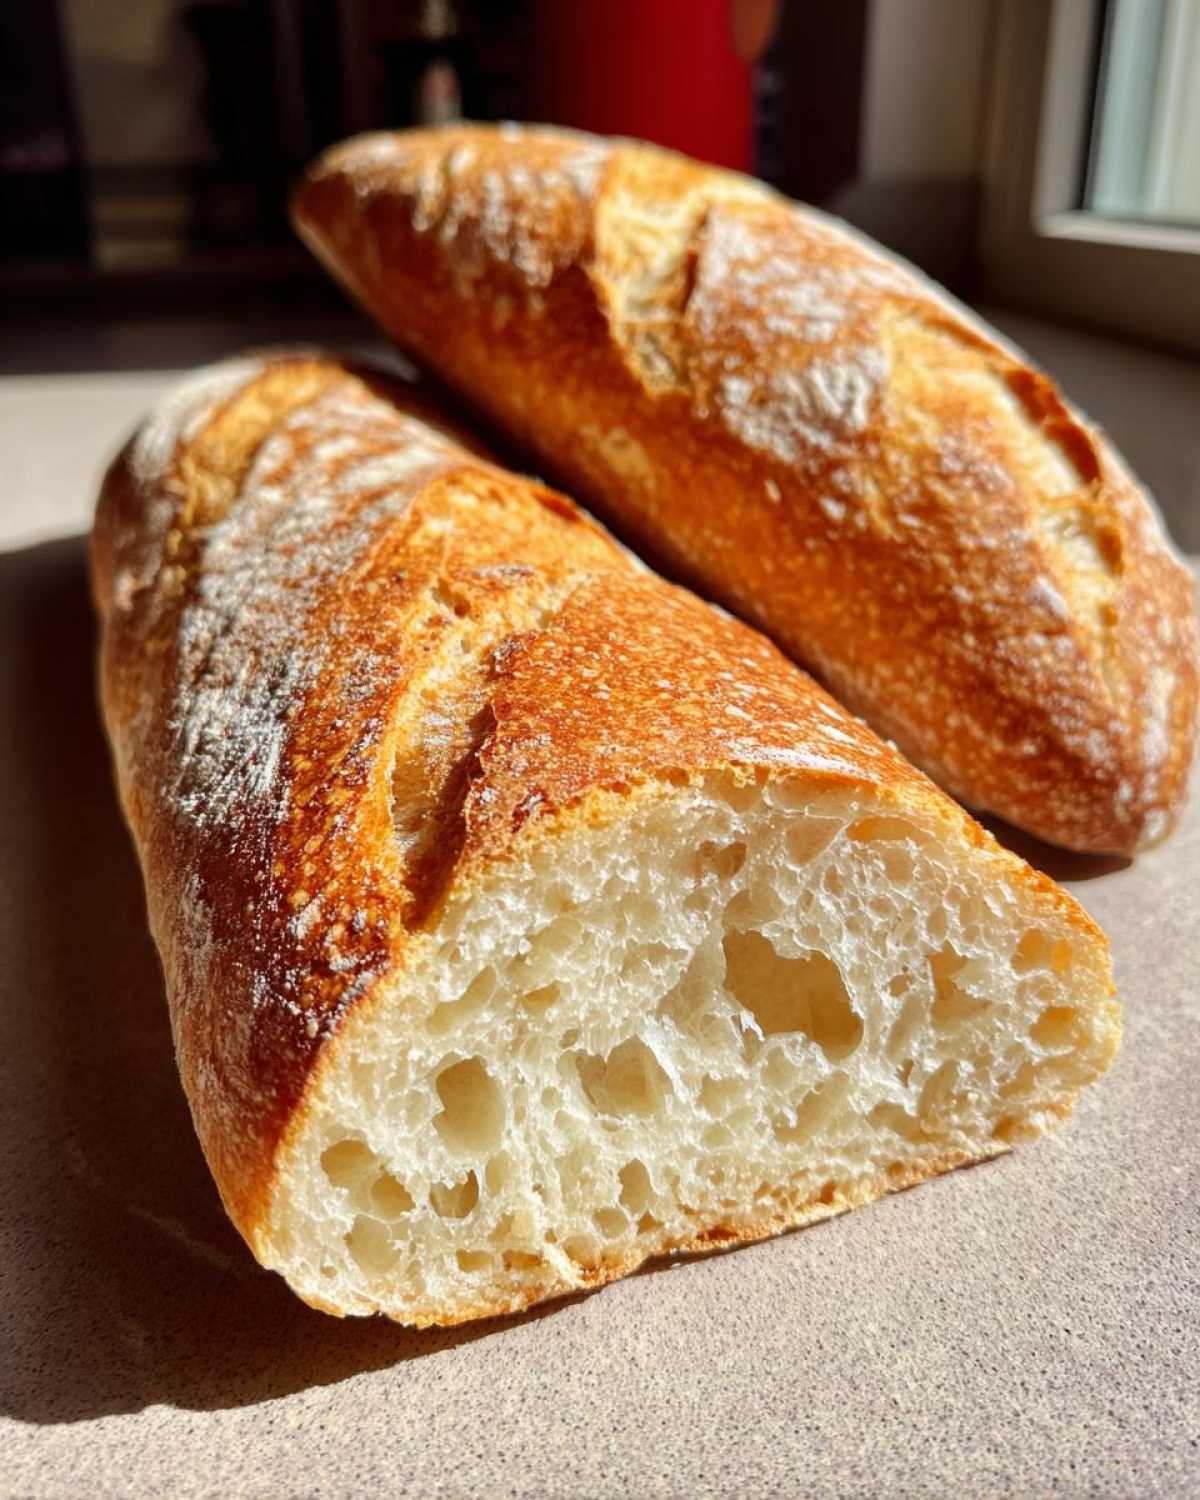
The No-Fuss French Loaf: Easy French Bread for Beginners
If you’ve been intimidated by yeasted doughs, stop worrying right now. This is truly easy french bread for beginners. We’re not asking for intensive kneading; we let the yeast and the hour-long rest do the hard work for us. Four simple ingredients—flour, yeast, salt, water—are all you need to create spectacular french bread.
Ingredients for Classic Crusty Homemade French Bread
Okay, this is where our strategy really starts to show its simplicity. I promised you a no-fuss approach to incredible french bread, and that starts with ingredients you likely already have sitting on your counter! I love that this recipe is so lean; it means we focus entirely on technique, not tracking down exotic flours. You’ll only need four simple items to get two beautiful loaves rolling.
- 3 cups all-purpose flour (don’t worry about bread flour here!)
- 1 teaspoon instant yeast
- 1 1/2 teaspoons salt
- 1 1/4 cups warm water (this is important—aim for 105–115°F so you don’t kill the yeast!)
If you’re looking for other super simple recipes that rely on just a few core items, you should take a peek at Lena’s Easy 4 Ingredient Cheese Crackers. It’s the same minimalist mindset!
The Strategy: How to Prepare Your French Bread
Okay, this is where the ‘strategy’ part of our empire really kicks in. Making french bread isn’t about aggression; it’s about mindful movement. You want to gently coax the gluten strands to line up, not beat them into submission! We’re going to walk through the steps that guarantee you a beautiful, airy structure perfect for that crispy exterior everyone dreams about. Follow these steps closely, because the results are worth it. If you want to see how this simple approach contrasts with more involved techniques, check out the details in our Artisan Bread Baking guide.
Mixing and First Rise for Perfect French Bread Dough
First, grab your biggest bowl. Whisk those dry ingredients together—flour, the instant yeast, and salt—just to make sure everything is evenly distributed. Now, pour in that warm water. You are going to mix this by hand, using a sturdy spoon or even your hands, just until you see no more dry flour swimming around. I’m serious, stop there! You want a super shaggy dough. Don’t bother kneading it; overmixing at this stage builds tough gluten barriers. Cover that bowl tightly with plastic wrap. Now, we let this beautiful mess rest on the counter for a full hour. That hour is the yeast doing the heavy lifting for our french bread!
Shaping and Second Rest Period
When the hour is up, gently scrape the sticky dough onto a lightly floured surface. Try not to punch it down—we want to keep all those lovely gas bubbles we just created! Divide the dough right down the middle. Now, for the shaping: you are working toward a baguette here, so gently stretch and fold each piece into a long, thin loaf. Be delicate! Think of it as tucking a baby in, not wrestling a bear. Place your two shaped loaves onto parchment paper, leave some space between them, and cover them loosely. They need one last quick nap for 30 minutes while you prep the oven.
Creating Steam for Maximum Crust on Your French Bread
Preheat your oven to a screaming 450°F (232°C) about 15 minutes before that 30-minute rest is up. This is critical for our crusty bread tutorial. Put a shallow metal pan—like an old broiler pan—on the bottom rack while it heats up. This pan is for the steam bath! Once the oven is hot and your loaves are rested, use a very sharp knife or a razor blade (careful!) to make three diagonal slashes across the top of each loaf. These slashes, or *scores*, allow the bread to expand predictably. Move fast now: slide your loaves in, and then immediately and carefully pour about a cup of hot water into that hot pan on the bottom rack. Close the door quick! This is how you make authentic french bread.

Baking and Cooling
That steam rush is what guarantees that beautiful, golden, crackly exterior on your french bread. Bake them for about 20 to 25 minutes. You’ll know they are done when the crust is deep brown and if you tap the bottom, it sounds totally hollow. That’s the sign of perfect structure! Once they come out, get them onto a wire rack immediately. And here’s the hardest part: you must let them cool completely. If you slice them too soon, the interior texture will be gummy, and we worked too hard for that!
Expert Tips for the Best Crusty Bread Tutorial
Even though this is our base recipe for amazing, crusty loaves, I always have a few little tricks up my sleeve from testing hundreds of batches. These aren’t core instructions; they are just little performance enhancers Lena and I use when we want to push the boundaries on texture or speed. Since we’re talking about artisan bread baking here, even small tweaks can make a huge difference in the final result! If you want to dive deeper into advanced techniques like long fermentation, check out the details in our Artisan Bread Baking guide.
Adjusting This French Bread Recipe for Soft and Fluffy French Bread
Okay, so while I adore the shattering crunch of a true baguette, sometimes you need that pillowy softness for dipping into soup or making a really great sandwich. If you are aiming for a soft fluffy french bread texture instead of the classic crisp crust, you need to change two things at the end of the bake. First, reduce your bake time by about five minutes—keep an eye on it after the 15-minute mark! Second, the second they come out of the oven, brush the tops of your hot french bread loaves lightly with some melted, unsalted butter. That little bit of fat immediately softens any residual crispness. It’s a totally different texture, but still delicious!
The Quick French Bread Recipe Under 2 Hours Variation
This is my favorite life-hack when we need fresh bread fast, maybe because we forgot to plan dinner properly—oops! Remember the second rest period we talked about, the 30 minutes the loaves spent covered on the sheet pan? If you are in a massive rush, you can skip that completely! That second rise is primarily for flavor development and final proofing, but honestly, the dough is active enough that it will still bake up beautifully if you are short on time. Just move directly from shaping to preheating and baking. You’ll have true, edible french bread ready in under two hours total because you cut that 30-minute wait. It’s our go-to quick french bread recipe when time is of the essence!
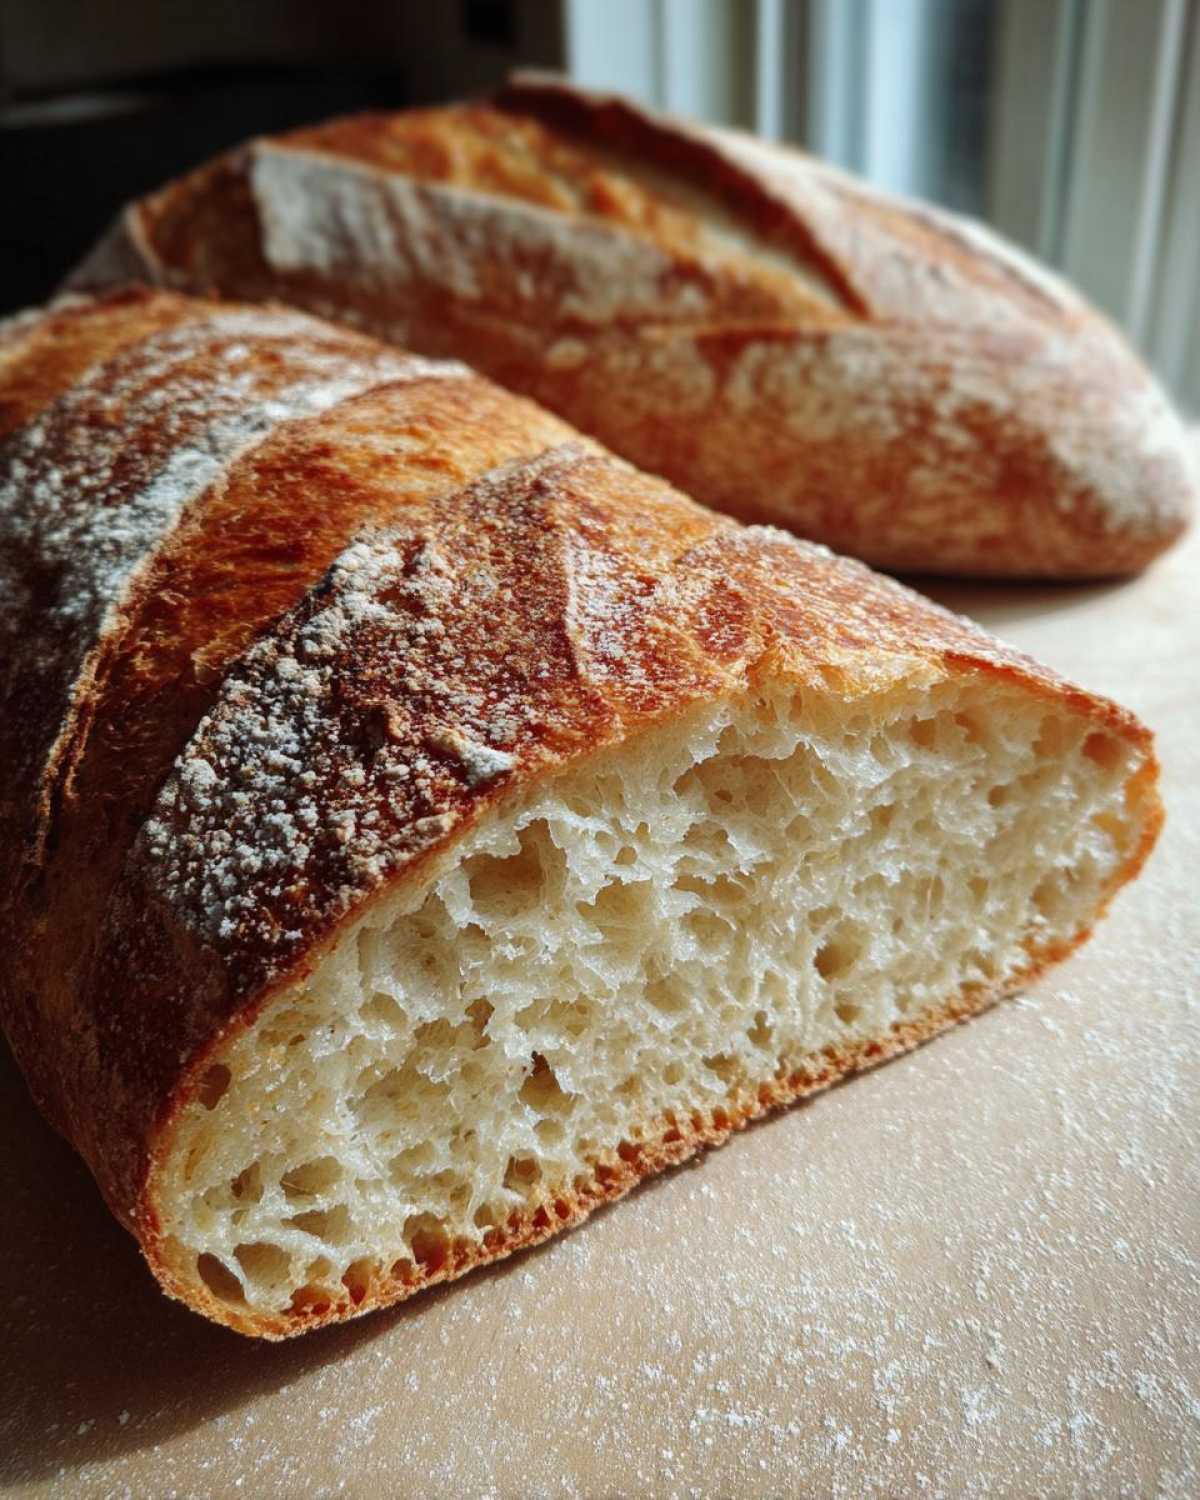
Ingredient Notes and Substitutions for Your French Bread
Because this recipe for french bread is so stripped down—just four main players—the quality and temperature of those ingredients really matter. I can’t stress this enough: warm water is non-negotiable! If it’s too cold, the yeast just sleeps in, and you end up with heavy dough. Too hot, and you essentially kill the little guys, which means no rise. Aim for that 105–115°F range so they wake up happy.
As for flour, we wrote this specifically using all-purpose flour because it makes the recipe accessible for beginner bakers. Using bread flour will give you slightly more chew, but honestly, the steam and high heat are doing most of the heavy lifting to create that crusty effect, so stick with AP flour for this simple homemade french bread recipe if that’s what you have!
Serving Suggestions for Homemade French Bread Recipe
Now that you’ve created a masterpiece crusty french bread, the crucial next step is deciding what to slather on it! Nothing beats tearing off a warm piece dipped into good olive oil and balsamic vinegar. If you’re using this as a side for dinner, it’s the perfect companion for saucy dishes. Lena just made an amazing Creamy Chicken Tortellini Soup last week, and we practically demolished both loaves just for dipping!
If you’re keeping it classic, just a thick swipe of salted, softened butter does the trick while the bread is still warm. It really is that simple!
Storage and Reheating Instructions for Leftover French Bread
It’s actually tough to have leftovers, but when you do, storing your french bread correctly keeps it enjoyable for a day or two. Don’t seal it tightly in plastic right away! If you wrap it while it’s still warm, the steam gets trapped, and that beautiful crust turns instantly soft and chewy—the opposite of what we want. Once it’s completely cool, wrap it loosely in a clean kitchen towel and keep it at room temperature.
To refresh that crust the next day? Simple! Just spritz the loaf lightly with water and pop it back into a 350°F oven for about five minutes. That steam injection brings the crunch right back to your lovely french bread. Quick and effective!
Frequently Asked Questions About Making French Bread
We always get questions coming in after we post a recipe, which is exactly what we want! It means you’re getting into the trenches of baking with us. Lena keeps a running list of the most common unknowns we run into when trying to achieve that perfect crusty bread tutorial at home.
Why is my crust on the french bread not crispy?
Nine times out of ten, if your crust isn’t snapping, it’s because there wasn’t enough steam in the oven during the first 10 minutes of baking. That steam keeps the surface moist enough to expand before hardening. If you missed the water pan trick, don’t worry! You can try spraying the oven walls with water twice during that initial baking period for a quick fix. This is the main hurdle when attempting artisan bread baking at home.
Can I use active dry yeast instead of instant yeast in this recipe?
You absolutely can! Since active dry yeast usually needs to be ‘proofed’ first, you’ll need an extra step. Take your yeast and dissolve it in a couple of tablespoons of your measured warm water, letting it sit for 5 to 10 minutes until it gets foamy. Once that happens, use that yeast-water mixture in place of the dry yeast and the equivalent amount of plain water from the recipe. It still results in delicious french bread!
How do I ensure I get a soft and fluffy french bread loaf instead of crusty?
This is a great question, and we covered the details in the tips section above, but for a quick reminder: to guarantee that soft fluffy french bread texture, you need to reduce the oven heat slightly and, most importantly, brush the top of the loaf with melted butter right when it comes out of the oven. This instantly locks in a softer exterior crumb rather than the hard shell.
Can I skip the shaping stage and just bake this as one big loaf?
You can, and it becomes a wonderful no-fuss french loaf! If you skip dividing the dough and shaping it into baguettes, just let the large dough mass proof the same total time (the 30-minute rest) on your parchment-lined baking sheet. You’ll need to add about 5 to 10 minutes to the bake time because the heat takes longer to push through a big mound of dough. It’s a great alternative if you’re looking for a loaf easier to slice for toast or sandwiches. Check out how we approach making similar doughs in our guide for Soft and Fluffy Homemade Garlic Naan Bread!
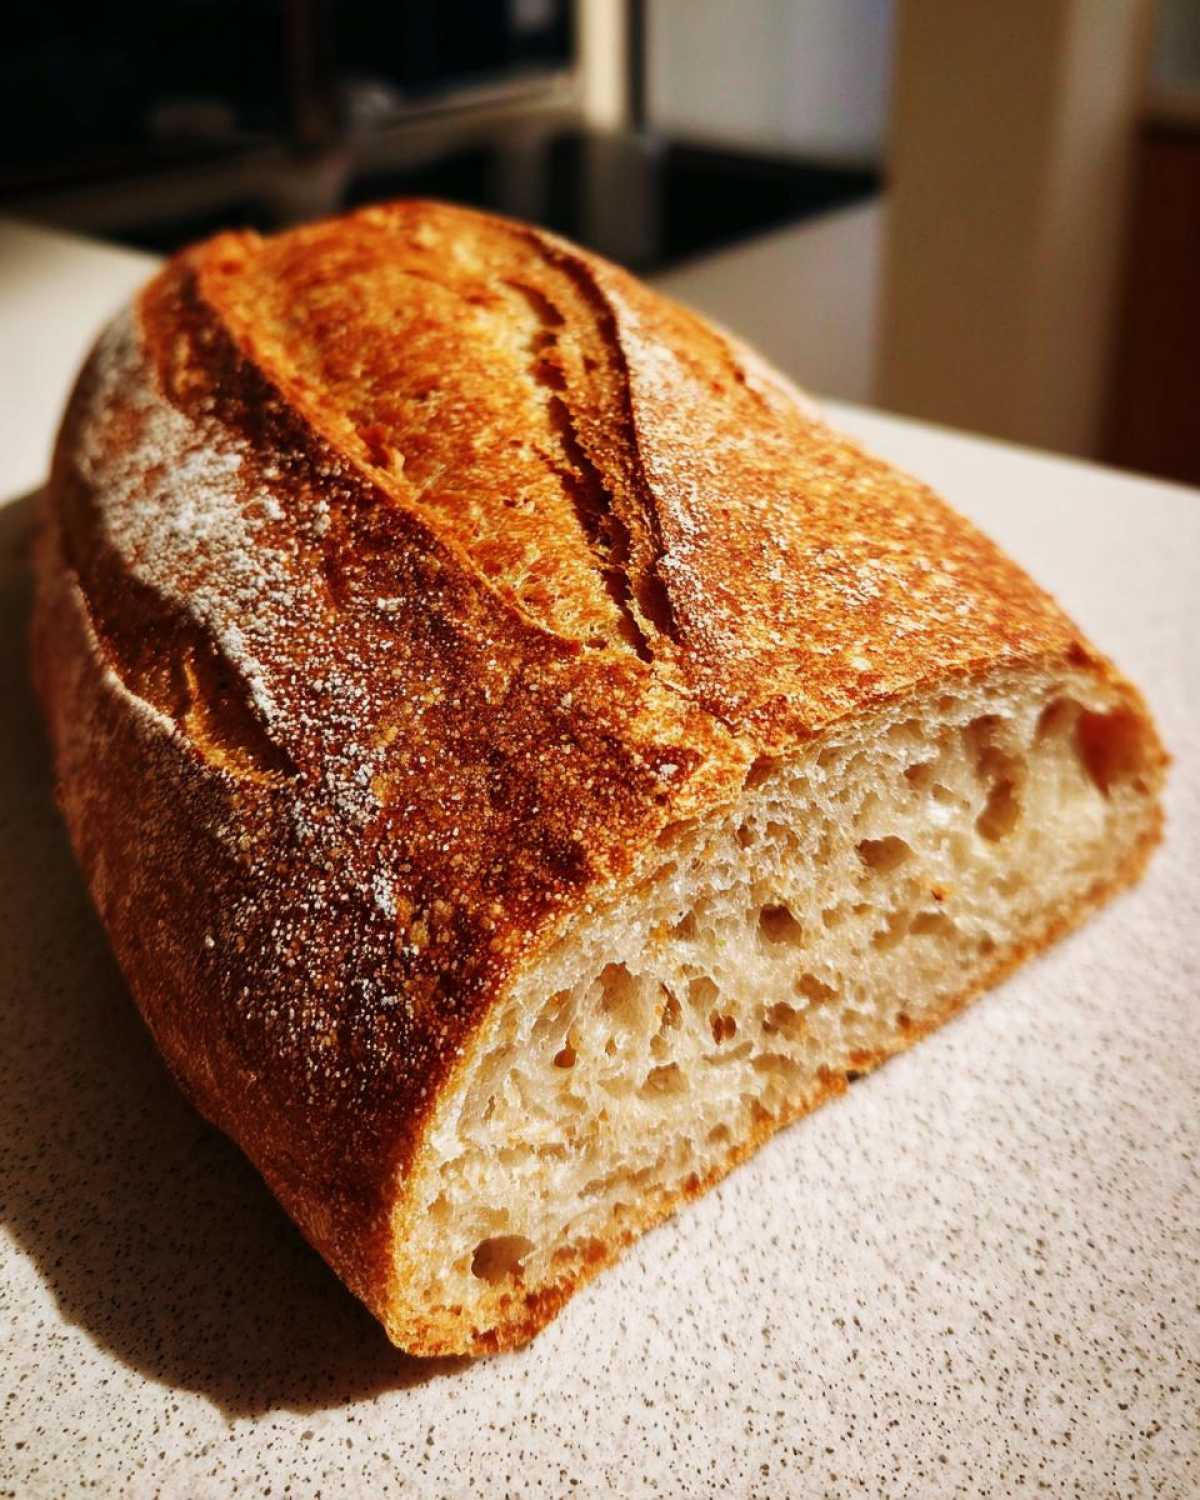
Your Next Baking Project
Alright, bakers, that’s the entire battle plan for achieving fantastic french bread right in your home kitchen! Now that you have inherited our perfected blueprint, the next step is putting it into action. Lena and I absolutely live for seeing your results—it’s how we know our strategies are working out in the real world!
When you try this recipe, tell us exactly how the crust turned out. Did you get that satisfying crackle? Maybe you experimented with the steam method or tried the quick variation—let us know which path you took in the comments below. Don’t be shy about sharing photos; we love seeing your loaves displayed proudly!
Drop your thoughts, tips, or any burning questions you still have about yeasted doughs down below. We check the comments section religiously, ready to help troubleshoot or just cheer you on. If you’re hungry for more blueprints for building your Epicure Empire, you can always browse all our latest culinary projects over on the main Blog!
PrintClassic Crusty Homemade French Bread (Baguette Style)
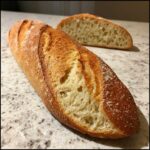
Bake bakery-style French bread at home with this easy recipe. You achieve a wonderfully crisp crust and a soft, airy interior using simple ingredients. This recipe is your blueprint for classic French baking.
- Prep Time: 15 min
- Cook Time: 25 min
- Total Time: 1 hour 40 min
- Yield: 2 loaves
- Category: Baking
- Method: Baking
- Cuisine: French
- Diet: Vegetarian
Ingredients
- 3 cups all-purpose flour
- 1 teaspoon instant yeast
- 1 1/2 teaspoons salt
- 1 1/4 cups warm water (about 105-115°F)
Instructions
- In a large bowl, whisk together the flour, instant yeast, and salt.
- Pour in the warm water. Mix with a wooden spoon until a shaggy dough forms and no dry flour remains. Do not overmix.
- Cover the bowl tightly with plastic wrap and let the dough rest at room temperature for 1 hour. This is the first rise.
- Gently turn the dough out onto a lightly floured surface. Divide the dough into two equal pieces.
- Shape each piece into a long, thin loaf resembling a baguette. Work gently to keep the air in the dough.
- Place the shaped loaves onto a baking sheet lined with parchment paper, leaving space between them. Cover loosely with plastic wrap. Let them rest for 30 minutes. This is the second rise.
- About 15 minutes before baking, preheat your oven to 450°F (232°C). Place a shallow pan on the bottom rack to create steam later.
- Just before baking, use a sharp knife or razor blade to make three diagonal slashes across the top of each loaf.
- Carefully pour 1 cup of hot water into the preheated shallow pan to create steam, then quickly place the loaves in the oven.
- Bake for 20 to 25 minutes, or until the crust is deep golden brown and sounds hollow when tapped.
- Remove the loaves from the oven and let them cool completely on a wire rack before slicing. Enjoy your French bread with butter or soup.
Notes
- For a crispier crust, spray the inside walls of the oven with water two times during the first 10 minutes of baking.
- If you want a quicker result, try our 90 Minute French Bread variation: After the first rise, skip the 30-minute rest and proceed directly to shaping and baking. Total time is reduced significantly.
- This recipe makes a classic crusty bread. For a soft and fluffy French bread loaf, reduce the baking time by 5 minutes and brush the tops lightly with melted butter immediately after removing them from the oven.
Nutrition
- Serving Size: 1 slice (1/8 loaf)
- Calories: 180
- Sugar: 1
- Sodium: 350
- Fat: 1
- Saturated Fat: 0
- Unsaturated Fat: 1
- Trans Fat: 0
- Carbohydrates: 38
- Fiber: 2
- Protein: 6
- Cholesterol: 0