

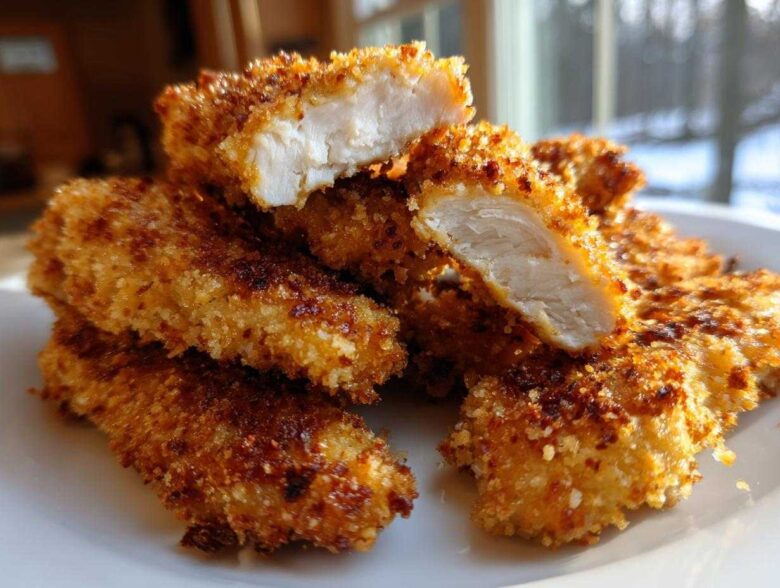
Oh, I know the struggle! You want that incredible crunch—the kind you usually only get from a deep fryer—but without all the mess and oil. For years, I tried everything. I baked them on foil, I put them right on the sheet pan, and every time I ended up with sad, chewy jackets clinging to faintly steamed chicken. It was so defeating, especially when everyone insists that Crispy Oven Baked Chicken Tenders Extra Juicy is impossible.
Well, I’m here to tell you that person was wrong! I finally cracked the code after realizing the problem wasn’t the oven; it was the setup and the coating. This method is a game-changer. We are going to use a buttermilk soak, the right breadcrumb (Panko, always!), and, most importantly, the magical wire rack to ensure everything circulates that hot air. Follow my steps, and I promise, you will finally achieve true Crispy Oven Baked Chicken Tenders Extra Juicy. No deep fryer required!
Why This Recipe Delivers Crispy Oven Baked Chicken Tenders Extra Juicy
Okay, so ditching the oil doesn’t mean ditching the crunch! My secret to getting that amazing bite while keeping these tenders soft inside comes down to two non-negotiable things: what we marinate them in first, and what we coat them with. Seriously, these elements are what transform them from “okay” baked chicken into the ultimate Crispy Oven Baked Chicken Tenders Extra Juicy you’ve been dreaming about. They’re healthy *and* crispy—a miracle, I know!
- The buttermilk soak works magic before the oven even heats up.
- Using Panko breadcrumbs is absolutely essential for authentic crunch.
The Role of Buttermilk in Keeping Chicken Extra Juicy Baked
Buttermilk isn’t just for soaking; it’s an insurance policy for moisture! The gentle acid in the buttermilk does two great things. First, it slightly breaks down those tough muscle fibers, meaning the chicken stays tender. Second, it sets up a perfect damp surface that helps our coating stick better. When we lock that moisture in with the coating, we get that wonderfully Extra Juicy Baked Chicken texture we are aiming for. You can check out my full thoughts on marinades here, but for this recipe, the soak is key!
Achieving the Best Oven Fried Chicken Texture with Panko
If you try to use regular breadcrumbs, you’ll end up crying over soggy tenders. Panko flakes are different—they’re lighter and larger, so they crisp up in the oven like tiny little shields around the chicken. They don’t absorb as much oil (even the little bit of spray we use!) which keeps the coating light and incredibly crunchy. Once you switch to Panko for your Crispy Oven Baked Chicken Tenders Extra Juicy, you’ll never go back to the old stuff, I promise!
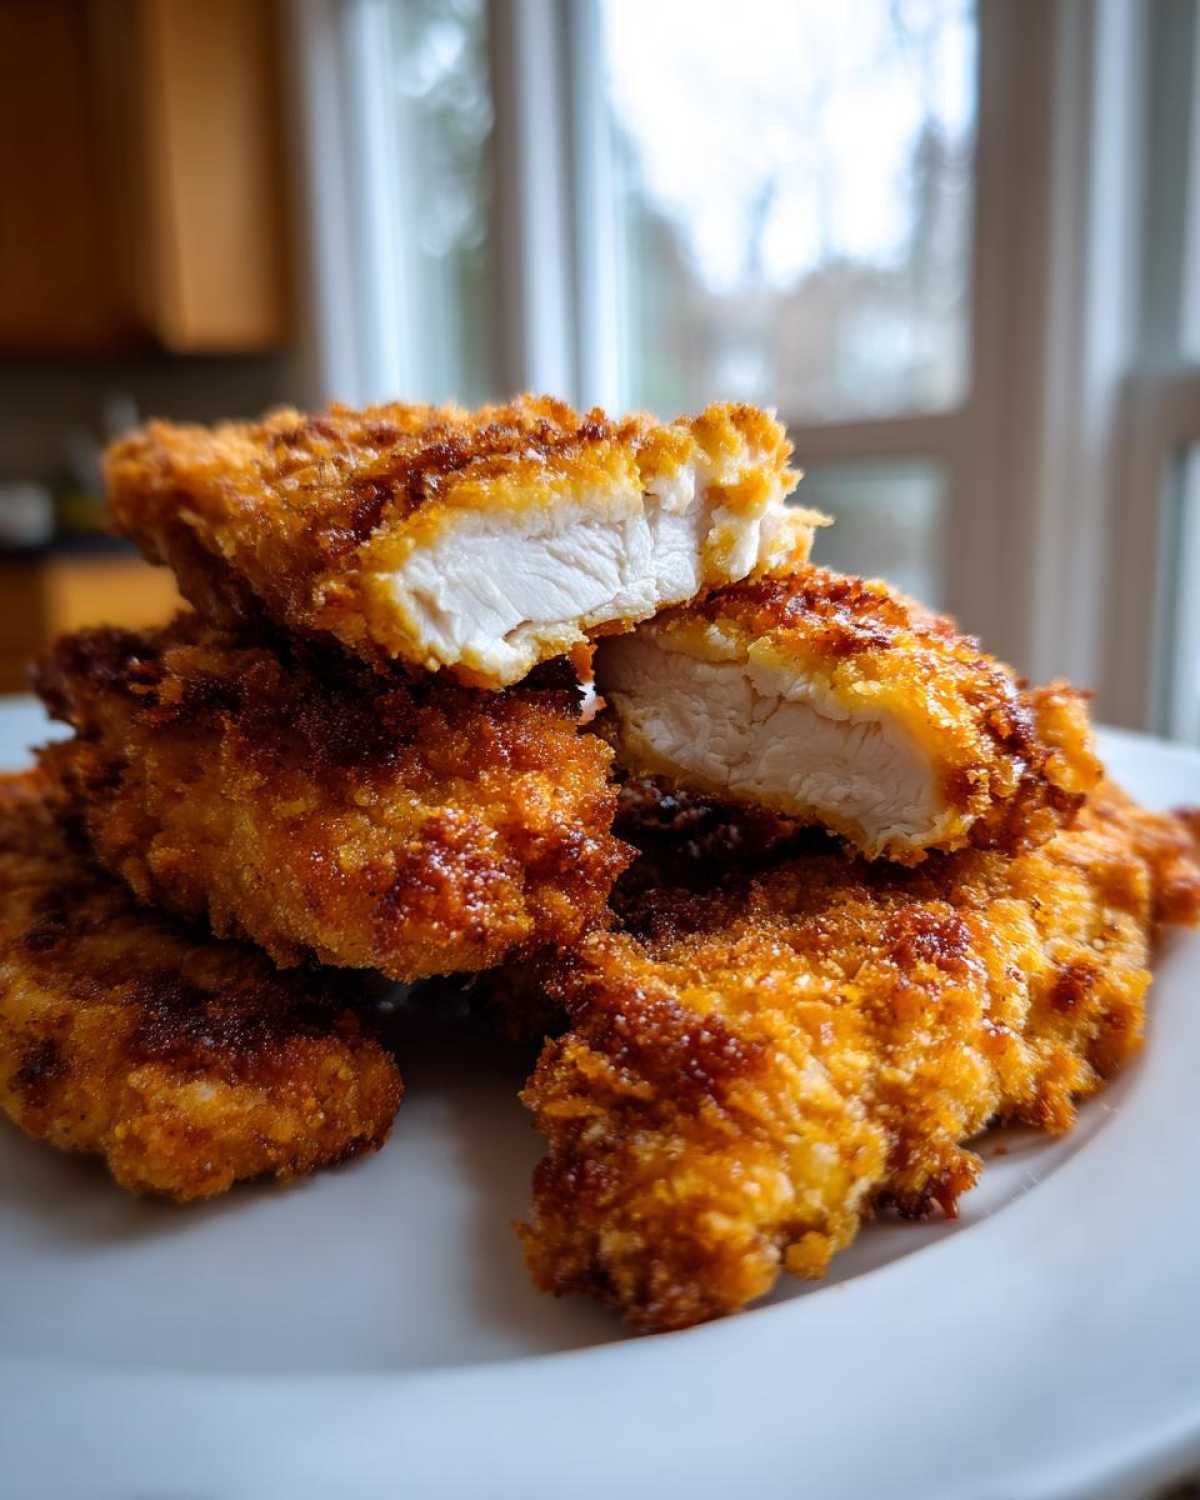
Essential Ingredients for Crispy Oven Baked Chicken Tenders Extra Juicy
Alright, let’s talk supplies. You don’t need a pantry full of weird stuff to conquer the baked chicken world! This list is short and sweet, but every single item plays a starring role in getting us that perfect texture. A couple of things here are non-negotiable if you want the absolute best Crispy Oven Baked Chicken Tenders Extra Juicy.
Here’s what you need to gather before you start:
- 1.5 lbs of boneless, skinless chicken tenderloins—try to keep them roughly the same size so they cook evenly!
- 1 cup of classic buttermilk. This is our juiciness secret weapon, so don’t skip it.
- The seasoning trio: 1 teaspoon salt, 1/2 teaspoon black pepper, 1 teaspoon garlic powder, and 1/2 teaspoon paprika.
- 1 cup of all-purpose flour for the first dredge.
- 1 cup of Panko breadcrumbs. Seriously, Panko makes the difference between crunchy and just… breaded.
- If you want to go REALLY over the top crispy, grab 1/4 cup of grated Parmesan cheese to mix with the Panko—it adds amazing structure.
- And finally, cooking spray! You need a good oil-based one, not just non-stick coating. This mimics frying oil.
See? Simple! But that combination—especially the Panko—is what seals the deal for crispy, never soggy results. Grab these, and we are ready to move on to the actual process!
Step-by-Step Guide to Crispy Oven Baked Chicken Tenders Extra Juicy
This is where the magic really happens! If you want to prove everyone wrong about oven-baked chicken, you have to follow these steps meticulously. Temperature and timing are everything here to lock in that juiciness while crisping up that Panko shell. Trust me, spending a little extra time on the setup means you get perfection when you’re ready to eat. If you want to see how I handle crispy baking for wings, you can peek at that technique right here, but for tenders, we focus on airflow!
Preparation: Marinating for Maximum Juiciness
First things first: we need to get those tenders happy! In a bowl, mix your buttermilk with the salt, pepper, garlic powder, and paprika. Toss in all 1.5 pounds of chicken. This needs a minimum of 30 minutes in the fridge. Don’t rush this part! That soak time is the secret handshake your chicken gives the oven, promising to stay wonderfully tender. If you do this earlier in the day, even better—that added time means more flavor and serious moisture retention for your Extra Juicy Baked Chicken.
Setting Up for Crispy Chicken Tenders No Fry Success
While the chicken is chilling out, you need to prep your oven environment. This is absolutely critical for that crunchy bottom layer! Crank that oven up—we need it HOT, 425 degrees Fahrenheit. Next, grab a baking sheet and place a wire rack inside it. Yes, the rack! This lifts the chicken off the pan so air can actually circulate underneath, which is the only way to get that Best Oven Fried Chicken Texture without oil. Then, set up your dredging station: one dish with flour, one dish with your Panko and Parmesan mix.
The Double-Dredge Technique for Crunchy Coating
Time to coat! Pull the chicken out of the buttermilk one by one, letting the extra drip away—you don’t want soaking wet chicken going into the flour, or it’ll get gluey. First dredge: coat it entirely in the flour, then shake off the excess. Now comes the crunch layer: press that floured piece firmly into the Panko mixture, making sure you get great coverage all around. Press it gently so it really grabs on. Once they’re all breaded, arrange them on the rack so none of them are touching. Finally, give the tops a good, generous spray with your cooking spray. Get it nice and coated!
Baking Time and Temperature for Perfectly Cooked Baked Chicken
In they go! Bake these beauties for 18 to 22 minutes total. But you have to flip them halfway through—around the 10-minute mark. When you flip them, give the second side a quick, light spray of oil too. We are checking for two things: a deep golden-brown color, and (most importantly for safety and quality) an internal temperature of 165°F. That high heat at the beginning locks everything down for that Perfectly Cooked Baked Chicken!
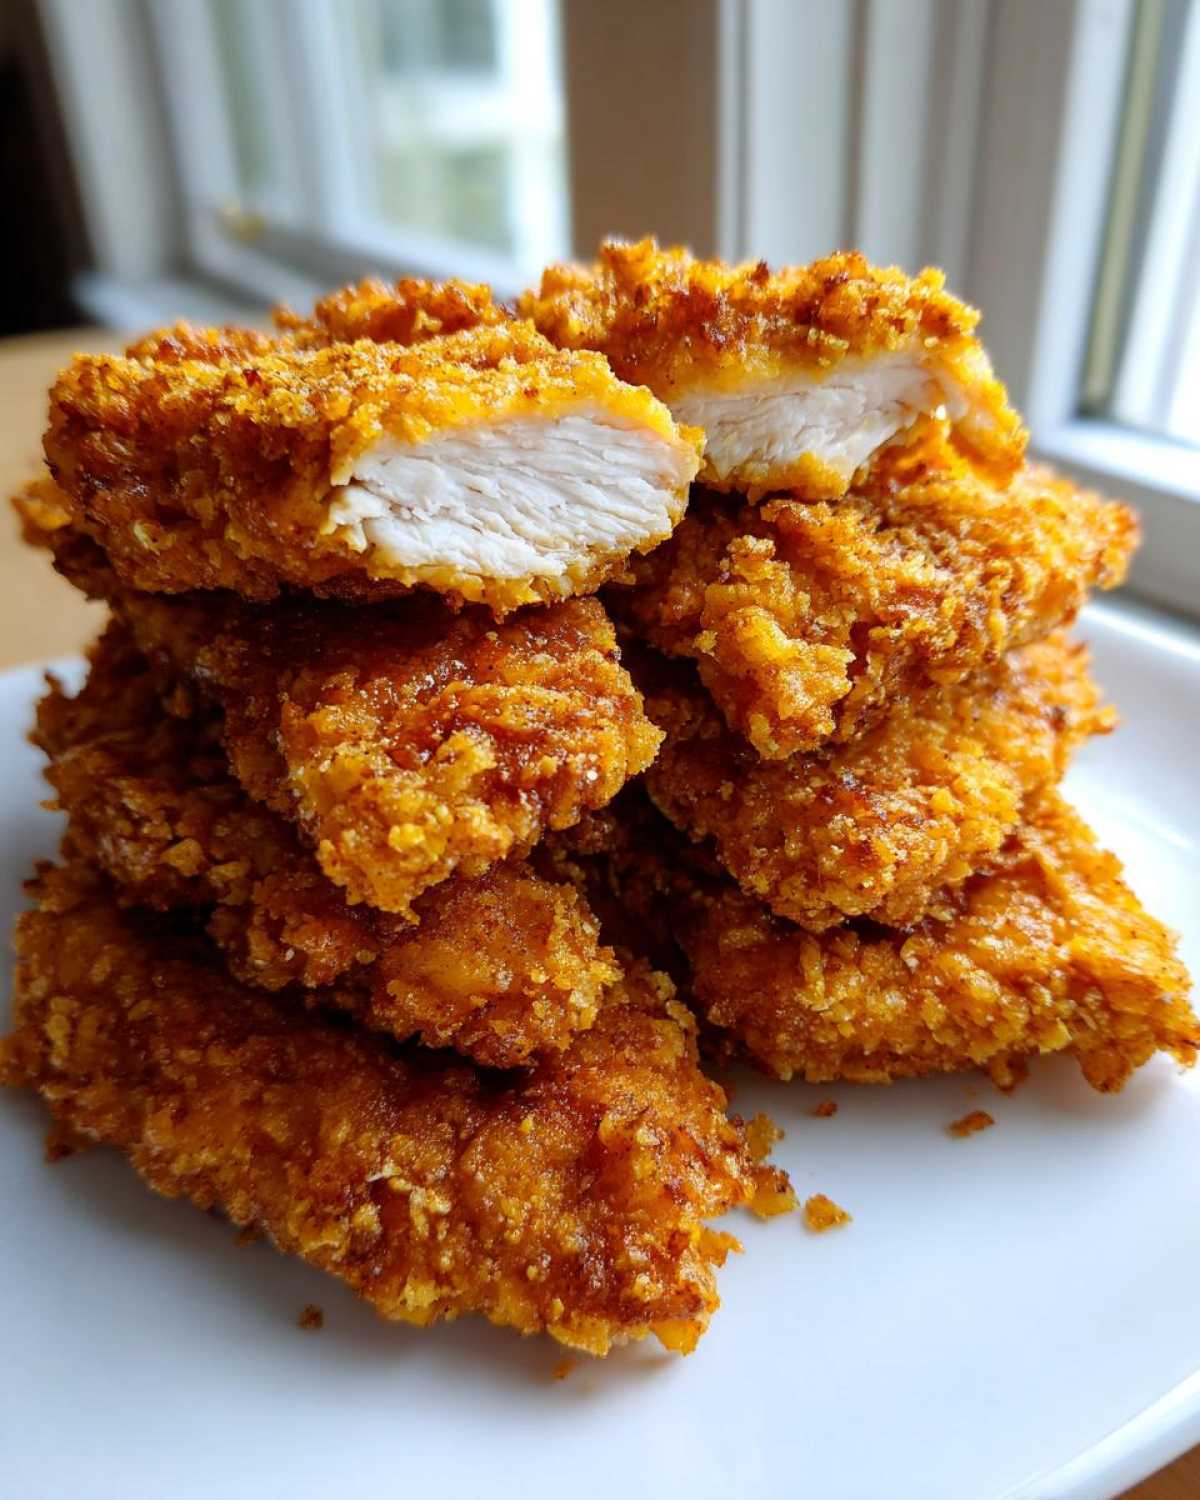
Tips for Success: How to Make Baked Chicken Crispy Every Time
I’ve made these enough times now that I can spot a potential texture disaster from a mile away! Getting that guaranteed crunch is all about respecting the physics of baking. If you want truly Crispy Oven Baked Chicken Tenders Extra Juicy, these two habits are vital. Sometimes I look at my setup and think about how I used to mess this up, and honestly, it’s just funny now!
Why Airflow Matters for Crispy Oven Baked Chicken Tenders
I can’t stress this enough: the wire rack isn’t optional. If you leave the chicken sitting directly on the sheet pan, the steam created during baking has nowhere to go but back underneath your breading. Poof! You just steamed your coating! The rack elevates them so the 425-degree air can hit all sides. Think of it like putting them on a little platform to get the best tan possible. If you want to see what I mean about essential airflow in other recipes, like how I get my Yorkshire puddings super puffy, check out my notes over here.
Avoid Overcrowding the Pan
If you squeeze too many tenders onto that single rack, they trap steam between each other. When they touch, that spot touching the neighbor never gets that beautiful dry heat exposure, and it ends up soft and pale. You want space between every single one, like they’re sunbathing safely apart! Give them elbow room so you get that consistent, all-over crunch you deserve from your Homemade Chicken Fingers Oven attempt.
Ingredient Notes and Substitutions for Juicy Tender Chicken Breast Recipe
I know sometimes you look at a recipe and realize you’re missing one thing, and you think, “Well, that’s that.” Don’t let that happen here! We can absolutely make smart swaps while keeping the goal in sight: Crispy Oven Baked Chicken Tenders Extra Juicy. If you’re out of buttermilk—and honestly, it happens—just combine 1 cup of regular milk with one tablespoon of white vinegar or lemon juice. Let that sit on the counter for five minutes until it looks a little curdled. That’s your homemade replacement, and it works just as well to keep the chicken juicy!
What about that Parmesan? If you skip it, you’ll still get a fantastic, crunchy coating because of the Panko, but that cheese just adds a nutty depth and keeps the exterior extra firm. It’s an optional step up, not a requirement. And if you don’t have Panko? Use regular breadcrumbs, but you absolutely MUST spray them with extra cooking spray and maybe even bake it a couple of minutes longer. Don’t worry too much if you need to improvise a little; the buttermilk soak is truly the most important partner for achieving that Juicy Tender Chicken Breast Recipe result!
Serving Suggestions for Your Homemade Chicken Fingers Oven Meal
Now that you’ve mastered the art of the perfectly cooked chicken tender, we need something to dip them in and something to make it a full meal! Since this recipe works so well for a Kid Friendly Baked Chicken Recipe, I usually lean toward things that are easy and classic. Everyone loves dipping these bad boys in honey mustard or ranch, of course.
For a substantial dinner, you can’t go wrong pairing them with some creamy mashed potatoes—I use my slow cooker recipe for those when I’m busy coating chicken! You can find the easiest method right here.
Or, keep it light with some simple roasted broccoli tossed with garlic salt. Either way, with this crunch factor, you won’t have any leftovers!
Storage and Reheating for Leftover Crispy Oven Baked Chicken Tenders Extra Juicy
If you somehow manage to have leftovers—which is rare in my house—you need to know how to save that crunch! Store them in an airtight container in the fridge. Don’t just toss them in a zip-top bag; that traps moisture and turns the crust soft fast. The next day, those tenders won’t be quite as perfect, but we can absolutely revive them!
Forget the microwave; it turns them instantly rubbery. The secret to bringing back that glorious crunch is using dry heat again. Pop them back onto a wire rack set on a baking sheet in a 350°F oven for about 8 to 10 minutes. That just warms the inside nicely while drying out and crisping up the exterior again. They’ll be nearly as good as fresh!
Frequently Asked Questions About Crispy Oven Baked Chicken Tenders
It’s funny how many questions pop up once people realize they can get truly crunchy chicken without the fryer! Here are a few things I hear most often when people are trying to master this recipe. If you’re looking for even more quick snack ideas, take a look at my roundup post over here!
Can I make these Crispy Chicken Tenders No Fry using chicken breasts instead?
Absolutely! You can definitely use whole chicken breasts, but you must cut them into roughly the same size as the tenders so they fit nicely into that 18 to 22-minute window. If you leave them too thick, you risk drying out the outside before the middle hits that safe 165°F. Cut them uniformly, and you’ll be fine!
What temperature should the oven be set to for the crispiest coating?
We need high heat to mimic that fast sear you get from frying! You absolutely must set your oven to 425 degrees Fahrenheit. This high temperature is essential because it quickly evaporates surface moisture from the coating, setting up that beautiful crunch that gives you that Air fryer style baked chicken effect, only in your conventional oven.
How long can the chicken marinate in the buttermilk?
The buttermilk soak is flexible, but you don’t want to overdo it. Thirty minutes is my recommendation for the best flavor and texture marriage. If you push it to four hours, the acid starts to break down the protein too much, and while it will be super tender, it might start getting a little soft or mushy, which defeats the purpose of aiming for the Extra Juicy Baked Chicken!
Nutritional Snapshot of This Easy Weeknight Chicken Tenders Recipe
I always get asked about the numbers, especially since these are so much healthier than your standard takeout version! Look, I’m a cook, not a dietitian, but I tracked these basic figures based on the ingredients we used. The great thing about this Easy Weeknight Chicken Tenders Recipe is that they are packed with protein and use minimal fat, especially since we aren’t deep frying them. You’re getting a fantastic flavor payoff for very little dietary guilt.
Keep in mind that these estimates are based on serving four people with four tenders each, and they can vary based on the exact size of your chicken pieces and how much spray you use. For full transparency, you can read more about how we calculate these figures on our disclaimer page here.
Here’s the rough breakdown:
- Serving Size: 4 tenders
- Calories: Around 320 per serving
- Protein: A whopping 33 grams! Great for keeping you full.
- Fat: About 10 grams total (mostly healthy, unsaturated fat).
- Carbohydrates: Roughly 25 grams (mostly coming from the Panko coating).
- Sugar: Very low, only about 2 grams.
- Sodium: 450mg (Remember this includes the salt in the marinade, so be mindful if you use heavily salted rubs elsewhere!
Seriously, these are a winner for a weeknight meal. Great protein, great crunch, and you can feel good about what you’re feeding your family!
PrintCrispy Oven Baked Chicken Tenders Extra Juicy

This recipe provides a method for making chicken tenders that are crispy on the outside and remain very moist inside using only an oven.
- Prep Time: 15 min
- Cook Time: 22 min
- Total Time: 37 min
- Yield: 4 servings
- Category: Main Course
- Method: Baking
- Cuisine: American
- Diet: Low Fat
Ingredients
- 1.5 lbs boneless, skinless chicken tenderloins
- 1 cup buttermilk
- 1 teaspoon salt
- 1/2 teaspoon black pepper
- 1 teaspoon garlic powder
- 1/2 teaspoon paprika
- 1 cup all-purpose flour
- 1 cup Panko breadcrumbs
- 1/4 cup grated Parmesan cheese (optional, for extra crisp)
- Cooking spray (high heat oil based)
Instructions
- Soak the chicken tenders in the buttermilk mixed with salt, pepper, garlic powder, and paprika for at least 30 minutes in the refrigerator. This helps keep them juicy.
- Preheat your oven to 425 degrees Fahrenheit. Line a baking sheet with a wire rack and lightly spray the rack with cooking spray. Placing the chicken on a rack allows air to circulate, promoting crispiness.
- Set up your dredging station: Place the flour in one shallow dish. In a second dish, mix the Panko breadcrumbs and Parmesan cheese, if using.
- Remove the chicken from the buttermilk, letting excess drip off, but do not pat dry.
- Dredge each tender first in the flour, shaking off any excess.
- Dip the floured tender into the Panko mixture, pressing gently to make sure the breadcrumbs adhere completely. This double coating helps seal in moisture and adds crunch.
- Place the coated tenders on the prepared wire rack, ensuring they do not touch.
- Spray the tops of the coated tenders generously with cooking spray. This mimics the effect of frying oil.
- Bake for 18 to 22 minutes, flipping the tenders halfway through the cooking time.
- Spray the second side lightly with cooking spray after flipping. The chicken is done when the internal temperature reaches 165 degrees Fahrenheit and the coating is golden brown and crisp.
Notes
- For the crispiest results, ensure your oven is fully preheated before placing the chicken inside.
- Use Panko breadcrumbs instead of standard breadcrumbs for superior crunch.
- Do not skip the wire rack; it is essential for achieving a crispy bottom crust in the oven.
Nutrition
- Serving Size: 4 tenders
- Calories: 320
- Sugar: 2
- Sodium: 450
- Fat: 10
- Saturated Fat: 3
- Unsaturated Fat: 7
- Trans Fat: 0
- Carbohydrates: 25
- Fiber: 1
- Protein: 33
- Cholesterol: 95