

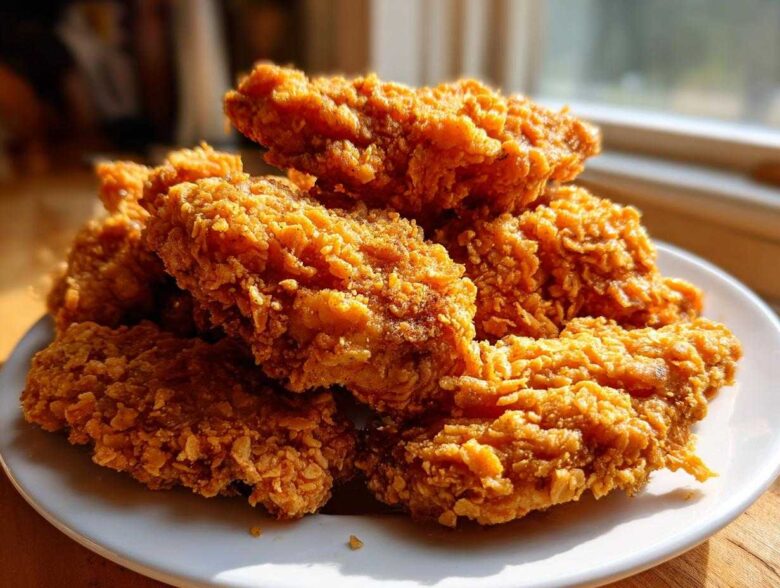
Oh, listen, I get it. You want that magnificent crunch, that satisfying shatter when you bite into your chicken, but the idea of deep-frying for an easy weeknight dinner just sends you straight to the couch instead of the stove! I spent months testing every trick in the book—different racks, bizarre ingredients, weird pre-heating methods—trying to conquer the soggy bottom for good.
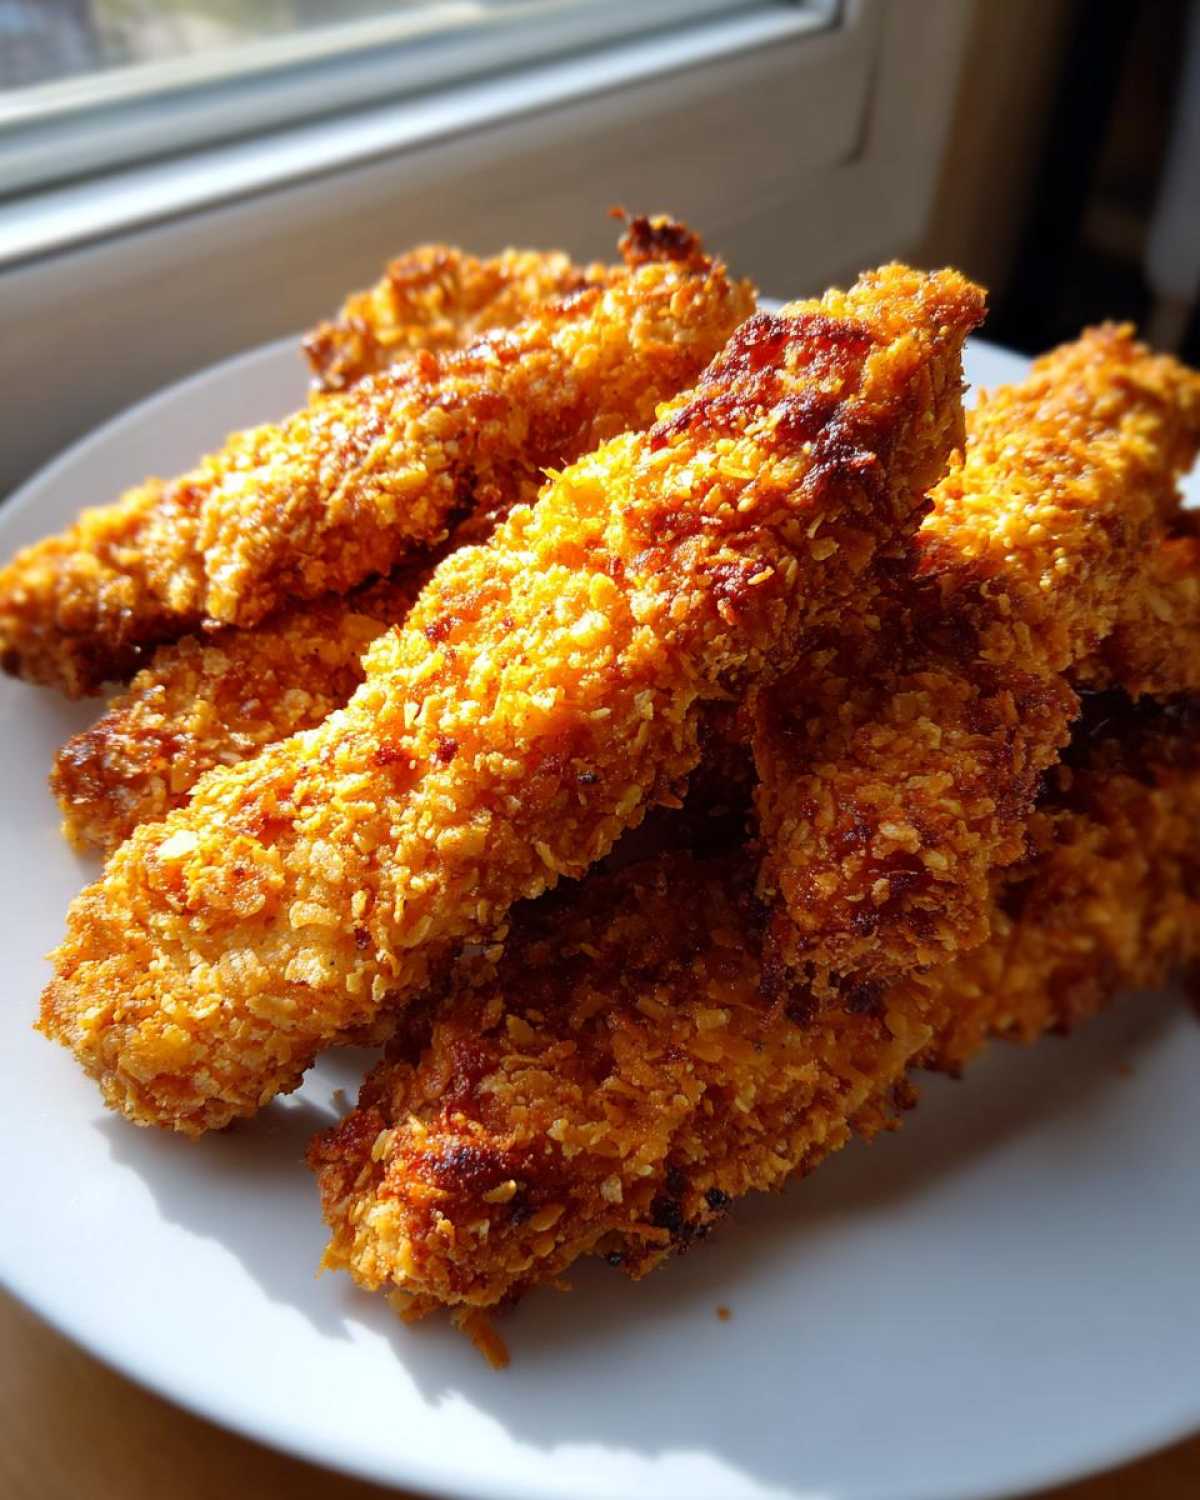
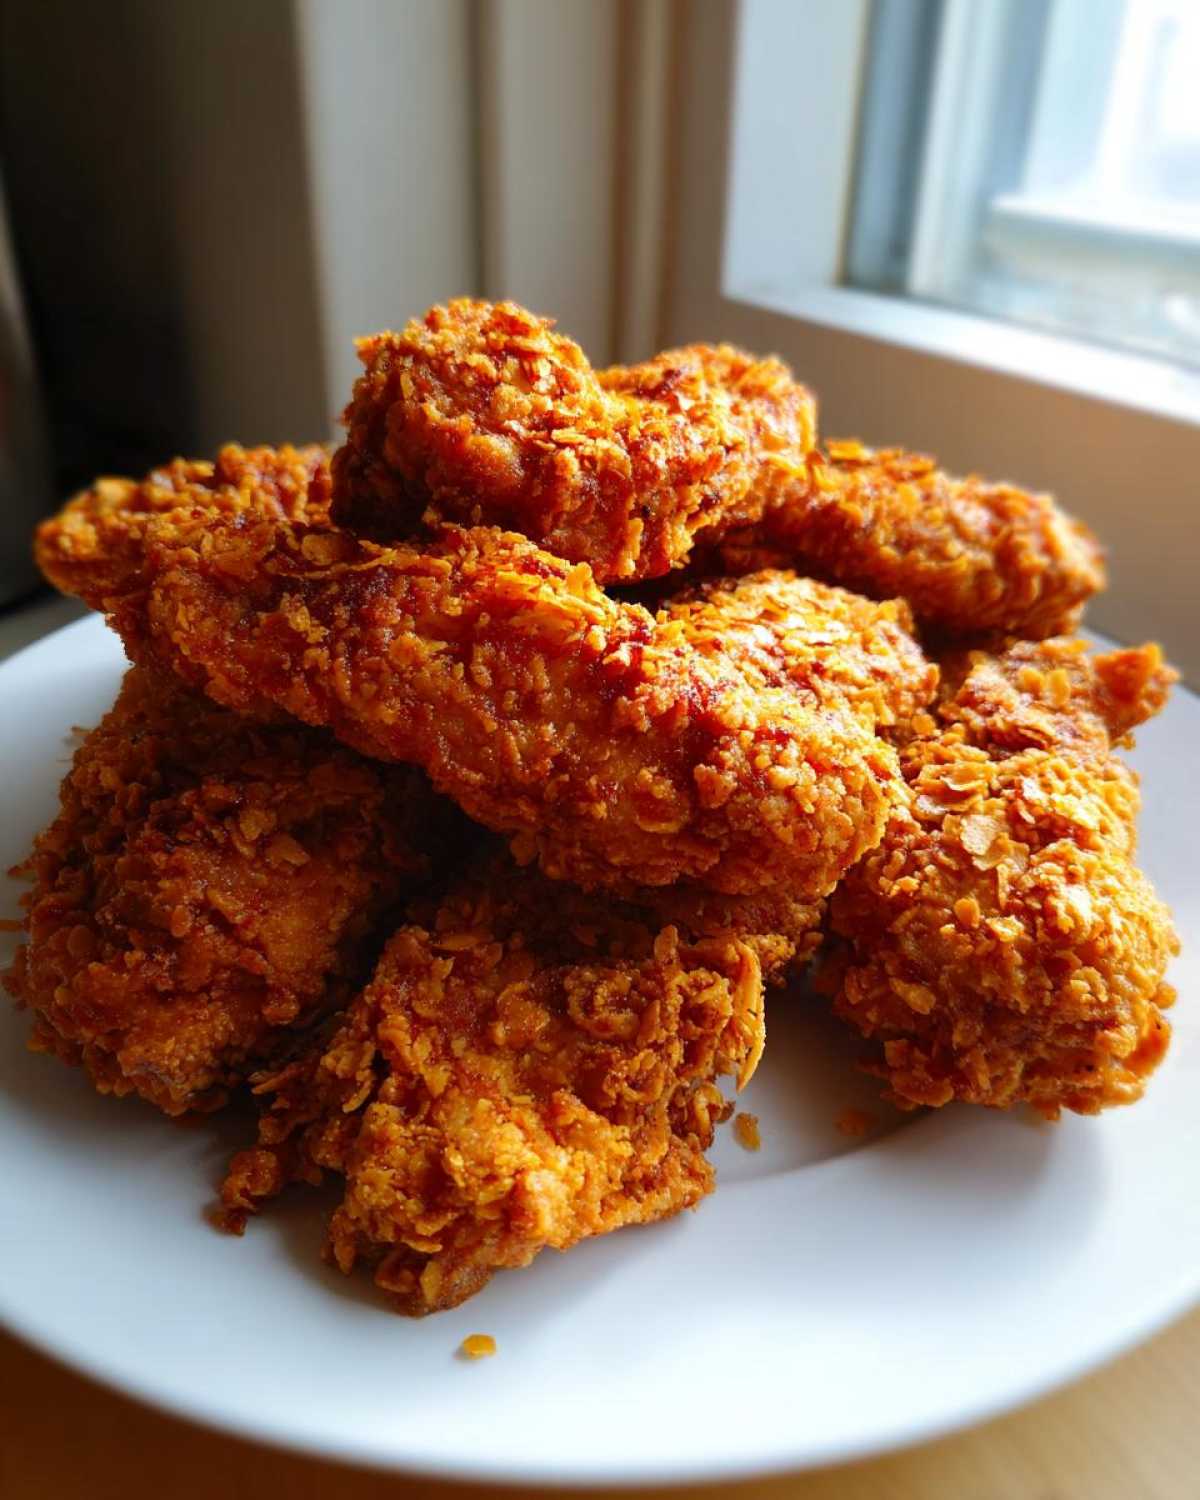
And friends, I cracked the code! I finally perfected what I call the ultimate Crispy Baked Chicken Tenders with Cornflake Crust. This isn’t that sad, slightly soft baked chicken you’re used to. No way. We are using the power of buttermilk and a super-fine cornflake coating to mimic that fried texture, all while keeping it safely in the oven. Trust me, after this recipe, you’re never going back.
If you want to learn more about the team behind these kitchen experiments, you can always check out our About Us page!
Why You Will Love This Crispy Baked Chicken Tenders with Cornflake Crust Recipe
Seriously, once you try these, they jump straight to the top of your rotation. I developed this method specifically because I couldn’t stand the mess of frying but refused to sacrifice texture. Here’s why these beauties fly off the plate:
- Maximum Crunch, Zero Fryer Mess: We achieve that unbelievable exterior crunch using just the oven. No nasty oil spattering everywhere!
- Tender Inside Guaranteed: That quick buttermilk marinade does wonders. It tenderizes the chicken beautifully and helps the coating stick like glue.
- The Ultimate Healthier Fried Chicken Alternative: You get all the satisfaction of comfort food with far less guilt. It’s a total win-win for family dinners.
- Kid-Approved Texture: My kids think these are better than takeout, and honestly, I agree. They’re perfect for lunch boxes or a light dinner.
- Surprisingly Fast Prep: While the marination time is flexible, the active prep time is minimal, making these Crispy Baked Chicken Tenders with Cornflake Crust fantastic for busy nights.
- Versatile Coating System: The cornflake crust is robust and holds up perfectly during baking, meaning you get uniform crispiness on every single tender.
Essential Ingredients for Crispy Baked Chicken Tenders with Cornflake Crust
Listen, when you’re aiming for true crispiness without frying, the ingredients aren’t just suggestions; they’re the whole blueprint! I’ve detailed everything here exactly how I use it. You’ll be getting a full pound and a half of chicken breast, cut meticulously into strips, ready to soak up all that flavor.
The foundation of juicy chicken starts with a simple soak. You’ll need:
- 1.5 lbs boneless, skinless chicken breasts, cut into 1-inch strips
- 1 cup buttermilk (this is non-negotiable for me!)
- 1 teaspoon hot sauce (optional, but it wakes everything up)
- 1 cup all-purpose flour
- 1 teaspoon salt
- 1/2 teaspoon black pepper
- 1/2 teaspoon paprika
- 2 large eggs, lightly beaten
- 2 cups cornflakes, finely crushed
- 1 tablespoon olive oil, sprayed (just for the top layer!)
If you want to dive deeper into flavor boosters for your meat in general—sometimes I switch things up for different cuts—you should check out my amazing guide on juicy grill recipes, though these tenders work best with the buttermilk.
Expert Tips for the Best Crispy Baked Chicken Coating
Okay, let’s talk about the coating because this is where 90% of people mess up their baked tenders. The crust needs to grab onto the chicken, and it needs rough edges to get that fantastic crunch when baked at high heat.
First, the buttermilk soak. Don’t skip this! It tenderizes the chicken breast, which tends to dry out anyway, and that slightly tacky surface is what grabs the flour so well. Just let them hang out for 15 minutes, minimum. You want that chicken plumped up before it hits the dry dredge.
Now, for the stars of the show: the cornflakes. As the recipe notes say, you absolutely must crush them finely, but they shouldn’t turn into dust. I toss mine right into a sturdy Ziploc bag, seal it tight, and use a rolling pin until they look like coarse, irregular sand. You want variation in the size so you get nooks and crannies for extra crispness. If they are too fine, they just absorb moisture and get heavy, which is the opposite of what we want!
Step-by-Step Instructions: How to Make Crispy Baked Chicken Tenders with Cornflake Crust
Okay, this is where the real magic happens! Getting these Crispy Baked Chicken Tenders with Cornflake Crust perfect in the oven takes just a little bit of organization on your part, but trust me, the payoff is worth the ten minutes of setup. The key is making sure every single surface of the chicken strip is covered in that crunchy cornflake armor. We are aiming for textbook crispiness here!
Before we even grab the chicken, we need the oven blazing hot. A high temperature helps set that coating instantly before the moisture from the chicken can sneak out and make things soggy. If you haven’t already, check out this great pairing idea for easy garlic parmesan chicken and potatoes—it’s perfect for serving alongside these tenders!
Preparing the Chicken and Dredging Stations
First things first, get that oven screaming hot to 425 degrees Fahrenheit. I cannot stress this enough: line your baking sheet with parchment paper, and then, if you have one, place a wire rack on top of that parchment. That rack is your best friend for circulating air around the bottom!
Next, make sure your chicken is soaking happily in that buttermilk mixture. You want it in there for at least 15 minutes—maybe an hour if you have time. When it’s time to coat, take the chicken out of the marinade, but let that excess buttermilk drip off! Too much moisture here ruins the flour coat.
Set up your coating stations clearly. You need one shallow dish for your seasoned flour (salt, pepper, paprika whisked into the flour), one for your eggs (lightly beaten), and your third shallow dish for those finely crushed cornflakes. Keep them organized so you can move fast!
Coating and Baking for Maximum Crunch
Now we dredge assembly line style! Take a drippy, buttermilk-soaked piece of chicken and give it a good shake in the flour mixture. Don’t be shy, you want it fully dusted. Immediately dunk that floured strip into the beaten egg, making sure it’s totally wet on all sides.
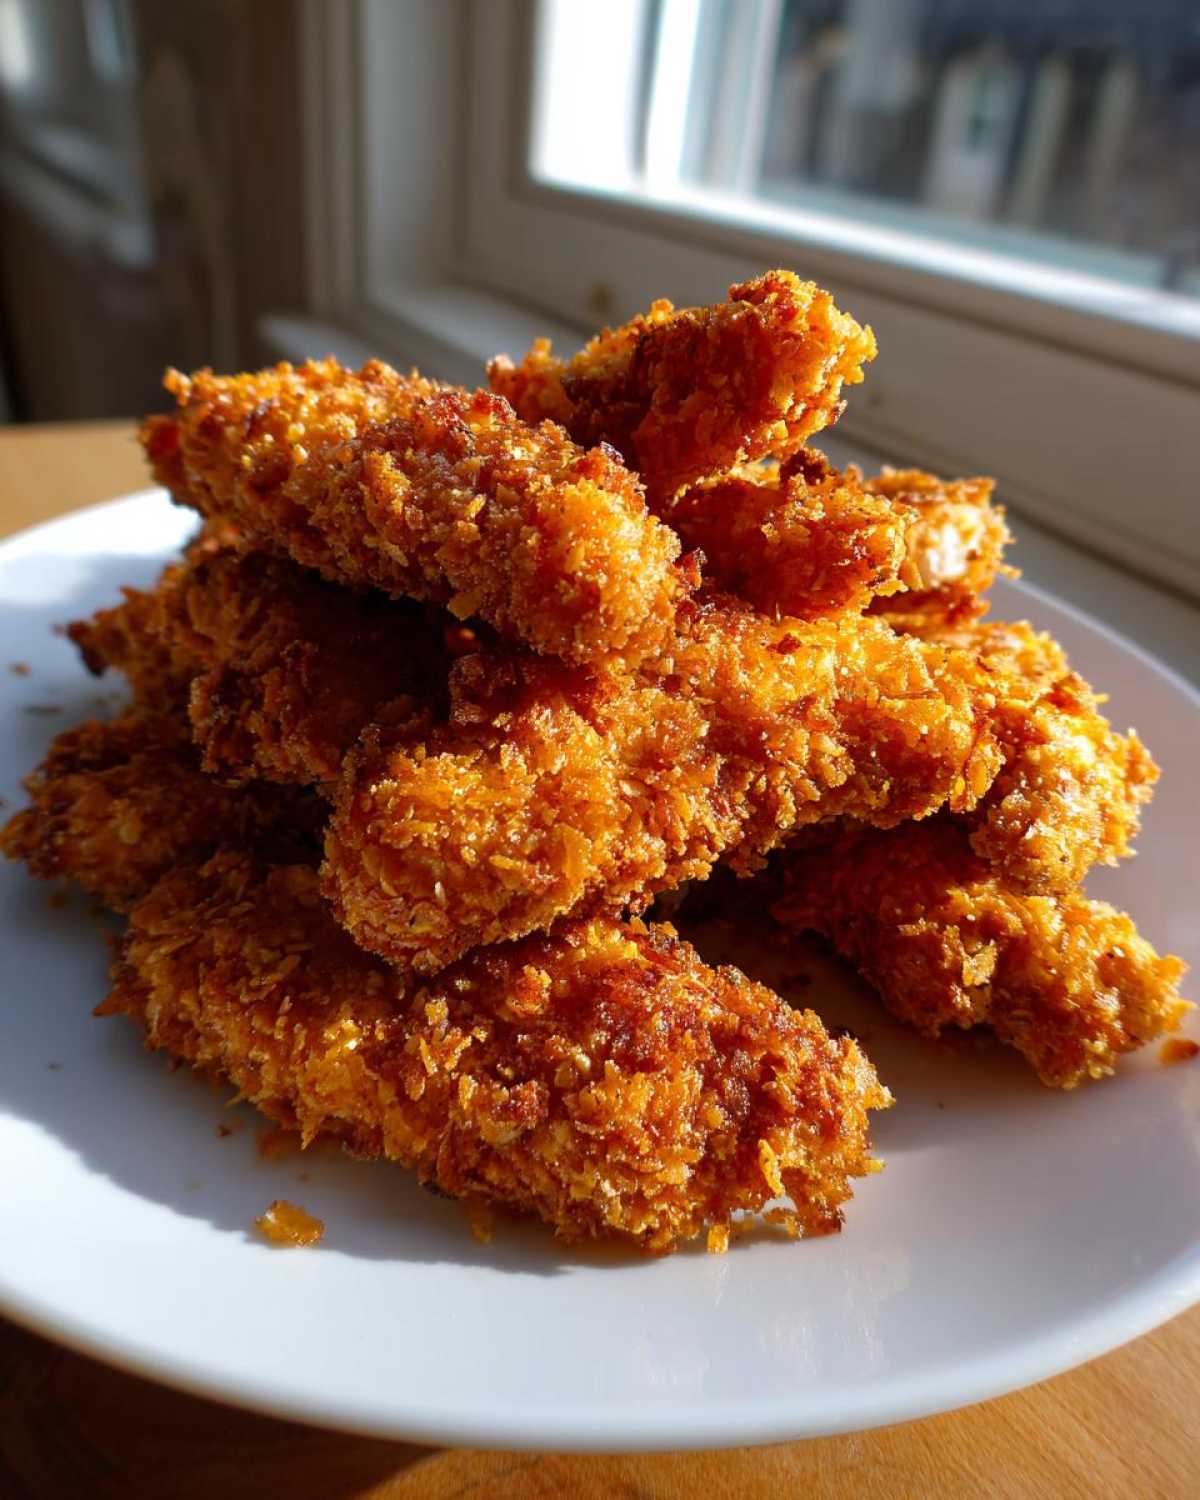
This is the crucial second step: press that egg-coated chicken firmly—and I mean firmly—into the bed of crushed cornflakes. You want the flakes clinging on tight. Press them right onto the sides too! Once coated, put it on your prepared wire rack. Then, grab your olive oil spray and just mist the tops of the tenders lightly. This little bit of fat helps them brown beautifully and achieve those Oven Baked Chicken Tenders Crispy results we are chasing.
Bake them for 18 to 22 minutes. Set a timer, but halfway through—about the 10-minute mark—you absolutely must flip every single tender over. This guarantees even cooking and crispness on both sides. Pull them when they hit 165 degrees Fahrenheit internally and look golden brown!
Troubleshooting Common Issues with Crispy Baked Chicken Tenders with Cornflake Crust
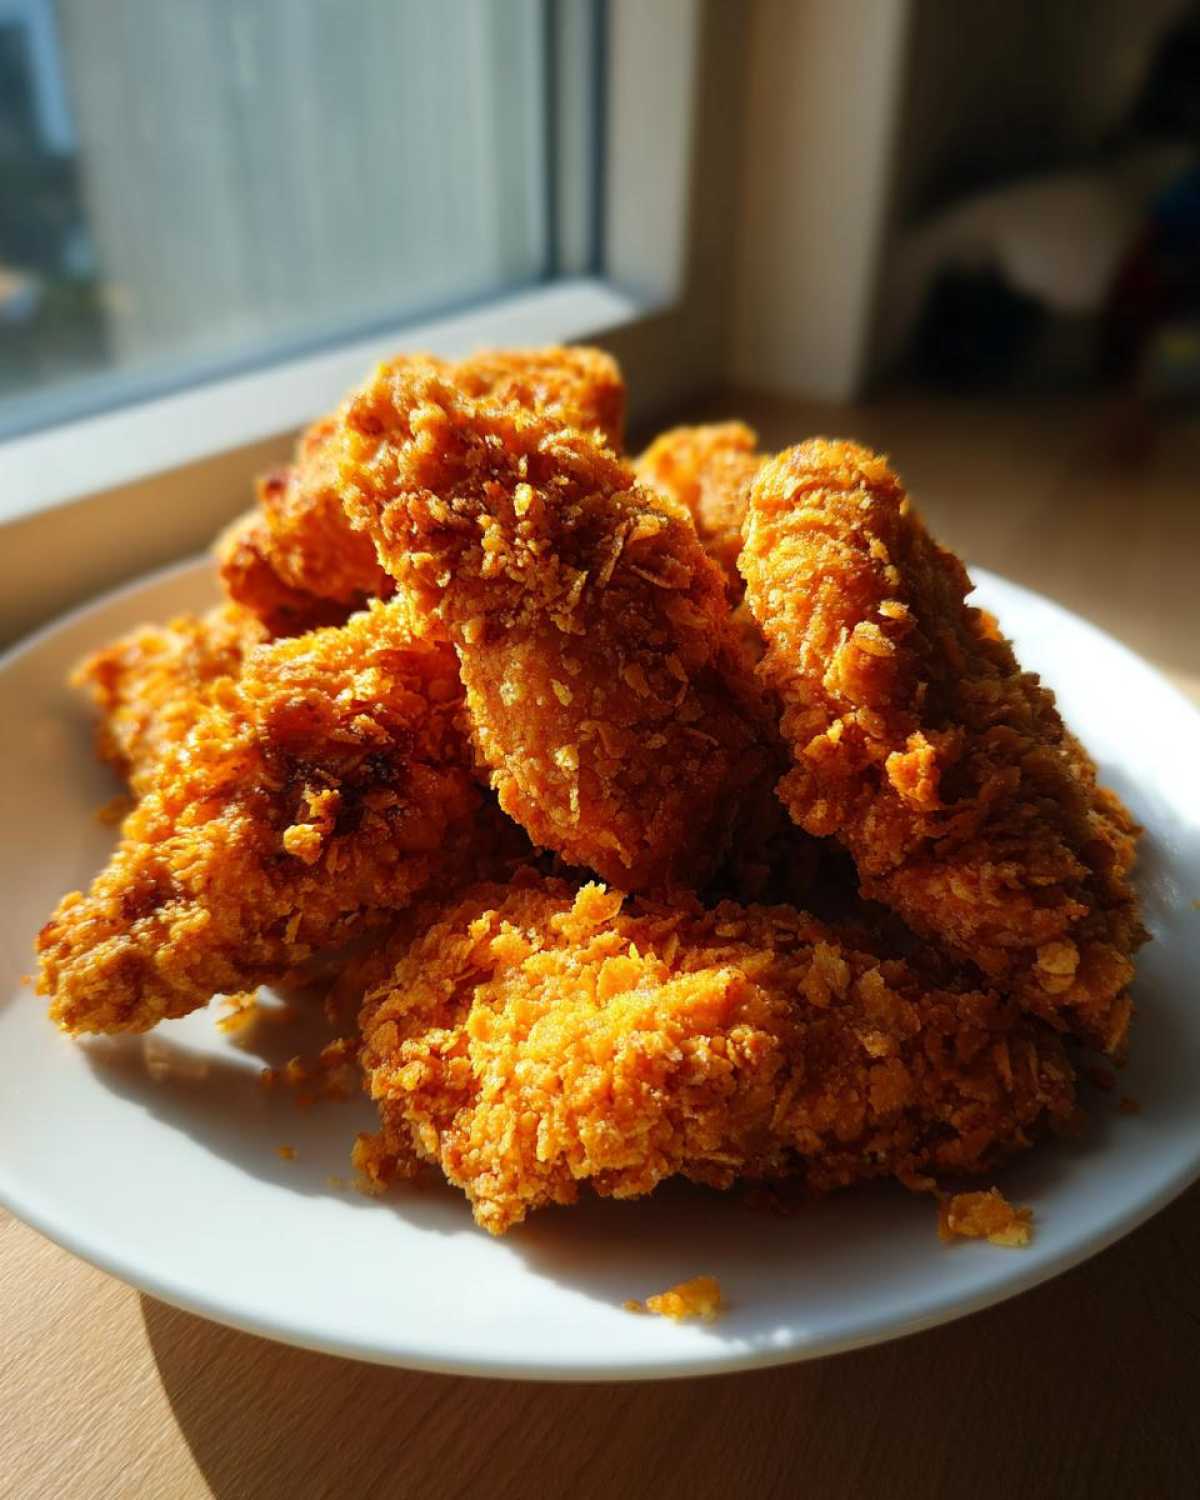
Look, even the best recipes can run into trouble, especially when you tell an oven to act like a deep fryer! But don’t panic if your first batch isn’t picture-perfect. Usually, problems with our amazing Crispy Baked Chicken Tenders with Cornflake Crust come down to two things: moisture control or coating adherence. We can fix both!
If they look a little pale or soft, it usually means we didn’t give them enough heat or air circulation. If the coating is sliding off like an avalanche, we probably skipped a crucial drain step.
If you’re looking for tips on other crispy oven recipes, like my favorite $\text{crispy baked chicken thighs}$, these troubleshooting tips are universal for high-heat poultry recipes.
Soggy Bottoms Are the Enemy
This is always my number one concern when baking anything breaded. If the bottom of your tenders is soft or wet, it means steam built up underneath them while the top cooked. Steam is the enemy of crispness!
The absolute non-negotiable fix is that wire rack. I know some people skip it to save washing an extra piece of equipment, but you can’t skip it here. The rack lifts the chicken off the hot baking sheet, allowing the hot oven air to hit the underside of the tender. This dries out the bottom crust and keeps that crunch uniform all the way around.
Also, make sure your oven temperature is accurate! If your 425°F is really running at 375°F, the coating won’t set fast enough before the chicken releases its juices.
My Cornflake Coating Fell Off! What Did I Do Wrong?
This is almost always related to the dredging order or moisture when moving from one station to the next. If the coating slides off when baking, it means the flour layer didn’t adhere properly to the wet buttermilk layer.
Here’s the sequence you must follow rigorously: Chicken out of buttermilk $\rightarrow$ Shake off excess liquid $\rightarrow$ Into the flour (ensure full coverage) $\rightarrow$ Into the egg (fully dipped) $\rightarrow$ Into the cornflakes (press firmly).
Remember, if the chicken is dripping wet buttermilk when it hits the flour, the flour turns into a paste instead of a dry gripping layer. You need to let that excess drip off completely before that first dredge!
Why Spraying Olive Oil on Top Really Matters
You might wonder why we spray the tops with oil if we aren’t frying. That light mist does two big things for your Oven Baked Chicken Tenders Crispy promise:
- It helps the cornflakes brown instead of just drying out and turning pale, giving you that beautiful golden color.
- It helps create a slight barrier against radiant heat, preventing the very top layer from burning before the inside cooks through.
Don’t drown them, just a quick, even spritz from about 12 inches away. It’s the finishing touch!
Ingredient Notes and Substitutions for Your Cornflake Crusted Chicken Recipe
One of the greatest things about relying on simple pantry staples is how flexible the recipe becomes when life happens! We all run out of things sometimes, or maybe you have a specific dietary need. When it comes to these tenders, you don’t have to stress if you realize halfway through shopping that you missed one thing.
The core structure relies on those three dredging layers—the wet, the binder, and the crunch—so we focus on swapping items within those categories while maintaining the texture we worked so hard to achieve.
Buttermilk Alternatives for Marinating
Buttermilk is my absolute go-to because that slight acidity helps break down the muscle fibers beautifully, ensuring the tenderloins stay juicy. But if your fridge is looking bare, don’t worry about skipping the marinade entirely—that’s a rookie mistake!
You can whip up a quick substitute right at home! Just take regular whole milk or 2% milk and stir in about one tablespoon of white vinegar or fresh lemon juice for every cup of milk you are using. Stir it gently and let it sit on the counter for about five or ten minutes until it looks slightly thickened and curdled. That’s your homemade sour milk, and it works nearly perfectly in place of liquid buttermilk for tenderizing purposes.
Swapping the Cut of Chicken
Technically, this recipe calls for cutting breasts down into strips, but if you buy pre-cut tenderloins, you are good to go! Just make sure they are roughly the same size so they cook evenly. If you choose whole breasts, aim for pieces about three-quarters of an inch thick so they cook through before the outside burns.
Now, what if you only have skinless, boneless chicken thighs on hand? Thigh meat is fattier and naturally moister, which is wonderful! You might find you need to trim off some excess fat, but they will bake up incredibly tender. Since they are richer, make sure you let all that excess fat drip off after the buttermilk soak, just like you would with the breast meat.
Making the Spice Blend Flexible
The paprika in our flour mix is mostly just for color—it gives that baked crust a nice red-gold hue that mimics frying. If you don’t have paprika, you can leave it out entirely! Seriously, it won’t affect the texture or the primary flavor too much.
If you are feeling adventurous or need to clear out some spice cabinet odds and ends, a tiny pinch of garlic powder or onion powder can be mixed into the flour station for an extra layer of savory flavor. Just use sparingly; we don’t want to overpower that simple, crunchy cornflake goodness!
Serving Suggestions for Your Easy Weeknight Chicken Dinner
Now that we’ve got the juiciest, crunchiest baked tenders on an oven rack, we need sides that can keep up! Since we crowned this recipe an Easy Weeknight Chicken Dinner, I only want to recommend things that don’t require me to stand over the stovetop for another twenty minutes. We have achieved peak crispiness here, so we need pairings that offer smoothness, freshness, or simple carbs to soak up any stray juices (though there shouldn’t be many!).
My favorite strategy for a successful weeknight meal is balancing that intense crunch with something soft and creamy. It’s all about texture contrast, right?
Starchy Sides for Soaking Up Flavor
If you need something substantial that feels like classic comfort food but still keeps the meal relatively simple, starches are the way to go. You want components that are low-effort but high-reward.
Honestly, you can’t go wrong with my recipe for slow-cooker mashed potatoes. Pop them in the slow cooker after you prep the chicken, and they are buttery, fluffy perfection right when the tenders come out of the oven. They make the whole meal feel indulgent without any extra stovetop panic.
If you want something even faster, microwaved sweet potatoes are fantastic. Just pierce them a few times, zap them until tender, and toss them with a little butter and salt. The sweetness of the potato plays so nicely against the savory, slightly salty cornflake crust.
Fresh Vegetables That Don’t Need Fussy Prep
We need something green to keep the whole plate feeling balanced, but again, we are keeping it easy. Roasting alongside the chicken is often too long a time commitment for us busy cooks!
My absolute favorite simple side here is steamed green beans tossed with some slivered almonds right at the end. They take less than ten minutes to steam! The almonds give you just a tiny echo of the crunch we are getting from the chicken, which I love.
Another fast option is serving these tenders over a quick, simple salad base. Think mixed greens, maybe some cherry tomatoes, and use a sharp vinaigrette. That acidic dressing cuts through the richness of the chicken coating perfectly and keeps everything light.
Dipping Sauces to Elevate the Experience
While these tenders are phenomenal on their own, they are practically begging for a good dip! Since they are baked, they are sturdy enough to handle wetter sauces without immediately getting soggy.
- Honey Mustard: The sweet meets savory profile is unmatched with chicken.
- Ranch: Always a safe bet, especially if you have picky eaters.
- BBQ Sauce: A smoky or slightly spicy BBQ sauce works great, especially if you serve these with some easy oven fries the next day!
Keep it simple, keep it fast. When the main dish is this satisfying, the sides should just be supporting actors, not the star of the show!
Storage and Reheating for Crunchy Chicken Tenders No Fry
The amazing news is that these beauties actually keep pretty well! I’m always making a double batch because I love having leftovers for lunch the next day. However, leftovers demand respect if you want to keep that glorious crunch—we absolutely cannot let them get soft. This recipe shines as a fantastic Crunchy Chicken Tenders No Fry option, and we need to maintain that standard even when they’re day-old!
If you store them correctly, they last about three or four days in the fridge. The key here is to cool them completely before they ever hit the storage container. Putting warm, crispy chicken into a sealed environment traps steam, and steam equals sogginess overnight. You need to let them chill out on the counter until they reach room temperature.
Once fully cooled, you want an airtight container, but here’s a clever trick I learned: place a paper towel on the bottom of the container first. This helps wick away any little bit of moisture that might try to condense overnight. Then, layer your tenders with another paper towel between them if you are stacking your batch.
The Best Way to Get Them Crispy Again
Forget the microwave. I repeat: Do not ruin your hard work by microwaving these tenders! The microwave is the enemy of crispiness because it heats the water molecules inside, basically steaming the coating from the inside out. No, thank you!
You have two fantastic ways to bring back that oven-fresh crunch. Honestly, the toaster oven or a conventional oven works better than the air fryer for reheating larger batches, though the air fryer is great for just two or three pieces.
- Conventional Oven Method: Preheat your oven to a moderate 375 degrees Fahrenheit. Place the cold tenders directly onto a wire rack set over a baking sheet (yes, use the rack again!). Bake them for about 8 to 10 minutes, or until they are hot all the way through and you hear that satisfying slight crackle when you gently squeeze them.
- Air Fryer Revival: If you’re short on time, the air fryer is your friend here. Set it to 350 degrees Fahrenheit. Cook for only 4 to 6 minutes, flipping halfway through. Because the tenders might already be a little dry from refrigeration, check them quickly so they don’t overcook, but this method is lightning fast!
If you’re interested in trying out another great item that benefits from air circulation—check out my recipe for crispy air fryer potato chips; it uses the same principles!
Can I Freeze Extra Leftovers?
Yes, you absolutely can freeze them for longer storage, but you need to freeze them *before* you ever reheat them the first time. Once they go through the cooling, reheating, cooling cycle, they lose too much integrity for a good freeze.
Flash freezing is essential here. Lay the completely cooled, un-reheated tenders in a single layer on a parchment-lined plate. Stick that plate in the freezer until the chicken strips are rock solid—this usually takes an hour or two. Then, transfer those frozen strips into a heavy-duty freezer bag. They’ll keep well for up to two months. When you’re ready to eat them, thaw them overnight in the fridge first, and then use the 375 degree oven method above! It works wonders.
Frequently Asked Questions About Crispy Baked Chicken Tenders with Cornflake Crust
Whenever I share this recipe, people always have great questions, usually revolving around how to guarantee that crunch or how it stacks up against other versions. I get it; you want to know the secrets to making these Crispy Baked Chicken Tenders with Cornflake Crust foolproof before you even start. Let’s dive into the most common things people ask me!
Can I use Panko instead of Cornflakes for this recipe?
Oh, that’s a really common thought! Panko breadcrumbs are fantastic; they give you a lovely, airy, light crunch that browns really well. However, Panko doesn’t quite give you the same density or flavor profile that we are chasing here. Cornflakes, when crushed fine, offer a slightly sturdier coating that holds up better to the high baking temperature, and they bring that subtle sweetness that pairs perfectly with the savory seasoning.
If you use Panko, you might find the texture slightly less robust than the cornflake crunch, and you might definitely need to rely on that olive oil spray even more heavily to get the color right. For this specific breading method, I really stick to the flakes for that ultimate baked crisp!
Is this recipe truly a Healthier Fried Chicken Alternative?
Absolutely, yes! That’s one of the main reasons I developed this recipe in the first place. When you deep fry, the chicken basically soaks up a massive amount of additional fat, which adds hundreds of unnecessary calories, most of it saturated fat. By baking instead, we are relying on the high oven heat and just a *spray* of olive oil to achieve browning.
When you compare the nutritional panel for these baked tenders versus a traditionally fried version, the fat content is drastically lower. You are still getting that high-quality protein and that delicious, satisfying crust, but without needing that vat of hot oil. It’s a fantastic swap for a Healthier Fried Chicken Alternative that the whole family will happily eat without complaint.
How do I ensure the chicken stays juicy when baking this long?
That’s what the amazing buttermilk marinade is for! Seriously, that’s the secret weapon for How to Make Chicken Tenders Crispy in Oven without ending up with shoe leather inside. The buttermilk does two things: it tenderizes the meat chemically, and it keeps the surface nicely hydrated so the crust has something great to adhere to.
As long as you don’t overbake them—and remember to pull them out right when they hit 165 degrees Fahrenheit internally—the meat stays super moist. And always, always use that wire rack so the bottom doesn’t steam itself soft!
Estimated Nutritional Information for Crispy Baked Chicken Tenders with Cornflake Crust
When you’re trying to decide if this fits into your meal plan, having an idea of the macros is super helpful! Keep in mind that because we are baking instead of frying, we keep the overall fat content down while delivering huge flavor. These values are calculated based on four servings, meaning four tenders per serving, using the ingredients listed.
This nutritional breakdown truly shows what a great choice our Crispy Baked Chicken Tenders with Cornflake Crust are for weeknights that need a nutritious boost!
- Serving Size: 4 tenders
- Calories: 350
- Protein: 38g
- Fat: 8g
- Carbohydrates: 30g
If you are optimizing for even more protein in your meals, you might want to look at my cottage cheese egg bites recipe for breakfast!
Estimated Nutritional Information for Crispy Baked Chicken Tenders with Cornflake Crust
When you’re trying to decide if this fits into your meal plan, having an idea of the macros is super helpful! Keep in mind that because we are baking instead of frying, we keep the overall fat content down while delivering huge flavor. These values are calculated based on four servings, meaning four tenders per serving, using the ingredients listed.
This nutritional breakdown truly shows what a great choice our Crispy Baked Chicken Tenders with Cornflake Crust are for weeknights that need a nutritious boost!
- Serving Size: 4 tenders
- Calories: 350
- Protein: 38g
- Fat: 8g
- Carbohydrates: 30g
If you are optimizing for even more protein in your meals, you might want to look at my cottage cheese egg bites recipe for breakfast!
PrintCrispy Baked Chicken Tenders with Cornflake Crust

A recipe for making very crispy chicken tenders by baking them with a crunchy cornflake coating, offering a healthier alternative to frying.
- Prep Time: 20 min
- Cook Time: 22 min
- Total Time: 42 min
- Yield: 4 servings
- Category: Dinner
- Method: Baking
- Cuisine: American
- Diet: Low Fat
Ingredients
- 1.5 lbs boneless, skinless chicken breasts, cut into 1-inch strips
- 1 cup buttermilk
- 1 teaspoon hot sauce (optional)
- 1 cup all-purpose flour
- 1 teaspoon salt
- 1/2 teaspoon black pepper
- 1/2 teaspoon paprika
- 2 large eggs, lightly beaten
- 2 cups cornflakes, finely crushed
- 1 tablespoon olive oil, sprayed
Instructions
- Preheat your oven to 425 degrees Fahrenheit. Line a baking sheet with parchment paper or a wire rack set over a baking sheet.
- Place the chicken strips in a medium bowl and cover them with buttermilk and hot sauce, if using. Let the chicken marinate for at least 15 minutes, or up to 4 hours in the refrigerator.
- In a shallow dish, whisk together the flour, salt, pepper, and paprika.
- In a second shallow dish, place the finely crushed cornflakes.
- Working with one piece at a time, remove the chicken from the buttermilk, letting excess drip off. Dredge the chicken first in the flour mixture, shaking off any excess.
- Dip the floured chicken into the beaten eggs, ensuring it is fully coated.
- Press the chicken firmly into the crushed cornflakes until completely covered. Place the coated tenders on the prepared baking sheet.
- Lightly spray the tops of the coated tenders with olive oil spray for extra browning and crispness.
- Bake for 18 to 22 minutes, flipping the tenders halfway through the cooking time, until the internal temperature reaches 165 degrees Fahrenheit and the crust is golden brown and crisp.
Notes
- For the best crisp, use a wire rack set over the baking sheet so air circulates around the bottom of the tenders.
- Crush the cornflakes using a food processor or by placing them in a zip-top bag and crushing them with a rolling pin. Aim for fine crumbs, not powder.
- If you prefer, you can adapt this recipe for an air fryer by cooking at 375 degrees Fahrenheit for 10 to 12 minutes, turning halfway.
Nutrition
- Serving Size: 4 tenders
- Calories: 350
- Sugar: 4
- Sodium: 450
- Fat: 8
- Saturated Fat: 2
- Unsaturated Fat: 6
- Trans Fat: 0
- Carbohydrates: 30
- Fiber: 1
- Protein: 38
- Cholesterol: 110