

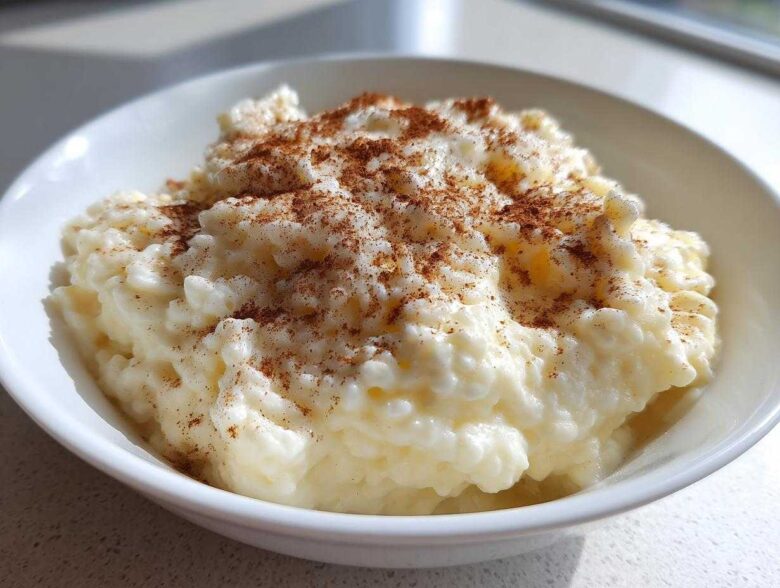
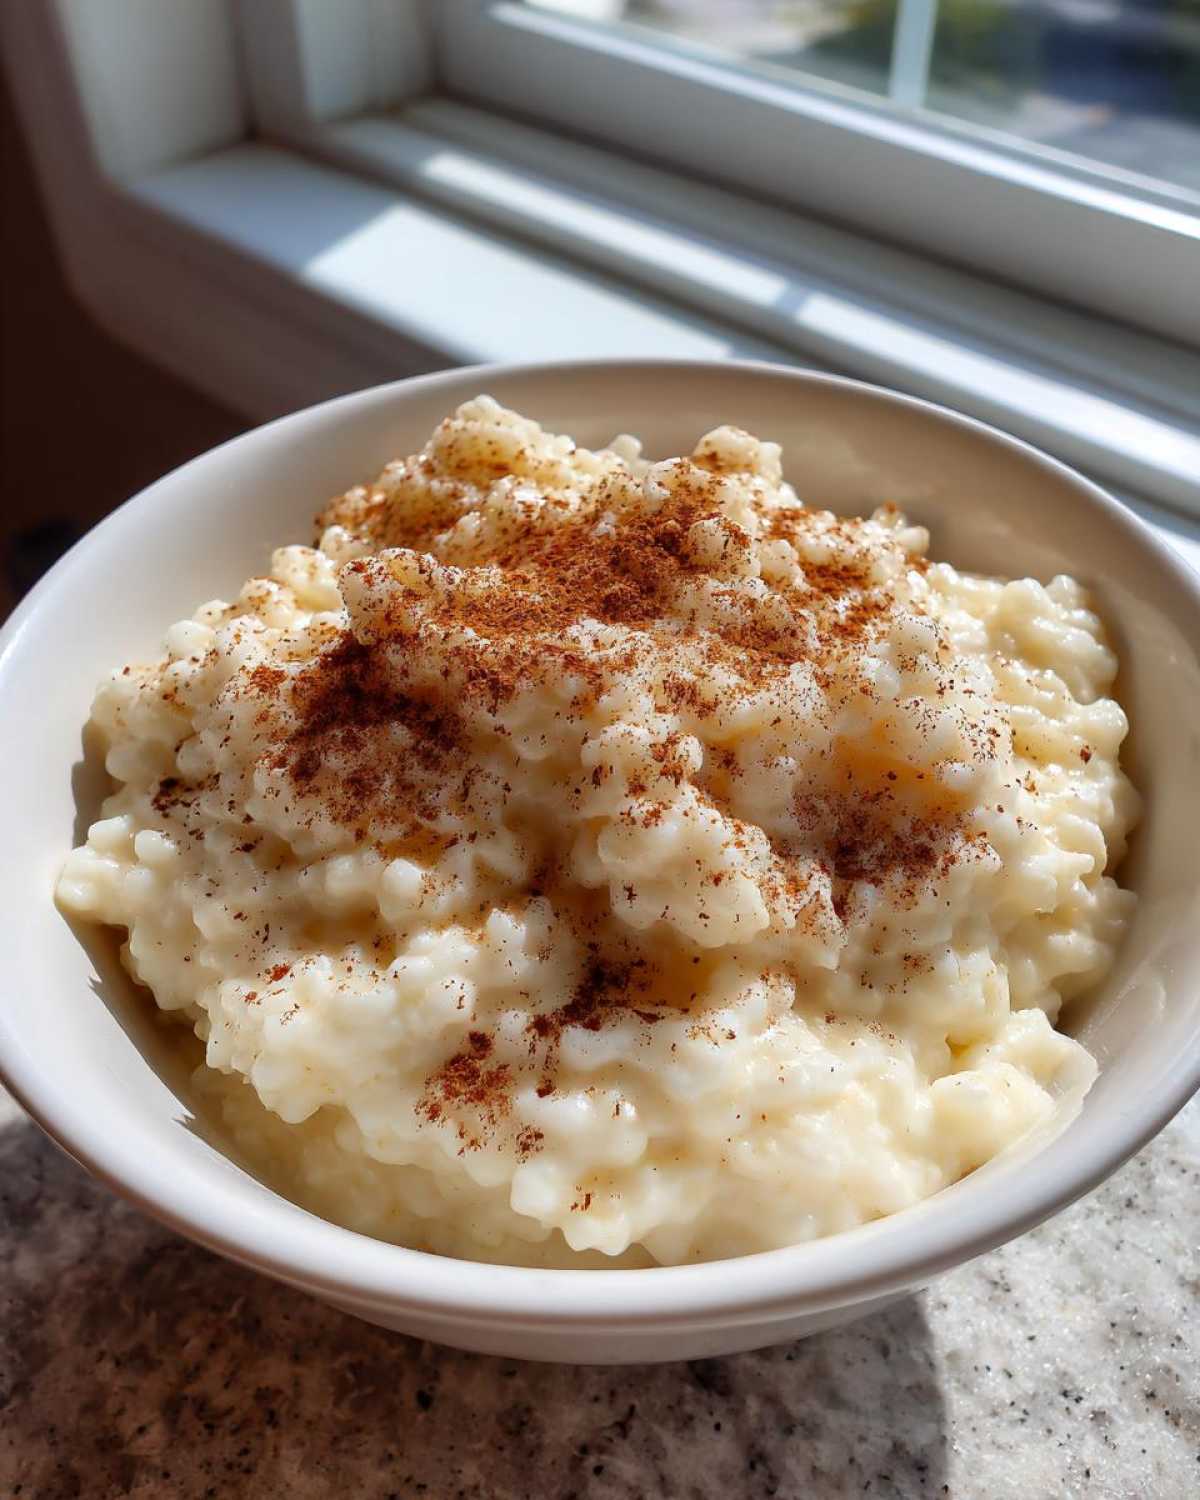
Oh, you know those desserts that just hug you from the inside out? Nothing beats a bowl of warm, thick, old-fashioned rice pudding on a chilly evening. Forget those watery, disappointing versions you sometimes get; I’ve spent what feels like a lifetime perfecting my stovetop method. Trust me, this recipe delivers the absolute creamiest texture you can imagine, using just a handful of simple ingredients.
I remember sitting in my grandmother’s kitchen—the smell of simmering milk and just a hint of vanilla was her signature scent. She finally shared her tricks with me, and now I’m sharing them with you! We’re making the ultimate, velvety pot of nostalgic sweetness right on the stove, no oven required. This truly is the best pot of sweet rice you’ll ever make.
If you’re curious about where this little food blog started, you can always hop over and read a little bit about our kitchen journey.
Why This Old-Fashioned Rice Pudding Recipe Works (The Secret to Creamy Texture)
The magic of this perfectly creamy rice pudding isn’t some complicated trick; it’s actually about patience and using the right tools! Since we aren’t baking this one—we’re keeping it stovetop where we can watch the whole process—we rely totally on constant stirring. That stirring is what makes the starches from the rice break down slowly into the milk. That’s how you get that characteristic, velvety mouthfeel instead of just soupy rice!
We want that rich, smooth pudding, not something thin and watery, and this technique prevents scorching while coaxing out all that lovely thickness. It takes time, sure, but that hour on the stove is what separates a good dessert from the absolute best comfort food experience.
Key Ingredients for Ultra Creamy Rice Pudding
You absolutely must pay attention to your rice choice if you want the creamiest rice pudding. Skip the long-grain stuff entirely; it just doesn’t release enough starch! I swear by short-grain varieties like Arborio or Calrose rice. These grains are thirsty and starchy, making them the perfect foundation.
Also, we’re sticking to whole milk, folks. You can try 2%, but honestly, the richness from the full-fat milk is non-negotiable if we’re aiming for that decadent texture Grandma used to make. These core ingredients work together to build body from the ground up.
Gathering Supplies for Your Homemade Rice Pudding Tutorial
Before you even think about turning on the burner, let’s make sure you have the right gear. The single most important piece of equipment here is a heavy-bottomed saucepan. I cannot stress that enough!
A thin pot equals scorching rice, and nobody wants that dark, burnt flavor ruining their sweet treat. You’ll also need a sturdy wooden spoon or a heat-proof silicone spoon for stirring, and something to measure with, of course. Get that pan ready, and we can move on to the ingredients!
Ingredients for the Best Rice Pudding Dessert
Alright, let’s look at what we need to pull together this amazing, thick rice pudding. It’s honestly one of those recipes where the ingredient list is super short, which just proves that quality matters way more than complexity!
You’ll want exactly one cup of short-grain white rice—make sure you rinse it really well until the water runs mostly clear. That removes excess starch you don’t want floating around before we start cooking!
- 4 cups of whole milk. Yes, the good stuff!
- Half a cup of plain granulated sugar.
- Just a tiny pinch of salt to keep the sweetness balanced.
- One full teaspoon of vanilla extract for that classic warmth.
- And finally, one quarter teaspoon of ground cinnamon mixed in, plus a bit extra for sprinkling on top right before serving.
That’s it! See? Five easy ingredients, plus the cinnamon topping. It’s designed to be foolproof and deliver that wonderful, traditional flavor.
Step-by-Step Instructions for Easy Stovetop Pudding
Okay, now we get to the fun part—the actual cooking! This is where we turn simple ingredients into magic. Remember, since this is a no-bake rice pudding, everything happens right there in that heavy-bottomed pot. Don’t walk away from the stove for too long during this process, though. Seriously, stirring frequently is my most important expert tip here!
First thing, after you rinse that rice nice and clean, toss the rice, the whole milk, sugar, and salt right into your pot. Get it over medium heat and start stirring right away as it warms up. We want to bring this slowly to a gentle simmer—don’t let it boil like crazy! Once you see those initial bubbles, immediately drop the heat way, way down to low. Now the real work begins.
We have to let this cook uncovered for about 45 to 60 minutes. Keep stirring every five or ten minutes—that’s how we coax the starch out for that ultra-creamy texture. If you notice it grabbing the bottom or looking suddenly too thick before the time is up, just splash in a little extra milk. You can check out my dedicated guide on how to make creamy pudding on stove if you want even more detail on the stirring rhythm!
Achieving the Perfect Vanilla Cinnamon Dessert Consistency
Near the end of that hour, start tasting it often. You know it’s ready when the liquid has mostly thickened and the rice is tender but still has a tiny bit of chew, not mushy. That’s your cue to pull the rice pudding right off the heat. Don’t overcook it in the pot, though, because it keeps thickening as it cools down! It’s going to be looser than you want it when it’s hot.
As soon as it’s off the burner, stir in that beautiful vanilla extract. That’s the secret for that perfect vanilla cinnamon dessert flavor! Let it sit for about 15 minutes, stirring occasionally. If you serve it warm right then, it’ll be wonderfully loose; if you want thick, scoopable comfort food, cover it and chill it completely.
Tips for Success When Making Rice Pudding from Scratch
Now that you’ve mastered the cooking dance, here are a few extra nuggets of wisdom for making your rice pudding truly legendary. Remember I stressed the heavy pot? That really is crucial because the sugars will burn onto a thin bottom faster than you can blink, giving you that bitter taste we absolutely want to avoid.
What if you get distracted and it gets too thick? Don’t panic! Just pour in a splash more whole milk while it’s still warm and stir vigorously. It loosens right up. If it’s too thin after an hour, just pop the heat back on low and cook it five minutes longer, stirring constantly. That starchy rice will catch up.
A quick note about using leftover cooked rice: While I prefer starting from scratch to maximize the starch release for that authentic texture, you *can* use leftover rice in a pinch! You’ll just need to reduce the cooking time significantly, maybe 15 to 20 minutes, because the rice is already soft. You’ll basically just be warming it through while you thicken the milk. Check out more of my kitchen adventures for other quick dessert ideas while you’re looking!
Serving Suggestions for This Comfort Food Dessert
The best part! You finally have this beautiful, rich dessert ready to go. If you’re serving it immediately, a warm bowl is pure heaven. Dust the top generously with that extra ground cinnamon we saved—it smells amazing.
If you chill it down, it firms up beautifully, making it perfect for slicing onto little dessert plates at family gatherings. My kids love it cold with a tiny grate of fresh nutmeg on top. If you’re looking for something crunchy on the side, I’ve actually got a great recipe for cinnamon apple crisps that pairs wonderfully alongside it!
Storage and Reheating Instructions for Leftover Rice Pudding
The good news is that this fantastic rice pudding stores incredibly well, which is why it’s great to make a big batch! Keep any leftovers tightly covered in the refrigerator. Since this is a no-bake version, it firms up a lot once it chills.
When you want to enjoy it again, don’t just microwave it dry! That’s how you get a clumpy texture. Instead, put your portion in a saucepan, stir in a small splash of milk—just enough to loosen it up—and warm it gently over low heat until it’s creamy again. This keeps that rich texture perfect for your next cozy moment.
Frequently Asked Questions About Making Creamy Rice Pudding Recipe
I know you might still have a couple of questions swirling around, especially if you’re new to making homemade rice pudding from scratch. Don’t worry! I’ve gathered some of the most common things people ask when trying to nail that perfect, rich texture.
For example, people always ask about the rice consistency. If you want that ultimate smooth pudding, you really need to stick to the short-grain rice we talked about earlier. Using the wrong type means you won’t release enough starch, and you’ll end up with something closer to soup than proper comfort food dessert!
If you ever have something specific you want to run by me, maybe about an ingredient swap, feel free to reach out on my contact page!
Can I substitute the whole milk in this rice pudding recipe?
You certainly can try substitutes, but I give this warning: whole milk is what guarantees that decadent texture. If you use 2% milk, you’ll find the final mix is noticeably thinner. Half-and-half works great for extra richness, but for the creamy rice pudding recipe, whole milk is what I always insist on.
What if my pudding gets too thick after chilling?
This happens all the time because, trust me, this old-fashioned rice pudding continues to set up in the fridge! If it’s too heavy the next day, just put the portion you want to eat back into a saucepan with a tiny splash of milk or cream. Warm it over very low heat, stirring gently until it loosens back up to your preferred consistency. It’s easily fixable!
Can I use leftover cooked white rice instead of dry rice?
Yes, you totally can use leftover rice, making it a great option for a quick comfort dessert! However, since the rice is already cooked, you skip the initial 45-60 minute absorption time. You just need to warm the milk mixture and add the cooked rice, letting it simmer just long enough for the flavors to meld and the milk to thicken slightly—maybe 15 to 20 minutes total. Don’t cook it too long, or the rice will turn to complete mush!
Nutritional Estimates for This Classic Dessert Recipe
I always get asked about the numbers, so here’s a quick glance at what you can expect from one serving of this tasty treat. Keep in mind that since we use whole milk and sugar, these are just good estimates!
- Calories: Approximately 350
- Fat: About 8g
- Carbohydrates: Around 60g
- Protein: Roughly 10g
- Sugar: About 25g
Because we are using basic ingredients cooked on the stovetop, these numbers are pretty straightforward. For the full legal run-down, please take a peek at our official recipe disclaimer page!
PrintOld-Fashioned Ultra Creamy Stovetop Rice Pudding

Make a rich, comforting, and creamy rice pudding on the stovetop using simple ingredients. This recipe delivers a classic texture perfect for a cozy dessert.
- Prep Time: 5 min
- Cook Time: 60 min
- Total Time: 65 min
- Yield: 4 servings
- Category: Dessert
- Method: Stovetop
- Cuisine: American
- Diet: Vegetarian
Ingredients
- 1 cup short-grain white rice
- 4 cups whole milk
- 1/2 cup granulated sugar
- 1/4 teaspoon salt
- 1 teaspoon vanilla extract
- 1/4 teaspoon ground cinnamon (plus extra for topping)
Instructions
- Rinse the rice under cold water until the water runs mostly clear.
- Combine the rinsed rice, whole milk, sugar, and salt in a heavy-bottomed saucepan.
- Place the saucepan over medium heat. Stir frequently to prevent the rice from sticking to the bottom.
- Bring the mixture to a gentle simmer. Reduce the heat to low once simmering begins.
- Cook uncovered for 45 to 60 minutes, stirring every 5 to 10 minutes. The pudding thickens as the liquid absorbs and the rice softens. If it thickens too quickly, add a splash more milk.
- Remove the saucepan from the heat when the pudding reaches your desired creamy consistency. It will thicken more as it cools.
- Stir in the vanilla extract.
- Serve warm, sprinkled with extra ground cinnamon, or chill completely for a firmer texture.
Notes
- For the creamiest result, use whole milk and short-grain rice, like Arborio or Calrose.
- Stirring often is key to releasing starch and achieving a smooth texture without scorching the bottom of the pan.
- If you prefer a thinner pudding, add up to 1/2 cup more milk during the last 10 minutes of cooking.
Nutrition
- Serving Size: 1 serving
- Calories: 350
- Sugar: 25
- Sodium: 150
- Fat: 8
- Saturated Fat: 4
- Unsaturated Fat: 4
- Trans Fat: 0
- Carbohydrates: 60
- Fiber: 1
- Protein: 10
- Cholesterol: 25