

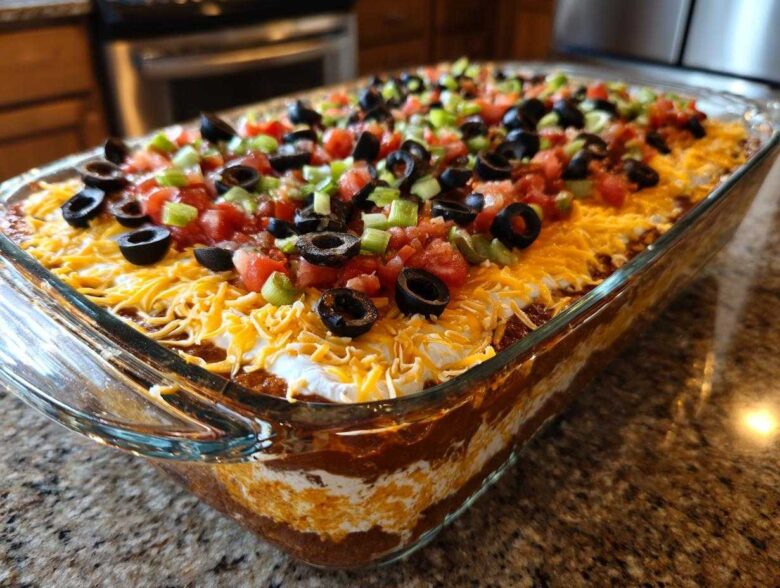
Ugh, party planning! It always feels like this massive, strategic military operation destined to fail, right? You’re trying to coordinate timings, dietary restrictions, and getting everything ready when people *actually* arrive. Well, stop stressing! When Noah and I tackle party food, we rely on dishes that deliver maximum impact with minimal last-minute fuss. That’s why this **layer dip**—our ultimate Classic Seven Layer Dip—is my absolute favorite blueprint for success. It’s ridiculously colorful, tastes like all your favorite things piled up, and it’s a total crowd-pleaser dip. Noah loves it because the assembly is so straightforward, proving you don’t need complicated cooking times for epic results.
Why This Classic Seven Layer Dip is Your Go-To Crowd Pleaser Dip
When we designed our party blueprints, this Tex-Mex **layer dip** model always wins. It’s guaranteed perfection, and honestly, it makes me look way more organized than I feel! It’s the ultimate **crowd pleaser dip** because it hits every texture you want: creamy, chunky, and cheesy, all in one scoop.
- It’s ridiculously vibrant—the colors actually pop when you serve it!
- The entire thing comes together faster than I can brew my coffee.
- It’s the definition of an easy party dip; no oven required!
Simple Dip Ideas for Stress-Free Entertaining
This recipe is officially cataloged under ‘Emergency Party Prep’ because it’s a **no bake layered dip** masterpiece! With only 20 minutes of prep time, you can manage this recipe even if the guests text you they’re ten minutes out. These are the kinds of simple dip ideas that let us—the hosts—actually enjoy the gathering instead of hiding in the kitchen the whole time!
Perfecting the Layers of Your Layered Dip Recipe
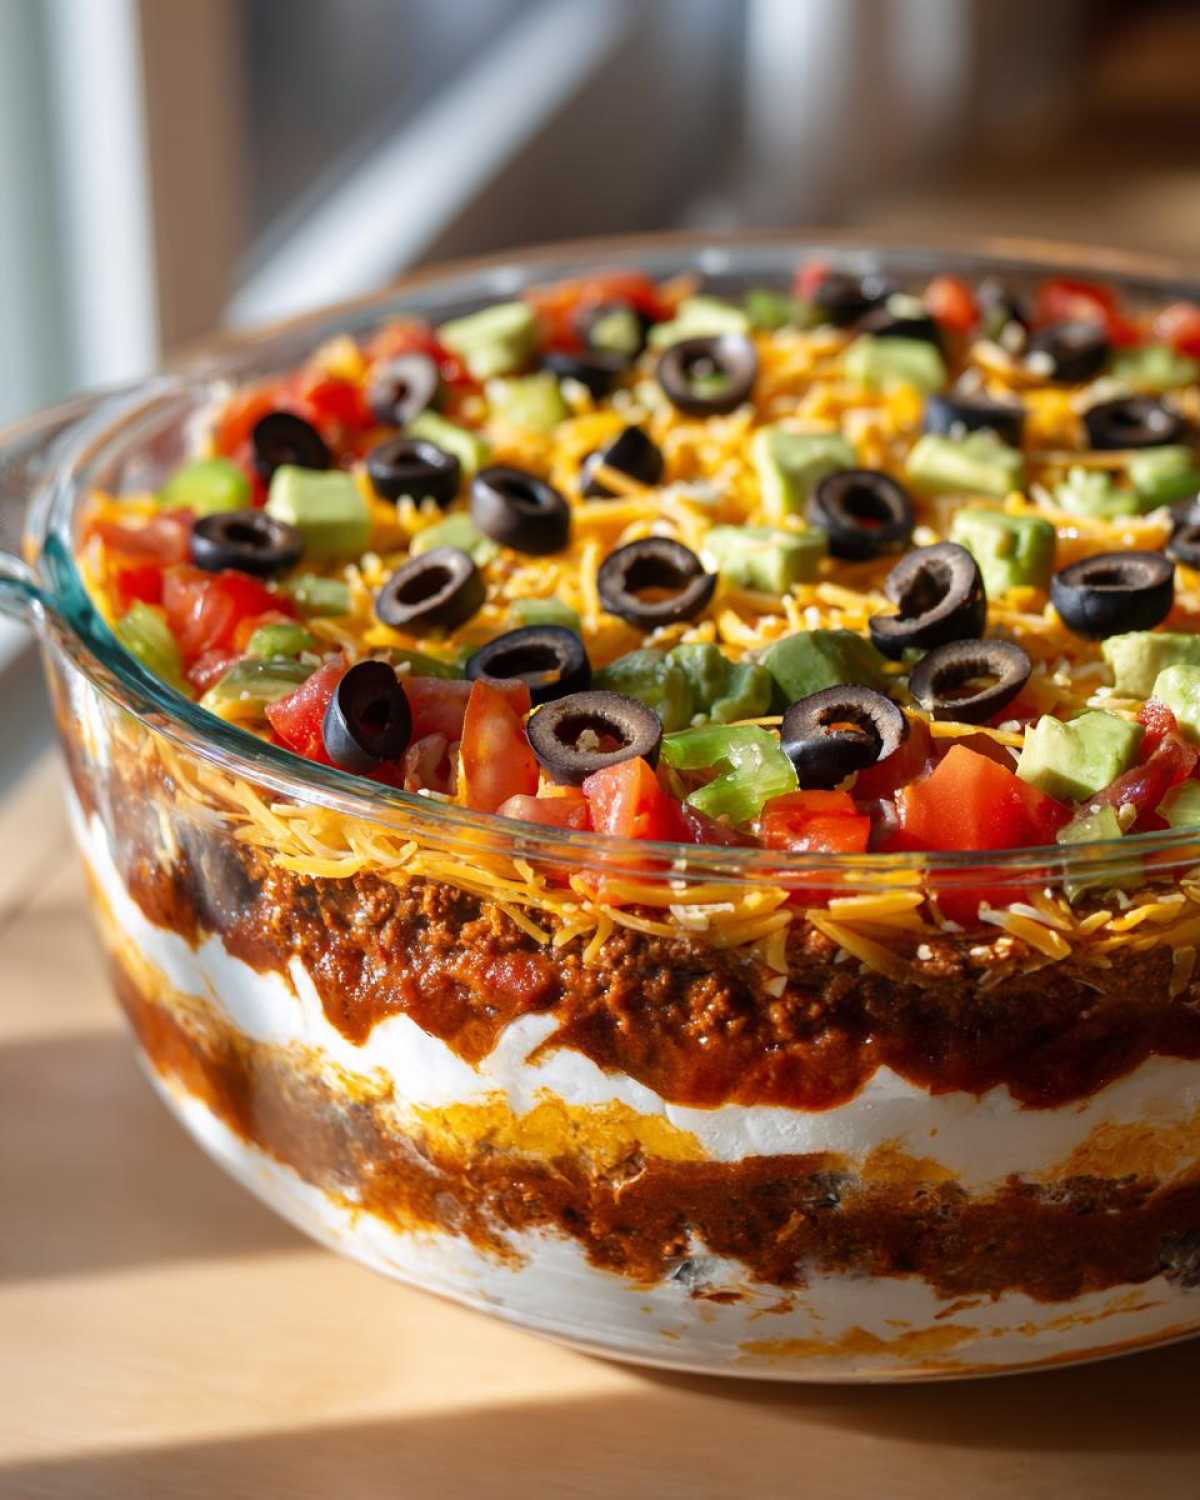
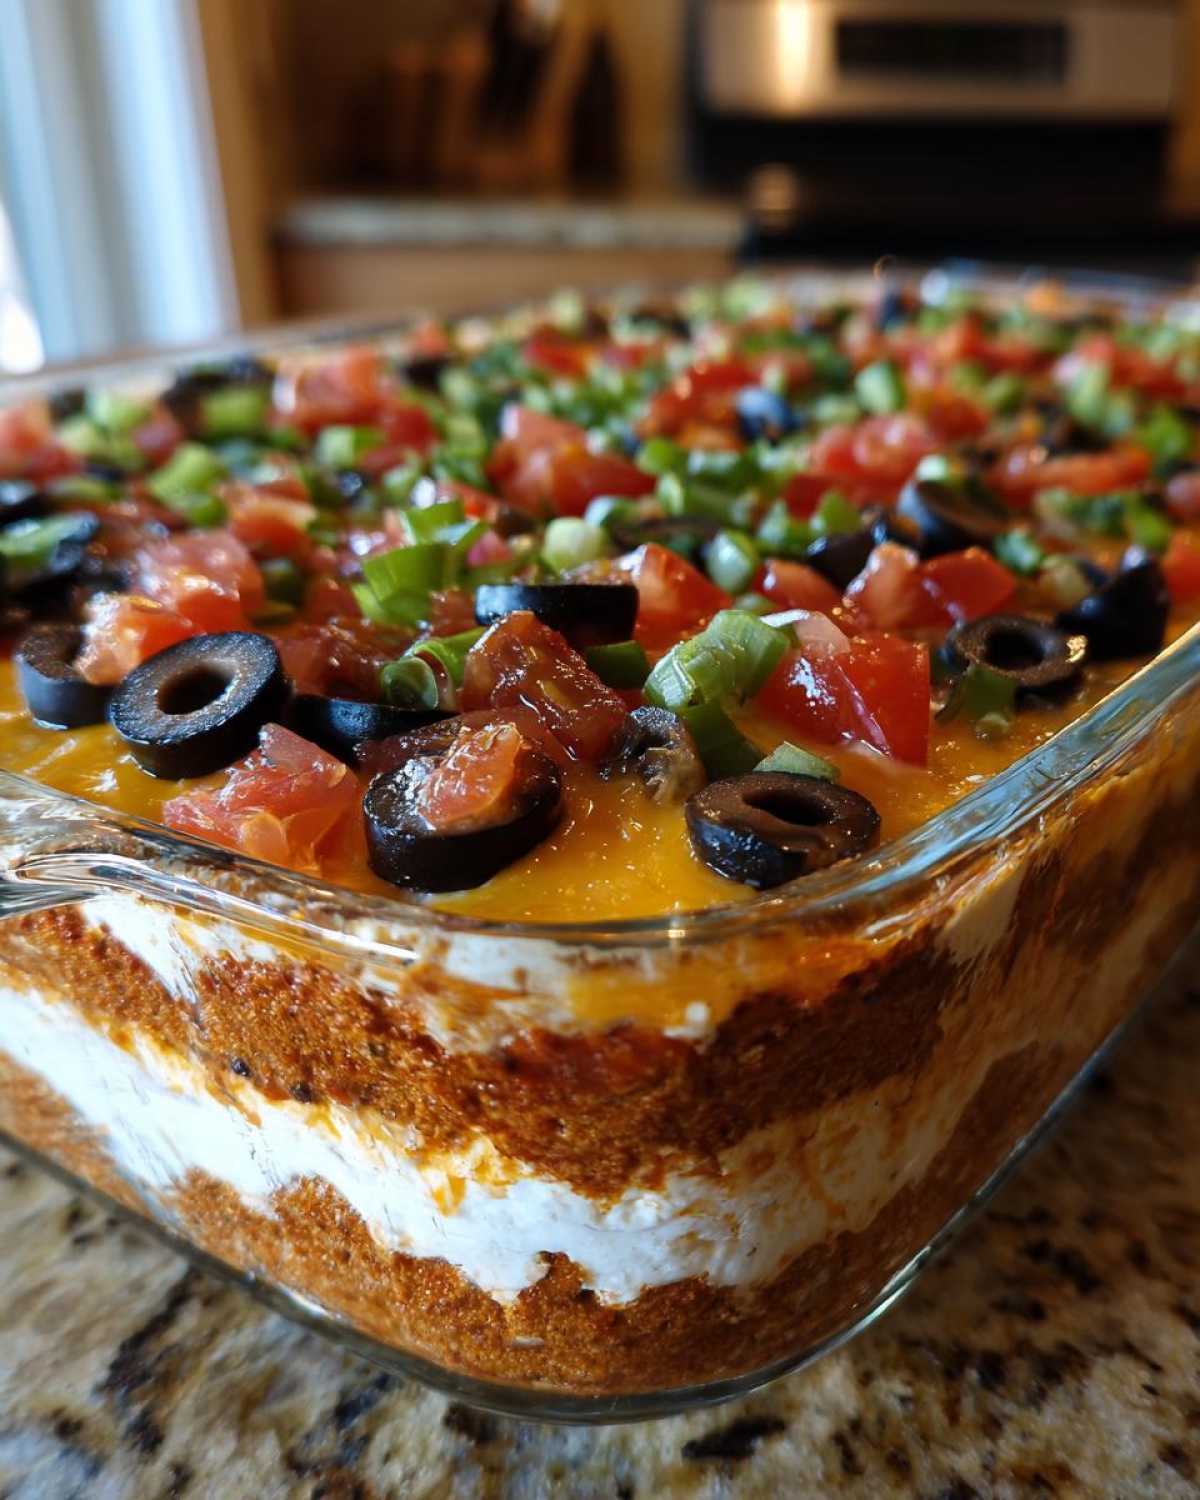
The whole point of this specific **layer dip** is the visual drama. You’ve got the earthy brown of the beans, the cool white of the sour cream, the bright green guacamole, and the bright red salsa hitting the yellow cheese—wow! Following the layering order is essential to maintaining separation; we call it the structural integrity of the Layered Dip Recipe. Keep the layers spread evenly and you’ll create something stunning.
Ingredients for the Best Seven Layer Dip
Putting together the best seven layer dip is all about having your components ready to go. We use a clear glass dish, so every component needs to look its absolute best when we’re laying it down. Since this is a classic Tex-Mex build, the ingredient list is simple but needs quality. Remember, we aren’t cooking anything here, so the quality of the pre-made sections really shines through. You’ll need about five minutes to gather everything up before we start the assembly.
Ingredient Notes and Substitution Strategy
Listen, this is where some folks run into trouble with their layer dip structure, so pay attention! The biggest structural enemy here is liquid. You absolutely must drain your salsa—I mean, really push out every drop of watery juice through a sieve, or your sour cream layer is going to have a sloppy fight with the guacamole layer. Also, for the refried beans, don’t grab the spicy kind unless you want major heat distribution; the mild ones give us a great, creamy base for the other flavors to sit on top of.
Now, if you wanted to bump this up to a full-on Taco Dip, you could swap that bean layer for 1 pound of ground beef cooked up with taco seasoning. Just make sure you drain every single drop of grease. If you skip the draining step, your entire beautiful layer dip turns into a greasy mess. That’s Noah’s strategic warning for you!
- 1 (16 ounce) can refried beans (Use mild unless you’re going rogue!)
- 1 cup sour cream
- 1 package (1 ounce) taco seasoning mix
- 1 cup prepared guacamole (My rule: keep it slightly chunkier for texture contrast)
- 1 cup salsa, drained *VERY* well. Seriously, drain it like your life depends on it.
- 2 cups shredded Mexican cheese blend
- 1 cup chopped black olives (The canned, sliced kind works perfectly here)
- 1/2 cup chopped fresh tomatoes (optional topping—only if they are perfectly ripe!)
Step-by-Step Instructions for Your Layered Nacho Dip
Okay, even though this is a no bake layered dip, the order of assembly is everything! Think of it like building a tiny, delicious cake. You need a solid base, and you need to be gentle as you add the softer textures on top. If you rush this part, you won’t get that amazing visual of your beautiful **Layered Nacho Dip** when you set it out. Grab that clear, shallow dish—it’s time to build!
First things first, you need to tackle that seasoned sour cream step. Mix your sour cream and the taco seasoning packet together until it’s all one beautiful, savory color. That’s your sneaky powerhouse layer!
- Start by spreading your refried beans evenly across the bottom of your serving dish. This has to be solid; it’s your foundation layer—Layer One!
- Next, gently spoon the seasoned sour cream mixture right over the beans to make Layer Two. Spread it calmly; don’t mash into the beans underneath!
- Carefully spread that prepared guacamole layer on top of the sour cream.
- Now for the salsa! This is where that draining advice comes in handy. Spoon the salsa over the guacamole. If it looks a little watery, stop adding until you run out of the thick stuff.
- Sprinkle that gorgeous shredded Mexican cheese blend evenly over the salsa.
- Finish up with the chopped black olives, and if you are using them, sprinkle on those fresh tomatoes.
Here’s the crucial waiting period: once it’s all stacked, cover it up and stick it in the fridge for at least an hour. This chilling time isn’t optional; it lets the flavors settle in and keeps the layers from sliding around when people start diving in. You can find some more of my **game day appetizer** strategies over here if you want more dipping ideas!
Assembling the Creamy Dip Recipe Layers
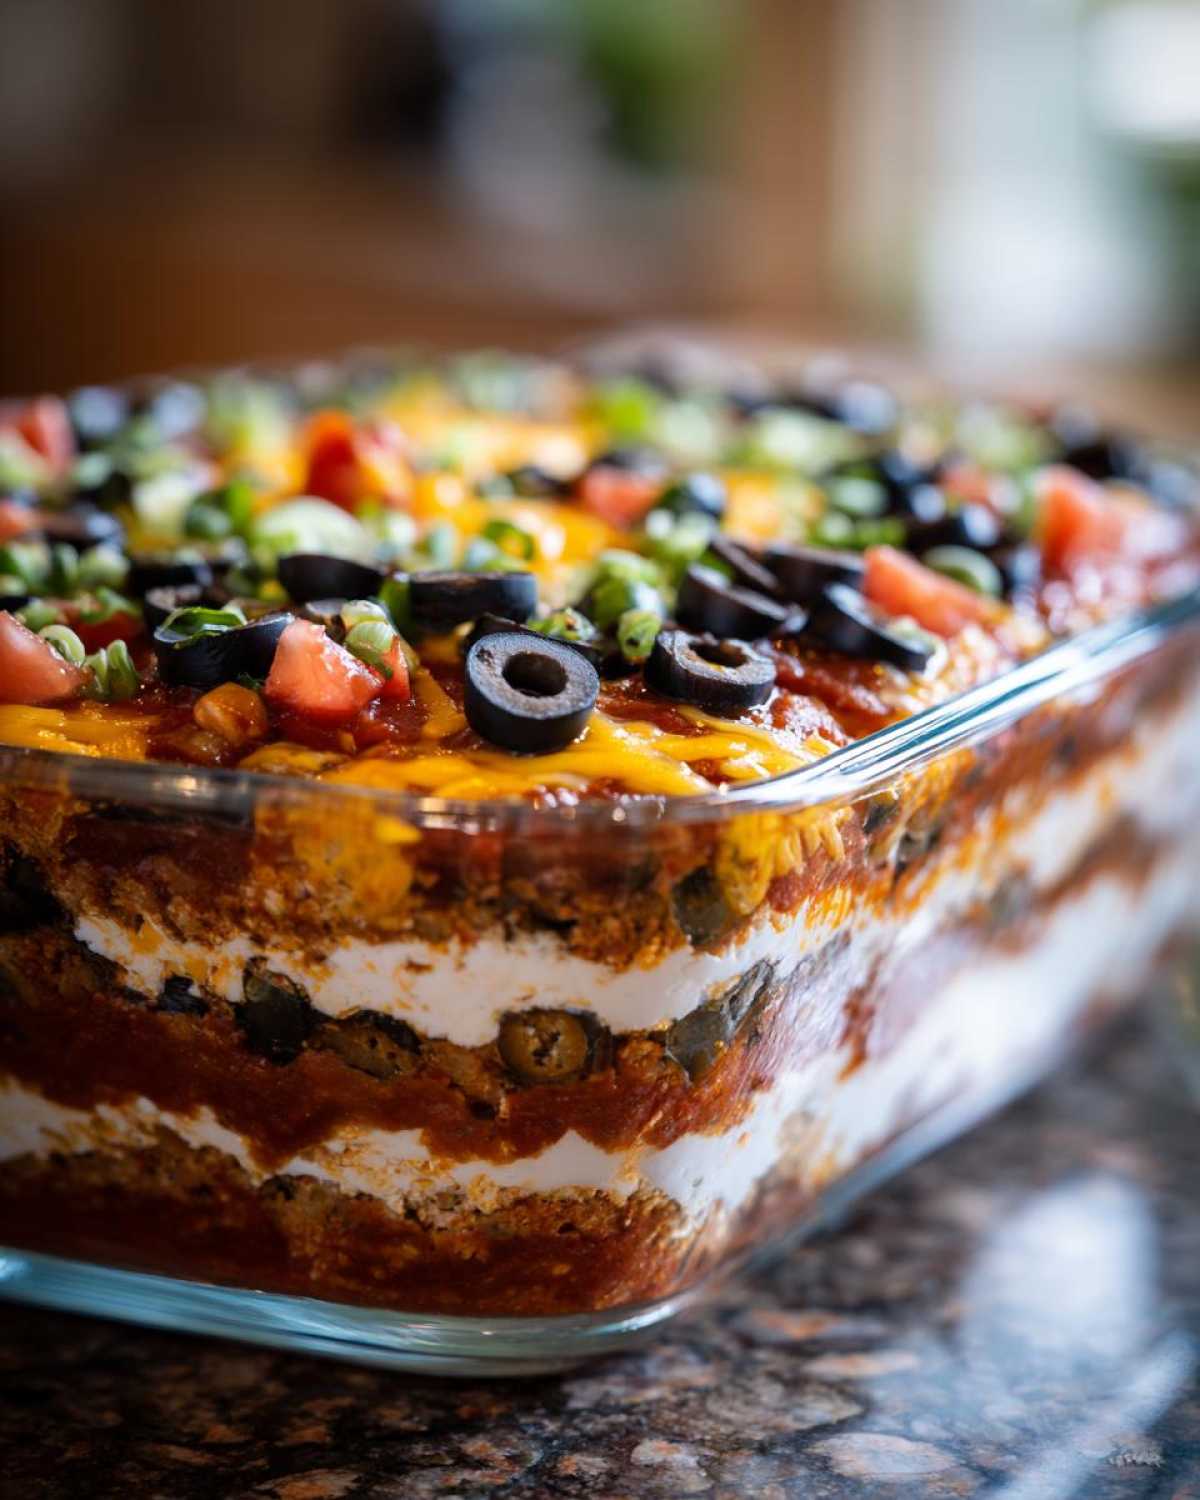
The secret to making this a stunning **Creamy Dip Recipe** instead of a muddy mess is how you approach the spread. For the bean layer, I use an offset spatula and just coax it to the edges without pressing down hard. When you get to the sour cream and guacamole, the trick is dolloping, not dragging. Put little spoonfuls all over the layer beneath it, and then gently connect those dollops. You’re pushing sideways, not down. This prevents you from dragging the lower color up into the higher one, keeping those lines clean and distinct!
Tips for Making the Ultimate Make Ahead Dip
When entertaining, the true masterstroke is serving something amazing without scrambling right when the doorbell rings. That’s why this recipe shines as a great **Make Ahead Dip** blueprint. Noah and I always treat parties like a strategic operation, and advance prep is the biggest win!
The beauty of this **layer dip** is that almost everything can be done the day before. You can totally prep the beans, mix up that seasoned sour cream—which actually tastes better after chilling—and even make your guacamole earlier in the day. Mix those first three layers together and spread them right into your serving dish, then cover it up tight.
But here’s where we have to draw the line! The salsa and any fresh toppings like cheese and tomatoes absolutely have to wait until the last minute. If you leave the salsa on too long, the moisture starts leeching into the sour cream underneath, and bam, your layers start migrating! For the very best results, add the cheese and olives right before guests arrive so everything is crisp and distinct. It makes setting up your **Game Day Appetizer** spread so much less stressful!
Serving Suggestions for This Tex Mex Dip
You’ve built your masterpiece—now you need the right tools to excavate it! Since this is a magnificent **Cold Layer Dip**, whatever you scoop with needs to be sturdy enough to handle that thick bean base without snapping off halfway into the sour cream. Obviously, sturdy, salted tortilla chips are the classic choice for any great **Tex Mex Dip**. We love the scoop-shaped ones because they act like little shovels.
But if you want to mix it up for variety, try thick-cut sturdy crackers or maybe some pita chips. For the vegetable route, carrot sticks and celery work okay, but if you’re feeling fancy, strips of crisp bell pepper are fantastic dippers! A solid serving platter full of this **layer dip** disappears fast, so have plenty of vehicles ready to go! If you need a side dish that isn’t a dip, check out how we upgrade our garlic butter for next-level bread!
Game Day Appetizer: Quick Party Food Assembly
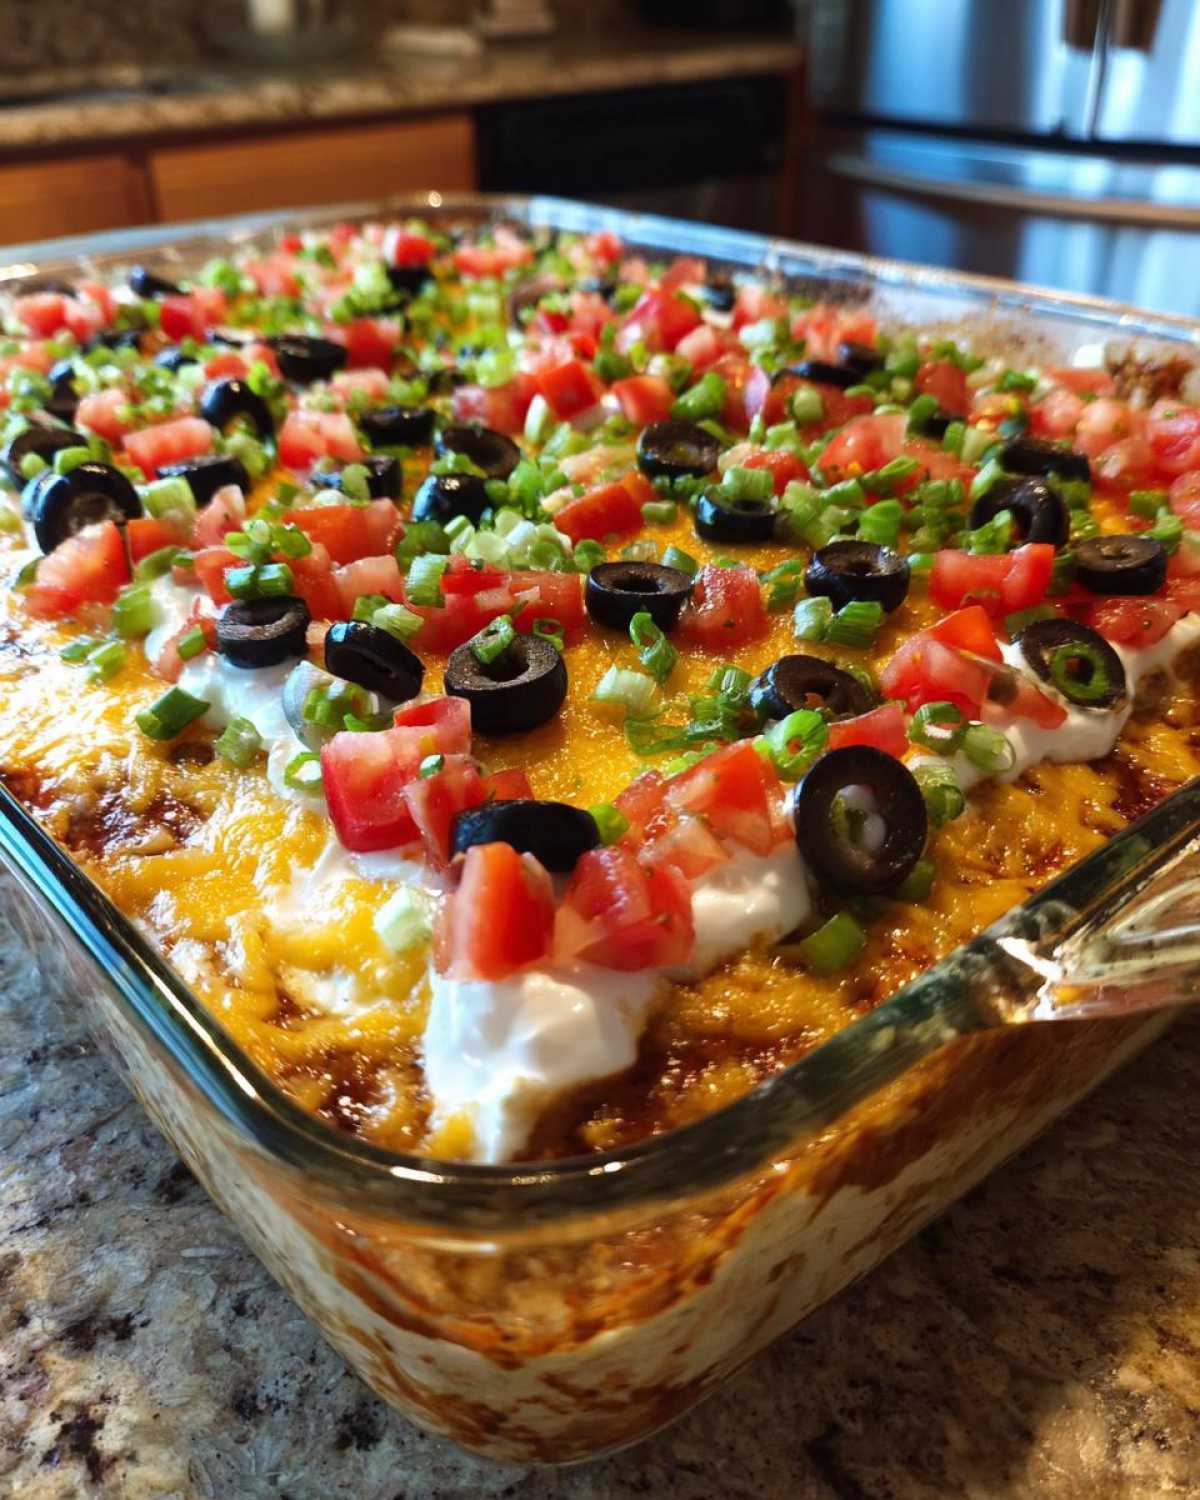
Honestly, the beauty of this recipe—especially when you’re hosting a big watch party—is how fast you can pivot from zero to dip hero. This is truly the quintessential **Quick Party Food**. I remember one time, the guys showed up way earlier than Noah had planned for the championship game. I looked at the clock and realized I had maybe fifteen minutes until kickoff!
I completely utilized the prepped sour cream from the day before. I just tossed down the beans, slammed down the sour cream, threw on the guacamole, and sprinkled the cheese and olives on top. I skipped the full hour of chilling time because, well, desperation fueled this **layer dip** assembly! It looked fantastic because the layers were mostly distinct, and trust me, when people see a beautiful **Game Day Appetizer** appear that quickly, they don’t question the chilling time. It vanished instantly, strategic success!
Seven Layer Dip Variations for Your Next Gathering
While the classic recipe is fantastic—it’s a classic for reason, you know?—sometimes you need to switch things up for the regulars. We love experimenting with Seven Layer Dip Variations because it keeps our potluck rotation fresh. Noah always approaches variations like a system upgrade; we swap out one core component but keep the structural integrity the same. This keeps the prep time low but maxes out the flavor profile.
Don’t be afraid of adding texture! Toss in a layer of frozen yellow corn (thawed, obviously!) right on top of the refried beans for a little sweet pop. Or, if you’re feeling bold, try swapping out the blended Mexican cheese for pepper jack—it brings the heat up just enough without overwhelming the whole layer dip experience. If you enjoyed these ideas, check out our recipe for a completely dipped comfort food, the chicken enchilada dip; it’s a whole different level of party dipping!
Another simple swap we love is changing out the sour cream layer. Instead of just taco seasoning, mix in some softened cream cheese and a dash of lime juice for a tangier, thicker middle layer. It holds up even better to heavier toppings!
Storing and Reheating Your Cold Layer Dip
Because this entire construction is a wonderful, delicious, **Cold Layer Dip**, cleanup and storage are almost as important as the assembly itself! You definitely want to save the leftovers, though I can’t promise they’ll last long when you serve this amazing **layer dip** at a big party.
If you have any remnants—which is rare in our house—cover the dish tightly with plastic wrap. Make sure the wrap touches the top layer of olives or tomatoes so a skin doesn’t form. It stays fresh in the fridge for about three days. Honestly, day two is when the flavors have really mingled beautifully!
Now, can you reheat it? Don’t! This is a cold dip through and through. Any heat will turn that gorgeous texture into soup. If you have leftovers you want to save for later, I recommend dividing the dip into airtight containers, keeping the layers as undisturbed as possible. But primarily, plan for this **layer dip** to be eaten within 48 hours, as fresh.
Frequently Asked Questions About This Layer Dip Recipe
Can I add meat to this layer dip?
Absolutely! That’s a really popular way to turn this into a heartier centerpiece for your party table. If you want a **Classic Taco Dip**, you just need to cook up about a pound of ground beef with some taco seasoning, making sure you drain off every last ounce of fat. You spread that meat mixture right over the refried beans before you get to the seasoned sour cream layer. It adds great flavor and substance!
What is the best dish to use for a layer dip?
This is key to maximizing the “wow” factor! You really want to use a clear, shallow serving dish. Like, use the clearest glass platter you own. Since this entire recipe is about presentation, you need to be able to see all those beautiful, distinct bands of color—the green, the white, the red, the cheese! A deeper bowl just turns it into a colorful mush. Keep it shallow so your guests can easily scoop out a little bit of every component in your layer dip.
Why is draining the salsa important for a no bake layered dip?
Oh, this is the most important piece of strategic advice for this specific no bake layered dip! If your salsa is too watery, what happens? Gravity takes over, and when anyone scoops the top layer of cheese or olives, the extra liquid from the salsa seeps down into the sour cream layer beneath it. Before you know it, the layers are blending where they shouldn’t be, and you get a sad, soggy mess instead of clean lines. Draining it creates a thicker salsa that acts as a stable boundary between the creamy and cheesy layers underneath and the toppings above. It’s vital for structural integrity!
We’ve shared all our secrets for building the ultimate party platter here, but remember to check out our official site disclaimer if you have any questions about our recipe development process!
PrintThe Ultimate Crowd-Pleasing Seven Layer Dip

Assemble this classic Tex-Mex layered dip for your next gathering. It features distinct, flavorful layers and is simple to prepare ahead of time.
- Prep Time: 20 min
- Cook Time: 0 min
- Total Time: 20 min
- Yield: 10 servings
- Category: Appetizer
- Method: No Bake
- Cuisine: Tex-Mex
- Diet: Vegetarian
Ingredients
- 1 (16 ounce) can refried beans
- 1 cup sour cream
- 1 package (1 ounce) taco seasoning mix
- 1 cup prepared guacamole
- 1 cup salsa, drained well
- 2 cups shredded Mexican cheese blend
- 1 cup chopped black olives
- 1/2 cup chopped fresh tomatoes (optional topping)
Instructions
- In a small bowl, mix the sour cream and taco seasoning until fully combined. This is your seasoned sour cream layer.
- Select a clear, shallow serving dish (about 9×13 inches or similar size) to show off the layers.
- Spread the refried beans evenly across the bottom of the dish to create the first layer.
- Carefully spread the seasoned sour cream mixture over the beans to form the second layer.
- Spread the prepared guacamole evenly over the sour cream layer.
- Spoon the drained salsa over the guacamole layer. Make sure the salsa is not too watery, or the layers may mix.
- Sprinkle the shredded cheese evenly over the salsa layer.
- Top with the chopped black olives. If you are using fresh tomatoes, sprinkle them over the olives.
- Cover the dip and chill in the refrigerator for at least one hour before serving. This allows the flavors to meld.
- Serve your **best seven layer dip** cold with tortilla chips, sturdy crackers, or fresh vegetable sticks.
Notes
- To make this a **make ahead dip**, assemble all layers except the very top layer (cheese/olives) up to 24 hours in advance. Add the final toppings just before serving.
- If you prefer a meat layer, brown 1 pound of ground beef with extra taco seasoning and drain fat completely before adding it as the third layer, between the beans and the sour cream.
- Draining the salsa is crucial for preventing a runny dip. Press the salsa against a fine-mesh sieve to remove excess liquid.
Nutrition
- Serving Size: 1/10 of dip
- Calories: 250
- Sugar: 4
- Sodium: 450
- Fat: 18
- Saturated Fat: 9
- Unsaturated Fat: 9
- Trans Fat: 0
- Carbohydrates: 15
- Fiber: 3
- Protein: 9
- Cholesterol: 35