

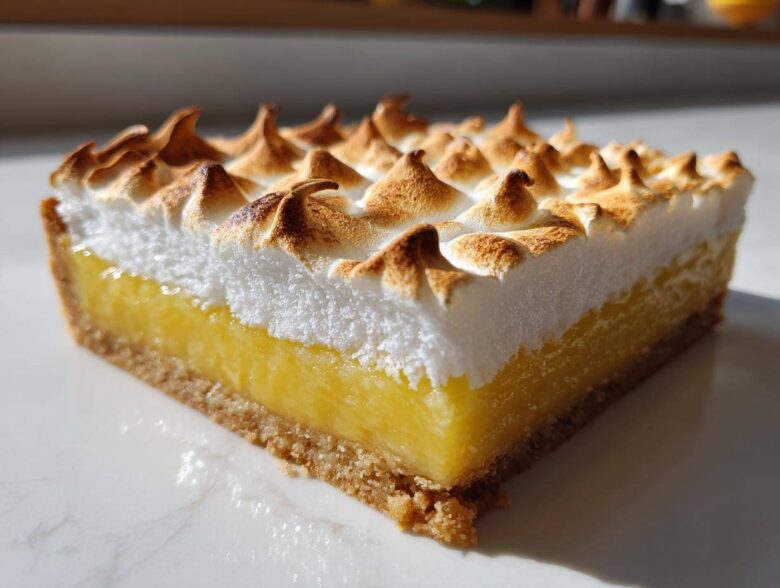
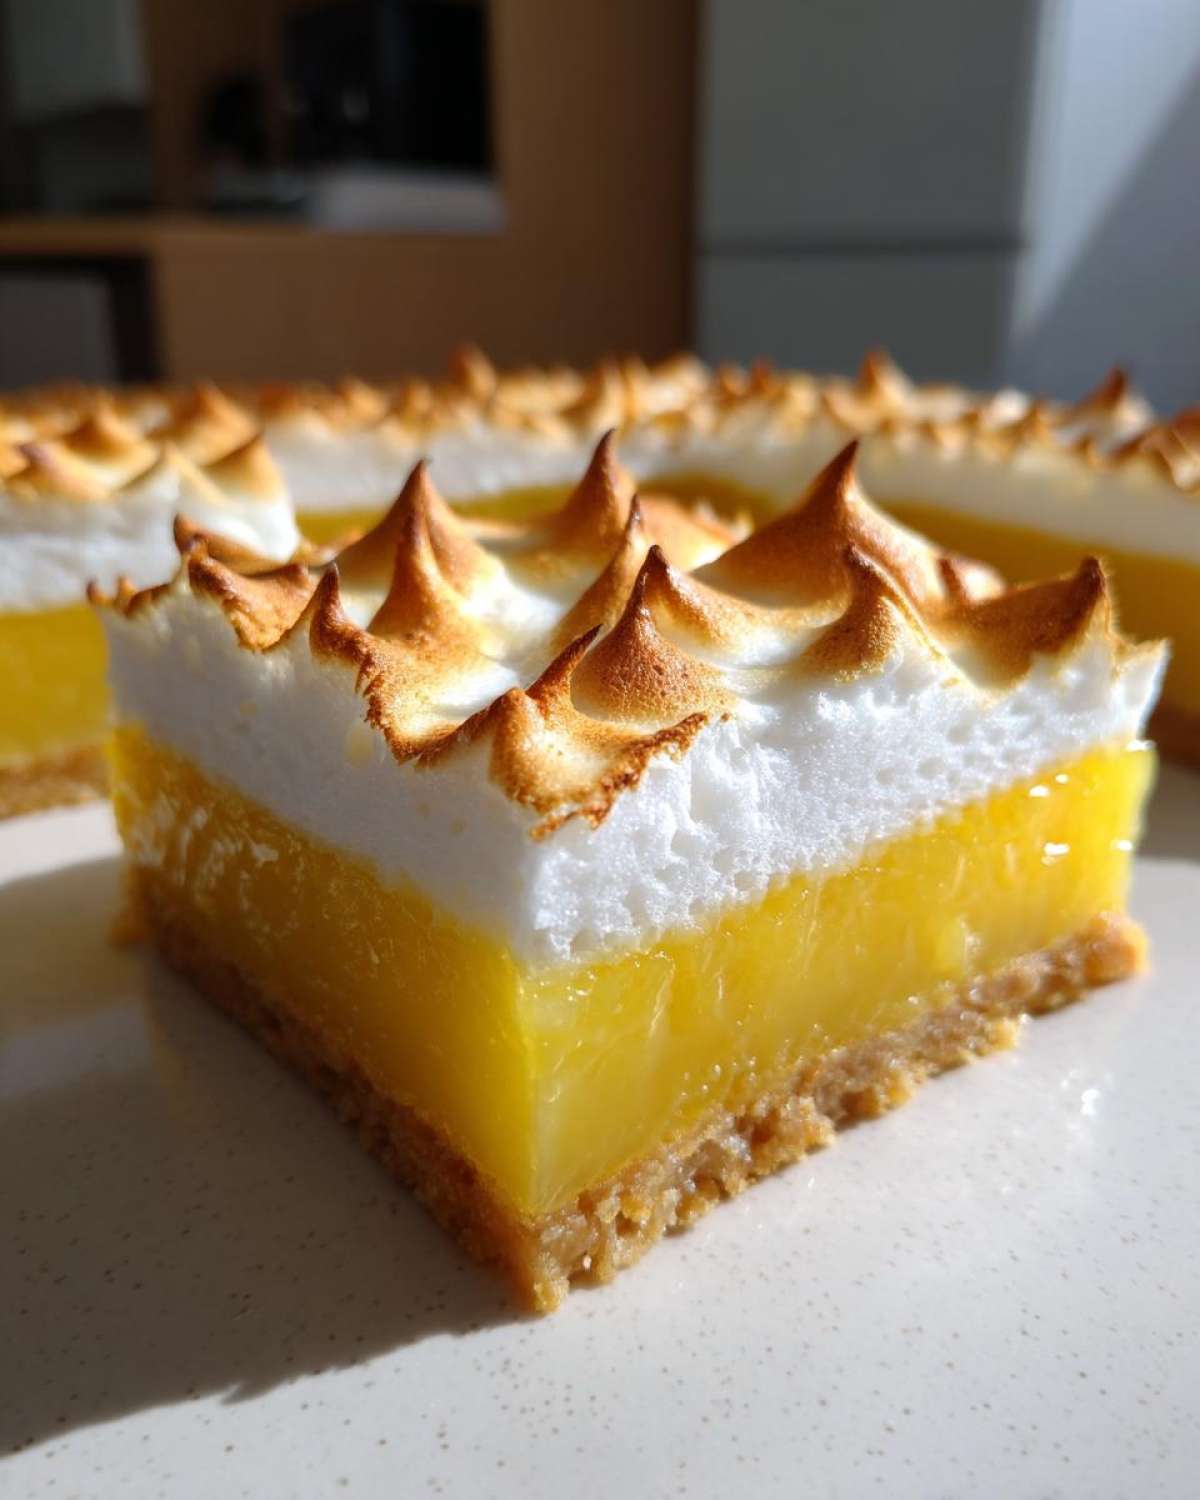
Oh, let’s be honest—sometimes a full, towering Lemon Meringue Pie just seems like too much fuss, right? We want that incredible flavor—that sharp, sunny lemon mixed with sweet fluff—but we need it in something we can actually take to a potluck without disaster striking! That’s why I spent ages tweaking this formula. I promise you, these Lemon Meringue Pie Bars deliver every single ‘wow’ factor of the original pie, but in easy, perfect little squares. You get that wonderfully crisp, buttery shortbread crust, followed by a filling so tart it makes your eyes water (in a good way!), all capped off with gorgeous, stiff meringue. Trust me, perfecting that meringue layer so it doesn’t weep after cooling took a few tries, but I cracked the code for you!
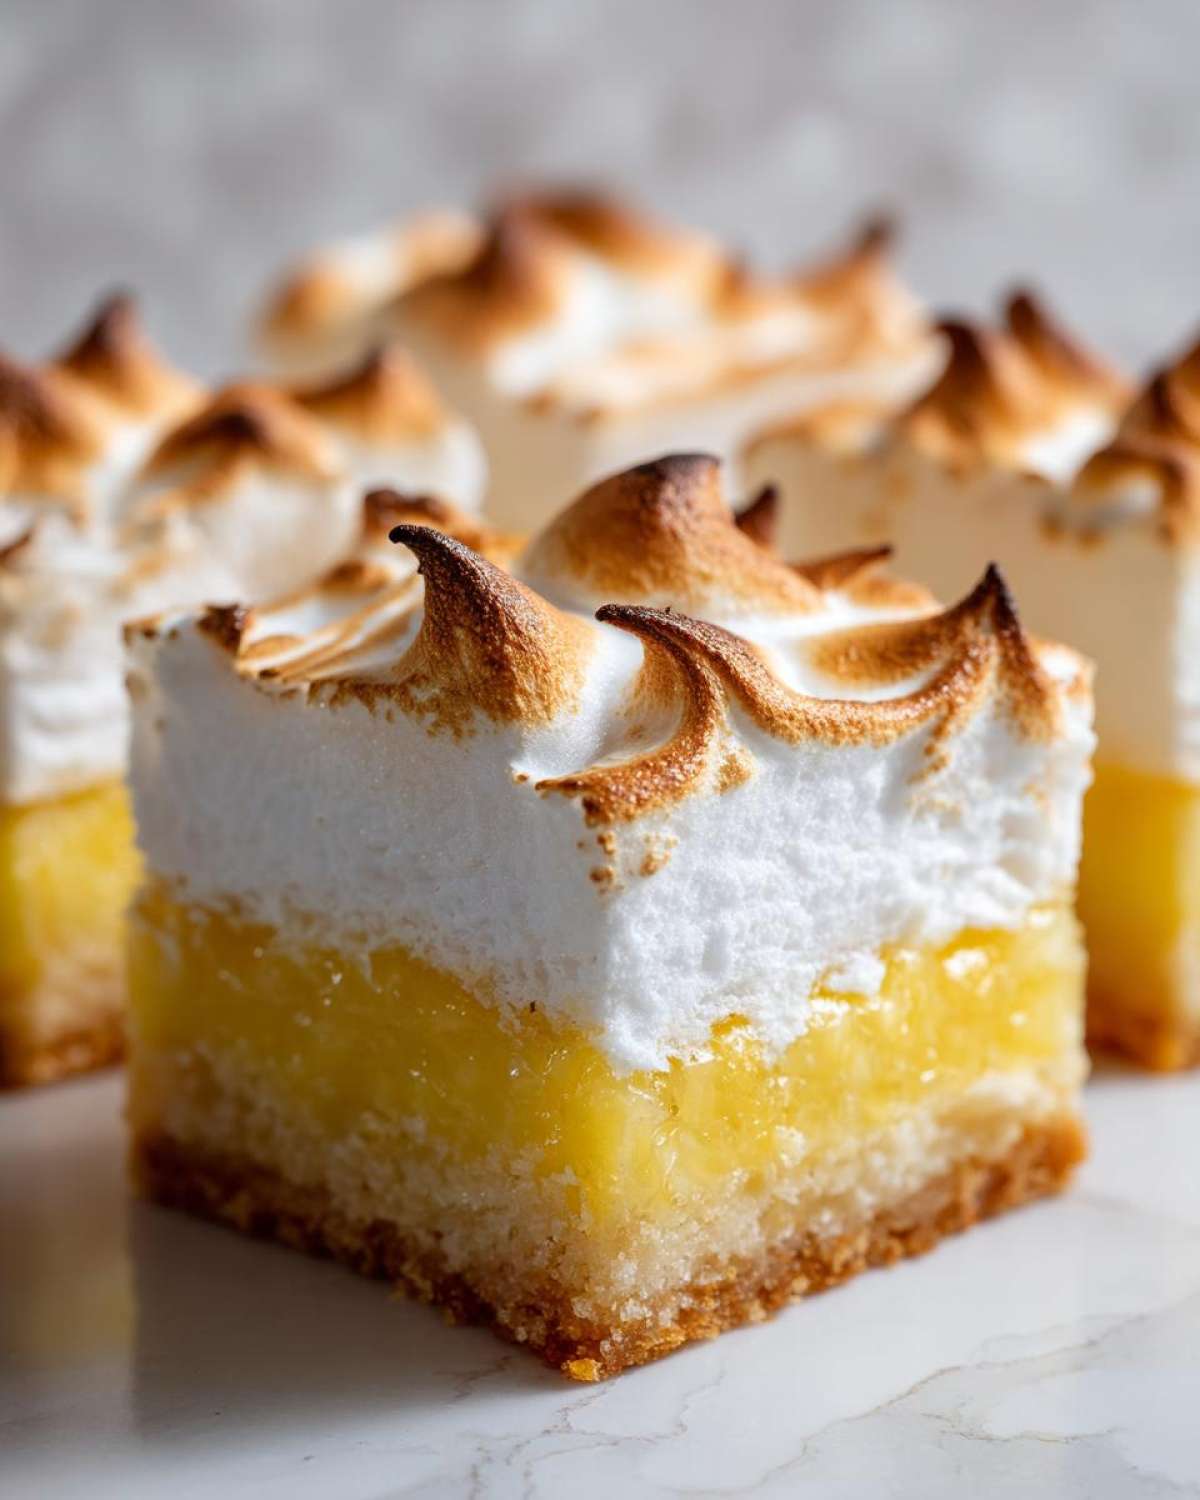
Why You Will Love These Lemon Meringue Pie Bars
Honestly, these are my go-to when I need a showstopper that travels well. Forget fussy pie plates!
- They have that perfect crumb-to-filling ratio thanks to the sturdy shortbread crust.
- You get a truly Tart and Sweet Lemon Bars experience—that bright pop cuts through anything!
- Perfect for cutting into uniform squares; they are the ultimate Dessert Bars for Parties.
- The stability on these is fantastic, which means less worry about presentation.
- They are simpler to slice and serve than rolling out pie dough.
Gathering Ingredients for the Ultimate Lemon Meringue Pie Bars
Okay, this is where we build trust, right? Getting the ingredients right, especially their prep—that’s the secret sauce to bakery quality. Don’t just eyeball anything here; the little details matter so much when you’re dealing with something as delicate as a lemon custard topping.
For the Shortbread Crust
We need that buttery base to stand up to the filling. Make sure that butter is properly cold before you start cutting it in!
- 1 1/2 cups all-purpose flour
- 1/2 cup granulated sugar
- 1/4 teaspoon salt
- 1 cup (2 sticks) cold unsalted butter, cut into cubes
For the Tart Lemon Filling
This is where your ‘bright’ flavor comes from! Please, please use real lemons here—the bottled stuff just doesn’t cut it for that signature tartness. We need the zest and the fresh juice!
- 1 1/2 cups granulated sugar
- 1/4 cup all-purpose flour
- 1/4 cup cornstarch
- 1/4 teaspoon salt
- 4 large egg yolks, lightly beaten
- 1 1/2 cups cold water
- 1/2 cup fresh lemon juice
- 1 tablespoon lemon zest
- 2 tablespoons unsalted butter
For the Fluffy Meringue Topping
My biggest tip for the meringue? Temperature control! If your egg whites aren’t nice and room temperature, you will fight for volume. Clean bowls are key here too; any lingering grease will ruin your peaks.
- 4 large egg whites, room temperature
- 1/4 teaspoon cream of tartar
- 1/2 cup granulated sugar
- 1/4 teaspoon vanilla extract
Step-by-Step Guide to Making Lemon Meringue Pie Bars
Alright, let’s get baking! These instructions for our incredible Lemon Meringue Pie Bars look like a lot, but if you take them one step at a time, it’s a breeze. We’re looking at a total hands-on time of less than an hour and a half, not counting the mandatory chill time, which you should totally use to do the dishes!
Baking the Shortbread Crust Base
First things first: crank that oven up to 350°F (175°C)! And make sure you line that 9×13 inch pan with parchment paper *with an overhang*. You’ll thank me later when you try hauling these perfect bars out!
In a bowl, just mix your flour, the first 1/2 cup of sugar, and salt. Now, toss in the cold, cubed butter. You need to work that butter into the dry ingredients until it looks like coarse crumbs. I use my fingers for this; you want to mash it together until it really holds together when you squeeze a handful. Press that firmly and evenly into the bottom of your prepared pan. Pop it in—we’re baking this for about 18 to 20 minutes until the edges just start showing a hint of gold. Keep that oven on; we need it again soon!
Creating the Bright Lemon Filling
While that base is setting up, grab a saucepan for the filling. Whisk your larger portion of sugar, flour, cornstarch, and salt together first, then slowly whisk in the cold water until it’s totally dissolved. Heat this over medium heat, stirring *constantly*, until it’s thick and bubbling slowly—that takes maybe 5 to 7 minutes. Don’t rush this, or it won’t thicken right!
Now for the tricky part: the yolks! Remove the pan from the heat. Take about a cup of that hot sugar mixture and drizzle it *slowly* into your lightly beaten egg yolks while whisking rapidly. This is tempering, and it stops you from getting sweet scrambled eggs! Once they look happy, pour those yolks right back into the saucepan. Set it back on low heat for just one minute more—do not let it boil! Off the heat one last time, stir in the lemon juice, zest, and the final 2 tablespoons of butter until smooth. Pour this bright, gorgeous mixture over your warm crust and bake it again for 15 minutes. Then, you must let it cool completely before the meringue goes on. Seriously, take an hour and put it in the fridge if you need to!
Achieving the Perfect Meringue Topping for Lemon Meringue Pie Bars
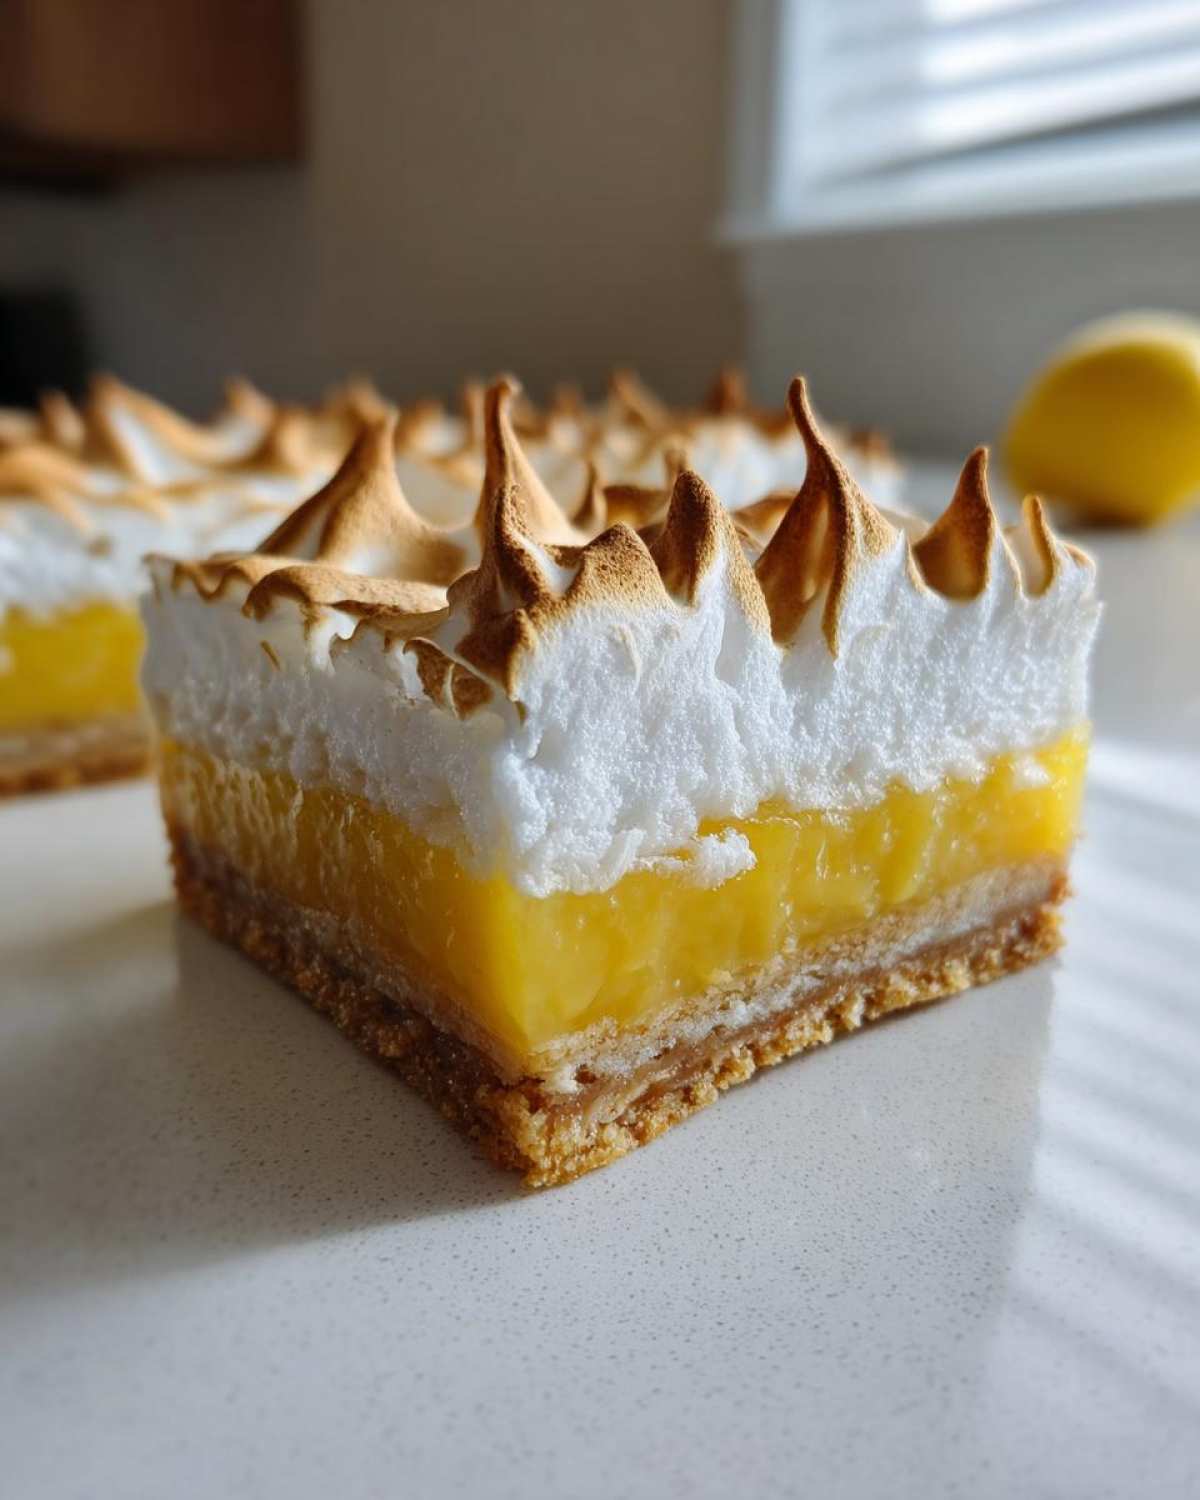
This is where the magic happens, and we need those egg whites to be room temperature so they whip up like clouds! In your mixer, start beating those whites with the cream of tartar on medium speed until they look soft and floppy. Now, start adding that last 1/2 cup of sugar, adding it slowly, just one spoonful at a time. I wait a full 30 seconds between each addition!
Once all the sugar is in, crank the speed up high until you have stiff, glossy peaks—you should be able to hold the whisk upside down and the peaks stand straight up. Beat in the vanilla. Spread this fluffy mountain over your completely cool lemon layer, making sure you push it right out to touch the edges of the crust. This sealing trick stops it from shrinking away!
Final Bake and Cooling
Back into the 350°F (175°C) oven it goes! You only need 10 to 12 minutes, just until those wonderful peaks start to turn a light, inviting gold. If you’re feeling fancy, you can pull it out and use a kitchen torch to brown them quickly instead—I love that more controlled color! After that, the hardest part: let those lemon meringue pie bars cool completely, at least two hours, before you even think about slicing. Cold bars slice cleanly; warm ones smear everywhere!
Tips for Success with Homemade Lemon Meringue Squares
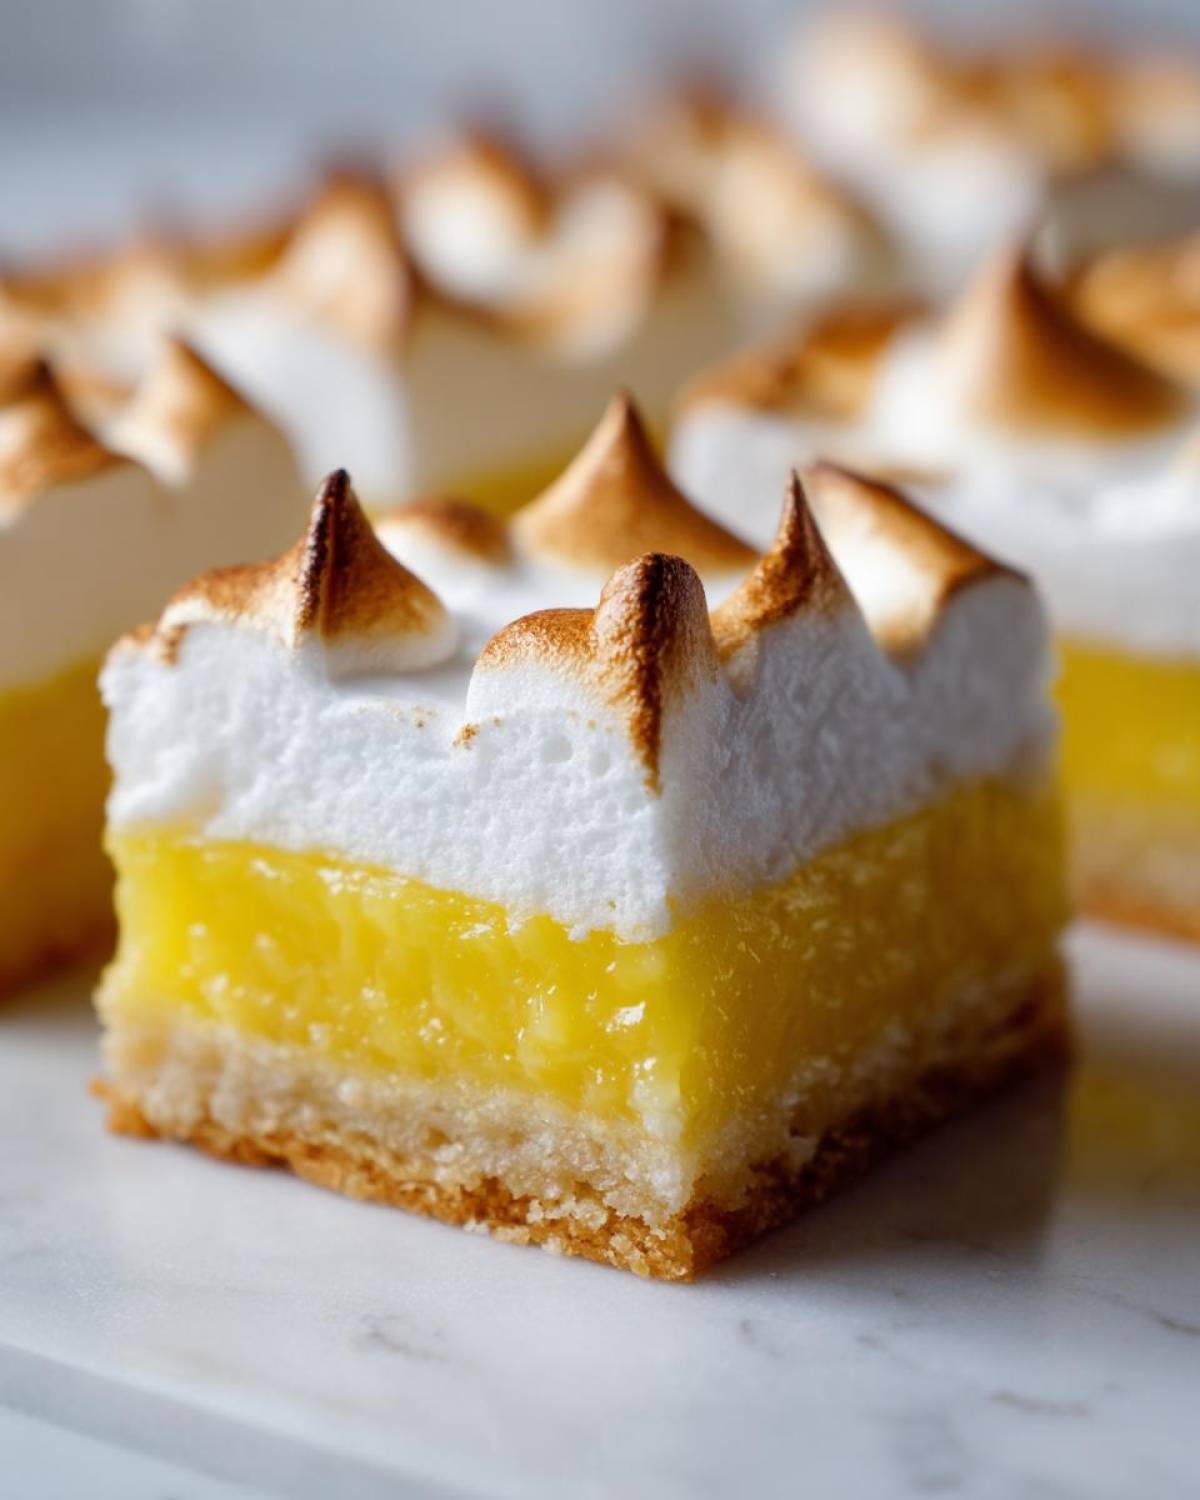
I’ve got your back when it comes to those last-minute disasters that can happen with meringue desserts! The absolute key to success with these Homemade Lemon Meringue Squares is temperature control when layering. My biggest oops moment years ago was spreading that warm meringue onto a slightly warm lemon layer. Oops! I came back after cooling, and the whole thing had shrunk away from the sides and wept salty tears underneath. Terrible!
So here’s what you must do: ensure that lemon filling is completely cool. Seriously, chill it if you have to. That solid barrier is what holds the meringue stable. Also, remember my note about slicing: don’t try slicing them right away! If you stick them in the fridge to chill for at least four hours, you’ll get those gorgeous, clean cuts you see in magazines rather than a gooey mess. If you ever need a great starter bread recipe, you can check out my blueberry banana bread! Grab some slices, and maybe check out how I make my fluffy marshmallows sometime; same soft-peak principles apply!
Ingredient Notes and Substitutions for Lemon Meringue Pie Bars
When we talk about anything citrus, especially something as intensely flavored as our Lemon Meringue Pie Bars, the raw ingredients really shine through. This is where paying attention shows up in the final taste. That beautiful, tangy profile that makes this dessert so iconic? It totally depends on what you use for your acidic punch.
I know sometimes you just grab that bottle of shelf-stable juice because it’s easy, but please, if you can swing it, use freshly squeezed lemon juice. It’s a game-changer. Fresh juice has this vibrant, aromatic quality that bottled juice, which tastes a little flat or sometimes metallic, just can’t replicate. Think of it this way: when you’re using so much lemon, you want it to taste like sunshine, not chemistry!
If you’re ever curious about how to get the absolute most out of your citrus, I put together some thoughts on baking with fresh lemon juice over here. It’s a short read, but super helpful for maximizing flavor extraction.
Now, about butter—we call for unsalted butter in both the crust and the filling, and that’s deliberate. Since we add salt separately to both components, using unsalted gives us total control over the final seasoning. If you absolutely have salted butter on hand, just skip adding the extra salt called for in that specific component’s ingredient list. You’ll be fine, but try to stick to unsalted if you can manage it for truly reliable results scaling between the crust and the filling!
Serving Suggestions for Bright Lemon Dessert Bars
When I bring these beautiful Lemon Meringue Pie Bars out, I like to keep the sides simple so the bright lemon really pops! They are already quite rich because of that buttery crust, so you don’t need heavy accompaniments.
For presentation at parties, try setting them out on a dark slate platter; the white meringue and yellow filling look stunning against a deep color. They pair fantastically with a light, unsweetened dollop of crème fraîche or just a tiny side of fresh raspberries if you want a little extra color contrast. These are definitely the ultimate Bright Lemon Dessert for any warm-weather gathering. If you are planning a big bash, you might find my tips on dessert bars for parties handy!
Storage and Make Ahead Lemon Bars
Figuring out how to store something topped with meringue can feel like a puzzle box, but trust me, once you know the tricks, these Lemon Meringue Pie Bars are fantastic for making ahead! Because that topping is so sensitive to moisture, you need to be smart about how you chill and store them.
First rule: You absolutely must chill these bars before you slice them for storage. Remember what I said about waiting at least four hours? That’s not just for clean cuts; the chilling helps stabilize everything. Once sliced, I tightly cover the pan—or better yet, place the slices in an airtight container—and head straight for the fridge.
They do wonderfully in the refrigerator for up to four or five days. The cold air keeps the lemon filling firm, and it slows down the inevitable moisture release from the meringue, though some slight weeping might happen over time. If you need longer storage, here’s my trick for making these Make Ahead Lemon Bars:
You can totally bake the shortbread crust and the lemon-layer baked combination ahead of time. Let that baked lemon layer cool completely, cover it tightly with plastic wrap, and freeze it for up to a month! When you want to serve them, just let that layer thaw overnight in the fridge, then whip up your meringue fresh the morning you plan to serve them. That way, you get that fresh, fluffy texture without the stress!
If you’re looking for another great recipe you can prep in advance, check out my thoughts on blueberry banana bread; it freezes like a dream, too!
Frequently Asked Questions About Lemon Meringue Pie Bars
I know baking can sometimes feel like science, and when you get to the meringue stage, you start wondering if you should have just bought a pie! Don’t sweat it. Here are the things folks ask me most often about getting these Lemon Meringue Pie Bars perfect every time.
Can I skip baking the meringue topping?
Oh, honey, please don’t! I know the idea of the oven time is annoying, but we have two big reasons not to skip it. First, for safety, since the egg whites are only gently cooked, we need that heat time to eliminate any risks. Second, and just as important for texture, baking or using a kitchen torch sets the outside of the meringue so it forms that gorgeous, lightly crisp, toasted shell. If you don’t brown them, it stays sticky and soft—not the presentation we want for these Meringue Topped Lemon Slices!
What is the best way to prevent the lemon filling from curdling?
This is all about respecting those egg yolks! The best way to ensure you get a creamy, smooth filling instead of little bits of cooked egg is the tempering step we talked about. I always use a small ladle to add the hot liquid while whisking the yolks non-stop. And once you add the yolks back to the pan, keep stirring gently over low heat, but **never let it boil**! Boiling is what shocks the yolks and makes them curdle. If you follow that slow introduction, you’ll have a perfectly smooth base for those Tart and Sweet Lemon Bars.
How long can I store these Lemon Meringue Pie Bars?
Since we have that lovely, fluffy meringue on top, these aren’t the best dessert for long-term counter storage. You really want them in the fridge for the best results. Sliced and kept in an airtight container in the refrigerator, they hold up beautifully for about four days. That chilling time is also your friend for clean slicing, remember? If you try to slice them warm, they just turn into sticky piles!
If you need longer storage, I always suggest making your crust and lemon-layer baked combination ahead of time, letting it cool, covering it tightly, and freezing it for up to a month! When you want to serve them, just let that layer thaw overnight in the fridge, then whip up your meringue fresh the morning you plan to serve them. That way, you get that fresh, fluffy texture we love. For more baking intuition, have you ever looked into storing sauces? Sometimes the mechanics of storing something creamy are similar, check out my notes on creamy lemon pasta recipe sometime for an unrelated but interesting storage thought!
Nutritional Estimates for Lemon Meringue Pie Bars
Now, I never bake for the macros, you know that! I bake for happiness, and these Lemon Meringue Pie Bars certainly deliver on joy. But because people always ask, I did run some rough quick estimates based on the ingredients I use for one serving. Please take these numbers with a massive grain of salt, though!
These estimates are calculated per bar, based on a yield of 24 pieces. Since we are dealing with so much fresh butter and that lovely sugar, the numbers reflect a rich dessert. If you use low-fat cream cheese instead of butter, or swap out granulated sugar for a substitute, those numbers will change entirely!
Here is the general breakdown:
- Serving Size: 1 bar
- Calories: 250
- Sugar: 28g
- Sodium: 110mg
- Fat: 13g
- Saturated Fat: 8g
- Unsaturated Fat: 5g
- Trans Fat: 0g
- Carbohydrates: 32g
- Fiber: 1g
- Protein: 4g
- Cholesterol: 75mg
As always, for official purposes or dietary tracking, I highly recommend plugging your exact brand measurements into a dedicated tracker. You can read a little more about how I handle these estimates over on my disclaimer page!
Share Your Tart and Sweet Lemon Bars Experience
Now that you’ve (hopefully!) baked up a tray of these absolutely divine Lemon Meringue Pie Bars, I’m dying to hear how they turned out for you! Did your meringue brown perfectly? Were those lemon layers just the right level of zingy?
Please, don’t be shy! Leave me a quick comment below letting me know what you thought. Did you try skipping the chill time and regret it later? (We’ve all been there!) I genuinely love seeing your creations and hearing your feedback; it helps me trust the recipe even more for the next person who tries it. You can even share photos of your beautiful Tart and Sweet Lemon Bars—just tag me or send a note over on my contact page!
Happy baking, everyone! Let me know what sunshine flavor you want me to tackle next.
PrintThe Ultimate Lemon Meringue Pie Bars

A recipe for convenient, shareable lemon meringue pie bars featuring a buttery shortbread crust, a bright, tart lemon filling, and a fluffy, toasted meringue topping.
- Prep Time: 30 min
- Cook Time: 55 min
- Total Time: 85 min
- Yield: 24 bars
- Category: Dessert
- Method: Baking
- Cuisine: American
- Diet: Vegetarian
Ingredients
- For the Shortbread Crust: 1 1/2 cups all-purpose flour
- 1/2 cup granulated sugar
- 1/4 teaspoon salt
- 1 cup (2 sticks) cold unsalted butter, cut into cubes
- For the Lemon Filling: 1 1/2 cups granulated sugar
- 1/4 cup all-purpose flour
- 1/4 cup cornstarch
- 1/4 teaspoon salt
- 4 large egg yolks, lightly beaten
- 1 1/2 cups cold water
- 1/2 cup fresh lemon juice
- 1 tablespoon lemon zest
- 2 tablespoons unsalted butter
- For the Meringue Topping: 4 large egg whites, room temperature
- 1/4 teaspoon cream of tartar
- 1/2 cup granulated sugar
- 1/4 teaspoon vanilla extract
Instructions
- Preheat your oven to 350°F (175°C). Line a 9×13 inch baking pan with parchment paper, leaving an overhang on the sides for easy removal.
- Prepare the Crust: In a medium bowl, whisk together the flour, 1/2 cup sugar, and salt. Cut in the cold butter using a pastry blender or your fingers until the mixture resembles coarse crumbs.
- Press the crumb mixture evenly into the bottom of the prepared pan. Bake for 18 to 20 minutes, or until the edges are lightly golden. Remove from the oven and set aside while you prepare the filling. Keep the oven on.
- Prepare the Lemon Filling: In a medium saucepan, whisk together the 1 1/2 cups sugar, 1/4 cup flour, cornstarch, and salt. Whisk in the cold water until smooth.
- Cook the mixture over medium heat, stirring constantly, until it thickens significantly, about 5 to 7 minutes. It should bubble slowly.
- Remove the pan from the heat. In a small bowl, whisk the egg yolks. Slowly temper the yolks by whisking about 1 cup of the hot sugar mixture into the yolks. Then, pour the tempered yolk mixture back into the saucepan.
- Return the saucepan to medium-low heat. Cook, stirring constantly, for 1 minute more. Do not boil. Remove from heat immediately.
- Stir in the lemon juice, lemon zest, and 2 tablespoons of butter until the butter melts and the mixture is smooth.
- Pour the hot lemon filling evenly over the warm baked crust. Return the pan to the oven and bake for 15 minutes. Remove from the oven and let cool completely while you make the meringue.
- Prepare the Meringue: In a clean, grease-free bowl of a stand mixer fitted with the whisk attachment, beat the egg whites and cream of tartar on medium speed until soft peaks form.
- Gradually add the 1/2 cup sugar, one tablespoon at a time, beating well after each addition. Increase the speed to high and beat until stiff, glossy peaks form. Beat in the vanilla extract.
- Spread the meringue evenly over the cooled lemon layer, making sure to seal the meringue to the edges of the crust to prevent shrinking.
- Bake the meringue at 350°F (175°C) for 10 to 12 minutes, or until the tips are lightly golden brown. Alternatively, use a kitchen torch to brown the meringue.
- Cool the bars completely on a wire rack for at least 2 hours before lifting them out of the pan using the parchment paper overhang and slicing into squares.
Notes
- To prevent the meringue from weeping, make sure the lemon layer is completely cool before spreading the meringue on top.
- Use fresh lemon juice and zest for the best tart flavor.
- For easier slicing, chill the finished bars for at least 4 hours or overnight before cutting.
Nutrition
- Serving Size: 1 bar
- Calories: 250
- Sugar: 28
- Sodium: 110
- Fat: 13
- Saturated Fat: 8
- Unsaturated Fat: 5
- Trans Fat: 0
- Carbohydrates: 32
- Fiber: 1
- Protein: 4
- Cholesterol: 75