

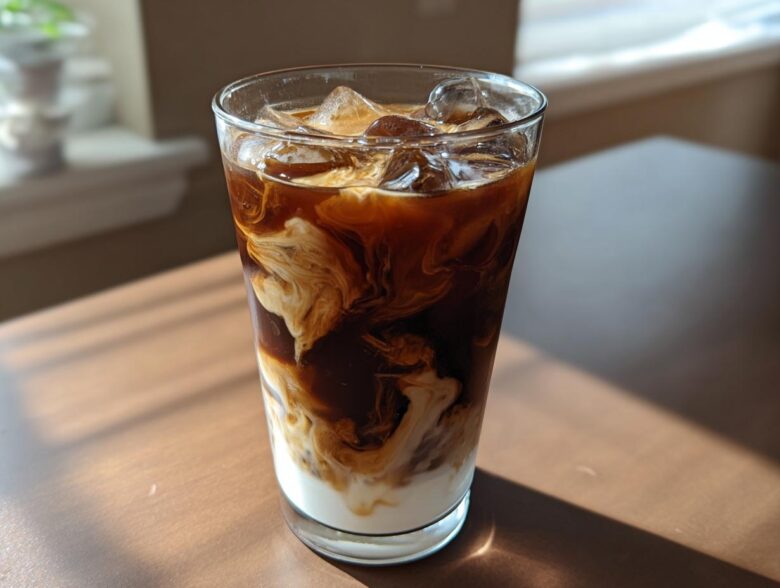
Oh my gosh, seriously, when the summer hits and you’re craving that cold, chocolatey caffeine boost, nothing beats having an absolutely perfect **Iced Mocha** right in your kitchen! I spent way too much money going to coffee shops trying to find the *right* balance—you know, not too sweet, not too weak.
So, I finally cracked the code. This isn’t just another recipe; this is my emergency summer blueprint. It takes about five minutes flat, and honestly, once you nail the ratio of strong coffee to rich chocolate, you’ll never go back to waiting in line again. Plus, I learned a couple of little tricks along the way that just *make* the chocolate pop, which is why this version is my absolute go-to for staying cool and caffeinated.
If you’re looking for more quick tips for your home coffee bar, you can always check out some of my other adventures over at the blog!
Why This Is the Best Iced Mocha at Home Recipe
I swear, making this drink is almost faster than pulling on a pair of socks! When you’re looking for the absolute best iced mocha at home, what you really want is speed without sacrificing that deep, moody chocolate flavor. That’s what this recipe nails every single time.
- It’s shockingly quick—seriously, less than five minutes once your coffee is ready.
- Total flexibility! You control the sweetness, the milk, and the chocolate intensity.
- It tastes restaurant-quality because we treat the chocolate base with respect (more on that later!).
- It keeps you refreshed, making it perfect for all those scorching hot afternoons.
Quick Prep Time for Your Iced Mocha
We are talking about a 5-minute total time here, folks. Five minutes! That’s why this joined my list of favorite summer coffee recipes. Forget waiting for the barista; this is truly a quick iced coffee drink that hits the spot immediately when that craving strikes.
Gathering Ingredients for Your Homemade Iced Mocha
Okay, we’re ready to assemble the magic! The beauty of a great homemade iced mocha is that you probably have most of this stuff already in your pantry. Pay close attention to the temperature of the coffee, though; that’s crucial for how everything combines later on. We need two shots of espresso or about a half cup of coffee that’s already cooled down—don’t try to dump hot coffee over ice; you’ll just get lukewarm sad water!
You’ll need one cup of whatever milk makes you happy and plenty of ice. The star is the chocolate element. I listed two ways to tackle it because I know everyone keeps different things stocked.
Coffee Options for the Perfect Iced Mocha
When it comes to the coffee part, you have options, which is great for any iced mocha with espresso lover or those who just brewed a big pot this morning. If you’re making an iced mocha with brewed coffee, make it strong—almost double strength! This way, when you add the milk and ice, the chocolate doesn’t muscle out the coffee flavor.
Here’s a little hack that I love for summer: if you happen to have cold brew concentrate on hand, use that! It’s already cold and super concentrated, so it mixes in beautifully without watering anything down. It seriously speeds up my process.
Chocolate Base: Syrup Versus Cocoa Powder for Your Iced Mocha
So, are you using store-bought chocolate syrup or cocoa powder? If you use that store-bought stuff, just scoop it in—super easy! But if you’re like me and prefer to use cocoa powder for that deep, pure chocolate taste, you *must* make a quick paste first.
Don’t just dump the powder in! Mix your tablespoon of cocoa powder with the same amount of sugar and about one tablespoon of hot water—or even better, a splash of hot coffee if you have some handy. Mix it until it’s completely smooth before you even think about adding the milk. You can check out my recipe for homemade chocolate milk base if you need an in-depth guide for making this paste extra silky!
Step-by-Step Instructions for an Easy Iced Mocha Recipe
Now that we have our stellar ingredients ready, let’s put this beautiful easy iced mocha recipe together. The key here is layering correctly so everything mixes right when you stir it at the end. It’s so straightforward, I promise you’ll feel like a pro mixologist!
We are going to use the stirring method here, but remember that little note I gave earlier about blending—if you want that super thick, sweet slushie vibe, grab your blender later! For now, we are focusing on the classic, perfectly chilled, layered approach. If you want to see some other neat tricks, you can always check out the main blog!
Creating the Chocolate Coffee Base for Your Iced Mocha
This is where we use that chocolate paste we just worked so hard on, or if you’re using syrup, this part is even faster. Take your tall glass—make sure it’s big enough for the ice! Spoon in your chocolate base first. If you used the cocoa powder and sugar, make sure that little bit of hot water or coffee has turned it into a beautiful, sludge-like paste. It shouldn’t have any dry pockets of sugar hiding in the corners.
Next, pour that cooled coffee right over the top of the chocolate. Give it a really quick, gentle stir right there in the bottom of the glass. We just want to dissolve that thick chocolate into the coffee before we add the cold stuff. Trust me, this tiny pre-mix makes all the difference in the final taste!
Assembling and Chilling the Iced Mocha
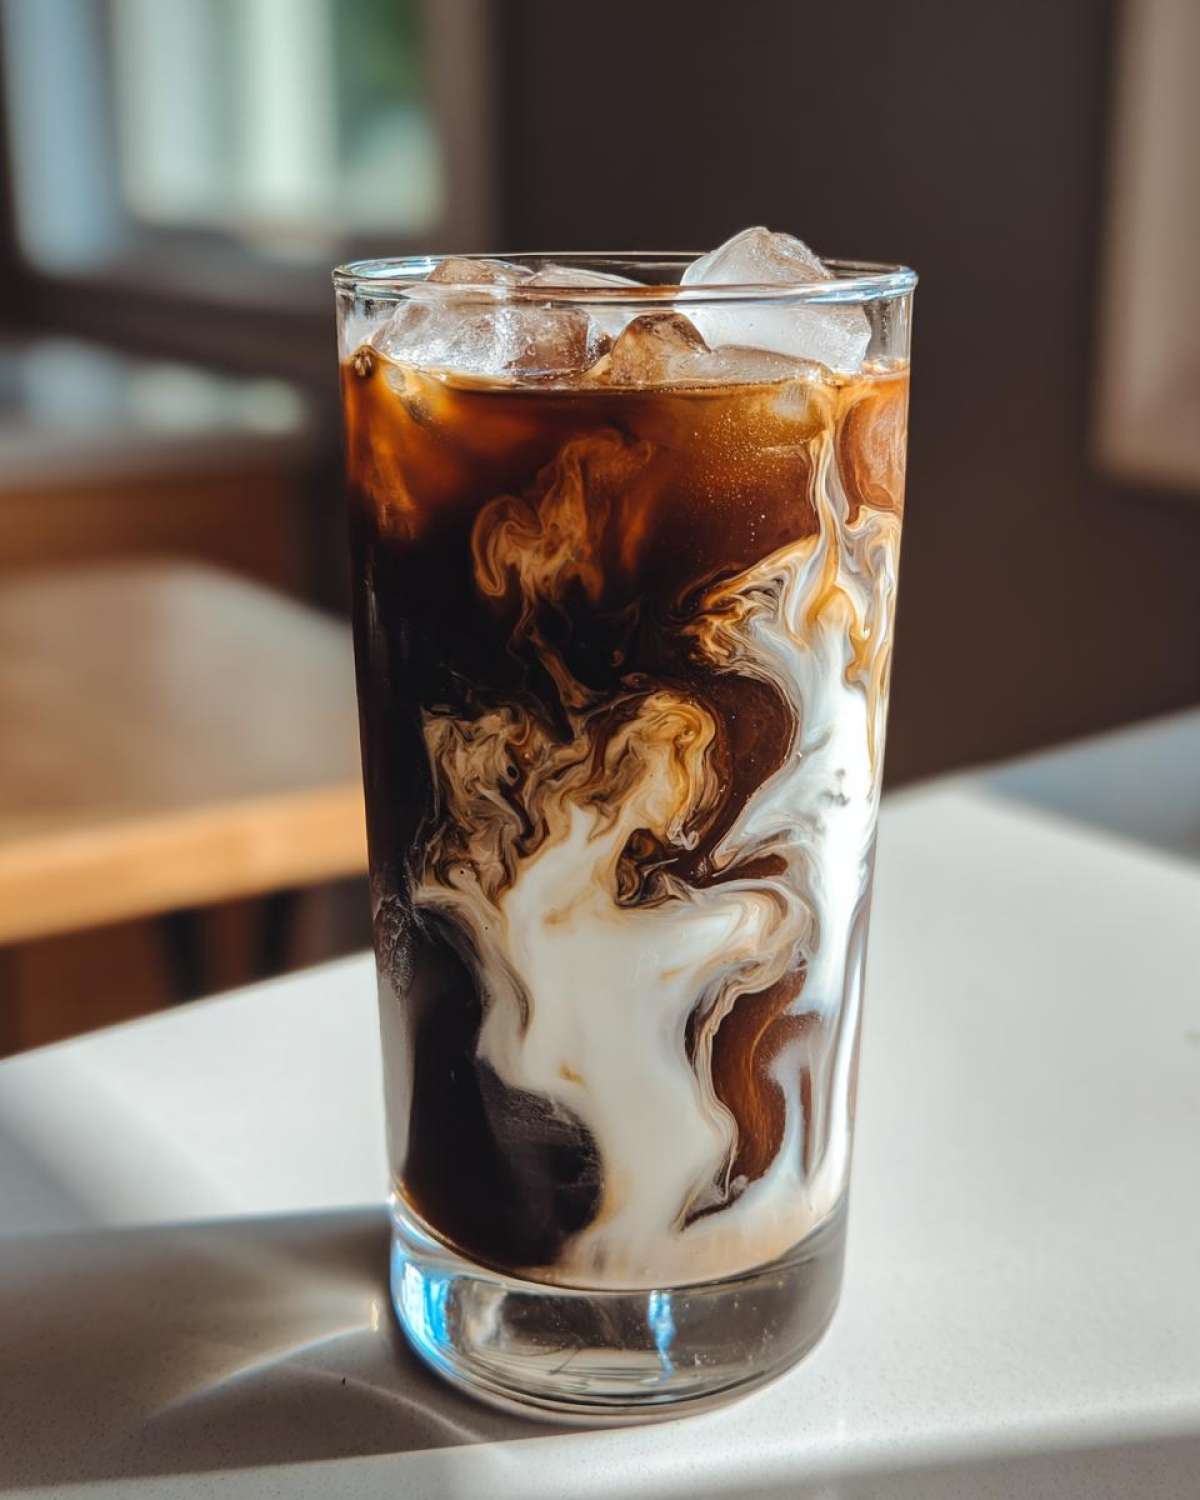
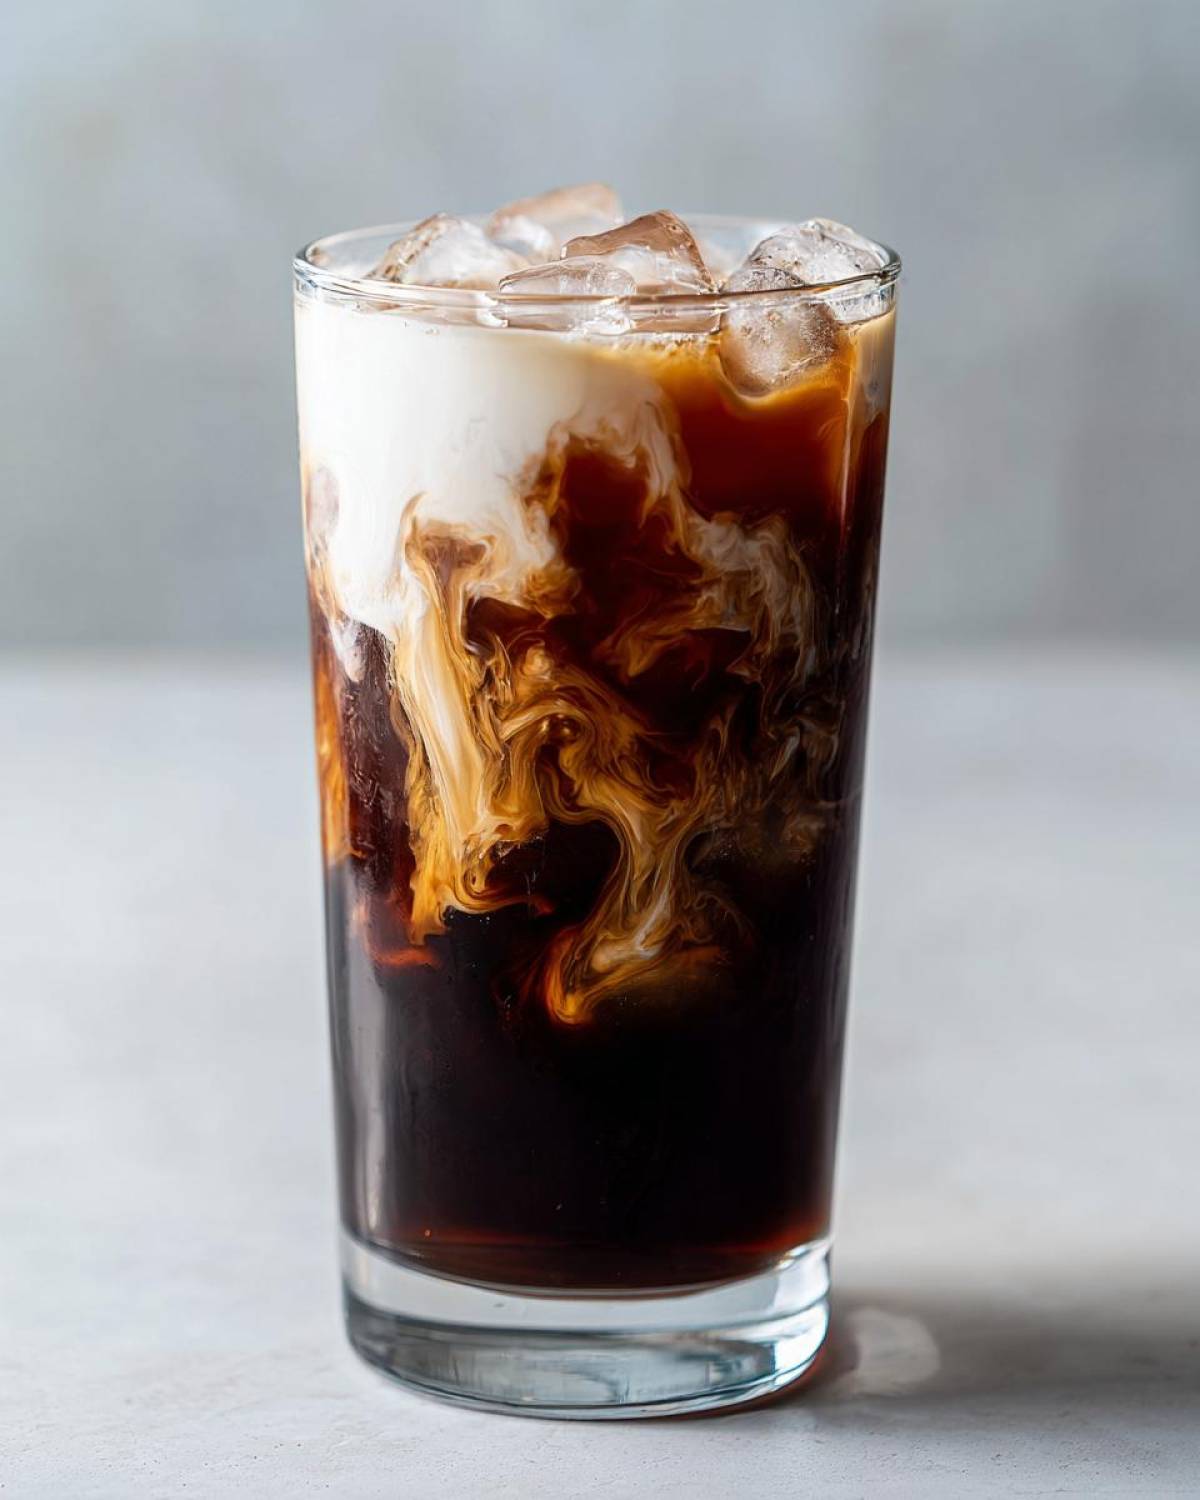
Once that chocolate-coffee mix is happy, it’s time for the chill factor. Go ahead and pack that glass full of ice cubes—don’t be shy! After the ice is in, carefully pour your cup of milk right over the top. It’s going to float for a second, which is totally normal.
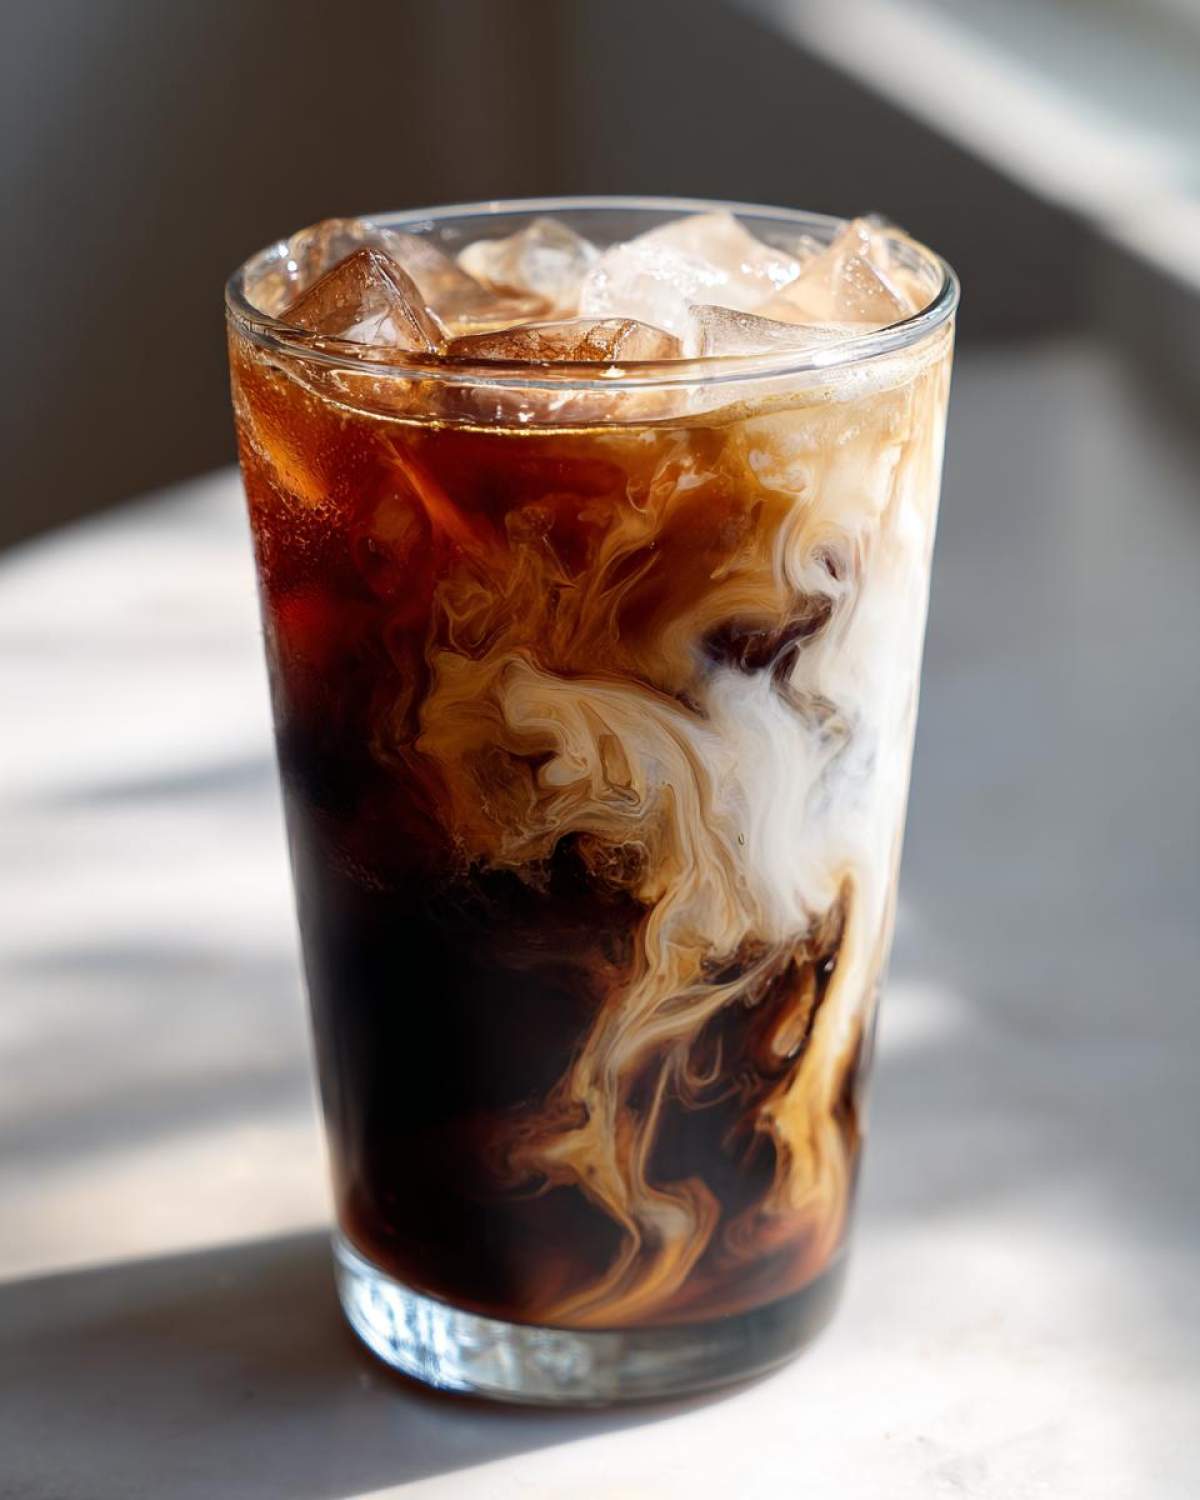
The final step is crucial: Grab a long spoon or a straw and stir everything together until you no longer see streaks of just white milk or just dark chocolate at the bottom. You want one unified, creamy brown color. If you want to go the extra mile, top it high with whipped cream—because we deserve it!
Variations to Customize Your Iced Mocha
I love that this basic structure is a fantastic starting point, but the fun part is twisting it to make it exactly yours! Life is too short for one-size-fits-all chocolate drinks, right? Whether you have dietary restrictions or you just woke up craving something thick and icy, we can totally make this work. Think of this recipe as your base camp for creating the ultimate cold coffee chocolate drink.
We can easily swap ingredients to suit your needs without losing that fantastic depth of flavor we worked so carefully to achieve. If you’re looking for more inspiration on adapting recipes, feel free to browse through the blog!
Making a Dairy Free Iced Mocha or Vegan Iced Mocha
This is super easy to adjust, thank goodness! You absolutely do not need dairy milk to get a delicious result. If you’re aiming for a dairy free iced mocha, I’ve had great luck with oat milk—it’s creamy without tasting too much like oatmeal. Almond milk works well too, though it can be a bit thinner.
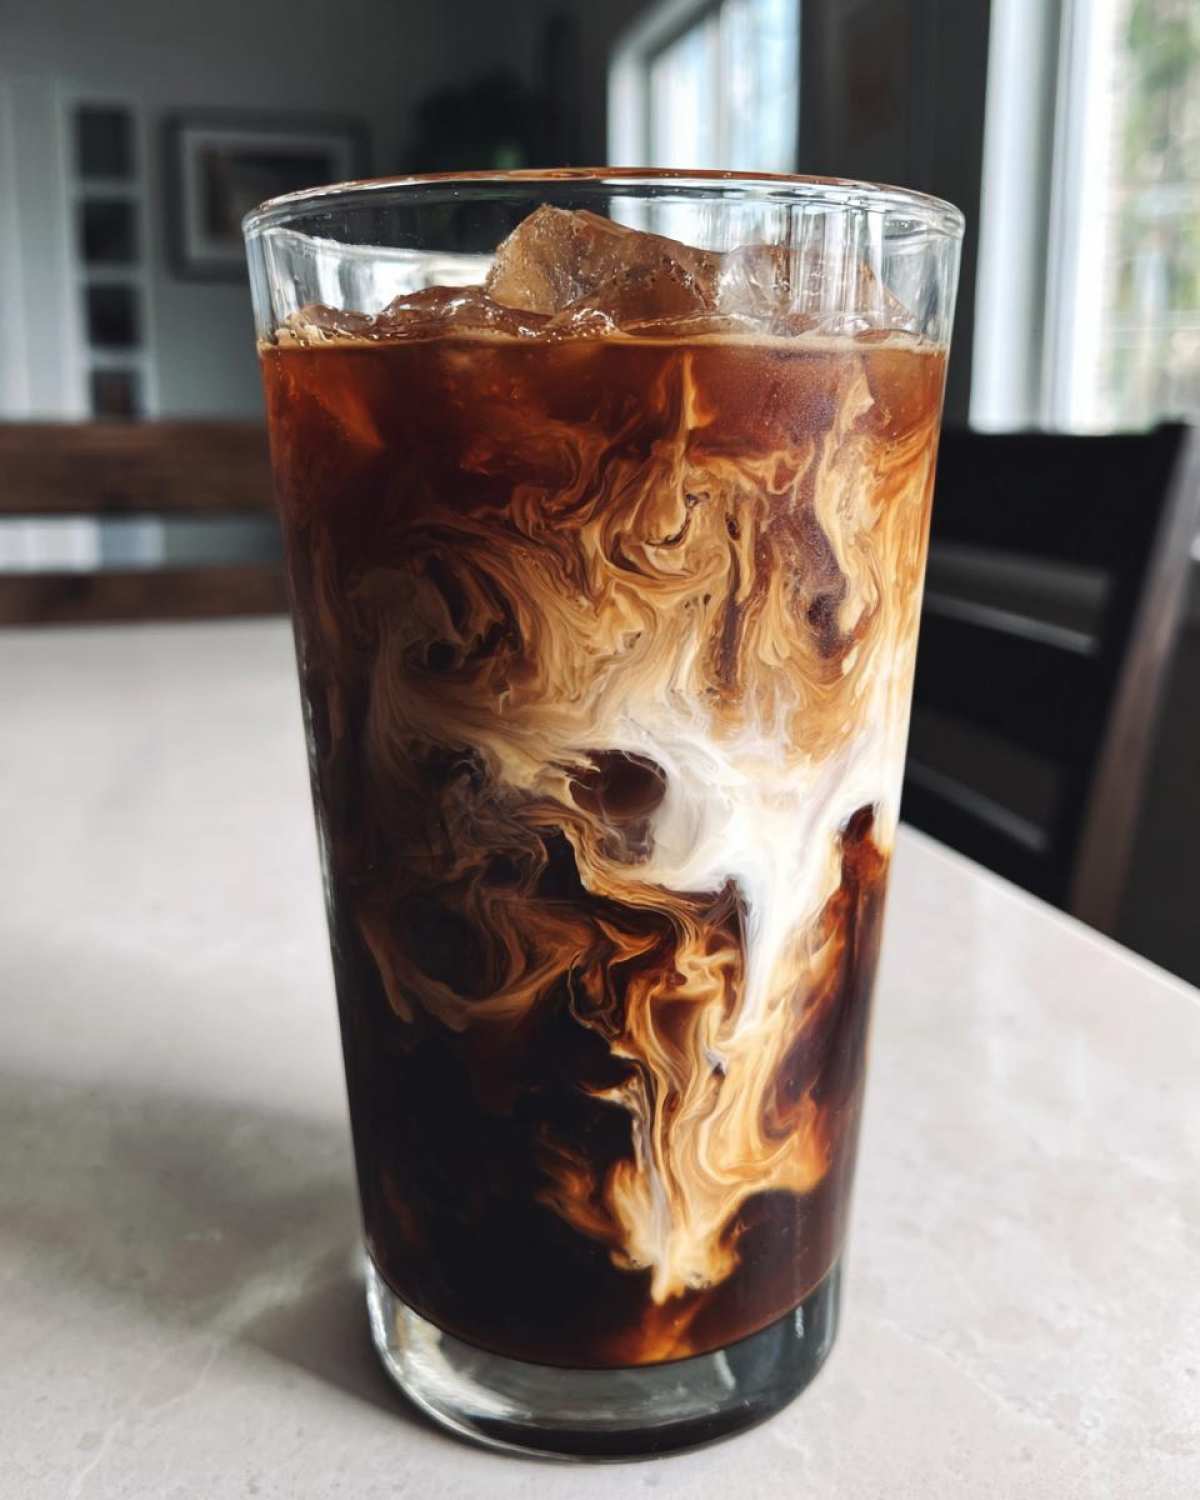
For a truly vegan iced mocha, just ensure your chocolate syrup or cocoa powder/sugar mix doesn’t contain any hidden non-vegan ingredients (most standard cocoa powder is fine!). Oat or soy milk tends to give you that nice richness you look for in a great coffee house drink.
Achieving a Frappe Style Iced Mocha
Sometimes, stirring just isn’t enough hustle. If you are needing a proper blended iced mocha—a real thick chiller that eats like a coffee milkshake—you just need to switch gears to the blender! This is how you make those amazing mocha chillers.
Take everything we used before: the chocolate base, the cooled coffee, the milk, and instead of one cup of ice, toss in about a cup and a half of ice cubes. Blend it until it’s completely smooth and thick. Be careful when you start blending; cover that lid tightly because that ice can go flying everywhere! It’s worth the effort, though—it turns into a dessert!
Tips for a Rich Chocolate Coffee Drink
Look, anyone can dump syrup in coffee and call it a day, but we are aiming for seriously rich chocolate coffee drink territory here. If you want that deep, luxurious flavor that makes you close your eyes, you need to think about the quality of your chocolate element. I’m telling you, if you can, skip the thinner syrups and go for a really thick, high-quality chocolate sauce.
That thick sauce melts slower and coats the tongue better, which helps carry the coffee flavor. Also, taste test as you go! If your coffee was super strong, you might need a tiny bit more sugar or sauce to balance the bitterness. Don’t be afraid to adjust that final half teaspoon until it sings! Just a little tweak here and there, taken from my endless testing over at the blog, makes all the difference.
Storage and Reheating Instructions for Your Iced Mocha
Since this is an iced mocha, we have to be realistic: the best experience is definitely drinking it right away. That ice melts fast, and even if you stir it well, that perfect coffee-to-milk ratio you achieved in five minutes starts drifting apart after about twenty. It just gets… sadder.
However, if you happen to be making a huge batch for a little afternoon party, the best advice I can give you is to store the components separately. This is one of my best iced mocha hacks!
Keep the milk chilled in the fridge. You can pre-mix your chocolate base—whether that’s syrup or that gorgeous cocoa powder paste—and store it in a little airtight jar. That paste actually keeps really well for several days.
When you’re ready to serve, assemble them just like in the recipe: chocolate base, cooled coffee, ice, then milk. Never, ever pre-mix the ice into the main batch. That’s how you end up with a watery, disappointing glass of sweetened iced coffee instead of a proper mocha.
\
As for reheating? Well, you don’t reheat an iced mocha, sweetie! But if you made the chocolate base using cocoa powder and that turned out too thick, you can thin it out with a teaspoon or two of hot water or fresh hot coffee when you go to mix your next batch.
\
Basically, for the freshest taste, make the coffee just before you plan to drink it, and keep the chocolate and milk cold until the very last minute. It ensures every sip keeps that deep, rich chocolate coffee drink vibe!
Frequently Asked Questions About Making an Iced Mocha
Can I use instant coffee instead of espresso for my Iced Mocha?
You totally can! If you’re making an iced mocha and only have instant coffee, that’s perfectly fine. The trick is getting a strong enough flavor so the chocolate doesn’t overpower everything. Instead of two shots of espresso, I’d recommend dissolving about two teaspoons of instant coffee granules into just one tablespoon of hot water until it’s totally dissolved. Make sure it’s concentrated! That way, you still get that punch you need for a great cold coffee chocolate drink without adding too much extra liquid to the mix. If you need more hot coffee tips, I talk about great brewing strength on the blog!
What is the key to preventing my Iced Mocha from tasting watery?
Oh, that watery tragedy! We hate that. The number one iced mocha hack to prevent it is twofold: First, make your coffee base ridiculously strong, as we just talked about. Second, don’t skimp on the ice, but use high-quality ice. If your ice is cloudy or full of weird freezer air, it melts faster and dilutes the drink quicker. Use dense, clear cubes if you can! If you’re making a big pitcher to sip on all afternoon, the best thing is to freeze some of your strong coffee into cubes instead of using plain water ice.
How do I make an Iced Mocha syrup recipe from scratch?
That’s a great question if you want to dive deeper into making your own flavor boosters! Creating an iced mocha syrup recipe is really simple, though it takes a tiny bit of patience compared to the 5-minute version we just made. You basically want to simmer equal parts water and sugar (like one cup of each) until the sugar dissolves completely. Then, whisk in high-quality cocoa powder or melted dark chocolate chips until it’s smooth. Let that cool completely, and you’ve got a fantastic syrup that will keep in the fridge for weeks. See? Easy peasy! More behind the scenes on syrups is always up on the blog!
Estimated Nutritional Data for One Iced Mocha Serving
Now, I always tell people that when we’re talking about a homemade treat like this, the nutrition can go a little wild depending on what you toss in there. Are you rocking full-fat dairy milk? Are you using a sugary syrup or cutting back on sugar with unsweetened cocoa? It changes everything!
That said, based on the standard recipe using 2% milk and a moderate amount of syrup, here is a rough estimate of what you’re consuming in one glorious glass. Remember, this is just for one serving, and I put a link right here so you can see my full thoughts on how these numbers can shift based on your choices, found over at my official disclaimer page!
It’s good to know what’s going into your body, even when it’s incredibly delicious:
- Serving Size: 1 drink
- Calories: Roughly 250
- Sugar: Around 30 grams (mostly from the chocolate!)
- Fat: About 8 grams total fat
- Protein: Around 10 grams
- Cholesterol: Roughly 25mg
If you switch to something like almond milk, you’ll see those fat and calorie counts drop right down. If you use heavy cream instead of milk, well, brace yourself! It’s all about balance, but knowing the baseline helps you play around!
Share Your Perfect Iced Mocha Creation
So there you have it! My absolute fastest, most satisfying way to whip up a beautiful, rich **Iced Mocha** when the sun is blazing and you desperately need that cool coffee fix. I really hope this becomes your go-to summer coffee recipe too!
Now, I want to hear all about it! Did you stick to the simple stir method, or did you go full-on blended monster? Did you try oat milk or maybe add a little secret mint extract? Don’t be shy!
Take a picture of your wonderful creation and tag me! I love seeing how everyone customizes these basic blueprints. And if anything felt weird or confusing while you were mixing, drop a question down below in the comments. I check every single one, and I always love troubleshooting a weirdly separated cocoa paste!
If you made this and thought it deserves a spot on your favorite recipes list, please give it a rating! Happy sipping!
PrintSimple Iced Mocha Recipe

Make a rich, cold mocha drink at home using espresso or strong brewed coffee, chocolate, and milk.
- Prep Time: 5 min
- Cook Time: 0 min
- Total Time: 5 min
- Yield: 1 serving
- Category: Beverage
- Method: Stirring
- Cuisine: American
- Diet: Vegetarian
Ingredients
- 2 shots espresso or 1/2 cup strong brewed coffee, cooled
- 2 tablespoons chocolate syrup or 1 tablespoon cocoa powder mixed with 1 tablespoon sugar
- 1 cup milk (dairy or non-dairy)
- 1 cup ice cubes
- Whipped cream (optional)
Instructions
- Prepare your chocolate base: If using syrup, measure it directly. If using cocoa powder, mix the cocoa powder and sugar with one tablespoon of hot water or cooled coffee until a smooth paste forms.
- Pour the chocolate base into a tall glass.
- Add the cooled espresso or strong coffee to the glass. Stir briefly to combine with the chocolate.
- Fill the glass with ice cubes.
- Pour the milk over the ice and chocolate mixture.
- Stir well until the chocolate is fully incorporated throughout the drink.
- Top with whipped cream, if desired.
Notes
- For a blended, frappe-style mocha, place all ingredients (except whipped cream) into a blender with 1.5 cups of ice and blend until smooth.
- Use cold brew concentrate for a quick, strong coffee base without waiting for hot coffee to cool.
- For a dairy-free or vegan option, use almond, soy, or oat milk.
- If you prefer a thicker chocolate flavor, use a high-quality chocolate sauce instead of syrup.
Nutrition
- Serving Size: 1 drink
- Calories: 250
- Sugar: 30
- Sodium: 100
- Fat: 8
- Saturated Fat: 4
- Unsaturated Fat: 4
- Trans Fat: 0
- Carbohydrates: 35
- Fiber: 1
- Protein: 10
- Cholesterol: 25