

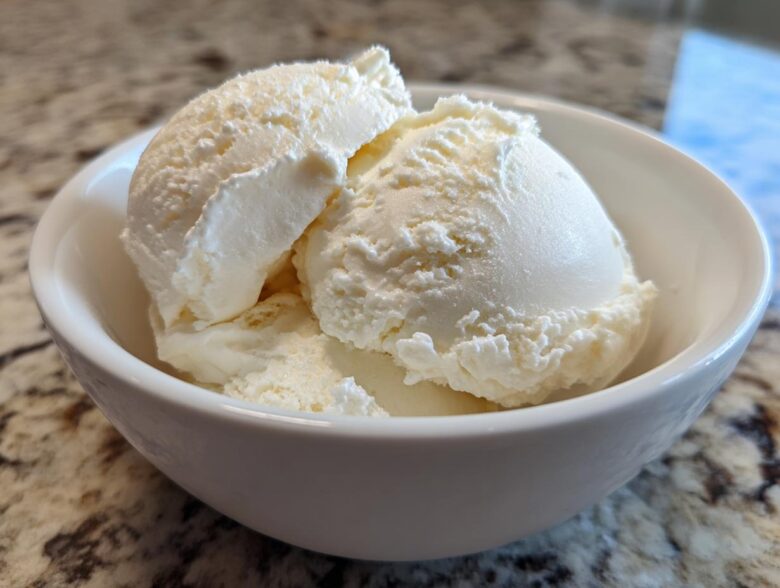
If you’ve been scrolling around looking for a truly satisfying, high-protein sweet treat that actually tastes like dessert, stop scrolling right now! We finally cracked the code on how to make incredible tasting protein ice cream that gets over 20 grams of protein per cup, and the best part? It only takes four ingredients blended together. When Noah first worked through the ratios for this, I thought he was kidding about the cottage cheese being the secret weapon. But trust me, his strategic approach to ingredient volume ensures we get that perfect, silky texture every single time. Forget chalky fitness desserts; this is the game-changer you need in your life. For more of our culinary blueprints, you can always check out our main blog archive.
Why This 4-Ingredient protein ice cream is the Ultimate Healthy Ice Cream Hack
When we develop a recipe here, we are looking for maximum payoff with minimum fuss. That’s exactly what this protein ice cream delivers! Honestly, I used to think high-protein desserts meant sacrificing texture or loading up on sugar, but this completely changed the game for us. It’s so fast, too—you can go from zero to dessert in under five minutes.
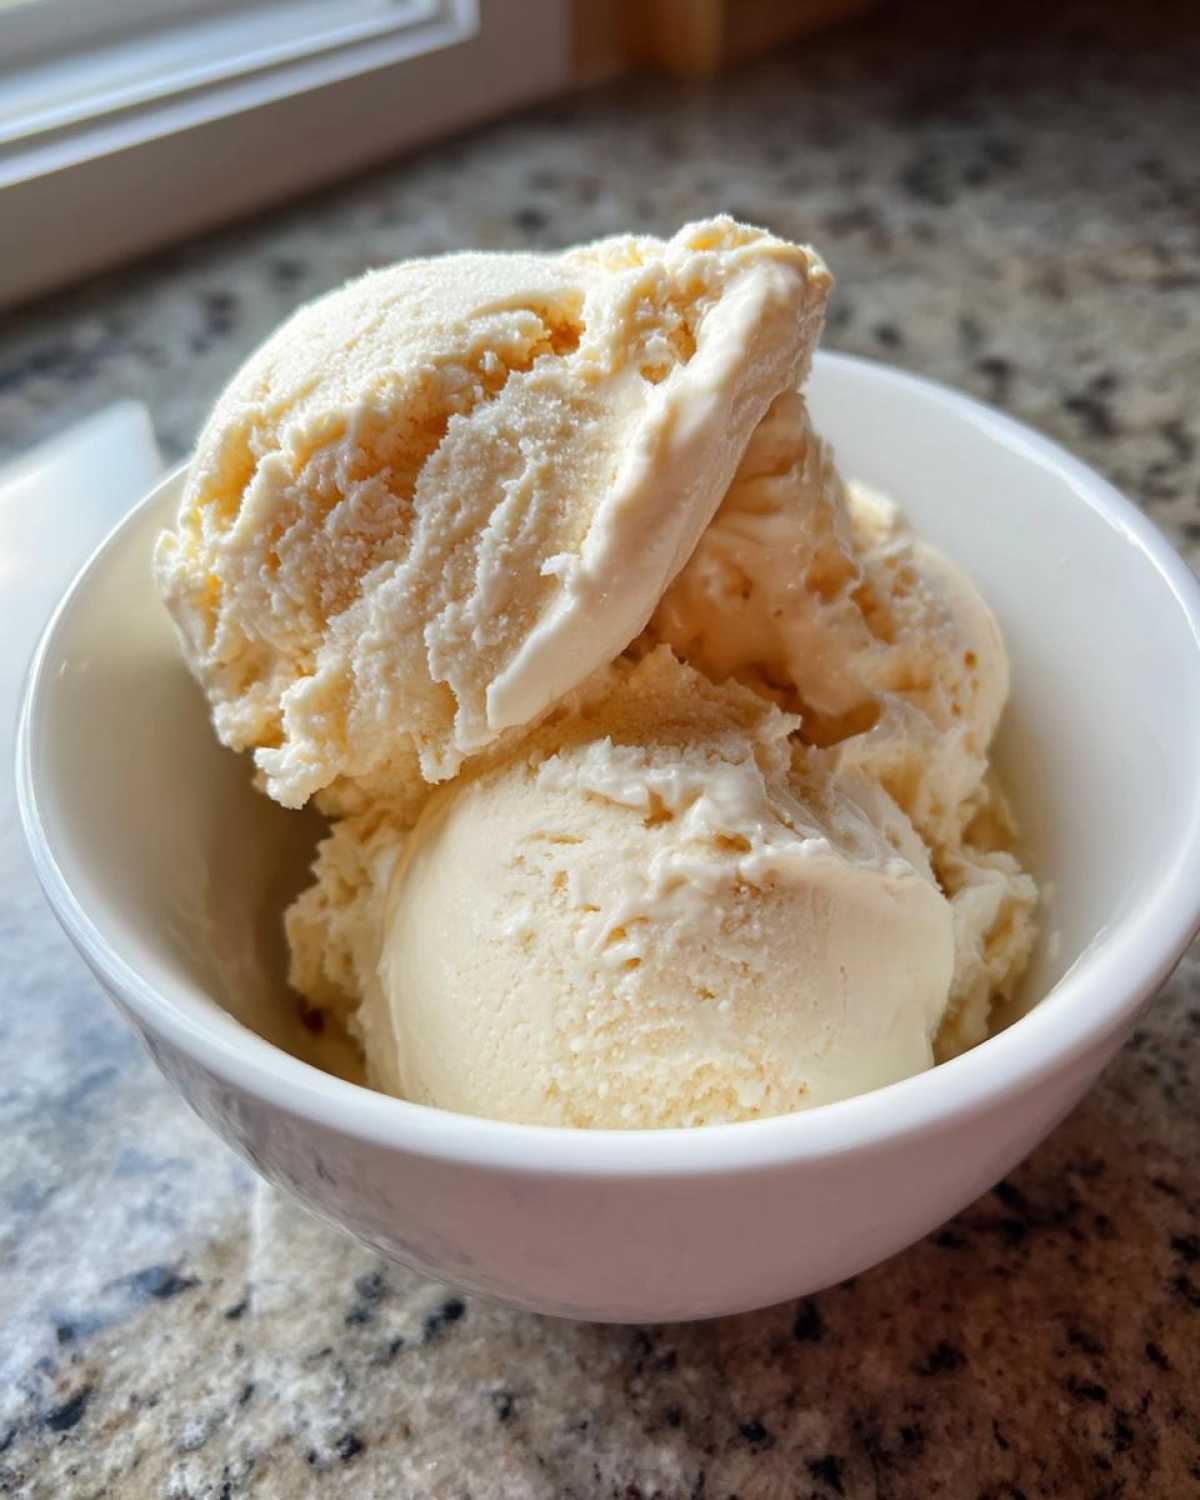
- It packs a massive protein punch, giving you over 20 grams per serving. That’s serious fuel!
- You only need four core ingredients. Seriously, four! No confusing fillers or weird powders necessary.
- It fits the bill as a fantastic low sugar ice cream alternative when you’re trying to cut back but still need that sweet fix.
For more clean, high-protein blueprints, check out our recipe for high-protein cottage cheese egg bites—they are a lifesaver for meal prep!
Achieving Creaminess in Blender Ice Cream
The biggest reservation people have about this approach is usually texture. Will the cottage cheese be gritty? Nope! Because we are using a high-powered blender and the right ratios, that smooth texture comes naturally. The magic is in stabilizing the frozen banana with the protein powder and the dairy base.
The cottage cheese melts perfectly into the mix while blending, giving the structure and creaminess of soft-serve without having to rely on heavy cream or loads of sugar. It’s the ultimate healthy ice cream hack because you get richness from the dairy volume, not from saturated fat.
Essential Components for Perfect protein ice cream
Okay, let’s talk about the building blocks. I know this recipe looks almost impossible because there are so few components, but every single one plays a crucial role in hitting that 20-gram protein goal while keeping things smooth and tasting like a real treat. For Noah, the strategy here is eliminating fluff—if it doesn’t add protein or necessary texture, it doesn’t go in.
We tried using slightly different ratios of banana to cottage cheese, and wow, did that affect the outcome! Too much banana and it tastes like a frozen smoothie; too little, and the cottage cheese scent can peek through. This precise balance is how we mastered this high protein dessert.
Ingredient List for Your High Protein Dessert
Here are the four things you absolutely need for the base recipe. Make sure your bananas are rock hard before you start blending!
- 1 cup frozen banana slices (the foundational sweetness!)
- 1 cup low-fat cottage cheese (the secret protein powerhouse)
- 1 scoop vanilla protein powder (we recommend sticking with whey or casein for the best result)
- 1 teaspoon vanilla extract (just to elevate that creamy flavor)
Step-by-Step Instructions for Making protein ice cream
This is the operational part, the place where Noah’s precise measurements meet my execution skills! Don’t panic if your blender seems like it’s struggling at first—that’s perfectly normal when you’re trying to turn frozen chunks into smooth, creamy blender ice cream. Patience here pays off huge dividends in texture. You’ll need to commit to actively blending for a few minutes to get this right. For more details on getting our textures perfect, check out our creamy avocado egg salad recipe; the blending philosophy is surprisingly similar!
Blending Technique for Smooth Results
First, load everything in: bananas, cottage cheese, protein powder, and vanilla. Start your high-speed blender or food processor on a low setting. You *must* use the tamper tool constantly—don’t just set it and walk away! Keep pushing those icy ingredients down onto the blades. As it starts to catch, you’ll notice it gets sluggish. Stop it, scrape down the sides, and keep pushing that mixture around. This intensive blending is what turns the frozen components into that incredible, smooth, viral protein treat texture quickly.
Soft-Serve vs. Scoopable protein ice cream
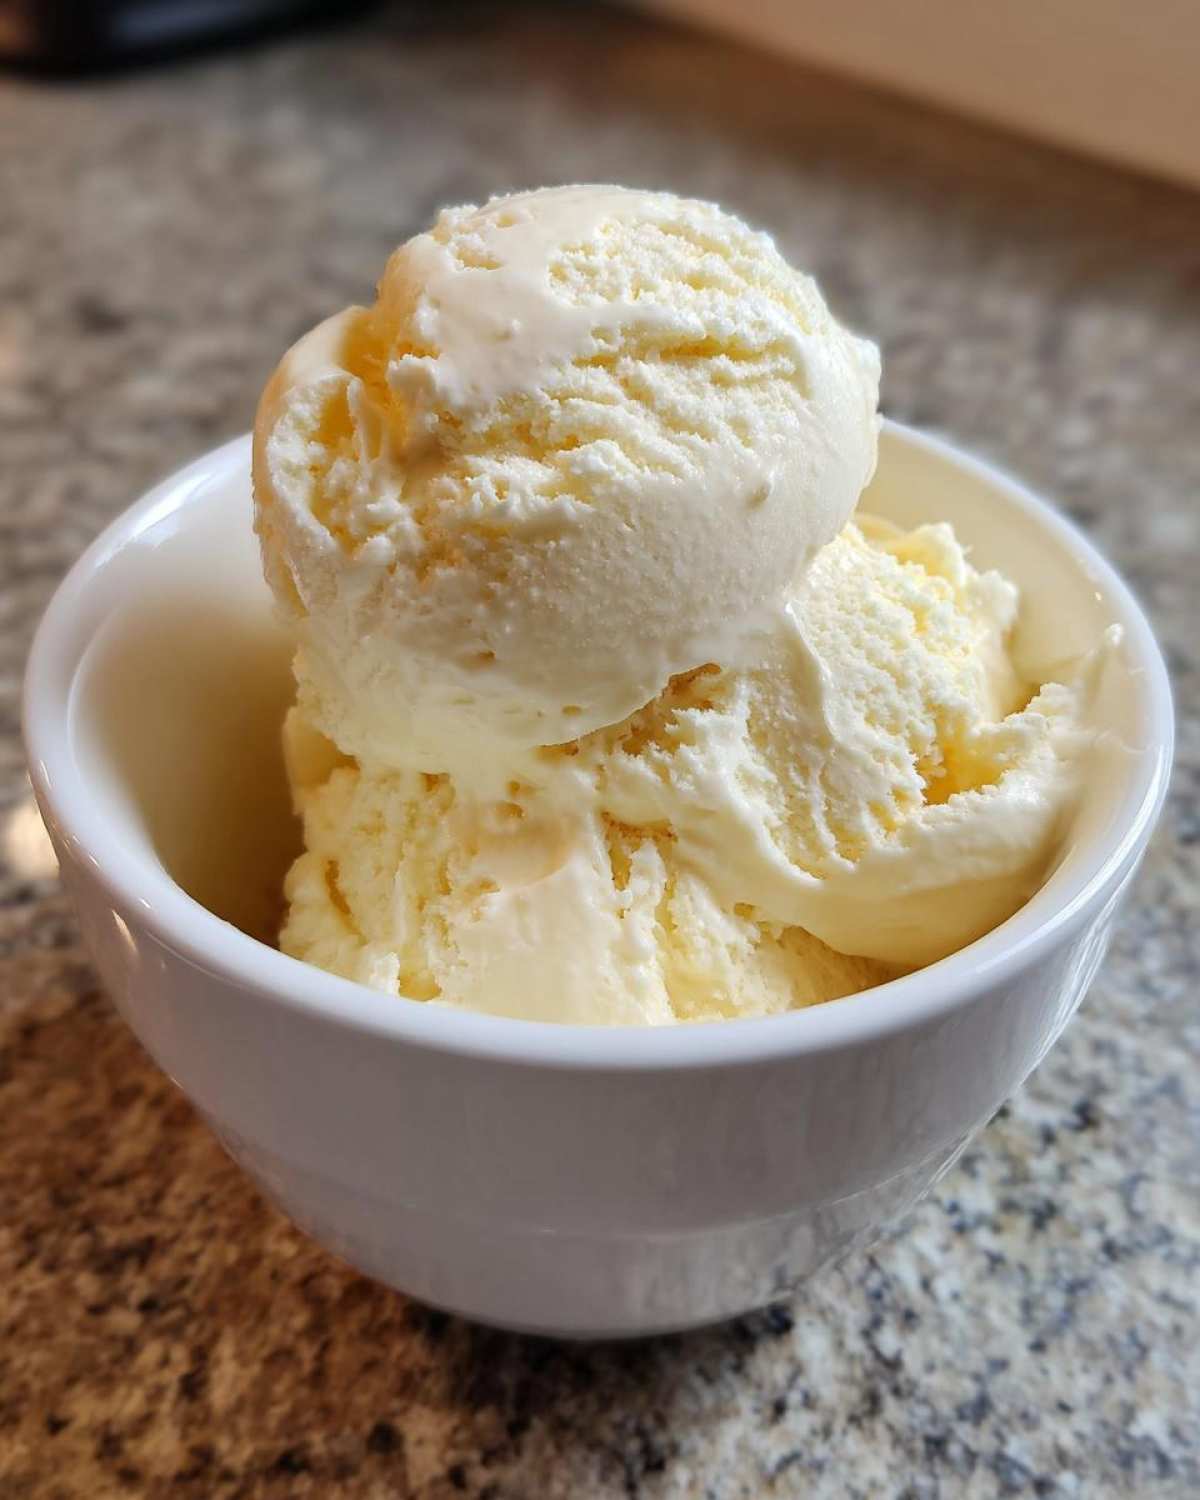
Once it’s completely smooth, you have a choice to make. If you want the texture of fresh soft-serve right now, grab a bowl and dig in! Seriously, it tastes amazing immediately. But if you are looking for that classic, firm, scoopable protein ice cream experience, transfer the whole batch into a freezer-safe container.
It only needs about one to two hours in the deep freeze to firm up perfectly. If you freeze it too long—and oops, I’ve done this a few times—don’t worry! Just set that container out on the counter for about 5 to 10 minutes. That quick defrost time brings it right back to an easy-to-scoop consistency.
Expert Tips for the Best cottage cheese ice cream Texture
When we first started messing around with this, the results were… inconsistent. Sometimes it was perfect soft-serve, and other times it was icy mush. It took Noah patiently tracking the protein powder batches to figure out the critical variables. This recipe relies heavily on how the protein powder interacts with the liquid from the cottage cheese, so paying attention to this detail really elevates your cottage cheese ice cream from a snack to a proper dessert!
I remember one batch where he used the wrong kind of powder, and the whole thing seized up instantly. He almost scrapped the whole batch! We’ve learned the hard way what works best to guarantee that creamy result. For more strategic meal planning tips, peek at our recipe for amazing high-protein chili!
Protein Powder Choice Matters for thick protein ice cream
This is a non-negotiable tip: if you want the thickest, most stable protein ice cream texture, use casein powder! Casein is way better at absorbing liquid than whey protein is. Whey tends to result in a slightly softer mix, which is fine if you’re eating it right away, but if you plan to freeze it for scooping later, casein is your best friend for a stable, thick result.
Ingredient Substitutions for a Low Sugar Ice Cream
Sometimes I want to keep the sweetness down even further, especially if I’m adding flavored mix-ins later. The best trick we found for keeping this a true low sugar ice cream is swapping out about half of those frozen banana slices with frozen cauliflower florets. I know, I know, cauliflower in ice cream sounds wild, but trust me on this one!
The flavor vanishes completely during blending, absorbed by the vanilla and protein. It adds bulk and creaminess, meaning you keep the volume high but naturally slash the sugar content. It’s a brilliant hack for keeping our empire happy and healthy!
Flavor Variations for Your protein ice cream
The base recipe is fantastic, but Noah always pushes for variety. If we eat the same thing two days in a row, we start treating it like a chore, and that’s not how we build an empire! Luckily, this protein ice cream base is screaming for customization. Once you nail the blending technique, you can pivot to whatever flavor mood strikes you. It’s so easy to turn this into a variety of hits once you know the magic ratio of frozen banana to cottage cheese.
I love making a batch of vanilla one day and using the leftovers the next to test a new concept. It’s the easiest way to get a perfectly portioned, healthy ice cream hack whenever a craving hits, and it just requires tossing in one extra dry ingredient before you blend!
Creating Chocolate protein ice cream
If you want to switch from vanilla to a deep, satisfying chocolate flavor, you just need one simple addition before you start blending! This creates a rich, deeply flavored chocolate version of our cottage cheese ice cream.
Simply add 1 tablespoon of unsweetened cocoa powder right along with your banana, cottage cheese, and protein powder. Make sure you use a good quality cocoa powder—it makes a huge difference in how rich that flavor comes out. If you want to go all out on the chocolate flavor, you can check out our guide on making the best homemade chocolate milk for flavor intensity tips!
Serving Suggestions for This High Protein Dessert
Now that you have this gorgeously smooth, protein-packed creation, we need to talk about presentation! Treating this high protein dessert like a finished product—not just ‘fitness fuel’—is key to making it feel like a real indulgence. Since the base flavor is vanilla, it’s the perfect canvas for whatever topping you have on hand. Don’t just grab a spoon and eat it standing over the sink; let’s make this special!
When we serve this up, especially to guests who are skeptical about the cottage cheese factor, we always go heavy on texture contrasts. You’ve got the creamy soft-serve texture, so you need something that snaps or crunches on top. I keep little jars of toppings ready to go just for this purpose.
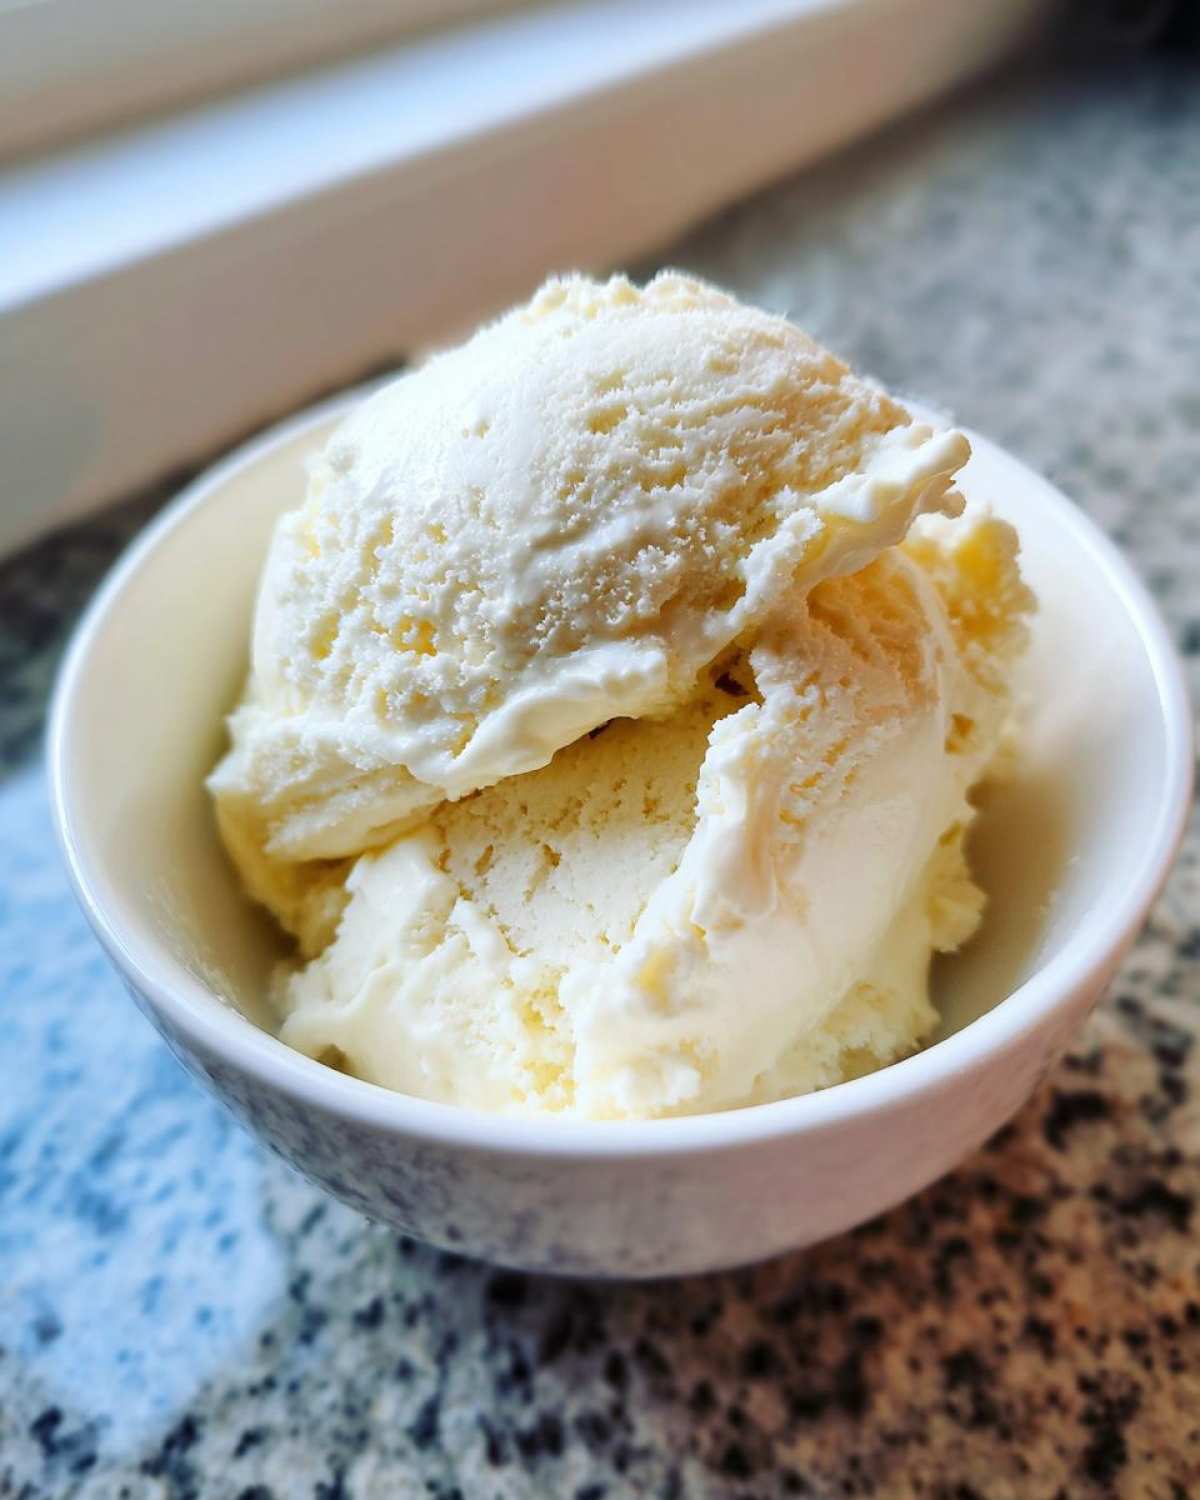
If you’re feeling minimalist, a simple dusting of cinnamon or nutmeg really brings out the flavors lurking in that vanilla protein powder. But if you want to go full blast, I suggest adding some sugar-free dark chocolate chips or maybe some chopped nuts. It turns this from a quick snack into a legitimate sundae experience! For ideas on how to make delicious toppings, you might want to check out the batter additions we use in our amazing fluffy chocolate chip pancakes—you can easily adapt those flavor profiles here!
Honestly, if you let it firm up in the freezer for that hour and then top it with a sprinkle of sea salt, it hits every single craving button without derailing your goals. Enjoy building your perfect bowl!
Storage and Reheating Instructions for Blender Ice Cream
This is the part where Lena steps in because, let’s be honest, we rarely have leftovers! But when we strategize and make two full batches, we absolutely need to know how to store this blender ice cream correctly. Because we aren’t using industrial stabilizers, the texture *will* change once it hits the deep freeze, but that’s totally manageable.
For any amount you don’t eat immediately as soft-serve, you need an airtight, freezer-safe container. We usually use small glass prep containers—they stack nicely in the freezer and are perfect for two-serving portions. Seal it up tight! This helps prevent any freezer burn or ice crystals from forming on the surface, which nobody wants on their protein ice cream.
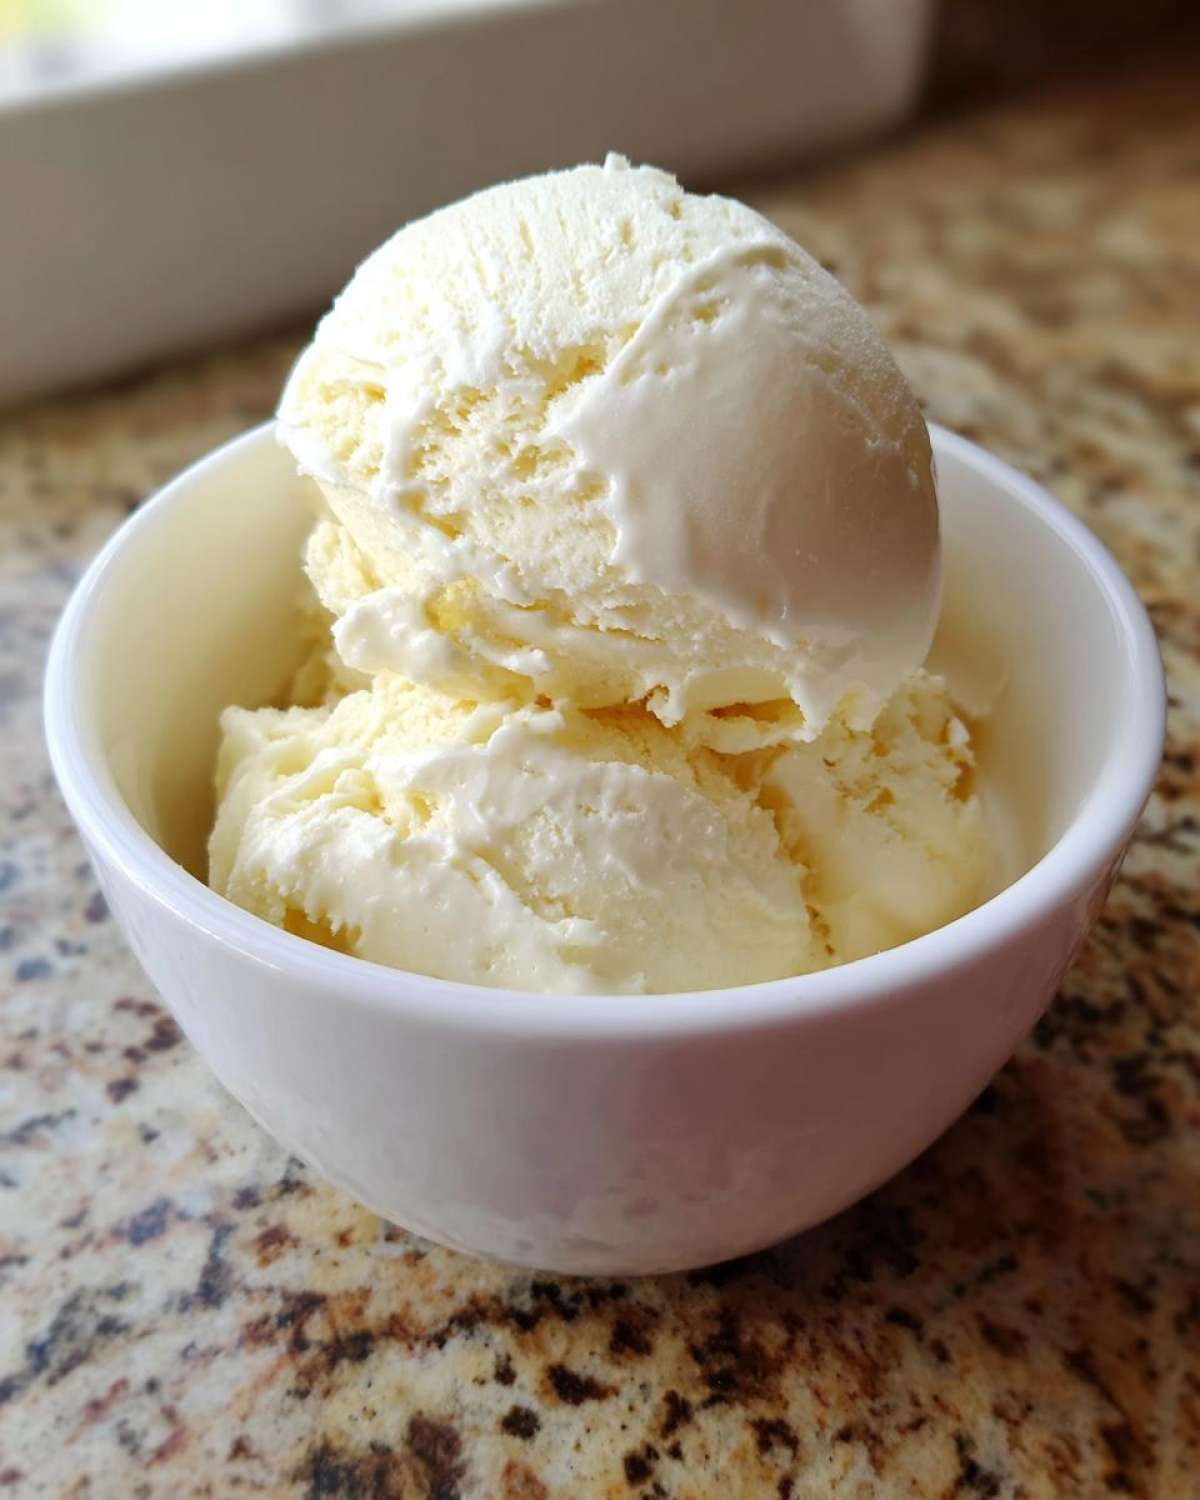
Now for the crucial part: enjoying the leftovers later. If you freeze this for more than an hour or two, it turns into a brick—a delicious brick, but a brick nonetheless! Don’t even think about microwaving it; that will just melt the structure into soup. The trick is patience. If your scoop is struggling, pull that container out of the freezer and let it sit on the counter at room temperature for just 5 to 10 minutes while you get your toppings ready.
That brief rest time is all it needs to soften back up to that perfect, slightly pliable, scoopable texture we love. It’s a small operation, but it ensures every bite feels as good as the first. If you are planning ahead for breakfast, our recipe for make-ahead egg muffins is another great strategy for keeping delicious food ready to go!
Frequently Asked Questions About Making protein ice cream
Noah and I get a ton of messages about this recipe because it’s just so unexpected! Honestly, if you follow the blueprint, you’ll be fine, but I know what it feels like to be nervous to throw expensive protein powder into a blender expecting a miracle. Here are the handful of questions we get asked the most often about achieving that perfect scoop of protein ice cream.
Can I use Greek yogurt instead of cottage cheese in this protein ice cream?
This is a common strategy when looking for a high protein dessert, but for this specific recipe, I strongly advise against it. Greek yogurt is already much thinner and smoother than cottage cheese—that’s because it’s usually strained less or contains more whey. If you use Greek yogurt, the final blend will be far too loose! You’ll end up with a very thin shake instead of the thick, dreamy cottage cheese ice cream texture we are aiming for. Stick to the curds for the necessary stabilizing structure!
How do I make this a truly low sugar ice cream?
That’s a great goal, especially since we are relying heavily on bananas for the base sweetness! If you want the lowest sugar option possible, you have two main levers to pull. First, always use the cauliflower swap we mentioned earlier—substituting half your banana slices with frozen cauliflower is an incredibly effective way to cut carbs and sugar without affecting the taste.
Second, look closely at your protein powder. If your current brand has added sweeteners, try switching to an unflavored or unsweetened vanilla powder next time you buy a tub. This ensures you are only getting sugar from the fruit, making it a much better low sugar ice cream.
What is the best way to ensure this is a viral protein treat?
If you want the absolute best results—the kind that looks perfect for a quick video or photo—you need two things that are totally non-negotiable. First, those bananas must be frozen solid! I mean rock hard. If your bananas are even slightly soft, your final product will be soupy. Second, you need high blending power. A low-powered machine will just chop the components and leave you with icy chunks, not that legendary smooth texture you see online. Make sure you’re using a high-speed blender and commit to using that tamper tool for a solid few minutes. That’s the secret sauce that makes this a true viral protein treat!
For more easy hacks on making quick and tasty things, stop by our recipe for easy 4-ingredient cheese crackers—another project Noah and I perfected for speed!
Nutritional Estimates for This High Protein Dessert
When we create something that tastes this much like a treat, I know the next question is always about the breakdown. We aim for this recipe to be a powerhouse, and thankfully, the combination of cottage cheese and protein powder really delivers on that front! We calculated the nutritional profile based on the standard recipe—using low-fat cottage cheese and a standard vanilla whey powder.
As Noah always reminds me, these are just estimates, of course, because the exact numbers depend *heavily* on the brand of protein powder you choose and whether you opt for other mix-ins. But for a baseline, this gives you a fantastic idea of how solid this high protein dessert is for fueling your day!
Here’s the breakdown per serving (remember, this recipe yields two generous cups total):
- Calories: 280
- Protein: 25g
- Sugar: 15g
- Fat: 3g (Saturated Fat: 1g)
- Carbohydrates: 35g (Fiber: 3g)
We still think about efficiency in all we do, even nutrition! This formula helps ensure you’re getting massive protein for very little fat. If you want to know more about our culinary philosophy and how we build these blueprints, feel free to read up on our About Us page!
Print4-Ingredient High Protein Ice Cream (Cottage Cheese Hack)
Make creamy, high protein ice cream with just four ingredients using this simple blender method. Get over 20g of protein per serving in this healthy ice cream hack.
- Prep Time: 5 min
- Cook Time: 0 min
- Total Time: 5 min
- Yield: 2 servings
- Category: Dessert
- Method: Blending
- Cuisine: American
- Diet: Vegetarian
Ingredients
- 1 cup frozen banana slices
- 1 cup low-fat cottage cheese
- 1 scoop vanilla protein powder (whey or casein recommended)
- 1 teaspoon vanilla extract
Instructions
- Place the frozen banana slices, cottage cheese, protein powder, and vanilla extract into a high-speed blender or food processor.
- Start blending on low speed, using the tamper tool constantly to push the ingredients down toward the blades.
- Continue blending, stopping to scrape down the sides as needed, until the mixture becomes completely smooth and resembles soft-serve ice cream. This may take 2-4 minutes.
- For a softer texture, serve immediately. For a firmer, scoopable protein ice cream, transfer the mixture to a freezer-safe container and freeze for 1 to 2 hours.
- If the ice cream becomes too hard after freezing, let it sit on the counter for 5-10 minutes before scooping.
Notes
- For a thicker result, use casein protein powder, as it absorbs more liquid than whey.
- If you prefer a lower sugar ice cream, substitute half the banana with frozen cauliflower florets (you will not taste them!).
- To achieve the best texture, make sure your bananas are fully frozen solid before starting.
- Add 1 tablespoon of unsweetened cocoa powder before blending for a chocolate protein ice cream.
Nutrition
- Serving Size: 1 serving (about 1 cup)
- Calories: 280
- Sugar: 15
- Sodium: 250
- Fat: 3
- Saturated Fat: 1
- Unsaturated Fat: 2
- Trans Fat: 0
- Carbohydrates: 35
- Fiber: 3
- Protein: 25
- Cholesterol: 15