

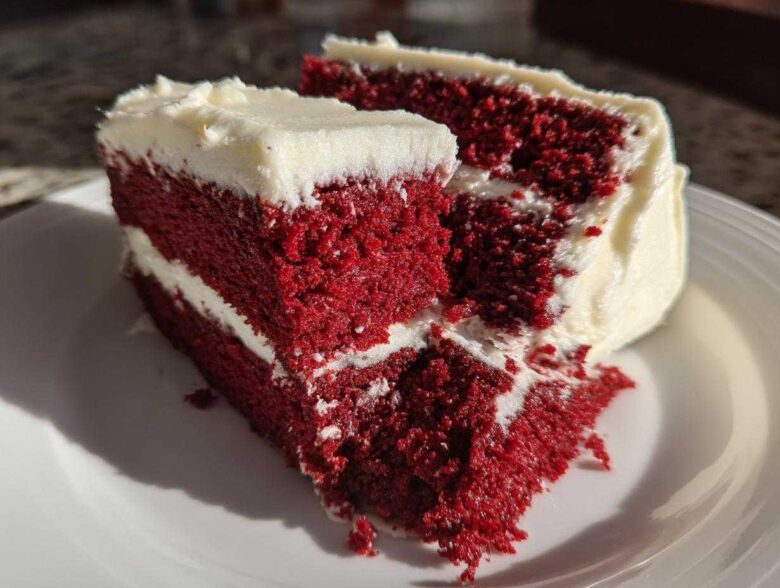
Some desserts just feel like tradition, right? They are the big hitters at every birthday, every holiday gathering, and frankly, they deserve to be perfect. For us, that showstopper is, without a doubt, cake royalty: the red velvet cake. When Noah and I first got serious about building our Epicure Empire, this cake was our first major joint project. He strategized the flavor balance, and I obsessed over the texture notes. After countless tests, we finally cracked the code on what makes it truly authentic Southern style—moist, fluffy, and unbelievably tender. Trust me when I say this blueprint for the best authentic Southern red velvet cake is proven, tested, and ready for your kitchen! You can read more about how we started our whole culinary journey over on our story page—it all started with projects like this!
Why This Authentic Southern red velvet cake Recipe is Your New Go-To
Look, I know there are a million versions out there, but this is the one you stick with. We designed this blueprint specifically to solve the three biggest problems people have with this classic dessert. You won’t have to apologize for this cake, ever!
- Unbeatable Moisture: We nail that soft, melt-in-your-mouth feeling every single time. No dry crumbs here! Say goodbye to sad-looking layers.
- The True Southern Tang: That signature, subtle tang from the classic combination of buttermilk and vinegar is present, but perfectly balanced so the cocoa shines through.
- Easy Showstopper Power: Honestly, you mix this batter up faster than you think. It comes together quickly enough for a weekday treat but looks gorgeous for any big birthday celebration.
If you’re looking for ways to make other staples easier, you should check out how we streamlined our homemade naan bread sometime. It’s all about making quality achievable!
Ingredients for the Best red velvet cake and Homemade Cream Cheese Frosting
Okay, stop right there. Before you even think about preheating the oven, we need to talk about exactly what goes into this magic. Noah stresses that ingredient quality is where the strategy starts. If you swap out room-temperature dairy or use the wrong cocoa, you’ll totally mess up the delicate chemistry that gives you that signature velvety cake texture. Don’t worry, I’ve listed everything out just as Noah demands—neatly and by component. We don’t want any ingredient confusion on the field!
For the Tender Crumb red velvet cake Layers
This part is crucial! If you pull your buttermilk out of the fridge when you start prepping other things, that’s not good enough. It needs time to relax! That slightly warmer buttermilk cake recipe component is what reacts perfectly with the leavening agents to give you that fluffy red velvet cake lift. Trust me, room temp is non-negotiable for that truly moist red velvet cake recipe result.
- 1 1/2 cups vegetable oil (Yes, oil! Not butter, for that moisture miracle.)
- 1 1/2 cups granulated sugar
- 2 large eggs
- 1 teaspoon vanilla extract
- 1 tablespoon red food coloring (I prefer gel if you can get it—it really pushes that vibrant color!)
- 1 cup buttermilk, room temperature
- 1 teaspoon white vinegar
- 2 tablespoons unsweetened cocoa powder
- 2 1/2 cups all-purpose flour
- 1 teaspoon baking soda
- 1/2 teaspoon salt
For the Luscious Homemade Cream Cheese Frosting
This frosting has to be sturdy enough to hold up those beautiful classic red velvet layers, but smooth enough that it feels like silk on your tongue. The key here is patience with softening the fats! If your cream cheese and butter are cold, your frosting will look bumpy—and that’s a texture failure in my book.
- 8 ounces cream cheese, softened
- 1/2 cup unsalted butter, softened
- 4 cups powdered sugar, sifted (Sifting is mandatory to avoid little sugar rocks!)
- 1 teaspoon vanilla extract
Step-by-Step Instructions for a Moist red velvet cake Recipe
This is where Noah’s strategic planning comes into play, transforming ingredients into the ultimate moist red velvet cake recipe. We break this down into three non-negotiable phases. Don’t rush the cooling part—that’s part of the operation! If you follow these steps exactly, you’ll end up with those perfect, colorful layers we all dream about. If you’re working on other recipes that require patient mixing, like our homemade marshmallows, remember that patience always pays off in the end!
Preparing the Cake Batter: Mixing for a Velvety Cake Texture
First things first, get that oven roaring—350°F (175°C) is the target. Also, make sure those two 9-inch pans are thoroughly greased and floured; we don’t want any sticking fiasco!
In your biggest bowl, we start wet/fat first. Whisk the oil and sugar until they look happy together. Then, beat in your eggs one by one, followed by the vanilla and that crucial red food coloring. Get it vibrant now!
While that’s mixing, you’re going to prepare the buttermilk secret. Whisk the buttermilk and vinegar together in a small bowl and just let it hang out for about five minutes. I know it feels weird, but letting it curdle slightly is key to getting that authentic, tangy flavor profile of a true Southern red velvet cake.
Baking the Classic red velvet Layers
Now we marry the dry and wet. In a separate bowl, whisk your flour, cocoa powder, and salt. Next, dissolve your baking soda in a tiny splash of hot water, and immediately stir that right into your buttermilk mixture. It’ll fizz—don’t panic!
This is the moment of truth: you’re alternating additions. Start with a third of the dry mix into the oil base, mix gently, then half of the liquid buttermilk mix, mix gently. Repeat, ending with the dry ingredients. I cannot stress this enough: mix *only until just combined*. If you overmix, you lose that beautiful, tender crumb cake structure we fought so hard for.
Divide that gorgeous batter evenly and bake for 30 to 35 minutes. Check it with a wooden pick; you want moist crumbs clinging to it, not wet batter. Pop them out and let them chill on the rack for 10 minutes before flipping them out to cool completely. Seriously, wait until they are stone cold before frosting.
Creating the Perfect Homemade Cream Cheese Frosting
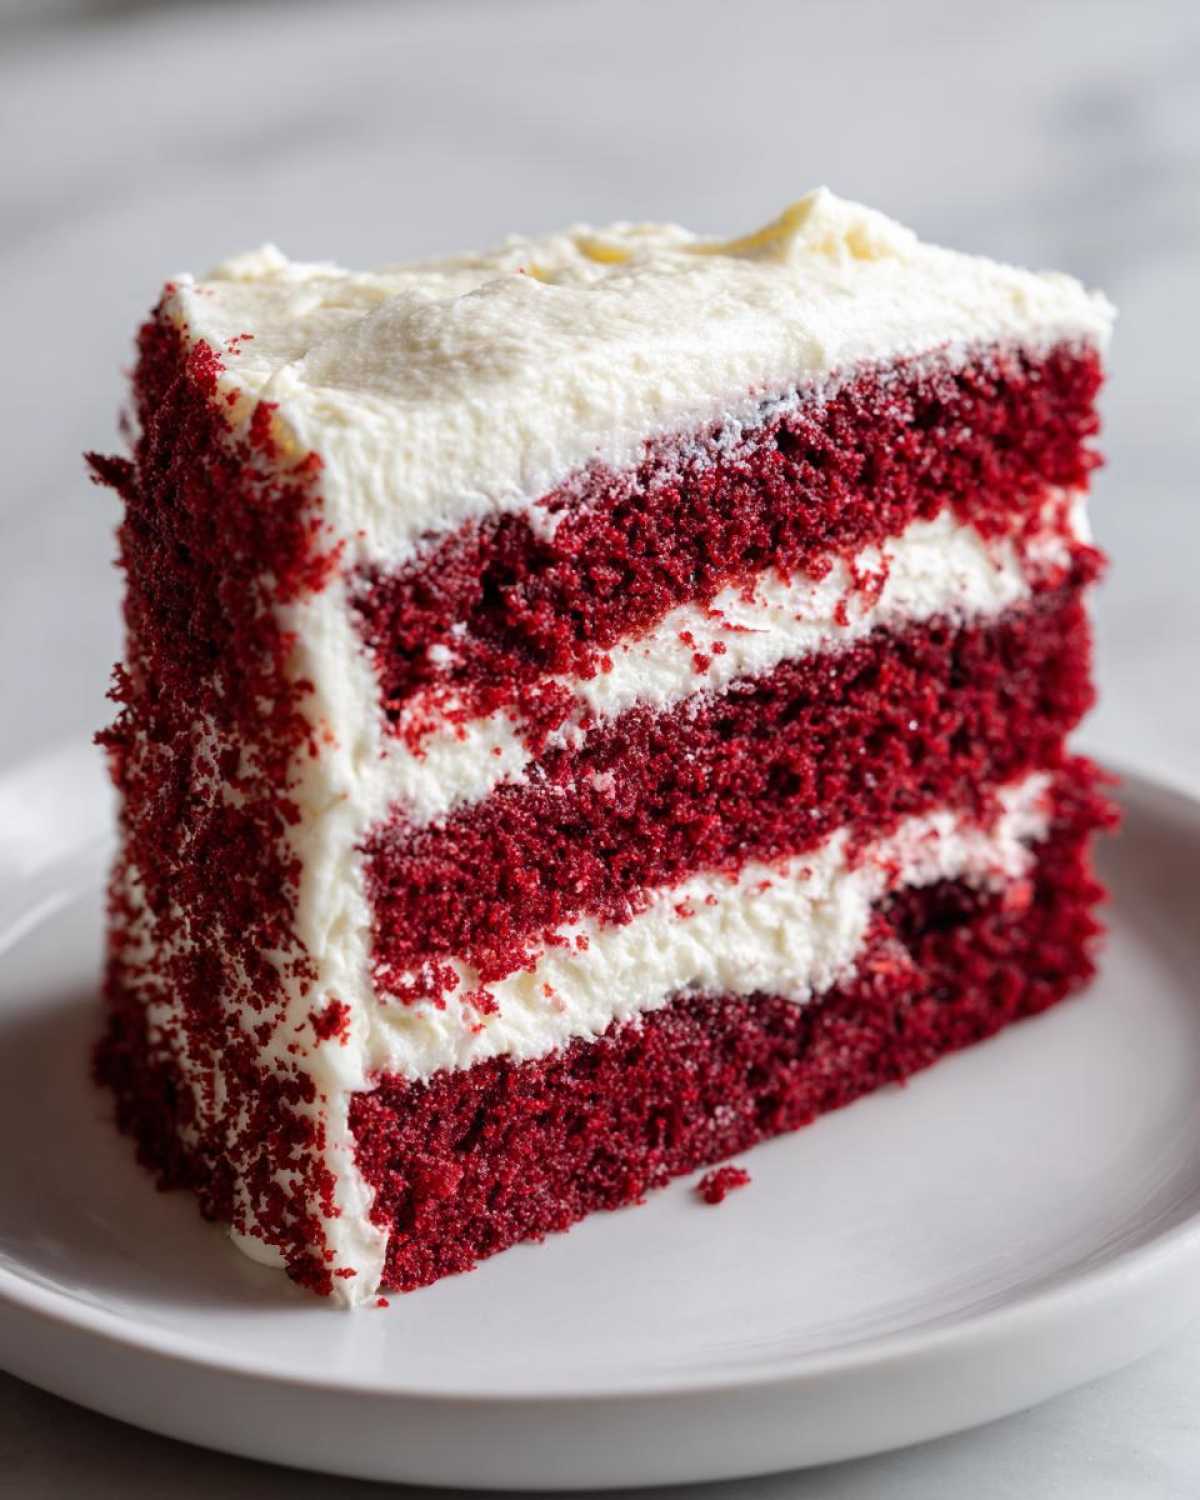
While those beautiful classic red velvet layers are cooling, treat your frosting right. The butter and cream cheese absolutely *must* be softened. Beat them together, really getting them smooth and creamy, until you have a light, uniform base. This takes a minute or two more than you think!
Then, add that sifted powdered sugar slowly, keeping the mixer on low so you don’t end up wearing it! Once it’s incorporated, crank the speed up and whip it until it’s fluffy and gorgeous. A quick splash of vanilla and you’re done. I promise, this creamy topping makes the whole red velvet cake experience.
Expert Tips for the Best red velvet cake from Scratch
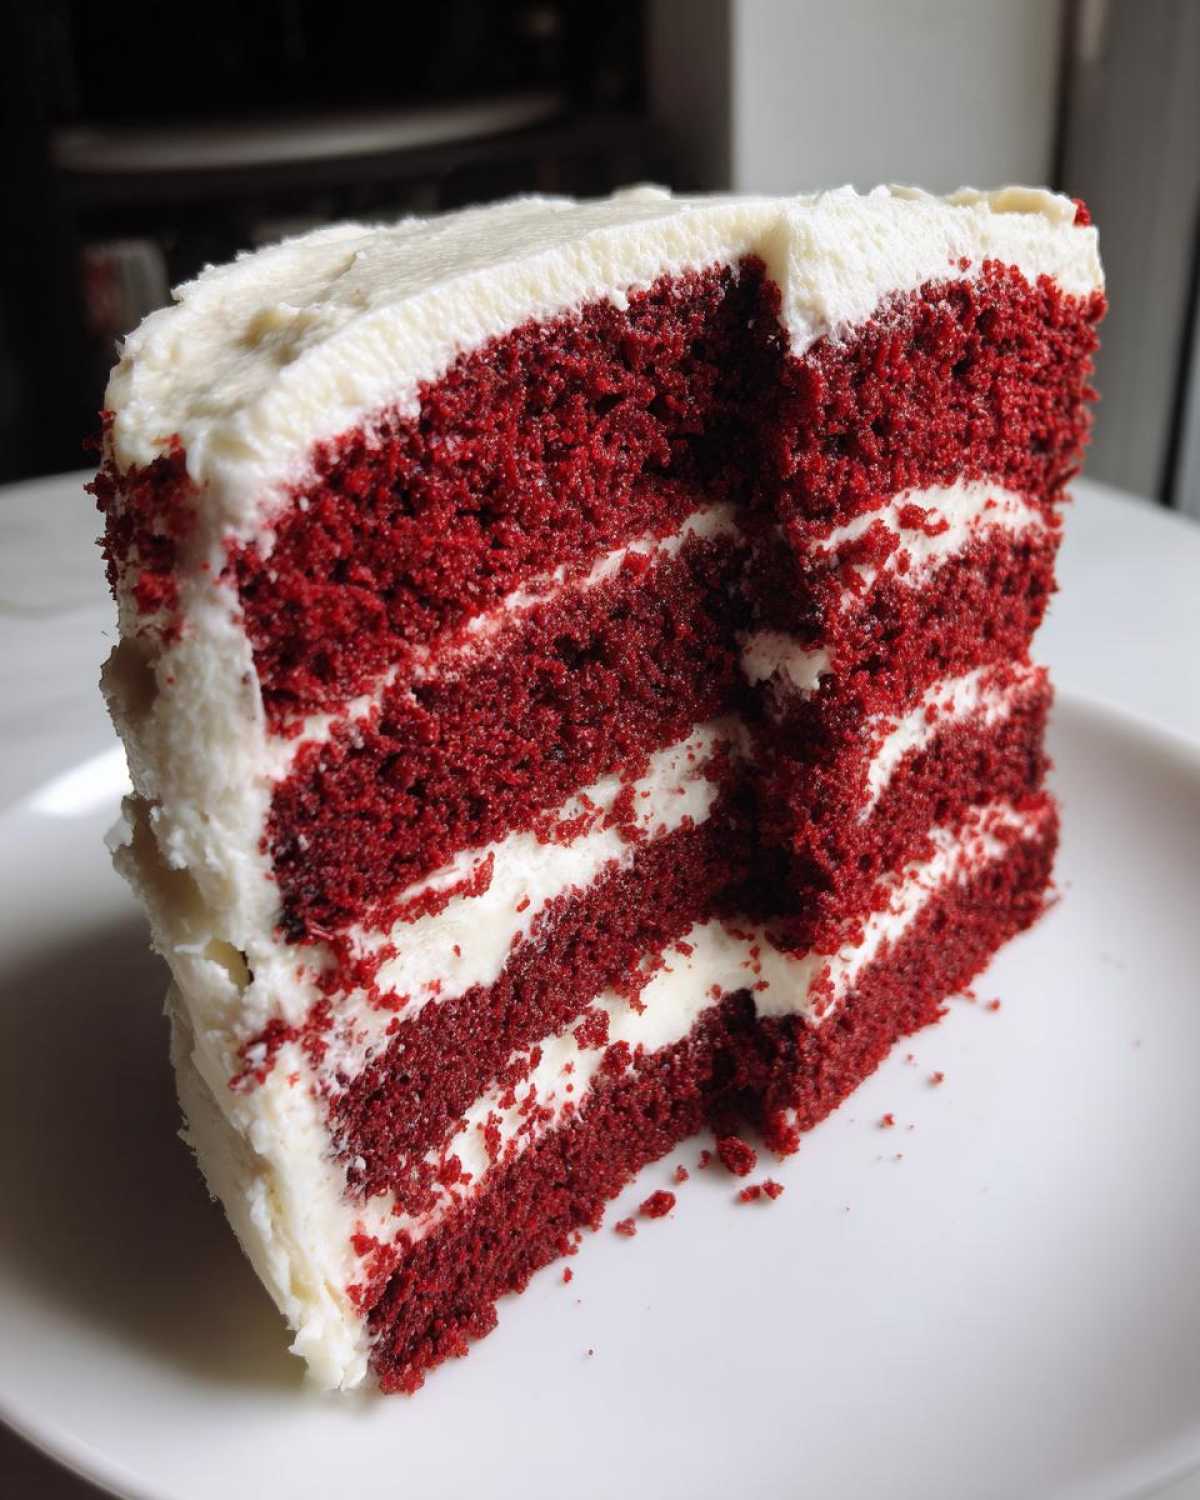
When we first started making this for holidays, our results were unpredictable, which drove Noah absolutely nuts because he loves consistency! We finally figured out the small details that separate a decent cake from a true Southern masterpiece. We’ve learned that small tweaks make a huge difference in getting that deep, even color and the perfect lift.
First off, let’s talk color. Don’t skimp! If you use standard liquid food coloring, you risk watering down that delicate batter, and you’ll need way too much before you see a true red. We swear by a high-quality gel coloring—it concentrates the pigment, giving you a vibrant hue without messing up the liquid ratios. That’s the first secret we cracked!
Secondly, remember what I said about buttermilk? If you don’t have buttermilk on hand, don’t run to the store! Just take regular milk and stir in that teaspoon of vinegar (or lemon juice) and let it sit. That slight ‘curdling’ is necessary for the reaction with the baking soda, which is the only way you get that signature slight tang and the tender crumb cake we love. If you skip that, you just get a weak chocolate cake—not the real deal! It’s a small step, but it ensures you get the best red velvet cake from scratch every single time. If you want more baking secrets, check out how we perfected our chocolate chip cookies next!
Ingredient Notes and Substitutions for Your red velvet cake
I know sometimes you can’t find exactly what the recipe calls for in the pantry, especially when that craving for a red velvet cake hits you late on a Saturday night! Don’t panic and don’t skip making the cake just because you’re missing one item. We’ve got plans for that, the strategist in me always has a Plan B ingredient swap.
The most common issue is usually the buttermilk, since it’s the backbone of this buttermilk cake recipe. If you are completely out, the substitution is super easy, though! You can create a fantastic homemade sour milk right on the counter. Just take your regular milk—whole milk works best—and for every cup of required buttermilk, stir in one tablespoon of white vinegar or lemon juice. Give it a quick stir and let it sit for about five to ten minutes. It’ll look curdled and slightly chunky, and that’s exactly what you want! That acidity is essential for interacting with the baking soda to give you that beautiful rise and that specific flavor we associate with true Southern baking.
Now, let’s talk about the color. This is where you win or lose the vibrancy contest! Using liquid red food coloring is fine if that’s all you have, but you usually need a shocking amount to counteract the brown from the cocoa powder. I strongly encourage you to grab a bottle of gel food coloring if you can find it. Gel color is far more concentrated, meaning a small drop gives you a huge punch of red without adding unnecessary liquid to the batter. This seemingly small ingredient choice is what helps maintain that fantastic tender crumb cake texture we worked so hard to achieve.
Don’t try to substitute the cocoa powder, though! While it seems counterintuitive in a red cake, that tiny bit of cocoa is what makes it *red* velvet and not just… velvet. It’s the chemical reaction with the acid that develops the color.
Storage and Reheating Instructions for Fluffy red velvet cake
Okay, you’ve assembled your masterpiece. You’ve got those gorgeous, fluffy red velvet cake layers stacked high with that dreamy cream cheese frosting. Now, how do we keep this beauty perfect until the last slice is gone? This requires a specific strategy, as the frosting is the boss here!
Because we use real cream cheese and butter in our homemade frosting—which, by the way, is way better than the store-bought stuff—this cake absolutely needs to live in the refrigerator. Keep it tightly covered, either under a proper cake dome or gently tented with plastic wrap, but make sure the wrap isn’t touching the frosting or it’ll stick and ruin your hard work. Stored this way, your red velvet cake will stay fresh for about three to four days.
Now, here is the most important operational tip for serving: Never, ever serve this cake cold from the fridge! When the cake is cold, the butter in both the cake layers and the frosting gets hard, and suddenly, that wonderfully velvety cake texture turns dense and stiff. That’s a tragedy!
So, before you plan on serving a slice, pull the whole cake (or whatever portion you need) out onto the counter about an hour beforehand. Let it sit at room temperature. This gives the fats time to soften up, releasing all that moisture and flavor we worked so hard to build into this moist red velvet cake recipe. It turns from “good refrigerated cake” into “utterly spectacular showstopper dessert” in about 60 minutes.
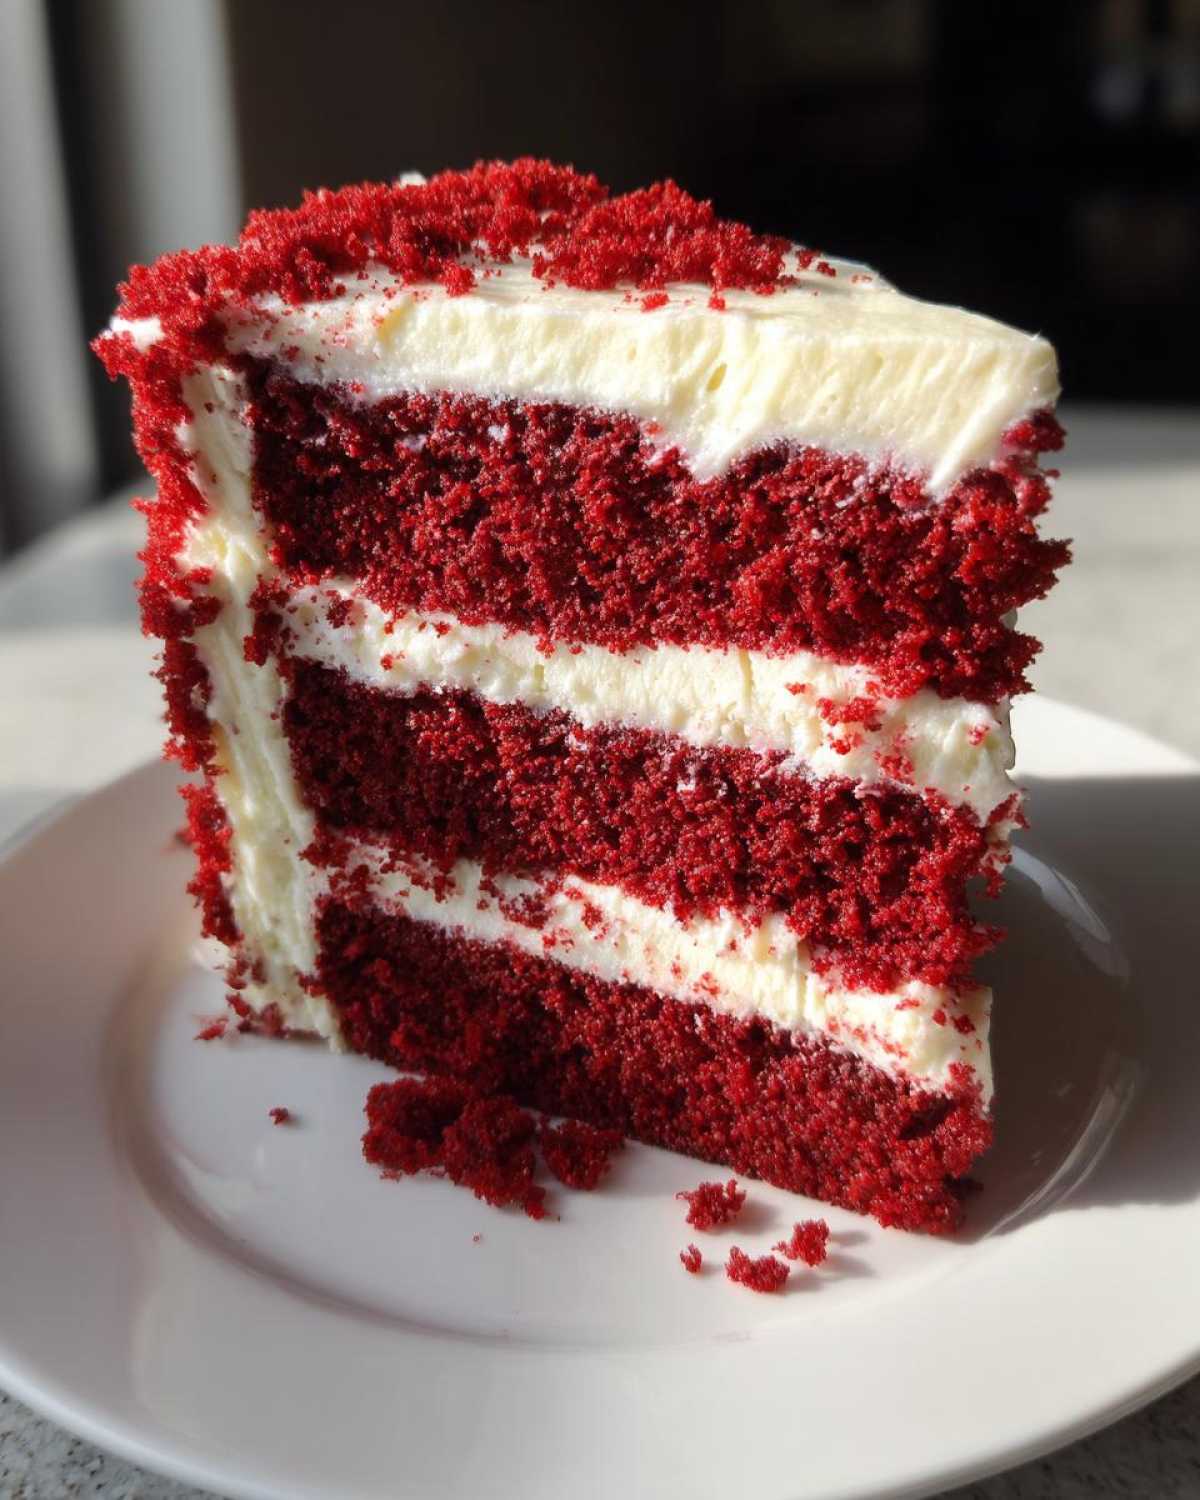
For leftovers, keep them under the tent in the fridge, and remember the re-tempering trick before serving next time. If you’re looking for other ways to save and reheat homemade goodness, like freezing leftover garlic butter, the principle is the same: cool completely before storing, and reheat or rest to room temperature before serving!
Serving Suggestions for this Showstopper Dessert
This red velvet cake is truly a showstopper, and once you’ve put in the work to get those layers just right, you want the presentation to match, right? This cake is rich enough to stand on its own, but sometimes a little something extra just elevates the whole experience from great to legendary. We love using this recipe for all the big milestones. It’s robust enough to handle major events, making it perfect for a red velvet cake for birthdays that everyone will remember.
For formal celebrations, like a big anniversary or even a small cozy wedding, you can really lean into the elegance. Instead of stacking it super high, try making thin, delicate layers and serving them alongside fresh fruit. Think raspberries or, even better, sliced strawberries. The slight tartness cuts through the richness of the cream cheese frosting beautifully.
When we serve this during the holidays—it’s a definite favorite for Christmas and Valentine’s Day—we play up the color contrast. A light dusting of powdered sugar over the top layer looks dramatic against the red. Sometimes, Noah will even pipe tiny little white chocolate curls around the base. It’s simple, but it screams festive! These are the kind of holiday red velvet desserts that look like they took days, even though we know the batter was quick!
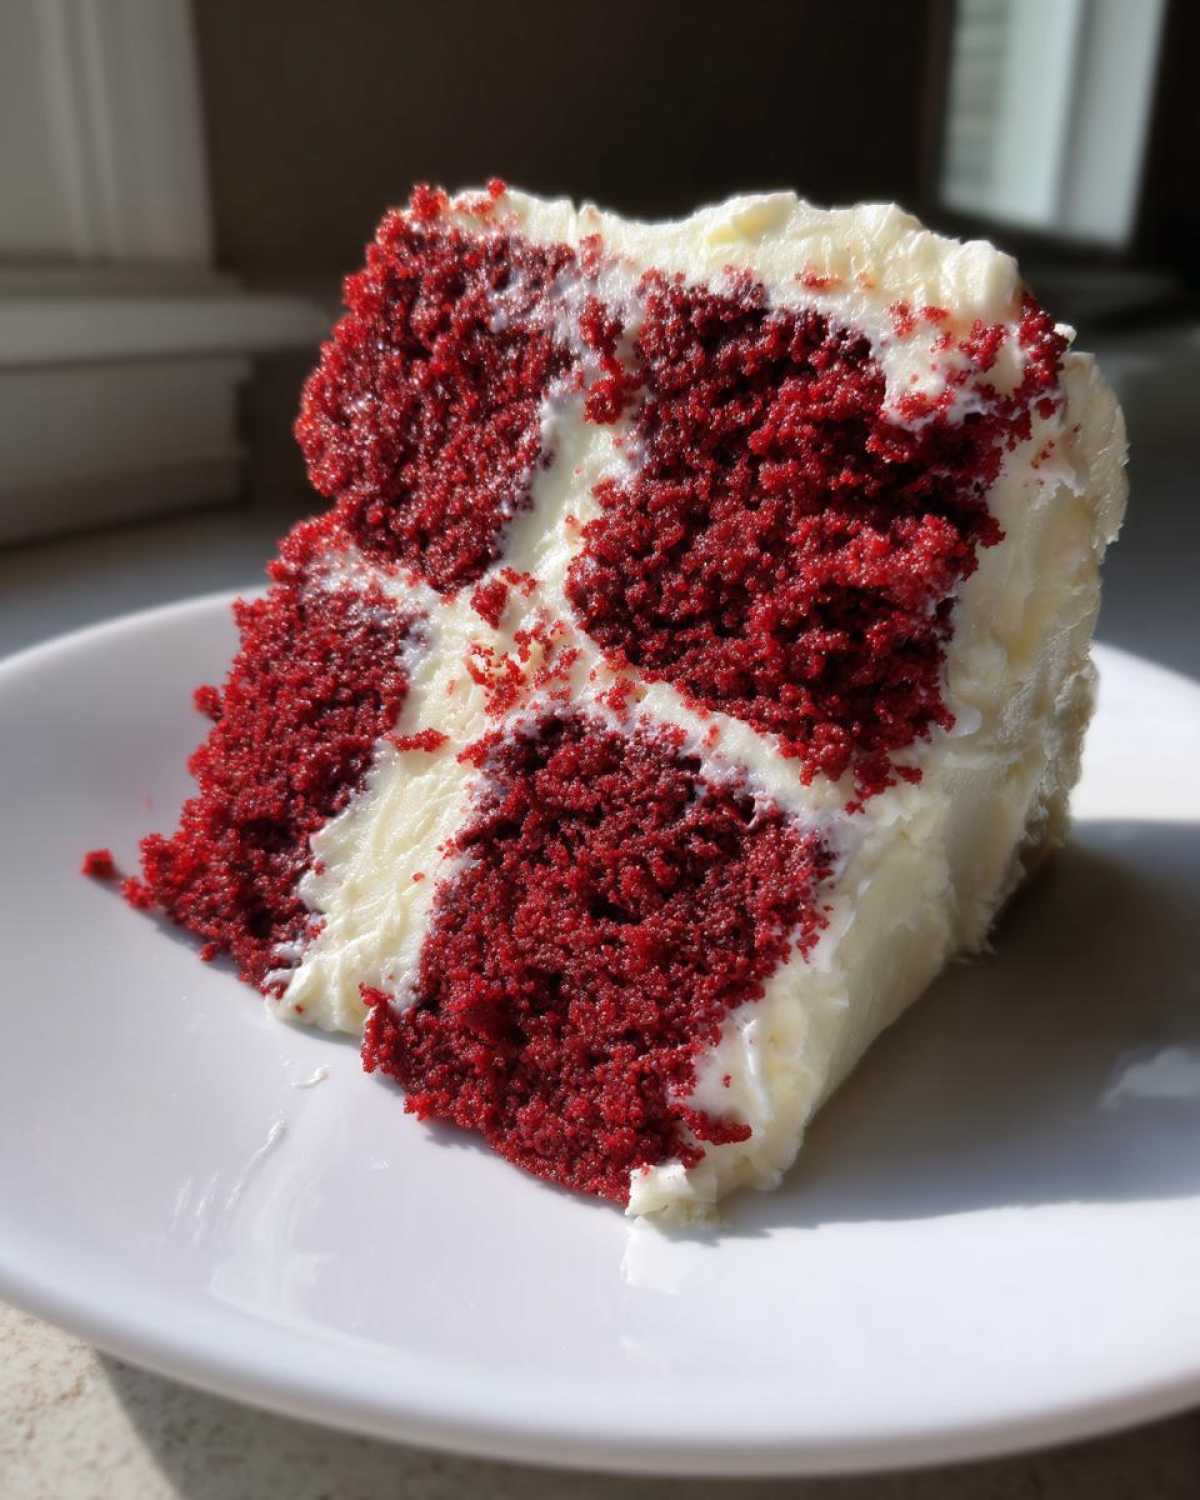
Another fun idea we played with was serving thinner wedges alongside a small scoop of vanilla bean ice cream. But be careful—the cold ice cream can firm up the frosting quickly, so make sure you serve the cake at room temperature so the texture stays soft. We found that the flavor profile also sings when paired with a strong cup of coffee or even a spicy chai latte. If you’re looking for another crowd-pleasing comfort bake that’s great for sharing, you have to try my recipe for chocolate chip banana bread next!
Frequently Asked Questions About Making red velvet cake
I know you’ve probably got this cake in the oven right now, but sometimes these little questions pop up when you’re actually mid-bake! We get asked the same things all the time when people try to master this recipe. Noah and I put our heads together to tackle the most common hurdles for achieving that perfect, showstopper dessert result.
Why is my red velvet cake not red enough?
Ah, the color dilemma! This happens when your cocoa powder is throwing shade! Seriously though, cocoa powder is brown, and it fights the color you want. My best advice, which I mentioned before, is to use a high-quality, concentrated gel food coloring instead of liquid drops. Gel coloring gives you that vibrant hue without adding excess moisture. If you used liquid and it still looks patchy, you might need to mix a tiny bit more gel into the batter right before you pour it into the pans. It’s the difference between a faint pink smudge and a truly gorgeous red velvet cake.
Can I make this an easy red velvet cake using a stand mixer?
Absolutely, you can! While Noah loves the meditative rhythm of creaming by hand, a modern stand mixer makes things much faster, making it an easy red velvet cake project. The key is speed control. You want to use the paddle attachment, not the whisk. Mix the wet ingredients (oil, sugar, eggs) on medium speed. When you start alternating the dry and wet additions, drop the speed right down to low. That prevents you from over-developing the gluten, which is what ruins that delicate tender crumb cake.
What’s the secret to keeping the layers ultra-moist?
This is the million-dollar question! Moisture on day one is easy, but keeping it moist for the party tomorrow? That comes down to two things we stressed earlier: oil and buttermilk. Oil coats the flour proteins better than butter does, locking in moisture inside the structure for days. Second, don’t skip the slight curdling of the buttermilk mixture with vinegar; that acid ensures the baking soda disperses evenly, leading to a lighter touch inside, which helps the cake feel moist rather than heavy or dense. It’s all about the chemistry for that perfect red velvet cake feel.
Is this truly a Southern red velvet cake if it uses oil instead of butter?
That’s one of the great debates in baking history! Traditional, old-school Southern recipes often called for oil because it provided a guaranteed moist texture, especially in hot climates where butter softened too quickly. Butter gives flavor, but oil gives insurance against dryness for this specific recipe. We compromised by focusing on the other distinctly Southern elements—the buttermilk and vinegar—to give you that authentic tang, while sticking with oil for the guaranteed fluffy red velvet cake structure. It gives you the best of both worlds!
Nutritional Estimates for this Classic red velvet layers Cake
Now, I know we’re focused on flavor and texture here at Epicure Empire—we build our empire on delicious moments, not spreadsheets! However, because we run this like a serious project, Noah insists on tracking the big picture, even for something as wonderful as this classic red velvet layers cake. We always have to calculate things like this after we finish testing a recipe, just to keep everything organized.
Please know that these numbers are purely estimates based on the ingredients listed above and standard measurements. If you use a different brand of food coloring or slightly more frosting, these values will change, so keep that in mind! This data is just a guidance tool, not a guarantee for your specific bake.
Here’s the approximate breakdown per slice:
- Serving Size: 1 slice
- Calories: 450
- Sugar: 55g
- Sodium: 300mg
- Fat: 24g
- Saturated Fat: 10g
- Unsaturated Fat: 14g
- Trans Fat: 0g
- Carbohydrates: 60g
- Fiber: 1g
- Protein: 4g
- Cholesterol: 50mg
See? Even the strategy side of the house agrees: this is a rich dessert! That fat count comes mostly from our glorious butter/oil combination and the decadent cream cheese frosting. Totally worth every single calorie when you bite into that ultra-moist red velvet cake recipe layer, though!
PrintThe Best Authentic Southern Red Velvet Layer Cake with Homemade Cream Cheese Frosting
Create the ultimate showstopper dessert with this authentic Southern Red Velvet Cake recipe. You get a moist, fluffy texture and vibrant color, perfectly paired with rich, homemade cream cheese frosting. This recipe is your blueprint for a classic cake perfect for birthdays or holidays.
- Prep Time: 25 min
- Cook Time: 35 min
- Total Time: 60 min
- Yield: 12 servings
- Category: Dessert
- Method: Baking
- Cuisine: American
- Diet: Vegetarian
Ingredients
- 1 1/2 cups vegetable oil
- 1 1/2 cups granulated sugar
- 2 large eggs
- 1 teaspoon vanilla extract
- 1 tablespoon red food coloring (liquid or gel)
- 1 cup buttermilk, room temperature
- 1 teaspoon white vinegar
- 2 tablespoons unsweetened cocoa powder
- 2 1/2 cups all-purpose flour
- 1 teaspoon baking soda
- 1/2 teaspoon salt
- For the Cream Cheese Frosting:
- 8 ounces cream cheese, softened
- 1/2 cup unsalted butter, softened
- 4 cups powdered sugar, sifted
- 1 teaspoon vanilla extract
Instructions
- Preheat your oven to 350°F (175°C). Grease and flour two 9-inch round cake pans.
- In a large bowl, whisk together the vegetable oil and granulated sugar until combined.
- Beat in the eggs one at a time, then mix in the vanilla extract and red food coloring until the mixture is uniformly red.
- In a separate small bowl, whisk together the buttermilk and white vinegar. Set aside for 5 minutes to curdle slightly.
- In a medium bowl, whisk together the flour, cocoa powder, and salt.
- In a small bowl, dissolve the baking soda in 1 tablespoon of hot water, then immediately stir it into the buttermilk mixture.
- Alternate adding the dry ingredients and the buttermilk mixture to the oil mixture, beginning and ending with the dry ingredients. Mix only until just combined; do not overmix to keep the cake tender.
- Divide the batter evenly between the prepared cake pans.
- Bake for 30 to 35 minutes, or until a wooden pick inserted into the center comes out clean.
- Let the cakes cool in the pans for 10 minutes before inverting them onto a wire rack to cool completely.
- To make the frosting, beat the softened cream cheese and butter together until smooth.
- Gradually add the sifted powdered sugar, mixing on low speed until incorporated, then increase speed to medium-high and beat until fluffy. Mix in the vanilla extract.
- Once the cakes are completely cool, frost and stack the layers.
Notes
- For the most vibrant red color, use a high-quality gel food coloring.
- Using room temperature buttermilk helps create a softer, more velvety crumb texture.
- Do not substitute the vinegar; it reacts with the baking soda and cocoa to give the cake its signature tang and texture.
Nutrition
- Serving Size: 1 slice
- Calories: 450
- Sugar: 55g
- Sodium: 300mg
- Fat: 24g
- Saturated Fat: 10g
- Unsaturated Fat: 14g
- Trans Fat: 0g
- Carbohydrates: 60g
- Fiber: 1g
- Protein: 4g
- Cholesterol: 50mg