

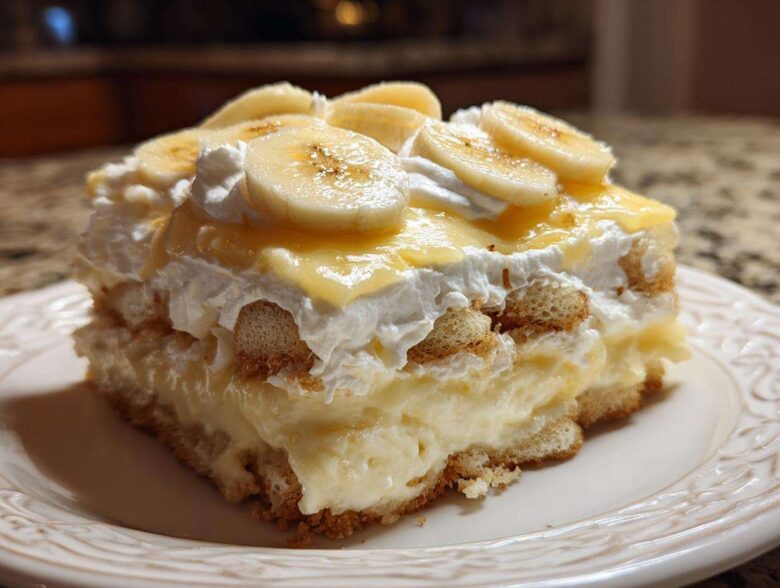
If you’ve ever chased that perfect, ethereal texture in a dessert—the one where the vanilla wafers melt right into the custard—then you’re in the right place! Stop settling for instant mixes, friends. We are making the ultimate homemade Southern banana pudding, and I promise you, it’s worth every single stir.
This recipe isn’t just thrown together; Noah, bless his strategic heart, mapped out exactly how to maximize creaminess and flavor against every weak, dusty box mix out there. We spent weeks perfecting this classic dessert for our Epicure Empire. Once you taste this rich, completely scratch-made banana pudding, you’ll never look back. It’s pure, sweet comfort in a dish.
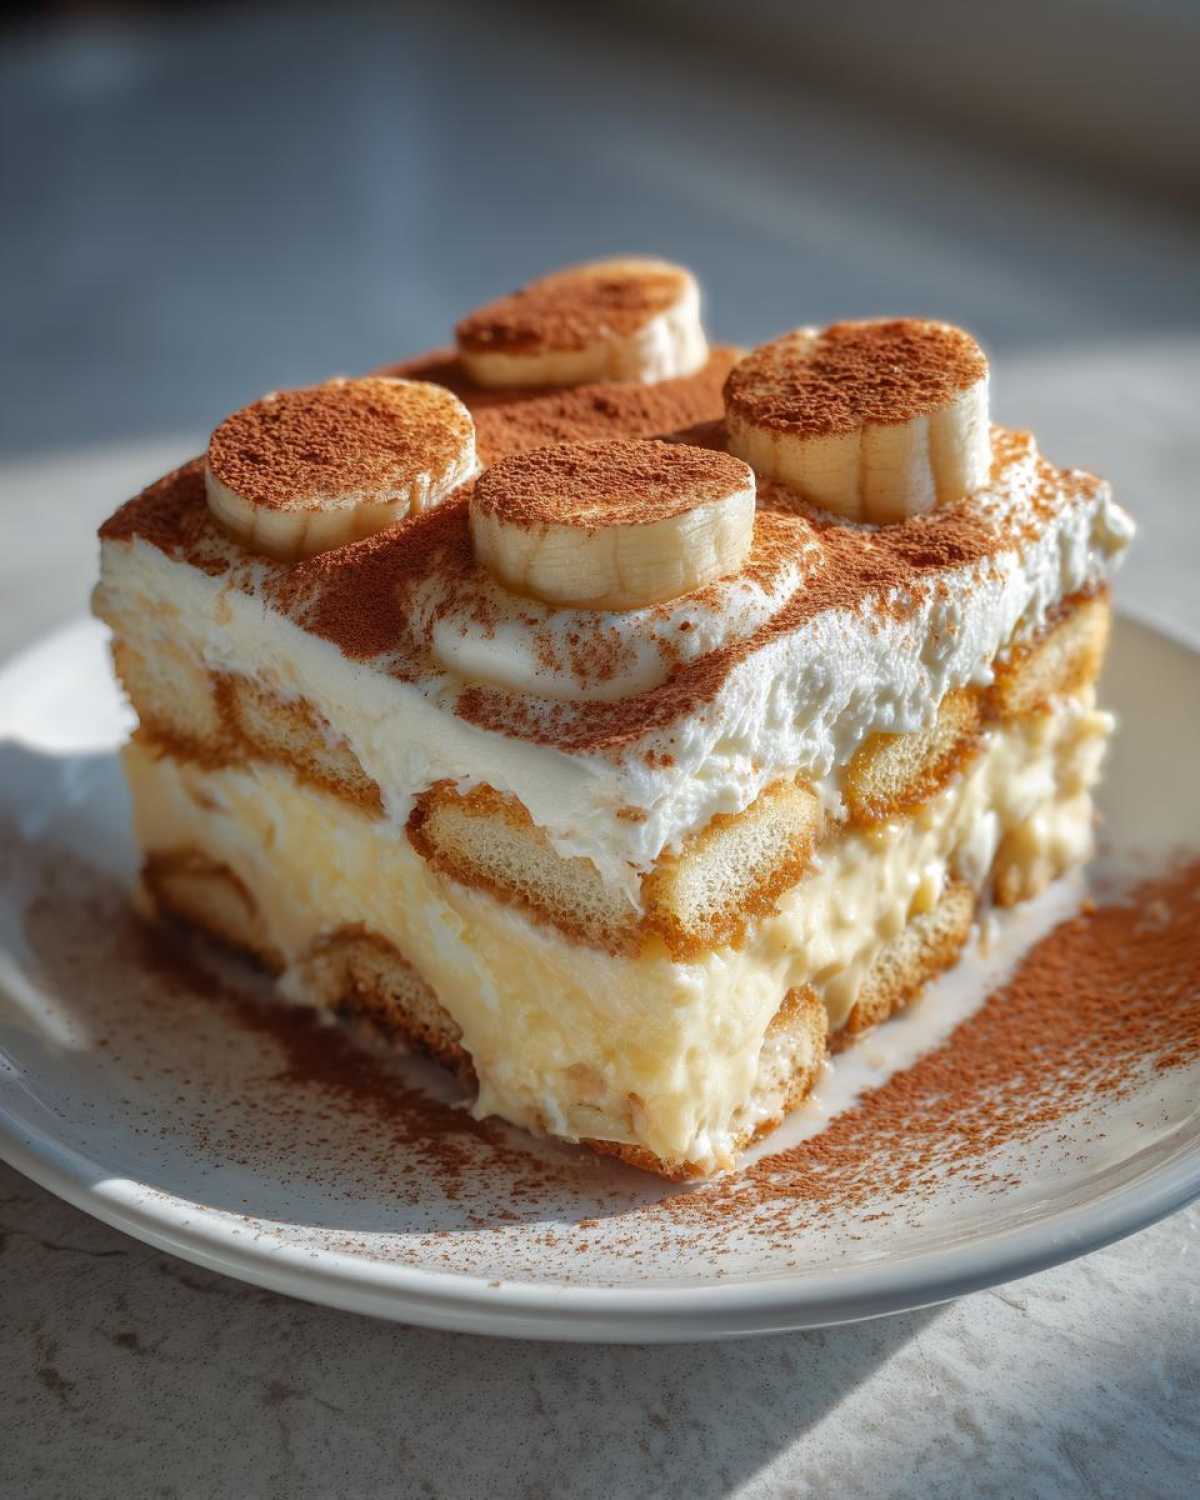
Why This Ultimate Banana Pudding Recipe Works (The Strategy)
Listen, people talk about the best homemade banana pudding, but they often cheat! If you want the dreamiest, richest experience, you simply cannot start with a box that has cornstarch and artificial flavors. Our strategy here is pure, old-school tradition. We build that flavor from scratch on the stovetop, and that’s what sets this creamy banana dessert apart.
The difference is noticeable immediately. We aren’t just mixing powder and cold milk; we are creating real pastry cream, and that cooks out any weird aftertaste instant mixes leave behind. This recipe guarantees a luxuriously thick pudding every single time.
Building the Creamy Banana Pudding Dessert Base
The magic starts when those egg yolks hit the heat with the milk and sugar! I know tempering eggs sounds scary, but trust me, whisking a little hot liquid into the yolks slowly is the only way to get that silky, luxurious texture. We stir constantly because we want a genuine cooked custard. That constant motion keeps things smooth, thickens it perfectly, and stops everything from scorching on the bottom of the pan. That’s the culinary foundation!
Achieving Perfect Wafer Softness in Your Banana Pudding
This is where the patience comes in, and it’s crucial for that old fashioned southern banana pudding experience. Those vanilla wafers going in must be fully submerged in that amazing, thick pudding. When you cover it tightly and let it chill overnight, the wafers absorb all that moisture and transform. They aren’t crunchy anymore; they become this soft, almost cake-like layer. If you rush this chilling, you end up with crunchy wafers floating in pudding, and that’s just not right!
Gathering Ingredients for the Best Homemade Banana Pudding
Okay, now that we’ve covered the strategy for making this the ultimate banana pudding recipe, we need our supplies! Since we are making this completely from scratch—which is the only way to go for true Southern comfort—you’ll need a few specific things listed here. Noah made sure we measured everything precisely because, when you’re building an empire of flavor, details matter!
Don’t sweat these simple components; they combine into something incredible. Here is what you need for the pudding and assembly:
- 1 cup granulated sugar
- 1/2 cup all-purpose flour
- 1/4 teaspoon salt
- 4 large egg yolks, lightly beaten
- 3 cups whole milk
- 2 tablespoons unsalted butter
- 1 teaspoon vanilla extract
- 4 large ripe bananas, sliced about 1/4 inch thick
- 1 box (11 ounces) vanilla wafers (Those Nilla Wafers you grew up on are perfect here!)
Ingredient Notes and Substitution Strategy for Banana Pudding
While this recipe demands scratch pudding for the best results, I know life is busy! If you are completely stuck for time, you can use the semi-homemade hack. That means substituting the homemade custard with two boxes of instant vanilla pudding mixed according to package directions, using only 2 cups of milk total—it’s very similar to that famous Magnolia Bakery style. But please, try the scratch version first!
Also, a huge tip for your fruit: use bananas that are ripe but still firm. If they are too soft, they turn mushy right when you fold them into the hot pudding. We want distinct slices, not banana mush clinging to the bottom of the dish!
Step-by-Step Instructions for Perfect Banana Pudding From Scratch
Alright, here is the operational blueprint, the part where we take those beautiful ingredients and turn them into that legendary creamy banana dessert. I promise, if you stick to these steps, you’ll have the best result possible. Pay close attention during the cooking phase—that’s where we build the texture!
Preparing the Custard Base for Your Creamy Banana Dessert
First things first: in your saucepan, give the sugar, flour, and salt a good whisk together. Then, slowly whisk in that whole milk until everything looks smooth, like liquid velvet. Set it over medium heat. This is the 8 to 10-minute magic window where you cannot walk away! You must stir constantly with a good wooden spoon or heatproof spatula until it thickens enough to coat the back of the spoon and you see a gentle boil. Don’t let it scorch!
Once it’s thick, take it off the heat immediately. This next part is crucial: temper your egg yolks. Take about half a cup of that hot pudding mixture and whisk it *slowly* into your beaten yolks—this warms them up gently. Then, pour that yolk mix right back into the saucepan. Now, return it to low heat for just two more minutes, stirring nonstop. Finally, take it off the heat for good, then stir in your butter and vanilla until it’s all melted in smoothly.
Assembling the Layers of Your Old Fashioned Southern Banana Pudding
Now that the hot pudding is slightly cooled (about 30 minutes after pressing plastic wrap right onto the surface), we start layering! Grab your glass dish—whether it’s a big trifle bowl or some cute individual banana pudding cups recipe holders—and let’s build this thing.
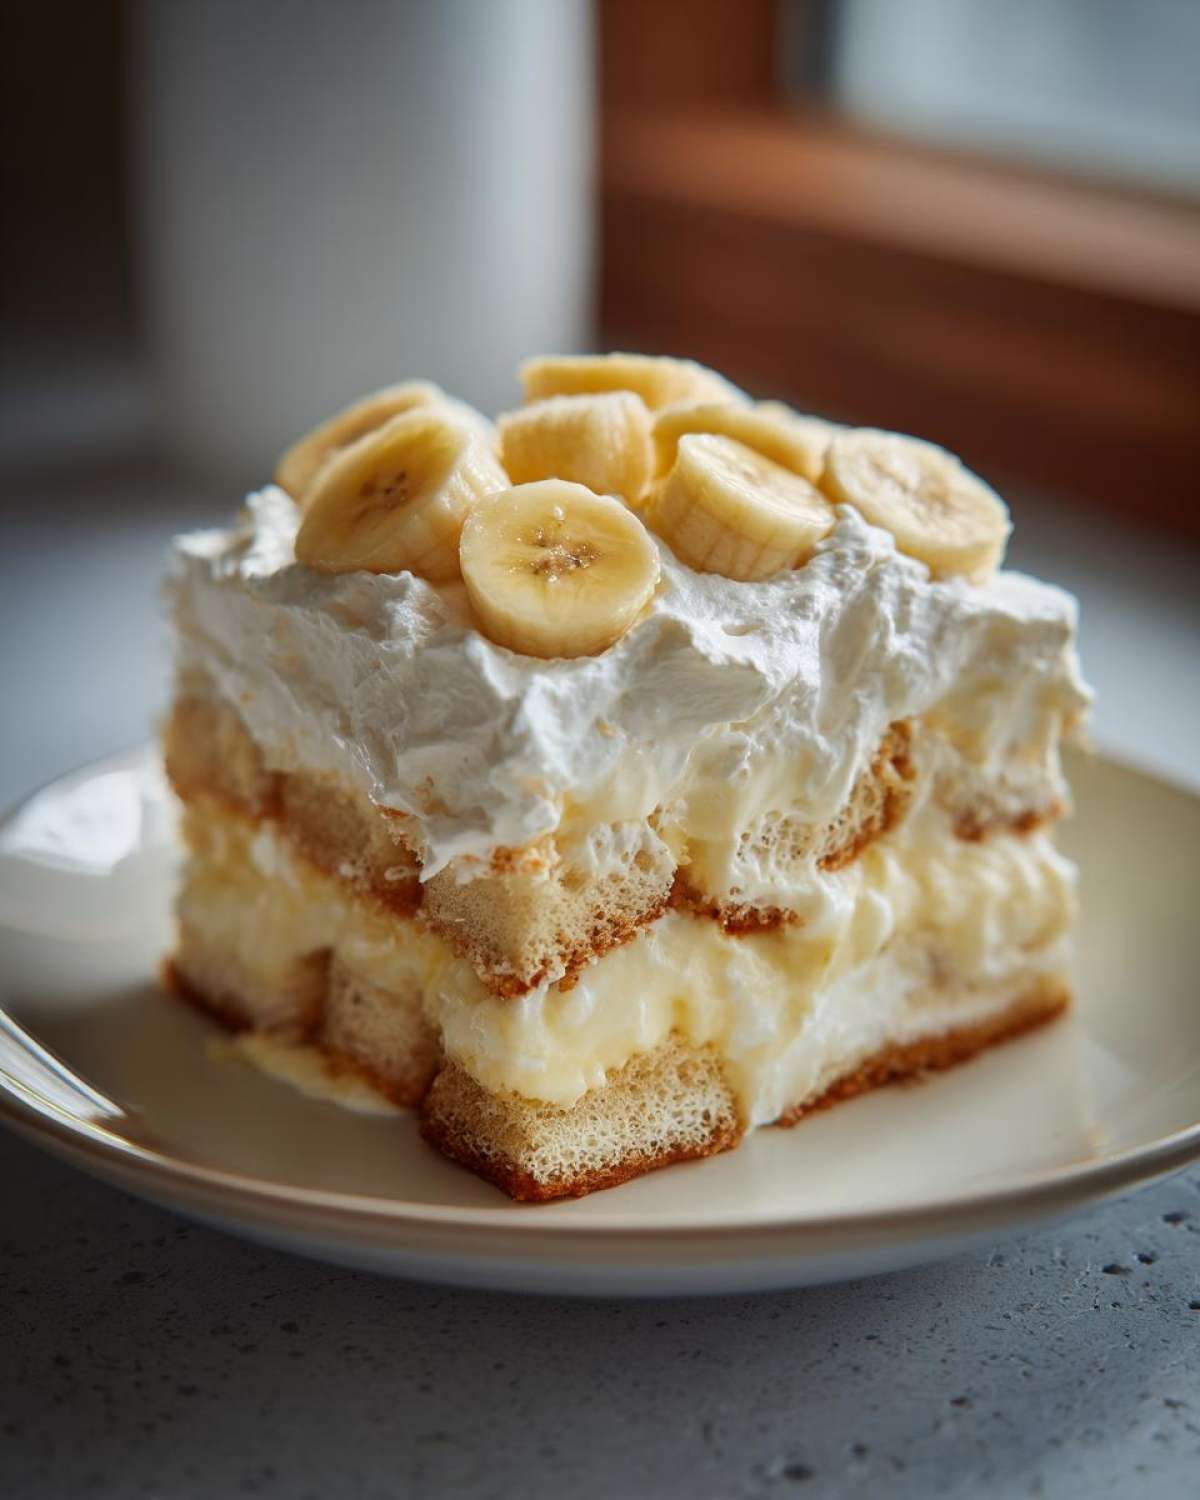
Start with a thin base layer of those vanilla wafers. Then, cover those wafers with one-third of your delicious sliced bananas. Spoon one-third of that cooled pudding right over the top of the fruit. You’re just going to repeat this pattern: wafers, bananas, pudding, wafers, bananas, pudding. Make sure you finish with that beautiful final layer of pudding on top.
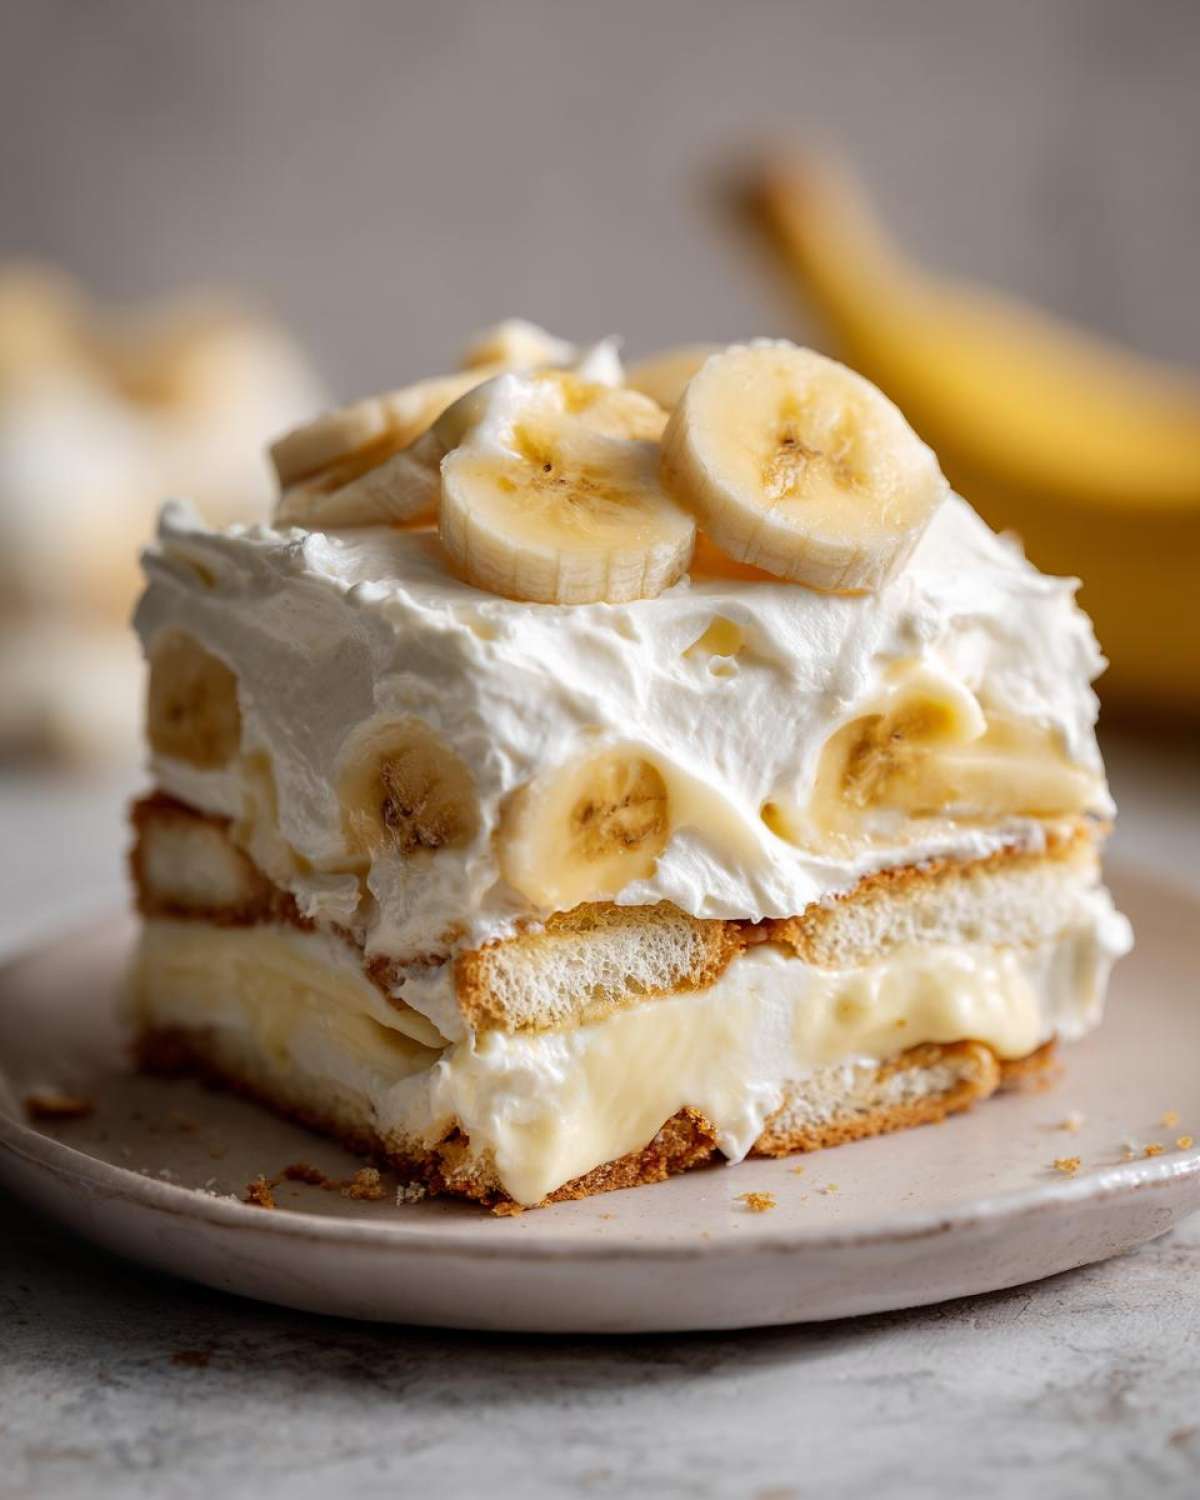
The Critical Chilling Phase for Ultimate Banana Pudding
This last step separates the good banana pudding from the truly legendary stuff. Cover the whole thing tight with plastic wrap, making absolutely sure that wrap is touching the top layer of pudding—we don’t want any skin forming! Now, you must respect the chill time. It calls for at least 4 hours, but seriously, overnight is when the alchemy happens.
This time allows the wafers to absorb all that moisture, transforming those crunchy discs into those required soft, cake-like cushions. This resting period is non-negotiable for achieving those perfect sweet creamy pudding layers. Seriously, don’t peek! When you pull it out cold the next day, you’ll know exactly why waiting was worth it.
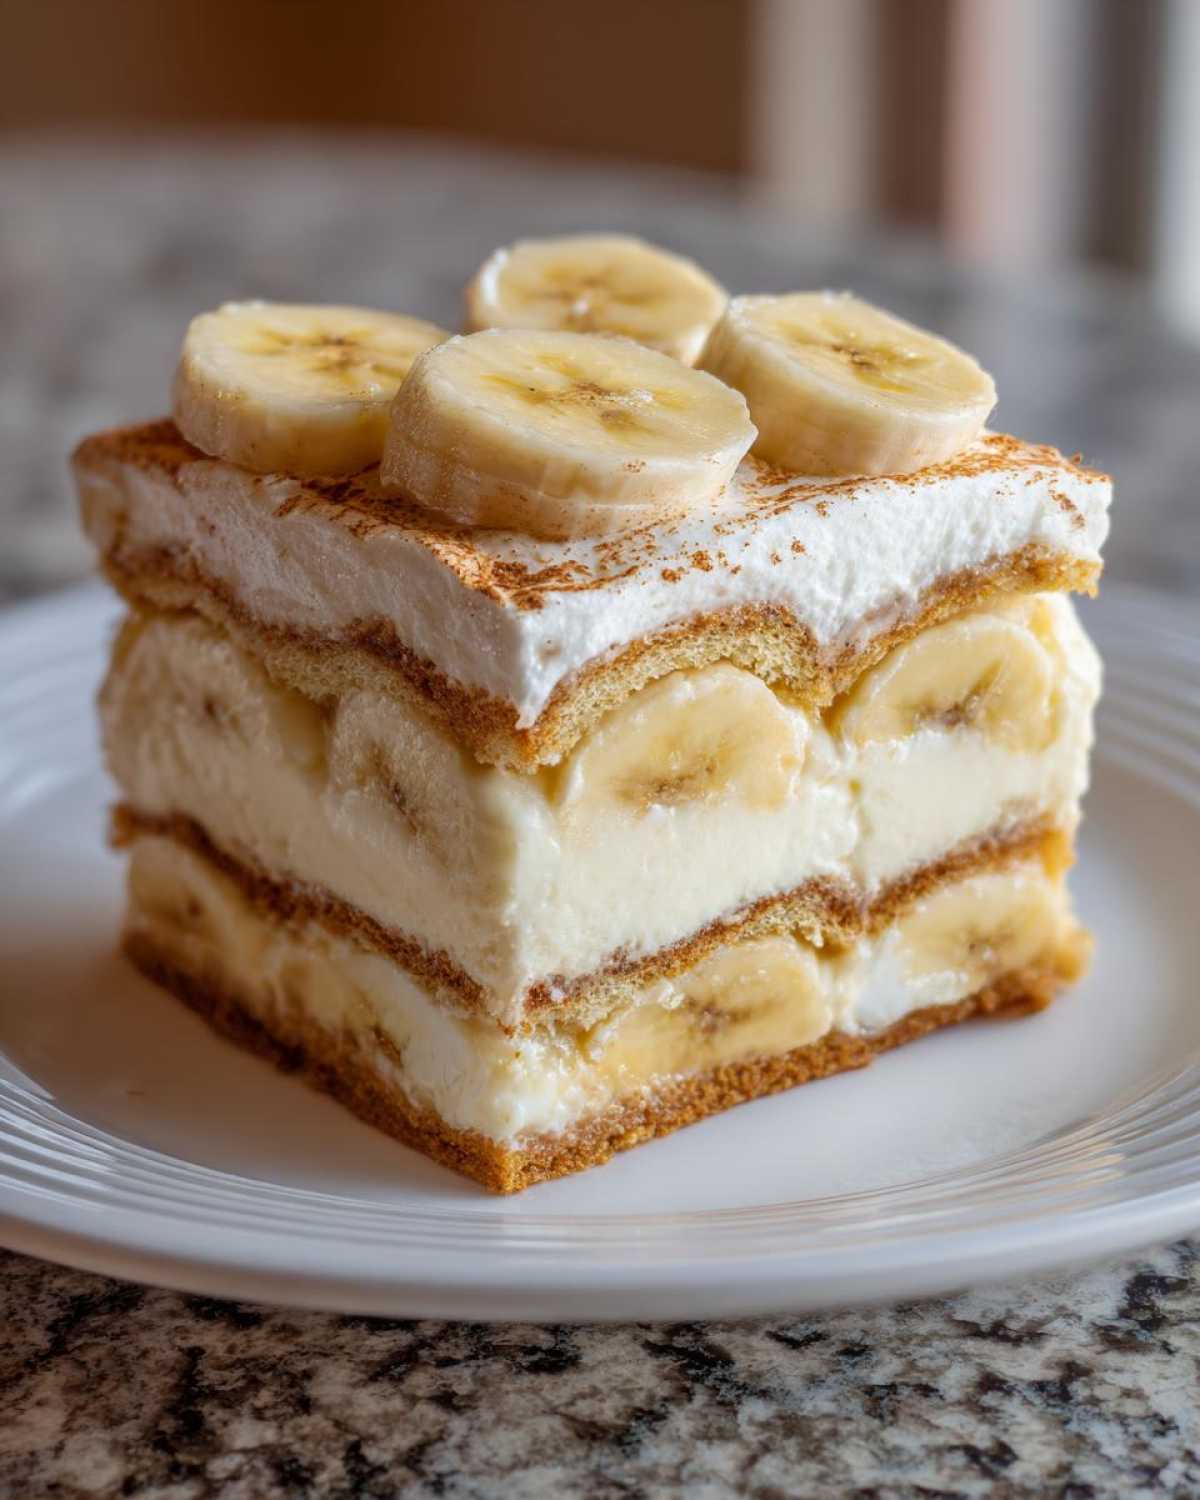
Tips for Success Making the Ultimate Banana Pudding
You’ve followed the blueprint, but even masters hit snags—or maybe you just want to make this the easy banana pudding recipe that always impresses. My biggest tip when dealing with homemade custard is temperature control. If your pudding seems too thin after cooking, don’t panic! Take it off the heat immediately and let it stand longer. Remember, it thickens considerably as it cools down, especially once it hits the fridge. You can always check out my banana bread guide for tips on managing moisture, which applies here too!
If you find yourself tempted to just skip the stovetop and try making a quicker version, remember that cheat method I mentioned? While you *can* use instant pudding for a speedy fix, it never achieves the richness of this cooked base. Also, I know we talked about the bananas, but honestly, coating the slices lightly in a tiny splash of lemon juice right before layering helps cheat time and keeps them looking pristine in your dish! Stick to the plan, and trust the chill time!
Serving Suggestions for Your Southern Comfort Food Dessert
When you’ve made this truly old fashioned southern banana pudding, you don’t need much else on the table! Because it’s so rich and creamy, simple compliments work best. It really stands beautifully on its own as the star of any meal, whether it’s a big summer BBQ or a cozy family dinner.
If you want to dress it up, skip heavy sauces. I love serving it alongside some crisp, unsalted pecans sprinkled over the top just before setting it out. And yes, you absolutely must offer homemade whipped cream as an option! Folding real sweetened whipped cream into the very top layer right before serving makes it feel extra decadent. It just elevates this incredible, creamy banana dessert effortlessly.
Storage and Make Ahead Tips for Your Banana Pudding
This is the dessert you plan for! Since we want those layers to meld perfectly, this is the ultimate make ahead pudding dessert. It keeps beautifully in the fridge, covered tightly with plastic wrap, for up to three full days. Honestly, day two is when the wafers hit peak cake-like softness. Now, please don’t even think about freezing this! The texture of the homemade custard and the bananas just don’t recover well from a deep freeze. If you have leftovers, store them in an airtight container, but try to eat it within 48 hours for the best experience. If you’re worried about bananas browning too much later on, I shared some thoughts on handling leftovers in my quick savory recipes post—the same principle applies here!
Frequently Asked Questions About Classic Banana Pudding Recipe
We get asked so many great questions about nailing this classic dessert! Because we aimed for the absolute best, sometimes the scratch process has a few unique considerations. Here are the most common queries we get regarding our classic banana pudding recipe!
Can I use instant pudding instead of making banana pudding from scratch?
Oh, I totally get the need for speed! You certainly *can* use instant pudding if you need a super quick dessert. Remember my note above? For a fast version similar to what you might grab at the bakery—the no-bake option—you can substitute my homemade custard with two boxes of instant vanilla pudding mixed with only 2 cups of milk. But for this ultimate version of banana pudding? Nothing beats the richness from cooking the egg yolks and milk slowly. It’s worth the extra 15 minutes of stirring, trust me!
How do I prevent my bananas from turning brown in the banana pudding?
This is the age-old enemy of any great banana dessert! The best defense is using very firm bananas that are just starting to show yellow—avoid the spotty ones for the scratch custard, as they break down too easily. If you’ve already sliced them, quickly toss the slices with about a teaspoon of fresh lemon juice or even a little bit of pineapple juice before layering them in. That acidity slows down that yucky brown oxidation process beautifully!
Is this recipe suitable for making individual banana pudding cups?
Absolutely! This layering structure is perfect for making banana pudding cups recipe servings. Just use small glasses or jars instead of one big trifle dish. When layering, make sure the pudding completely seals the wafers and bananas on the bottom so they can soak properly during the chill time. It makes for such an elegant and easy way to serve this wonderful creamy banana dessert!
Nutritional Estimates for This Creamy Banana Dessert
Now, I know we’re focusing on comfort and making the most amazing banana pudding here, but since we’re running the Epicure Empire like a well-oiled machine, Noah always runs the numbers! Since this is made completely from scratch, the nutritional profile is fantastic—way better than something store-bought, but remember, this is a rich treat!
Here are the estimated values for one generous serving of this incredible sweet creamy pudding layers dessert. Please take these numbers with a grain of happy enthusiasm; they are estimates based on the standard ingredients we use. If you swap whole milk for cream, things change!
- Serving Size: 1 cup
- Calories: 380
- Sugar: 45g
- Sodium: 210mg
- Total Fat: 14g (Saturated Fat: 7g)
- Carbohydrates: 62g
- Protein: 7g
It’s a dessert, so the sugar is there for joy, right? But look at that protein count! That comes from the real milk and the egg yolks we used to build that magnificent custard base. This is one easy crowd pleasing dessert that tastes indulgent without feeling like you completely broke the budget!
Share Your Epicure Empire Banana Pudding Creations
We poured our strategy and heart into making this the ultimate banana pudding, and now it’s your turn to take the blueprint and build something beautiful in your own kitchen! We absolutely live for seeing your results; it’s what keeps our Epicure Empire thriving.
Did this recipe deliver that perfect, melt-in-your-mouth Southern comfort for your family? Please let us know! If you gave it a try, drop a rating below—we love seeing those five-star reviews come in! And if you tweaked something brilliant, or maybe just want to share a photo of your stunning trifle dish, head over to the comments section. We read every single one!
Connecting with you all as you build your own culinary empires is the best part of this whole project. We can’t wait to see what you create. Don’t forget to stop by the main blog page for more tested and perfected blueprints!
PrintThe Ultimate Old-Fashioned Southern Banana Pudding (From Scratch)
You deserve the best banana pudding. This recipe delivers a creamy, traditional Southern dessert made completely from scratch, avoiding instant mixes for superior flavor. It is perfect for potlucks and family gatherings.
- Prep Time: 20 min
- Cook Time: 15 min
- Total Time: 4 hours 35 min
- Yield: 8 servings
- Category: Dessert
- Method: Stovetop Cooking and Chilling
- Cuisine: Southern American
- Diet: Vegetarian
Ingredients
- 1 cup granulated sugar
- 1/2 cup all-purpose flour
- 1/4 teaspoon salt
- 4 large egg yolks, lightly beaten
- 3 cups whole milk
- 2 tablespoons unsalted butter
- 1 teaspoon vanilla extract
- 4 large ripe bananas, sliced about 1/4 inch thick
- 1 box (11 ounces) vanilla wafers (Nilla Wafers)
Instructions
- In a medium saucepan, whisk together the sugar, flour, and salt.
- Gradually whisk in the whole milk until the mixture is smooth.
- Place the saucepan over medium heat. Cook, stirring constantly with a wooden spoon or heatproof spatula, until the mixture thickens enough to coat the back of the spoon and comes to a gentle boil. This usually takes 8 to 10 minutes. Do not stop stirring to prevent scorching.
- Remove the saucepan from the heat. In a small bowl, temper the egg yolks by slowly whisking about 1/2 cup of the hot milk mixture into the yolks.
- Pour the tempered yolk mixture back into the saucepan with the remaining hot milk mixture. Return the pan to low heat. Cook for 2 more minutes, stirring constantly, until the pudding is thick. Do not allow it to boil after adding the yolks.
- Remove from heat. Stir in the butter and vanilla extract until the butter is fully melted and incorporated.
- Pour the hot pudding into a bowl. Press plastic wrap directly onto the surface of the pudding to prevent a skin from forming. Let it cool slightly at room temperature, about 30 minutes.
- To assemble, choose a large glass trifle dish or individual banana pudding cups. Spread a thin layer of vanilla wafers on the bottom.
- Arrange one-third of the sliced bananas over the wafers.
- Spoon one-third of the cooled pudding evenly over the bananas.
- Repeat the layers: wafers, bananas, pudding, until all ingredients are used, ending with a layer of pudding.
- Cover the dish tightly with plastic wrap, pressing the wrap onto the top layer of pudding.
- Refrigerate for at least 4 hours, or preferably overnight. This chilling time allows the vanilla wafers to soften into a cake-like texture, which is key to this creamy banana dessert.
- Before serving, you can top with a few extra wafers or whipped cream, if desired. Serve cold.
Notes
- For a quick, semi-homemade version similar to Magnolia Bakery style, you can substitute the homemade pudding with two boxes of instant vanilla pudding prepared according to package directions, using only 2 cups of milk total.
- Use firm, ripe bananas. If you slice them too early, they will brown excessively before the pudding sets.
- If you want a richer flavor, substitute 1/2 cup of the whole milk with heavy cream.
Nutrition
- Serving Size: 1 cup
- Calories: 380
- Sugar: 45
- Sodium: 210
- Fat: 14
- Saturated Fat: 7
- Unsaturated Fat: 7
- Trans Fat: 0
- Carbohydrates: 62
- Fiber: 2
- Protein: 7
- Cholesterol: 110