

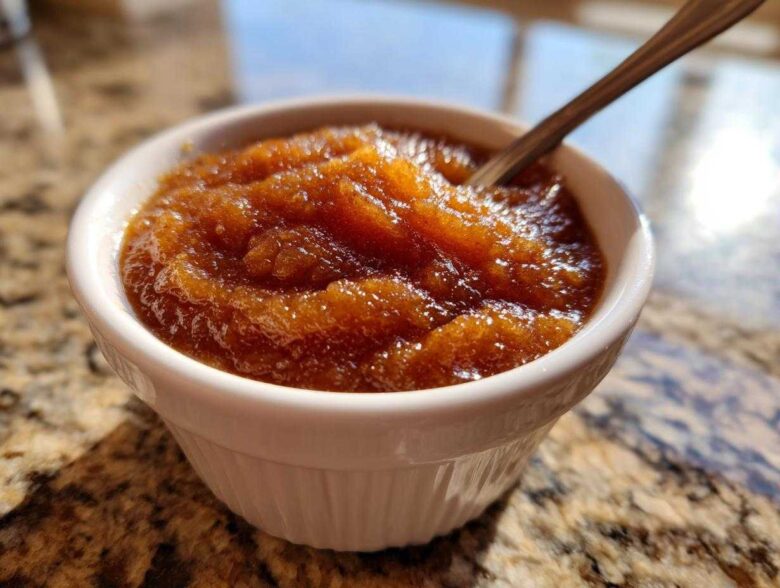
You know, Lena and I spent so long optimizing our careers that we forgot how to just *savor* things. Then we started this big project, our Epicure Empire, where the goal was just to connect over something real. And honestly, when the weather starts to cool down and you want that instant hug in a bowl, nothing beats homemade comfort food. That’s why I’m so excited to share what became my favorite quick-win recipe: the Easy Stovetop Homemade Applesauce Recipe! It’s simple, it smells incredible, and it reminds me that the best things in life aren’t complicated. This isn’t just another side dish; it’s a three-ingredient building block for a happier kitchen, and I hope it helps you build connection too. You can read a bit more about how we started this whole adventure over on our About Us page.
Why This Homemade Applesauce Recipe Is Your New Go-To
When I first started cooking with Lena, I wanted everything to fit into a spreadsheet, but applesauce laughed at my plans! Luckily, this stovetop version is forgiving and fast. It checks all the boxes for what we look for in a great weeknight solution. It’s truly the best applesauce recipe because it makes life easier.
- It’s a fantastic Healthy Applesauce option—we control the sugar!
- It serves wonderfully as a Natural Sweetener Snack straight from the fridge.
- It’s a total crowd-pleaser, making it a perfect Family Friendly Applesauce addition to dinner.
Quick Apple Recipe Ready in Under 40 Minutes
Guys, this is where speed wins. Forget letting it cook all day in the Crockpot; if you need homemade applesauce now, this is it. The total time commitment is only about 35 minutes. That means you can go from whole apples to a warm, spiced side dish faster than you can order takeout. It’s a genuine Quick Apple Recipe winner.
The Best Applesauce Recipe for Natural Sweetness
I’m always focused on efficiency, and that includes using ingredients that do the hard work for us. By choosing sweet apples like Fuji or Honeycrisp, we hit that sweet spot naturally. We usually only add a tiny drizzle of maple syrup at the end, if anything. This approach lets those ripe apple flavors shine through. Building flavor through excellent ingredients is key to strong culinary strategy, trust me!
Gathering Ingredients for Perfect Stovetop Applesauce
Okay, let’s get tactical about the lineup. Since we’re keeping this simple—the goal is often a Simple 3 Ingredient Applesauce base—quality really matters here. We’re only using a few core items, so picking the right apples is the biggest strategic move you’ll make! For this quick stovetop applesauce, you’ll need about three pounds of apples. Remember, prep is crucial: they need to be peeled, cored, and chopped into roughly one-inch pieces before hitting the pot. Don’t skip the water, even if you think the apples will release enough liquid; that quarter cup is important insurance against scorching!
Ingredient Notes and Apple Selection for Applesauce
When it comes to apples, I learned pretty quickly that mixing is the best policy. If you only use Granny Smith, it’s too tart; just Gala, and it can be too sweet. We usually aim for a 60/40 split—more sweet apples like Fuji or Honeycrisp, with a touch of something tart like McIntosh for brightness. If you happen to be out of lemon juice—which helps keep the color nice—don’t sweat it! You can skip that, though it does offer a nice lift to the overall flavor profile.
I know peeling is annoying, especially when you’re aiming for a Quick Apple Recipe. If you’re really short on time, check the notes section for our guidance on making a No Peel Applesauce. You can absolutely leave the skins on; they just cook down and often make the final texture a bit rougher, which isn’t always what I want. But hey, for a fast batch, it works in a pinch!
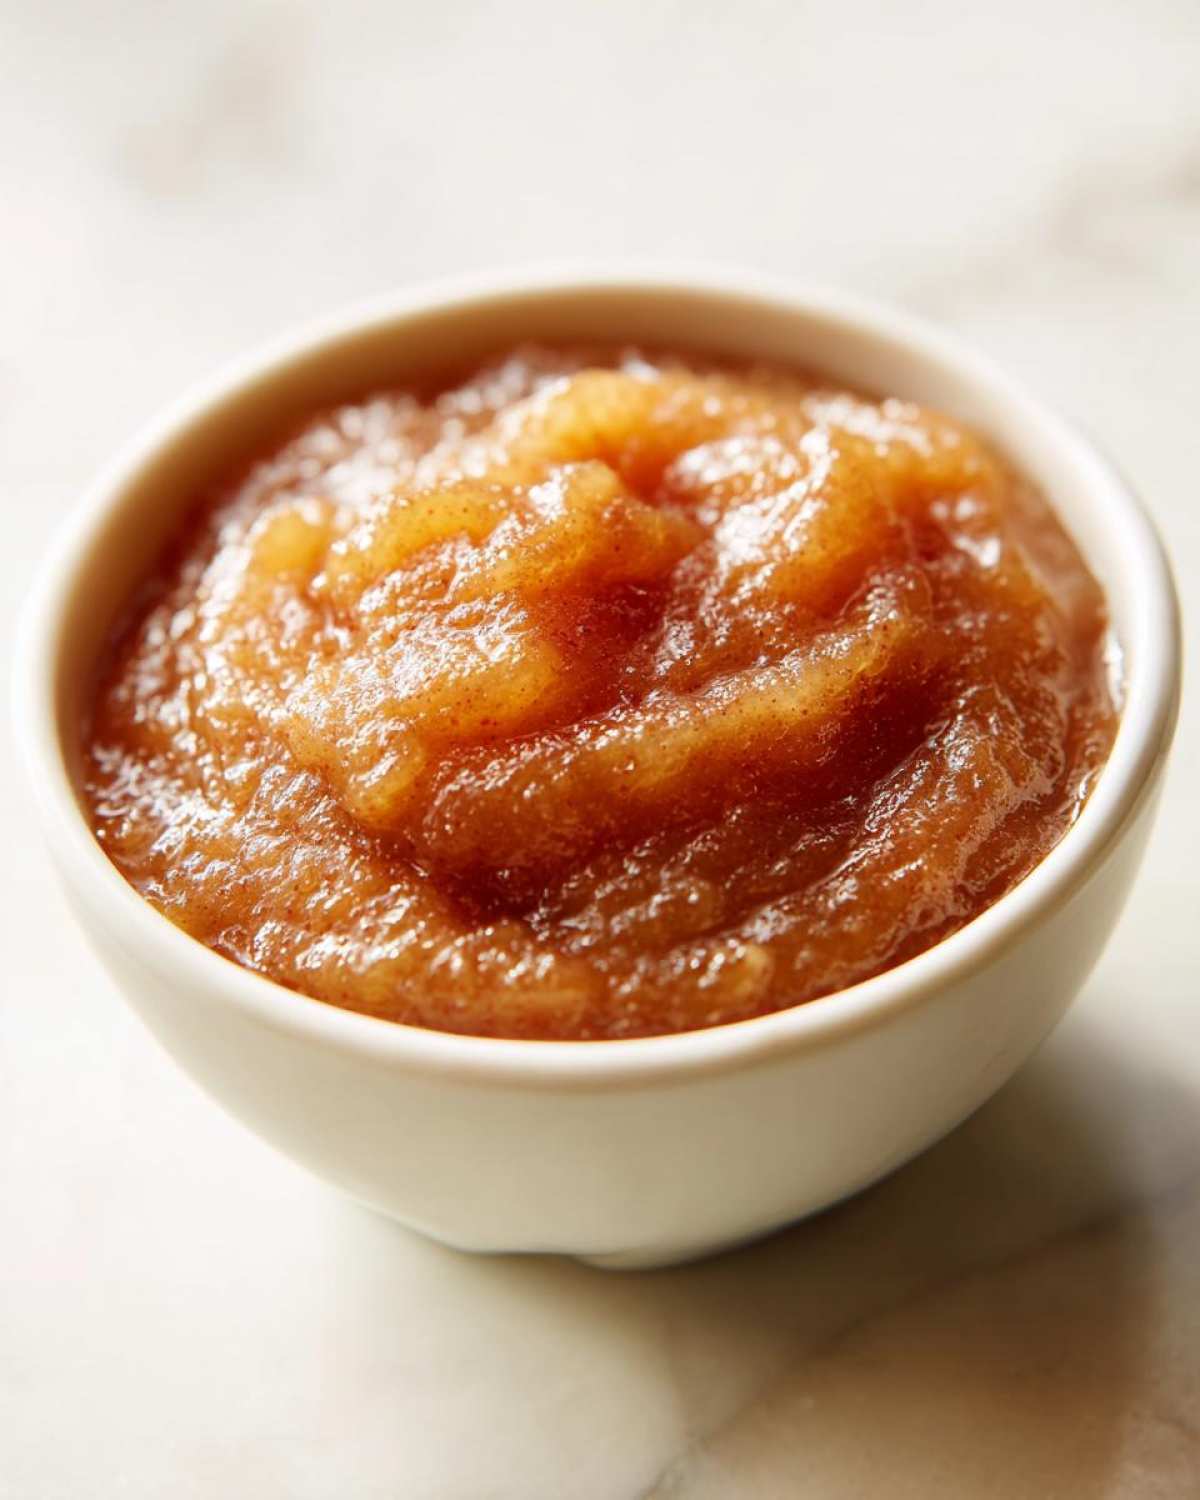
How to Prepare Your Easy Applesauce Using the Stovetop Method
Alright, here’s the operational plan for making this fantastic homemade applesauce recipe via the stovetop. We start by combining those chopped apples, the required water, cinnamon, and nutmeg right into our saucepan. If you want that super bright, almost acidic note that balances the sweetness, toss in that optional lemon juice now. Set the heat to medium-high—we want to bring this whole mixture to a rolling boil fast. I always watch it carefully here; you don’t want the water boiling over while you’re getting set up!
Once it hits that fast, rolling boil, immediately drop the heat way down to low. Cover it up tightly! This is the magic simmer phase, and it usually takes about 15 to 20 minutes. Lena always reminds me to stir it every five minutes or so—don’t let it sit untouched, or the bottom layer of apples will scorch, and that ruins the whole batch of applesauce.
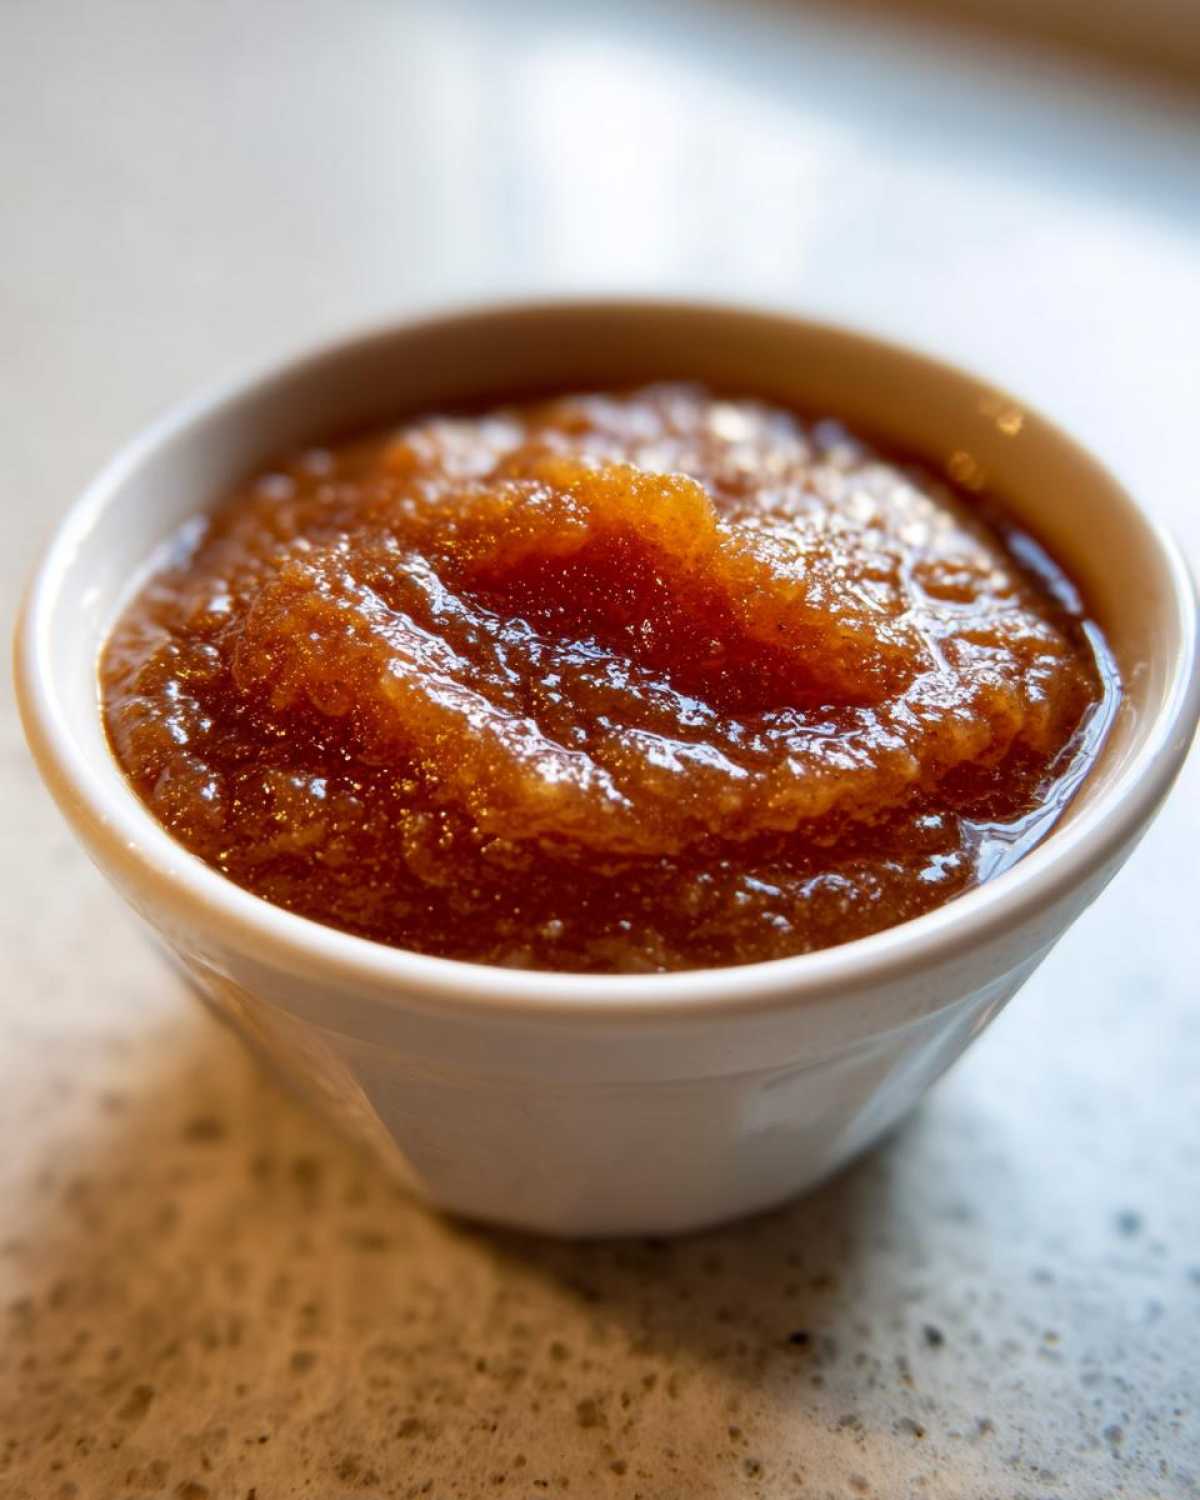
You know they’re done when you stick a fork in, and the apples completely surrender. They should be unbelievably tender. After you turn off the heat, you have a choice to make, and this is where you dictate the final texture.
Achieving Your Desired Applesauce Texture (Smooth vs. Chunky)
If you like that ultra-smooth, almost pudding-like texture that’s perfect for baking or for toddlers, you need to blend it. I highly recommend an immersion blender right in the hot pot. It’s cleaner and easier. If you don’t have one, carefully transfer the mixture in batches to a regular blender. Warning: Hot liquids expand in a regular blender, so only fill it halfway, vent the top by removing the center cap, and cover that hole with a folded towel—don’t secure the lid tightly, or you might get a blender explosion! Yikes, not the strategy we want!
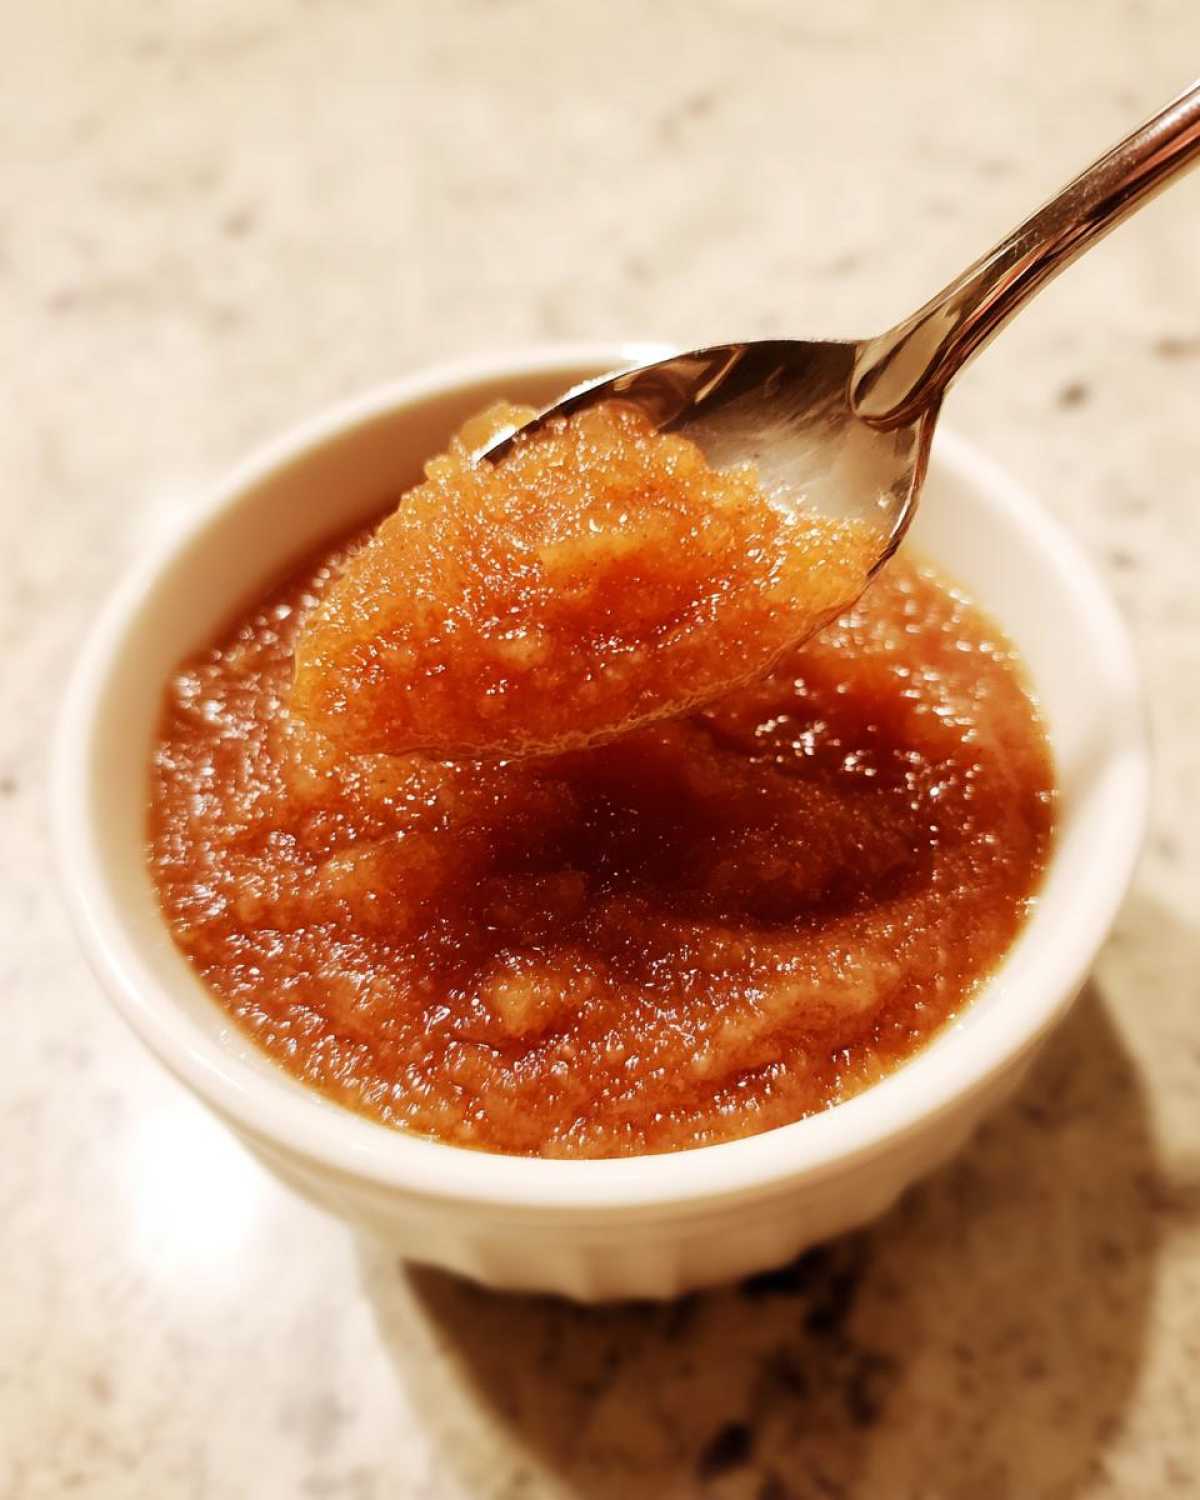
Now, if you’re like me (and frankly, Lena prefers this too), you want some body! For that chunky wonderfulness, grab a potato masher or even just a sturdy fork and mash the apples right there in the pot. You only mash until you hit your preferred chunkiness level. This textured style is what makes it feel like a substantial Homemade Side Dish!
If you want to explore more of our strategic cooking tips, especially around ingredient blending, check out how we handle our homemade marshmallows; it uses similar principles of texture control!
Tips for Success When Making Homemade Applesauce
So, your applesauce is cooked down and mashed—maybe it’s still a little soupy, or maybe it tastes just fine but lacks that undeniable cozy autumn punch. Don’t worry! This is where we fine-tune the project to make it exceptional. My biggest piece of advice, which Lena always laughs about because I obsess over it, is to taste before you commit to sweetening. The sugars concentrate as the applesauce cools, so you might think it needs more sweetener when hot, but then it becomes too sweet once chilled!
My personal preference, sticking to my strategist roots, is always for a slightly chunky texture—I want to feel like I’m eating actual fruit, not just baby food. If you blend yours completely smooth, you miss that satisfying bite. But honestly, no matter the texture, we nail the aroma.
To get that true fall atmosphere, lean into the spices! The recipe calls for cinnamon and nutmeg, which is great, but if you want that truly intoxicating, Cozy Apple Dessert smell filling your kitchen, add a pinch of ground ginger right at the end of cooking. Ginger adds warmth without making it taste distinctly ‘ginger-y.’ It just elevates everything. If you’ve ever wanted to know how we bring complex flavor profiles into simple things, you can see our approach when we tackle savory bakes, like these fluffy garlic naan bread. It’s all about layering those supporting actors!
If your batch of homemade applesauce tastes a little flat or tart after cooling, remember the optional additions. A splash of extra lemon juice can brighten it up, or if it’s just missing sweetness, that’s when you introduce a teaspoon of maple syrup or brown sugar. Stir it really well for a minute to ensure it dissolves completely before pouring it into jars.
Alternative Methods for Making Applesauce: Slow Cooker Applesauce
While I love that rapid deployment of flavor the stovetop gives us, the truth is, sometimes I want to do zero work while the kitchen smells amazing. That’s why the Slow Cooker Applesauce variation is such a genius backup plan. Lena calls it the ‘set it and forget it’ strategy, and honestly, it fits right into my planner mindset!
You don’t need a whole new recipe, thankfully. You just need your pot upgraded from a saucepan to your trusty Crockpot. Follow the same initial steps: toss in your chopped apples, water, cinnamon, and nutmeg. The real difference here is the time commitment. Instead of 20 minutes of active simmering, you let the slow cooker handle everything. You can go run errands, meet a client, or just relax. It’s perfect for making a massive batch of homemade applesauce when you have way too many apples from that annual farm trip.
If you use the low setting on your cooker, give it about four to six hours, or if you’re in a rush, the high setting usually gets you there in two to three hours. The apples will be ridiculously soft, making mashing or blending super easy afterward. It really delivers that same wholesome flavor, just with a little more patience upfront. If you want to see another meal where this slow cooker method really proves its worth, take a peek at how we handle slow cooker mashed potatoes; the principle of low-and-slow flavor development is the same!
It’s a fantastic option, especially if you need some hands-off power when prepping for a big family dinner. And speaking of great fall flavors, if you’re looking for more inspiration on the best fall apple flavors out there, I saw a great piece over at Foodie Charm that has some really interesting seasonal ideas!
Serving Suggestions for Your Homemade Applesauce
Once you have your gorgeous, piping hot homemade applesauce, the strategy shifts from cooking to deployment! This stuff is wildly versatile, which is why I categorize it as a foundational ingredient in our kitchen arsenal, not just a simple side dish. We usually make a huge batch because it vanishes quickly. The main search intent was for a tasty side, and we nail that, but don’t limit your creativity!
For dinner, it’s the most amazing **Homemade Side Dish**, especially alongside something salty or fatty—think roasted pork tenderloin or even thick-cut pork chops. The slight sweetness of the applesauce cuts right through the richness; it’s a classic pairing for a reason, and ours tastes infinitely better because it’s fresh.
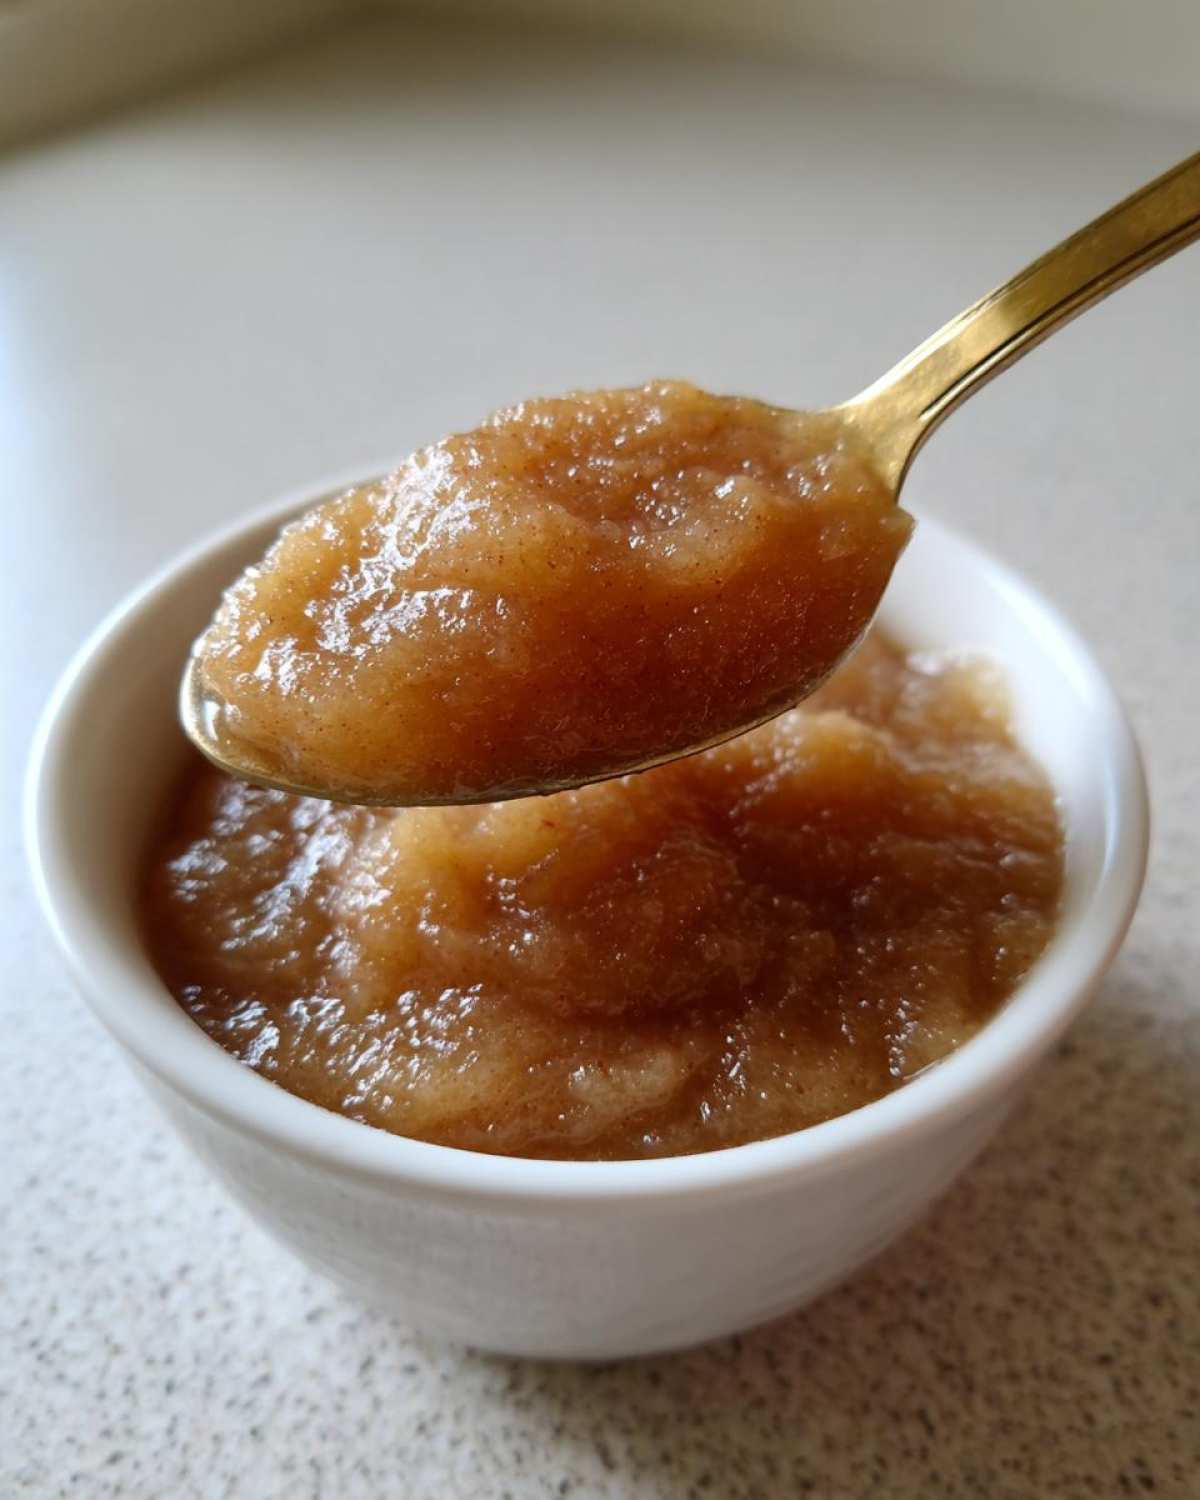
But don’t stop at dinner! This is where the “snack” part of the intent comes in. It’s a fantastic, warming, Healthy Apple Snack right out of the jar. If you’re ever in a pinch for a quick breakfast item, stirring a big spoonful into your oatmeal or layering it into yogurt is great. We also love swapping out oil in baked goods for it.
If you’re looking for ways to integrate this into other recipes, it’s a champion for Applesauce for Baking. Need a substitute for fats in muffins or quick breads? Use an equal amount of applesauce! It keeps the texture moist and tender, without adding all that processed fat. We use it all the time in our blueberry banana bread for exactly that reason. It keeps the crumb soft and delicious.
For even more simple, family-friendly ways to use up fruit, I found a great pin reference over at On My Kids Plate that shows how they incorporate it into toddler snacks. It just proves that a good applesauce recipe can feed every stage of life!
Storage and Reheating Instructions for Homemade Applesauce
We’ve made this glorious batch of homemade applesauce, and now we need a solid deployment plan. Storing it correctly is crucial if we want to maximize its shelf life and keep that fresh flavor intact. Since we didn’t use any hard-core preservatives, we need to rely on temperature control, which is where the cold and frozen storage strategy comes in.
For the stuff we plan to eat this week, simple refrigeration is all you need. Pour the cooled applesauce into clean, airtight containers—glass jars work best because they seal nicely and don’t absorb odors. Seriously, if you let it cool down completely on the counter first, it will last much longer once it hits the fridge. At refrigerator temperatures, you should easily get about three weeks out of it. That’s plenty of time for snacks, side dishes, or whatever you need it for!
Now, if you decide to execute the ‘bulk batch’ strategy because you somehow managed to make four pounds of it, freezing is your best friend. Again, make sure the applesauce is completely cool before it goes near the freezer. You can freeze it flat in sturdy freezer bags—just leave a little headspace at the top since liquids expand when frozen. I find that portioning it into half-cup bags is the most strategic move; that way, you only thaw what you need for a single recipe or a few days’ worth of snacks.
Frozen homemade applesauce will maintain its best quality for about four to six months. When you want to use it, just transfer the bag to the fridge the night before. Reheating is simple: put the thawed portion in a small saucepan over low heat, stirring until it’s warmed through. You almost never need to add extra liquid unless you’ve had it frozen for ages. It’s amazing how well this simple recipe holds up!
Frequently Asked Questions About Applesauce
This is where Lena and I debate the finer points of the recipe, usually while eating the test batches straight out of the pot warm! It’s smart to ask questions before you start, so you can execute a perfect plan. We covered a lot of ground on variations, but let’s zero in on these common queries regarding our homemade applesauce recipe.
Can I make this applesauce recipe without peeling the apples?
Absolutely! We discussed this briefly when talking technique, but yes, you can definitely make a No Peel Applesauce. If you’re prioritizing speed over the perfect smooth texture, skip the peeler. The skins contain nutrients, too, which is great for a Healthy Applesauce!
Just be prepared for the outcome: the skins won’t fully disintegrate like the flesh does, even during a long simmer. This means your final product will be slightly darker in color and definitely chunkier, even if you try to blend it smooth. I prefer the pure color and mouthfeel of peeling them, but for a super fast batch, it’s totally acceptable for a Family Friendly Applesauce.
What are the best apples for making a flavorful applesauce?
Ah, the eternal debate! Picking the right apple is the strategy for success here. You want balance. If you go all sweet apples (like Red Delicious), your applesauce ends up cloyingly sweet without that refreshing zing. If you go all tart (like Granny Smith), you’ll end up adding way too much sweetener!
My recommendation, which you’ll find echoed across the best guides on this topic, is almost always a blend. Aim for varieties like Gala, Honeycrisp, or Fuji for your body and sweetness, and throw in about 30% of something tart like McIntosh or Braeburn to keep that flavor bright. If you want that incredible warm flavor, try adding extra cinnamon or a pinch of nutmeg—that makes a fantastic Cinnamon Applesauce!
If you happen to be using apples that are extremely tart and you want a zero-sugar approach, check out how Caramel and Cashews addresses handling those sour varieties in their guide. It’s always good to compare your culinary blueprints!
If you’re constantly looking for great ways to execute kitchen plans, you can always browse our main blog archive for more tested recipes and strategies.
Nutritional Snapshot of This Wholesome Apple Treat
We’re efficiency experts, remember? So, knowing the breakdown of what you’re eating is part of the plan. Since this recipe relies heavily on the natural sugars from the fruit, it stays beautifully low in fat and sodium. Keep in mind these numbers are always estimates based on the recipe details provided above, assuming the serving size is about 3/4 cup and no extra sugar was added.
- Serving Size: 3/4 cup
- Calories: Around 110
- Sugar: 20g (mostly natural fruit sugar)
- Fat: Less than 1 gram
- Protein: A small boost at 0.5g
- Cholesterol: 0mg
It’s a fantastic, low-guilt treat. This fits perfectly into our view of food as a Wholesome Apple Treat rather than just empty calories. Seeing those low fat and sodium numbers always makes me feel like we ran a successful nutritional optimization on this batch of applesauce!
For more wholesome recipes that align with that approach to clean eating, I saw a lovely reference on Granny’s in the Kitchen that focuses on traditional methods!
Nutritional Snapshot of This Wholesome Apple Treat
We’re efficiency experts, remember? So, knowing the breakdown of what you’re eating is part of the plan. Since this recipe relies heavily on the natural sugars from the fruit, it stays beautifully low in fat and sodium. Keep in mind these numbers are always estimates based on the recipe details provided above, assuming the serving size is about 3/4 cup and no extra sugar was added.
- Serving Size: 3/4 cup
- Calories: Around 110
- Sugar: 20g (mostly natural fruit sugar)
- Fat: Less than 1 gram
- Protein: A small boost at 0.5g
- Cholesterol: 0mg
It’s a fantastic, low-guilt treat. This fits perfectly into our view of food as a Wholesome Apple Treat rather than just empty calories. Seeing those low fat and sodium numbers always makes me feel like we ran a successful nutritional optimization on this batch of applesauce!
For more wholesome recipes that align with that approach to clean eating, I saw a lovely reference on Granny’s in the Kitchen that focuses on traditional methods!
PrintEasy Stovetop Homemade Applesauce Recipe
Make the best homemade applesauce on the stovetop. This quick recipe is naturally sweet, perfect for snacks, side dishes, or baking applications, and captures the cozy flavor of fall.
- Prep Time: 10 min
- Cook Time: 25 min
- Total Time: 35 min
- Yield: 6 servings
- Category: Side Dish
- Method: Stovetop
- Cuisine: American
- Diet: Vegetarian
Ingredients
- 3 pounds apples (like Gala, Fuji, or Honeycrisp), peeled, cored, and chopped
- 1/2 cup water
- 1 teaspoon ground cinnamon
- 1/4 teaspoon ground nutmeg
- 1 tablespoon lemon juice (optional)
Instructions
- Prepare your apples by peeling, coring, and chopping them into roughly 1-inch pieces.
- Place the chopped apples, water, cinnamon, and nutmeg into a large saucepan. If you want a brighter flavor, add the lemon juice now.
- Bring the mixture to a boil over medium-high heat.
- Once boiling, reduce the heat to low, cover the saucepan, and let it simmer for 15 to 20 minutes. Stir occasionally to prevent sticking.
- The apples are done when they are very tender and easily mashable with a fork.
- Remove the pot from the heat. If you prefer smooth applesauce, use an immersion blender or transfer the mixture in batches to a standard blender and process until smooth. For chunky applesauce, mash the apples directly in the pot with a potato masher or a sturdy fork.
- Taste the applesauce. If you desire more sweetness, add a small amount of maple syrup or sugar, stirring well to combine.
- Serve the homemade applesauce warm, or transfer it to an airtight container and chill it in the refrigerator for later use as a healthy snack or side dish.
Notes
- For a no-peel applesauce, simply skip the peeling step; the skins will break down during cooking, though the final texture will be slightly different.
- If you want a slow cooker applesauce variation, combine all ingredients in a crockpot and cook on low for 4-6 hours or high for 2-3 hours.
- This recipe creates a naturally sweet applesauce, but you can adjust spices like adding a pinch of ground ginger for a spiced applesauce flavor.
Nutrition
- Serving Size: 3/4 cup
- Calories: 110
- Sugar: 20
- Sodium: 2
- Fat: 0.3
- Saturated Fat: 0
- Unsaturated Fat: 0.1
- Trans Fat: 0
- Carbohydrates: 29
- Fiber: 4
- Protein: 0.5
- Cholesterol: 0