

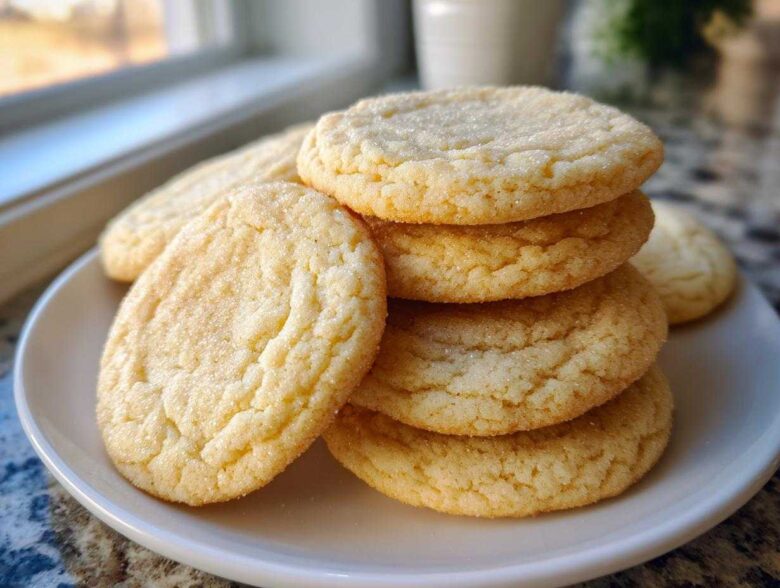
Oh my goodness, stop what you are doing right now! If you’ve ever been promised a soft, chewy sugar cookie that somehow manages to hold a perfect gingerbread man shape through the oven heat, only to end up with sad, spread-out puddles, then I have solved your life’s biggest baking riddle. This isn’t just another sugar cookie recipe; this is *the* formula. After what feels like a million Christmases testing flour ratios and butter temperatures, I guarantee this is the **best soft cut-out sugar cookie recipe that holds its shape** flawlessly. I know you want the details, and if you want to read more about how we test recipes for absolute reliability here at the kitchen, you can check out what we’re all about over here at our little corner of the internet. Trust me, once you try this tender, vanilla-infused dough, you won’t look back. I’m so excited to share this secret with you.
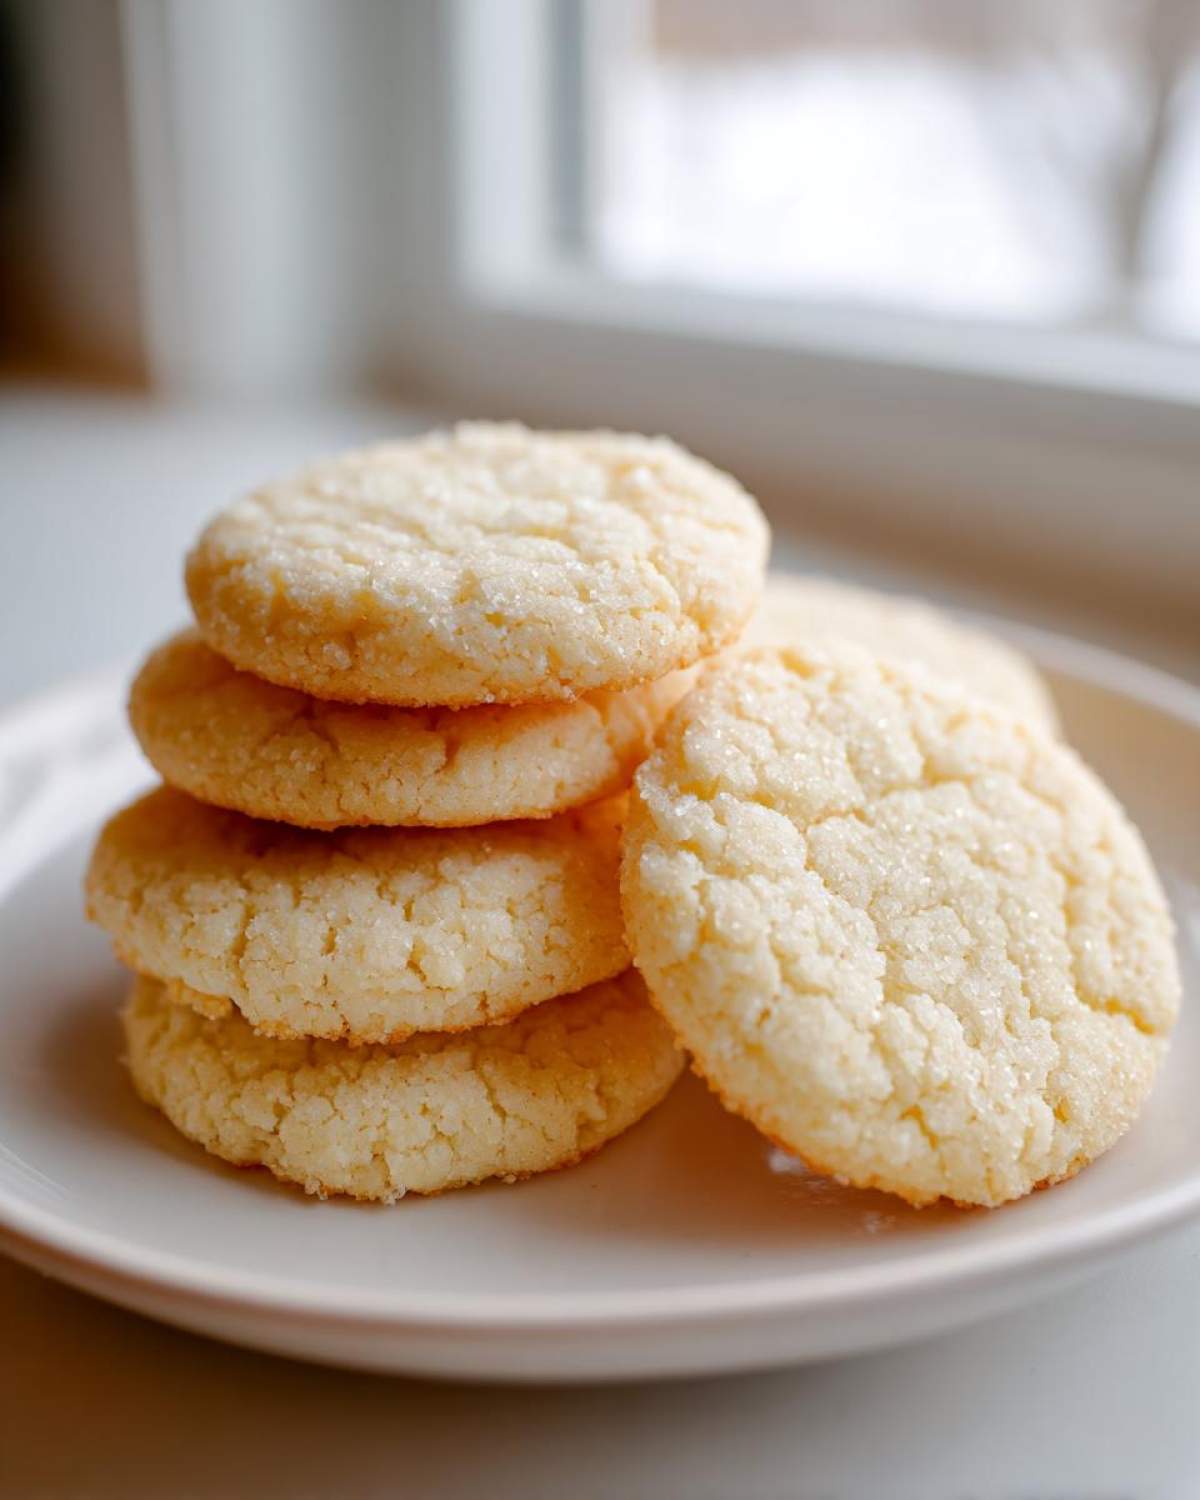
Why This is The Best Soft Cut-Out Sugar Cookie Recipe
There is a huge difference between a standard sugar cookie and a *perfect* one, and it all comes down to balance. So many recipes promise softness but deliver a greasy mess that melts into flat disks the second they hit the heat. Forget that! This recipe is engineered for success. We nail that beautiful textural contrast: wonderfully soft and chewy on the inside while remaining sturdy enough to handle all your artistic visions.
Achieving Soft Sugar Cookies That Don’t Spread
The secret here is all tied up in how we treat the fat-to-flour ratio, plus the crucial chilling time. When the butter and flour are balanced just right, you get those lovely **soft sugar cookies** that somehow refuse to spread outwards. Chilling the dough solidifies that fat, basically locking your pretty shapes in place. This formula consistently delivers wonderfully **tender sugar cookies** every single time. You just have to trust the chill time!
Perfect for Holiday Sugar Cookies and Decorating
If you’re planning on making a big batch of **holiday sugar cookies** for cutting out shapes, you need a dough you can rely on. Because this dough doesn’t spread, you can roll it thinly—about a quarter inch—and use all those tiny, intricate cookie cutters without snapping edges later. This structured dough is why this recipe shines for all your **sugar cookies for decorating** needs, whether you’re a beginner or a seasoned pro.
Gathering Ingredients for Your Perfect Sugar Cookie
You know the drill—using junk ingredients means you end up with junk cookies. But the beauty of this incredible **sugar cookie** recipe is that it relies on simple pantry staples. You don’t need any exotic goop or twenty fancy extracts! Getting these measurements spot-on is the first big step toward cookies that hold their shape, come out beautifully tender, and taste like heaven. We make sure every single component is accounted for before we even power up the mixer. You’ll want to double-check your pantry for these items!
Essential Components for Classic Sugar Cookie Dough
Gather these absolute essentials. Make sure your butter is truly softened, not melted—that matters for the final **butter sugar cookies** outcome!
- 3 cups all-purpose flour
- 1 teaspoon baking powder
- 1/2 teaspoon salt
- 1 cup unsalted butter, softened
- 1 1/2 cups granulated sugar
- 1 large egg
- 1 teaspoon vanilla extract
Expert Tips for Making Sugar Cookies for Decorating
Okay, we have the ingredients, but good ingredients alone won’t beat a bad technique! For this recipe to be absolutely perfect—the kind of stellar batch you see in bakeries and want to brag about—we need to talk about pre-shaping prep. These tips are what take this from a basic recipe to one of the **best sugar cookie recipes** out there. It’s all about temperature control to guarantee those crisp edges and soft centers. We want these **cut out sugar cookies** to look sharp! If you want to see how we handle browning butter in other recipes, check out my famous brown butter chocolate chip cookies—it uses a similar science!
The Importance of Chilling Your Sugar Cookie Dough
Listen, I know waiting is the worst part of baking, but you absolutely cannot skip chilling this dough. When the dough is cold, the butter crystals are rock solid, so they melt much slower in the oven. That’s the secret to virtually zero spread! After you flatten the dough into those snug little disks, wrap each one tightly in plastic wrap. Don’t just toss it in a bag; wrap it tight enough to hold that pancake shape. This keeps the texture consistent for when you’re ready to finally roll them out.
Rolling and Cutting Your Rolled Sugar Cookies
When it’s time to roll, you’ll want to dust your counter and your rolling pin liberally with flour—but don’t overdo the flour in the dough mix itself! I like to roll between two sheets of slightly floured parchment paper just to be safe; it keeps things tidy and prevents sticking. As you cut out your shapes, work quickly, and immediately move the cutters to the parchment-lined baking sheets you have ready. If you notice the dough getting soft while you work, slide the whole tray into the fridge for ten quick minutes before baking. This is key for perfect **rolled sugar cookies**!
Step-by-Step Instructions for the Easy Sugar Cookie Recipe
Okay, now that we’ve talked science and prep work, let’s actually get these **easy sugar cookie recipe** components mixed together! Remember, we are moving with purpose but not rushing things that need time, like creaming or chilling. Have your mixing bowls ready, and if you are ready to see how we handle simple baking steps, check out my post on simple cookie baking. It’s all about making the process feel calm, even when you’re churning out dozens of cookies!
Mixing the Dry and Wet Ingredients for Your Sugar Cookie
First things first, whisk together your dry stuff—flour, baking powder, and salt—in one bowl. Set that aside! Now grab the big bowl. Cream that softened butter and sugar until it looks light and fluffy; maybe three or four minutes with the mixer. This is where you introduce the air! Then, toss in your egg and vanilla, mixing until it just barely comes together. When adding the dry mixture, do it slowly, on low speed. Stop the second you stop seeing streaks of white flour—seriously, stop! Do not overmix, or you lose all that beautiful fluffiness.
Chilling and Preparing the Dough for Baking
Once you have that soft dough, you need to halt the gluten development immediately. Divide the dough into two equal piles, flatten those into thick disks—don’t leave them chunky! Wrap each disk super tightly in plastic wrap. Now they face the necessary exile: the fridge for at least two hours. While they chill, pull out your baking sheets and line them with parchment paper so you’re ready to go. Then, preheat that oven to 350°F (175°C) about fifteen minutes before you pull the dough out to roll it.
Baking and Cooling the Perfect Sugar Cookie
Roll out your chilled dough to about 1/4-inch thickness, cut your shapes, and move them gently onto your prepared sheets. You want to bake these beauties for about 8 to 10 minutes total. We are aiming for the edges to be just barely golden brown—that’s how you keep them looking pale but tasting wonderfully soft. When they come out, be patient! Let them sit right on that hot baking sheet for five full minutes. This sets the structure. After that, move them to a wire rack so they can cool completely before you even *think* about frosting them.
Troubleshooting Common Sugar Cookie Issues
Don’t let a less-than-perfect first batch scare you off! Every baker has wrestled these **chewy sugar cookies** into shape. When things go slightly sideways, it usually points back to just one or two easy-to-fix variables. Knowing what caused the spread or the toughness means next time you’ll be unstoppable. Let’s tackle the most common sugar cookie disasters right now so you can troubleshoot like a pro!
Why Did My Sugar Cookie Spread Too Much?
If your shapes melted, nine times out of ten, it was one of three things: your butter was way too warm when you mixed it, you skimped on the chilling time, or you didn’t use quite enough flour relative to the fat. If you catch this happening while you’re cutting, just move the whole tray of cut-outs into the freezer for ten minutes. Quick chill shock usually saves the day!
How to Fix Hard or Dry Sugar Cookies
Hard cookies are usually a cry for help from overbaking or, worse, overmixing on the final addition of flour. If they come out a little too dry than you’d like, don’t worry! You can sometimes salvage those firm **homemade sugar cookies** by popping them into the microwave for just 8 to 10 seconds after they’ve cooled. It brings back a little life right before serving.
Variations for Your Vanilla Sugar Cookies
This recipe is the king of the classic vanilla base, and that’s why it’s so dependable for Christmas cookie recipes. But once you master the basic, incredible flavor of this **sugar cookie**, you can absolutely start playing around! I love adding little twists just before I chill the dough. These simple swaps let you pivot your plain cookies into something special for any occasion without messing up the structure that keeps them perfectly shaped for decorating.
Adding Citrus Zest or Almond Extract
If you want a brighter, zingier cookie, you can add about a teaspoon of fresh lemon or orange zest right when you are creaming the butter and sugar. The oils in the zest really release their scent during that whipping phase, giving you amazing flavor infusion. Alternatively, if you want to lean into a slightly deeper, almost nutty flavor that feels a bit more sophisticated than plain vanilla, swap out that teaspoon of vanilla for a teaspoon of good almond extract. Both methods work beautifully within the dough and won’t impact how firm your final **sugar cookie** is when it bakes up. Think about pairing these twists with different colors of royal icing! If you want other flavor ideas that work well in holiday baking, check out my post on apple cinnamon muffins for cozy inspiration.
Storage and Freezing Instructions for Homemade Sugar Cookies
One of the best things about making a big batch of these **homemade sugar cookies** is that you can make them ahead! If you’re preparing for a huge gathering or just want cookies ready to decorate whenever the mood strikes, freezing options are your best friend. It’s so much easier than trying to bake thirty cookies right before a party, right? If you need more tips on making things ahead of time, I talk a lot about organizing your freezer space over on my freezer breakfast burritos post—the principles of storage are similar!
For nicely frosted cookies, you need a special approach. Always let your icing fully harden first, and then layer them carefully between pieces of wax paper in an airtight container. Never stack them directly, or you’ll have a sticky, messy disaster.
If you want to freeze the raw dough, remember those disks we wrapped so tightly? They freeze beautifully! Keep them airtight for up to three months. When you’re ready to bake, just pull a disk out of the freezer and let it thaw in the fridge overnight. If you’re freezing baked, undecorated cookies, make sure they are completely cool, wrap them well, and they should be good for about a month.
Estimated Nutritional Data for This Sugar Cookie Recipe
I always feel a tiny bit silly posting these numbers because, let’s be honest, who is counting calories when they are eating the *best* homemade sugar cookies? But since I know some of you are curious planners, here is the nutritional breakdown based on one yielding 145 calories per cookie. Remember, this is just an estimate! It depends entirely on the brands you use and how thick you roll your dough.
If you use a thicker roll or use extra flour for dusting while rolling, these numbers will shift slightly. This is calculated based on the recipe providing around 3 dozen cookies.
- Serving Size: 1 cookie
- Calories: 145
- Sugar: 12g
- Sodium: 65mg
- Fat: 7g
- Saturated Fat: 4g
- Carbohydrates: 19g
- Protein: 2g
This information is purely for reference, so don’t let it stop you from eating a second or third one!
Your Questions Answered About Cut Out Sugar Cookies
It’s so common for people to have little hangups when they try a new **cut out sugar cookies** recipe, especially one that needs to perform perfectly under pressure! Since this recipe is designed to be your go-to for everything from simple snacking to those big stressful **Christmas cookie recipes**, I wanted to clear up a few things people ask me most often. We want your experience making these **homemade sugar cookies** to be smooth sailing!
Can I use this recipe for simple cookie baking without cutting shapes?
Absolutely! If you’re short on time or ornaments, you can certainly just scoop this dough onto your baking sheet with a tablespoon or a small cookie scoop. Since you aren’t rolling it out, the dough will bake a little thicker. If you do scoop them, I recommend cutting that baking time by about a minute. They’ll bake up even softer and chewier—which is amazing for a super quick treat!
What is the best type of frosting for these bakery style cookies?
If you are going for that true **bakery style cookies** look that can handle being stacked or placed in tins, my number one recommendation is always royal icing. Royal icing dries hard and smooth, which means you can drizzle, flood, and pipe detailed designs without smudging. A thick buttercream works too, but if you want sharp lines or need them mailed, royal is the way to go for these cookies!
How long does the dough need to chill before rolling?
The absolute minimum time you need to see the benefits is two hours, just like I mentioned earlier. But honestly, if you can manage it, let the dough chill for a full 24 hours in the fridge. The cold helps mature the flavors, making those vanilla notes really shine, and the texture becomes even sturdier for rolling. You can safely leave it wrapped up in the fridge for up to two days if you need to break up your baking schedule. If you need to get in touch with us about anything else, remember you can always reach out via the contact page!
PrintThe Best Soft Cut-Out Sugar Cookie Recipe That Holds Its Shape

A reliable recipe for soft, chewy sugar cookies that maintain their shape well after baking, perfect for cutting out and decorating.
- Prep Time: 30 min
- Cook Time: 10 min
- Total Time: 160 min
- Yield: 3 dozen
- Category: Dessert
- Method: Baking
- Cuisine: American
- Diet: Vegetarian
Ingredients
- 3 cups all-purpose flour
- 1 teaspoon baking powder
- 1/2 teaspoon salt
- 1 cup unsalted butter, softened
- 1 1/2 cups granulated sugar
- 1 large egg
- 1 teaspoon vanilla extract
Instructions
- Whisk together the flour, baking powder, and salt in a medium bowl. Set aside.
- In a large bowl, beat the softened butter and sugar with an electric mixer until light and fluffy, about 3 minutes.
- Beat in the egg and vanilla extract until just combined.
- Gradually add the dry ingredients to the wet ingredients, mixing on low speed until a soft dough forms. Do not overmix.
- Divide the dough in half, flatten each half into a disk, wrap tightly in plastic wrap, and chill for at least 2 hours.
- Preheat your oven to 350°F (175°C). Line baking sheets with parchment paper.
- On a lightly floured surface, roll out one disk of dough to 1/4-inch thickness.
- Use cookie cutters to cut out shapes and carefully transfer them to the prepared baking sheets.
- Bake for 8 to 10 minutes, or until the edges are lightly golden. For soft cookies, err on the side of underbaking slightly.
- Let the cookies cool on the baking sheet for 5 minutes before moving them to a wire rack to cool completely before decorating.
Notes
- For best shape retention, chill the cut-out shapes on the baking sheet for 10 minutes before placing them in the oven.
- If you prefer a firmer cookie for stacking, bake for an additional 1 to 2 minutes.
- Use high-quality vanilla extract for the best flavor.
Nutrition
- Serving Size: 1 cookie
- Calories: 145
- Sugar: 12
- Sodium: 65
- Fat: 7
- Saturated Fat: 4
- Unsaturated Fat: 3
- Trans Fat: 0
- Carbohydrates: 19
- Fiber: 0
- Protein: 2
- Cholesterol: 25