

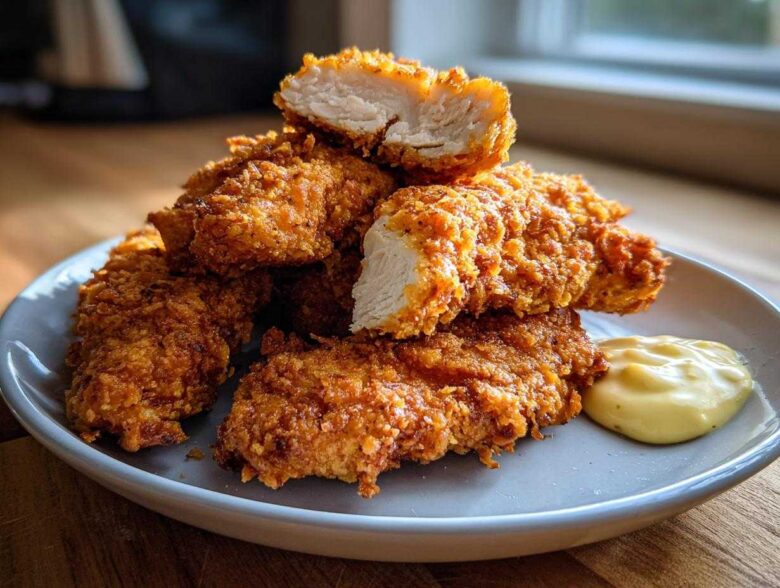
Okay, stop what you are doing. If you’ve ever sighed while taking a bite of a homemade chicken tender only to find the coating soggy or sliding off—I know that pain! We’ve all been there, right? But I figured it out. I mean, *really* figured it out. Today, we are making the absolute best crispy chicken tenders you’ll ever put in your mouth, and they come with my signature rich and zesty homemade Garlic Parmesan Dip. Seriously, these are restaurant-quality crispy!
The secret isn’t just frying hot—it’s all about the breading technique. I use a sneaky little double-dredge method that locks everything in place. It takes maybe five extra seconds, but I promise you, it delivers that shatteringly crisp crust every single time. My family was skeptical at first, but now they ask for these chicken tenders weekly. You’re going to feel like a total kitchen wizard once you see that golden crunch!
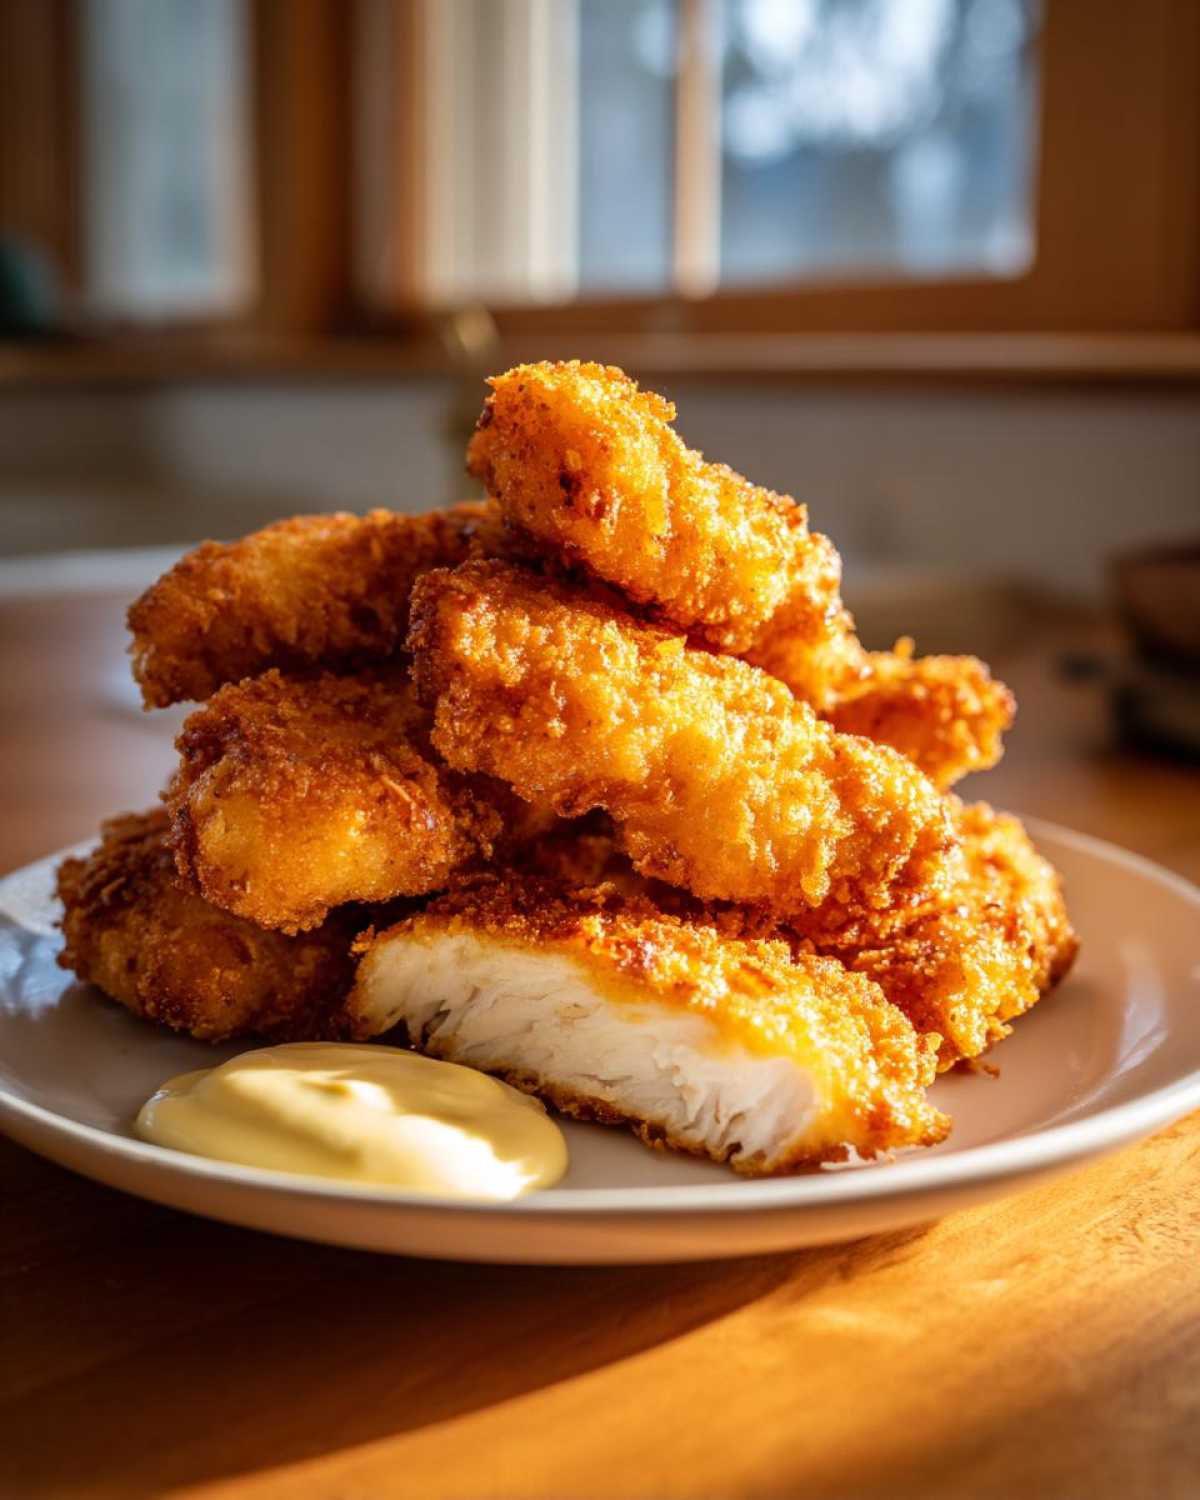
Why You Will Love These Crispy Chicken Tenders with Garlic Parmesan Dip
I know there are a million chicken tender recipes out there, but trust me when I say this one hits different. If you’re looking for that perfect balance of texture and flavor, look no further. Here’s the breakdown of why these are about to become your new go-to:
- They genuinely deliver that legendary juicy inside crispy outside chicken experience. I mean, that crunch is unreal!
- The Garlic Parmesan Dip is rich, creamy, and tangy—it makes the chicken taste even better than it already is.
- We are using Panko breadcrumbs, which are just naturally superior for getting that coarse, long-lasting crispiness.
- It’s genuinely fast! You can have these on the table quicker than you can place a delivery order. Perfect for quick weeknight meals.
- They are totally kid friendly chicken dinner ideas. My seven-year-old eats these faster than I can make them.
- The double breading technique means less worry about the crust falling off during cooking—huge win!
- They hold up really well if you decide to make a big batch for game day snacking.
Essential Ingredients for Crispy Chicken Tenders with Garlic Parmesan Dip
Okay, listen up! Ingredients are non-negotiable here if you want that epic crunch. I’ve learned over the years that the quality of what you put in really dictates what comes out on the plate. Don’t even *think* about subbing out the Panko—that’s the secret weapon for the texture we’re aiming for. I like to break everything down so you know exactly what you need for the tenders themselves and, of course, for that amazing dip we’re whipping up.
If you’re looking for ways to boost other recipes with simple, rich flavors, check out my guide on easy homemade garlic butter; it uses a lot of the same fresh garlic principles!
For the Chicken and Breading
This is where we build the crust. Remember, we need three distinct stations for our double-breading technique to work its magic. Patting that chicken dry is *the* most important prep step, I can’t stress that enough!
- Chicken: 1.5 lbs boneless, skinless chicken breasts, cut carefully into strips about 3/4-inch thick.
- Seasoned Flour (First Dredge): 1 cup all-purpose flour, 1 teaspoon salt, 1 teaspoon black pepper, 1 teaspoon paprika (for color!), and 1/2 teaspoon garlic powder. Mix this really well so the seasoning is distributed!
- Wet Binder: 2 large eggs whisked together with about 1/4 cup of milk.
- The Crispy Coat: 2 full cups of Panko breadcrumbs. Yep, a lot, but they soak up just the right amount of oil and puff up beautifully.
- Second Flour Dust: I’m calling for another 1 cup of plain all-purpose flour for the second coat before the Panko. This helps the Panko stick like glue!
- Oil, of course! You’ll need enough vegetable oil to cover the tenders if you are frying.
For the Creamy Garlic Parmesan Dip
This dip is what takes these tenders from good to “Wow, can I have the recipe?” It needs fresh ingredients to really sing. This is my version of a garlic parmesan dipping sauce from scratch, and it’s super fast!
- Base: 1/2 cup high-quality mayonnaise and 1/4 cup sour cream. The mix of these gives the perfect creamy texture without being too heavy.
- Cheese Power: 1/4 cup finely grated Parmesan cheese. Use the good stuff from the shaker section if you can—it melts better into the sauce!
- Garlic Punch: 2 vibrant cloves garlic, minced super fine. Please don’t use the pre-minced jar stuff here; the fresh flavor is crucial!
- Brightness: 1 tablespoon fresh lemon juice. This cuts through the richness so nicely.
- Flavor Finish: 1 teaspoon dried parsley, plus a small pinch of salt and pepper to taste.
Mastering the Double Breading Technique for Crispy Chicken Tenders
If you want that beautiful, shatteringly crisp exterior—the kind that makes that satisfying *crunch* sound when you bite into it—you absolutely need to nail the breading! This isn’t just a single coat; we are doing what I call the double breaded chicken tenders technique. It seems like extra work, but it builds armor around that chicken so it stays juicy inside while getting perfectly crunchy outside.
Remember those three bowls we set up? Flour, Egg Wash, Panko? That’s our assembly line. Once you start, you have to keep moving efficiently so the coating stays tacky!
Prepping the Chicken for Maximum Adhesion
Before anything touches the chicken, we have to tackle moisture. Water is the absolute enemy of crispiness, folks. If you have even a little bit of dampness left on those chicken strips, the flour won’t stick properly, and that moisture will turn into steam when it hits the hot oil, leading to soggy spots.
So, take your time here. Lay those chicken pieces flat on a plate lined with paper towels, and gently pat the top and sides completely dry. I try to gently press down to wick up any surface moisture. This simple step ensures our flour coating truly adheres to the protein instead of just sitting on water.
The Crucial Second Dredge in Panko
This is where we amp up the crunch factor significantly. After you dredge the chicken in the seasoned flour (shake off the excess gently!) and dip it completely into the egg wash, don’t stop there! That slightly wet, flour-coated strip now heads into the *second* flour dredge.
Why? That light dusting of flour grabs onto the egg wash and lets the Panko breadcrumbs—which are much coarser than regular breadcrumbs—have something solid to cling to. Then, when you press the Panko onto the strip, you need to really commit! Gently but firmly press all sides into those crumbs. You want coverage everywhere.
Pro Tip for Next Level Crispiness: Once you have your tenders fully breaded and sitting on that wire rack, stick the whole tray in the refrigerator. Let them chill for about 15 minutes. This lets the coating set up and dry out just a tiny bit more, which is the ultimate secret for achieving the best crispy chicken tenders recipe where nothing slides off!
Cooking Methods for Perfect Crispy Chicken Tenders with Garlic Parmesan Dip
Alright, now that these beauties are perfectly breaded and (hopefully!) chilled for that extra hardening time, it’s time to cook! Achieving the ultimate crunch depends a lot on how you apply the heat. I’m giving you two routes here: the classic deep-fry method for that authentic, deep golden color, and the air fryer method if you want amazing crunch without submerging them in oil. Both methods work great for making how to make really crispy fried chicken strips, but they have different vibes!
And hey, if you’re trying out new cooking gadgets, I’ve got a fantastic guide on the air fryer for crispy coconut shrimp that shares similar techniques if you want more tips!
Deep Frying Crispy Chicken Tenders
If you want that classic, restaurant-level crunch, you have to fry them. This method is fast and guarantees that beautiful golden texture we’re hunting for. First thing: you need a good thermometer. Don’t guess the temperature on this! You need your oil to be steady at 350°F (175°C).
Heat about two inches of vegetable oil in a deep, heavy skillet. Once it hits that 350°F mark, you carefully lower the tenders in. Do not overcrowd the pan! Seriously, this is probably the most important rule for frying. If you dump too many in at once, the oil temperature drops instantly, and what happens? Soggy chicken! Fry them in small batches for only about three to five minutes. Keep an eye on them, turning them gently until they are deep golden brown and cooked all the way through to 165°F internally.
When they look perfect, pull them out with tongs. And here’s another key tip—don’t drop them on paper towels! Paper towels trap steam underneath, which softens the bottom crust. Instead, move them directly onto a clean wire rack set over a baking sheet. This lets the hot air circulate all around, keeping the bottoms crispy while they drain off any excess oil.
Air Frying for Extra Crispy Chicken Tenders
If you’re dipping your toe into the air fryer world or just want a lighter option, this is fantastic for achieving an air fryer crispy chicken tenders recipe that tastes almost fried. First, always remember to preheat your air fryer! I set mine to 390°F (199°C).
Remember how we pressed that Panko on so tightly? Perfect! Now, you just need a light misting of cooking oil—don’t soak them, just a fine spray over the surface. This helps the crumbs brown beautifully instead of just drying out.
Place the sprayed tenders in a single layer in the basket; again, no overcrowding if you know what’s good for you! Cook them for about 10 to 12 minutes total. You absolutely must flip them halfway through cooking, maybe around the 6-minute mark, so they crisp evenly on both sides. They’ll come out gorgeously golden, fully cooked, and so wonderfully crunchy!
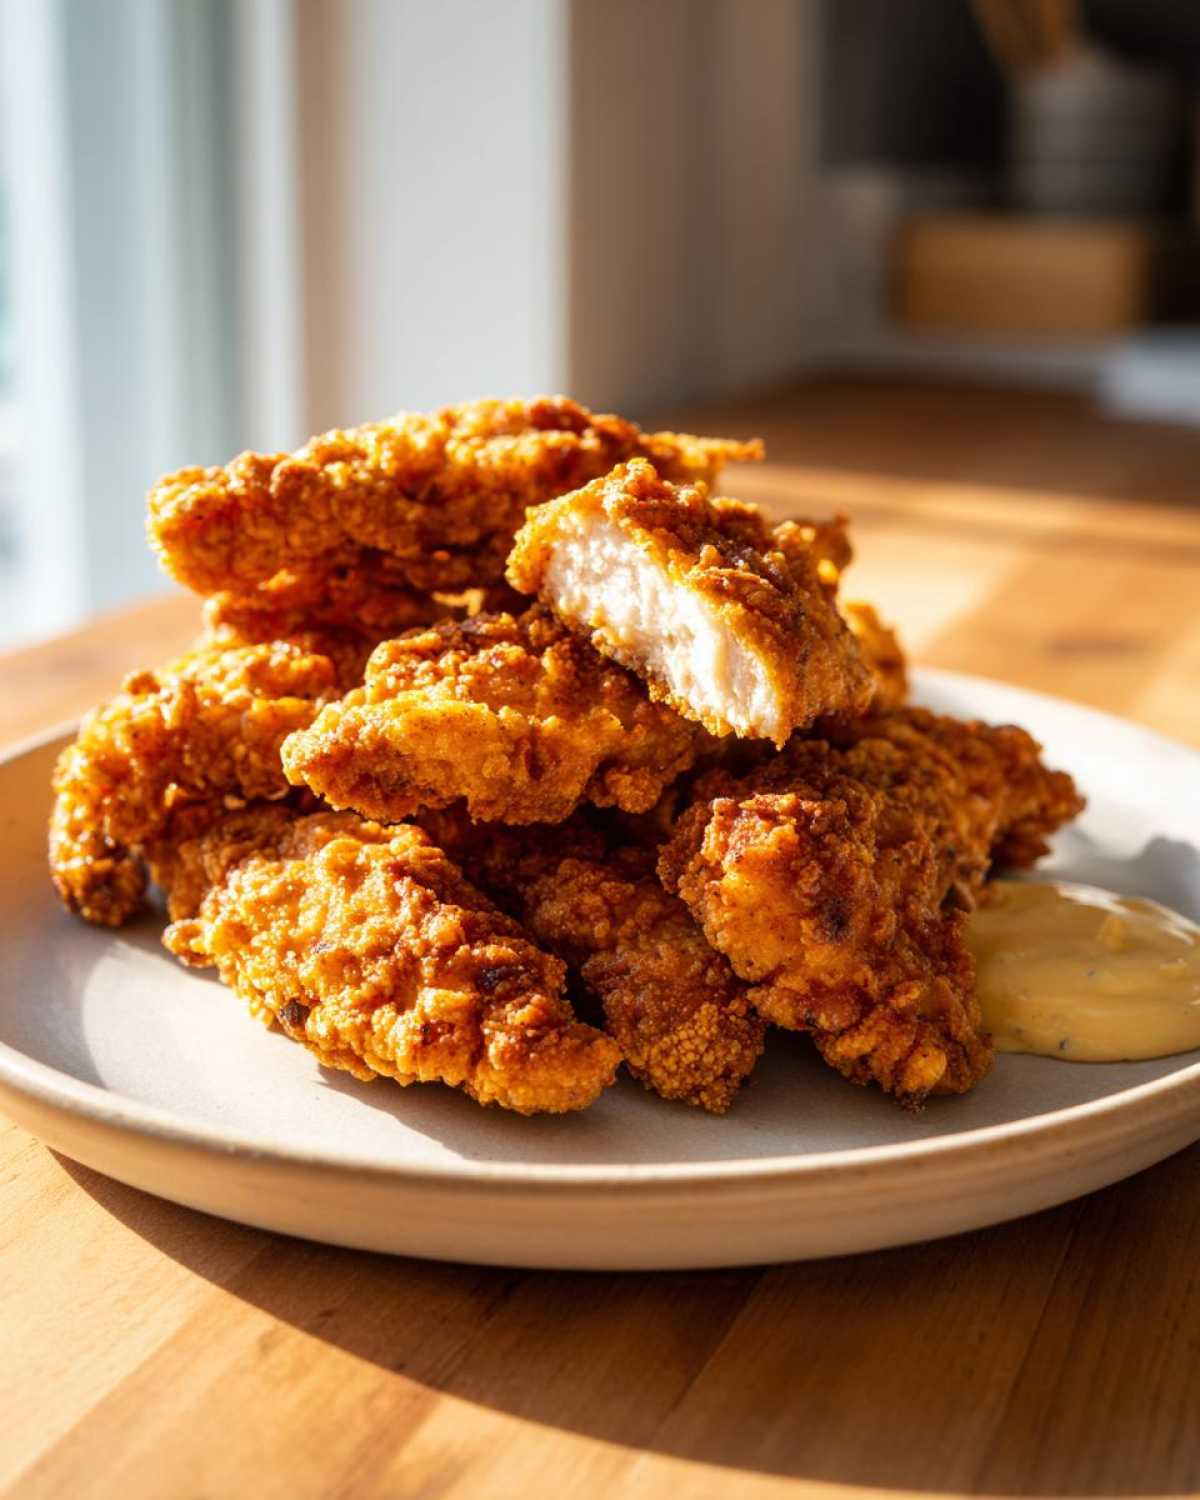
Preparing the Homemade Garlic Parmesan Dip from Scratch
Okay, while those tenders are sizzling away, we absolutely need to whip up the perfect partner for them! Seriously, the dip is half the fun, and making a creamy garlic parmesan sauce recipe at home is so much better than anything you’ll get in a packet.
There’s no cooking required for this beauty, which is great because we’re busy focusing on crispy oil temperatures! You just need one small bowl and about three minutes. Head over to my guide on making homemade mayonnaise if you feel like diving really deep into mayo bases, but for this dip, the store-bought base works perfectly fine and keeps things snappy.
Start by gathering your base ingredients: the mayo and the sour cream. I use equal parts sour cream and mayo because I like that little bit of tang the sour cream gives it, keeping the sauce from being too rich or heavy. Toss those into your bowl.
Next up is the flavor core! Add in that finely minced fresh garlic—don’t be shy!—and the grated Parmesan cheese. The cheese has to be finely grated so it incorporates smoothly. We need that brightness too, so squeeze in the fresh lemon juice. A little dried parsley adds a nice fleck of color and savory herbiness, alongside just a pinch of salt and pepper to round things out.
Now, grab a whisk or a small spatula and mix everything until it’s completely smooth and uniform. You want zero white streaks and no dry pockets of Parmesan. Mix it until it’s perfectly combined and looks thick and luscious.
Here’s my little E-E-A-T secret for the absolute best flavor payoff: Set the bowl aside for at least 10 minutes while the chicken finishes cooking. If you can manage it, stick it in the fridge for a bit longer. Allowing it to rest lets those sharp garlic notes mellow just slightly and really allows the Parmesan flavor to bloom through the creamy base. It just makes the whole dip taste richer and more complex!
Tips for Success with Your Crispy Chicken Tenders Recipe
I want you to have perfection, so here are just a few final pointers I’ve picked up over way too many batches of frying chicken. These little nudges ensure you get that gorgeous, juicy-inside, crispy-outside result every single time. Think of these as the final check-off list before you serve!
First off, if you absolutely cannot fry or air fry, baking is an option, although it won’t give you the same deep crunch. For baking, make sure you use a rack set over a baking sheet! That airflow underneath is essential for preventing a soggy bottom. Set your oven to 400°F (200°C) and bake them for about 18 to 20 minutes, flipping halfway through.
And remember that trick from earlier? If you have the time—even just 15 minutes—take a break after breading them and pop those coated tenders into the fridge. That chilling moment really helps that Panko adhere and sets up the crust structure for whatever cooking method you choose. It’s my favorite trick in perfecting this easy garlic parmesan chicken companion!
Finally, serve these puppies immediately! Nothing beats a fresh, hot tender dunked into that cool, garlicky dip. Enjoy!
Storage and Reheating Your Crispy Chicken Tenders
Okay, let’s talk about the aftermath, because chances are, you might have leftovers (though I highly doubt it if you followed my advice!). Storing these crispy chicken tenders is crucial because we want that crunch to survive the night in the fridge. The dip is easy—just cover it tightly and keep it cold; it lasts fine for a couple of days.
For the tenders, you need to cool them completely before popping them into storage. Seriously, stick them on a plate uncovered in the fridge for about 20 minutes to let the residual heat escape. If you try to store them warm, condensation is going to form, and we’ll be right back to square one with soggy crusts!
Once cooled, go ahead and transfer them to an airtight container. They should stay good in the refrigerator for up to three days. But here’s the big warning: Do not reheat these in the microwave! Microwaving is basically steaming the poor things, and all that glorious Panko texture will turn to mush instantly. Don’t do it to yourself!
The best way to resurrect that amazing crunch is either back into the air fryer or the oven. If you’re using the air fryer—which is my absolute favorite method for leftovers—just set it to 375°F (190°C) and cook them for about four to six minutes. You are just reheating them and drying the crust back out. If you use the oven, keep it around 375°F and bake them on a wire rack for about 8-10 minutes until they feel hot and firm again.
If you want to get really ahead of the game for future snacking, you can actually freeze them after the initial cooking. Just make sure they are completely cool, then lay them single-file on a baking sheet until frozen solid, then transfer them to a freezer bag. These are fantastic candidates for the make ahead strategy!
Frequently Asked Questions About Crispy Chicken Tenders
I know you might have a few specific questions swirling around, especially when it comes to getting that perfect crunch or swapping out ingredients. Everyone’s kitchen is a little different, so let’s tackle the most common things people ask me about these crispy chicken tenders and that amazing dip!
Can I use chicken thighs instead of breasts for these crispy chicken tenders?
Oh, absolutely you can! Chicken thighs are dark meat, so they are naturally a little fattier and have a bit more flavor packed in. They are fantastic for guaranteeing that juicy inside crispy outside texture because they are super forgiving. The only thing you might notice is that they take just a minute or two longer to cook through compared to the leaner breast strips. Just use your thermometer to make sure they hit that 165°F internal temperature, and you’ll have incredible results!
What is the secret to making the Garlic Parmesan Dip ahead of time?
That’s the beauty of this dip—it’s amazing for meal prep! You can definitely make the Garlic Parmesan Dip up to a day in advance. Keep it covered tightly in the refrigerator. The reason I always suggest giving it a really good stir right before serving is that the Parmesan cheese and the sour cream can sometimes separate just a tiny bit when they sit cold. Just whisk it up vigorously for 30 seconds, and it will come right back together, tasting just as fresh and zesty as when you first made it. It makes serving up the best dipping sauce for chicken tenders so simple when company shows up!
We’ve covered all the bases here to get you that perfect crunch, but if you want to send these tenders off with a bang, you need the right sides!
Serving Suggestions for Your Homemade Chicken Tenders with Dip
Now that you have mastered the ultimate crispy chicken tender and whipped up that incredible creamy dip, you are ready to serve! These aren’t just leftovers; these are a starring dish. Whether you’re making a quick family dinner or pulling out all the stops for a gathering, presentation matters. And honestly, something this crispy deserves sides that let it shine.
If you’re looking to pull together a spread, these tenders make fantastic easy party appetizers with dipping sauce because everyone loves dipping! Here are a few things I always pair with them to round out the meal.
First up, you can’t beat classic homemade french fries, but if you want something a little more unique but still cozy, you have to try my recipe for baked potato salad. It sounds weird, I know, but the smoky, slightly tangy flavor of the potato salad contrasts beautifully with the salty, garlicky coating on the tenders.
For something fresh to cut through all that glorious fried goodness, I always keep a big bowl of crisp, cool coleslaw nearby. You can make it super simple with just shredded cabbage, carrots, and a light vinaigrette. The crunch of the slaw next to the crunch of the chicken? It’s a textural dream, honestly.
If you’re serving them for dinner, forget heavy sides. Just toss some tender mixed greens with a bright lemon vinaigrette and maybe a few cherry tomatoes. It keeps the entire plate feeling fresh and lets the rich Garlic Parmesan Dip do most of the heavy lifting flavor-wise!
PrintCrispy Chicken Tenders with Garlic Parmesan Dip

Follow these steps to make very crispy chicken tenders using a double breading technique, served with a homemade creamy garlic parmesan dipping sauce.
- Prep Time: 20 min
- Cook Time: 15 min
- Total Time: 35 min
- Yield: 4 servings
- Category: Appetizer
- Method: Frying or Air Frying
- Cuisine: American
- Diet: Low Fat
Ingredients
- 1.5 lbs boneless, skinless chicken breasts, cut into strips
- 1 cup all-purpose flour
- 1 teaspoon salt
- 1 teaspoon black pepper
- 1 teaspoon paprika
- 1/2 teaspoon garlic powder
- 2 large eggs
- 1/4 cup milk
- 2 cups Panko breadcrumbs
- 1 cup all-purpose flour (for second dredge)
- Vegetable oil, for frying (or cooking spray for air frying/baking)
- For the Dip:
- 1/2 cup mayonnaise
- 1/4 cup sour cream
- 1/4 cup grated Parmesan cheese
- 2 cloves garlic, minced
- 1 tablespoon lemon juice
- 1 teaspoon dried parsley
- Pinch of salt and pepper
Instructions
- Prepare the chicken: Pat the chicken strips completely dry with paper towels. This is key for crispiness.
- Set up the breading stations: In one shallow dish, mix 1 cup flour, salt, pepper, paprika, and garlic powder. In a second dish, whisk the eggs and milk. In a third dish, place the Panko breadcrumbs.
- First dredge: Dredge each chicken strip in the seasoned flour mixture, shaking off excess.
- Wet coat: Dip the floured strip into the egg mixture, allowing excess to drip off.
- Second dredge (for extra crisp): Immediately coat the strip thoroughly in the Panko breadcrumbs, pressing gently to adhere. Place coated tenders on a wire rack set over a baking sheet.
- Cook the tenders (Frying method): Heat 2 inches of oil in a deep skillet to 350°F (175°C). Fry tenders in batches for 3-5 minutes, turning occasionally, until golden brown and cooked through (internal temperature 165°F). Remove and drain on a wire rack.
- Cook the tenders (Air Fryer method): Preheat air fryer to 390°F (199°C). Lightly spray tenders with cooking oil. Cook for 10-12 minutes, flipping halfway, until golden and crisp.
- Make the dip: Combine mayonnaise, sour cream, Parmesan cheese, minced garlic, lemon juice, parsley, salt, and pepper in a small bowl. Mix well.
- Serve the hot, crispy chicken tenders immediately with the garlic parmesan dip.
Notes
- For the crispiest result, refrigerate the breaded tenders for 15 minutes before cooking.
- If baking, place on a lightly oiled rack set over a baking sheet and bake at 400°F (200°C) for 18-20 minutes, flipping halfway.
- You can make the dip up to one day ahead and store it covered in the refrigerator.
Nutrition
- Serving Size: 4 tenders + 2 tbsp dip
- Calories: 450
- Sugar: 3
- Sodium: 550
- Fat: 25
- Saturated Fat: 5
- Unsaturated Fat: 20
- Trans Fat: 0
- Carbohydrates: 25
- Fiber: 1
- Protein: 35
- Cholesterol: 120